In this guide, you will learn how to use Chrome Developer Tools to customize styles and scripts without making changes to the original code. It will show you how to perform extensive tests and adjustments on your website using Overrides and Chrome's Workspace, without having to touch the original server file.
Key insights
- With Overrides, you can locally override files to perform tests and adjustments.
- The Workspace allows you to connect your local development folder to the Chrome Developer Tools to make changes directly.
- These two functions are extremely useful for debugging issues in the production environment without affecting the original server code.
Step-by-step guide
To effectively use Chrome's Developer Tools, follow these steps:
1. Using Overrides
First, we want to use Chrome's Overrides feature. Choose a JavaScript file, such as main.js, that is loaded from the server.
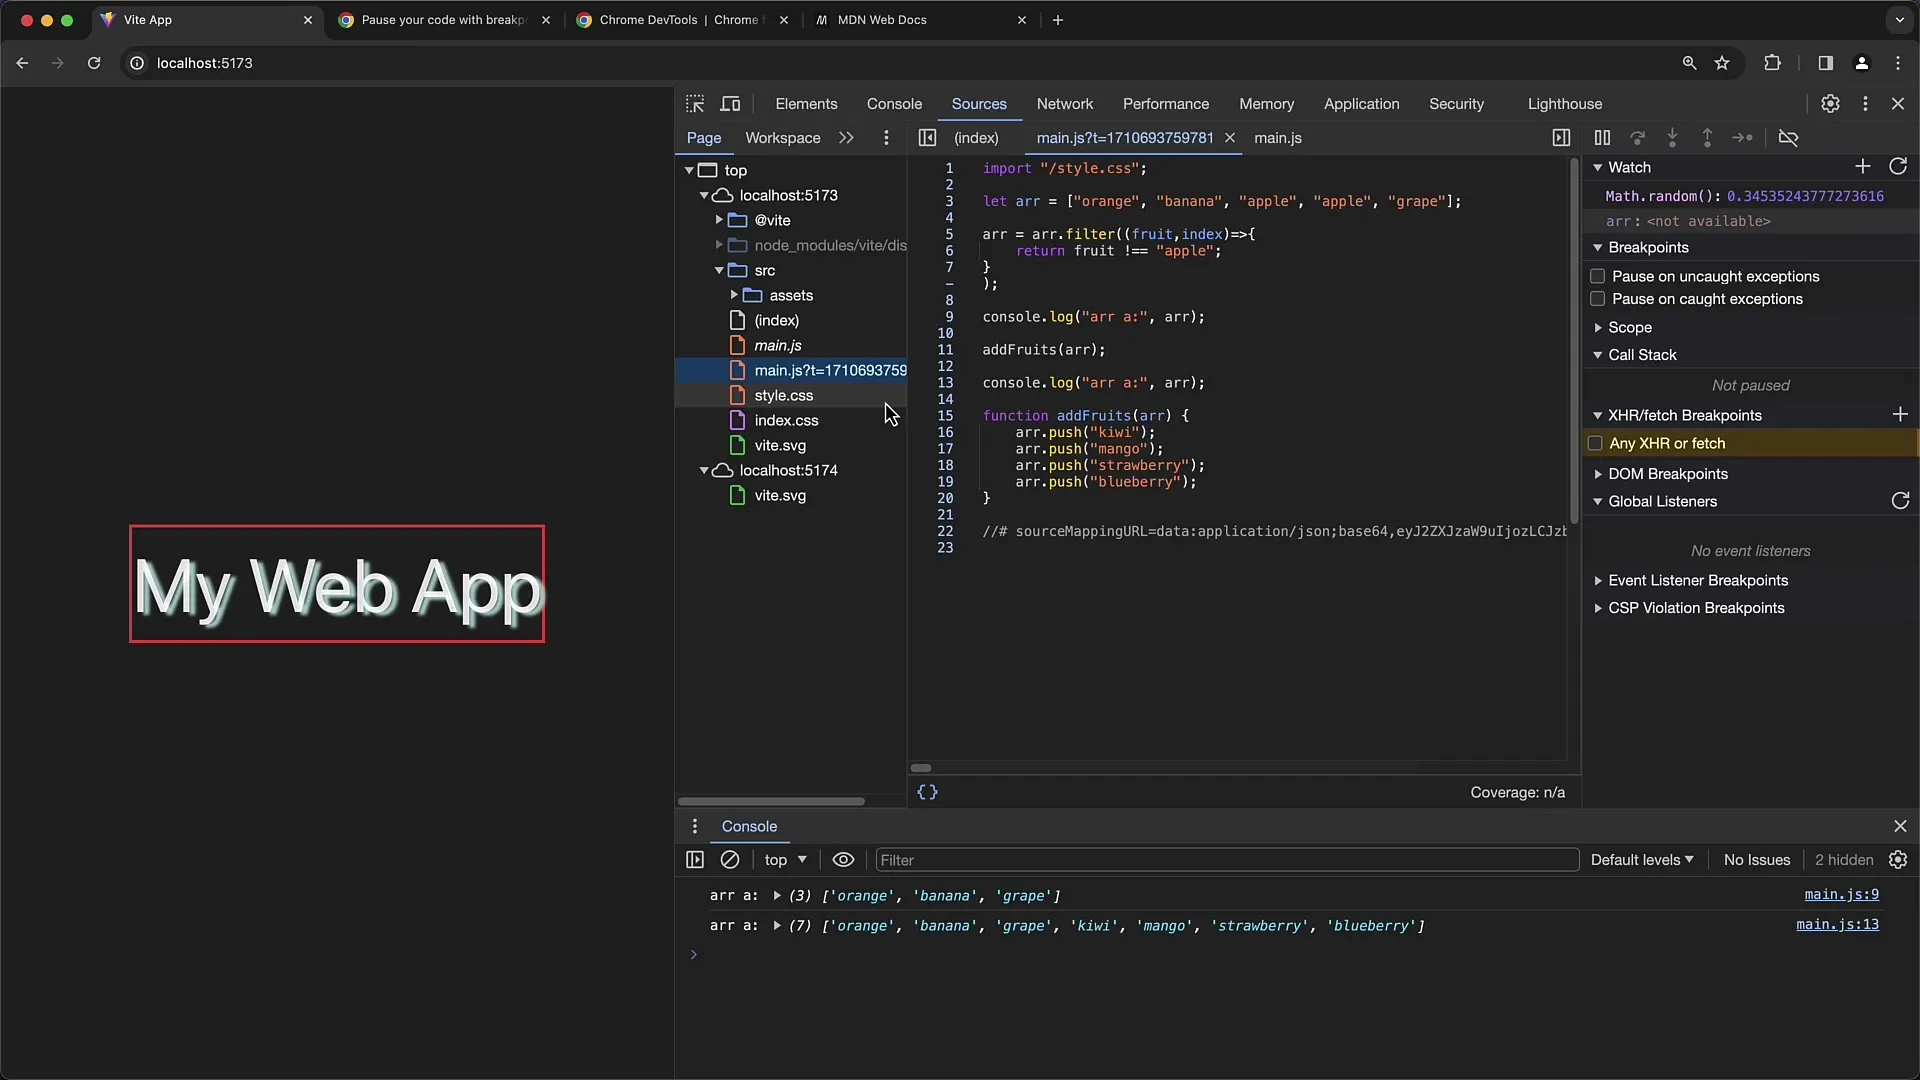
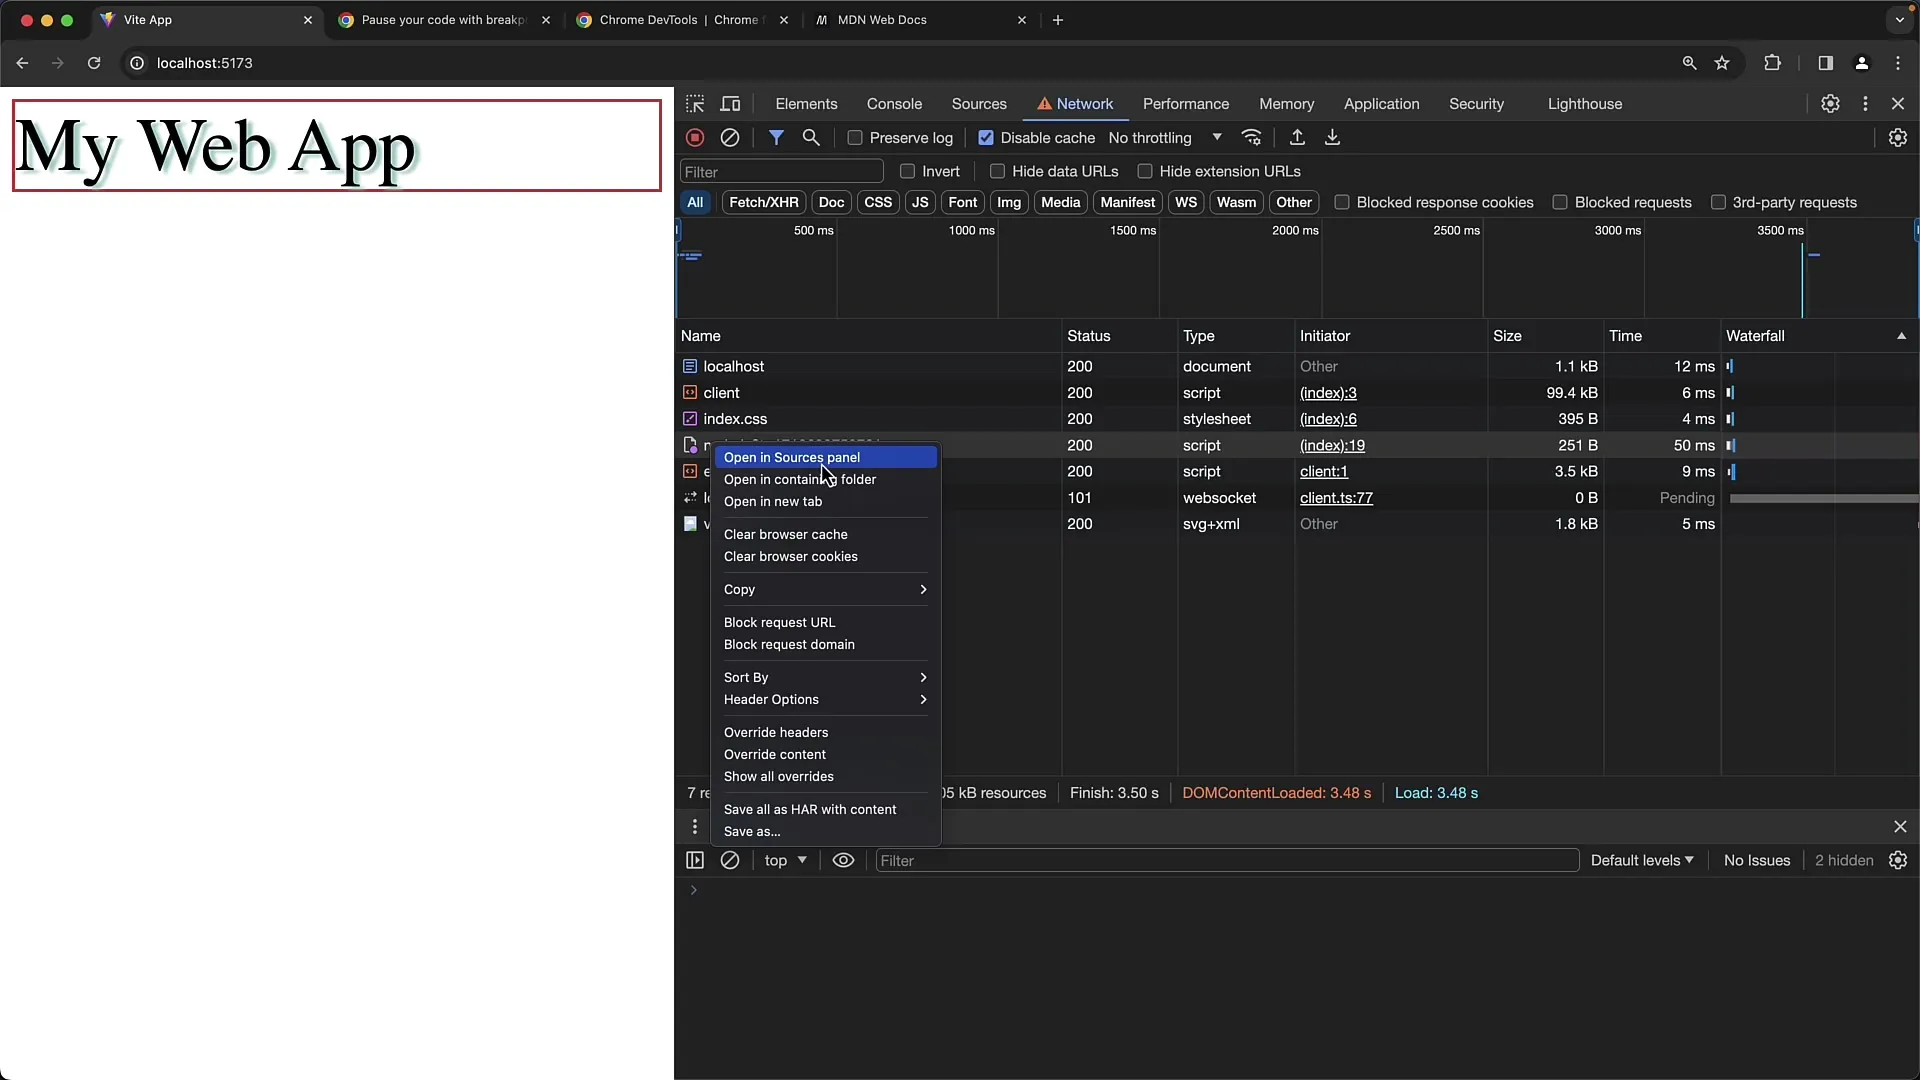
Right-click on the file and select "Override Content" from the context menu.
A dialog box will open where you can choose the location for the local file. Make sure you have already created a folder where you want to store your overriding files.
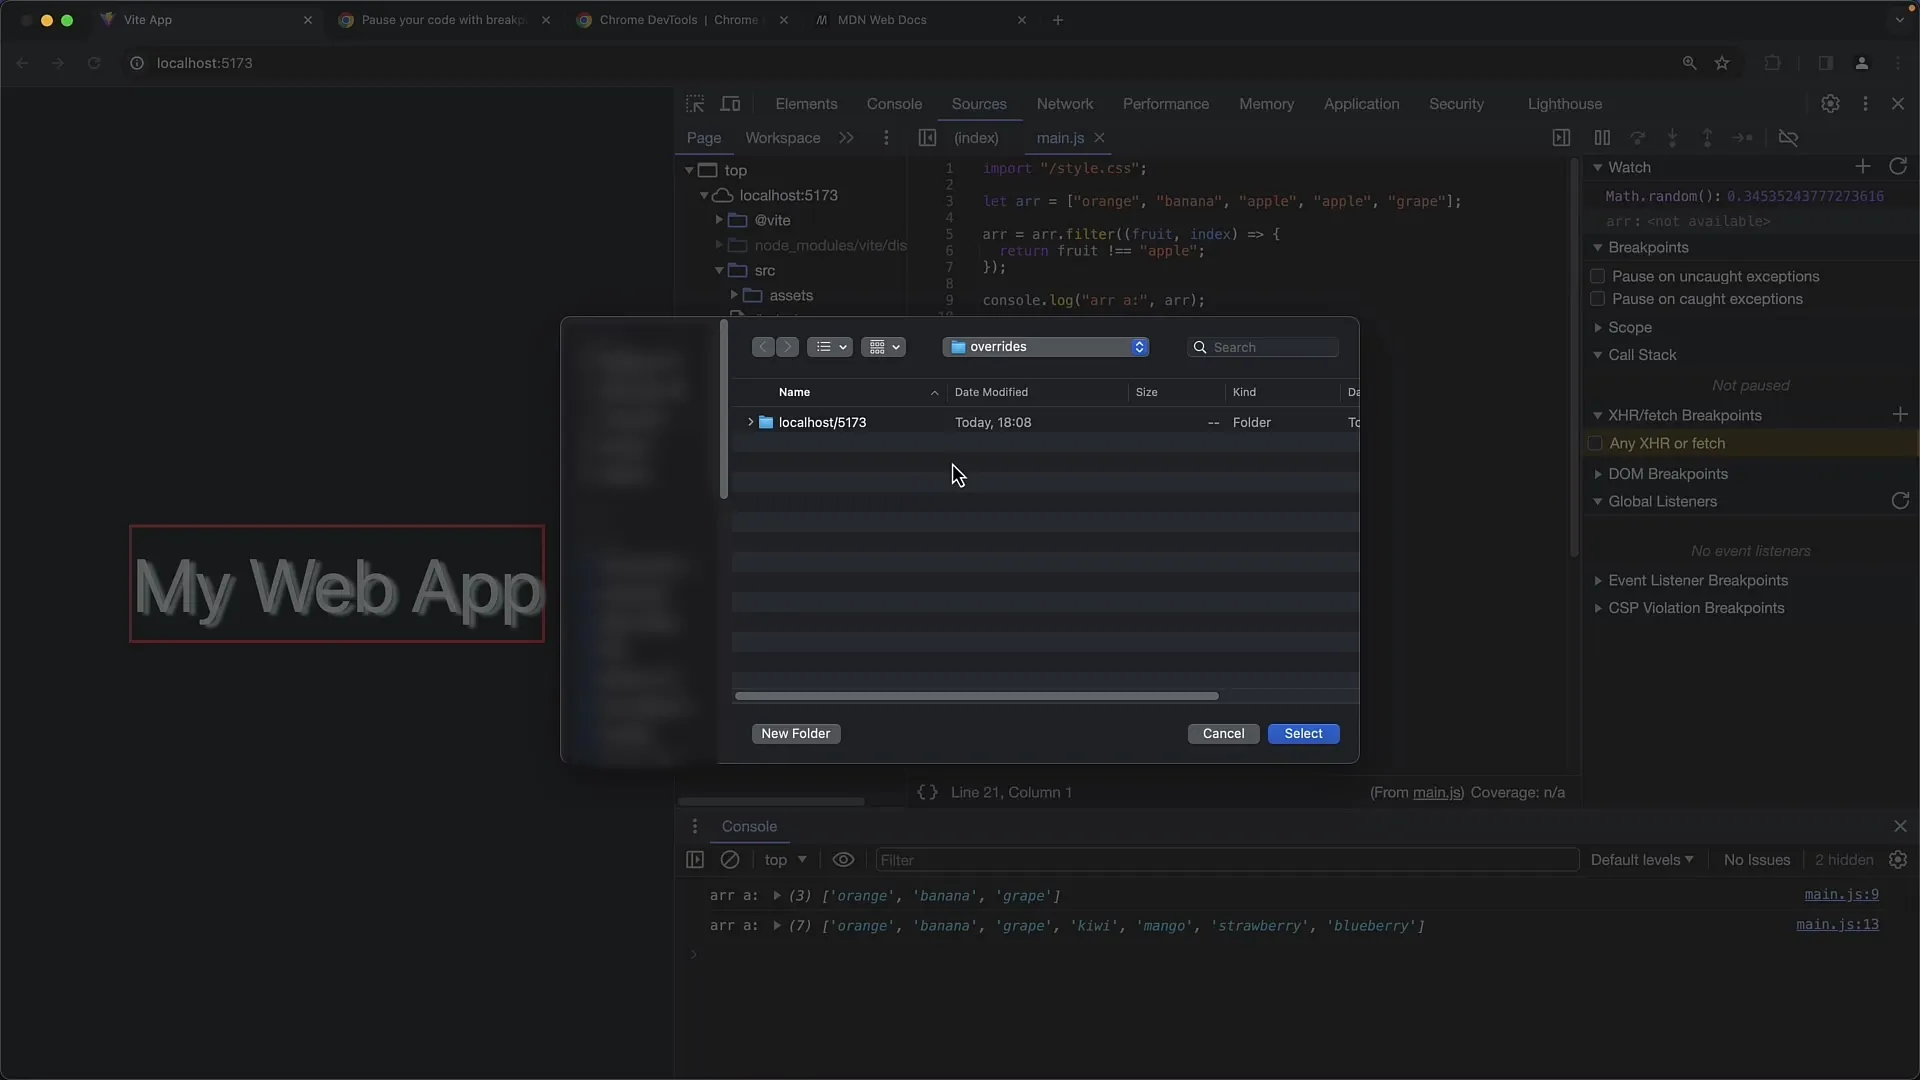
Select the desired folder and click "Select Folder." This will establish the connection between the original file and your local file.
Now you need to grant the browser access to this directory. Click again on the Overrides menu and ensure that the permission to access the desired directory is enabled.
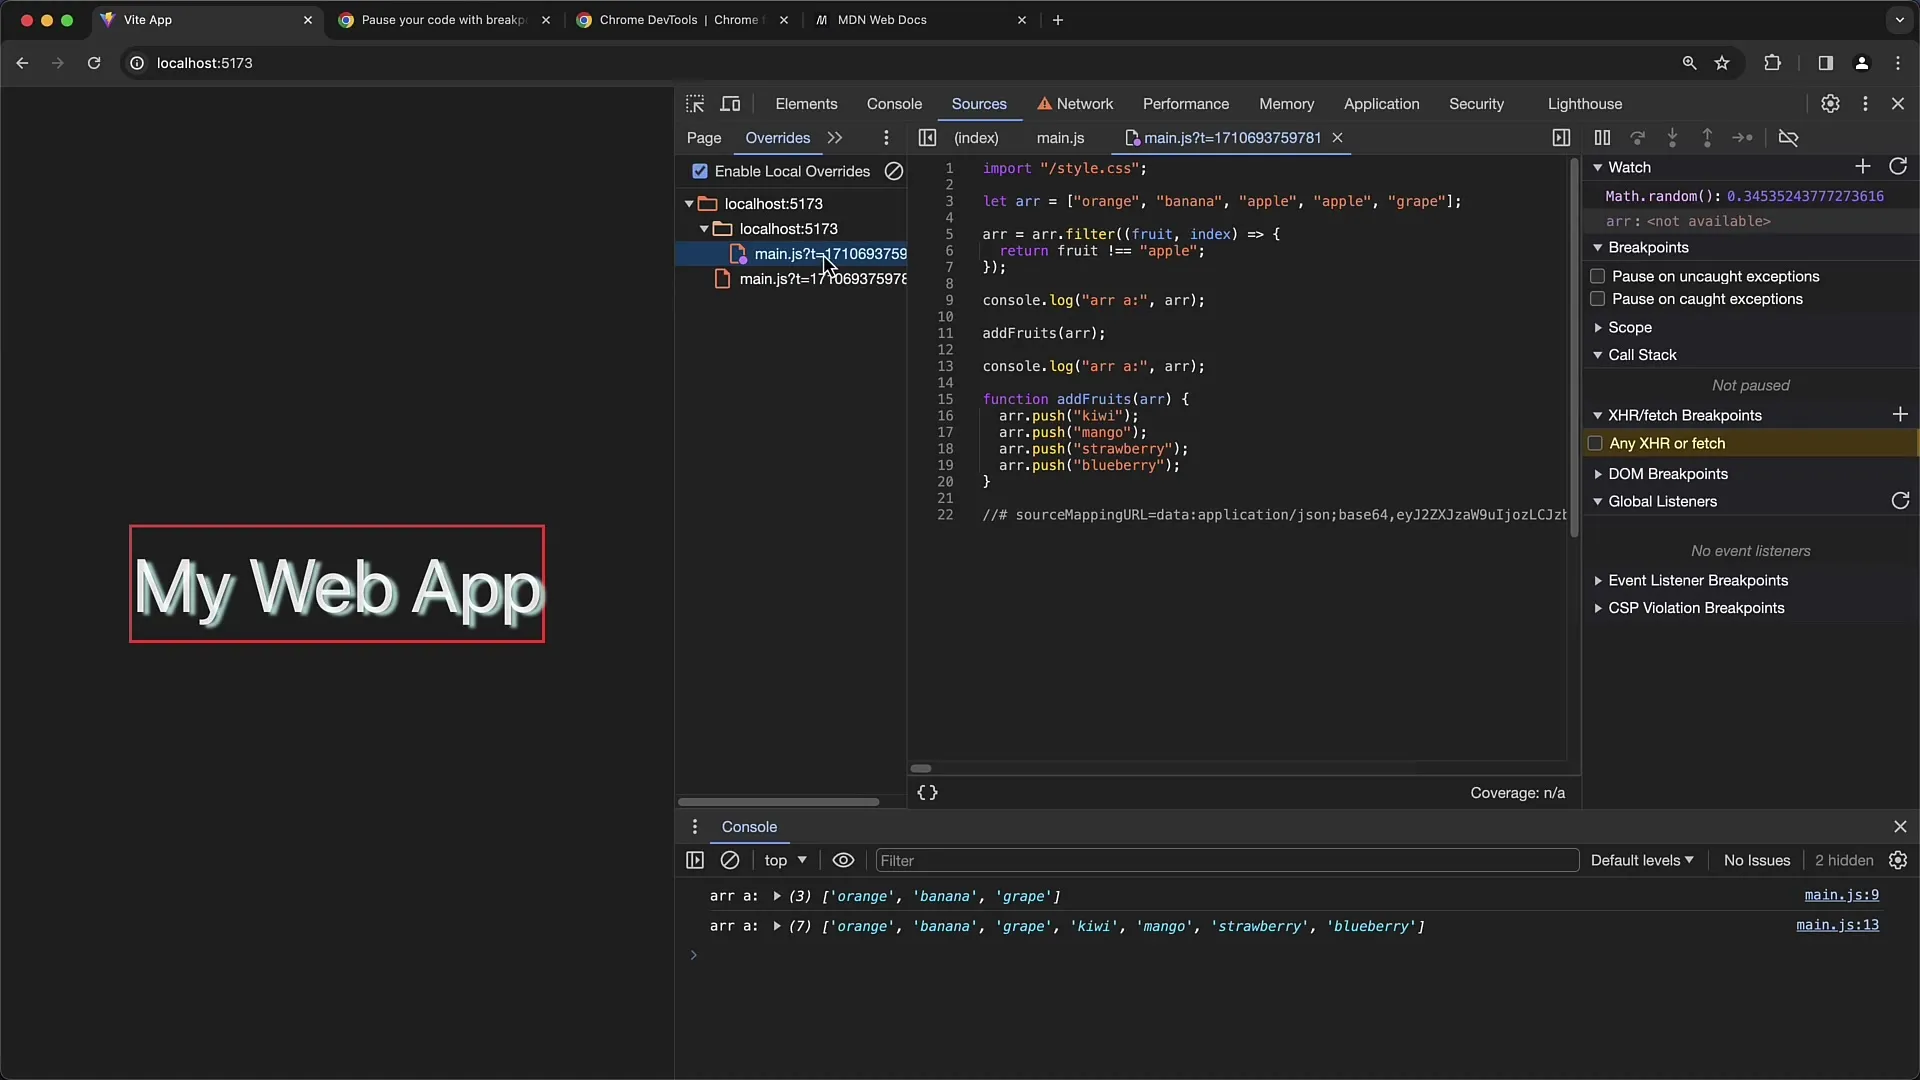
2. Creating a Local File
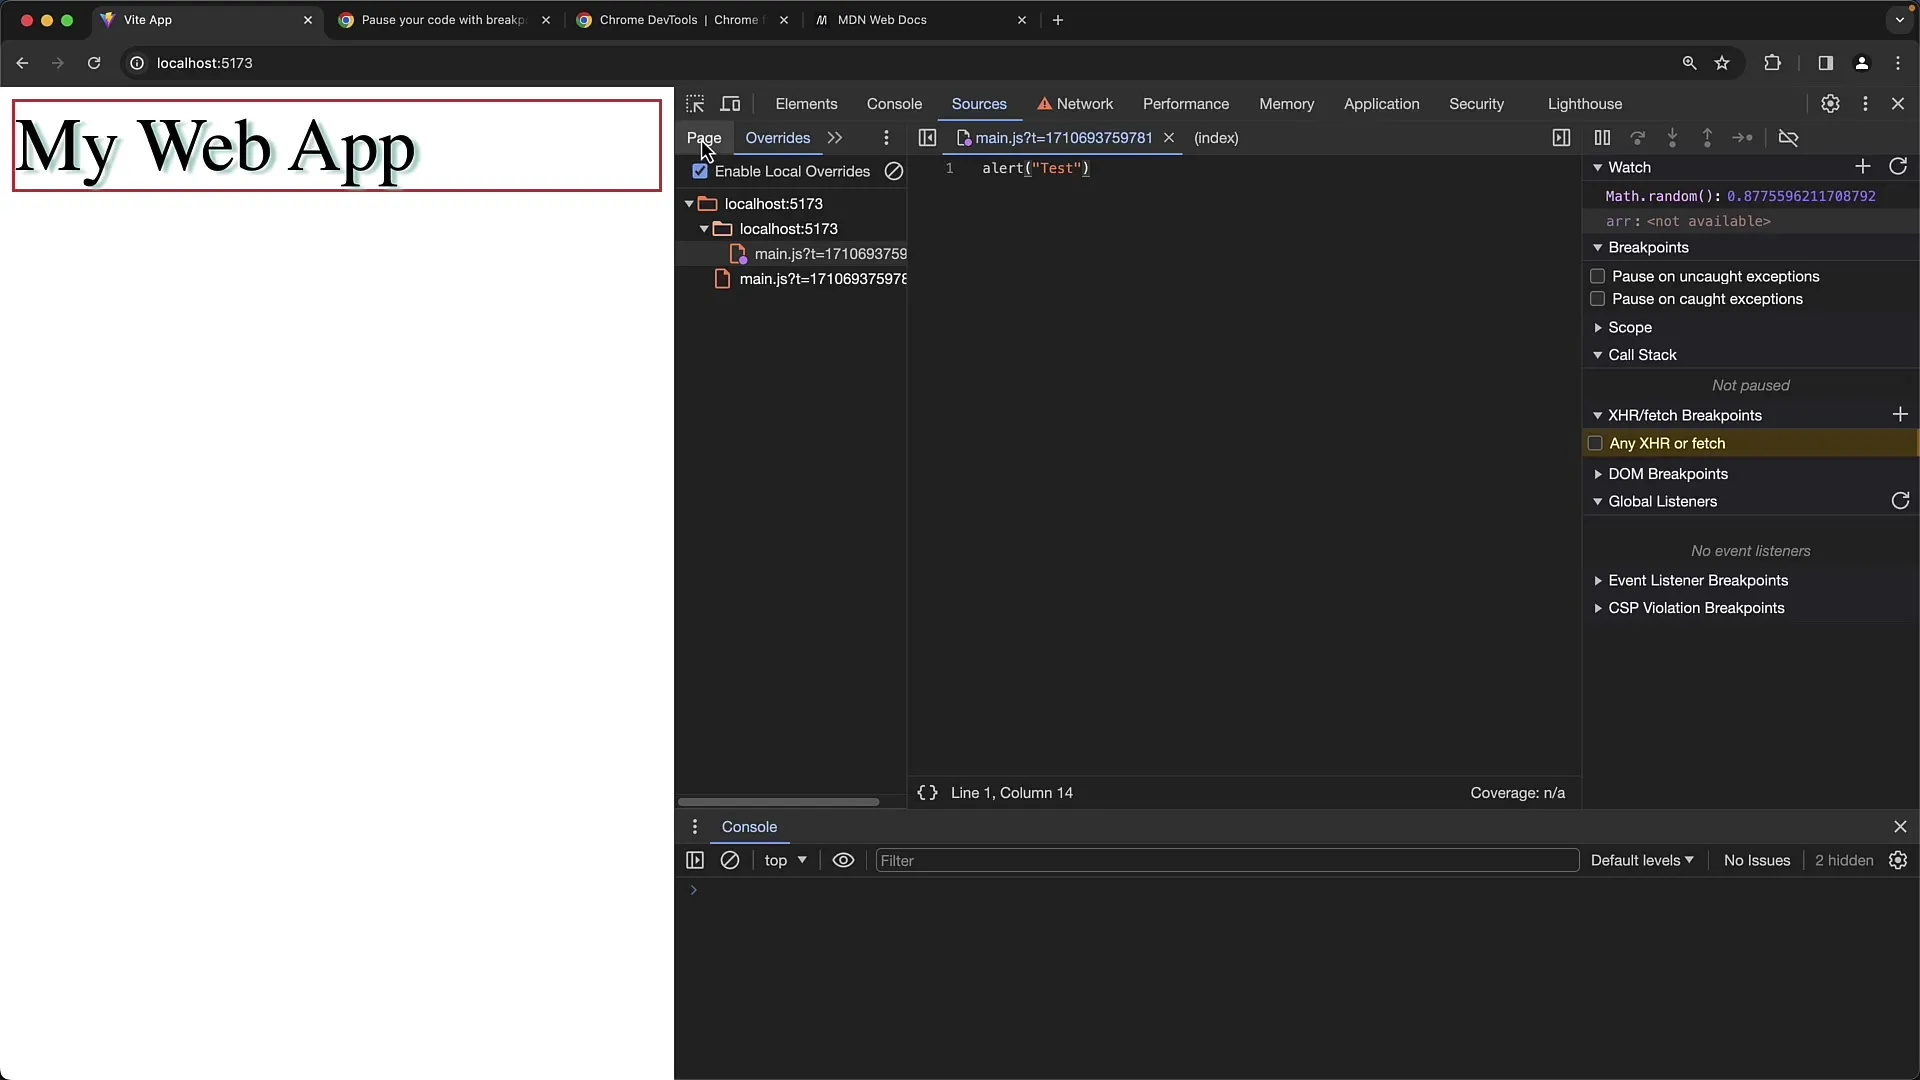
Now you can create a new file in the override folder. Open the file and write, for example, a simple alert() script.
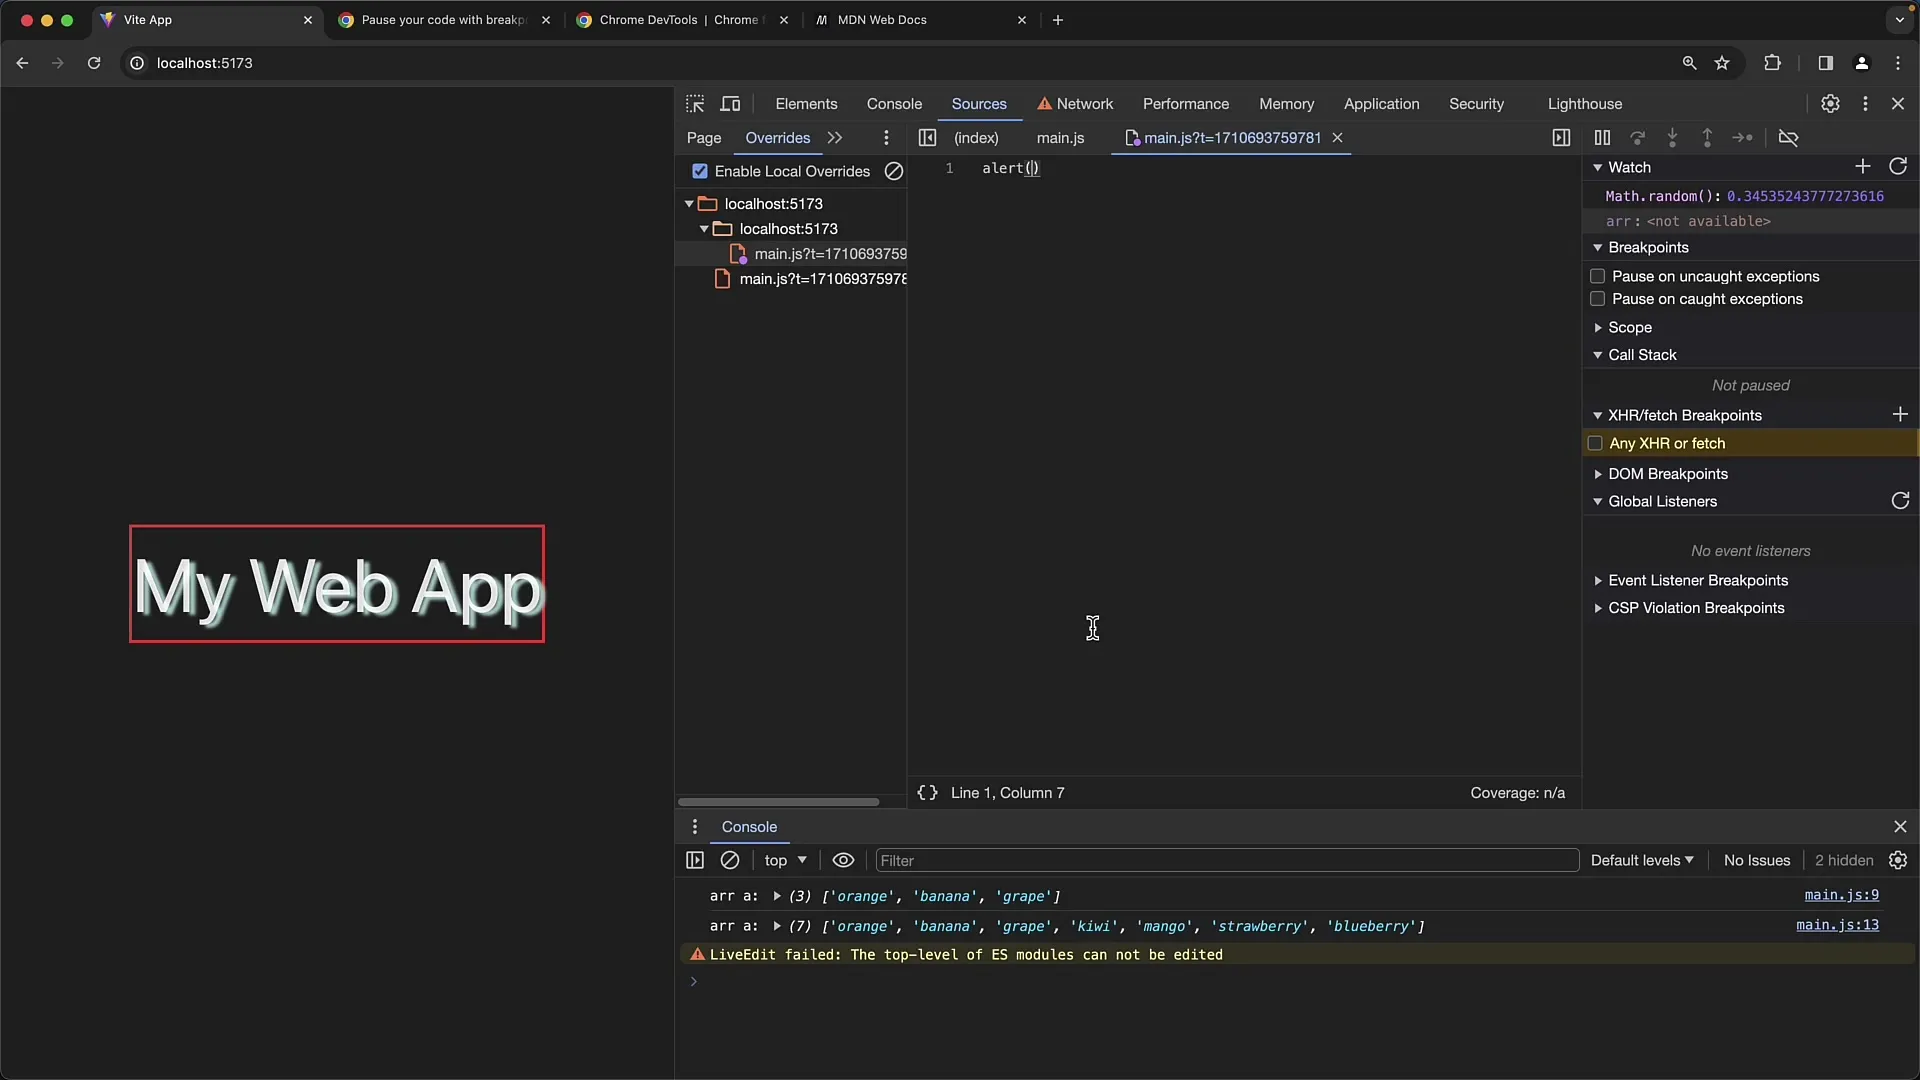
You can customize the content to suit your needs. Save the file and refresh the page to see that the alert window now appears instead of the file originally loaded from the server.
3. Checking Network Activity
To ensure that the file is no longer loaded from the server, open the Network tab in the Developer Tools. You should see that the main.js file is no longer being fetched from the server, but instead the locally overridden content.
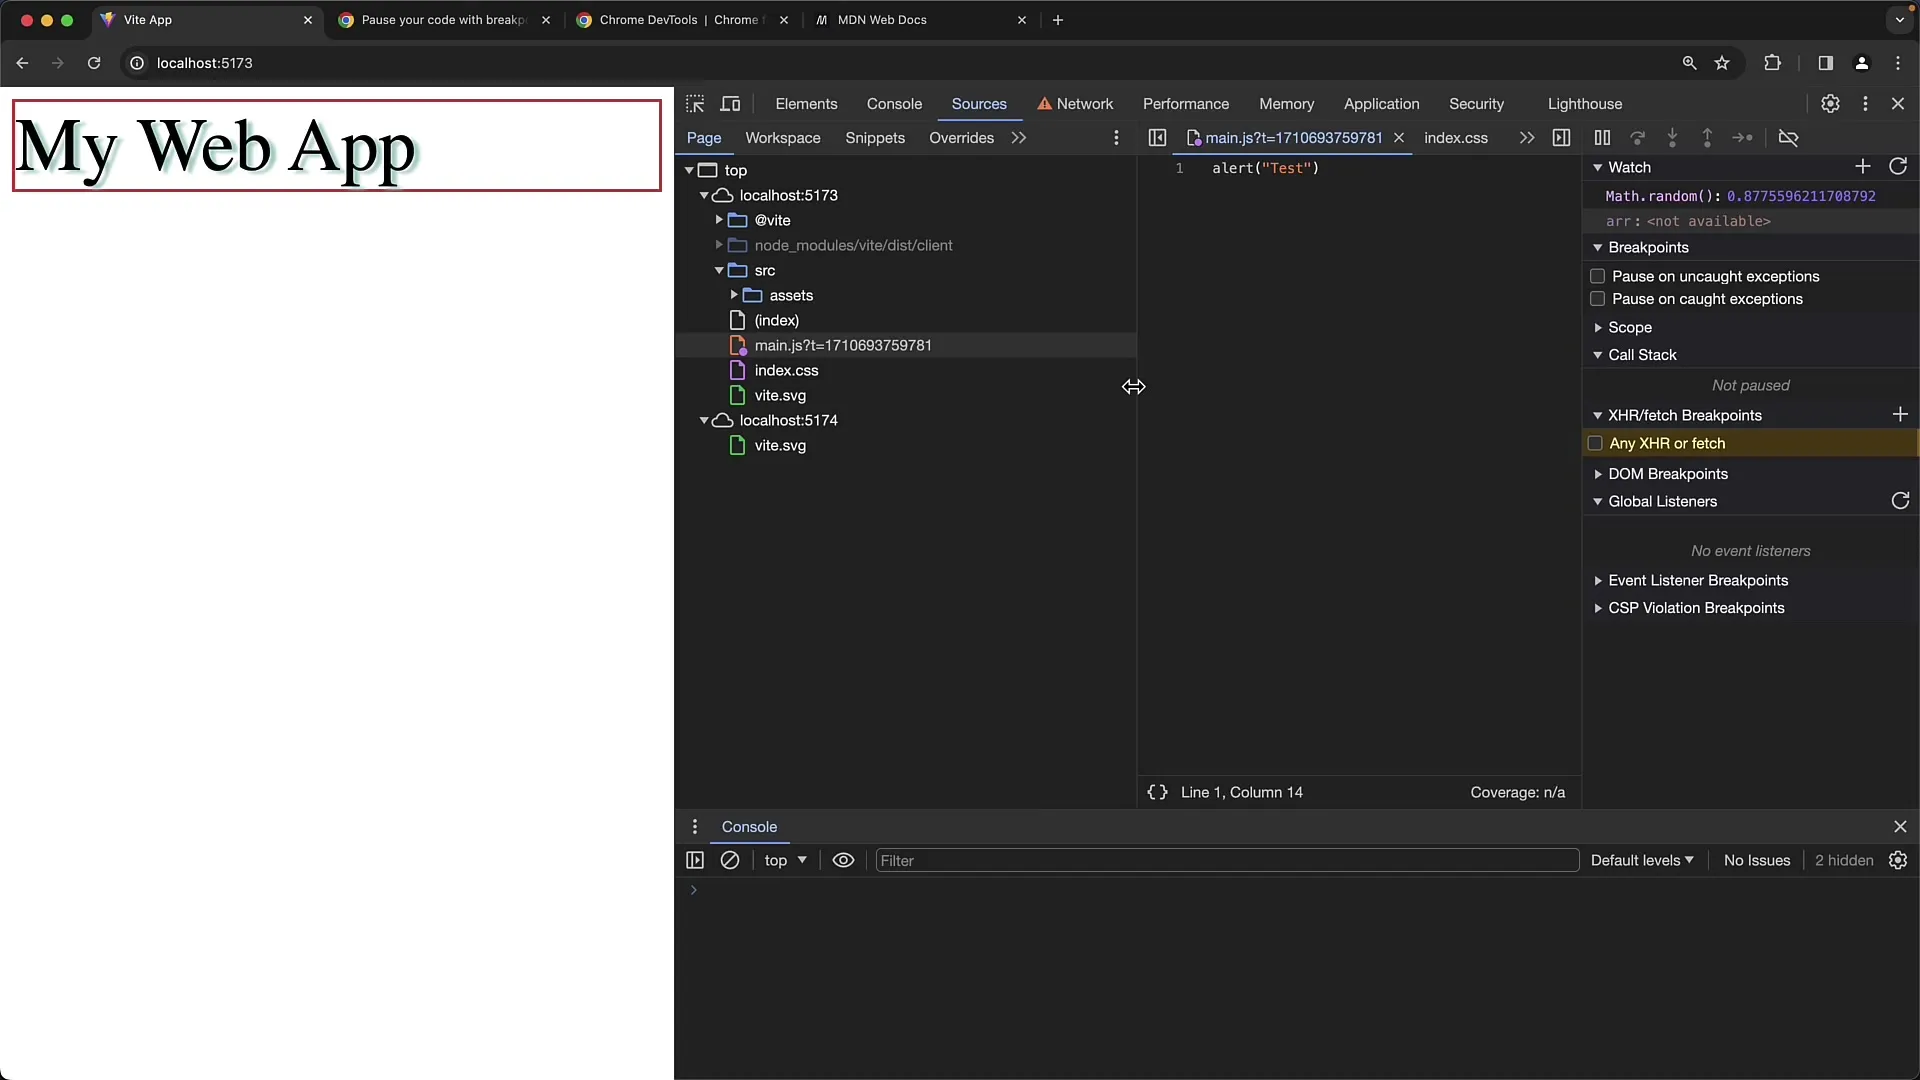
If you want to add more overrides or remove existing ones, go to the Overrides section where you can see an overview of all enabled overrides.
4. Working with the Workspace
Next, we want to set up the Workspace. This allows you to connect your local development folder with the Developer Tools. Go to the settings of the Developer Tools and look for the "Workspace" option.
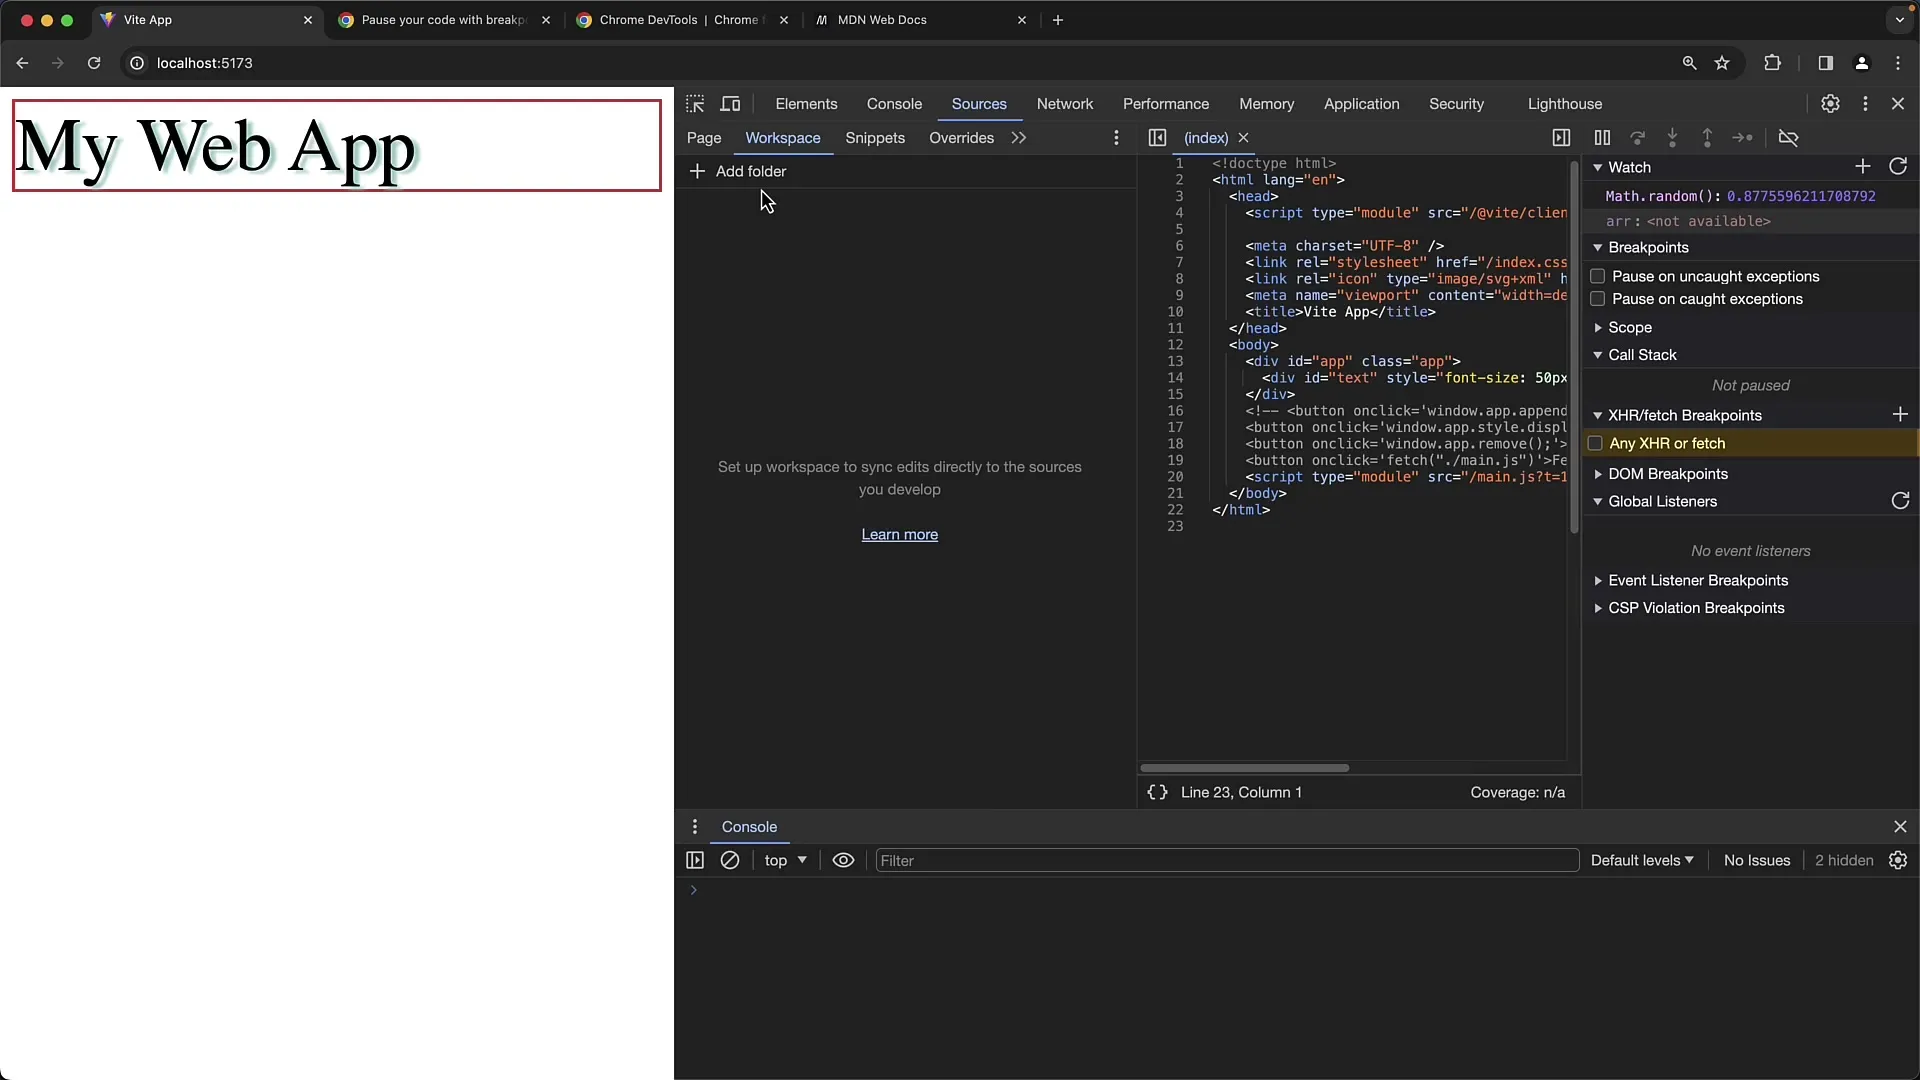
Choose the folder where your projects are located. Chrome also needs permission to access this folder, so make sure you have granted the necessary permissions.
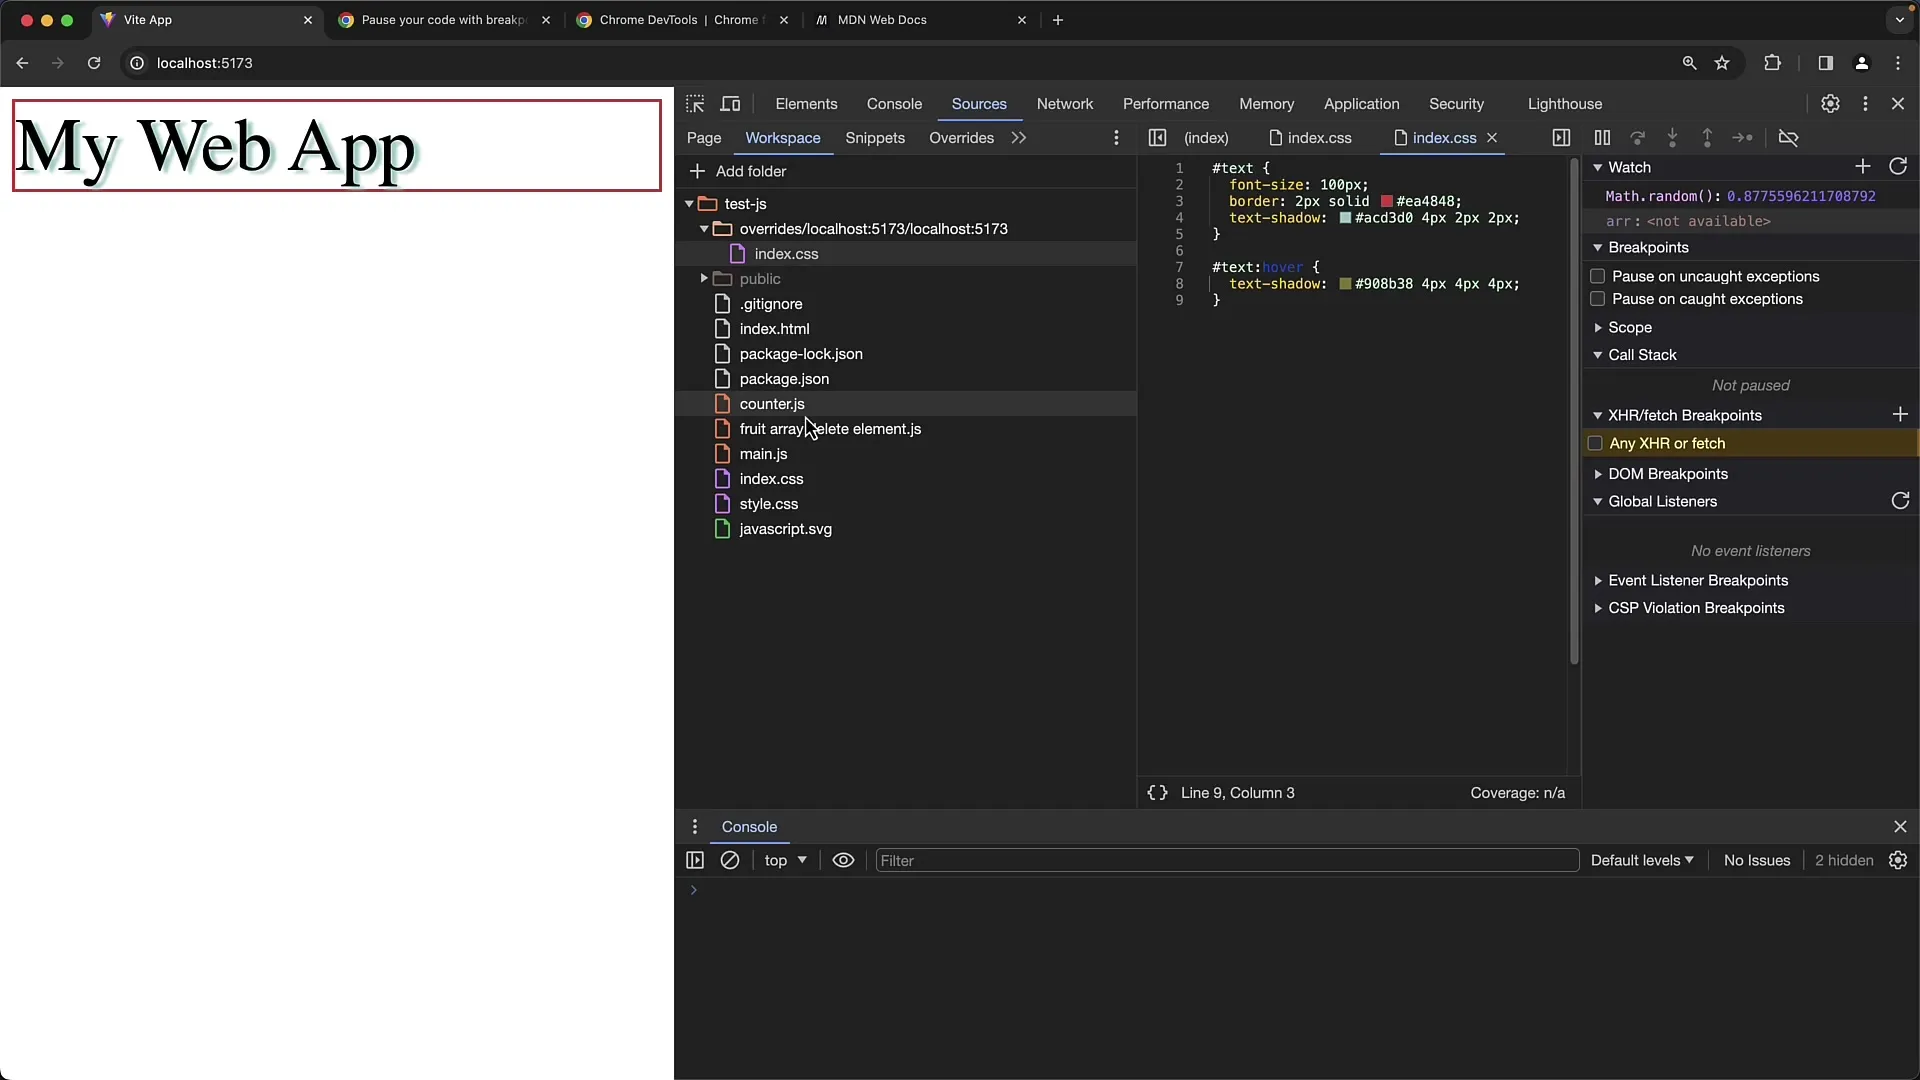
5. Making Code Changes
Now you can work directly in the Workspace. For example, open your main.js file, make changes, and save the file. The code will then automatically be reloaded from the server, and you can immediately see how the adjustment affects your website.
6. Debugging in Workspace
A practical advantage of Workspace is that you can set breakpoints to efficiently debug your code. Set breakpoints in the lines of your code and reload the page to pause the execution and check the current state of the variables.
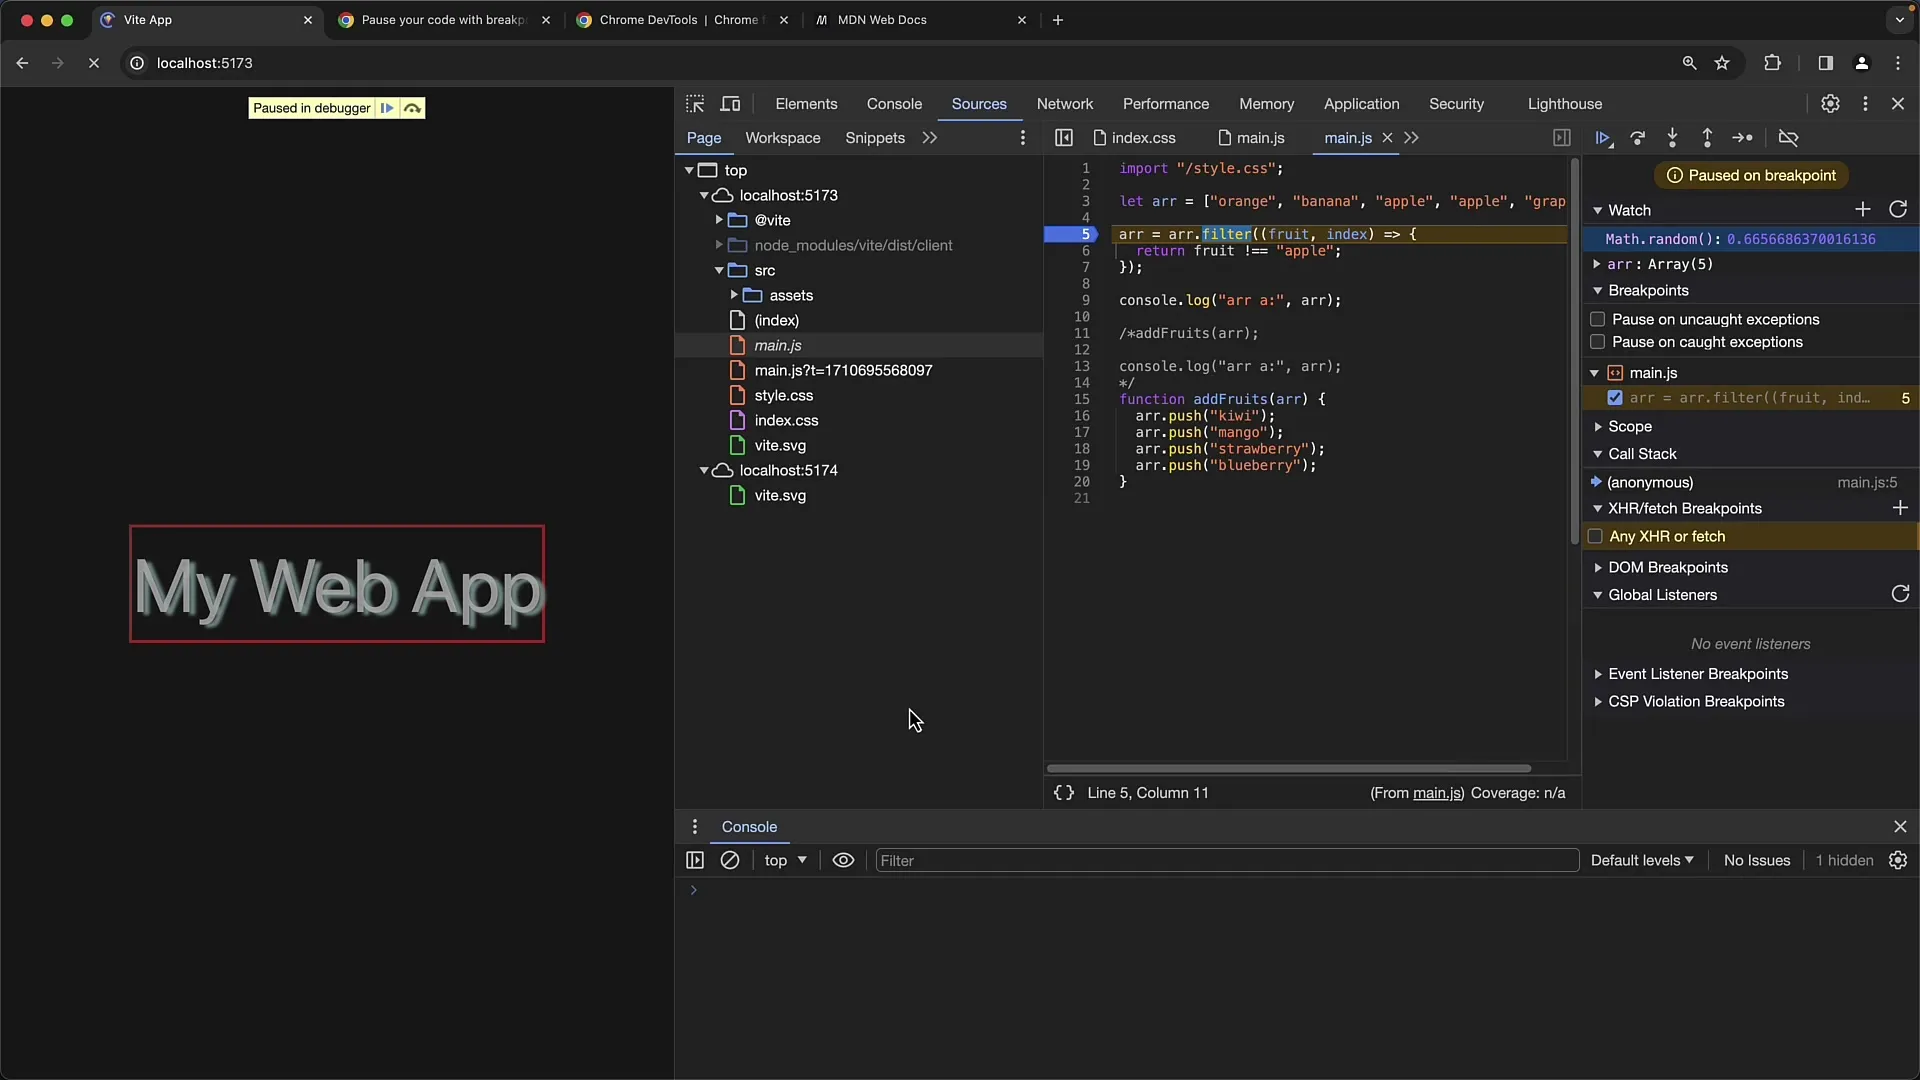
7. Advantages and Disadvantages
Although Workspace is useful, many developers recommend making changes directly in a code editor like Visual Studio Code and saving the files there. This ensures that you can see better which version of files is being used. When using Workspace, it can be confusing, especially if the link to the original files is not clear.
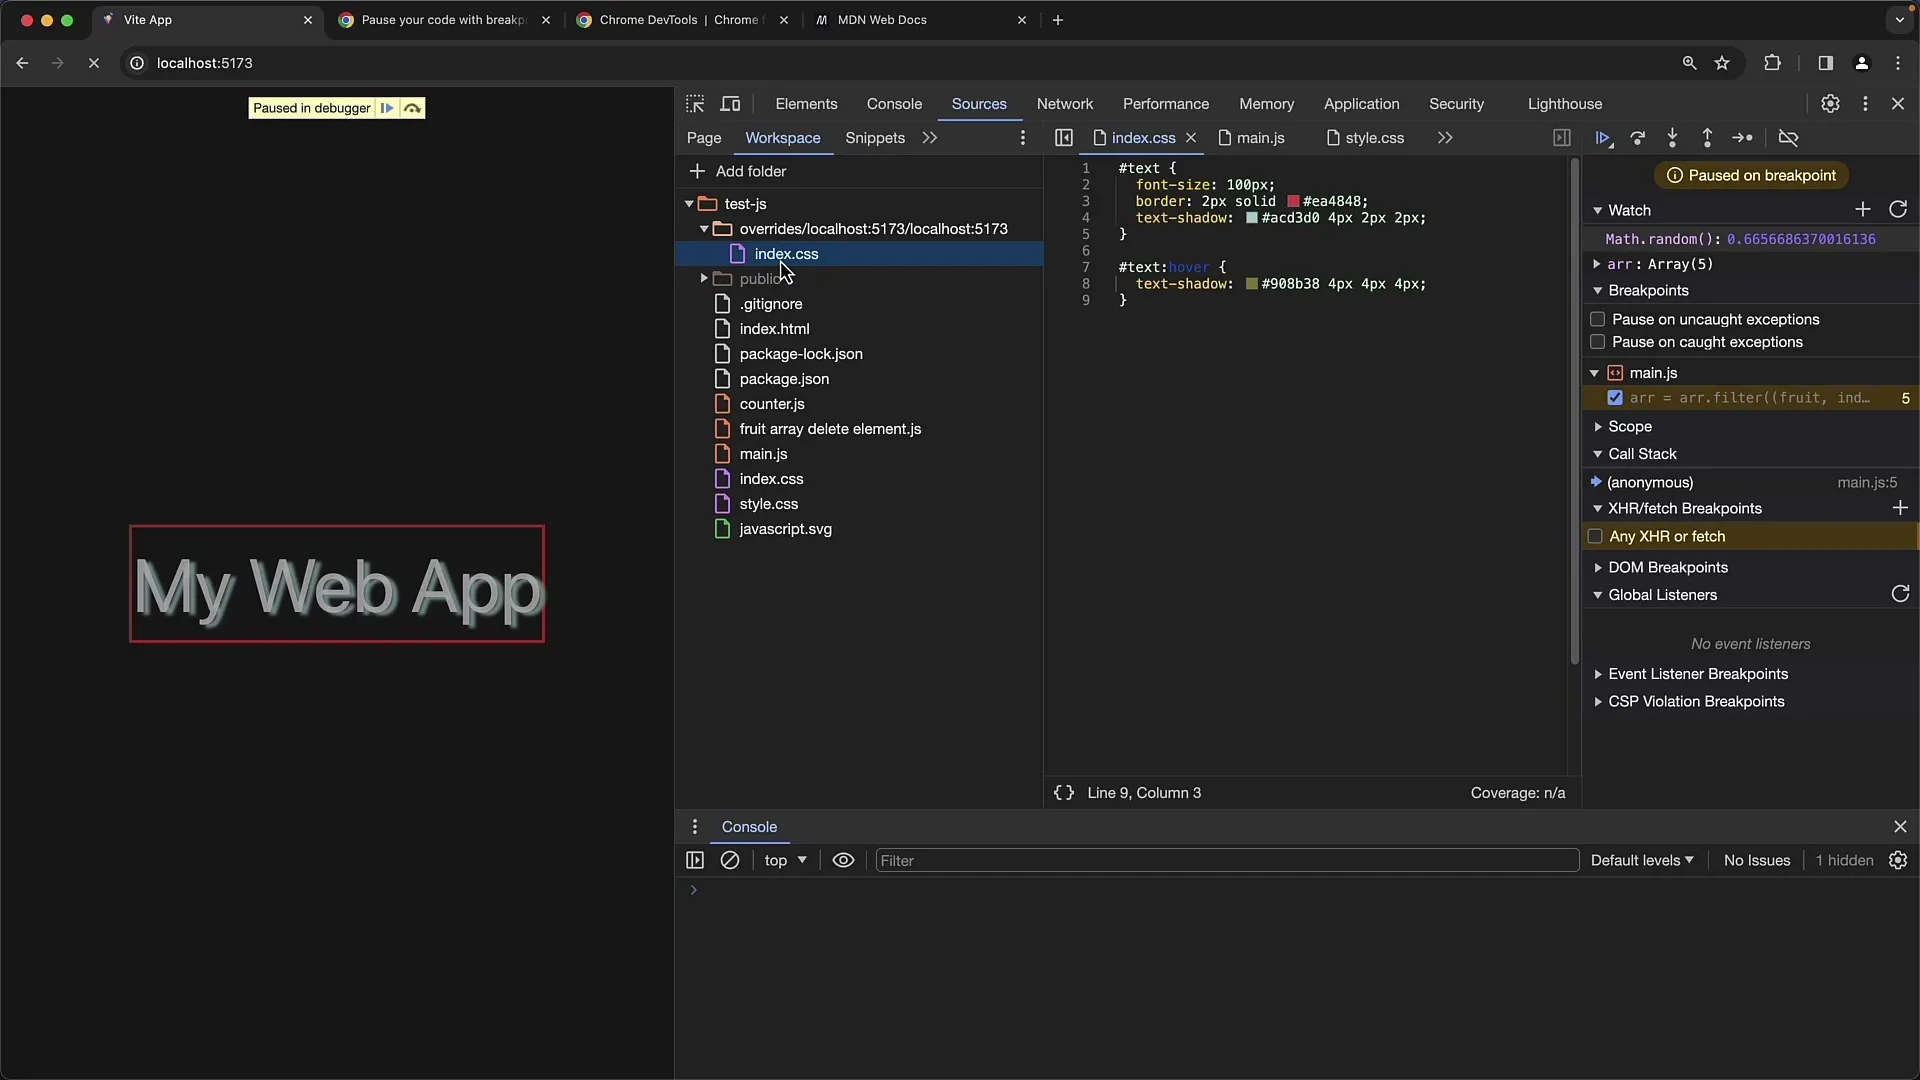
However, if you are only editing simple CSS files or non-transpiled code, Workspace may be a good option.
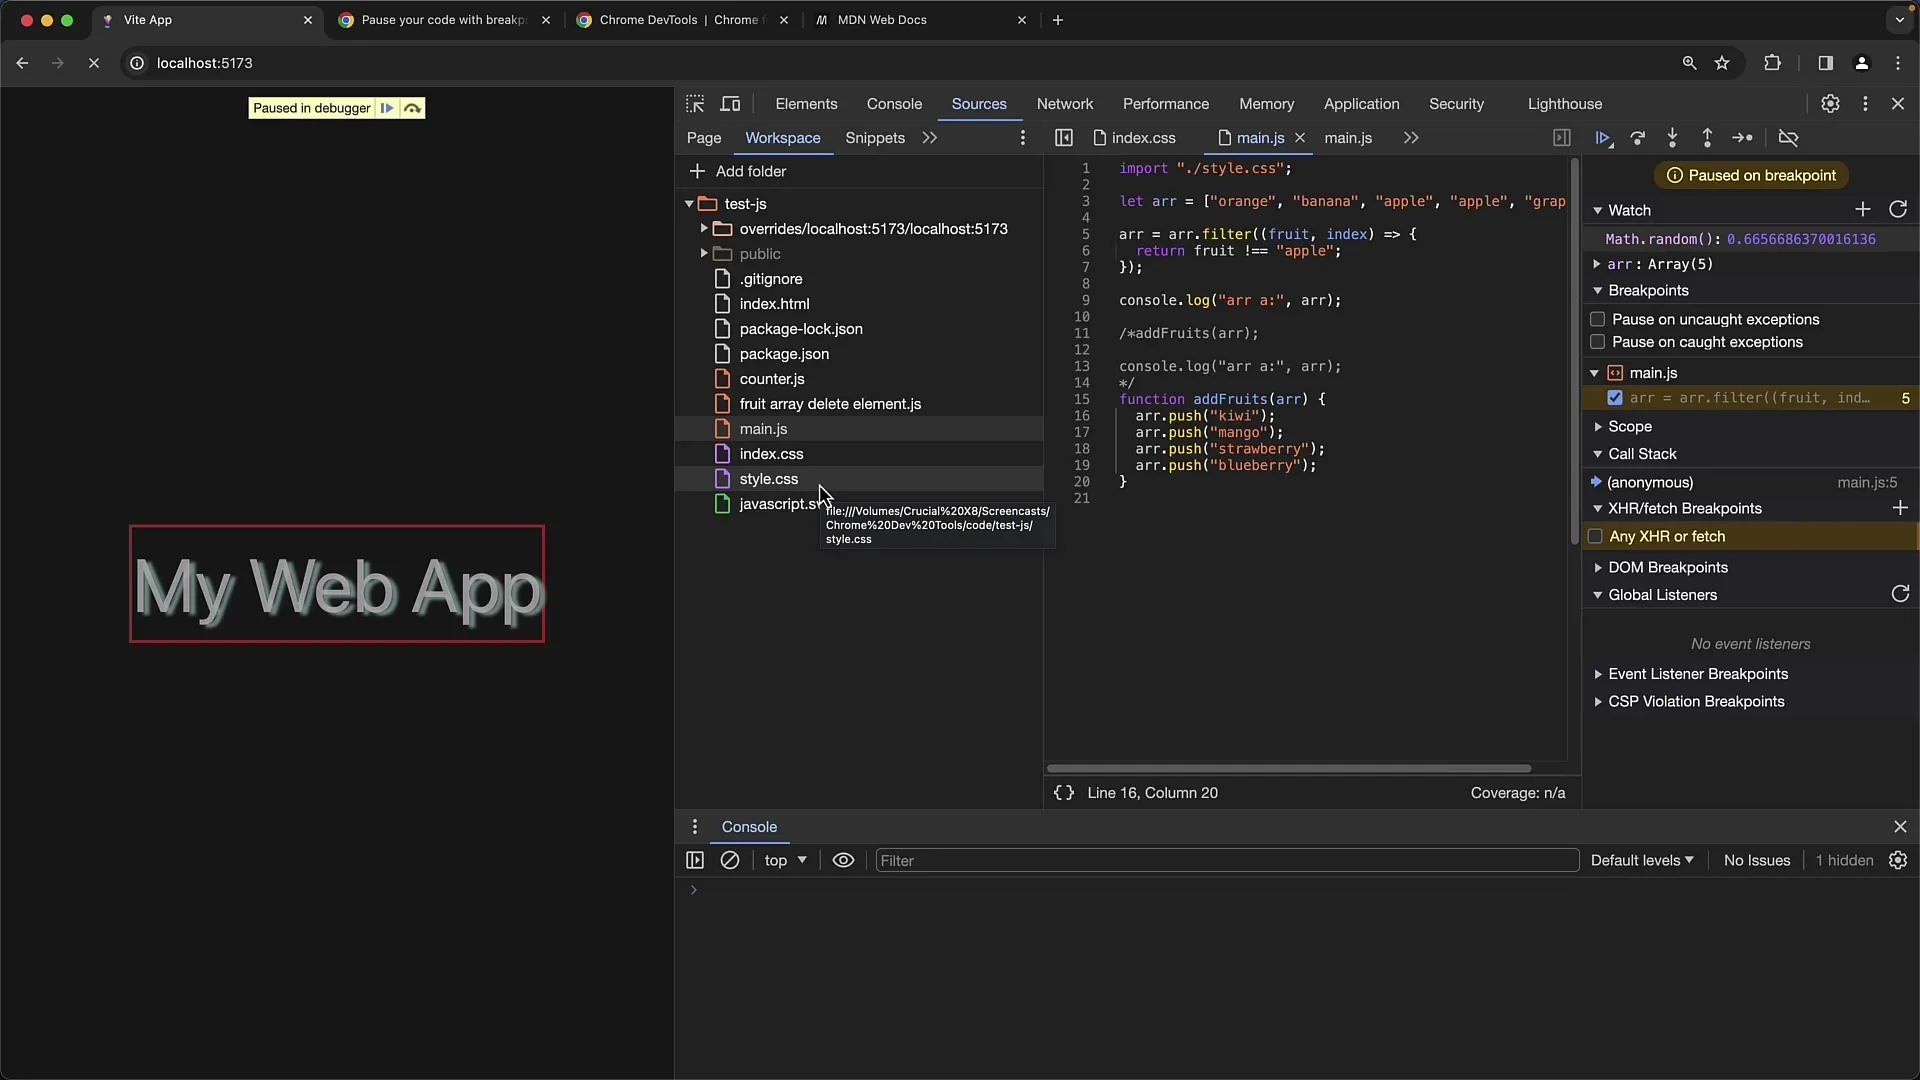
Summary
In this guide, you have learned how to work with Overrides and Workspace in Chrome Developer Tools to customize styles and scripts without touching the original server file. Overrides allow you to make quick changes, while Workspace allows you to work directly with your development folder.
Frequently Asked Questions
Can I use Overrides for CSS files as well?Yes, you can also use Overrides for CSS files. Simply select the desired CSS file and activate the Override.
How do I deactivate the Overrides?You can deactivate Overrides by going to the Developer Tools to the Overrides section and turning them off or deleting them there.
Are there limitations to Workspace?Yes, sometimes it can be problematic to identify the correct Workspace, especially with transpiled code.
Why should I use Overrides instead of Workspace?Overrides provide a clearer way to make changes without getting confused with different versions of files. They are often easier to handle if you do not want to directly modify the original files.


