7. styling tips
It is entirely up to the photographer (financial restrictions aside) to decide whether and which stylists are commissioned. Often you can get a hair stylist and make-up artist in one person, so that the costs remain manageable.
However, it is important not to book based on price alone, but - as everywhere - the price-performance ratio is decisive! Even a very reasonable make-up artist's fee is a waste of money if the make-up looks terrible afterwards!
Figure 7.1: Professional styling is necessary, at least if the photos are commissioned work. For freelance work, it is usually enough for the models to do their own make-up. This usually works quite well. But professional make-up is always recommended!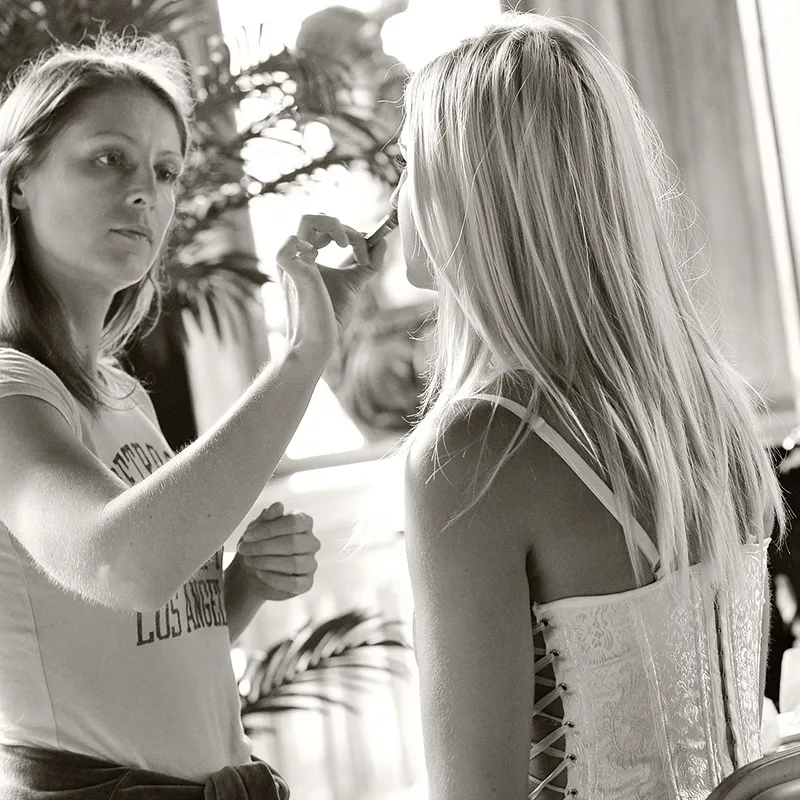
(Photo © 2010: Jens Brüggemann - www.jensbrueggemann.de)
7.1 Hair
I have often found that great make-up artists have problems with their hair - or vice versa.
To ensure that the hair can be styled as well as possible by the hairstylist, it is advisable for the model to wash her hair the evening before the photo shoot. Then they can be processed more easily.
Often, especially with very elaborate, unusual hairstyles, "tons" of hairspray are needed to keep the hair in place perfectly. In this respect, the photographer and hairstylist should think carefully before the shoot about the order in which the different hairstyles (if the hair is to be restyled during the course of the shoot day) will be styled. After using a lot of hairspray, the only way to get the hairspray out is usually to take a shower.
Figure 7.2: For a hairstyle like this, the hairstylist not only needs a good hand and lots of experience, but also plenty of hairspray!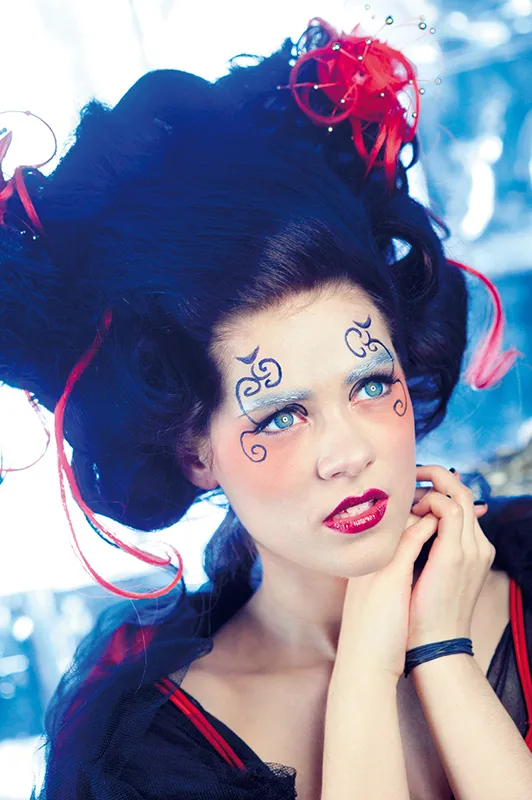
(Photo © 2009: Jens Brüggemann - www.jensbrueggemann.de)
If the photographer intends to photograph light hair against a dark background or dark hair against a light background, it should be clear that individual protruding hairs will be unattractively visible. This is all the more the case if the photo is taken in a backlit situation. The only thing that helps is more hairspray, perhaps water or - if necessary - Photoshop in post-processing.
7.2 Hands and nails
Well-groomed hands and neat nails should actually be a matter of course. But many models slip up here. So if you intend to photograph the model's hands (for example, because a product is to be presented in the hand for advertising photos), point this out to your model!
Some models think that gluing fingernails is part of a make-up artist's job. But that's nonsense, because this work takes up too much time. And after all, the polish still has to dry. A model with professional standards will therefore have her nails done 1 to 2 days before the photo shoot. (Because nails can break quickly in everyday life, the nails should be done as close as possible to the day of the shoot).
Figure 7.3: In model photos, especially portraits, the model's hands are often included in the picture. In this case, it is good if they look neat and clean and the fingernails are not broken or chewed off. Nikon D3S with 2.8/105mm Micro Nikkor. 1/100 second, Blender 11, ISO 1600.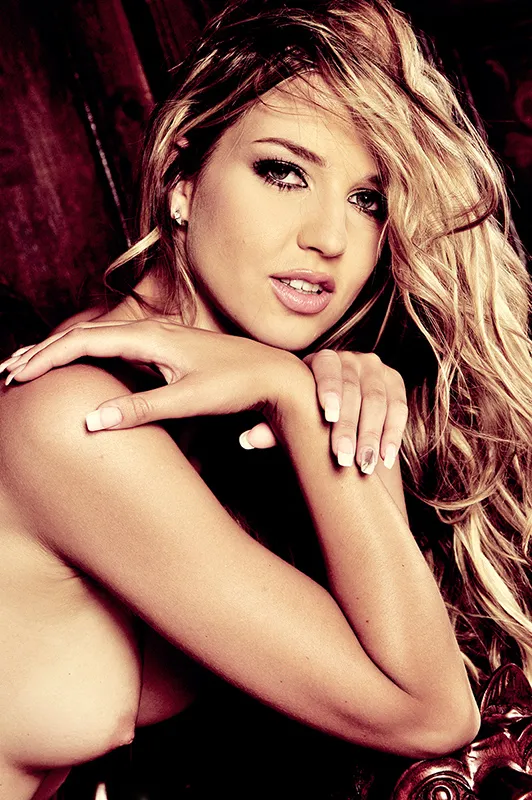
(Photo © 2010: Jens Brüggemann - www.jensbrueggemann.de)
7.3 Make-up
Professional make-up artists work with a lot of make-up, starting with the foundation. When the (newcomer) models have finished their make-up, they often get a real fright when they look in the mirror. Seeing themselves so heavily made up takes some getting used to.
However, a photo "swallows" a lot. The make-up then no longer looks like so much in the photos!
Figure 7.4: However, some people don't like to wear too much make-up. Or to be made up differently than usual. In such cases, unless the photos are commissioned work, you should refrain from using a make-up artist. That would be a waste of money. The model has to feel comfortable for the photos to be successful. And in case of doubt, professional make-up should be avoided. Nikon D4 with 2.8/105mm micro Nikkor. 1/250 second, Blender 13, ISO 100.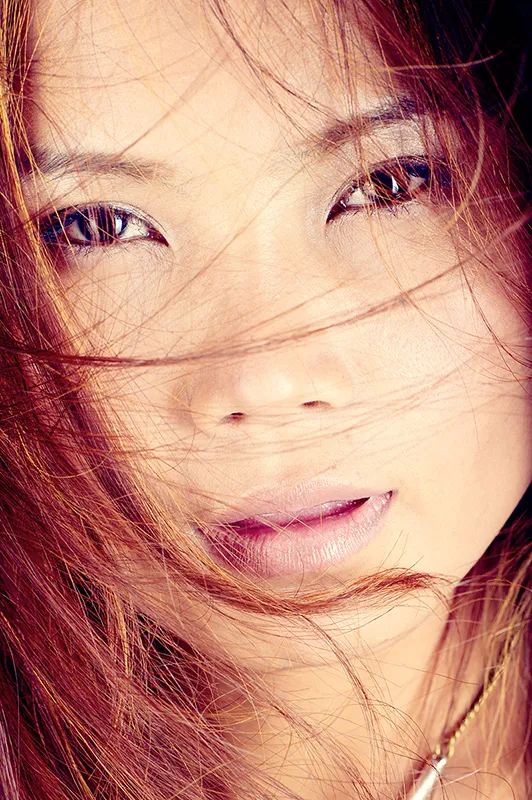
(Photo © 2013: Jens Brüggemann - www.jensbrueggemann.de)
For black and white shots, however, the model can be made up a little more ("theatrically"). This also looks expressive in the photos - but not exaggerated.
The make-up should be appropriate to the model's type and color-coordinated with the model's clothing or the background (or, in the case of advertising photos, with the products to be presented).
Tip
To save time and so that the skin is not irritated by the necessary make-up removal, it is advisable for the models to come to the shoot without make-up. They can then be made up directly in advance (without the make-up artist having to remove the model's make-up first).
Figure 7.5: In order for the make-up artist to be able to concentrate on their work, they need peace and quiet. A separate make-up room is therefore recommended. The model can also get changed there. If a separate room is not possible, then the make-up corner should at least be separated from the rest of the studio or location (e.g. by a curtain, a screen, etc.).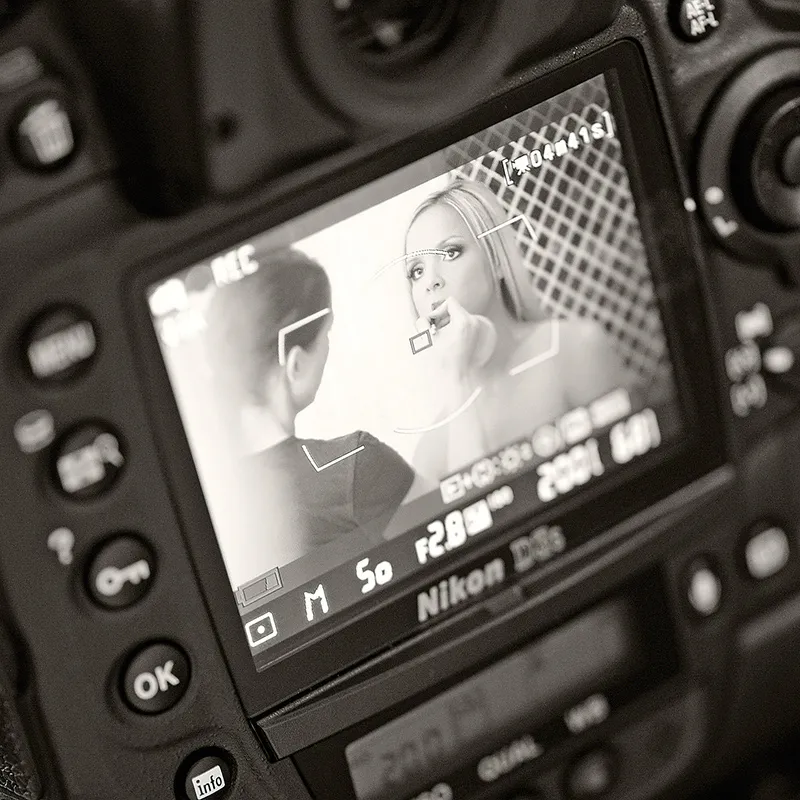
(Photo © 2010: Jens Brüggemann - www.jensbrueggemann.de)
Figure 7.6: Here the model has been given perfect make-up. It was therefore no longer necessary to edit the photos afterwards. So you can do it without Photoshop! :-) Nikon D3S with 2.8/105mm Micro Nikkor. 1/200 second, Blender 5.6, ISO 400.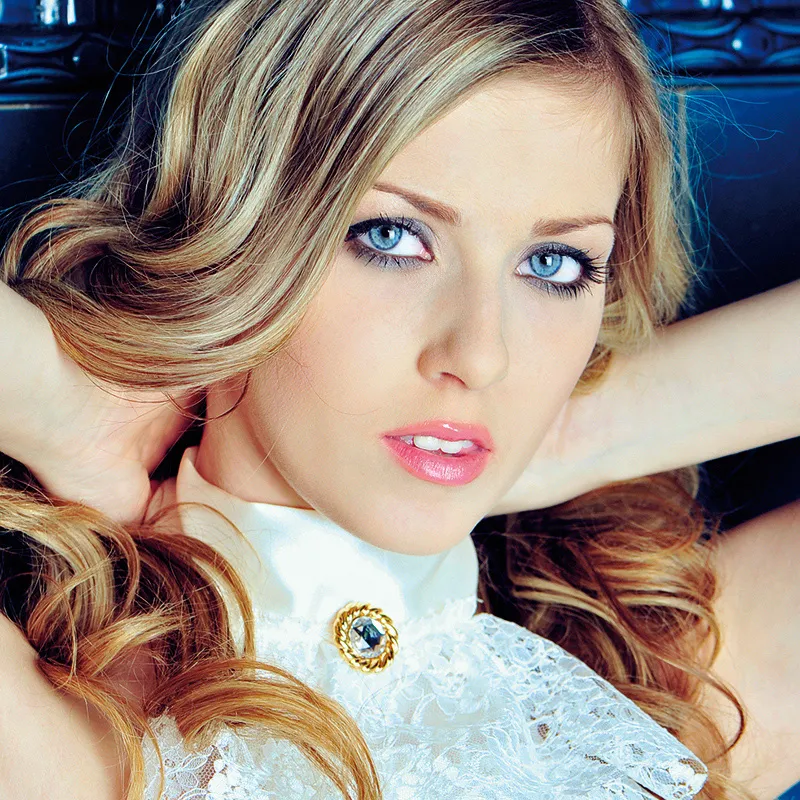
(Photo © 2010: Jens Brüggemann - www.jensbrueggemann.de)
In preparation, the model should have her eyebrows plucked the day before. This is called "shaping" and should not be done on the day of the shoot, as the affected areas would then be unattractively reddened.
Figure 7.7: For some time now (and still now), artificial eyelashes have been glued on. So talk to your make-up artist beforehand to make sure she has some (you can get good ones for around 2 to 3 euros, depending on the model and manufacturer). Nikon D3S with 2.8/105mm micro Nikkor. 1/80 second, Blender 7.1, ISO 200.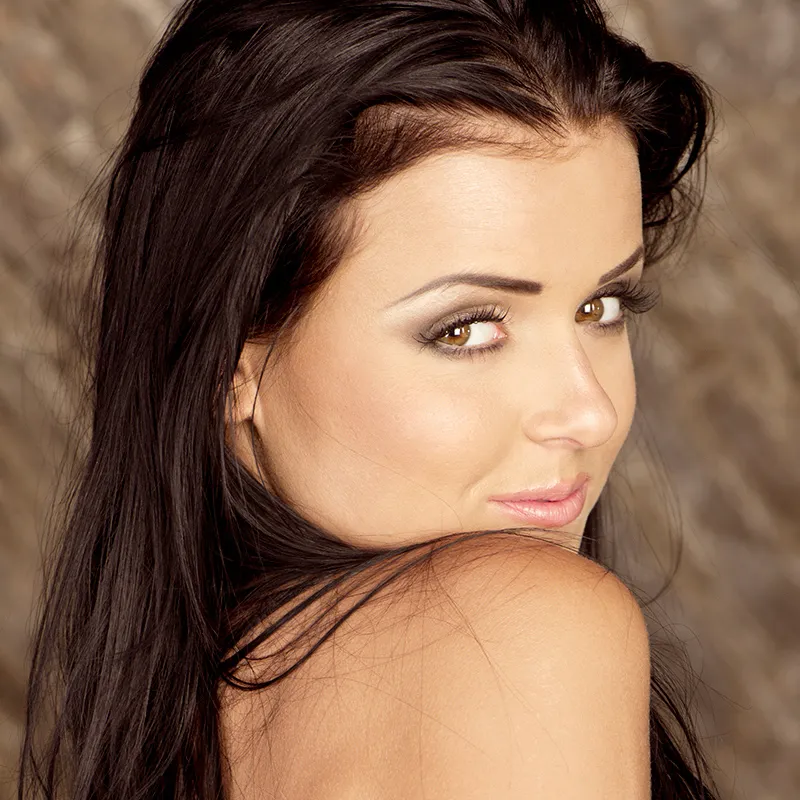
(Photo © 2010: Jens Brüggemann - www.jensbrueggemann.de)
Figure 7.8: As a rule, men wear relatively little make-up. However, powdering is necessary to prevent the skin from becoming shiny. The "Transparent Powder" from Kryolan is recommended here. Nikon D3X with 1.4/85mm Nikkor. 1/80 second, Blender 3.5, ISO 100.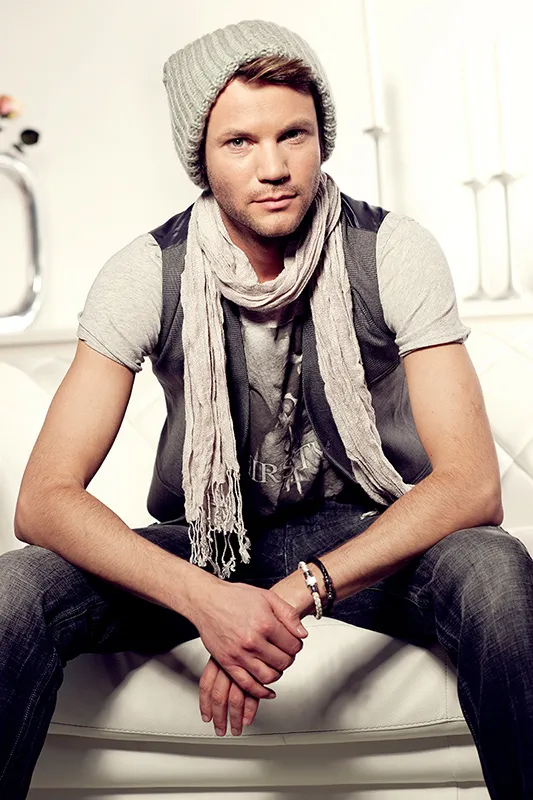
(Photo © 2012: Jens Brüggemann - www.jensbrueggemann.de)
7.4 Clothing
In professional fashion photography, the perfect fit of the selected clothing is an absolute must! And what doesn't fit has to be made to fit. Safety pins, clothespins or, if necessary, (very small) DIY store clips can help.
An ironing board and iron are essential equipment for every fashion photo shoot! Especially for advertising photos, it is unacceptable for clothes to be presented unironed. Compare it to a car advertisement: have you ever seen new cars being presented dirty in advertising photos (except for real off-road vehicles like Jeeps or Land Rovers)?
If clothes are to be presented in the style of past decades, make sure that the make-up and hair are also styled in the style of the respective decades.
Figure 7.9: It is important that the clothes are clean and ironed. An ironing board and iron are therefore part of the basic equipment of every photo studio. The clothes should be tested for fit beforehand, because if the clothes are only tried on on the day of the shoot, it is often too late to get a replacement if it turns out that the clothes do not fit. Many things can be concealed with the help of safety pins or clothespins - but not everything. Nikon D3X with 2.8/24-70mm Nikkor. 1/160 second, Blender 18, ISO 100.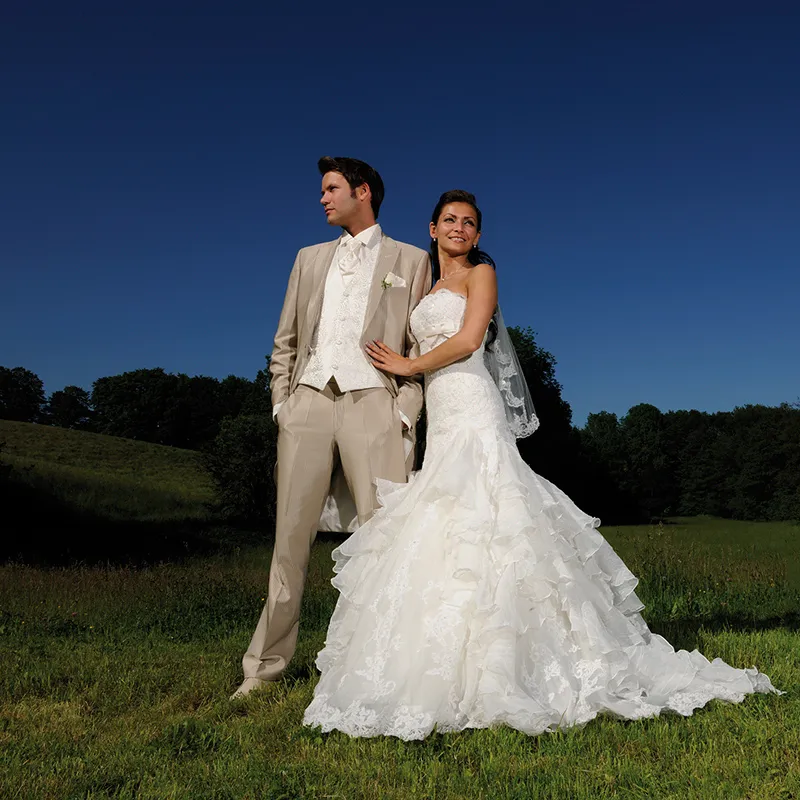
(Photo © 2010: Jens Brüggemann - www.jensbrueggemann.de)
Figure 7.10: I always tell the models to bring as many different outfits as possible to the shoot. "The more, the better! Better a suitcase full than a small bag." Only with a large selection of clothes can I choose and combine accordingly. Since not every detail is always decided before the photo shoot and I also like to change my mind spontaneously in the middle of the shoot, for example if I have a new idea or an opportunity for a better photo, it's good to have a large selection available. Nikon D3S with 2.8/24-70mm Nikkor. 1/250 second, Blender 22, ISO 200.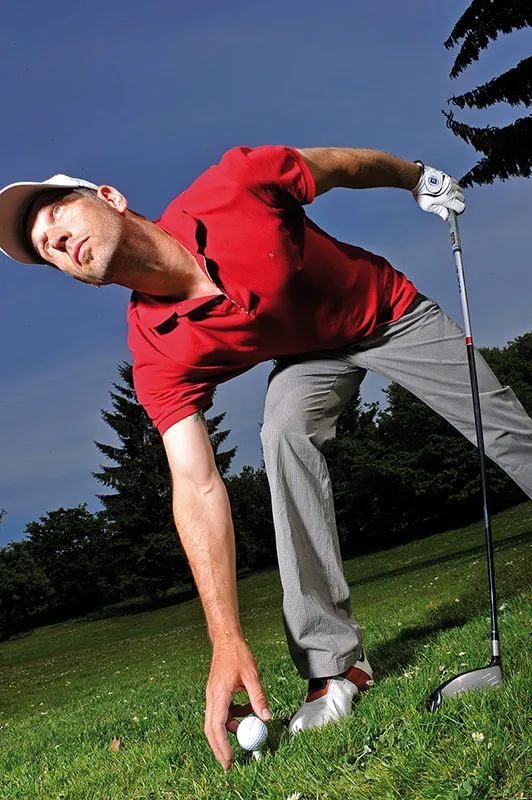
(Photo © 2011: Jens Brüggemann - www.jensbrueggemann.de)
7.5 Color design
Colors play a major role in photography alongside shapes and light. It is therefore extremely important that the photographer does not simply accept the colors that appear in the picture, but consciously chooses them.
In particular, the coordination between the model's clothing, any props used and the background colors is essential.
Figure 7.11: Colors play a major role in fashion photography. The color of the background must not distract from the clothing. The same applies to the props (such as the scarf, necklaces, hat, belt and bracelet). Nikon D3X with 1.4/85mm Nikkor. 1/80 second, Blender 3.5, ISO 200.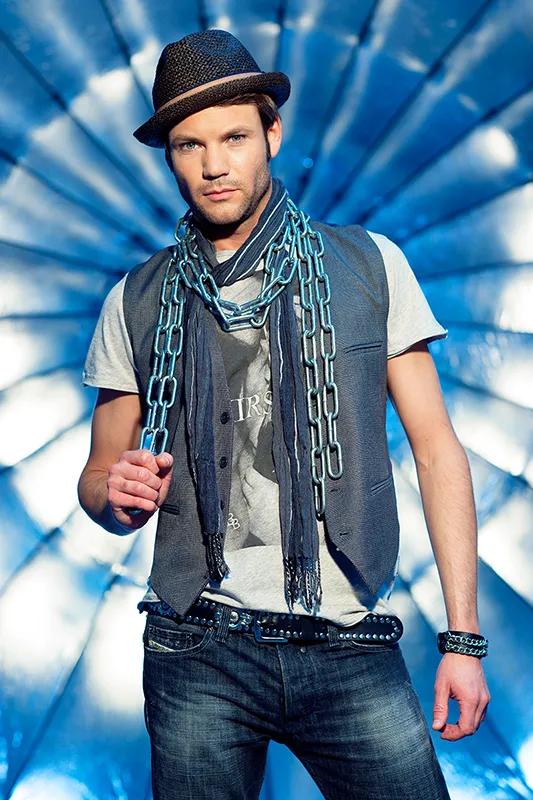
(Photo © 2012: Jens Brüggemann - www.jensbrueggemann.de)
It is not absolutely necessary for the colors to always match each other harmoniously. Complementary colors are also often an effective combination. The decisive factor is that the photographer chooses them consciously (and does not simply leave them to chance).
Figure 7.12: The color combination in this photo is not exactly boring! However, the photo is intended to express exactly that: The statement is bold, cheerful, colorful, quirky, funky. And that's exactly what the color combination supported. Nikon D3X with 1.4/50mm Nikkor. 1/125 second, Blender 11, ISO 200.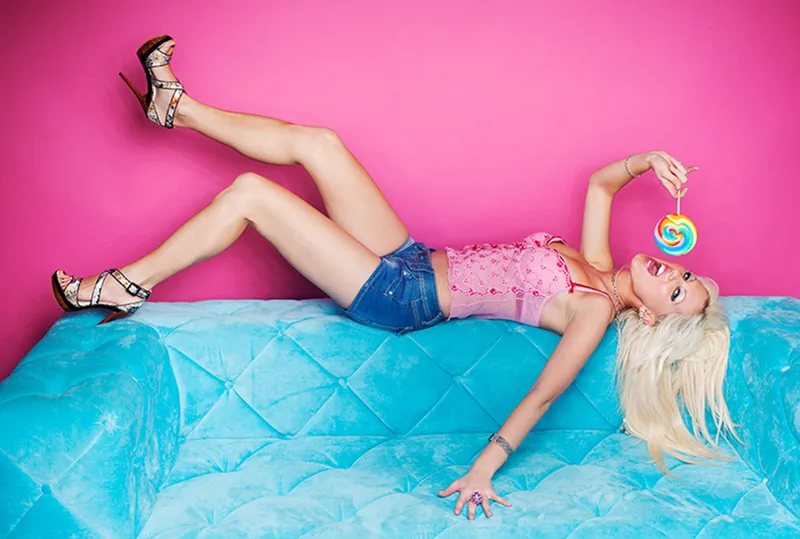
(Photo © 2012: Jens Brüggemann - www.jensbrueggemann.de)
