In this guide, I'll show you how to open a Facebook shop. Buying and selling products through Facebook is becoming increasingly popular, and with the right setup, you can effectively market your products. This step-by-step guide will walk you through the entire process.
Key Insights
- Facebook provides an integrated feature for selling products.
- You can link your shop to your Facebook page.
- There are different options for completing purchases and managing your shop.
Step-by-Step Guide
Step 1: Access the Business Suite
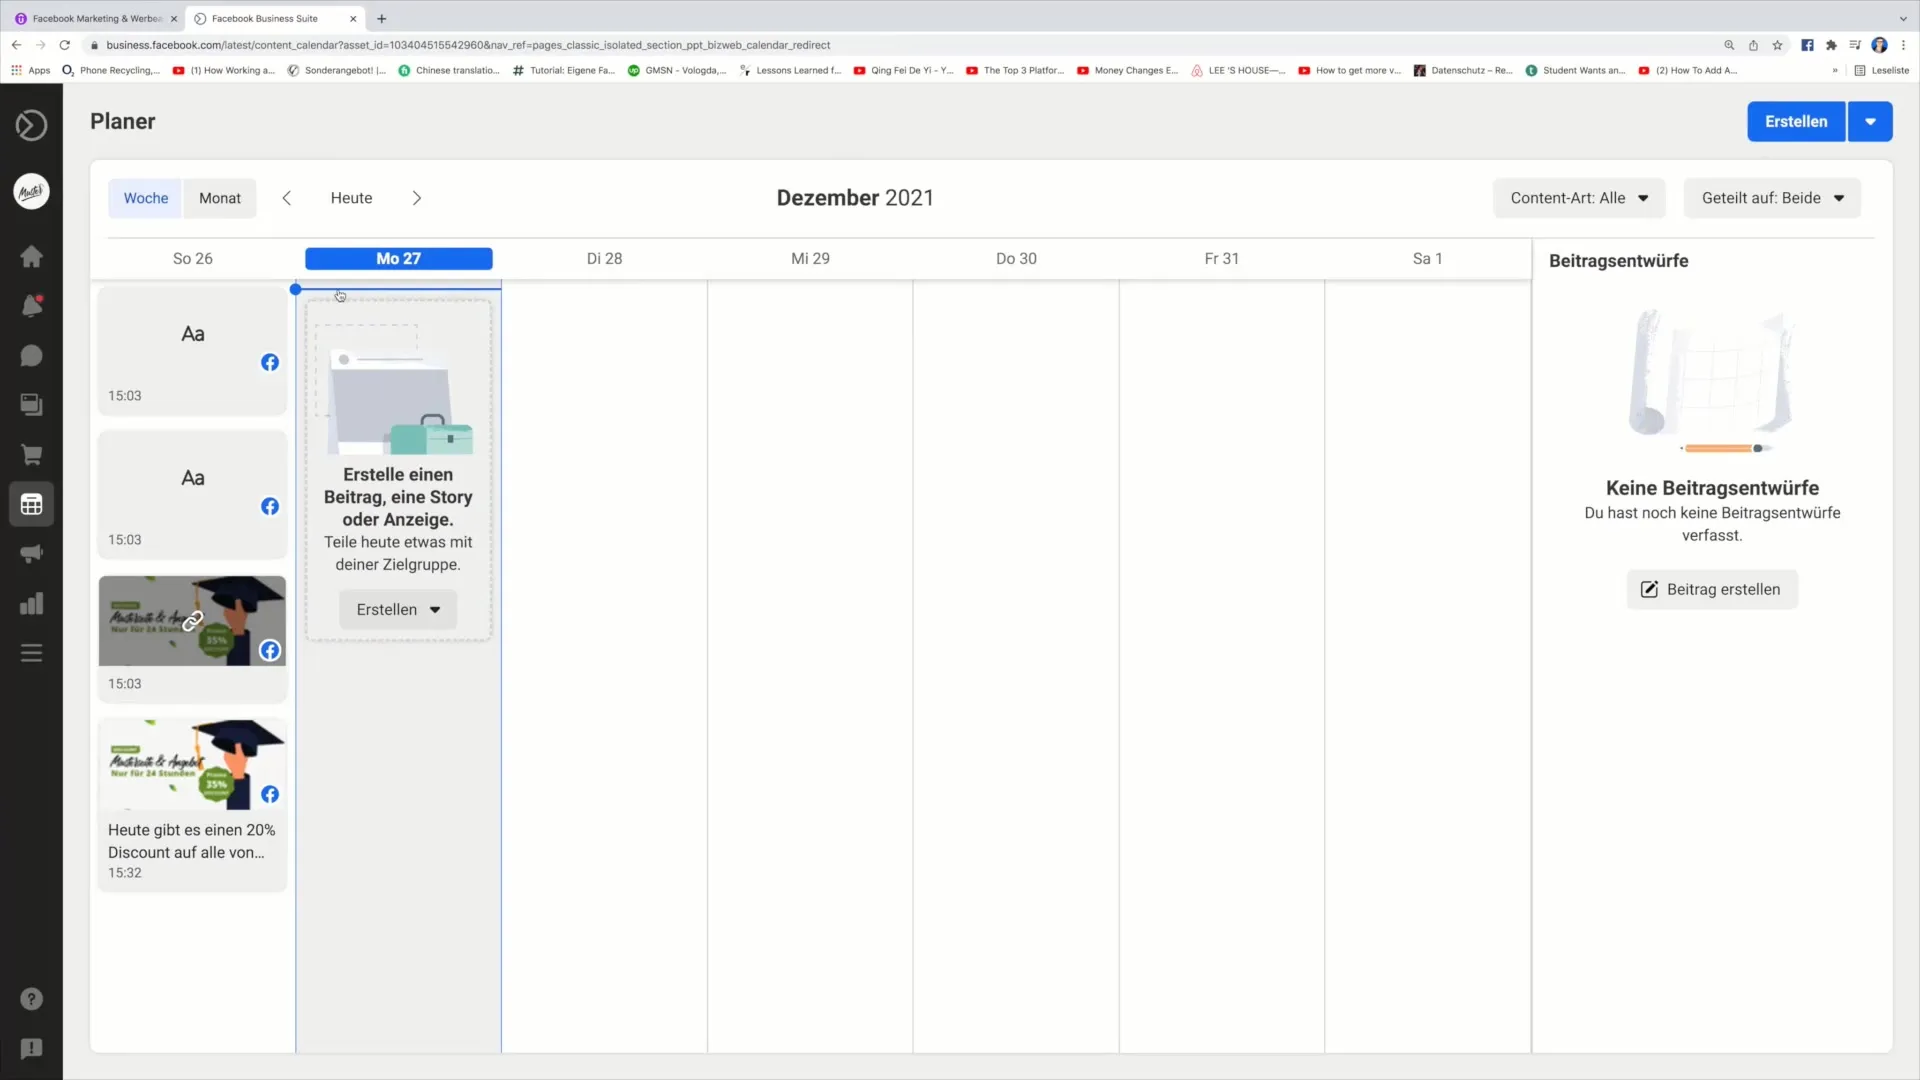
To create your Facebook shop, you first need to access the Business Suite. Log in to your Facebook account and go to the Business Suite. There, you can get comprehensive information about your page and utilize various functions to help you set up your shop.
Step 2: Access the Commerce Area
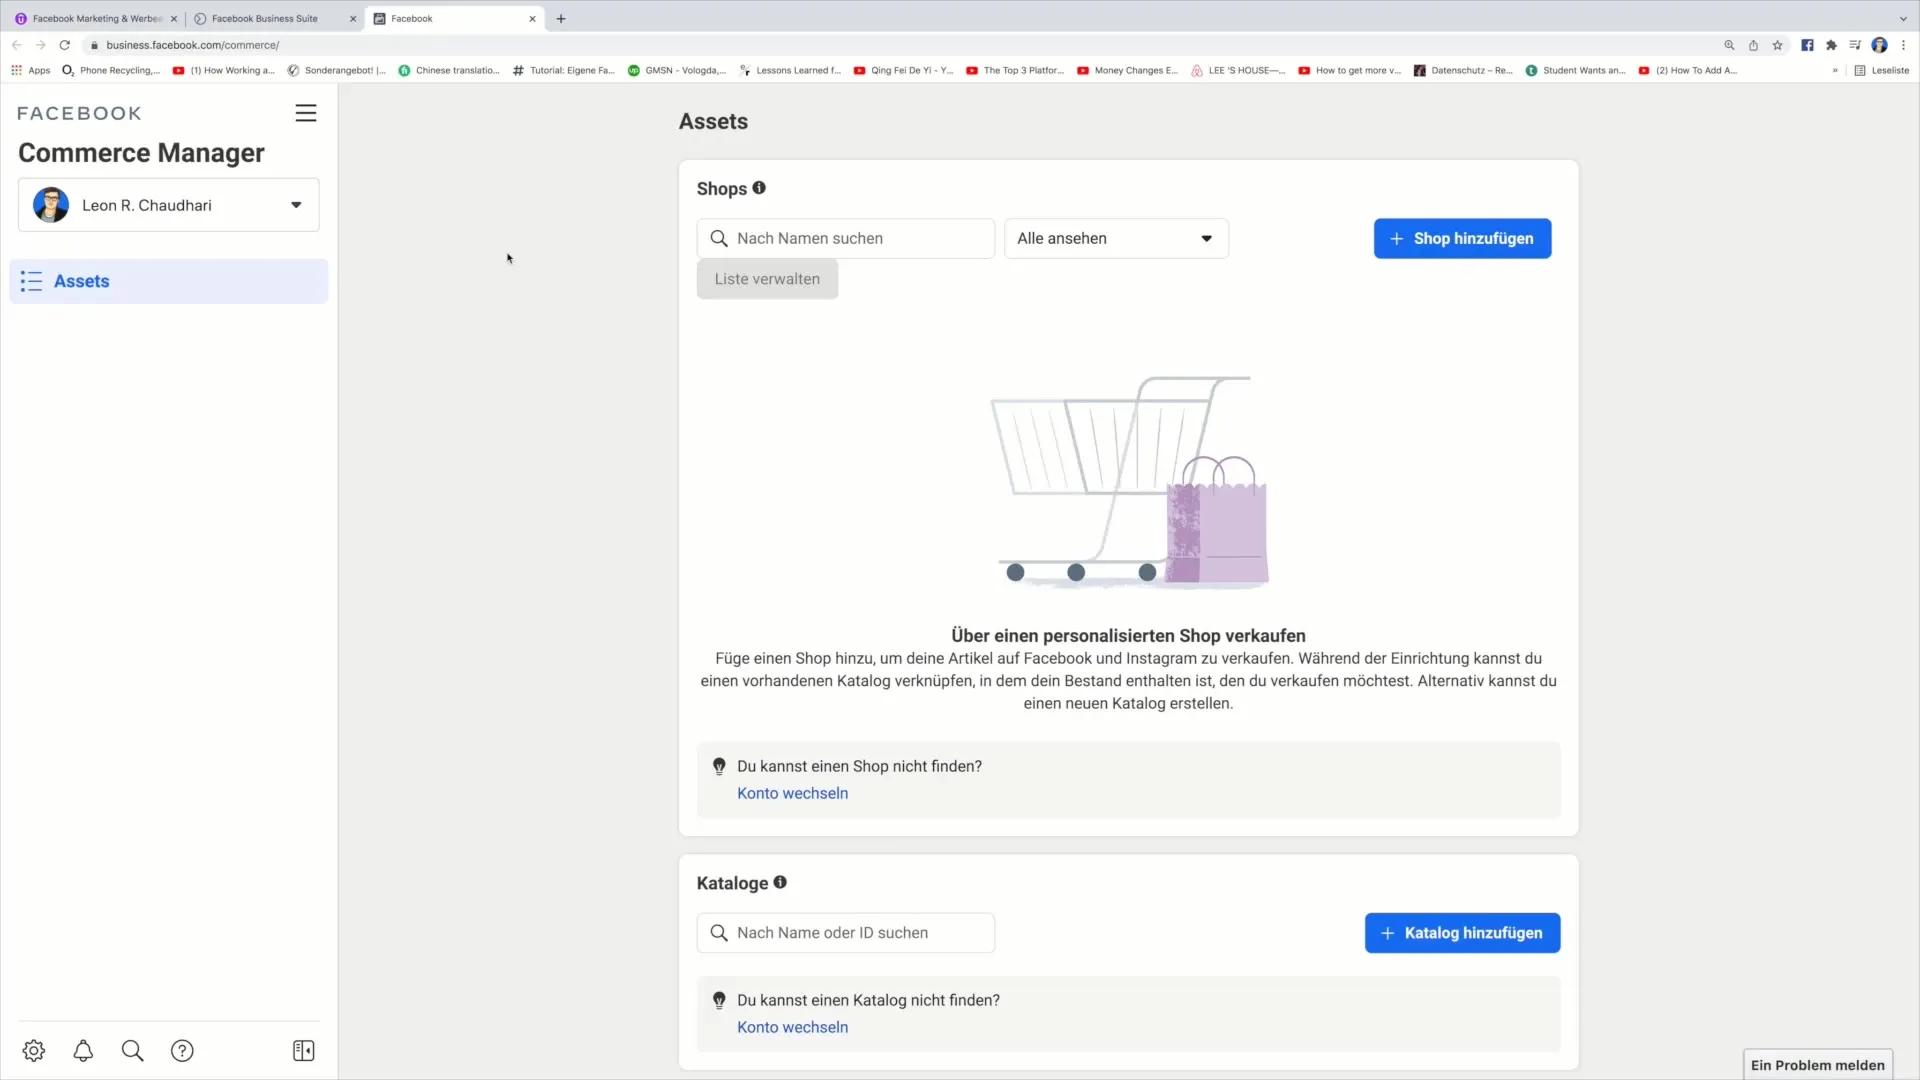
In the Business Suite, you will find the Commerce Area. Click on this area to see the options available to you for creating a shop. Here, you have the opportunity to add a new shop.
Step 3: Add Shop
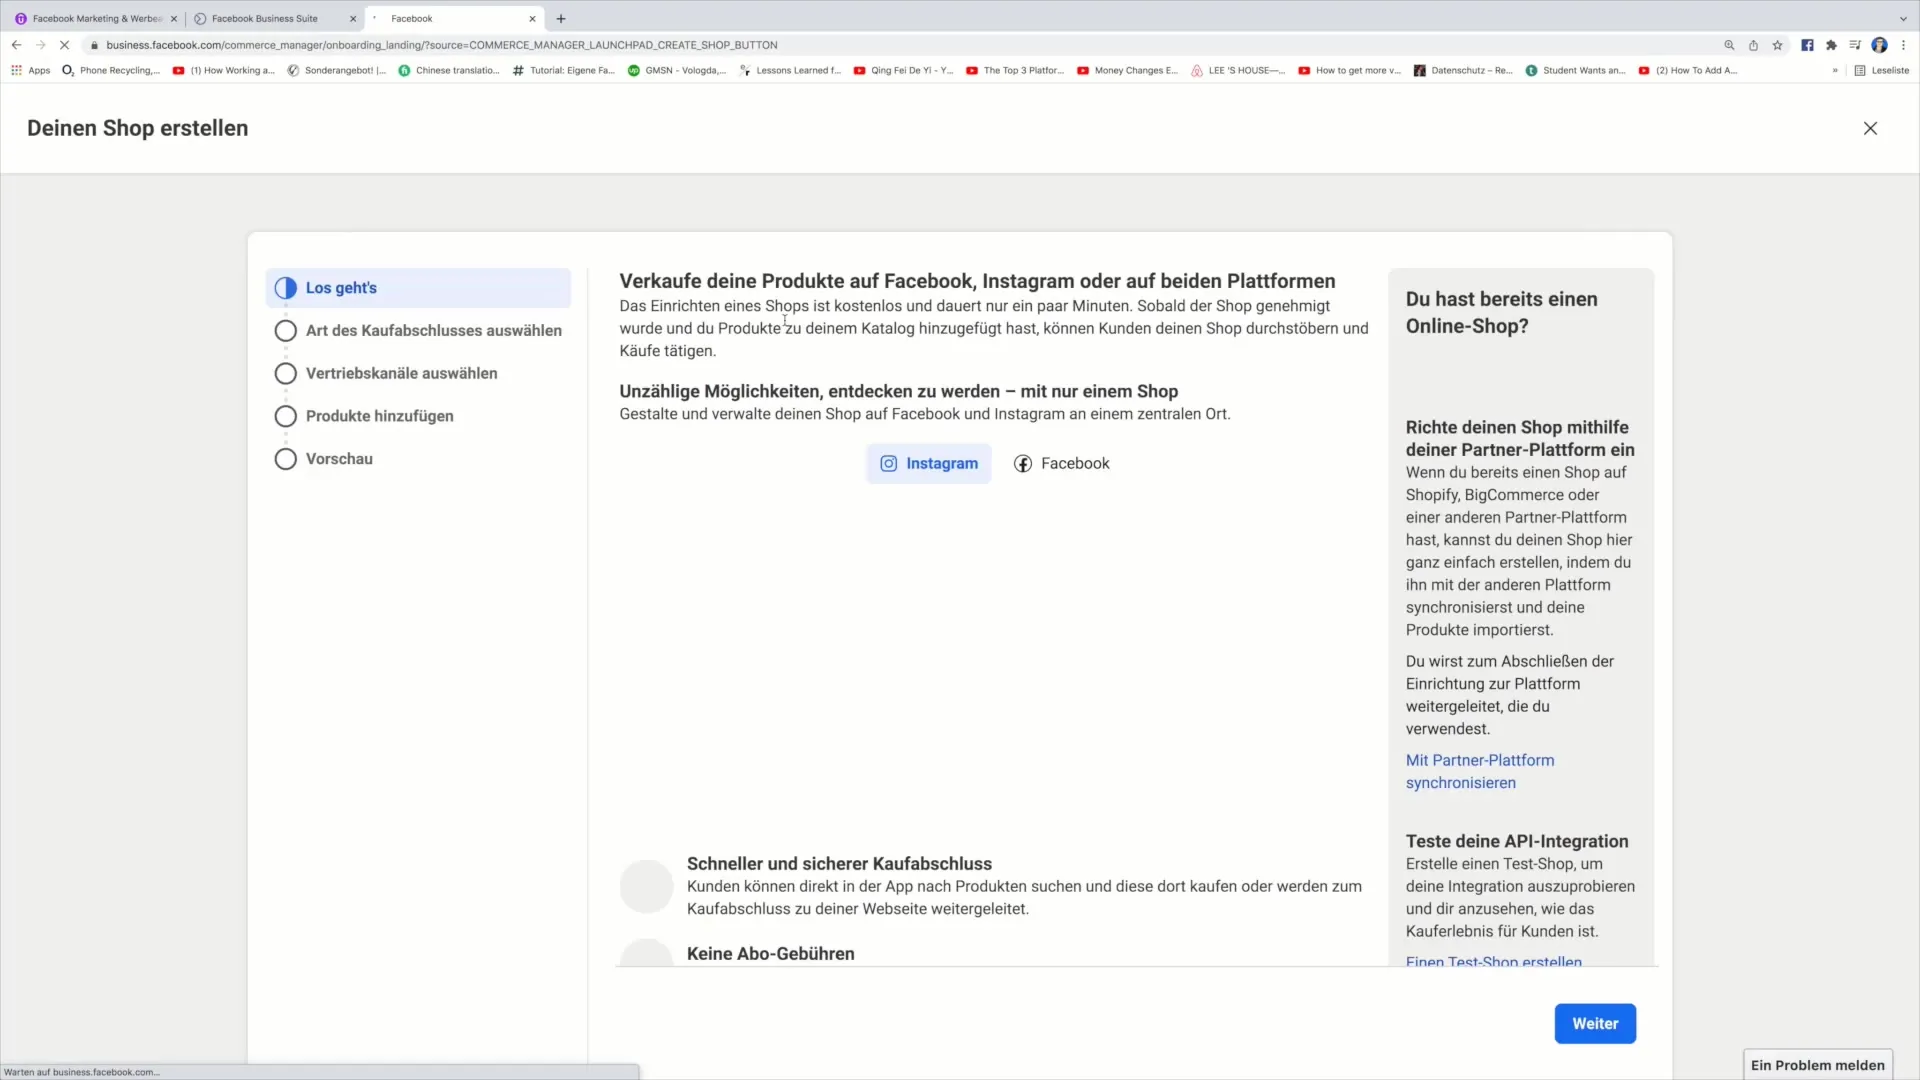
To add a shop, click on the "Add Shop" button. This is where you begin the process of setting up your Facebook shop to sell your products. It's important to select this option to showcase your products on Facebook and Instagram.
Step 4: Choose Purchase Completion Option
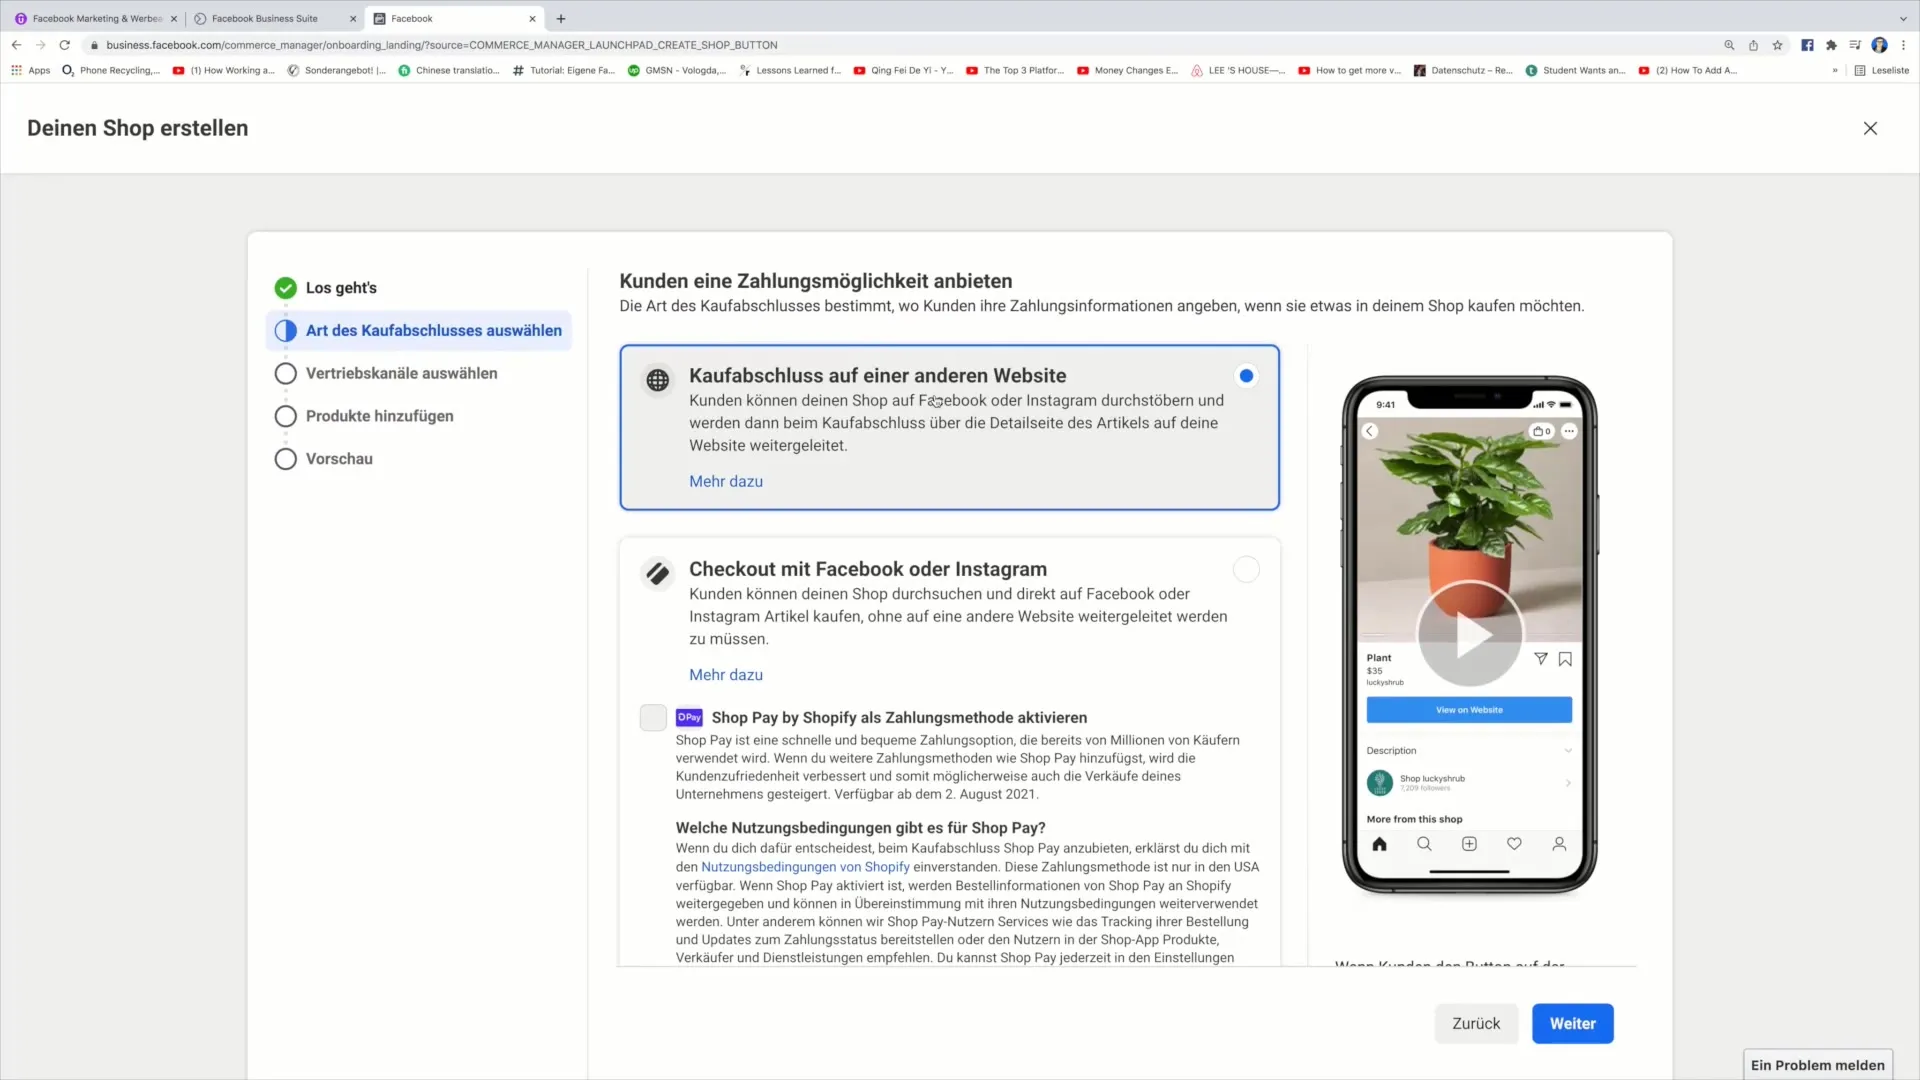
Here you can choose how the purchase completion will occur. You have different options, such as completing the purchase through your website or directly through Facebook. Choose the option that best suits your business model.
Step 5: Link Business Account
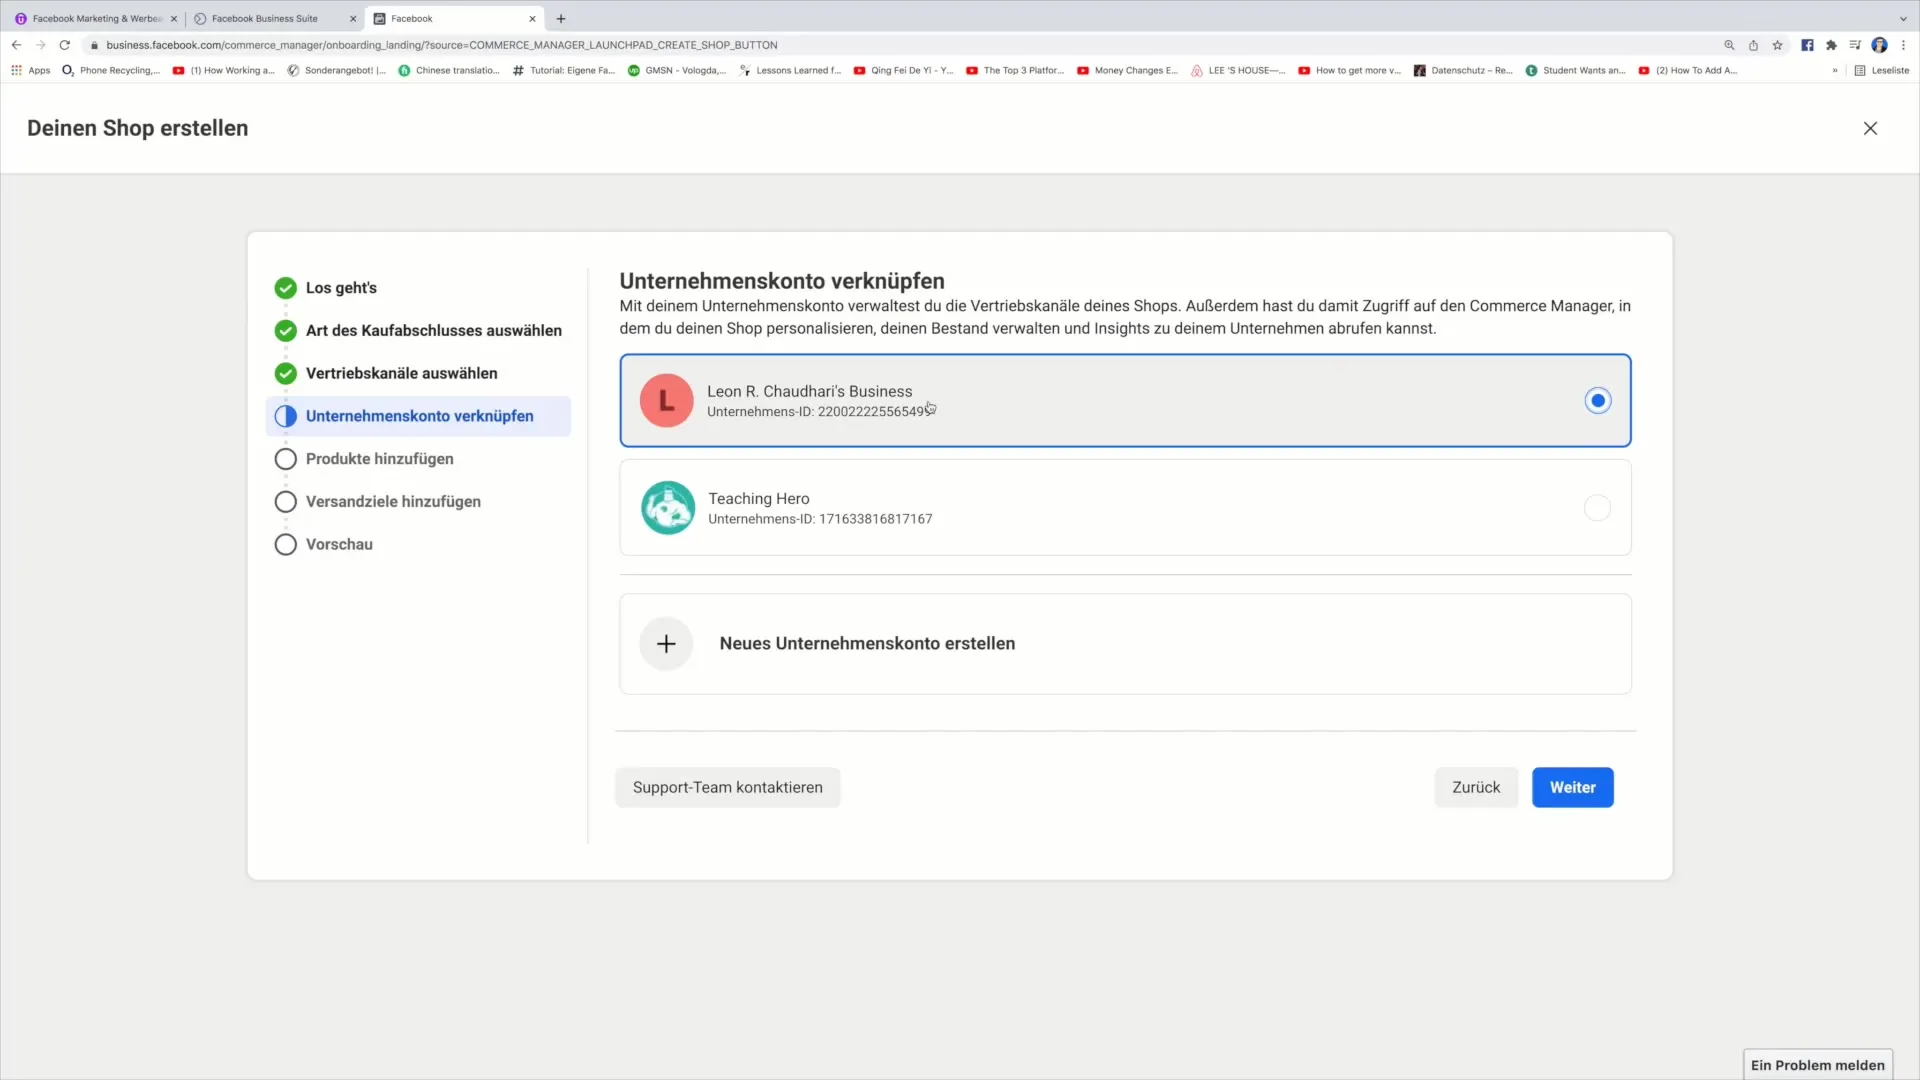
Now you have the opportunity to link your shop to a business account. If you already have a business account, select it. Otherwise, you can create a new business account by providing the name and business email address.
Step 6: Confirm Business Address
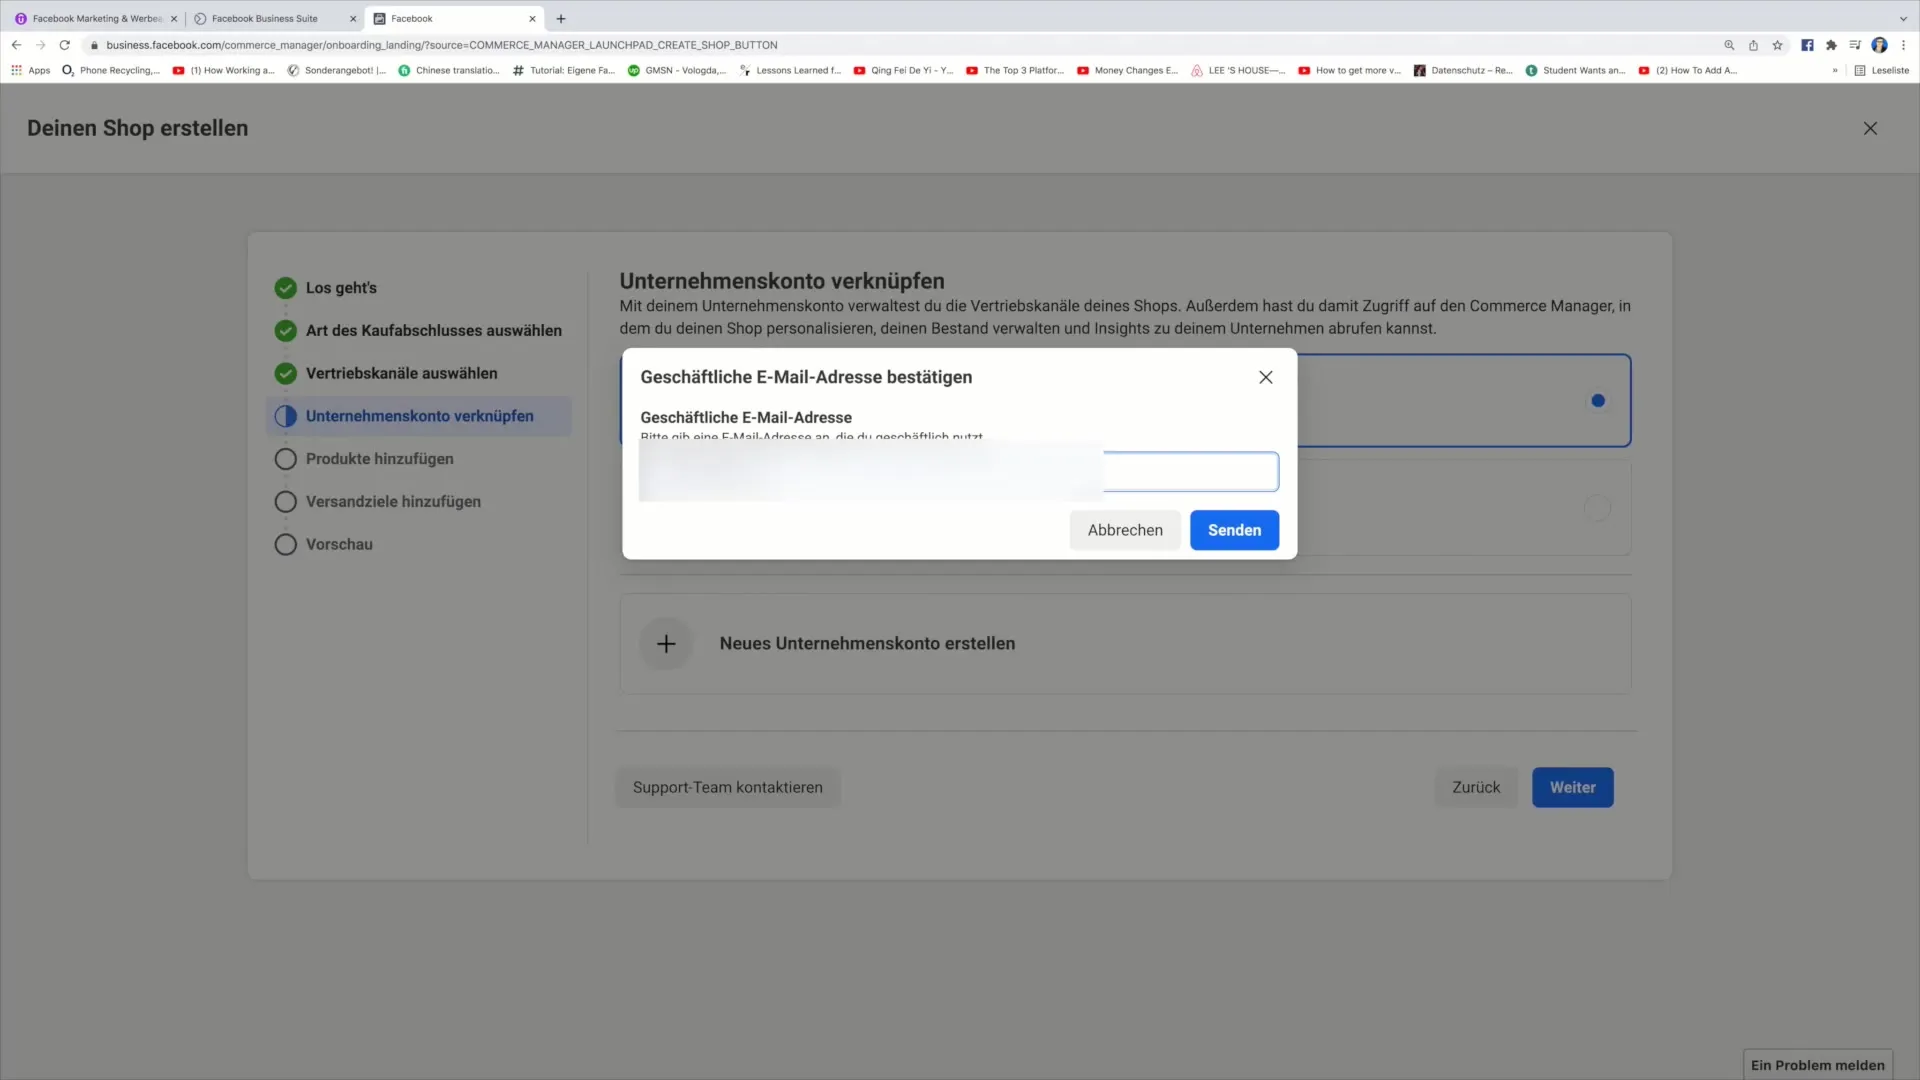
In the next step, you will need to enter your business address. This information is crucial to verify your company's identity and ensure that everything is set up correctly.
Step 7: Add Products
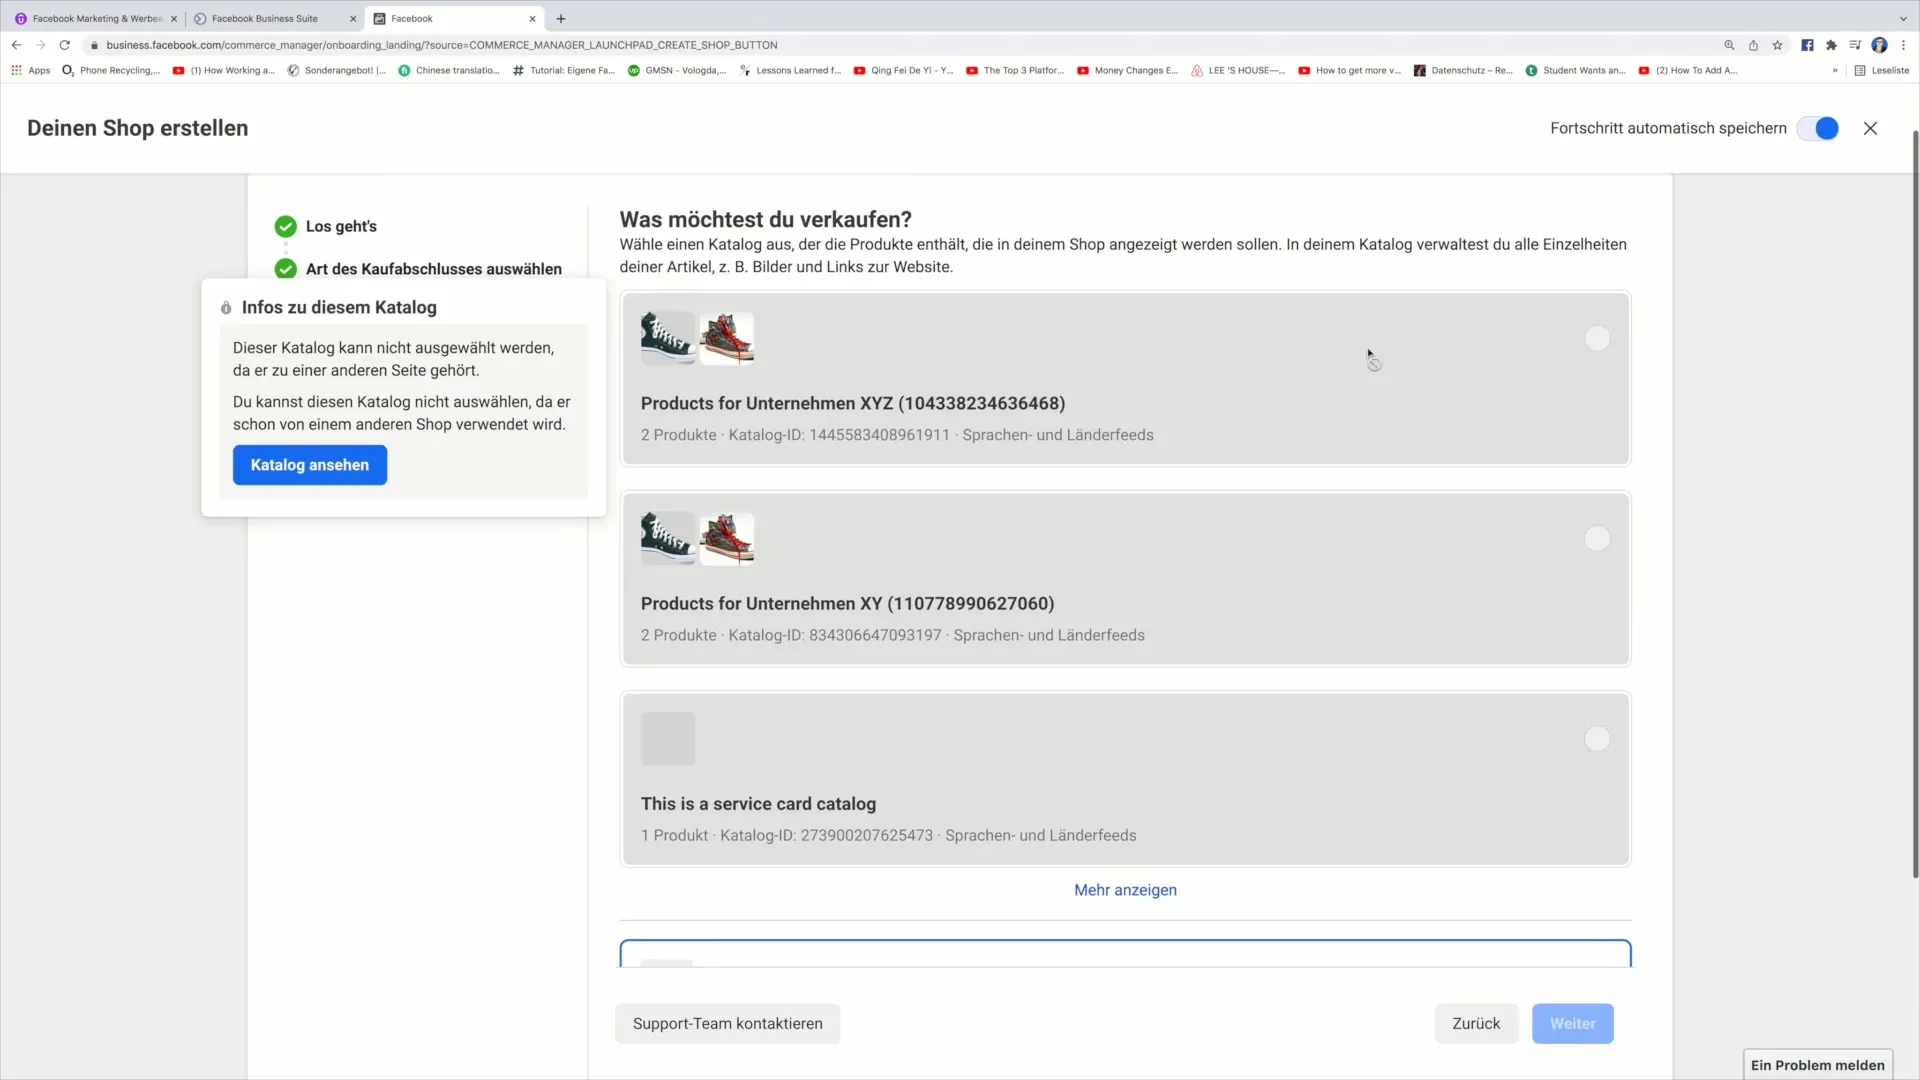
Now you are ready to add your products. You can select existing products from your catalog or create new products. To add a new product, simply click on the relevant option.
Step 8: Set Shipping Regions
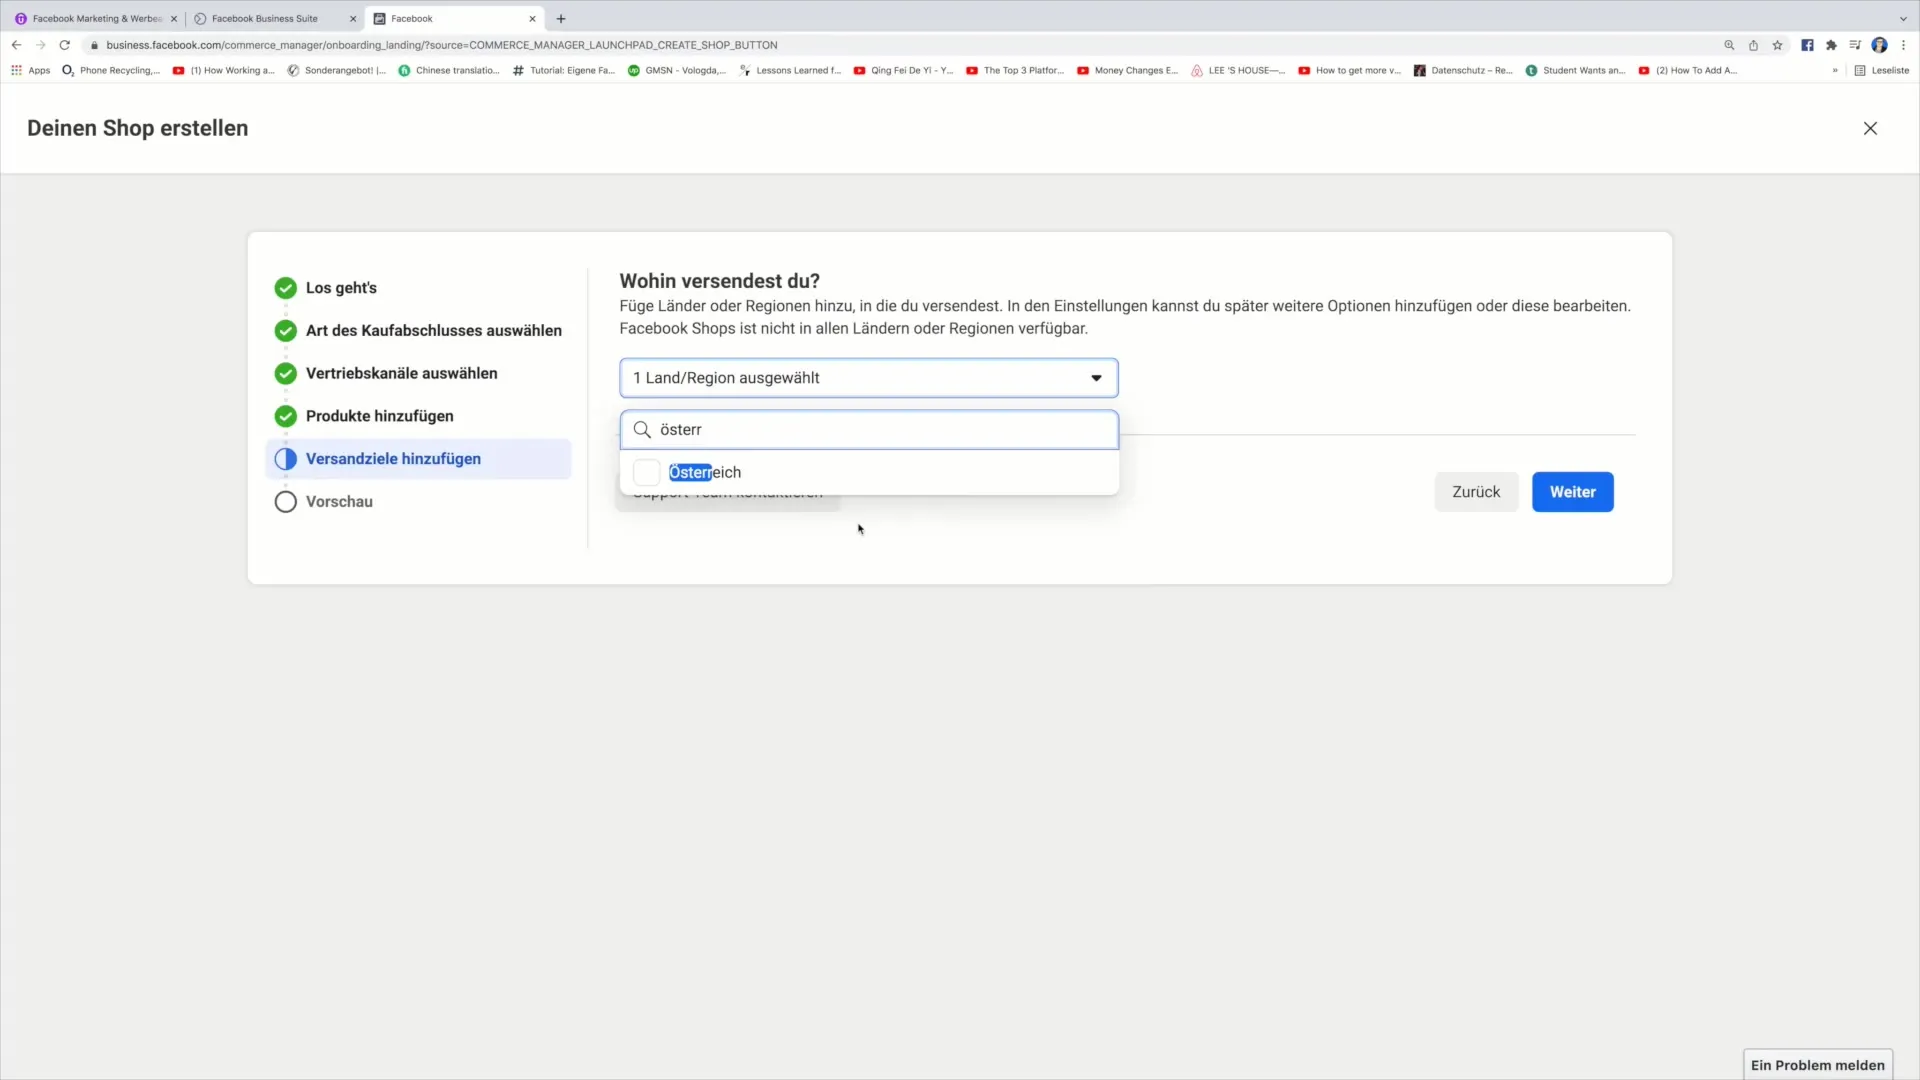
After adding the products, you must define the regions where you want to ship your products. Select the respective countries or regions to ensure that your customers know exactly where you deliver.
Step 9: Customize Checkout
Now is the step where you define the checkout process for each product. You need to provide a link to your sales page on the website where customers can purchase the product. This is the point where customers are guided through the purchase process.
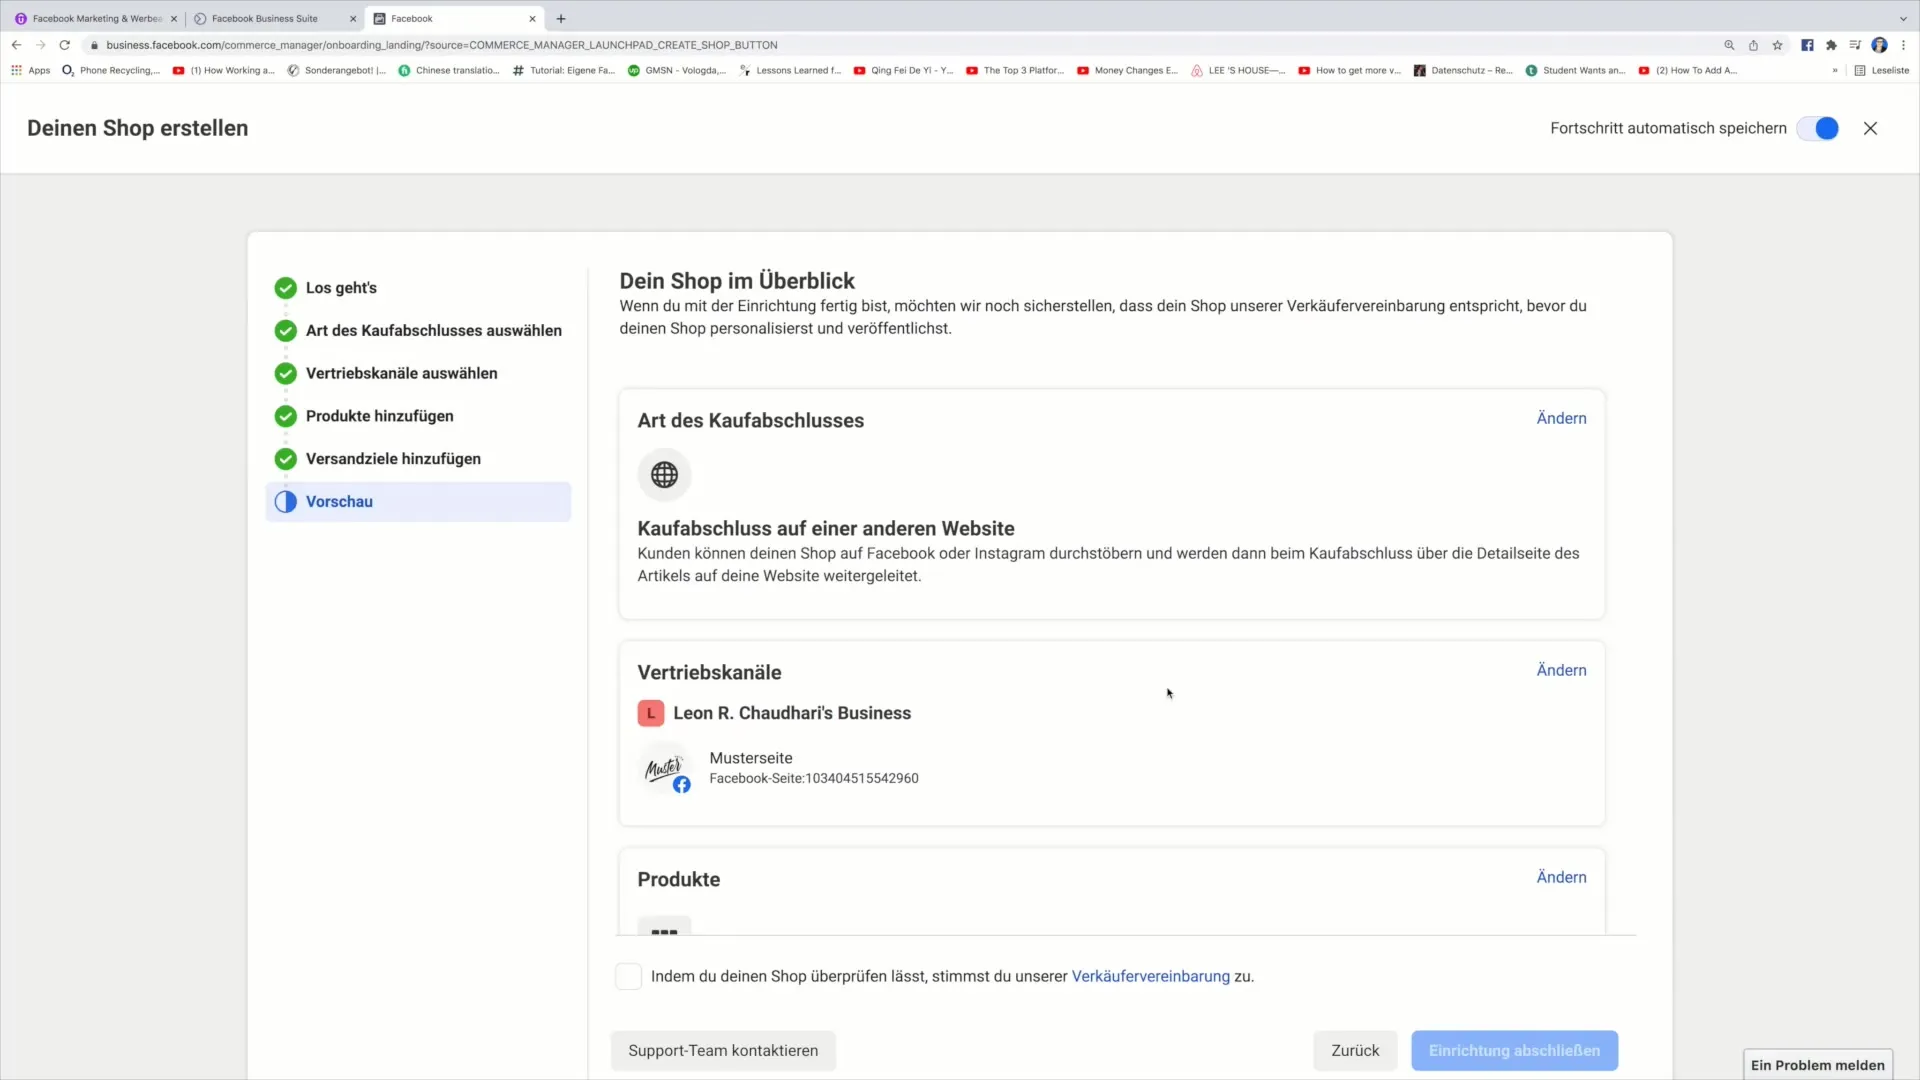
Step 10: Completing the Setup
Finally, you can complete the setup of your shop. Review all information and click on "Complete Setup". Your shop is now ready for publishing.
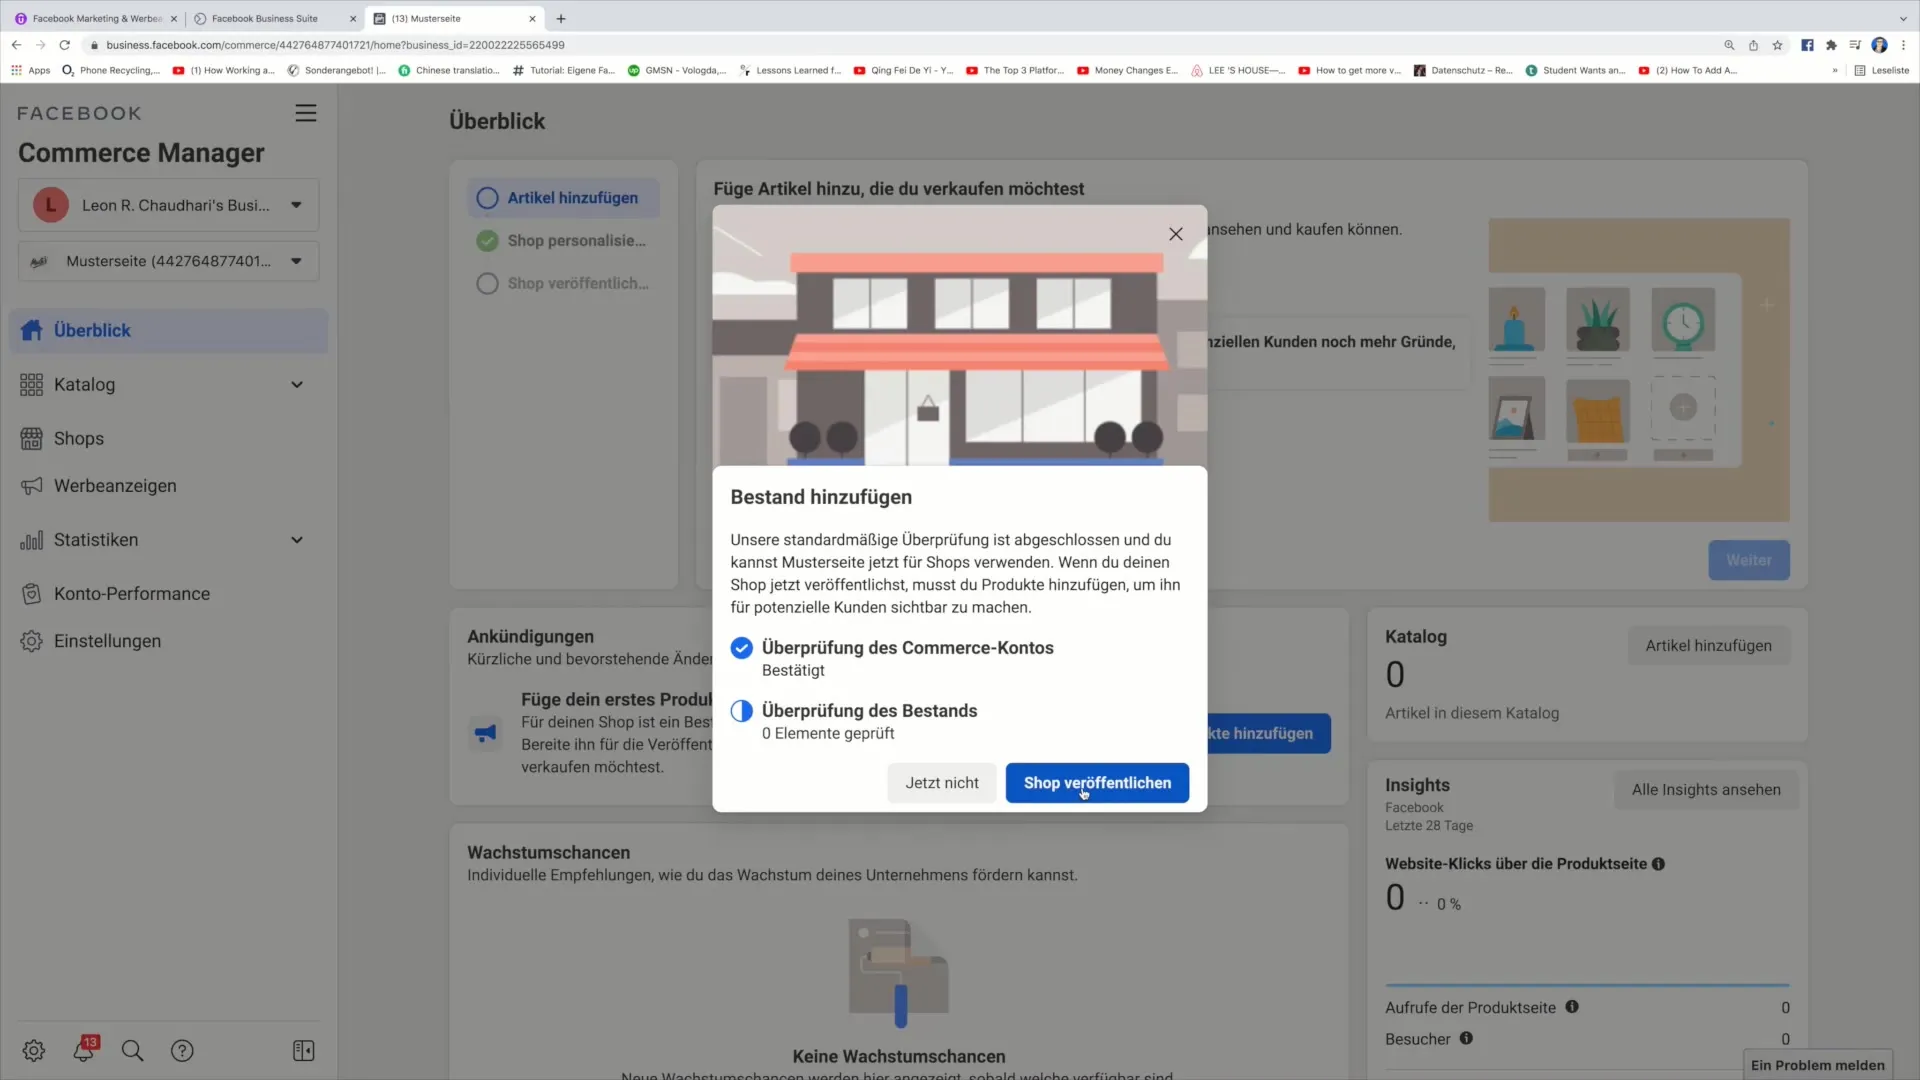
Step 11: Publish Shop
To go live with the shop, click on the "Publish" button. This officially activates your Facebook shop, and customers can start making purchases.
Summary
You have now learned all the steps necessary to open your own Facebook shop. From accessing the Business Suite to publishing your shop - each step is crucial for the success of your sales activities. Make sure to regularly check how your shop is developing and optimize the offers where necessary.
Frequently Asked Questions
How long does it take to create a Facebook shop?It depends on your preparation time, but usually, you can create a shop within 30 minutes.
Do I need a special permission to open a shop?You do not need a special permission, but it is important to follow Facebook's guidelines for selling products.
Can I sell digital products on Facebook as well?Yes, you can sell both physical and digital products through your Facebook shop.


