In this tutorial, you will learn how to effectively create posts and stories using the Creator Studio from Facebook. The Creator Studio is a central element of your Facebook page. It not only allows you to create and publish content, but also provides features to interact with your target audience and improve your marketing strategies. Let's see how you can use all the features of the Creator Studio to optimize your online presence.
Key Takeaways
- The Creator Studio is the central platform for Facebook content.
- You can create, schedule, and save posts as drafts.
- There is the option to work with various media formats, including images, videos, and text.
- Stories provide a way to reach and interact with your audience in real-time.
- Integrating messages and other features can increase your engagement rate.
Step-by-Step Guide
Accessing the Creator Studio
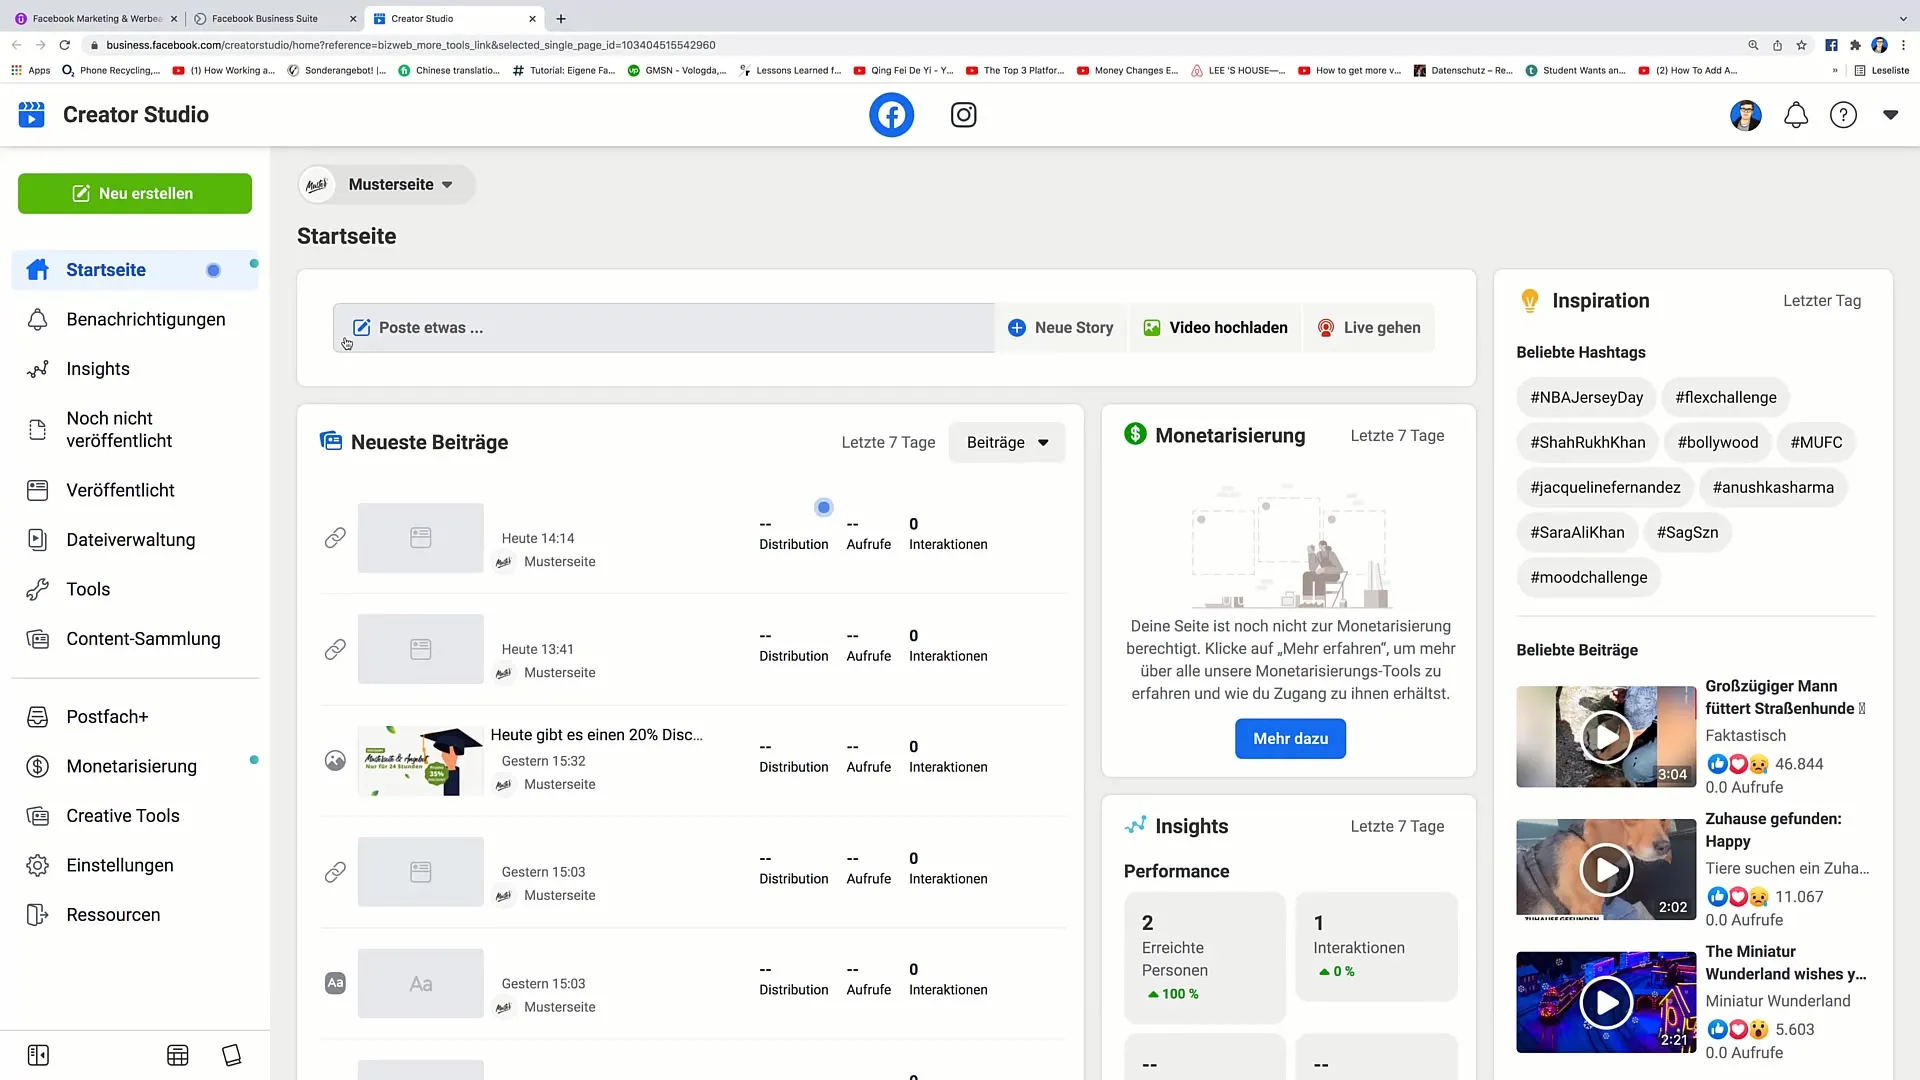
To use the Creator Studio, you first need to log in to your Facebook account. Click on "Creator Studio" in the top menu bar to access the dashboard.
Creating a New Post
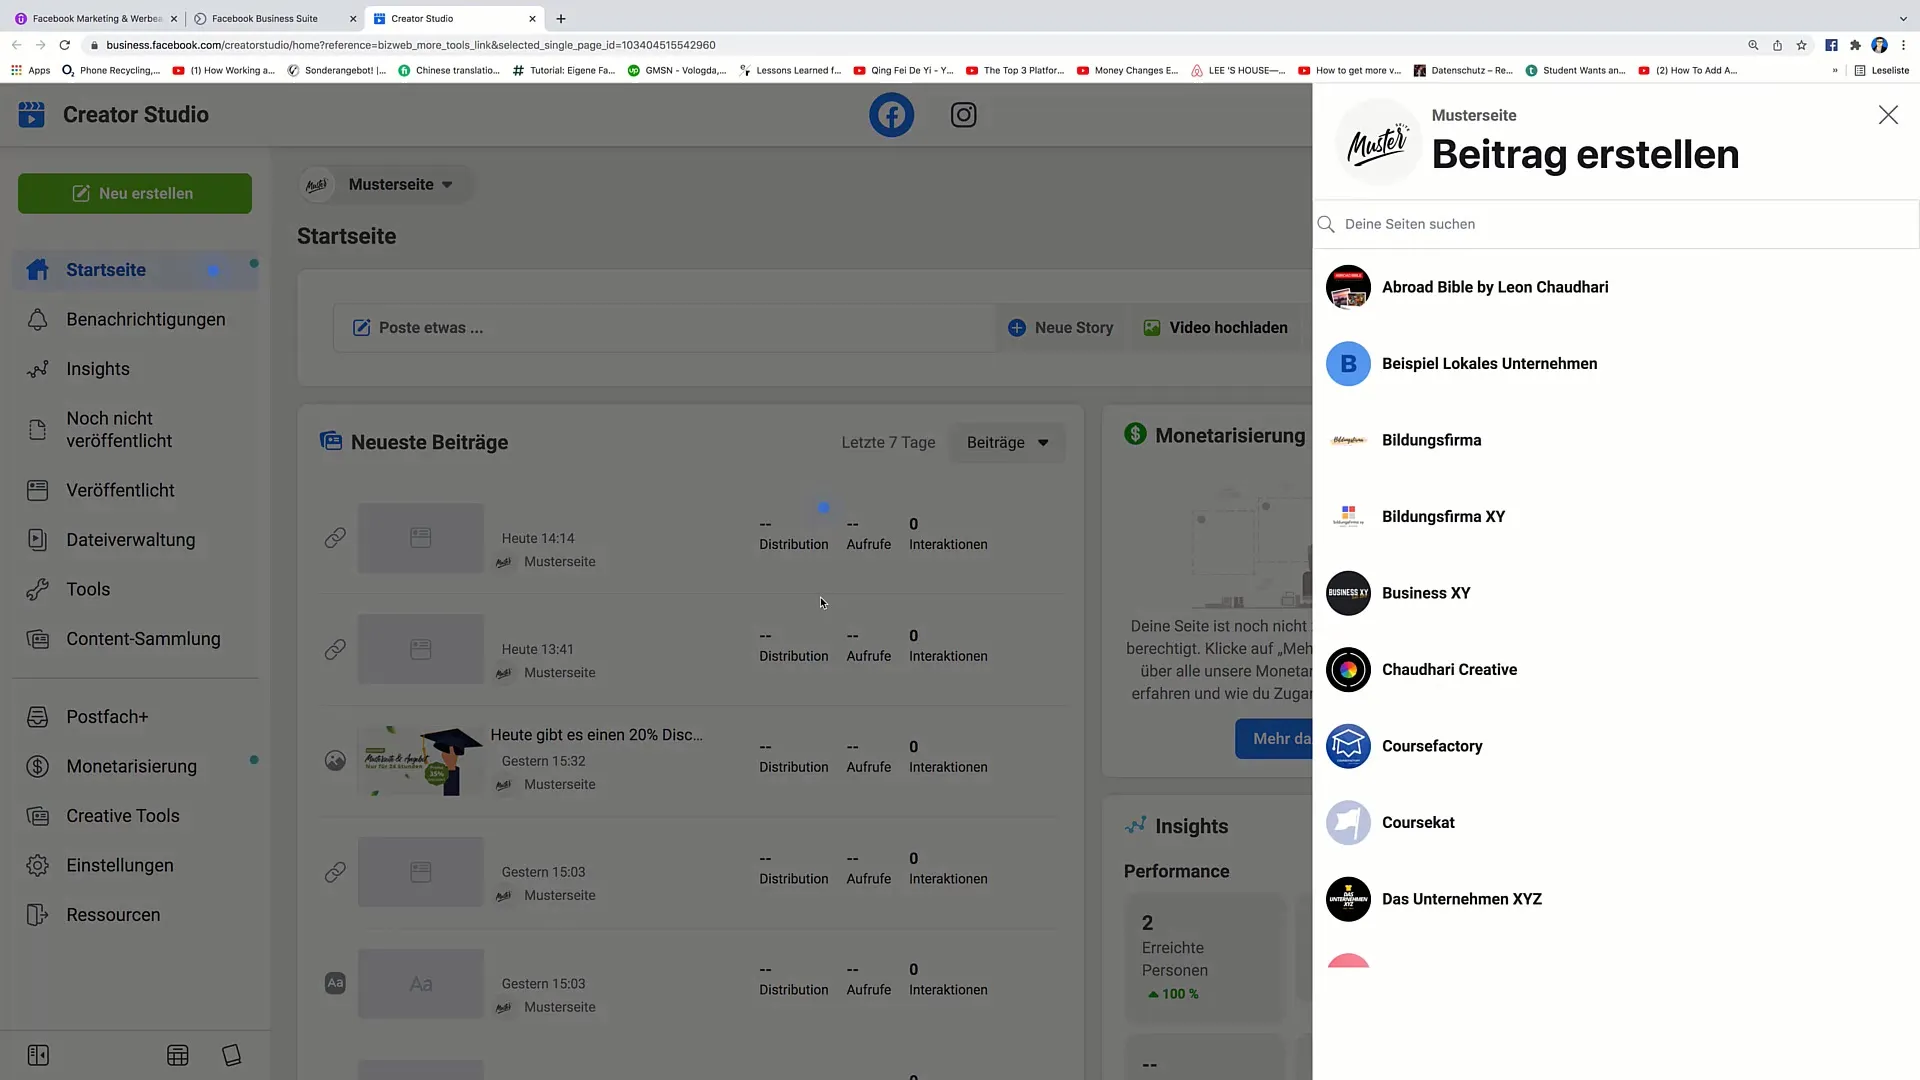
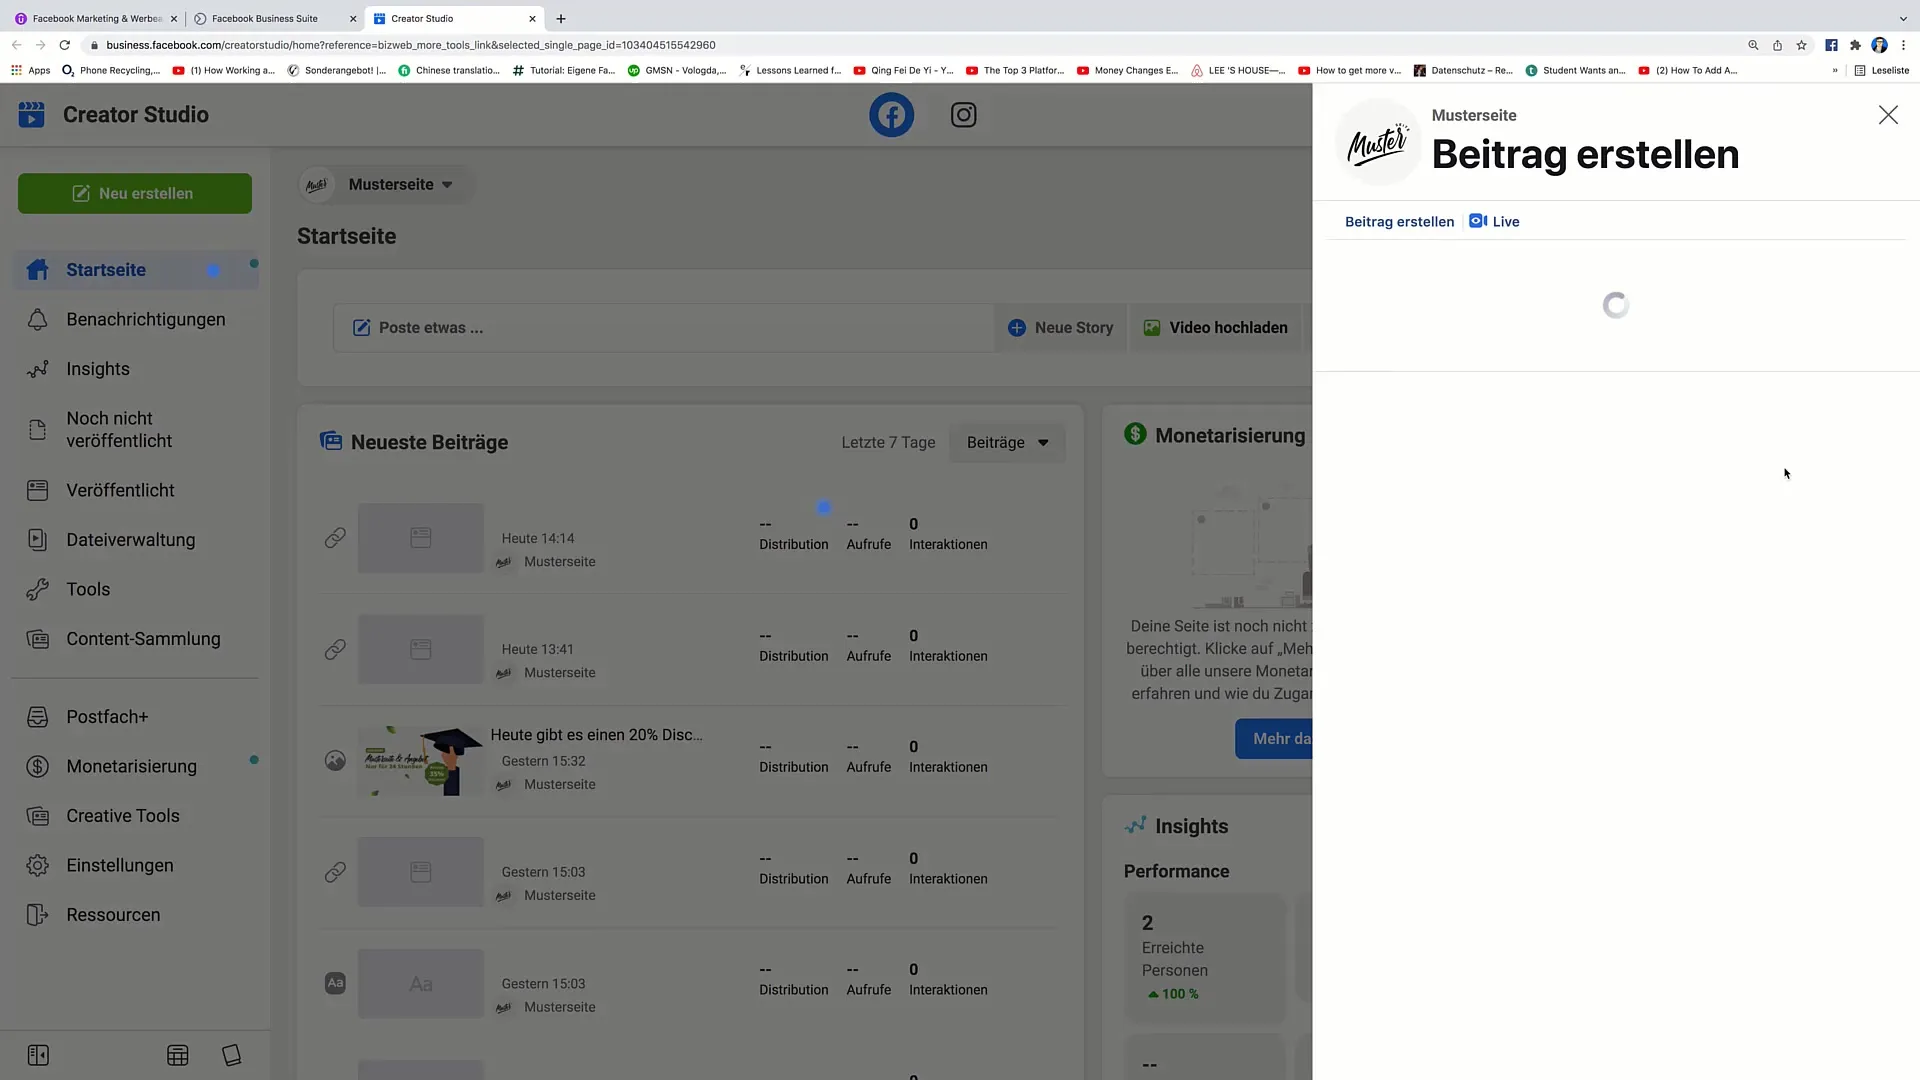
Once you are in the Creator Studio, you will see the "Create Post" button. Click on it to open the post window. Here, you can choose on which of your Facebook pages you want to publish the post. For example, you could select a sample page.
Adding Content to the Post
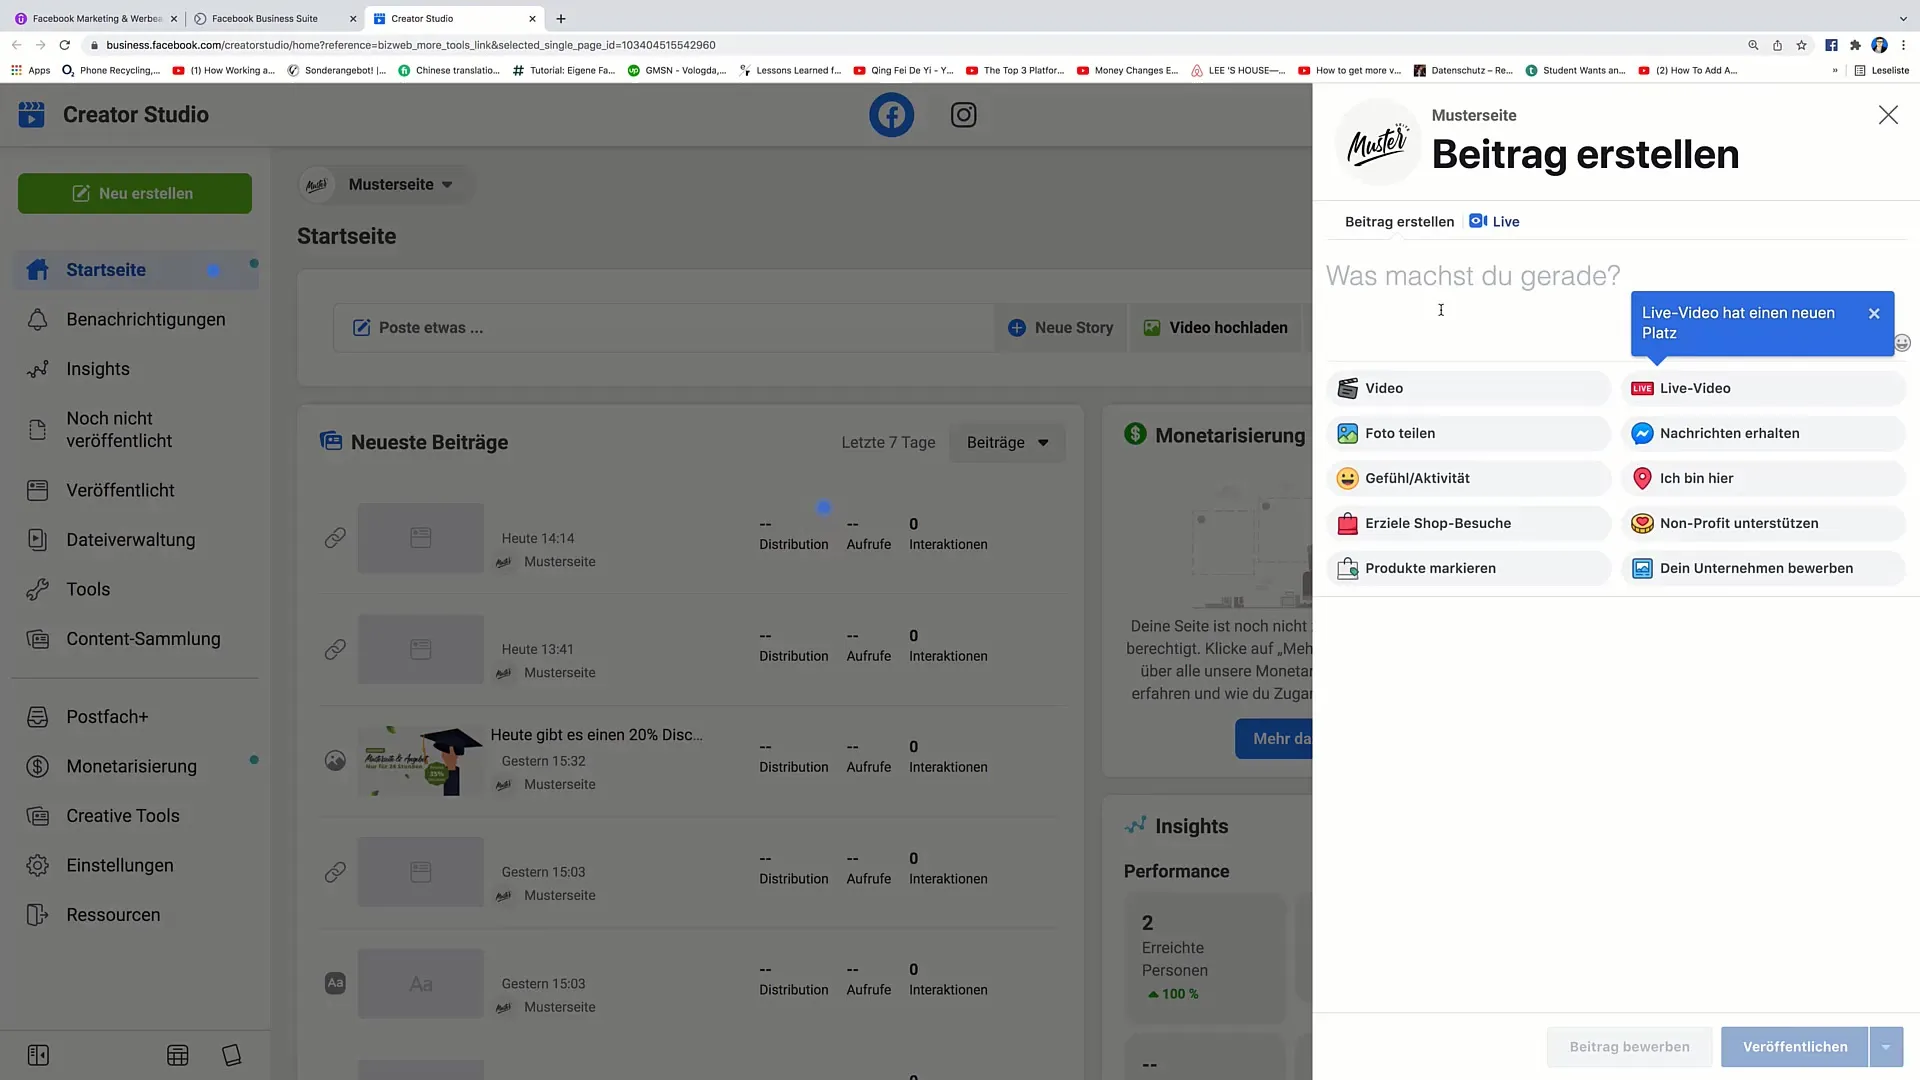
Now you can add the text of your post. Write something like "Only today, get 20% off on all products!" and provide necessary details, such as a promo code.
Adding Media
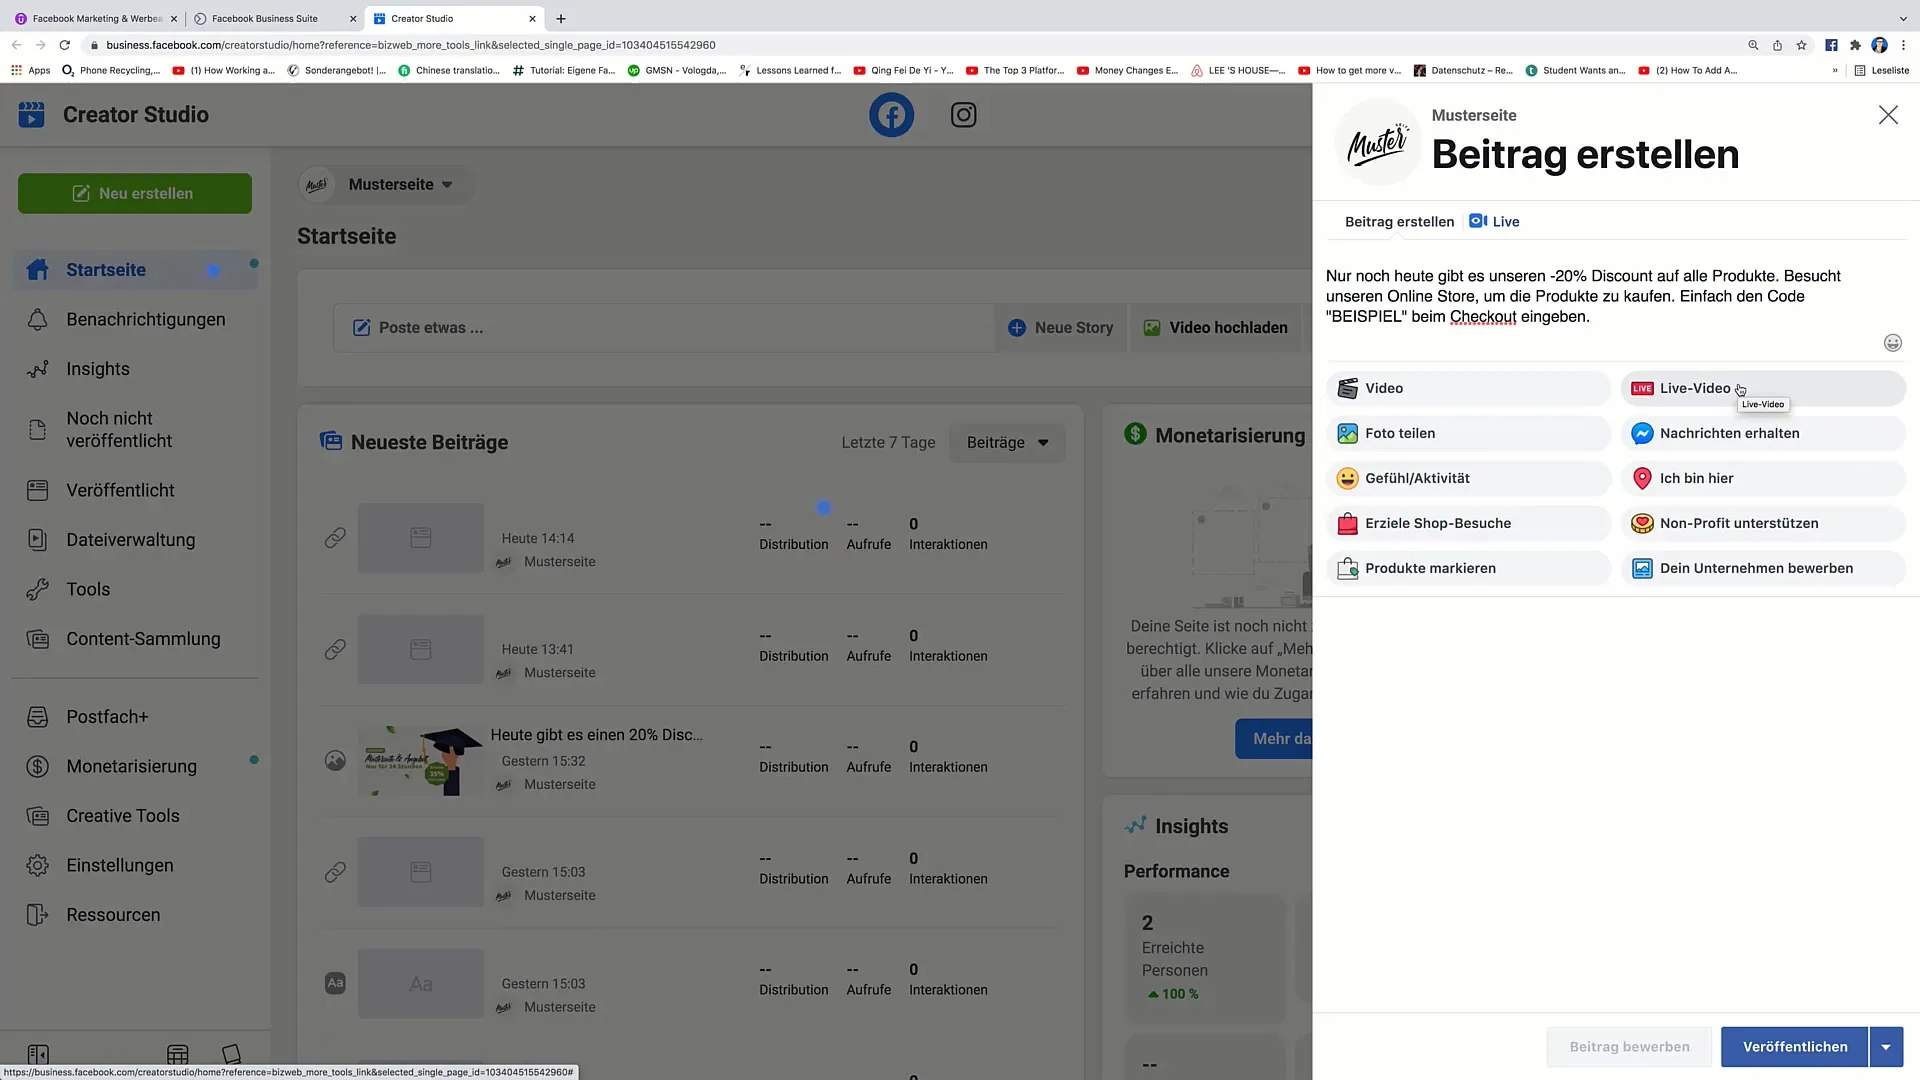
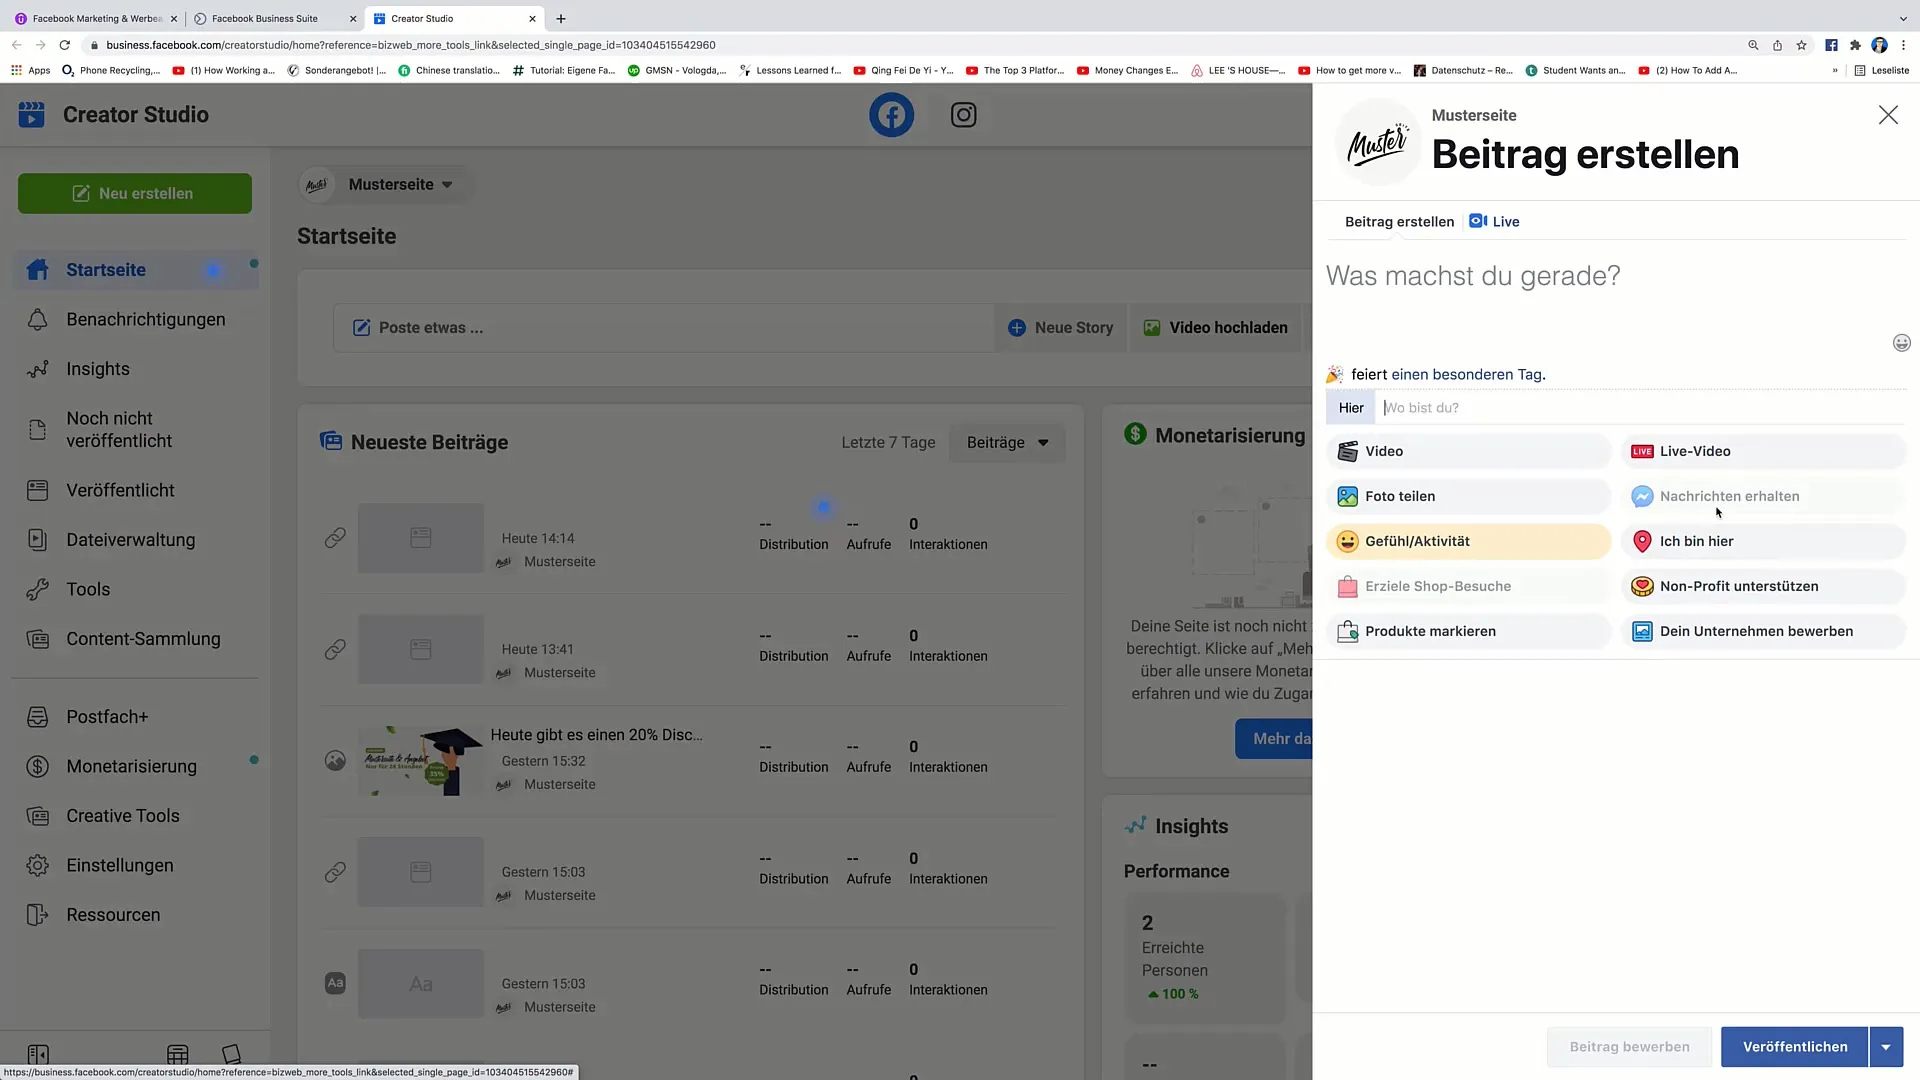
To make your post more engaging, you can enrich it with images or videos. Click on the media upload button and upload an image or video. Alternatively, you can also set up a live stream by clicking on "Live Video."
Receiving Messages
You can also activate the "Receive Messages" option. This will add a button to your post through which viewers can directly send you a message on Messenger.
Increasing Interactions
An additional feature is that you can add emotions or activities. Encourage your followers to make the experience more interactive by choosing, for example, "Today we celebrate a special day."
Supporting Nonprofits
If you wish to support a nonprofit cause, there is also the option to specify a nonprofit. This can be a great way to position your brand and do good at the same time.
Tagging Products
Tagging products in your post is an excellent way to boost sales. Your followers can directly access the respective product through the linking.
Publishing or Scheduling
If you are satisfied with your post, you can either publish it immediately or save it as a draft. You also have the option to schedule it for a later time.
Creating a Story
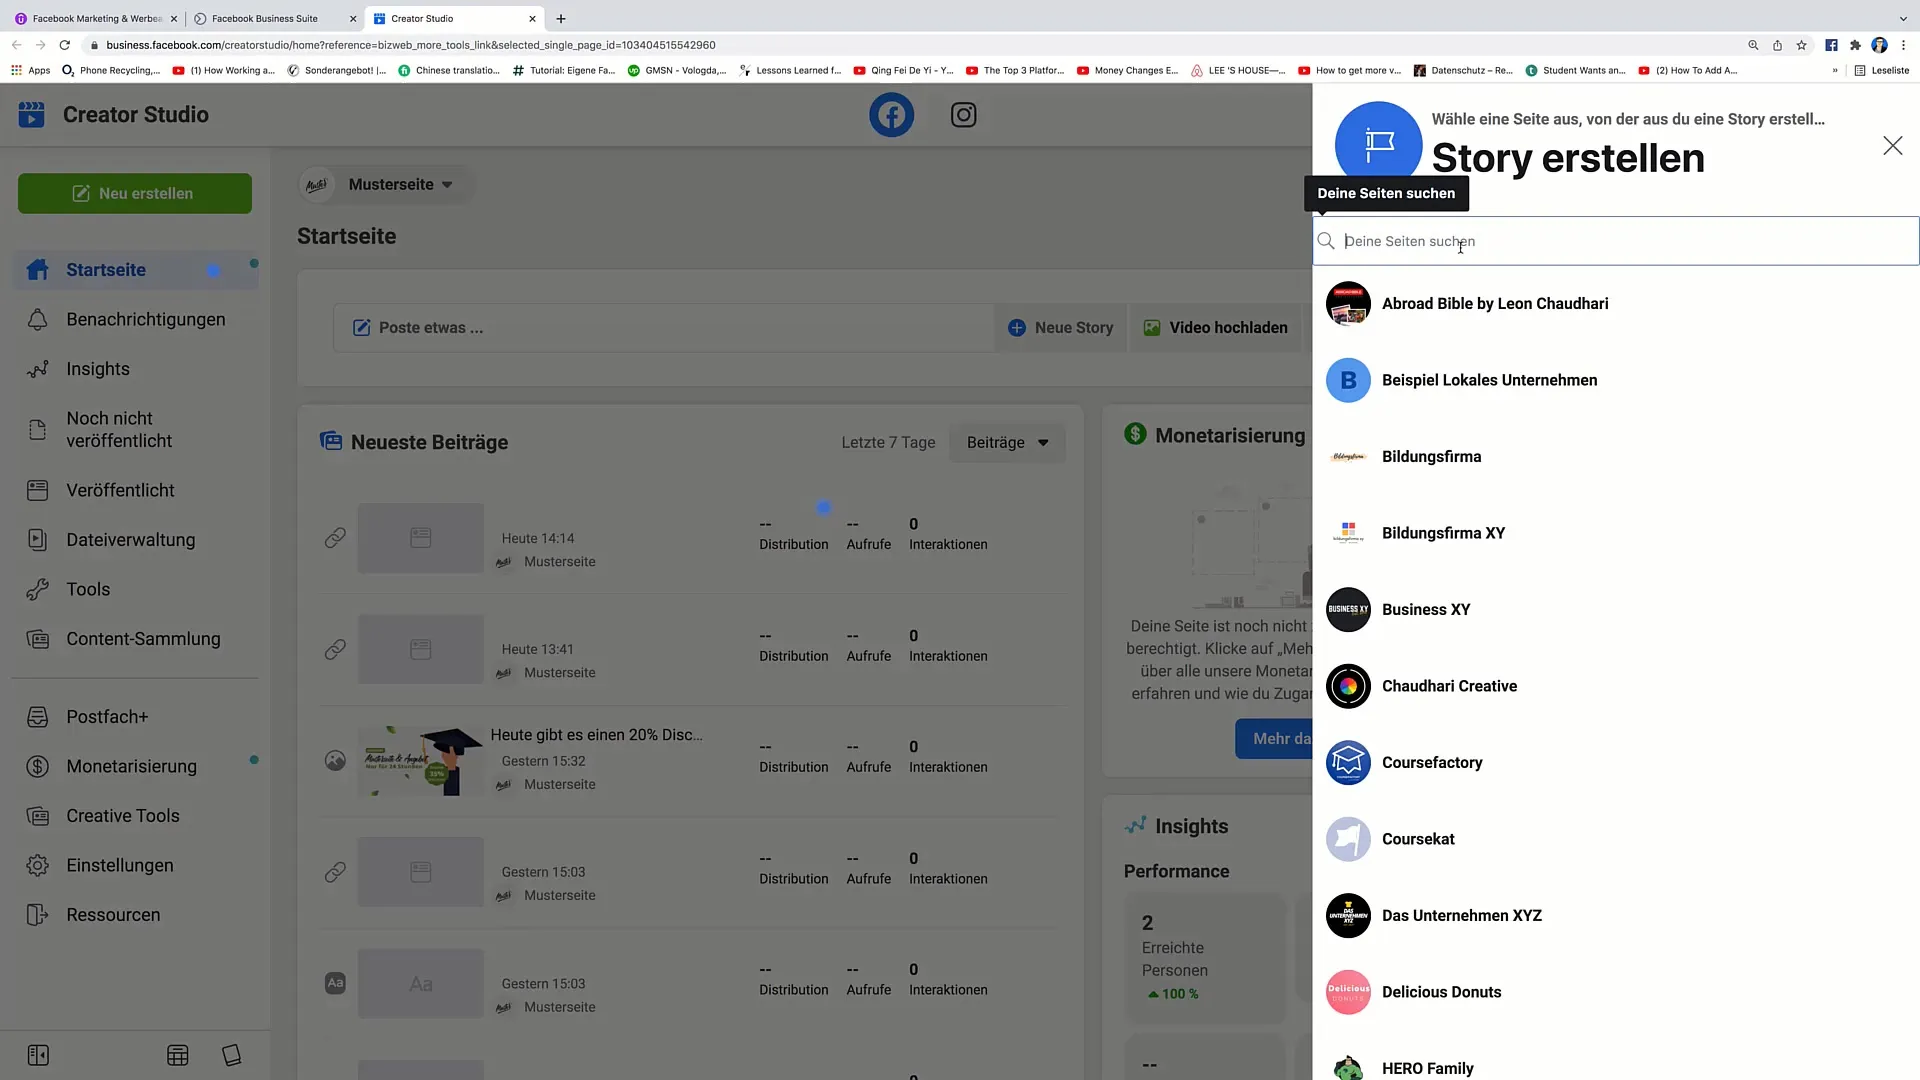
To create a story, click on "Create Story." Once again, choose the page for which you want to create the story. You have the option to choose between photo stories and text stories.
Create a Photo Story
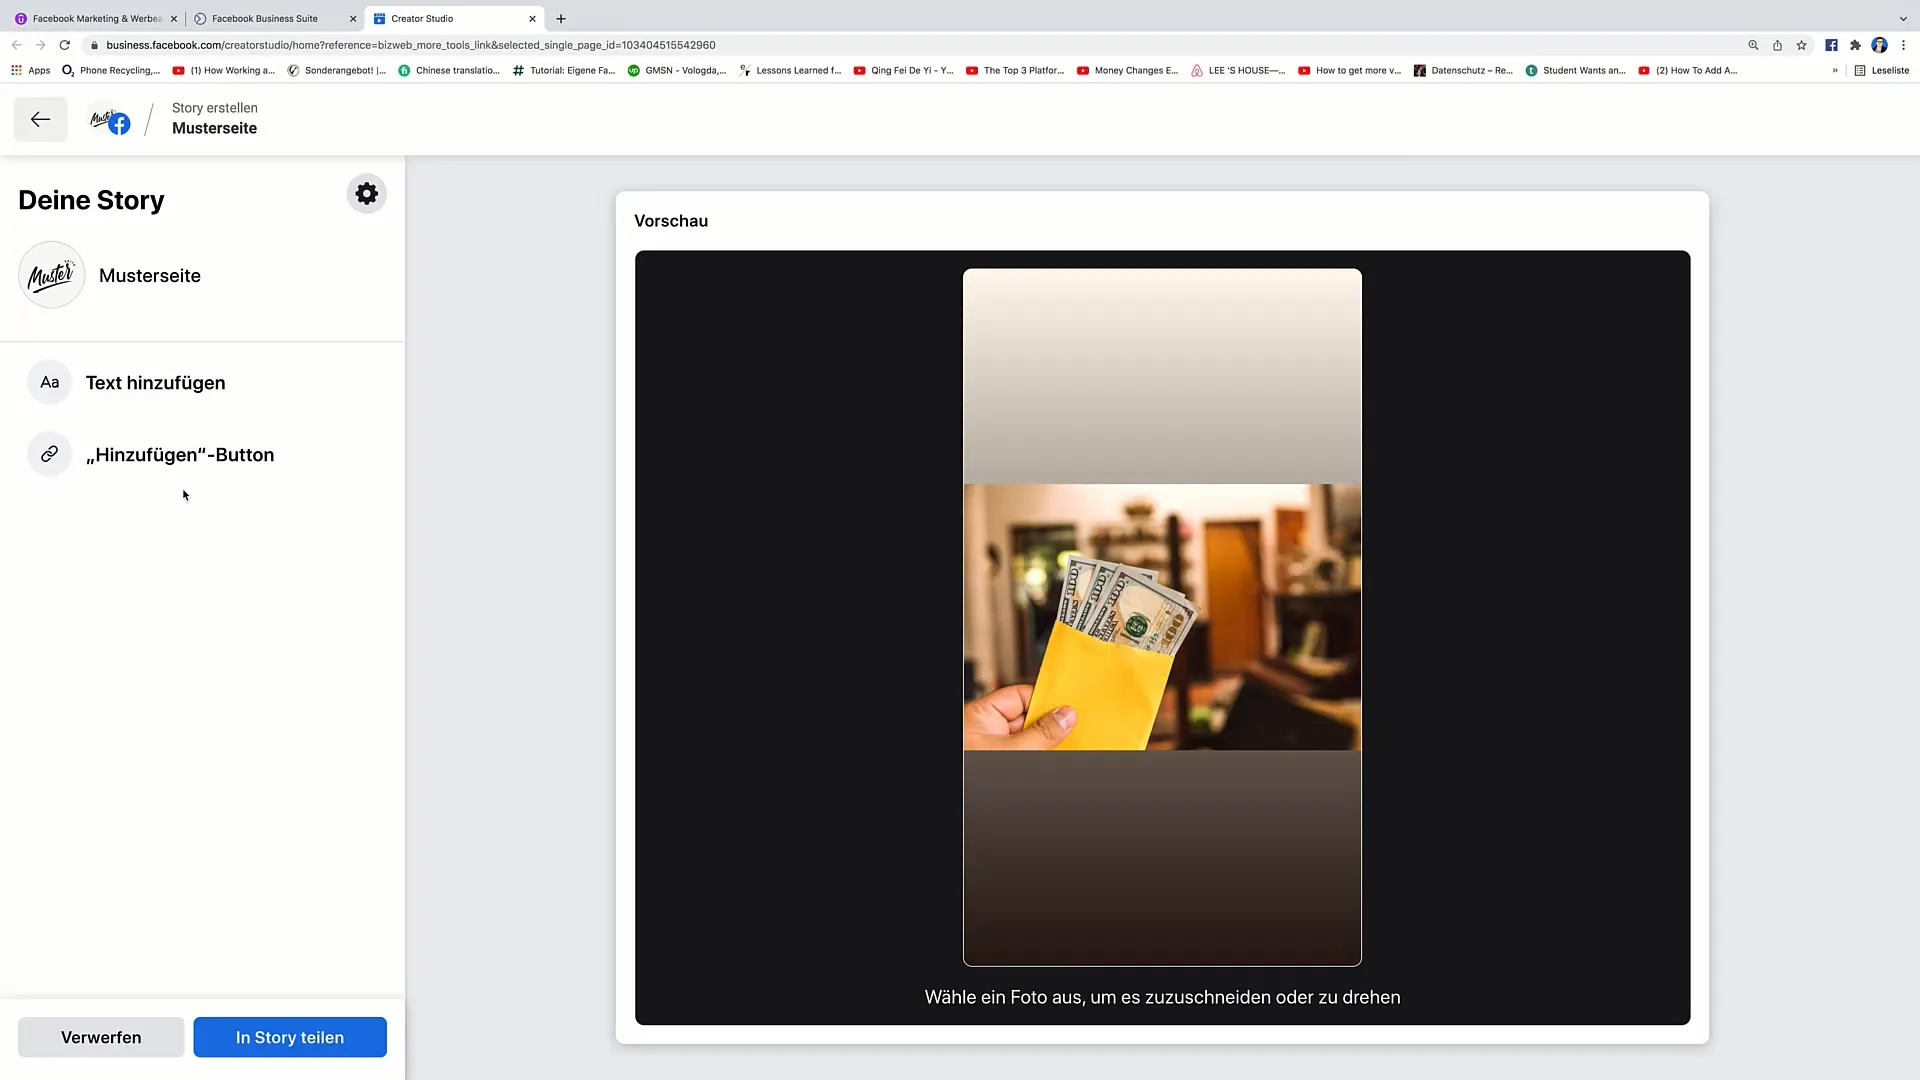
To create a photo story, upload a picture from your computer. You can adjust the text and the image by changing the font size and color.
Create a Text Story
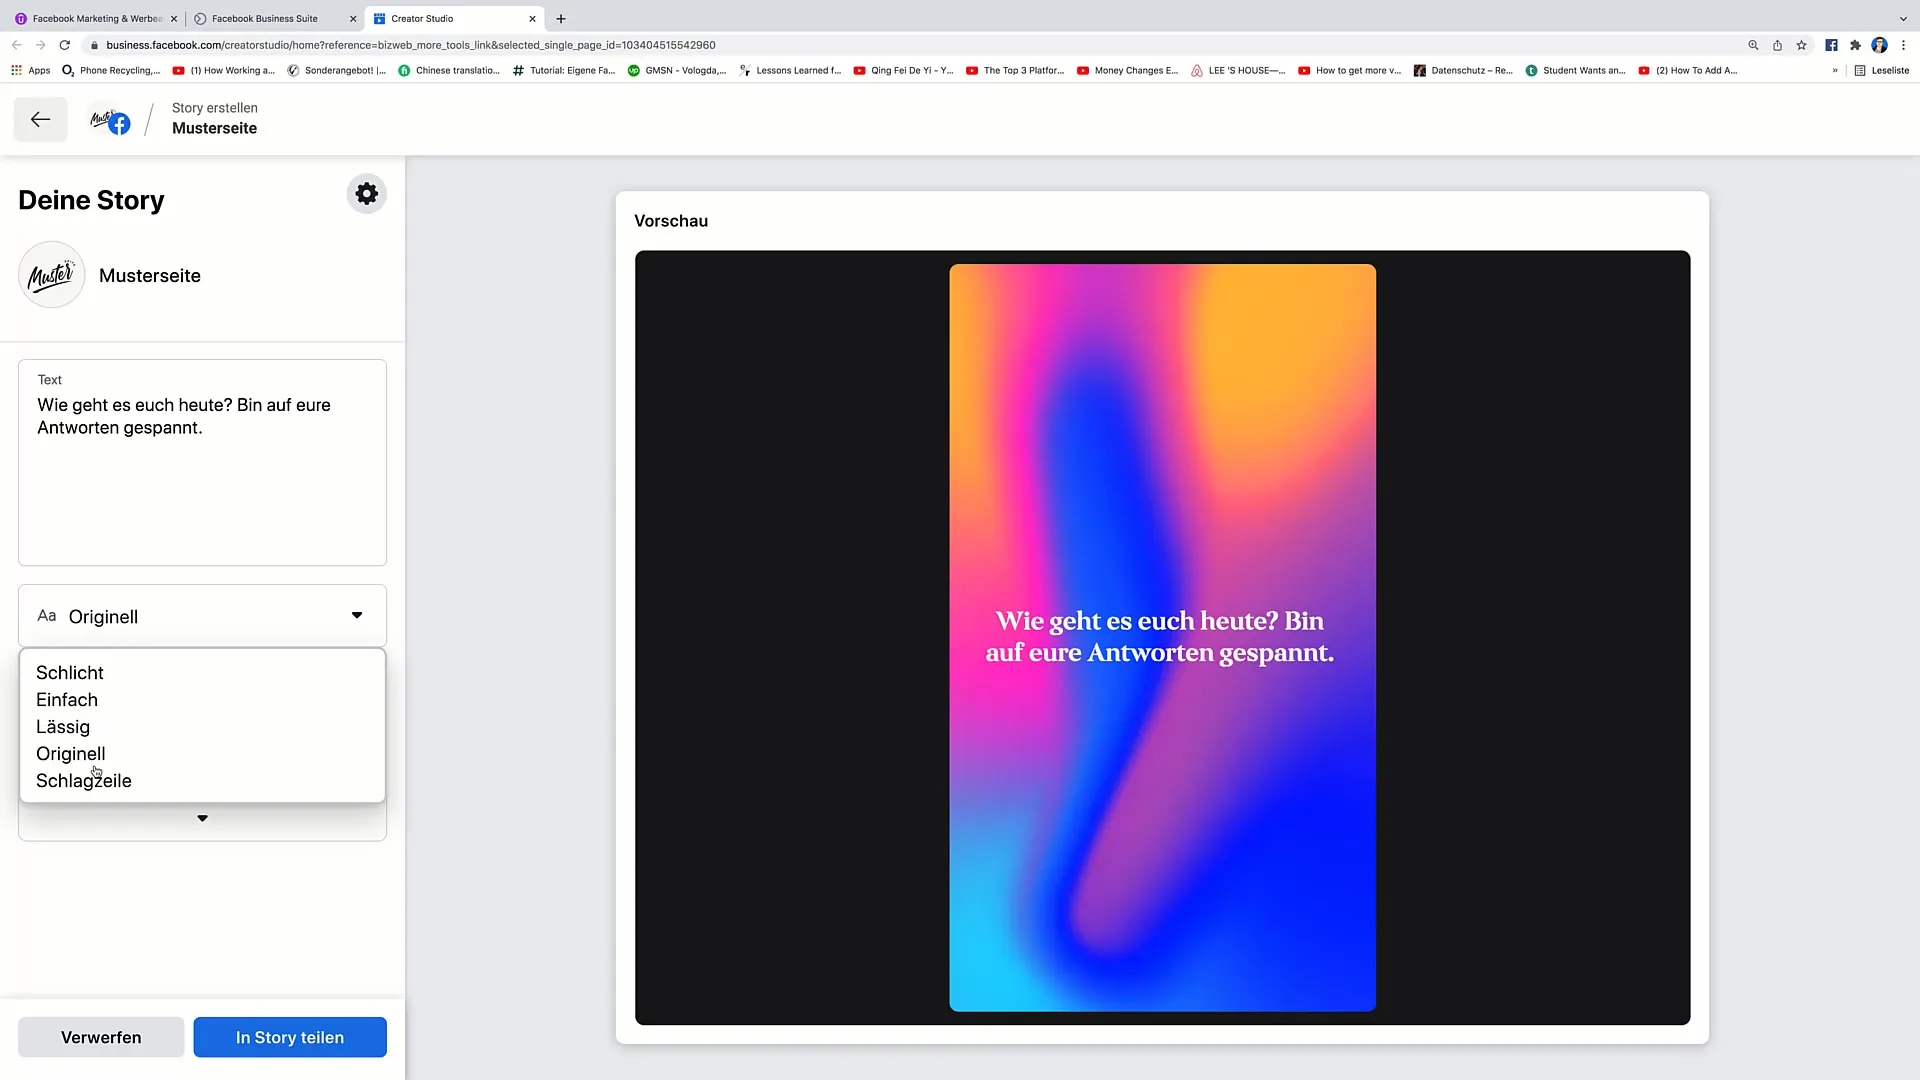
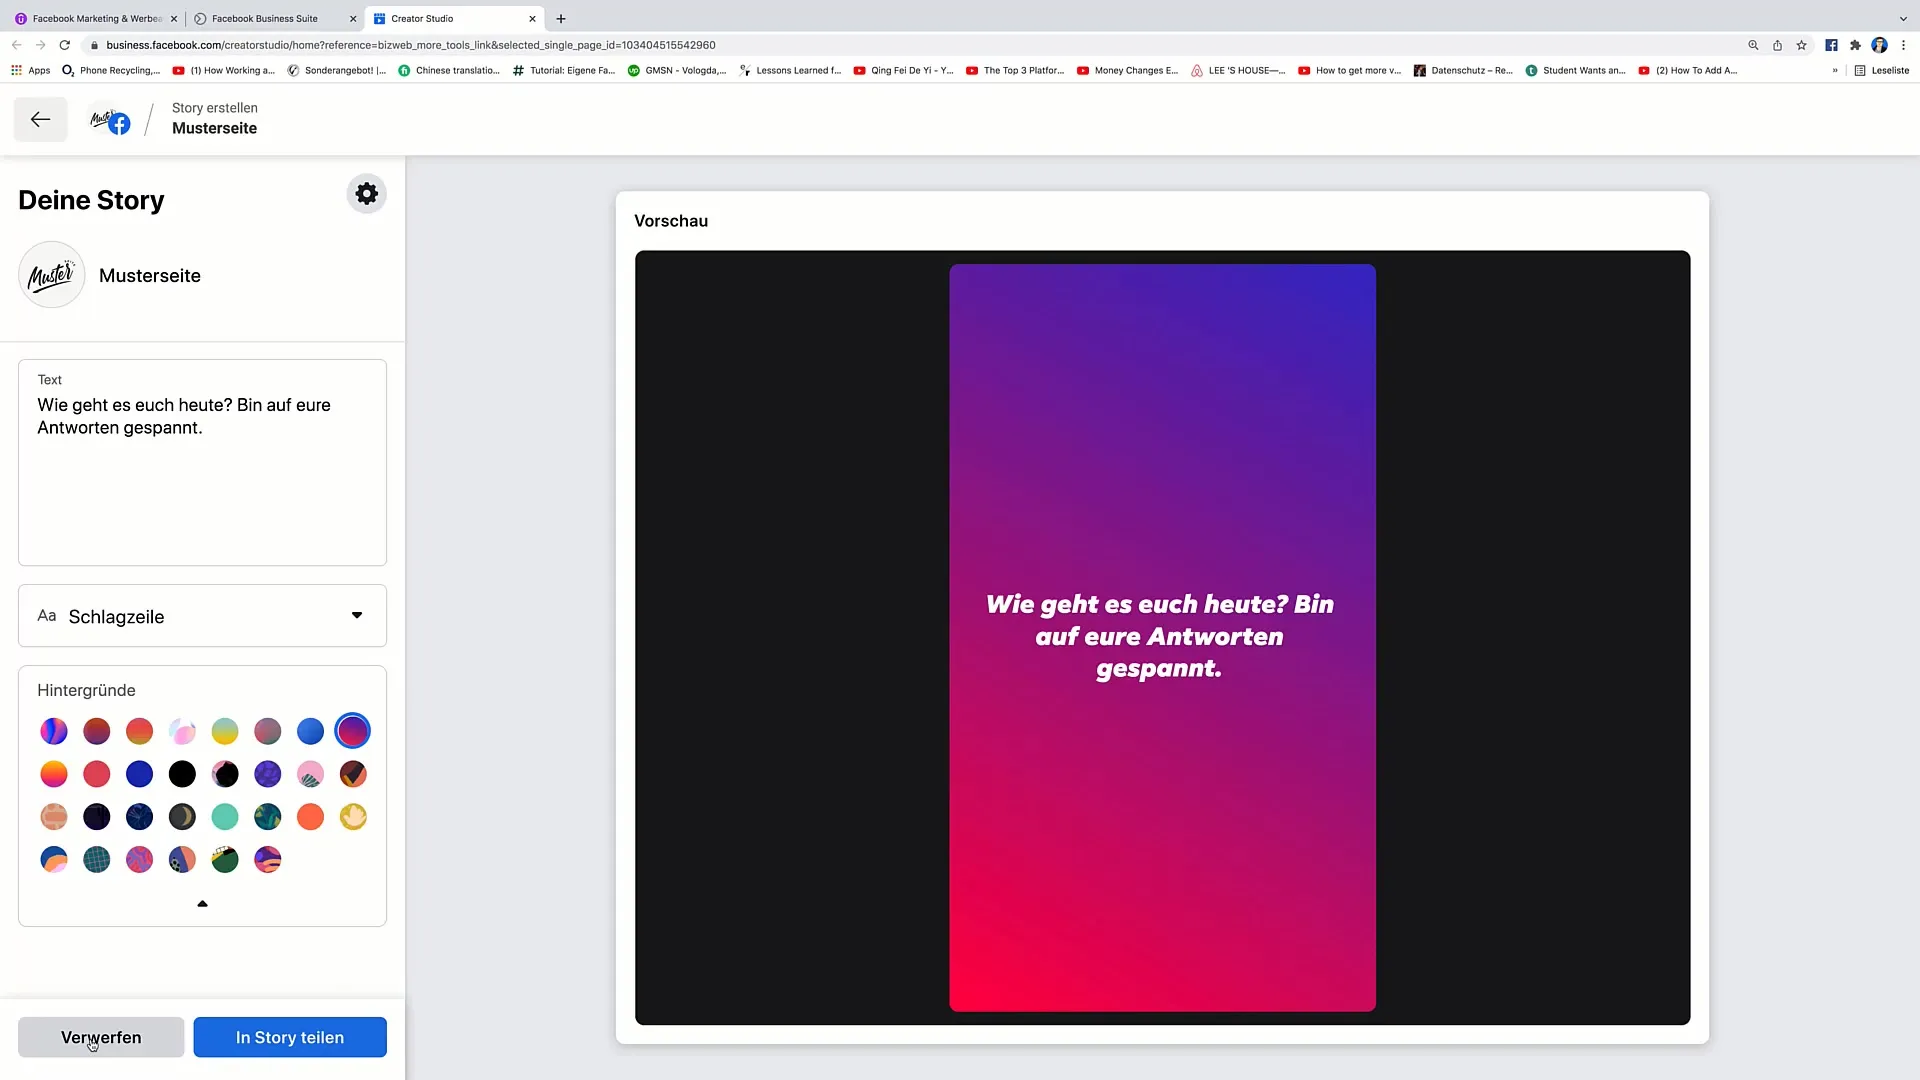
Alternatively, you can create a text story. Simply write the desired text and format it to your liking. You can customize the font as well as the background.
Story Publication
Once your story is ready, click on "Share in Story" to publish it on your page.
Summary
After going through the steps of creating posts and stories, you can use these valuable tools to effectively reach your audience. The Creator Studio offers you all the functions you need to be creative and take your marketing to the next level.
Frequently Asked Questions
How do I create a post in Creator Studio?Click on "Create Post", select the page, and add your content.
Can I schedule my posts?Yes, you can schedule posts for future publications.
How can I add media to my post?You can upload images and videos or start a live stream.
How do I create a story?Click on "Create Story", select the page, and either upload a photo or write text.
Can I see user reactions to my post?Yes, you can track the interactions in the Creator Studio.
