A warm hello to everyone. We're off to a lively start at lunchtime, because it's time to knock on our customers' doors ... I'll take you on a creative journey through the colors shamrock green and cabbage black to create this door hanger of a different kind. I hope you have a great time.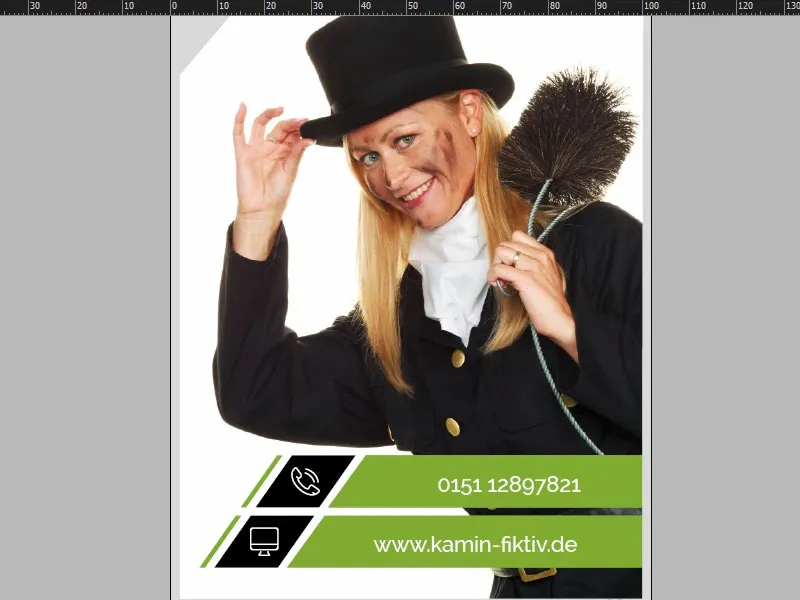
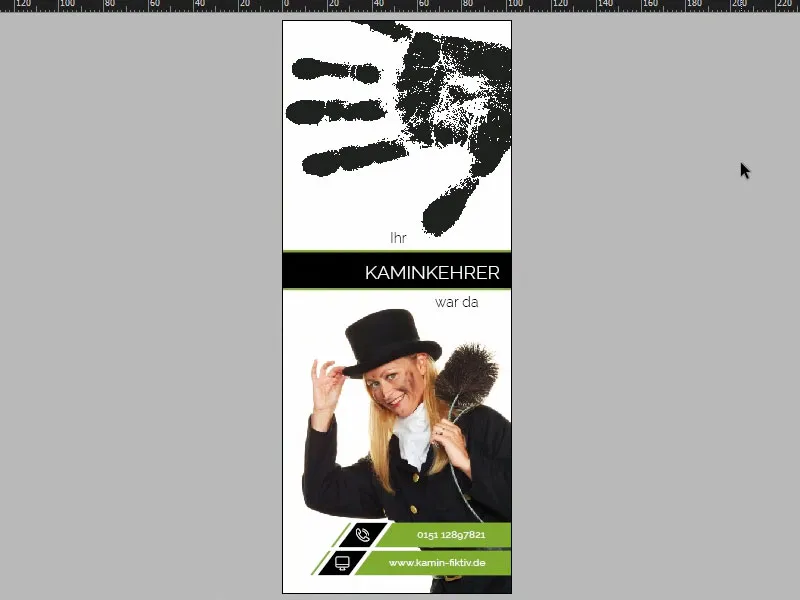
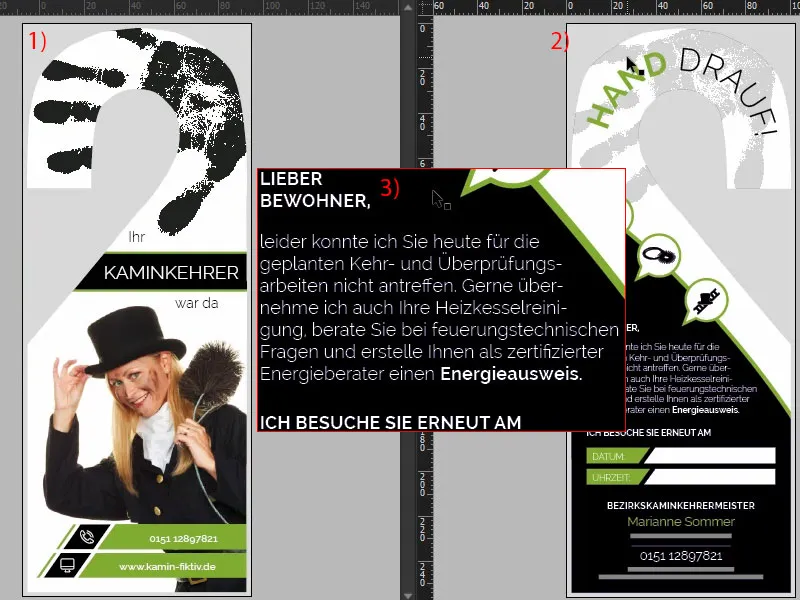
In InDesign CC, let's take a detailed look at the print product we're going to design. This is what it looks like in full bloom on the front (1). Now let's be honest: what do you associate with the word door hanger? That's right: "Do not disturb!" Preferably with "Z, z, z" behind it for sleeping hotel guests. But we've come up with a slightly more innovative and fun idea here, because we're talking about the chimney sweep. Let me introduce you to what I had in mind: In this case, we have a chimney sweep with blonde hair ... I don't know if that's such an advantage. But we added a real highlight at the top, namely this black handprint - as if our chimney sweep had wanted to hang it directly on the door. That was page one. Let's take a look at page two (2). Here's a quick tip: If you go to Windows, Arrange and then New window for door hangers, you can view this document in a split screen. Of course, this works best in portrait format, and here I'm going to switch one page down. Take a look at what we've done here: Basically exactly the same handprint a little reduced in opacity. And now the big prize question: why does a chimney sweep hang a door tag like this on the residents' door? I have written this down here ... Read the text (3). Our dear chimney sweep can then enter the date and time under "I'll visit you again on". And below we have Marianne Sommer's contact details again. Now we finally know her name and no longer have to address her as "Mrs. Chimney Sweep".
Print specifications and printer's template
Once in Internet Explorer, I enter the address of our print shop: diedruckerei.de, our partner for this wonderful door hanger. Then we make it easier for ourselves with the search, we go to the product search and enter "door hanger" (1). There it is: door hangers , 4/4-color (2), which means printed in color on both sides, front and back. Let's go straight to it (3). There are a few important notes here. The format is also important for us. Take a look at this (4): It looks pretty tricky now. How do you even create something like this in InDesign? It will be punched at the end. Do I have to take anything into account? What size do I have to take into account? Where do I cut? How much bleed do I need ... It's all pretty confusing, and to be honest, none of us want to spend too much time creating templates.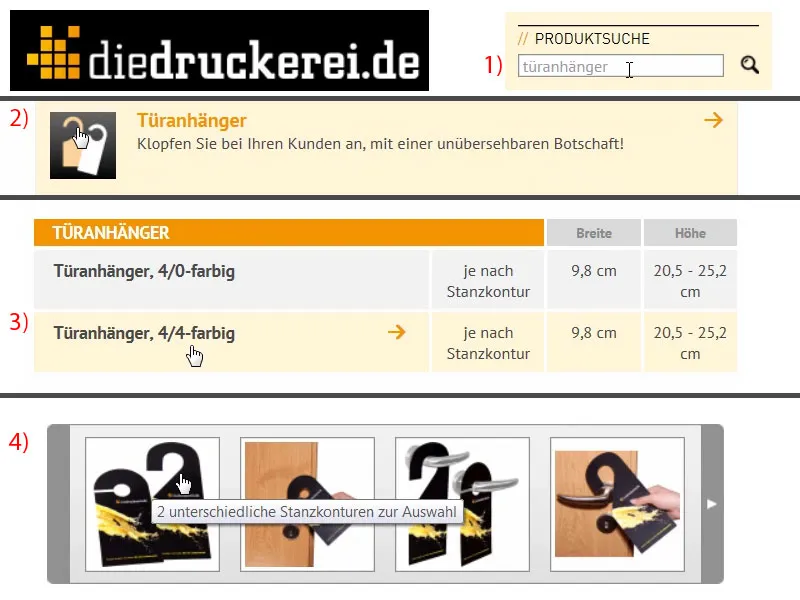
So here's something very practical: under Details (1) you can first choose which format you want. We choose the number 61 (2). Here we can see the dimensions again, but they are actually of no interest to us, because what we need is the template. And take a look: there you can download "61_44_en.indd" (3). This is not the slogan for joining a secret society, no, this is the Adobe InDesign working file. Just click on Download and we will get the template directly on our hard disk ...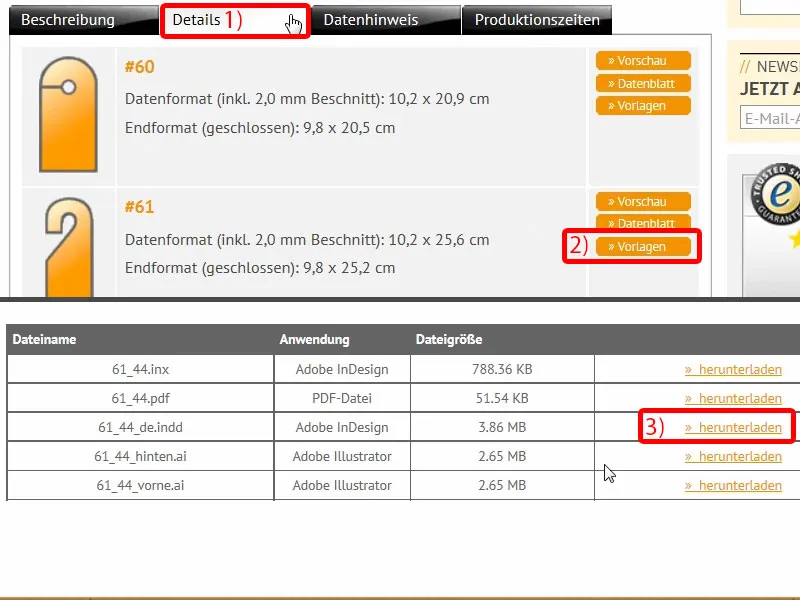
Overview of the print template for the door tag
There it is, and then I can open the template once in InDesign. I simply drag the INDD file into my workspace. And now take a look at what comes out of it: completely finished, we only need to design it, the rest is already created. A look at the layers (1) reveals that we have a layout layer and a layer called "Punch Contour/Cut Contour". This is also marked as "do not print" (2), which means that we will not see it on the PDF when exporting. That fits so far.
And here we really have the dimension we are working with (3).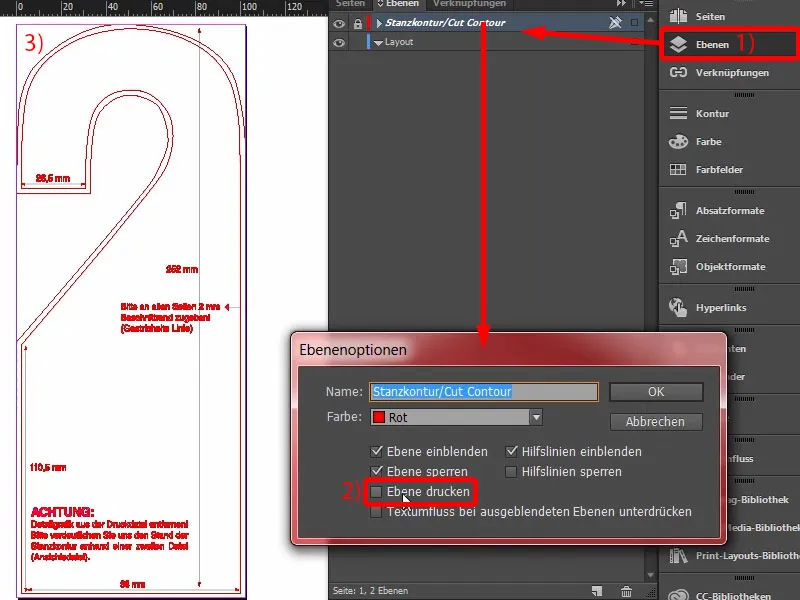
Let's take a look at page two, where the whole thing is of course mirror-inverted. So it fits perfectly. There are a few helpful hints at this point, for example 2 mm spacing ... Wonderful, we can work perfectly with that.
Luckily, our print shop delivers ready-punched, which means we don't have to create a manual cut contour or punching contour. That is not necessary.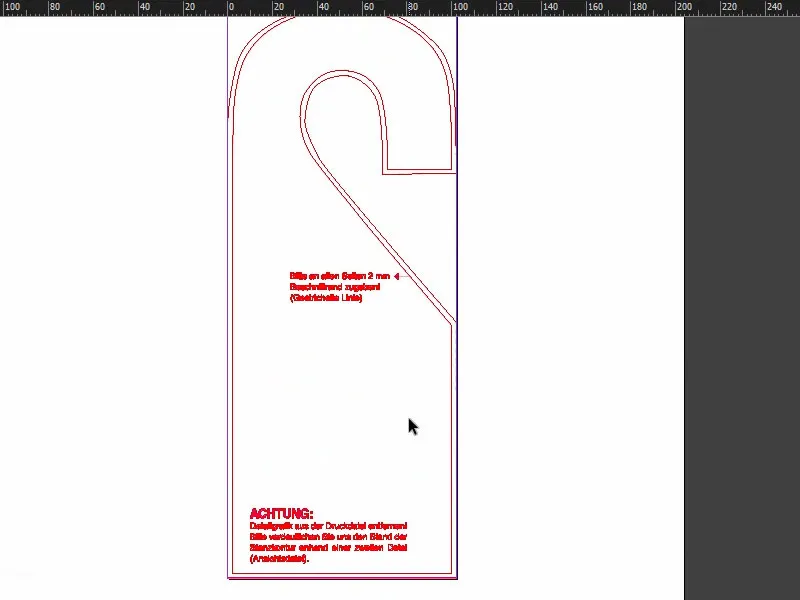
Excursus: creating your own die-cut contour
But now a question: What do you do if you want to die-cut individual shapes? I would like to go into this now, because you may want to design and create something that is not necessarily in a predefined format, but is individual. To do this, I open a new document. The parameters are completely irrelevant, it's all about the visualization.
Let's imagine that we want to design a sticker in the shape of a T-shirt. I'll take the drawing pen (1), zoom in a bit and start to draw a T-shirt like this. It could look like this, for example.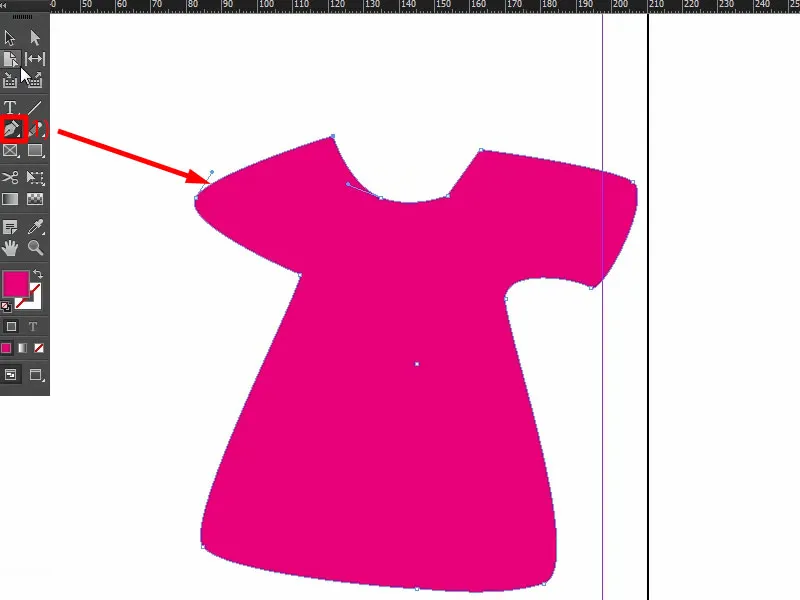
If you want to use a shape like this as a die-cut outline for your print product, for example, it is important that the outline cut is a closed path. We have just created this, i.e. a vectorized contour line. We now only have to turn the T-shirt over once, and it's not the T-shirt that should be cut out, but the excess area around it.
What I have now created in blue is the area that is to be cut off. To do this, draw a frame (1), give it a color (2) and bring the layer with the shirt to the foreground by right-clicking>Arrange>Foreground (3).
I select both, subtract them from each other once using the pathfinder (4), and now we have defined the area to be designed and the surrounding area is cut away (5).
However, what needs to be cut away must also be on a new layer. This means that you go to the Layers panel(6) and create a new layer. For example, call it "CutContour" (7) - you will definitely have to check with your print shop how they want it, but this is a common variant.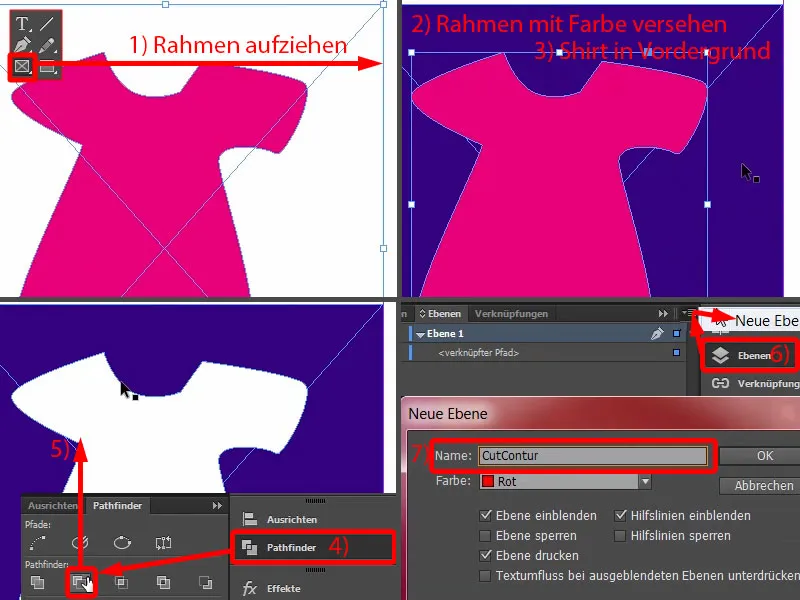
You push the path in there (1), fits (2). Now the path has to be given a very special color, because such a cutting contour has to be created as a spot color or solid color, as it is also called. This means that I go to New color field... (3) and do not select a process color, but a solid color (4). This must be set to 100 % magenta (5). And I give this color field the name CutContour (6), for example. Add (7), OK (8). And this solid color (9) will now not be printed.
When you create such paths, you must also make sure that you have as few intersections as possible and that the corners are not too sharp. Deviations of one or two millimetres are perfectly acceptable, but the contour is not visible as the cutting program only reads the data as a path for the plotter and does not consider it to be a complete part of the layout. So you can work with it. Now you can start designing here, simply create a new layer and then simply design the T-shirt in this white area.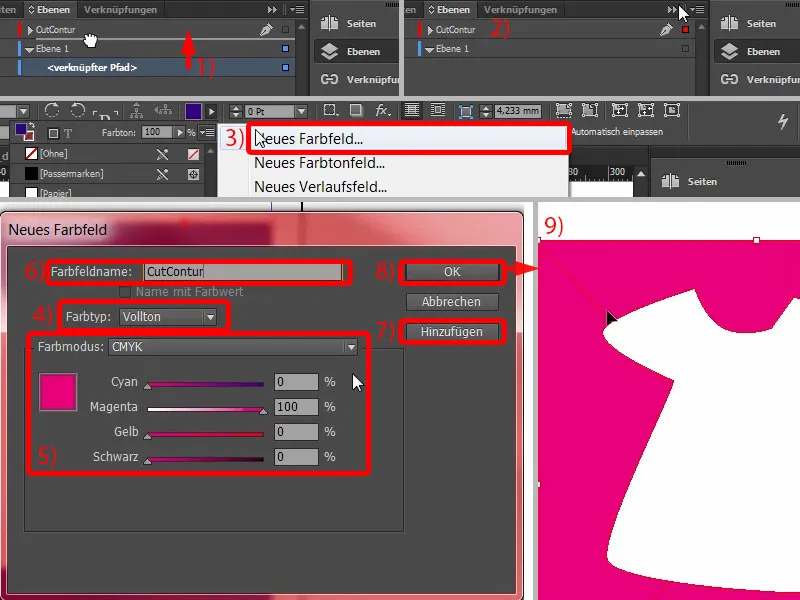
Place image
Back to our template: Fortunately, there is no need to prepare the die-cut contour here, because what we design is automatically cut out, which means that we can paste everything over the entire surface, at least from a design and aesthetic point of view, and fortunately we don't have to worry about that.
Then we get started: We change the layer to the layout layer (1) on which we will be working. I press Ctrl+D for the Place dialogand select our Marianne (2). I can simply position it at the bleed and draw it on (3). She doesn't start dancing because I'm dragging her, but you know what I mean.
Now we just have to mirror it once more, and we can do this via Object>Transform>Mirror horizontally. Pay attention to the reference point (4) at the top here. It should be in the middle, otherwise the photo will jump across the image. So set it to the center and mirror it horizontally.
We can make this a little larger: I go to the handle (5) with the mouse, press the Shift key, I also hold down the Ctrl key, and then I can drag it higher. Maybe that's a good start. The fine adjustment comes later.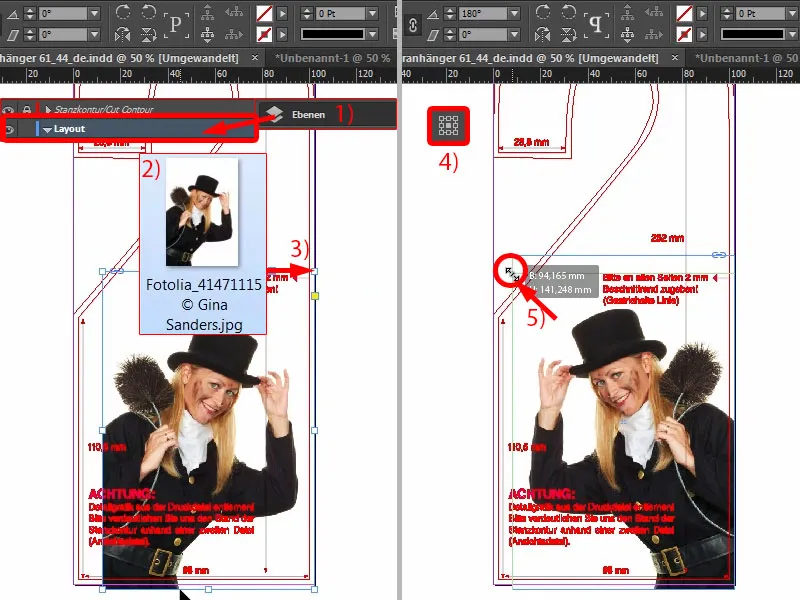
Text fields with a sloping edge
Now let's start at the bottom: I create a new color (1) with the values 46, 0, 100 and 23 for cyan, magenta, yellow and black (2). Simply click on Add (3) and OK (4). Now I select the rectangle frame (5), press the W button (6) to switch between the modes. And then I draw a rectangle (7) ...
The help is well-intentioned, but of course it gets in the way. So I go to the layers and hide the "Punch outline" layer (8). The problem is solved.
Now we want there to be a slight bevel at (7). I'll make a copy of the large rectangle with Alt and Shift and drag it over there (9). I'll adjust the size. For the width, we need about 8 mm (10) so that we can capture the bevel correctly. Now just take the Delete Anchor Point tool and select this anchor point up here (11) ... and it's gone (12).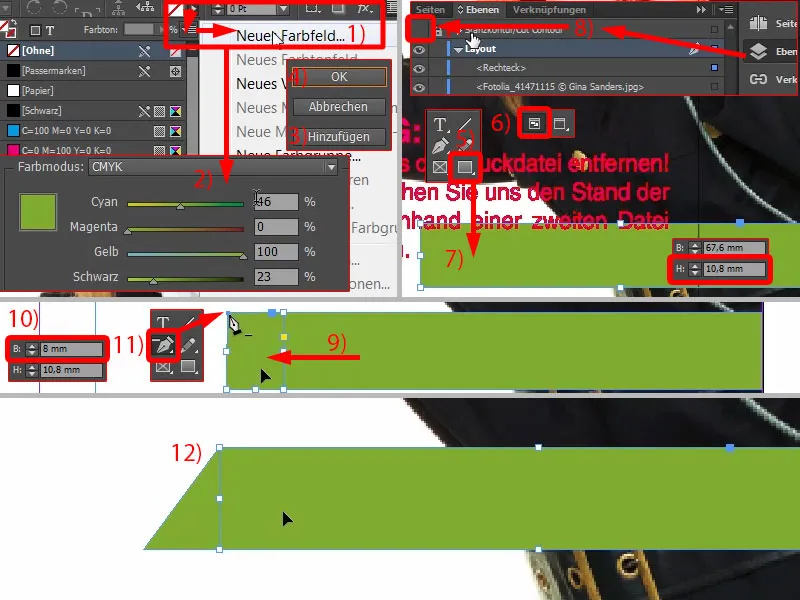
Then I'll make another copy of this large rectangle (1). I'll move it over and turn it into a black rectangle (2).
And now you can use a great tool, here above, the shear angle (3), i.e. the shift on the x-axis. We enter 35° here ... You can see what happens ... I'll move that a little closer, roughly. The 35°, as you can see here (4), is not quite proportional. We can still do a bit of fine-tuning: 37°, exactly (5).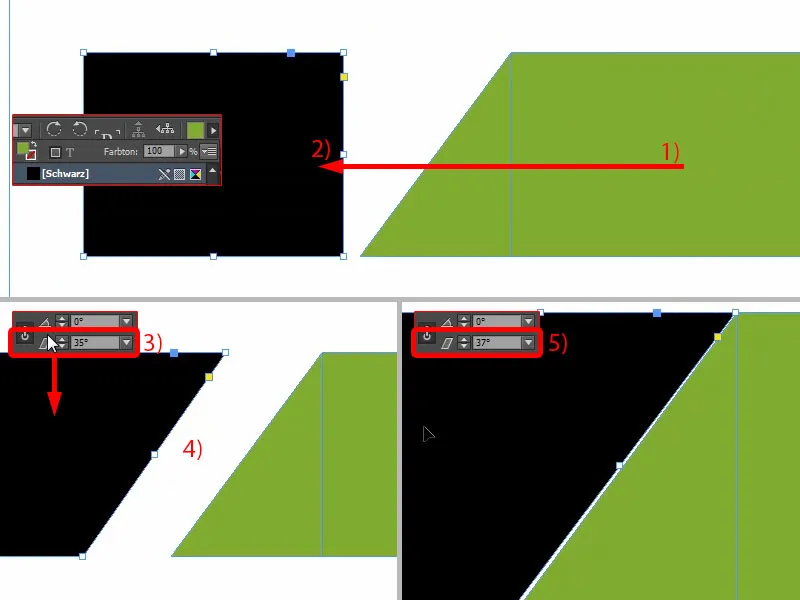
Then get very close (1) and then press the Shift keyand the left arrow key (2) to get a symmetrical distance.
Make a copy of this as well (3), place it right on the edge again (4) and adjust the distance again with Shift and the left arrow key (5). Then reduce the width and switch to green (6).
Now we are standing a bit far out (1). In other words, I'll select all the objects and move them inwards a little (2). That would be quite suitable. We can also remove the excess border here (3).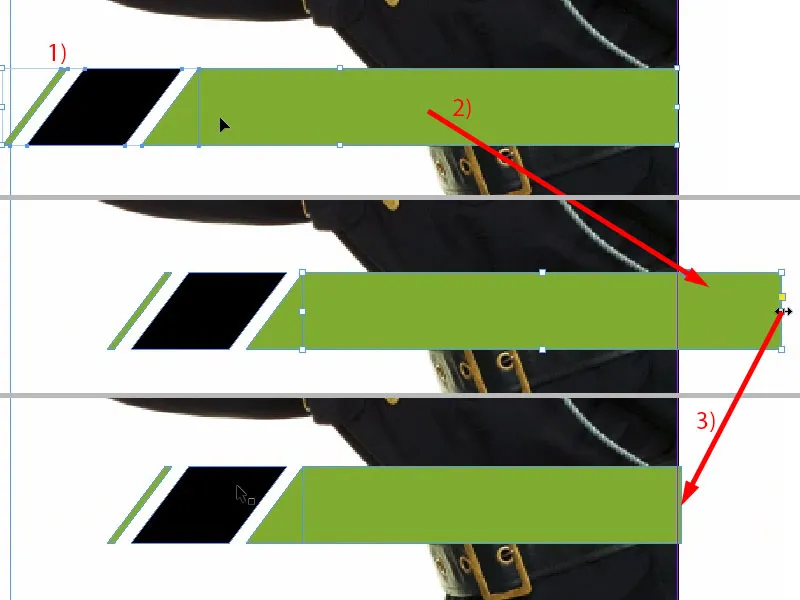
Excursus: different gradations of black
Before we duplicate the whole package, I'd like to tell you something about black, because there are major differences here. You'll hardly believe it, but I'll show you a PDF, "Black in comparison". At the top left you can see the first one, which is a registration mark black, totally saturated, really pure, pure black. However, this is not used as a color in printing, but is used for register marks so that the individual print sheets really line up exactly. This is not a color that is used for printing.
Then we come to our standard black, i.e. C0, M0, Y0, K100. And we have just used this black. In the PDF you can see how it is spit out: not really black. It is slightly grayish, the saturation is not so strong.
But then there is also an increase, namely deep black 1, where you mix in 40% cyan, for example, and then the whole thing becomes a little darker. And there is even a deep black 2, which I hope you can see quite well here, that there are serious differences between the black values and the saturation. Deep black 2 has 50 % cyan, 50 % magenta and 100 % black, which means that we are really at the upper limit of the deepest blackness here - the black of all "blacks", so to speak.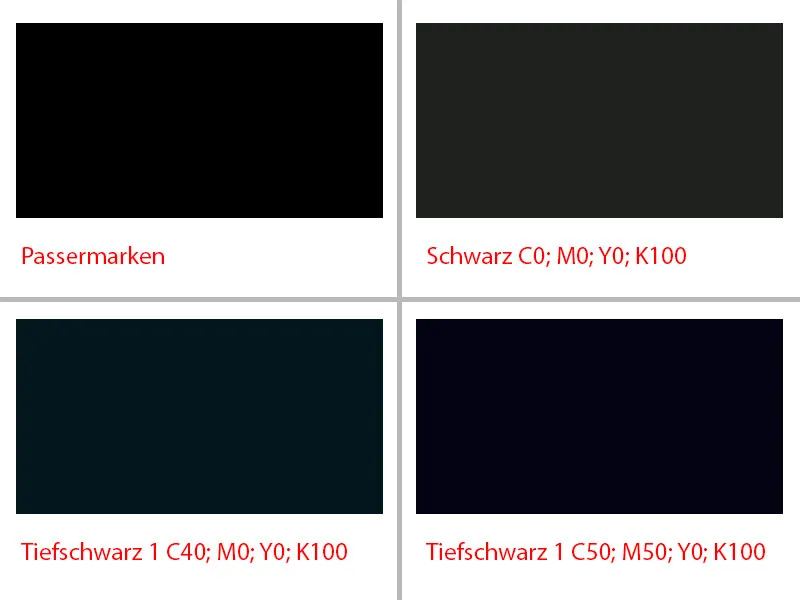
Aligning text fields and inserting text
And this is exactly what we are going to create. Quickly create a new color field and enter the values: 50, 50, 0, 100 (1), Add (2), OK (3). And we assign exactly this color value to this black box (4). I delete all other, unused colors (5 and 6).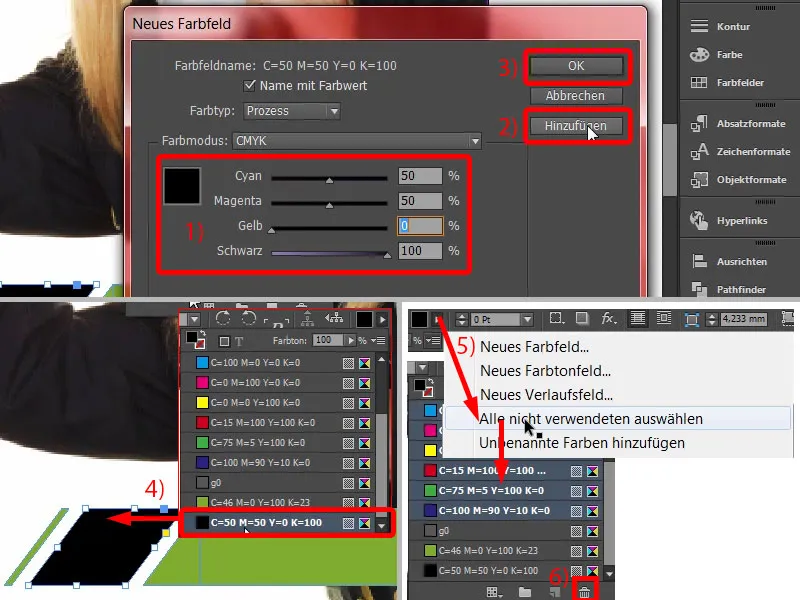
Now let's create a clone of it. Copy everything once by holding down the Shift keyand move it down one level using the Alt-Shift key. Now I'll move the whole thing a little to the left (1).
Now we have to be careful (2) that we maintain this great bridge in white (3). I think it looks quite fitting. Let's take a look at it ... It has to be right, otherwise it looks kind of funny and you can tell.
Let's move this green box a little to the right (4).
And then we can add the two (5 and 6, 7 and 8) together using the pathfinder, adding them once each (9). Voila.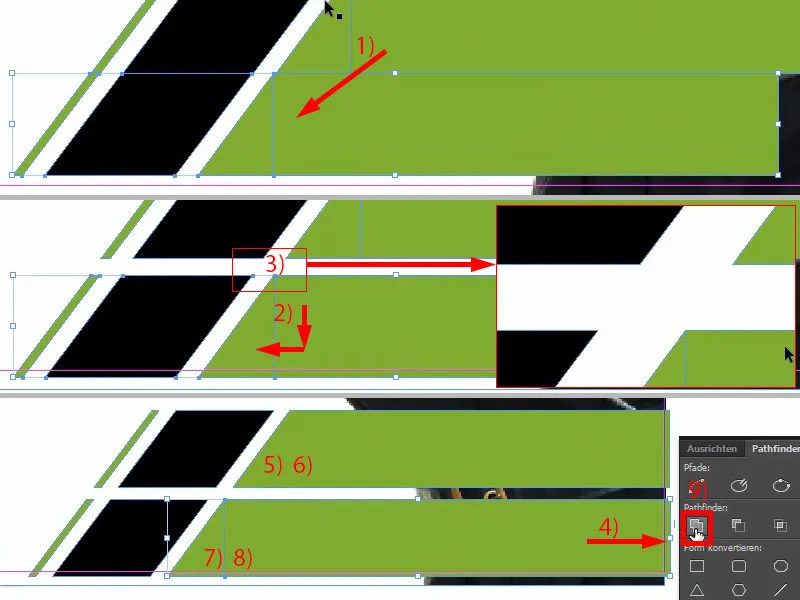
Now let's get to work on the texts. This means simply drawing a text field once. I decided to use the Raleway font in the Medium font style. Font size 13 pt, color white. This is where the telephone number comes in, I simply drop it in from the clipboard (1). Then adjust the height once (double-click at 2) ... And now we have to work a bit by eye, because as you can see, there is still a bit of space between the numbers and the end of the text box. This means that if we were to use the Align panel, the results would be distorted. In other words, a healthy sense of proportion is required here. A little higher perhaps ... I could imagine it like this (3).
Then I simply make a copy of it and add the Internet address (4). I align that too, and place it in the middle.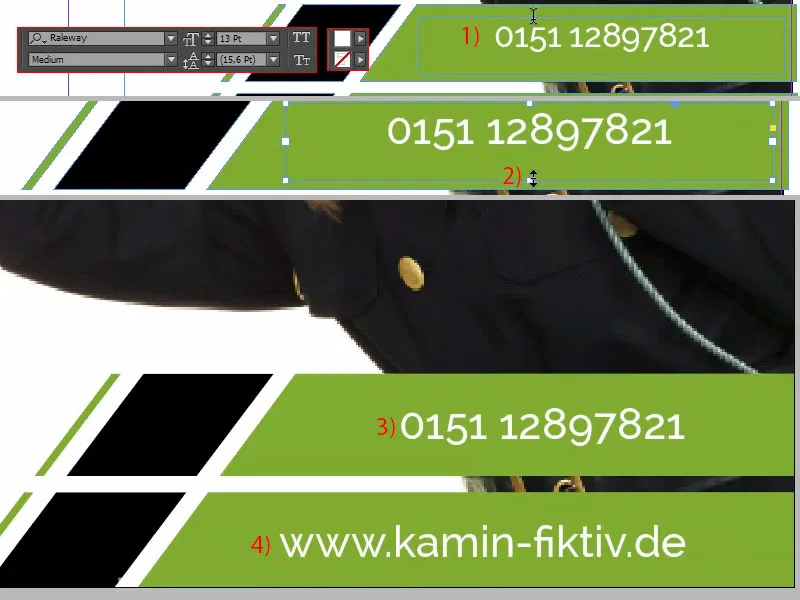
Last but not least, I briefly lock the Marianne in the background image using right-click Lock or Ctrl+L for "Lock" (1). Now I can select everything without further ado (2), the Marianne is not included, and then the whole thing goes up a little to this point (3). Okay.
All that's missing are these little icons. We can pack them in quite easily. I've already prepared the right one here in my library (4). So drag & drop once - phone, web address.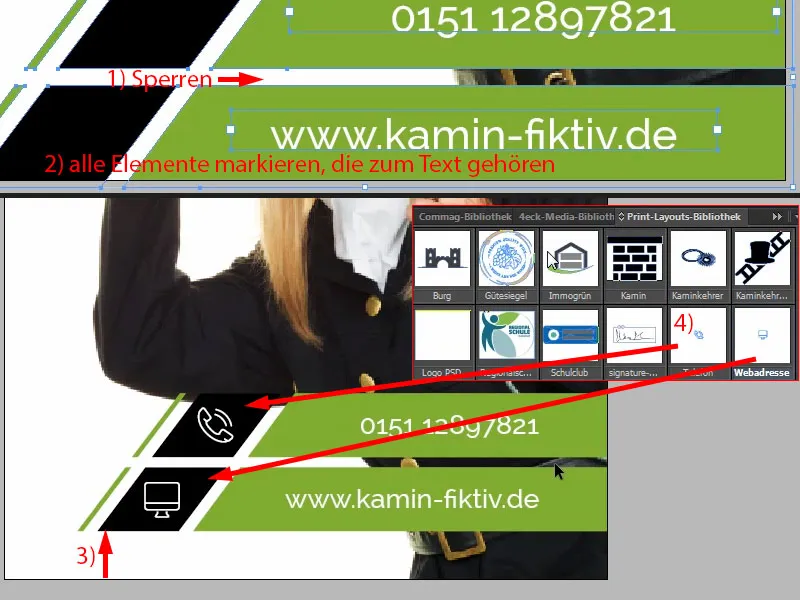
That was the lower part.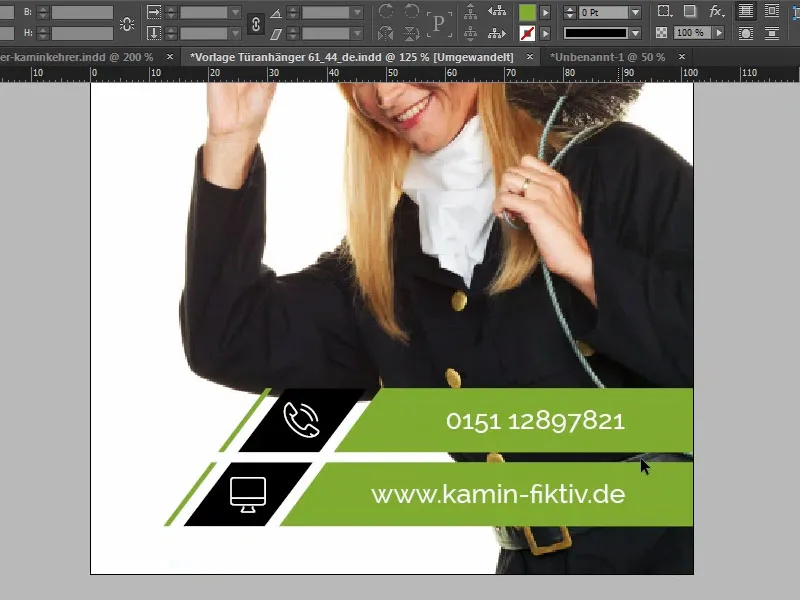
Designing the middle section of the door hanger
In the middle section, we draw another rectangle (1). As you can see, we always work with elements that are repeated. The height can be up to 17 mm (2). Color: black (3). You simply have to maintain a certain consistency, you have to repeat various colors and various shapes so that the viewer simply feels comfortable because he then thinks: "Ah, I recognize that, I've seen that somewhere before, that's the color of the chimney sweep", and so on and so forth. That's why an outline is also added here, 3 pt (4).
And then we write in, again in the raleway, but this time the light in 24 pt with capital letters and white color: "Kaminkehrer" (5).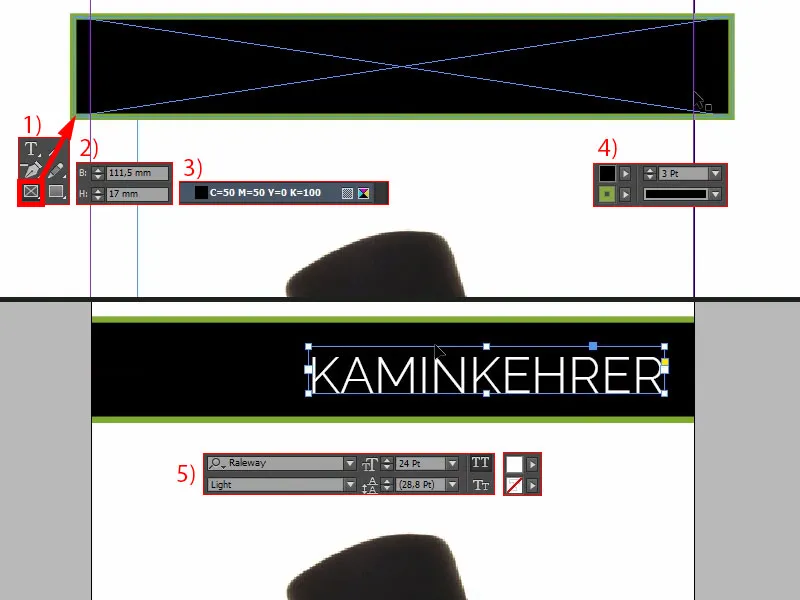
We have to be a little careful with the positioning, because: If I fade in the die-cut outline again, we can see that it is being cut here. So you have to be careful so that the chimney sweep doesn't lose its title (1).
I'll copy the text field (2), move it to the top and change the color to black. I will now set all black elements to deep black (3). And I'll write in there, without capitals and with 18 pt (4): "Yours". Then you can simply position it. Make another copy of it and write in the new text field: "was there" (5). Then I pay a little attention to the alignment: Here, for example, the left-hand "M" could be roughly identical to the upstroke of the "I" (6).
Then, to be on the safe side, let the outline fade in again (see 1). Cool, isn't it?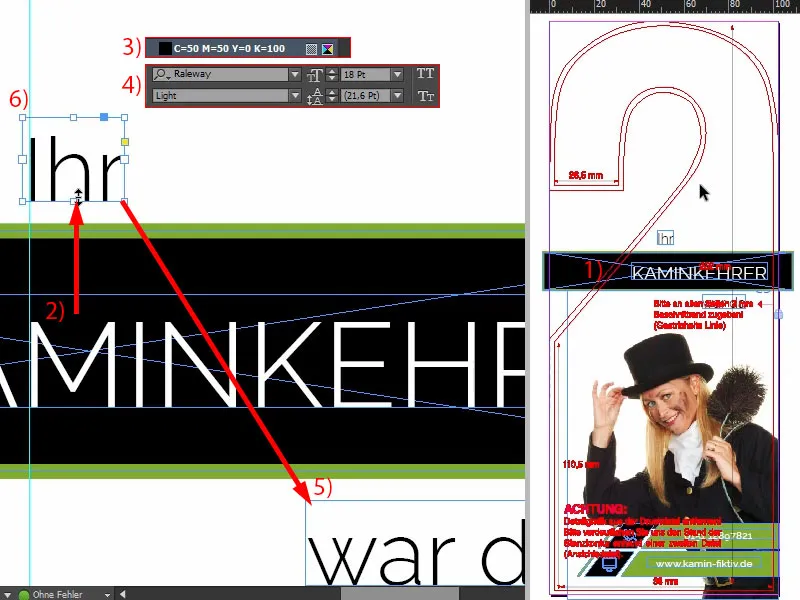
Designing the upper part of the door hanger
Finally, I add the hand. Simply open the Place dialogvia Ctrl+D and select the hand (1). Then rotate and position it nicely so that the fingertips and the imprints on the front of the fingers are somehow included in the picture. They must not be cut off.
So let's rotate it a little further and then I'll position it so that the finger is slightly in the crop (2). I've already explained this to you in another tutorial: objects and images that you position in the bleed automatically look more exciting and interesting. A bit bigger ... okay. I can live with that, that's how it will stay in the end.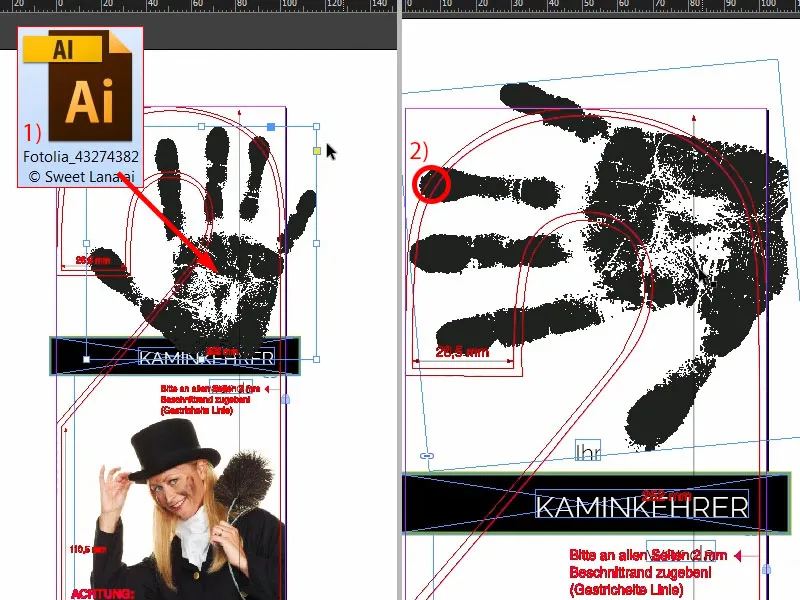
Aligning the picture
Now we're going to align the Marianne. This means that we will unlock it once using the layer control panel(1). Now we'll select the image content, which you can do via this donut here in the middle (2), and then I'll simply move it a little higher. Let me show you what I'm paying attention to here: I want there to be a little space between the bottom edge of the sleeve and the top edge of this black element (3). Not too much, but this is definitely too squashed, so it goes up. We may also need to enlarge the picture frame (4). Now adjust the image content again. That's it.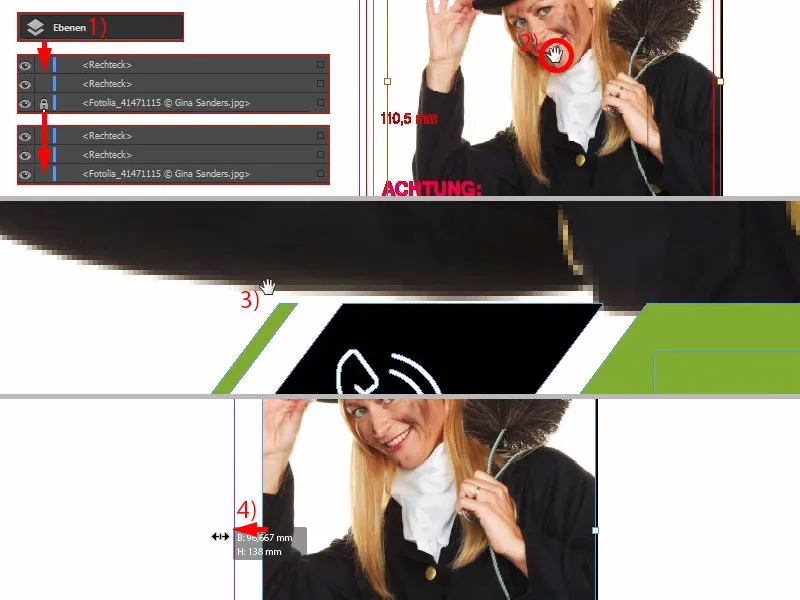
The front is now finished ...