In this tutorial, I will show you step by step how you can customize the various navigation elements on your Facebook page. You will learn how to arrange important tabs, such as videos or donation campaigns, according to your preferences.
Key Takeaways
- You can easily customize the navigation of your Facebook page to highlight important information.
- Drag-and-drop is a simple method to move and rearrange tabs.
- Deleting or deactivating unnecessary tabs can make your page more organized and user-friendly.
Step-by-Step Guide
To edit the navigation of your Facebook page, follow these simple steps.
Step 1: Access the editing option
First, you need to navigate to your Facebook page. There you will find the option to edit the tabs. Scroll to the bottom where you will see the "Edit tabs" button. Click on it to proceed.

Step 2: Review the tabs
Once you have clicked on "Edit tabs," you will see an overview of all available tabs. Here you can check which tabs are active and which are not. You should be able to enable or disable each tab individually.
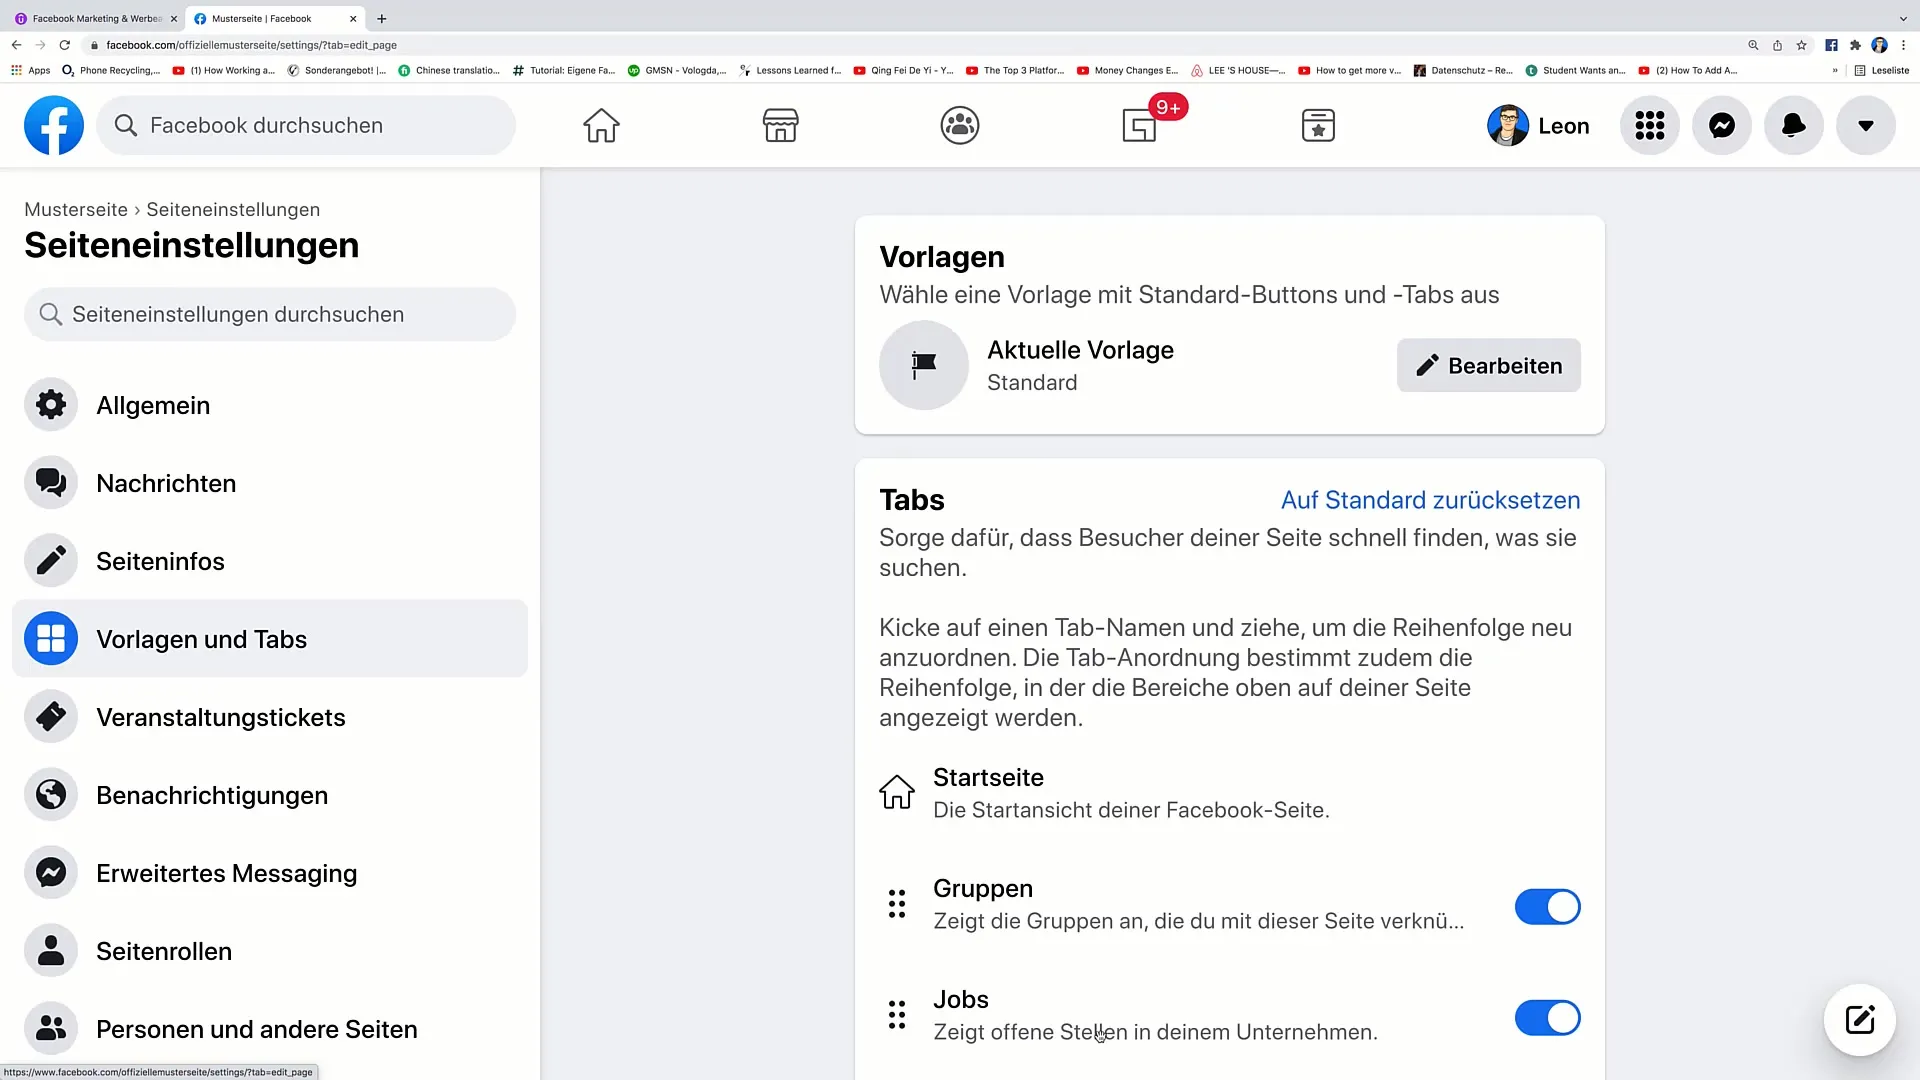
Step 3: Customize the tabs
If you want to customize certain tabs like "Jobs" or "Videos," you can now rearrange them. To move a tab, such as "Videos," click on the six small dots next to it. Hold down the mouse button and drag the tab to the desired position.
Step 4: Use drag-and-drop
Dragging tabs is done through a drag-and-drop functionality. Simply drag the tab up or down in the list and release it where you want it. This allows you to adjust the arrangement the way that suits you best.
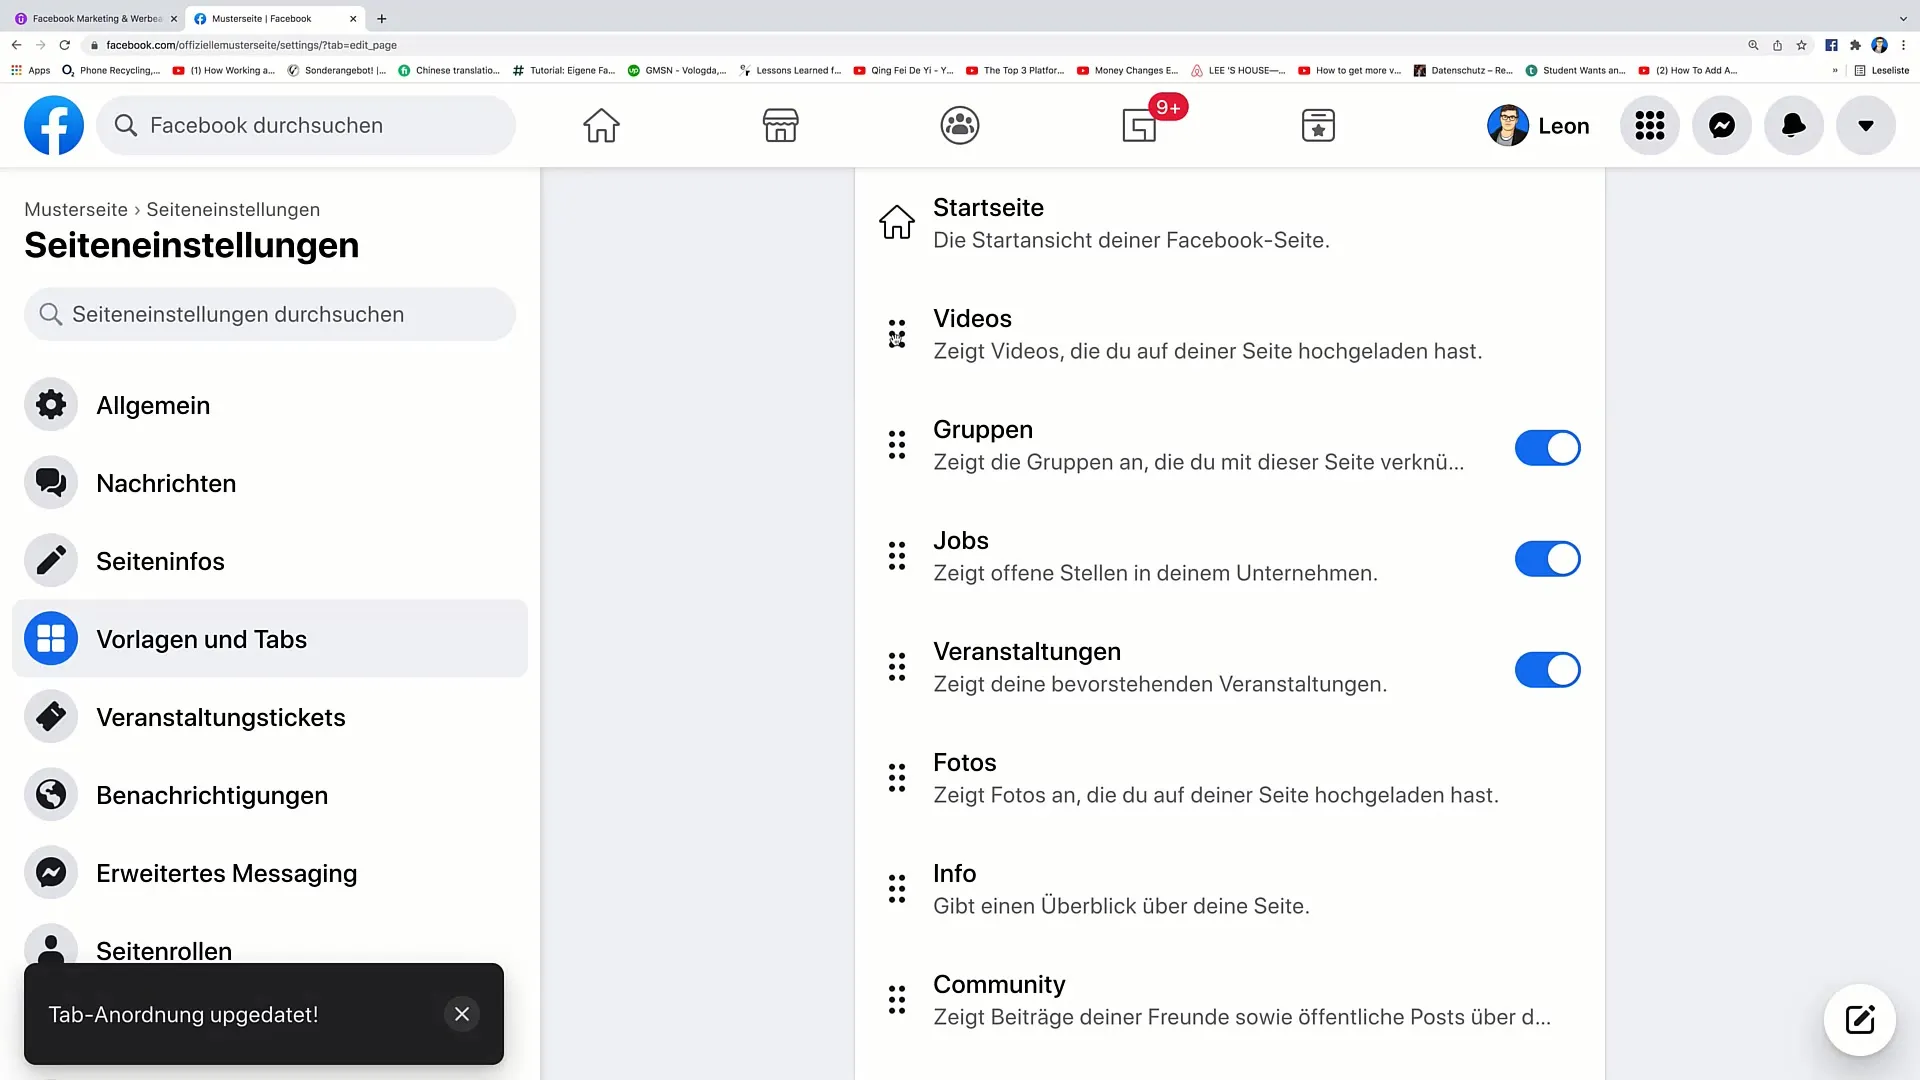
Step 5: Add more tabs
In addition to existing tabs, you can also add more. Consider which other elements may be important to your visitors, such as reviews or donation campaigns. You can also rearrange these by drag-and-drop to the desired position.
Step 6: Check the arrangement
After arranging the tabs to your liking, go back to the overview. You can now see the new tab arrangement. Check if everything looks as you imagined.
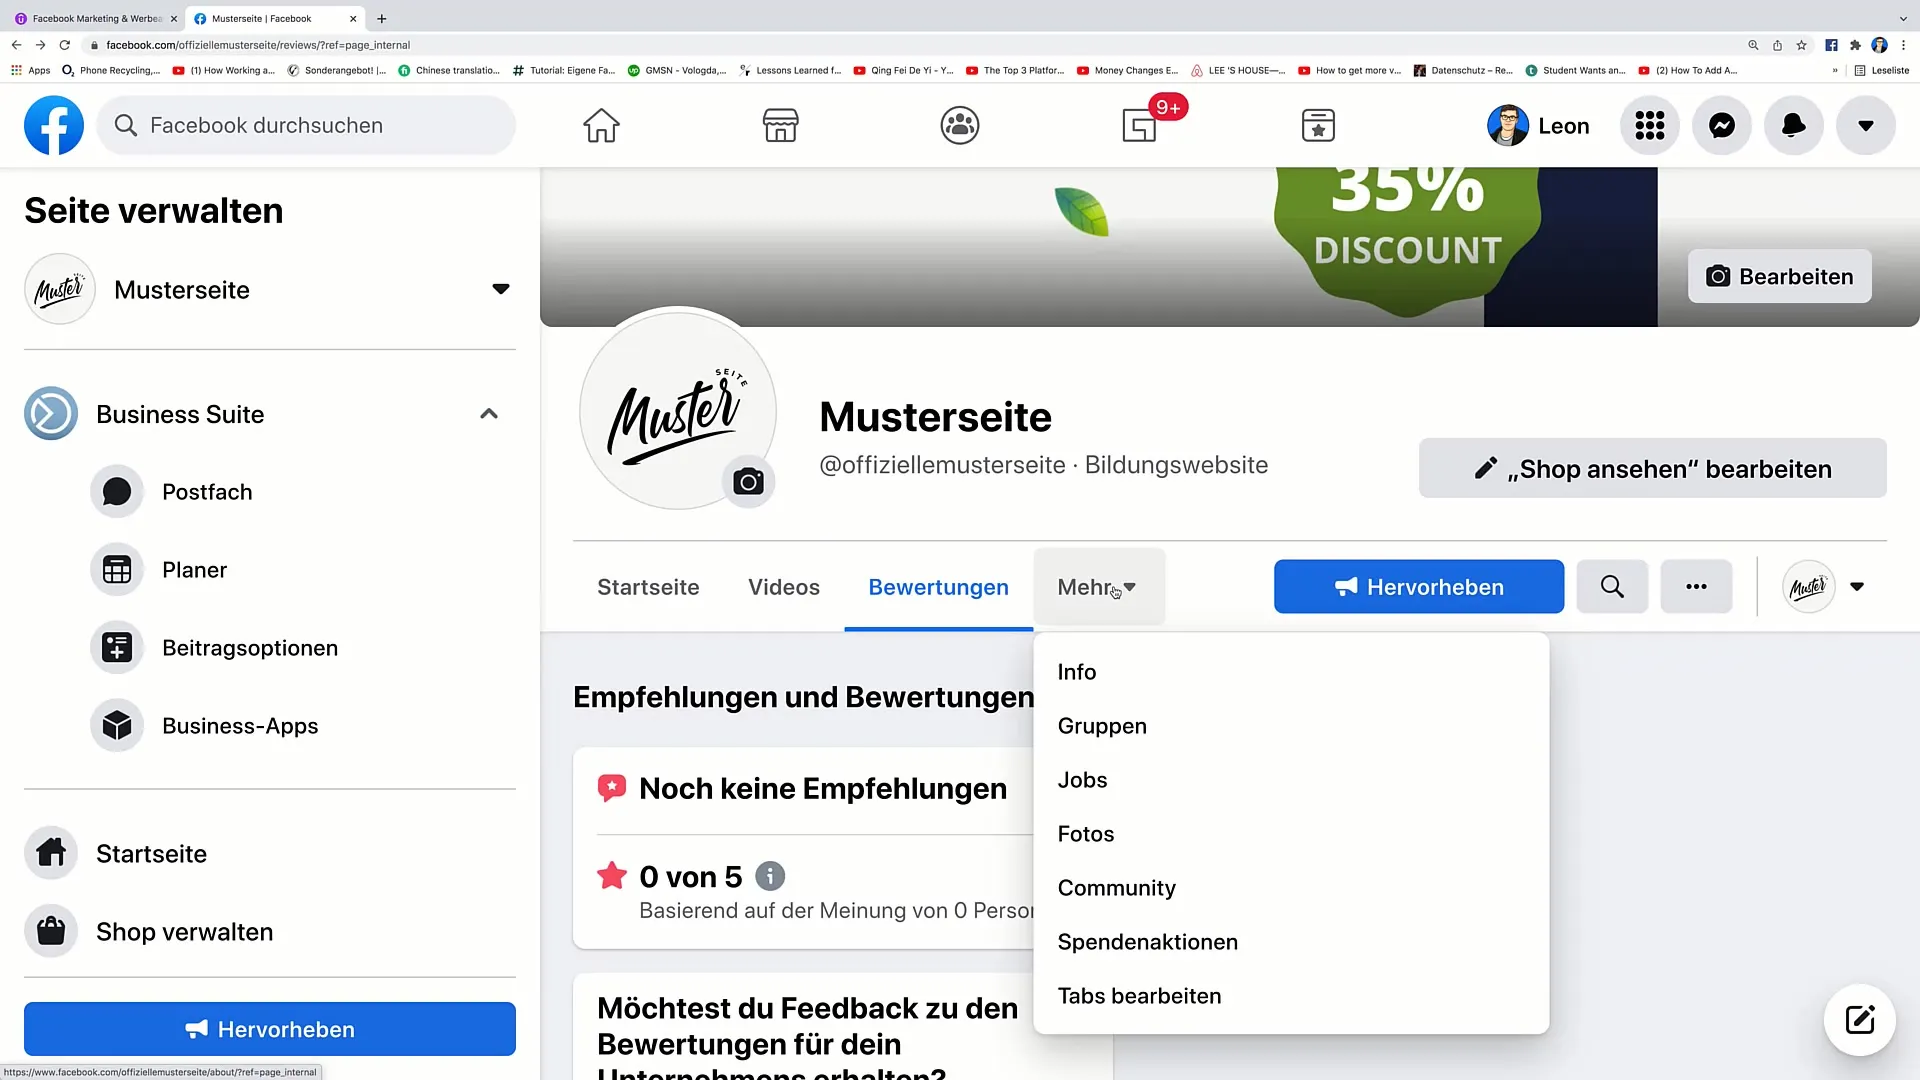
Step 7: View from the outside
To ensure everything looks good, you can now view the page from the perspective of visitors. Click on different points and see if the tab arrangement meets your expectations. This way, you get an idea of how users perceive your page.
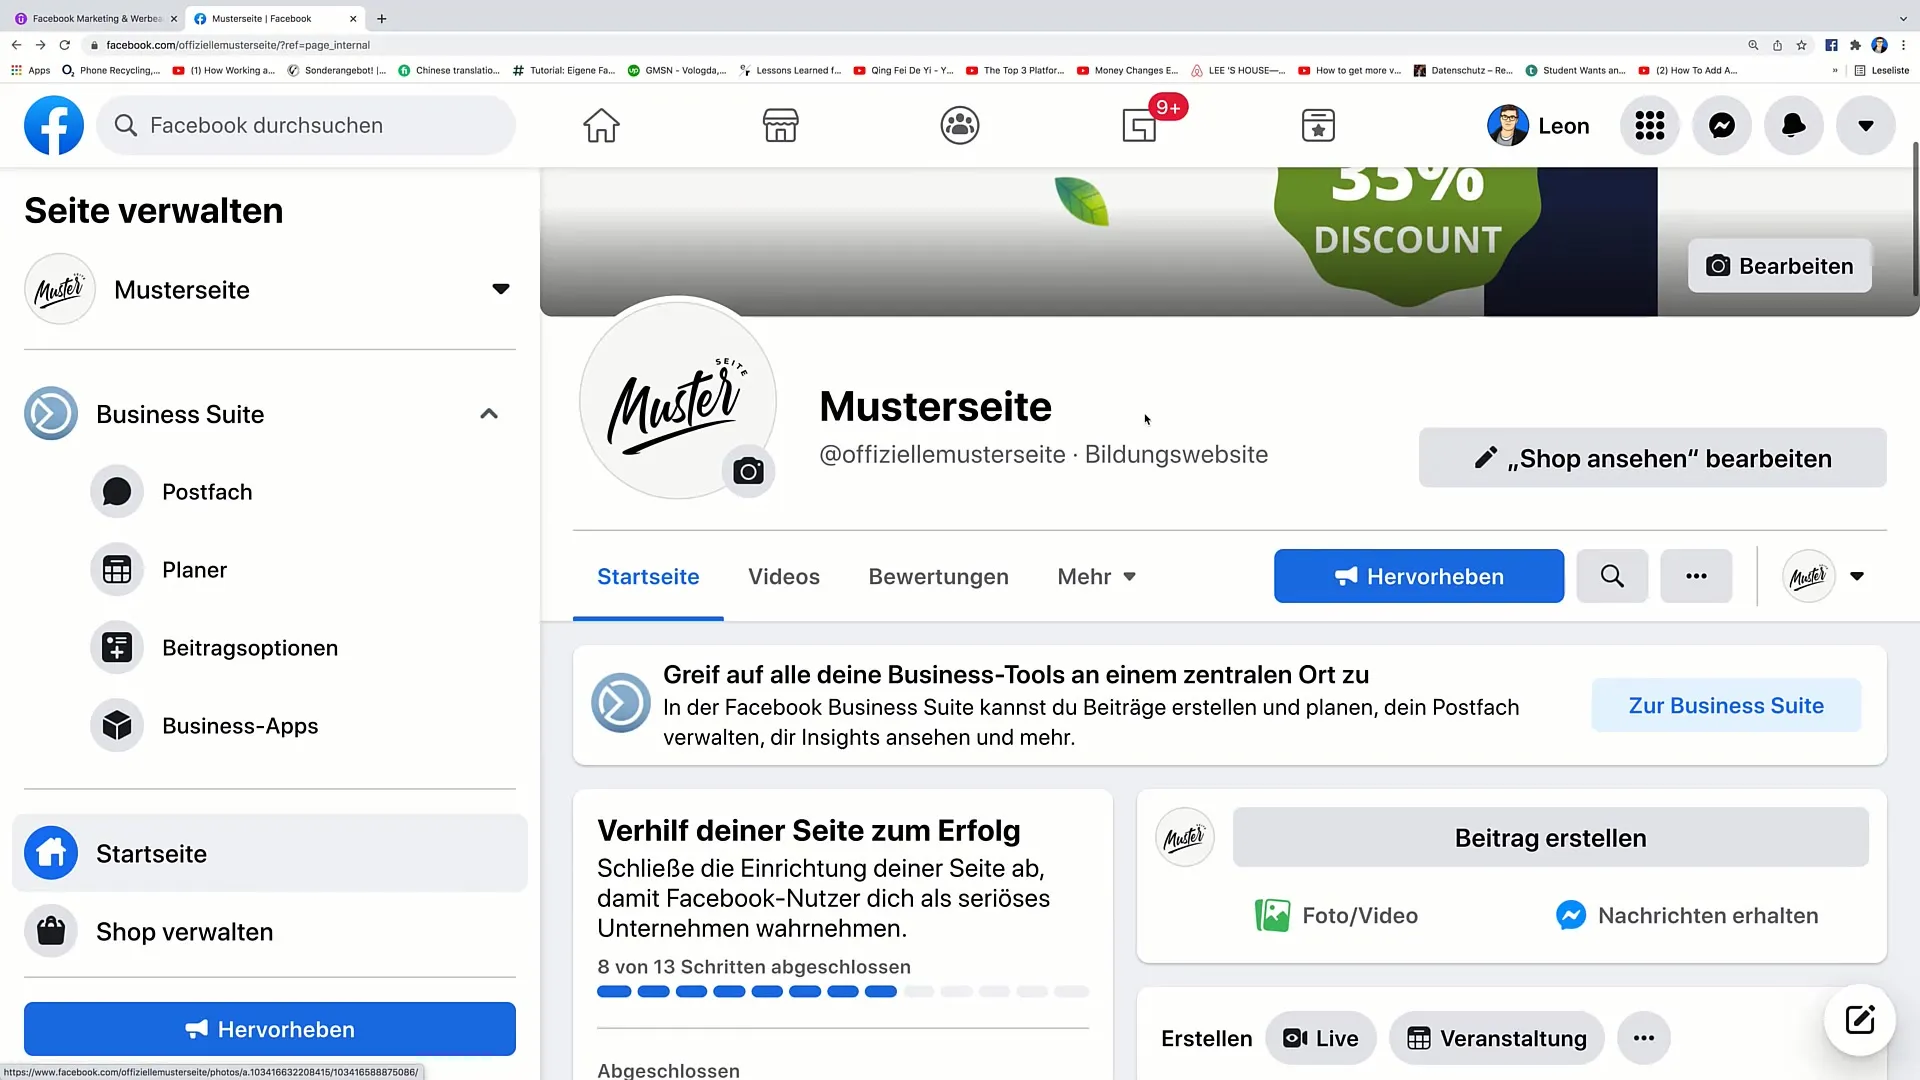
Step 8: Make adjustments
If you notice something is wrong or needs to be changed during the review, simply go back to the editing options. It is important to ensure that the navigation of your page is user-friendly and that the most important information is at the top.

Summary
In this video tutorial, you have learned how to effectively edit the navigation of your Facebook page. You can easily enable or disable tabs and rearrange them through drag-and-drop. This process enhances user experience and highlights important information that can help your visitors.
Frequently Asked Questions
How can I edit the tabs on my Facebook page?You need to click on "Edit tabs" at the bottom of the page to view all available tabs.
Can I completely remove tabs from my Facebook page?Yes, you can disable or delete tabs that you no longer need.
How does the drag-and-drop function work?You drag the desired tab to the new position while holding down the mouse button and release it there.
Can I add new tabs?Yes, you can add new tabs and also change their arrangement.
What if I don't like the new arrangement?You can always go back to editing and readjust the arrangement.


