In this tutorial, you will learn how to effectively create a Collection ad with an Instant Experience on Facebook. The Collection ad is a particularly innovative format that allows you to creatively showcase multiple products or services and effectively target your audience. This type of advertising is ideal for e-commerce providers and service providers who want to visually showcase their offerings. Let's walk through the process step by step.
Key Insights
- Collection ads allow for creative presentations of products and services.
- Instant Experience ensures that content loads quickly, even on slow internet connections.
- The right target audience is crucial for the success of the ad.
Step-by-Step Guide
Step 1: Creating the Ad
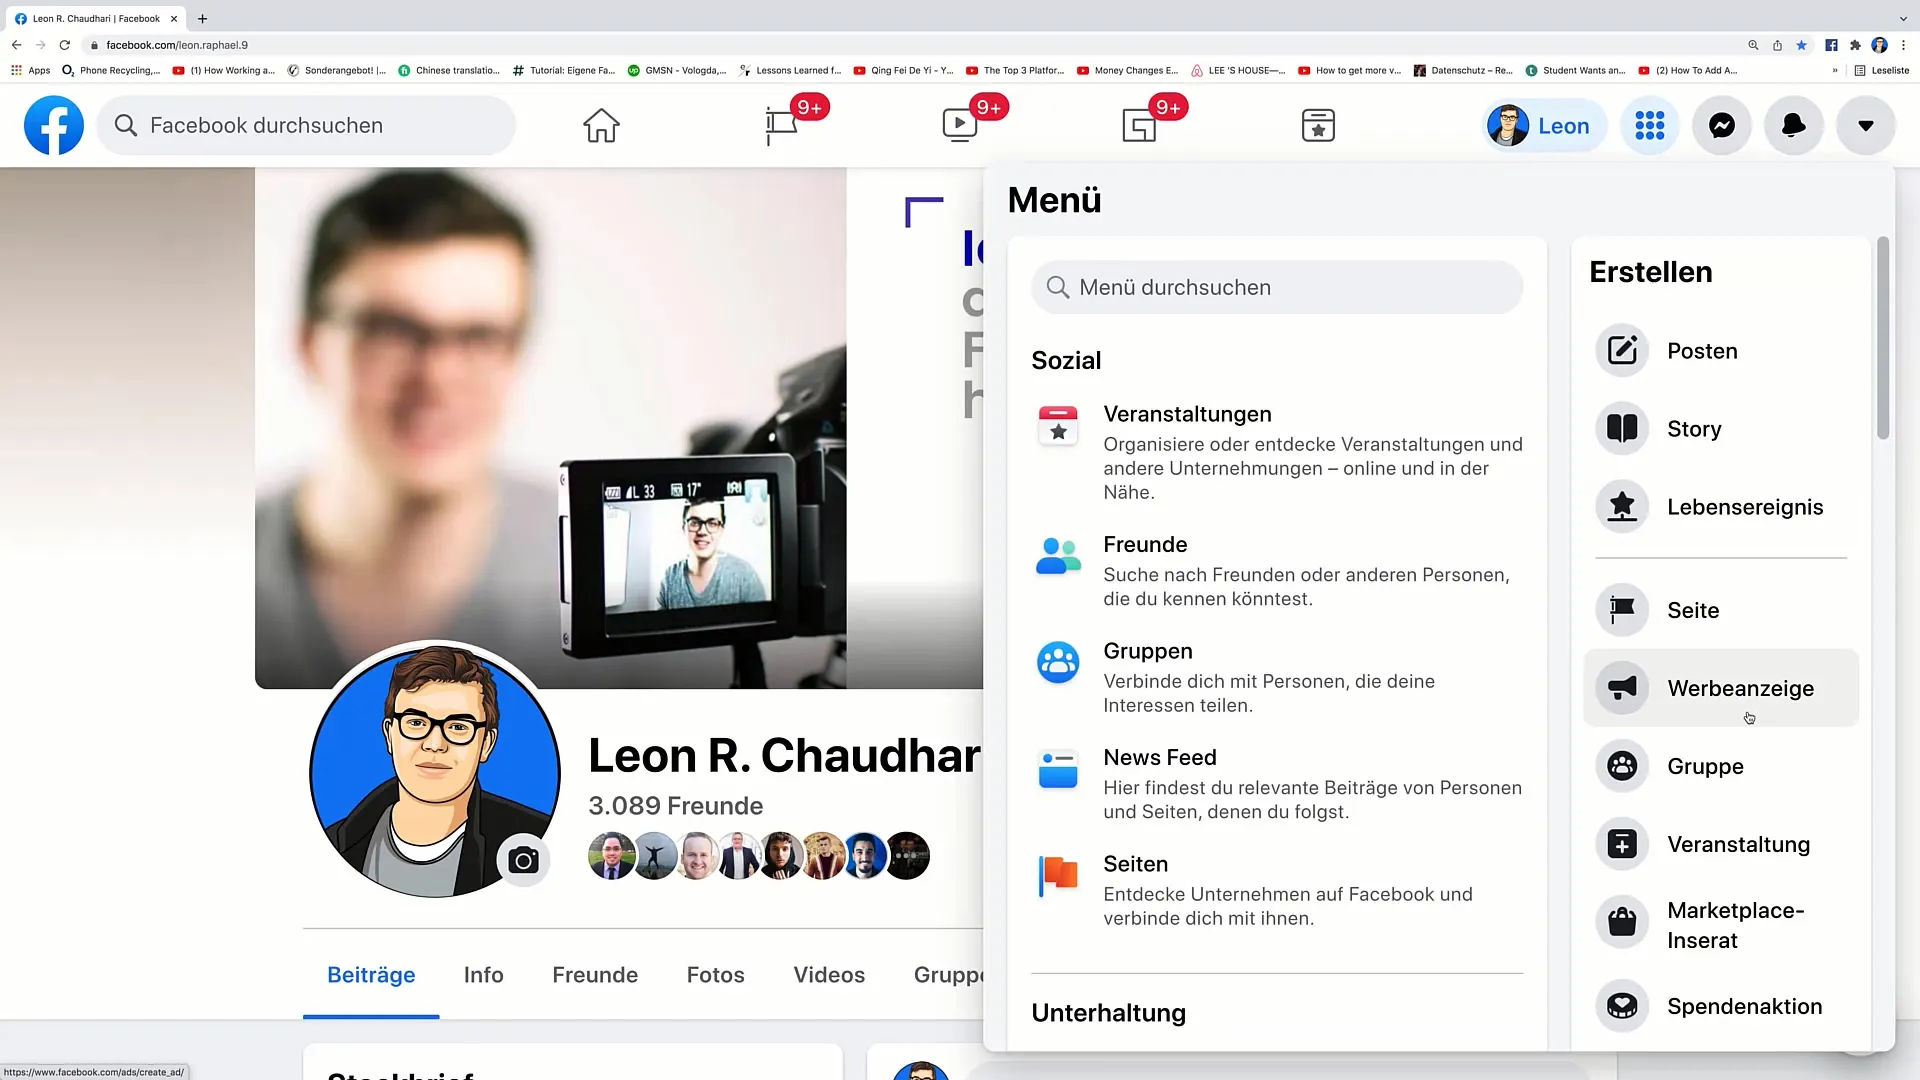
To start creating your Collection ad, you first need to access the Facebook Ads Manager. Click on the button to create a new ad.
Step 2: Choosing the Campaign Objective
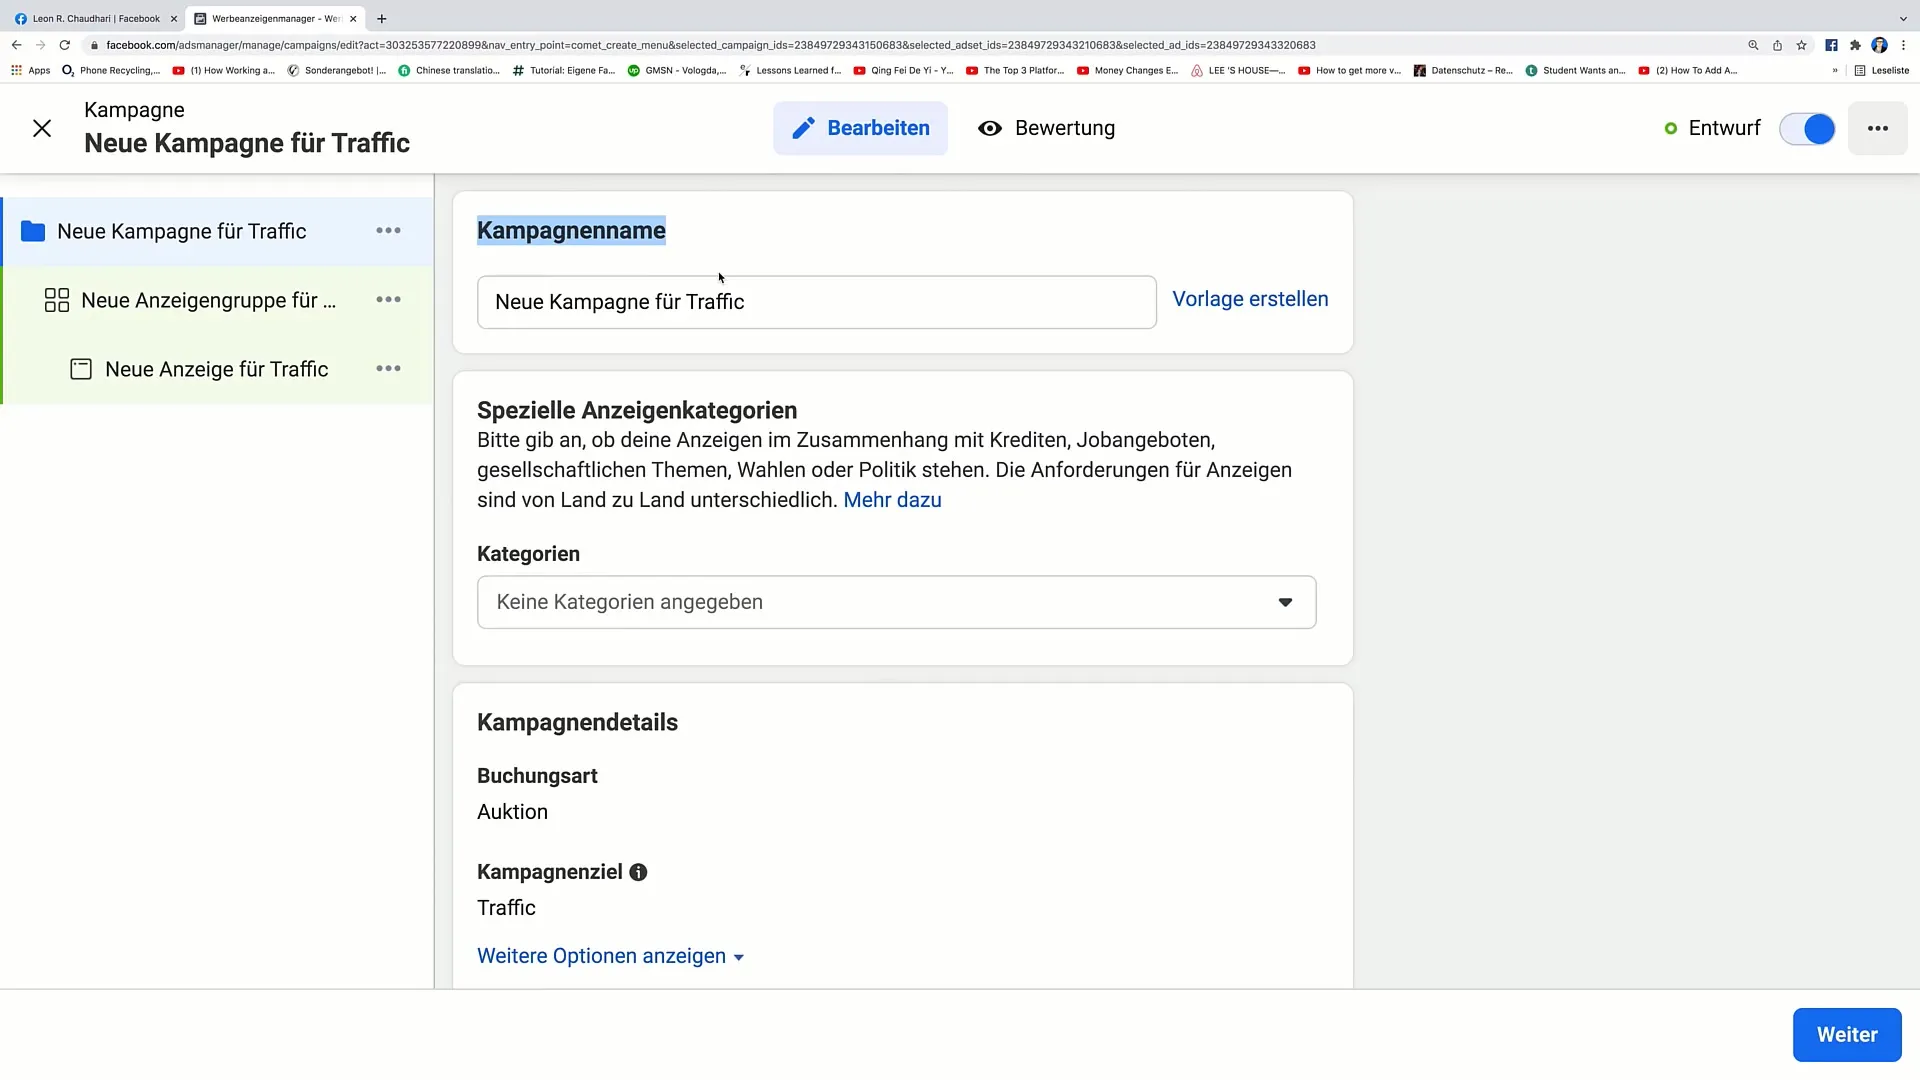
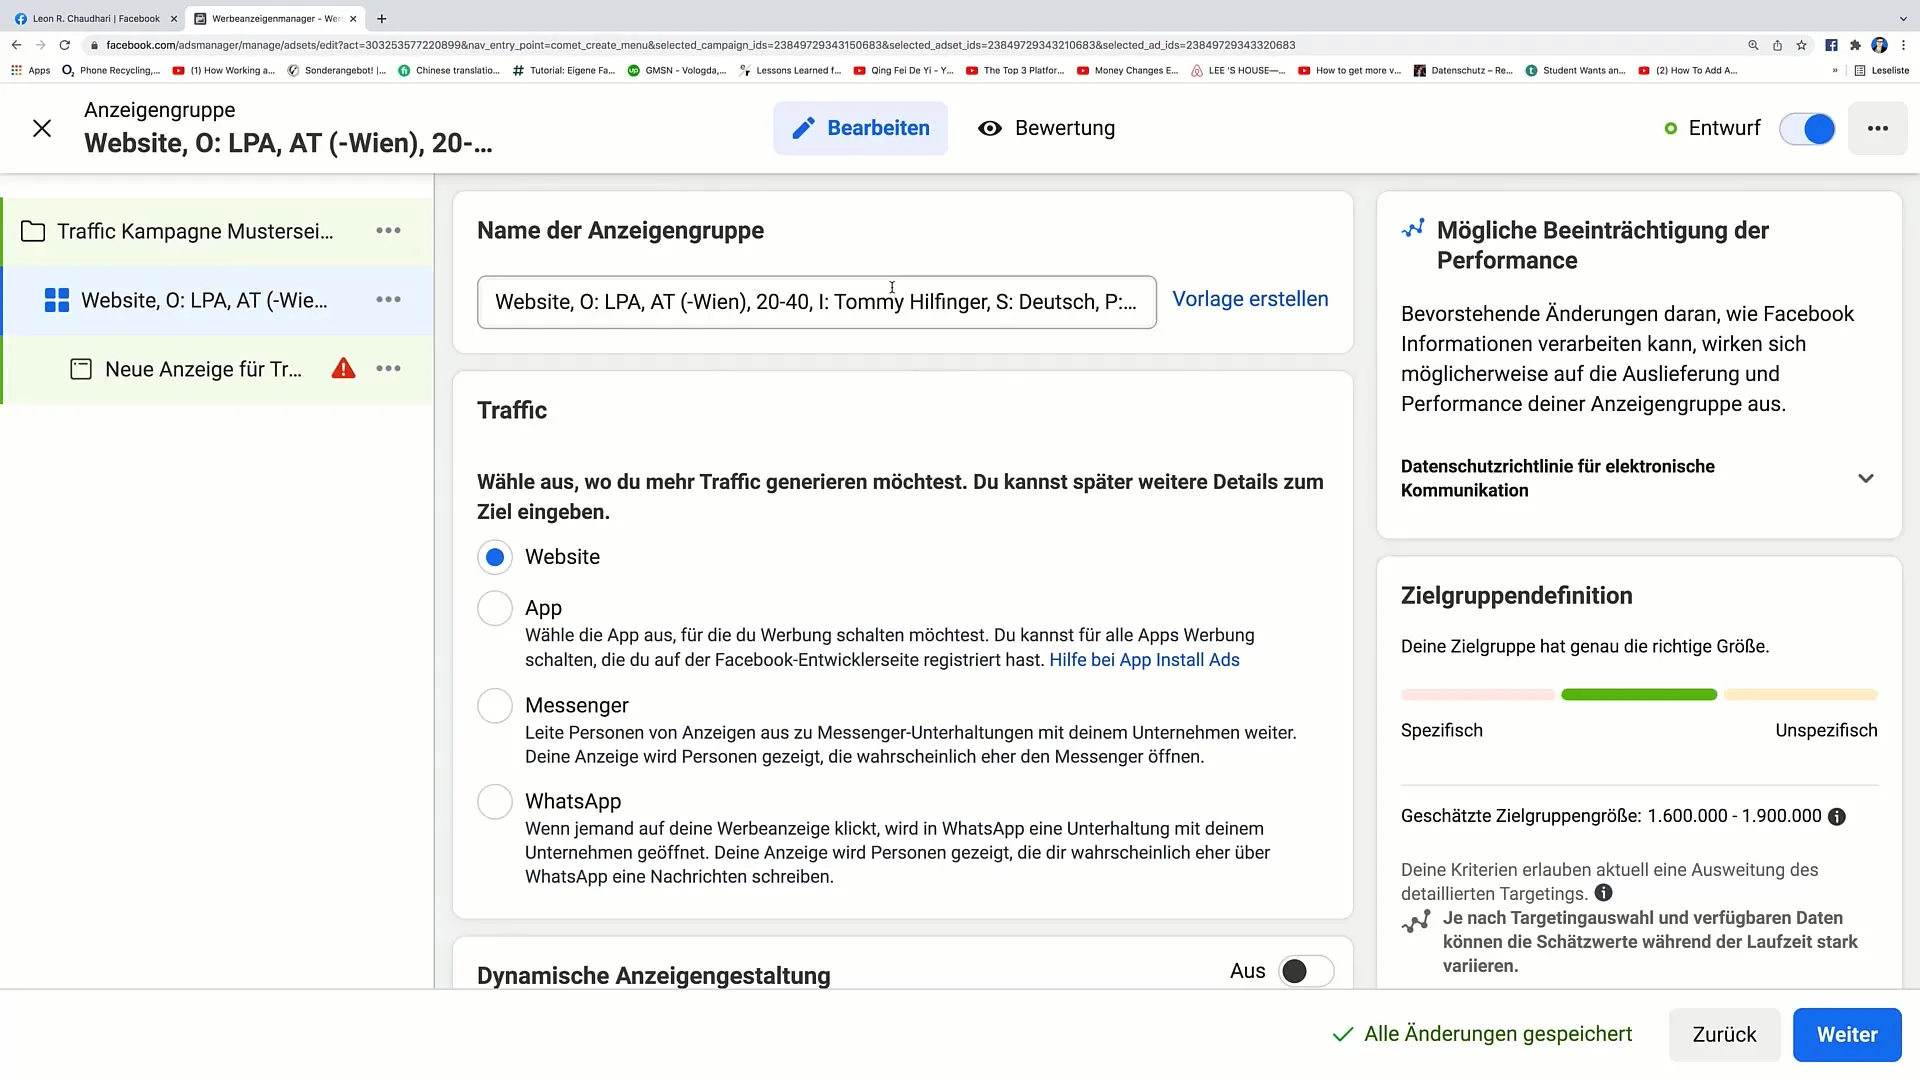
For your campaign, select the "Traffic" objective. This objective is ideal if you want to focus on website visits. Give your campaign a specific name, e.g., "Traffic Campaign Sample Page".
Step 3: Setting Up Ad Groups
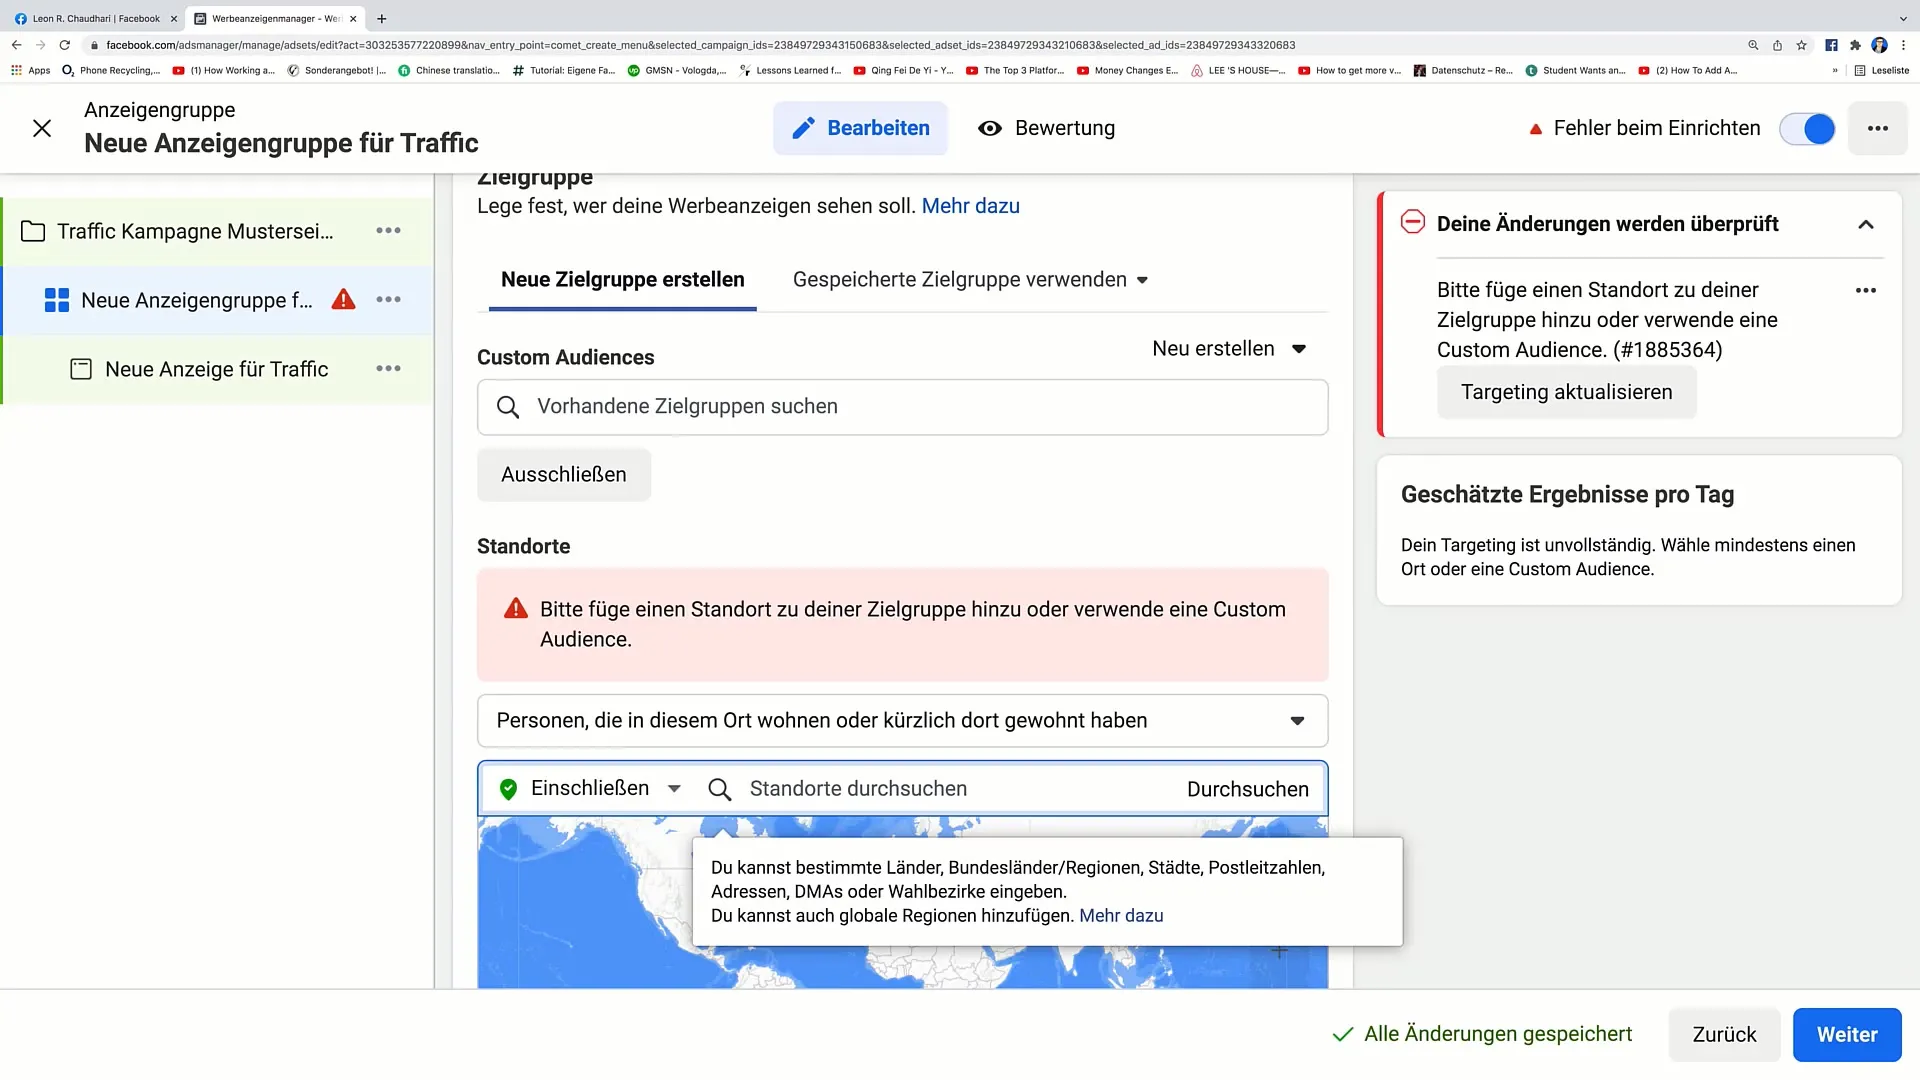
Also, give your ad group a meaningful name. It's important to give clear names so that you can easily keep track of the different ad groups later on.
Step 4: Defining the Target Audience
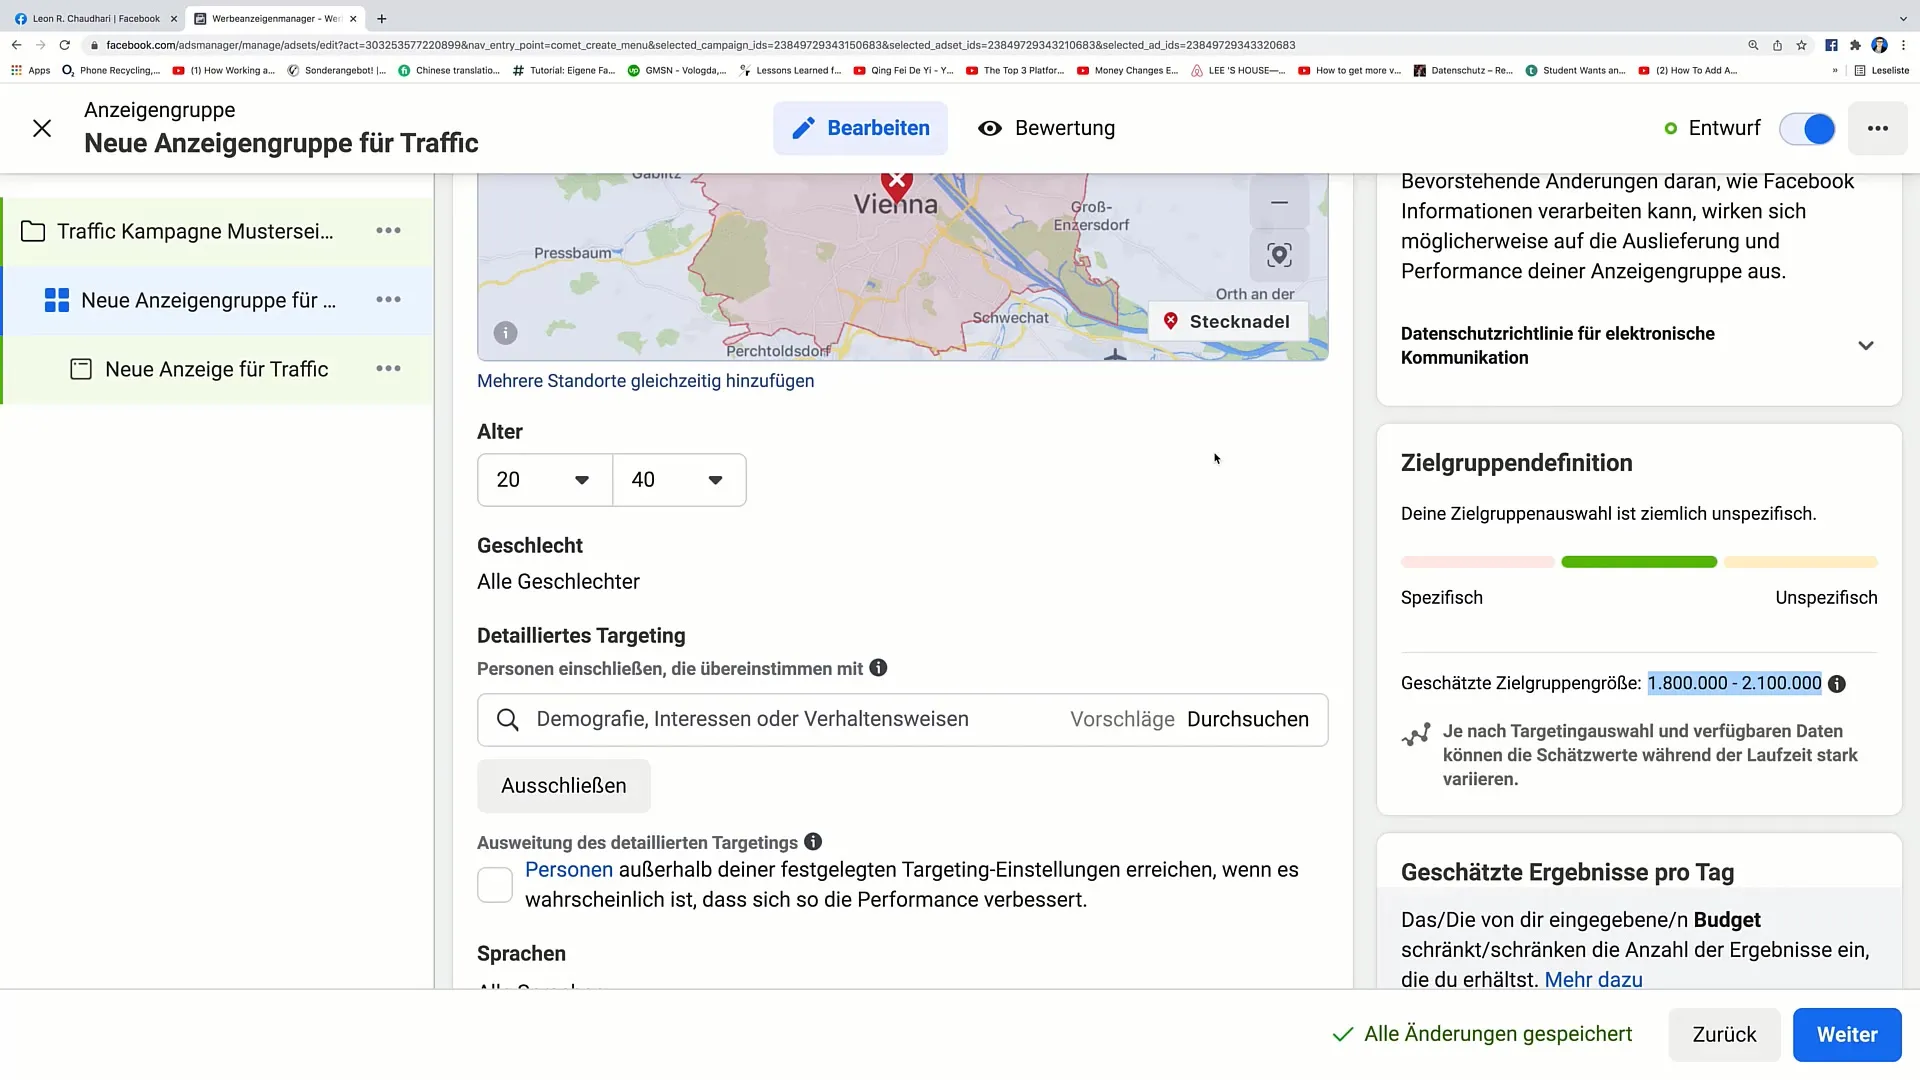
In the next step, you need to define your target audience. Choose criteria such as geographical location, age, and interests to target specific users. Make sure your target audience is not too small – you should maintain an appropriate reach.
Step 5: Setting Budget and Schedule
Now set your budget. For example, you can specify 20 euros per day. Also, determine a schedule so that your ad runs at the desired times. It is also possible to set an end date for your campaign.
Step 6: Choosing Placements
For ad placement, choose "Automatic Placements." This allows Facebook to display the ad where it performs best.
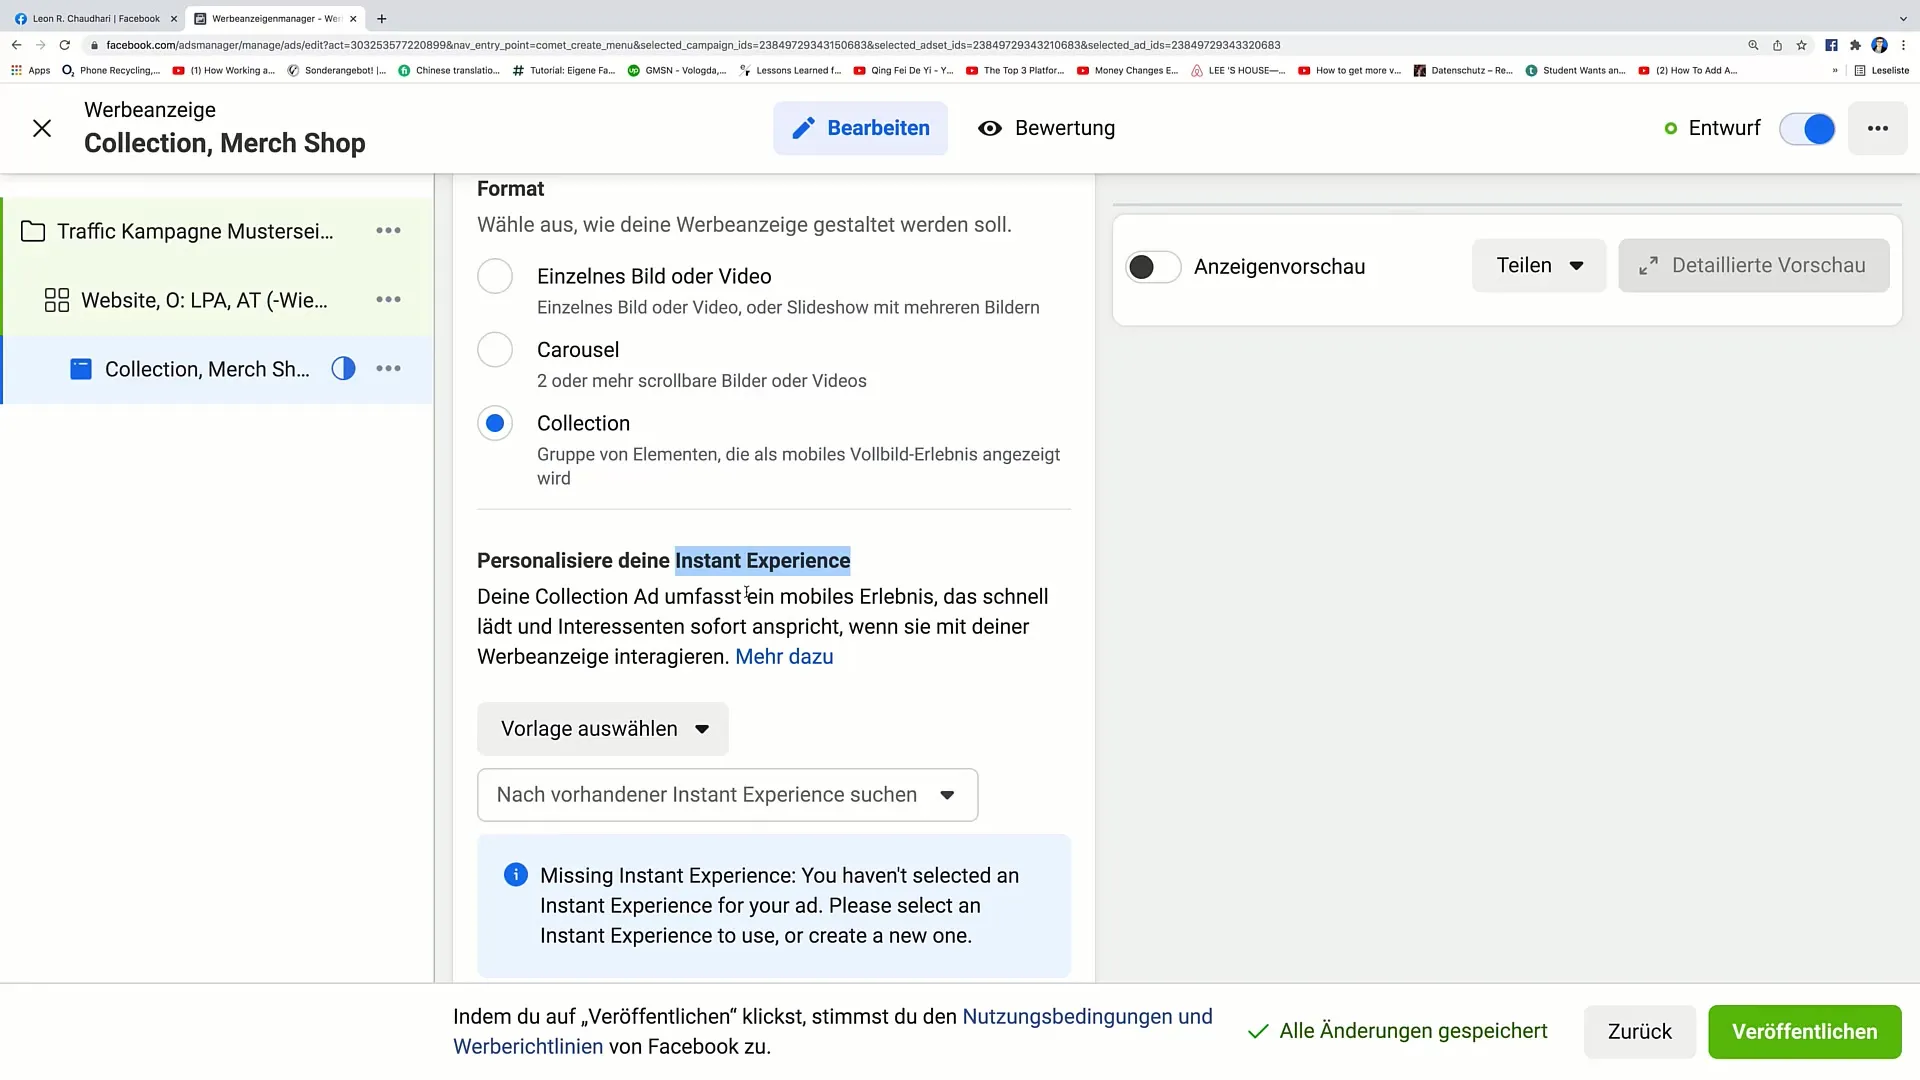
Step 7: Creating the Instant Experience
Now it's time to create the Instant Experience. Click on the button for the Collection ad and then choose "Instant Experience".
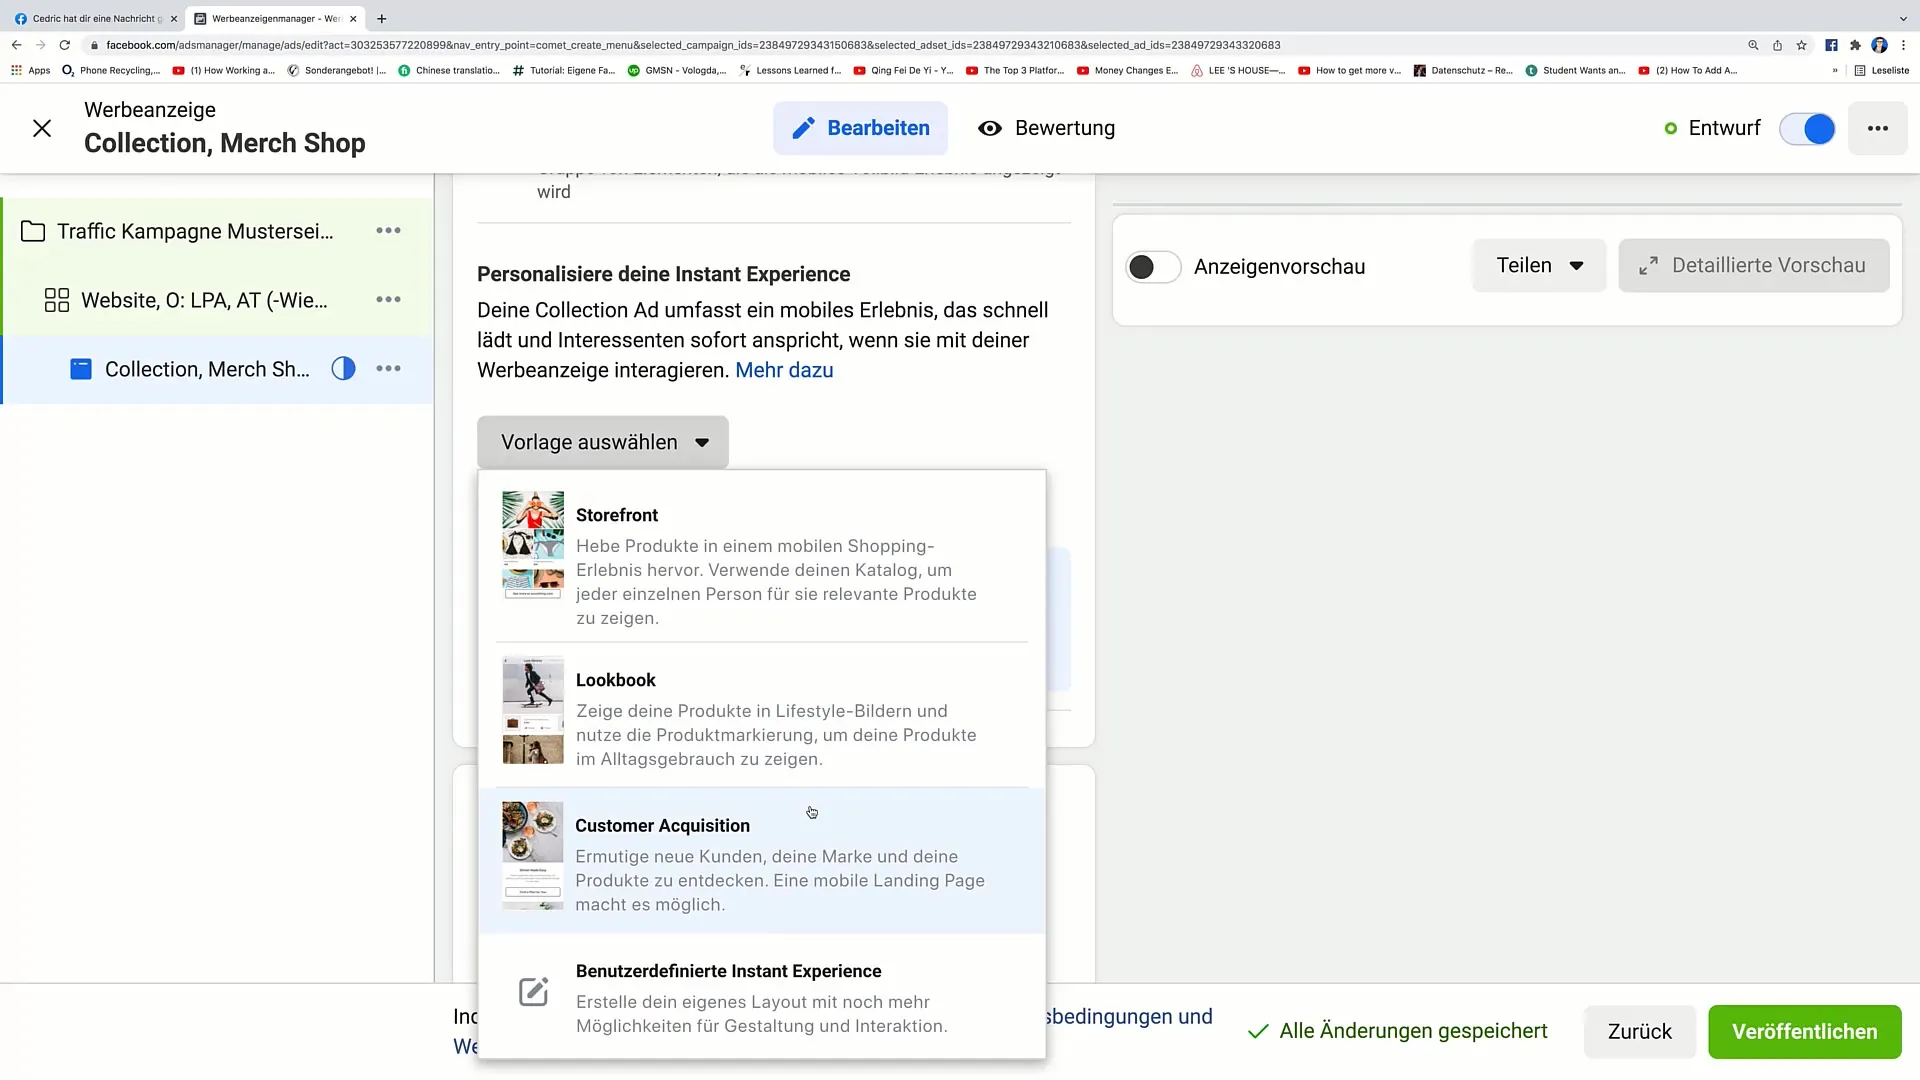
Step 8: Selecting Templates
Choose a suitable template for your Instant Experience. There are various options like "Storefront" or "Customer Acquisition." For this purpose, the "Customer Acquisition" template could be ideal.
Step 9: Adding Elements
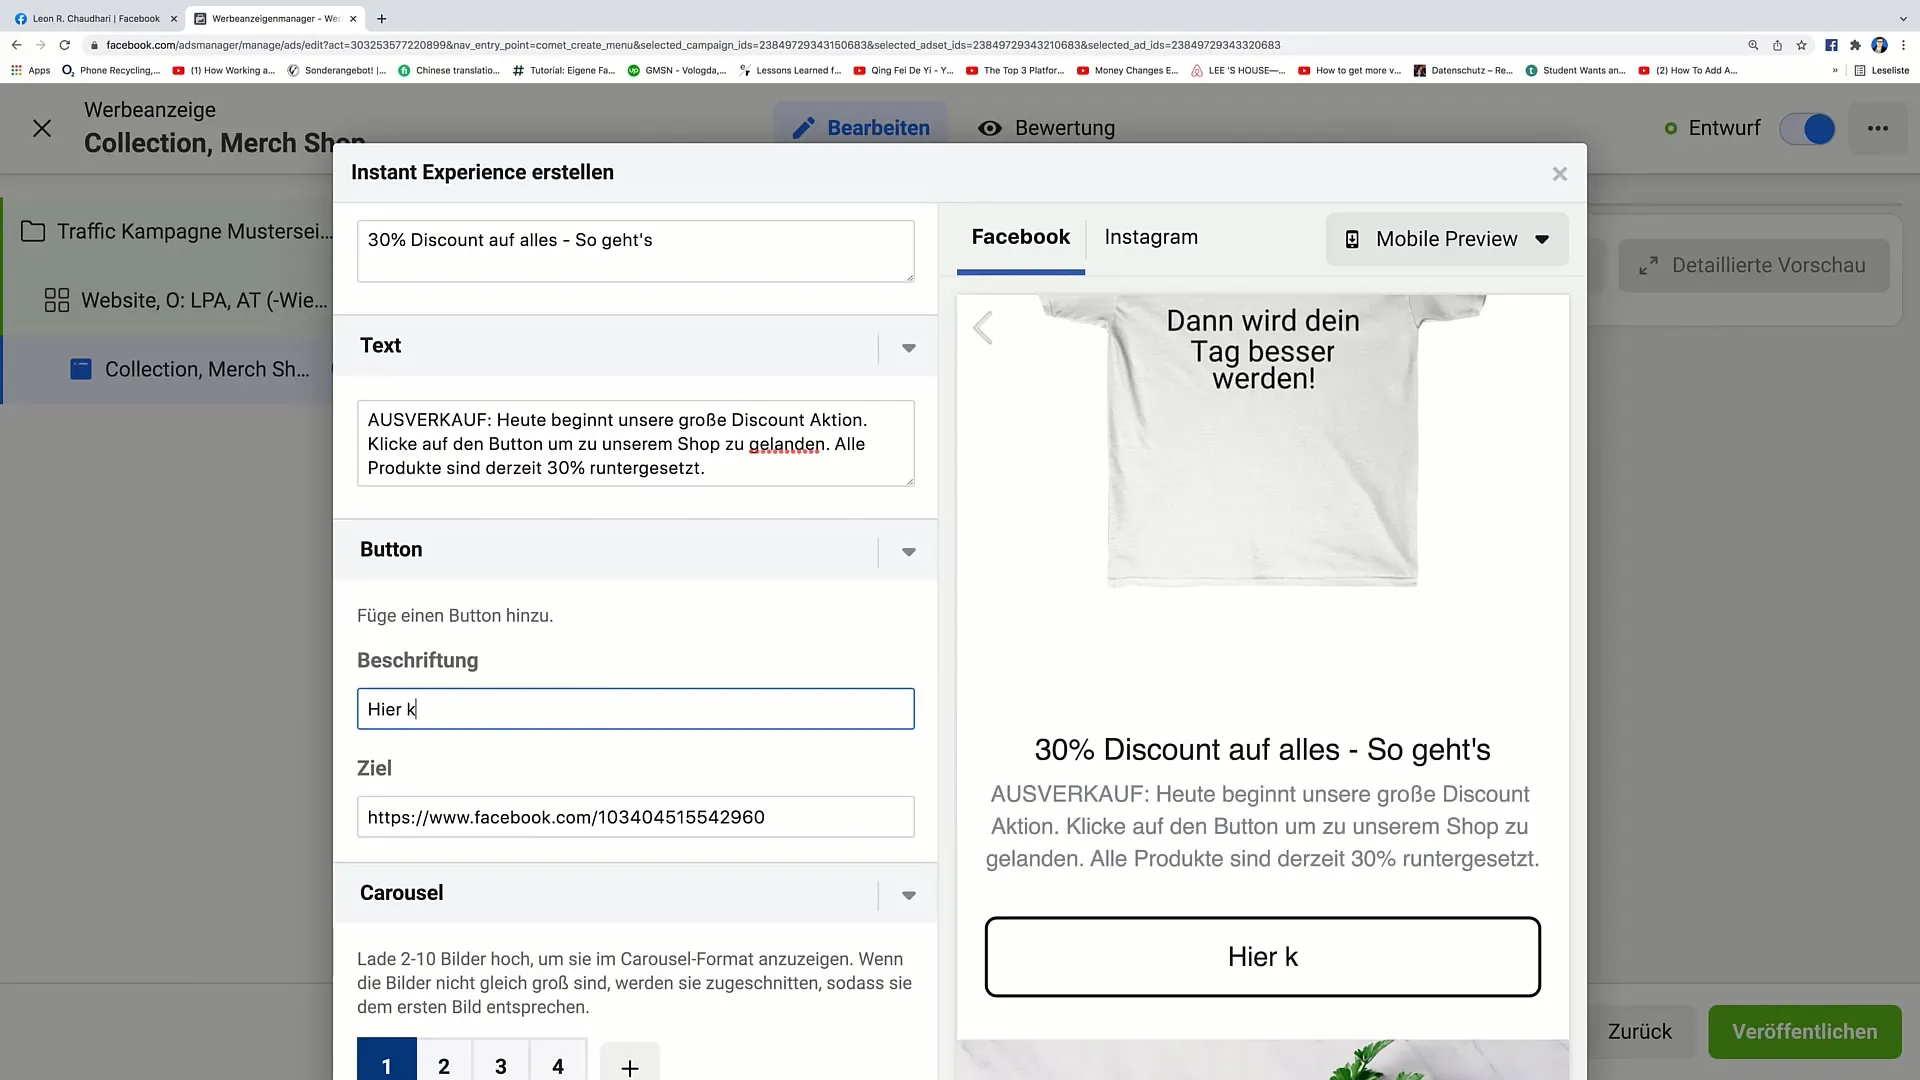
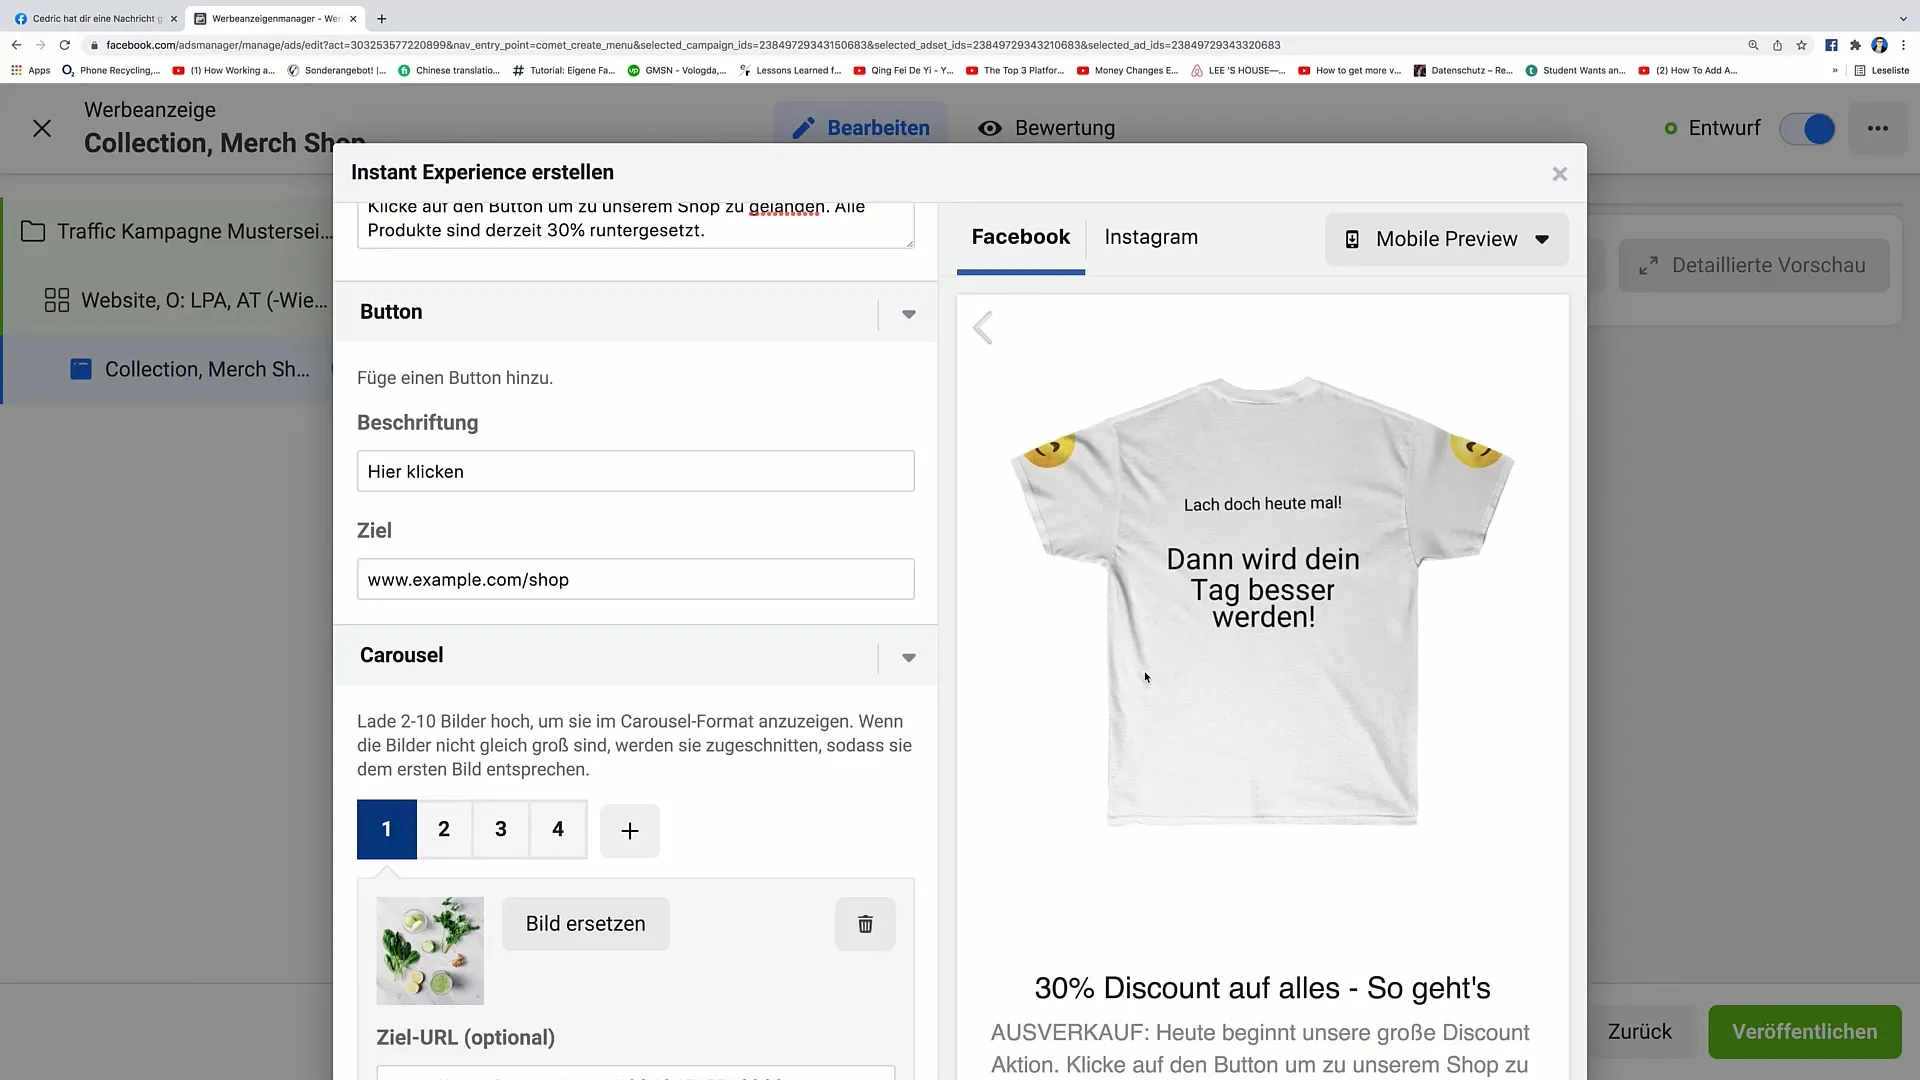
Add images, text, and links to your Instant Experience. You can change the images by clicking on "Replace Image." Make sure the links lead to the corresponding products.
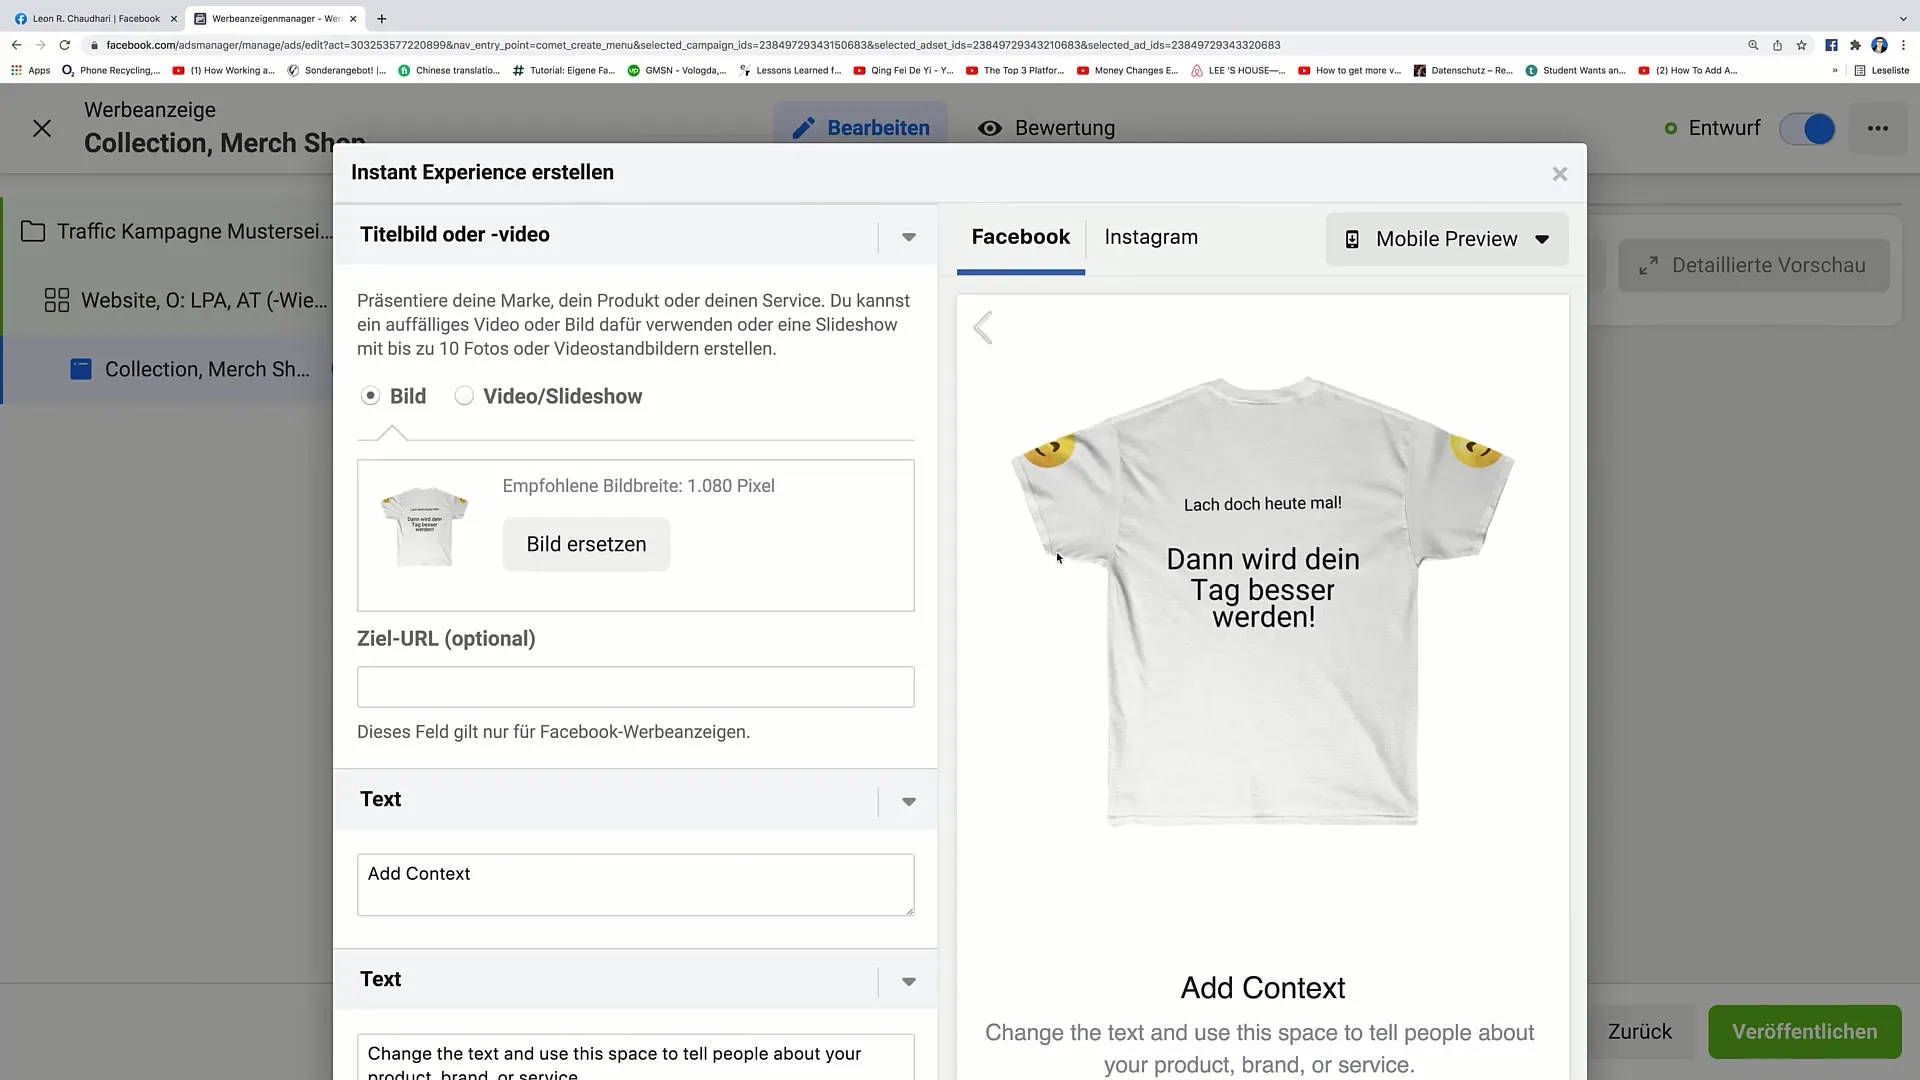
Step 10: Inserting Text and Call-to-Action
Enter engaging text that prompts your target audience to take action. Add a call-to-action button, such as "Click Here," to make it easy for users to navigate to your shop.
Step 11: Preview and test
Before you publish the ad, test how it appears on Facebook and Instagram. Make adjustments if necessary.
Step 12: Publishing the ad
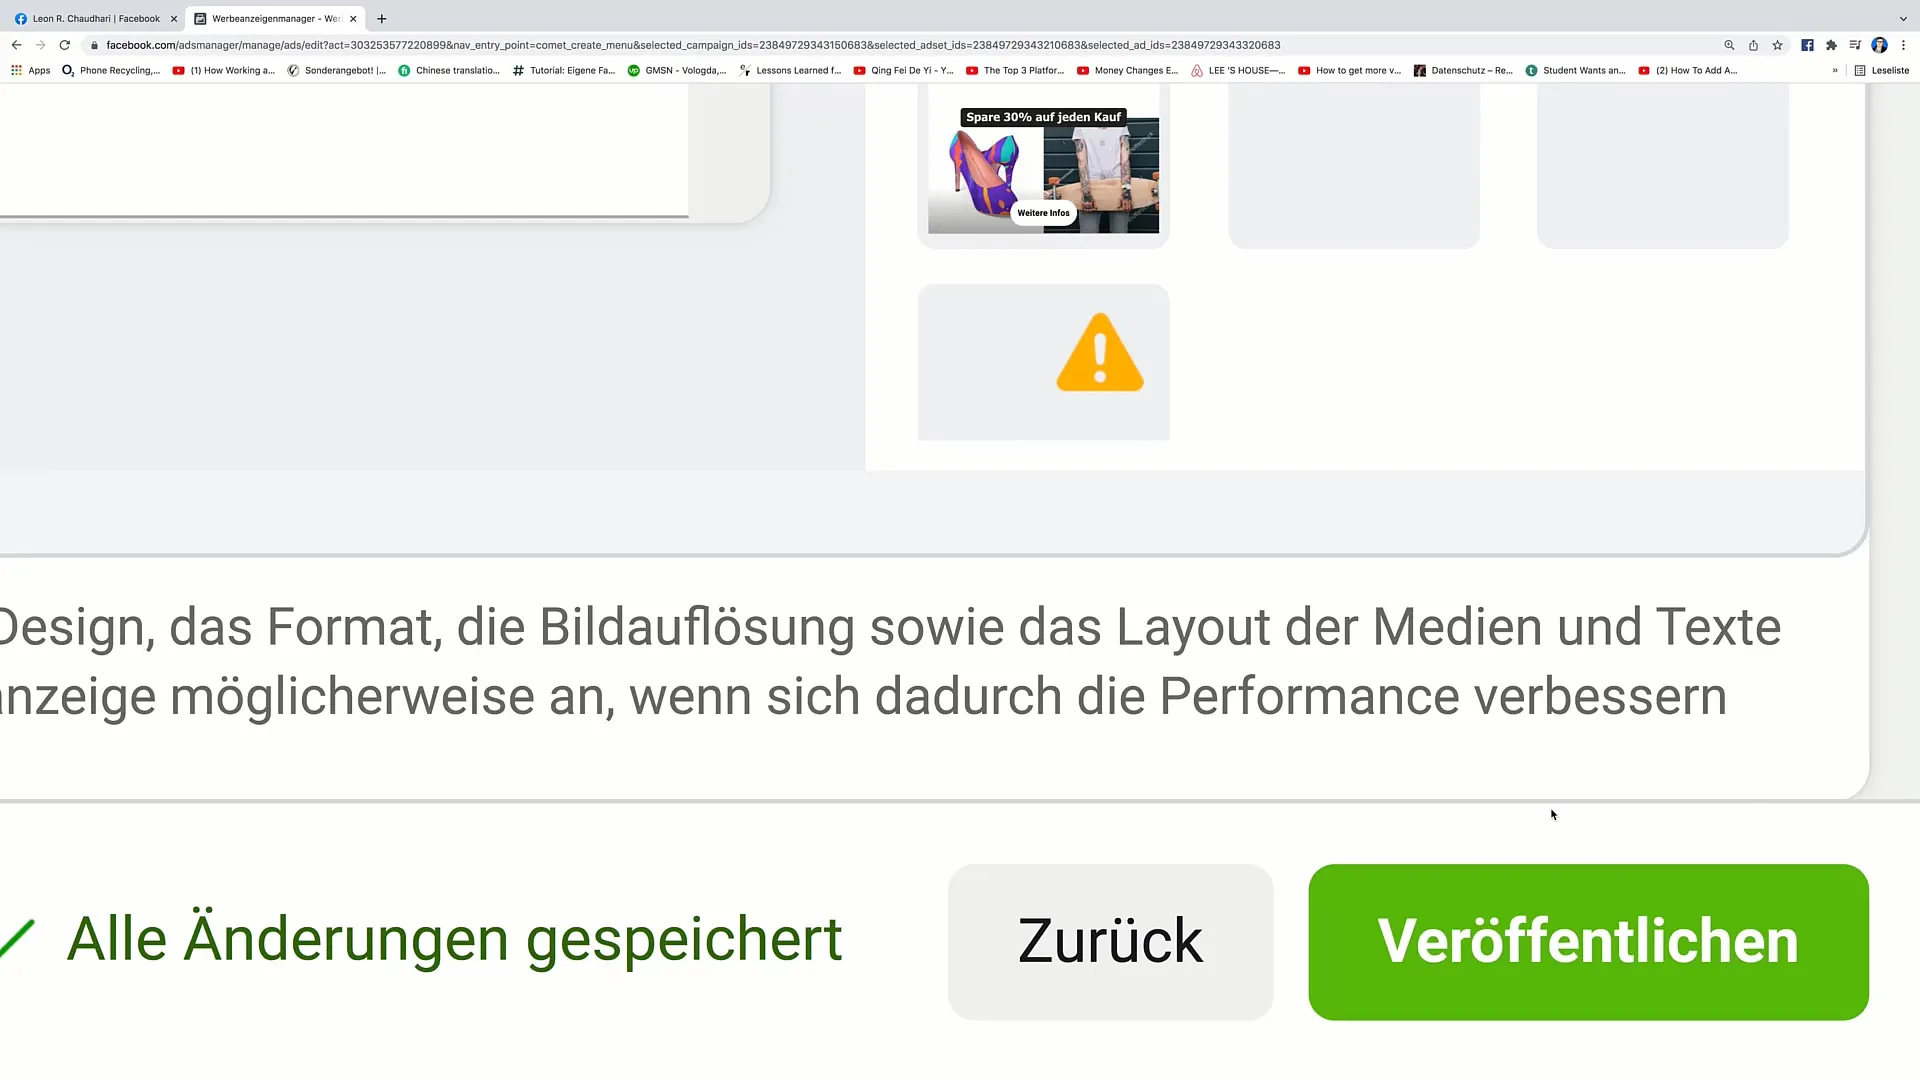
If everything meets your satisfaction, click on "Publish". Your ad will be shown to the selected audience after being reviewed by Facebook.
Summary
In this tutorial, you were able to learn step by step how to create a Collection ad with an Instant Experience on Facebook. With the right target audience approach and conceptual design, you can effectively market your products or services and achieve a higher level of interaction.
Frequently Asked Questions
What are the benefits of a Collection ad?Collection ads allow you to showcase multiple products in one ad, which can increase engagement.
How does Instant Experience work?Instant Experience loads content instantly, so even users with slow internet connections do not experience any wait times.
What should I consider when selecting a target audience?Make sure to choose a target audience that is specific but not too small to ensure that your ad has sufficient reach.


