In today's digital marketing landscape, it is crucial that you create effective and engaging content to capture the attention of your target audience. One way to do this is by using Instant Experiences on Facebook. These interactive formats offer an excellent way to present your products and services in an engaging manner. In this guide, I will show you step by step how to create your own Instant Experience while using various templates.
Key Insights
- Instant Experiences are interactive ad formats on Facebook
- Creating an Instant Experience involves multiple steps, starting with selecting the templates
- You can use various content such as images, videos, and text blocks to convey your message
- Well-thought-out audience selection and budgeting are crucial for the success of your campaign
Step-by-Step Guide
Step 1: Selecting the Campaign Type
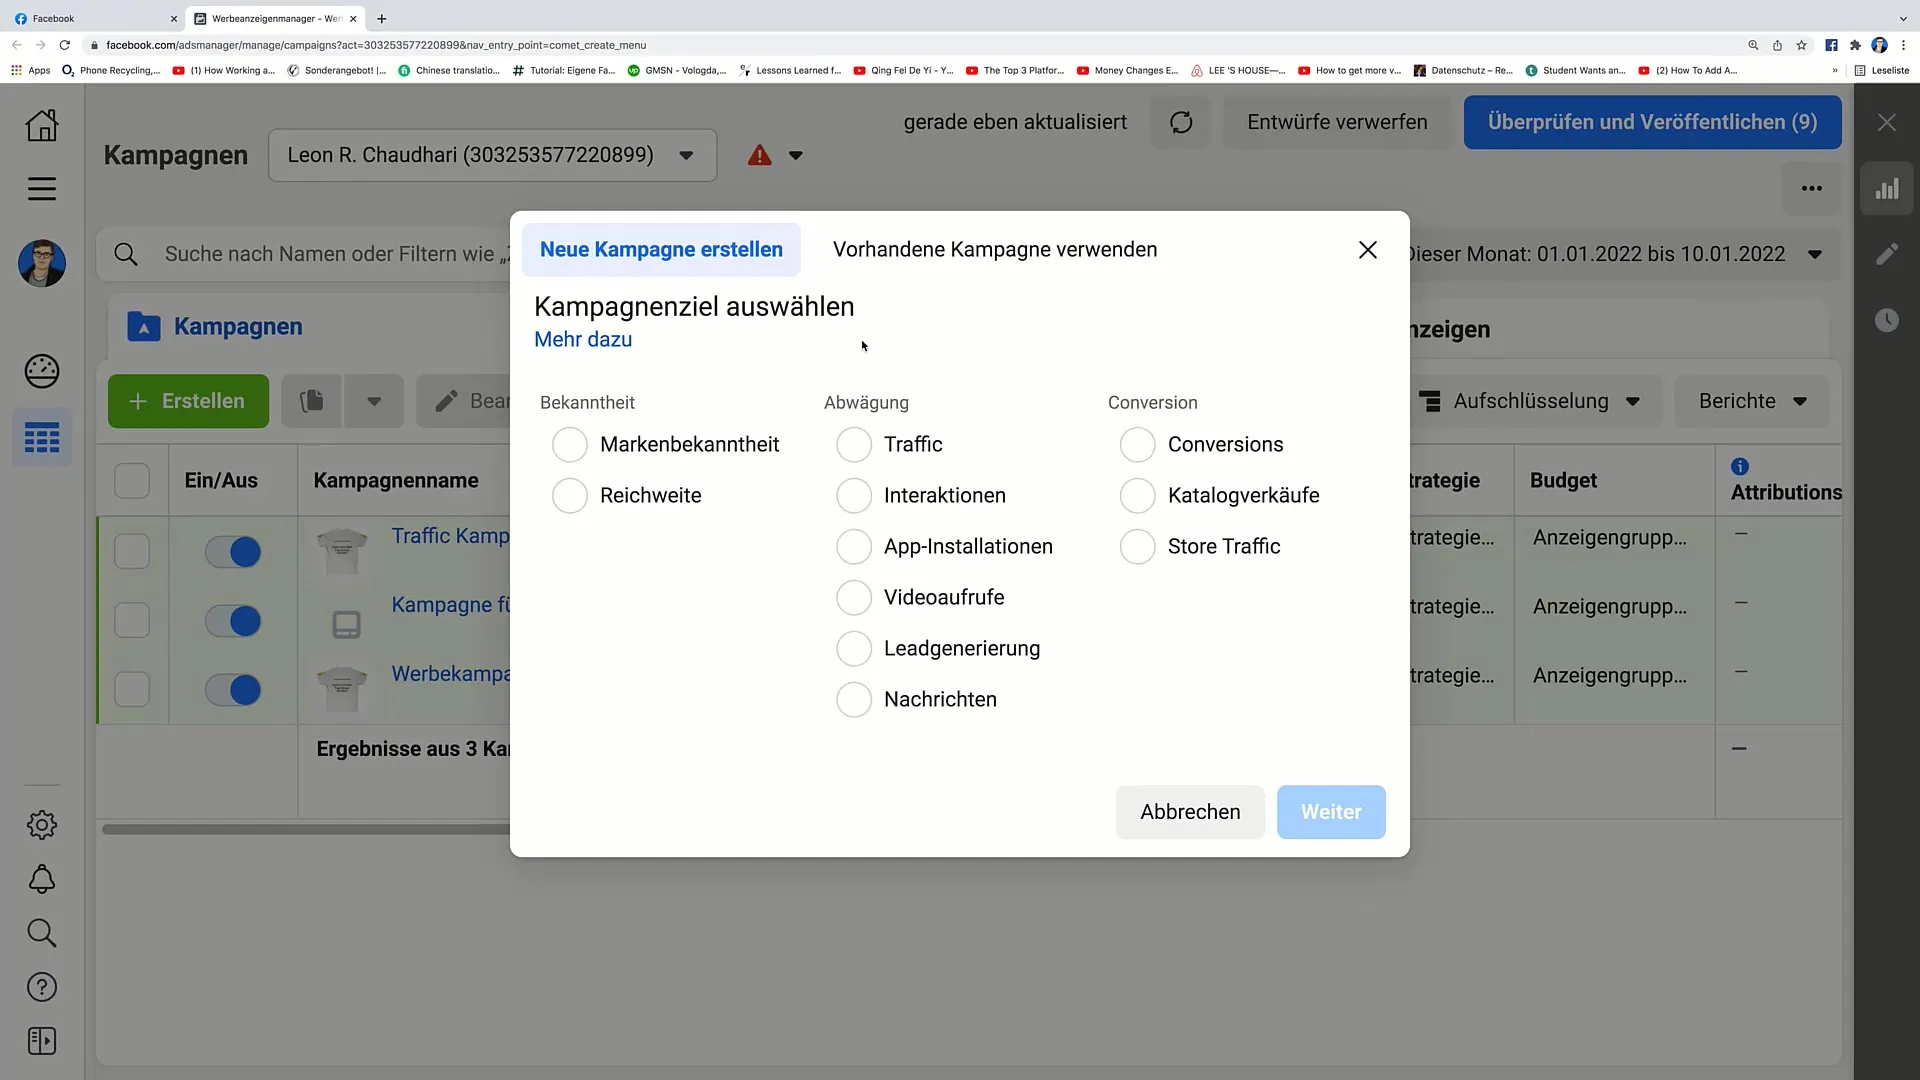
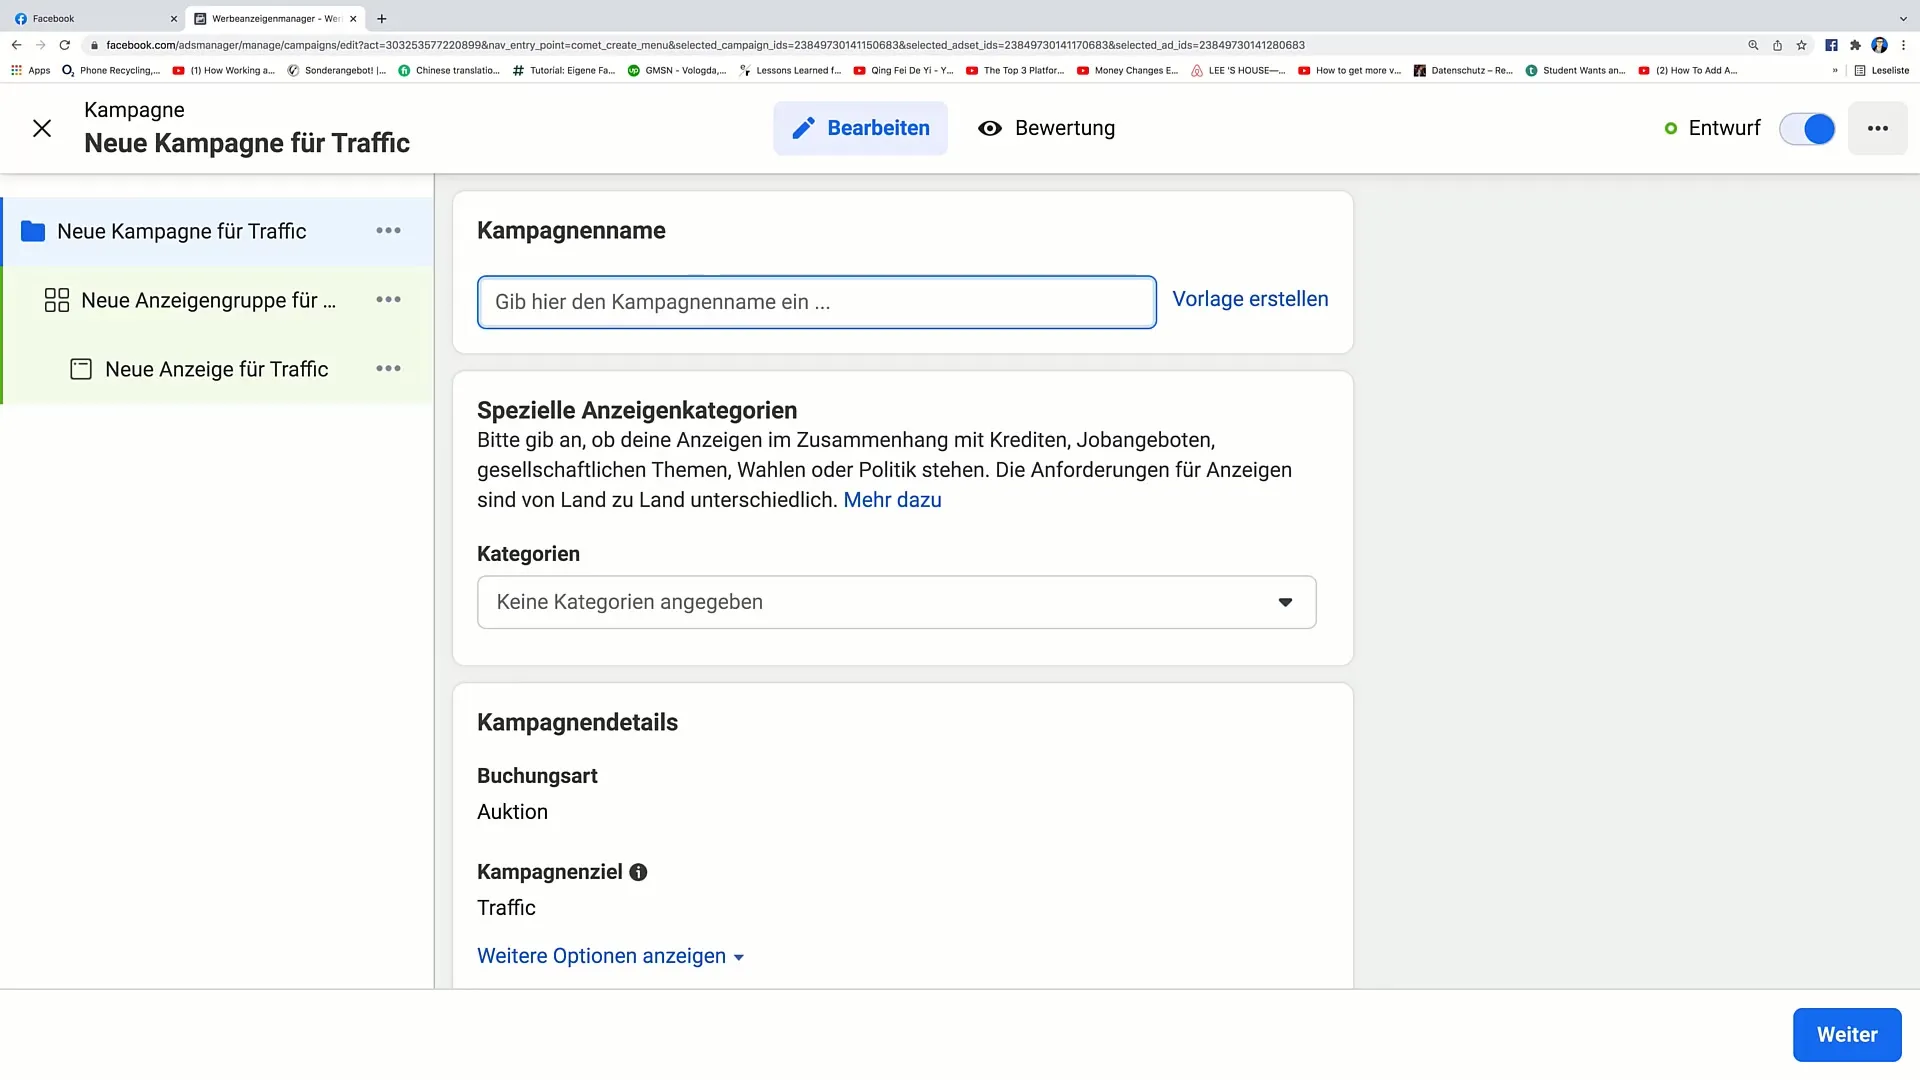
First, you need to go to your Facebook Ads Manager and select the option for Traffic ads. Scroll down to start creating your campaign. In this step, name your campaign – let's call it "Traffic Campaign Sample Page," for example.
Step 2: Budget and Target Audience
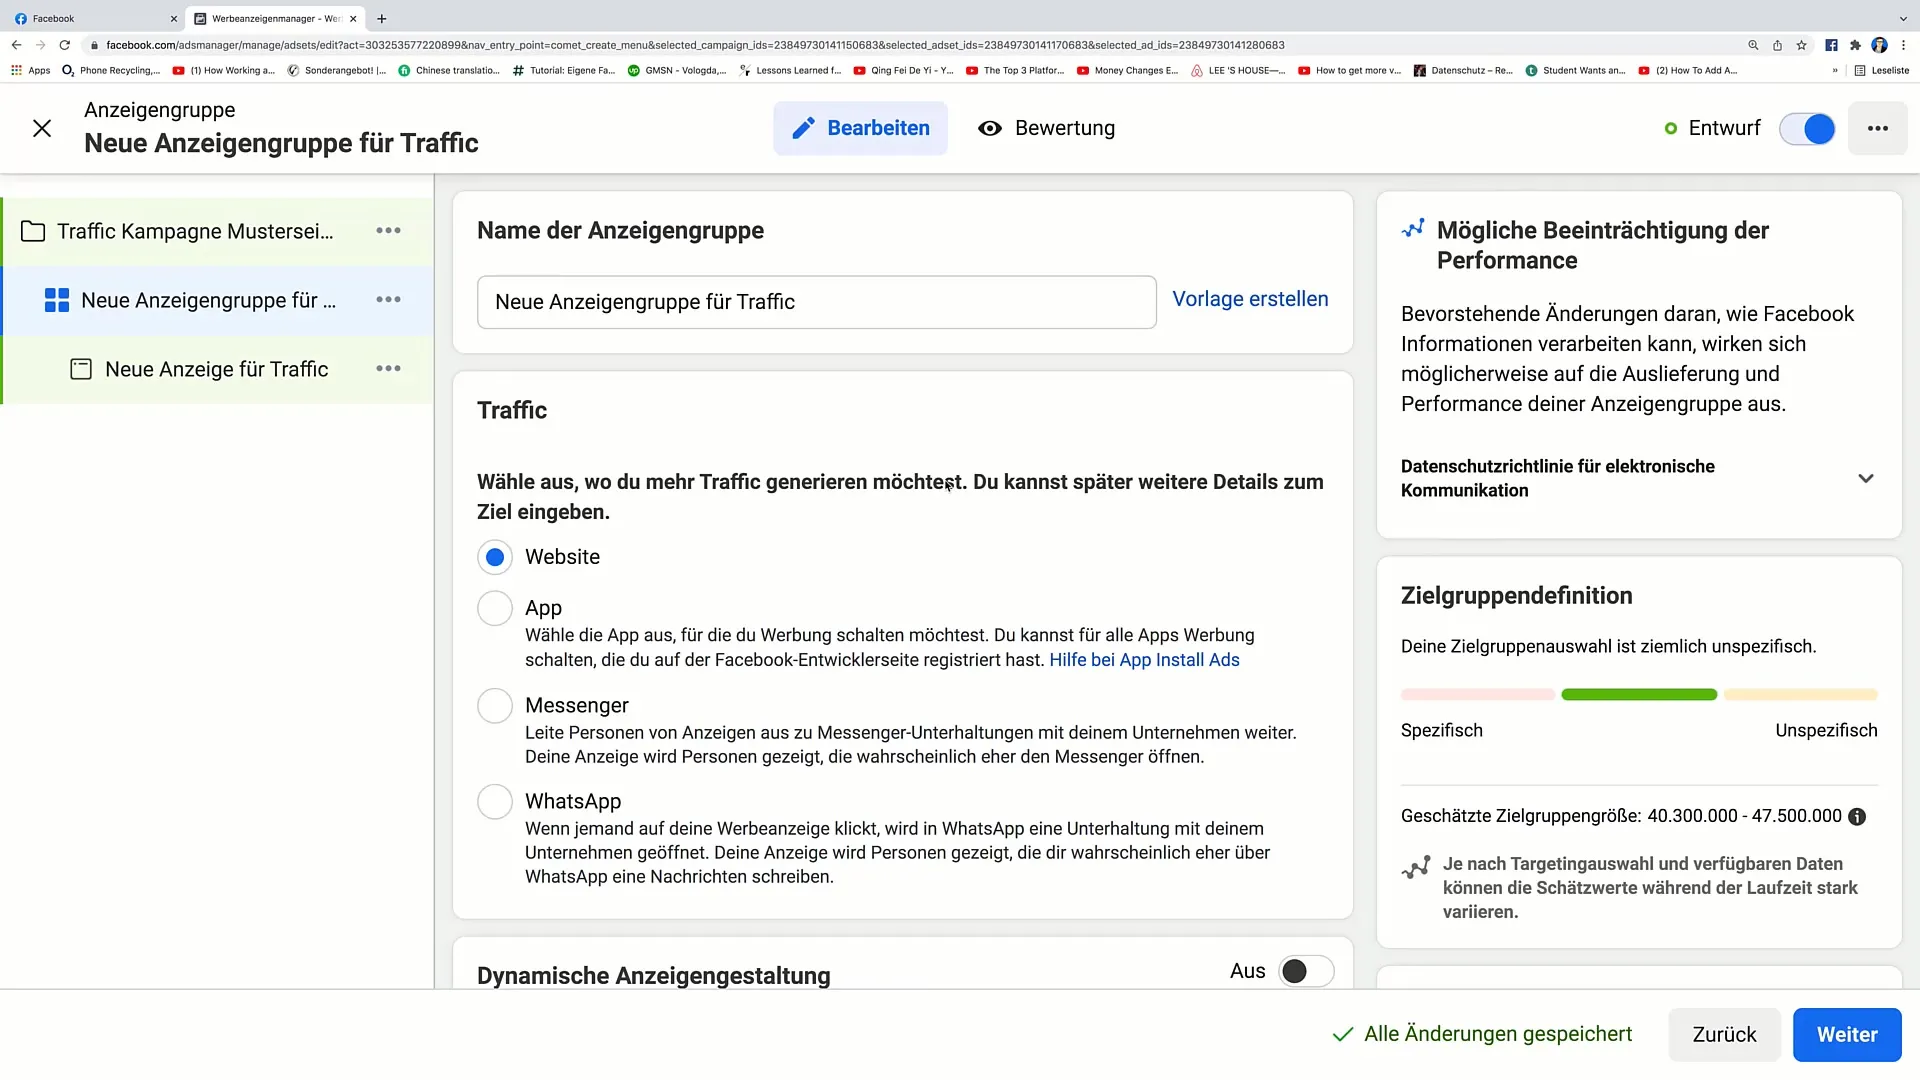
After naming your campaign, it is important to set the budget. In this case, we want to set a daily budget of 20€. You can also specify a start date and, if necessary, an end date for your campaign. In this example, we will run the campaign as Open End.
Here, you also choose a target audience. I recommend using a saved audience that already has a size of 7.2 to 8.5 million. This audience should be set to be from Germany, aged 30 to 40, and interested in chocolate.
Step 3: Selecting Ad Group and Placements
Now you can move on to the ad group. Define the name of the ad group here and select the placements. For placements, choose the automatic option. Additionally, set a maximum of 2€ per landing page view.
Step 4: Selecting the Templates
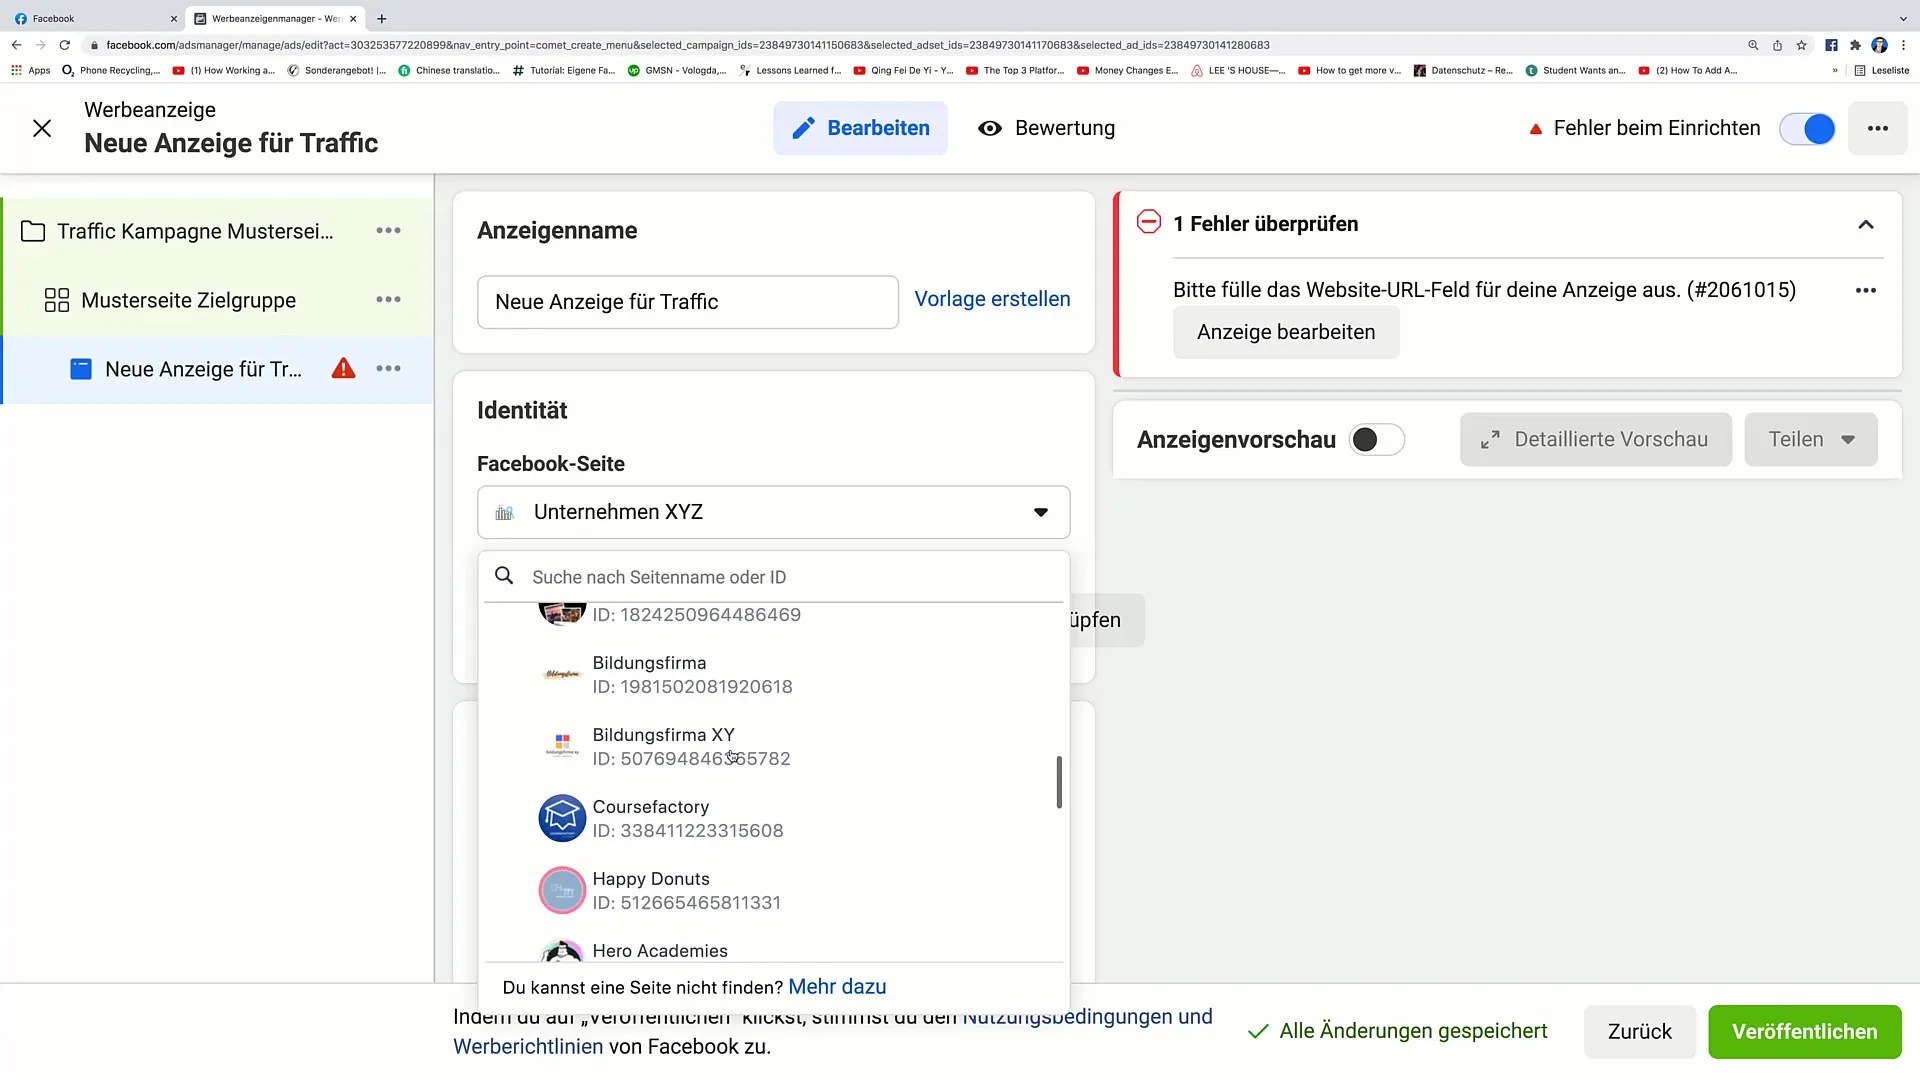
In the next step, you will choose the Facebook page you want to promote. In our example, it's the "Sample Page." Then click on the "Collection" template and select the template you want to use. You can choose between different options, including "Lookbook" and "Storefront." Let me start with the Lookbook.
Step 5: Adding Header and Logo
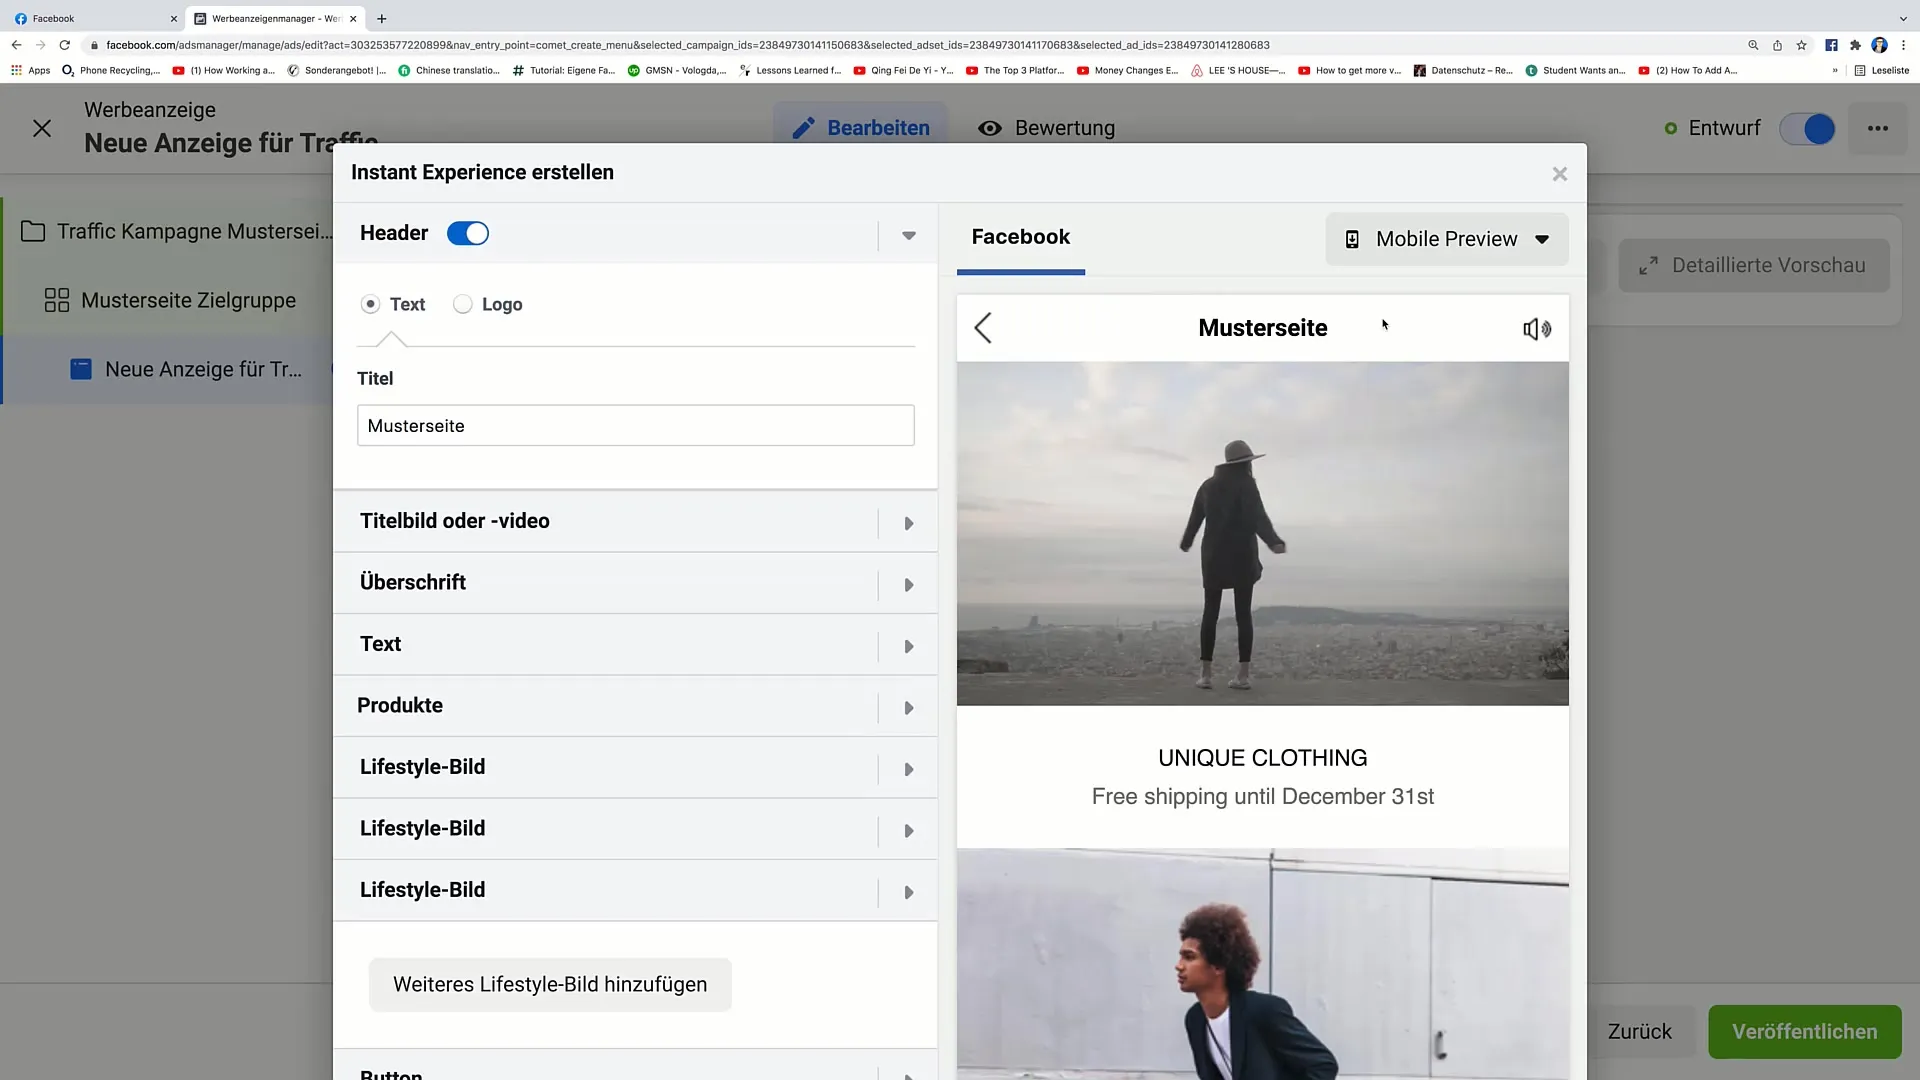
In the Lookbook template, you can enable a header that can contain a headline or a logo. You have the option to activate this by uploading a logo. This is important as it gives your Lookbook a personal touch.
Step 6: Integrating Images and Links
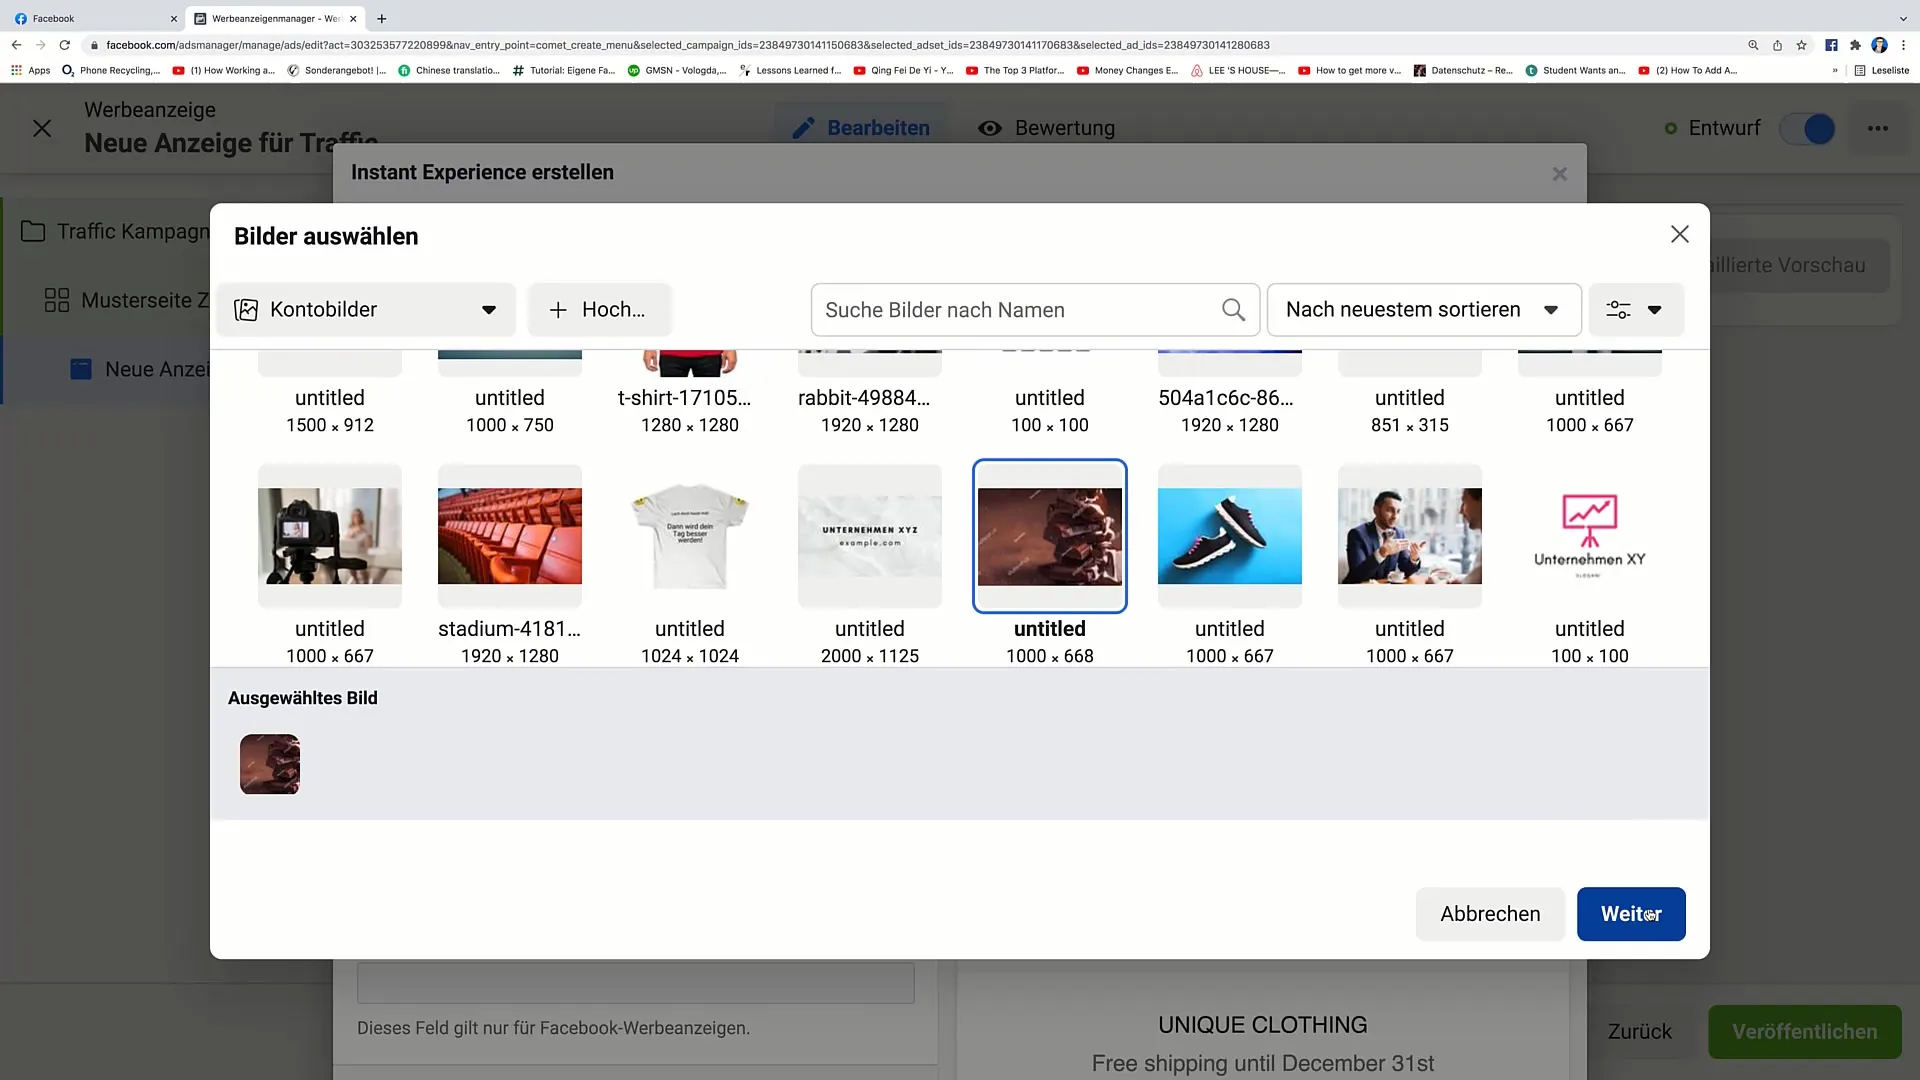
Now add main images or videos and links. If you want to upload images, choose an appealing image that fits your target audience's theme. In our example, this could be an image of chocolate.
You also have the option to add a URL that will directly lead users to a special offer page.
Step 7: Linking Product Catalog
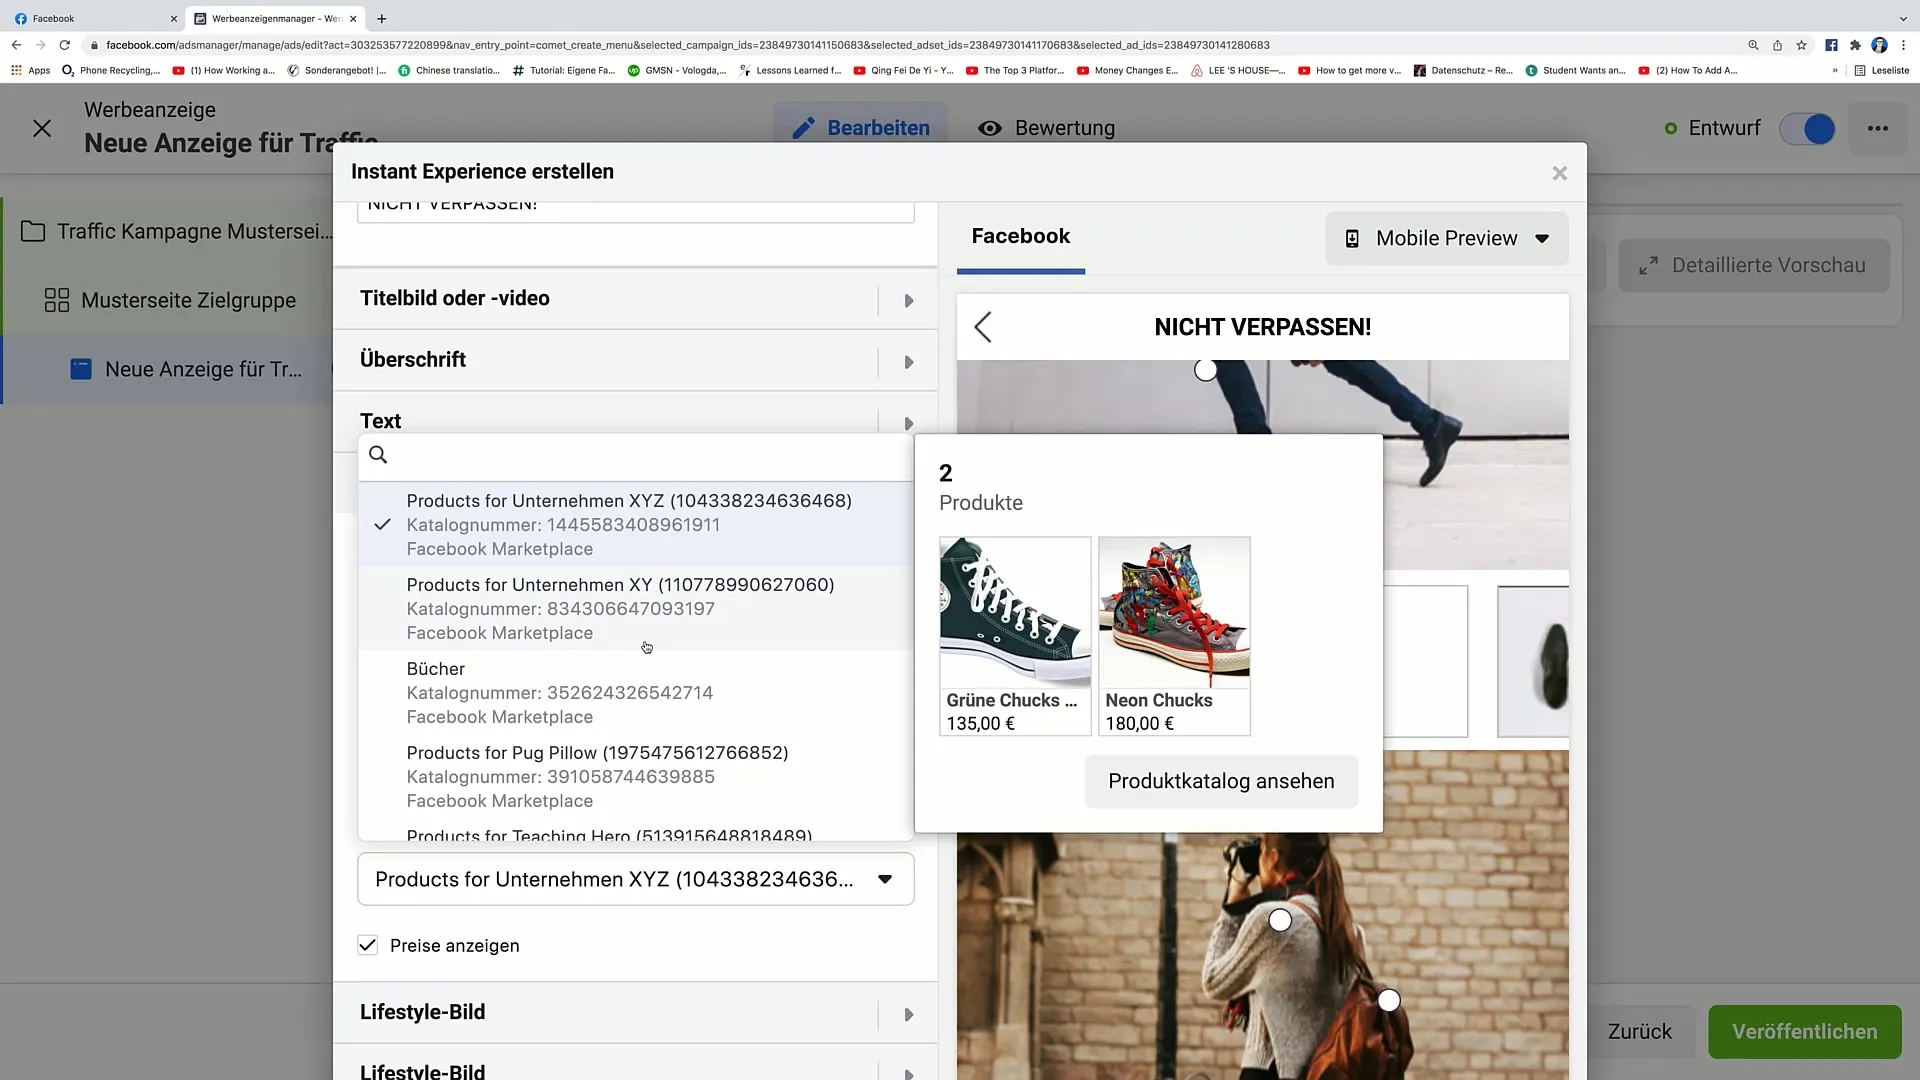
If you are showcasing products, you should link your product catalog. Choose your catalog so that the products you are promoting will be displayed. This way, users can be directed straight to your catalog when clicking on the products.
Step 8: Add More Elements
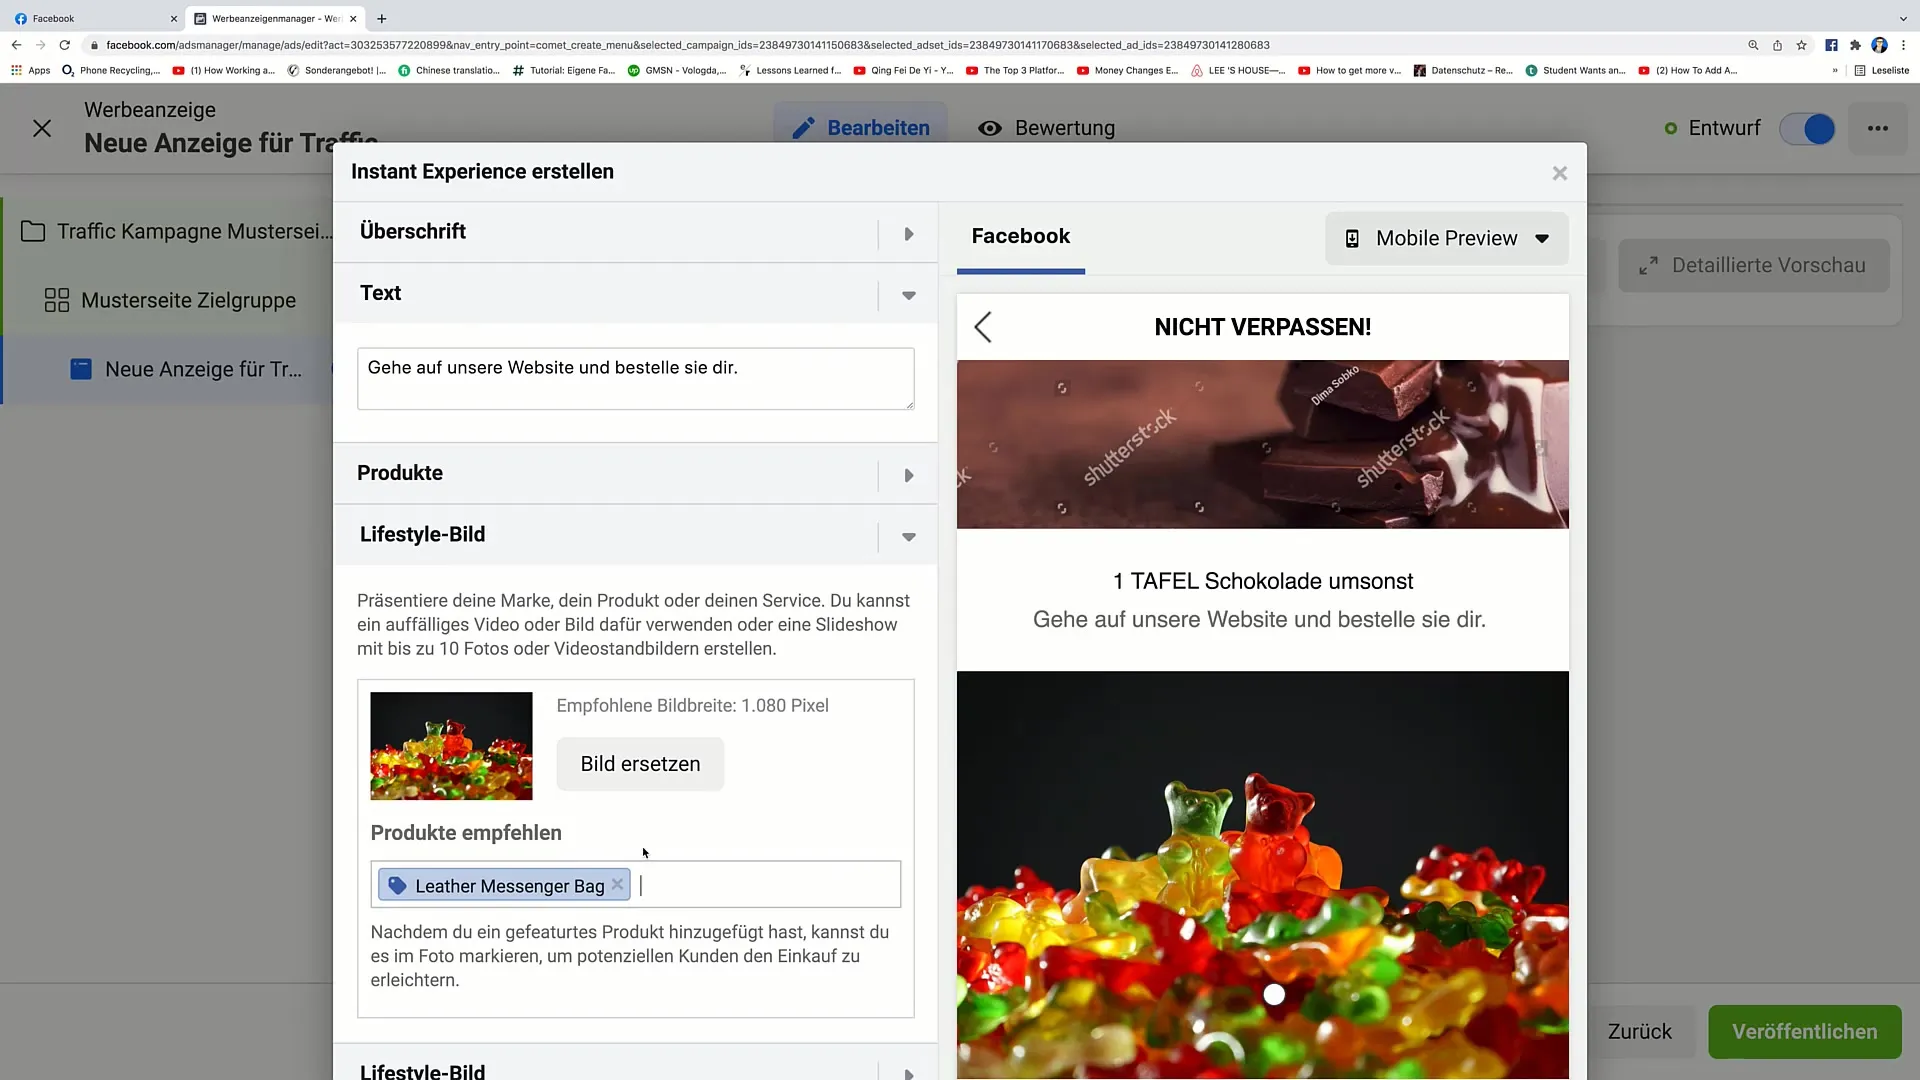
Now you can add various lifestyle images below. Currently, I am interested in the picture of gummy bears and maybe another one of donuts. You can also add product tags so that users can purchase the respective products by clicking on the corresponding image.
Step 9: Call-to-Action Buttons
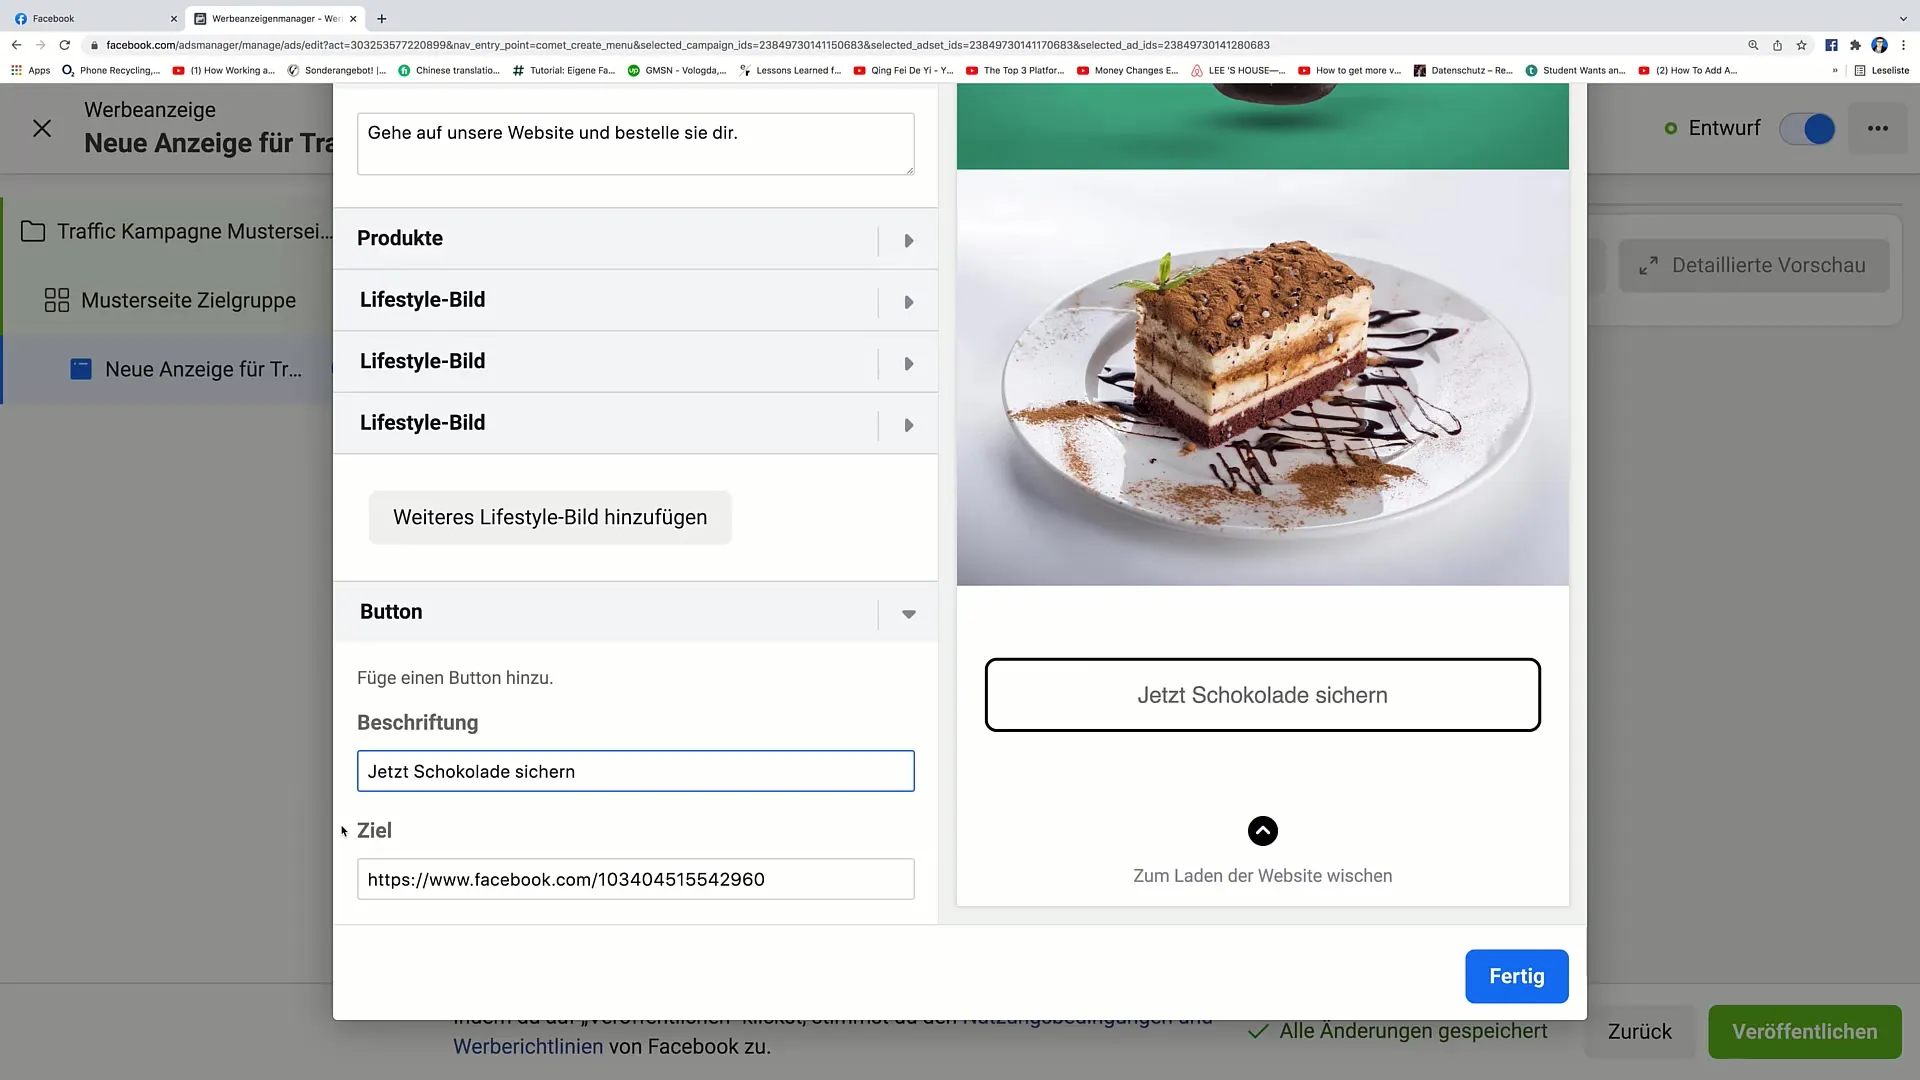
Finally, you should add a clear call-to-action button. For example, you could write "Secure Chocolate Now" and link it to a relevant URL. Make sure this button is clearly visible.
Step 10: Preview and Publication
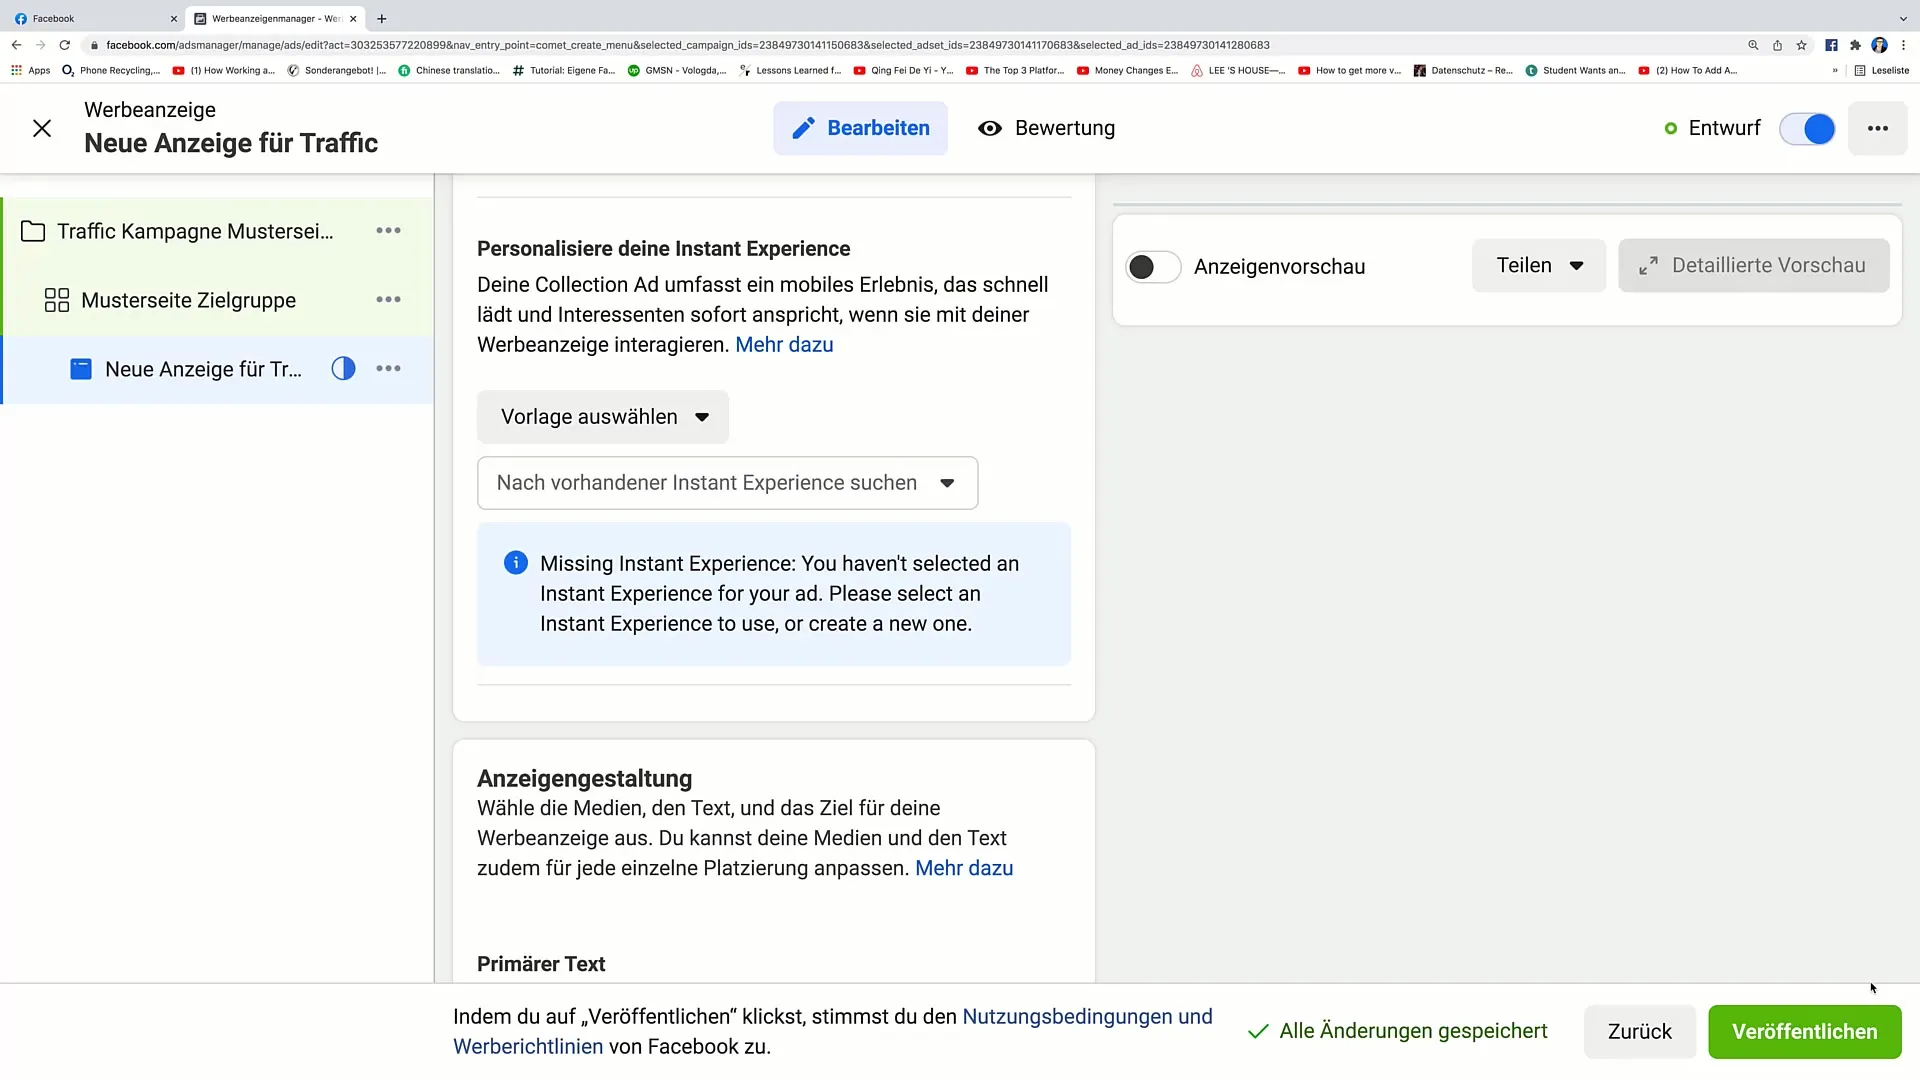
After you have added all the content, go to the preview and check if everything looks the way you imagine. If everything looks good, you can save the Instant Experience and publish the campaign.
Summary
In this guide, you learned how to create an Instant Experience on Facebook. Starting from creating a campaign to selecting templates, integrating content, and adding a call-to-action button. Make sure to go through all the steps carefully to achieve the best results.
Frequently Asked Questions
What is an Instant Experience?An Instant Experience is an interactive ad format by Facebook that allows advertisers to create engaging content in a full-screen view.
How can I connect my Facebook page to an Instant Experience?You can select your Facebook page while creating your campaign, before moving on to the template selection.
How long does it take to create an Instant Experience?The creation time can vary from a few minutes to an hour depending on the amount of content and complexity of the campaign.
Can I use multiple templates in one campaign?Yes, you can switch between different templates to make the selection that suits you best.
How can I track the performance of my Instant Experience?We recommend using the Facebook Ad Manager tools to monitor the performance of your Instant Experience and make adjustments.
