In this tutorial, I would like to give you a little tip on ambient occlusion. This is the effect you need to make shadows really look like real shadows.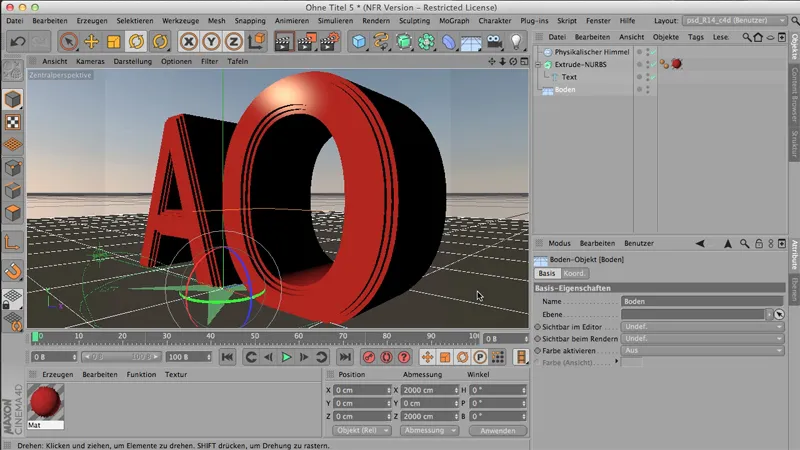
At the moment, no Ambient Occlusion is clicked, which means that when we render it in the Image Manager, it looks pretty harmless. Beautiful, but - well, we have a problem: in these small depressions, the shadows are very hard to see. Again, these edges are not really beautifully shaded.
.webp?tutkfid=61846)
And that's why we usually do the following:
You get the ambient occlusion as a render effect. This can be done via the render presets. There you can get the ambient occlusion via the effects.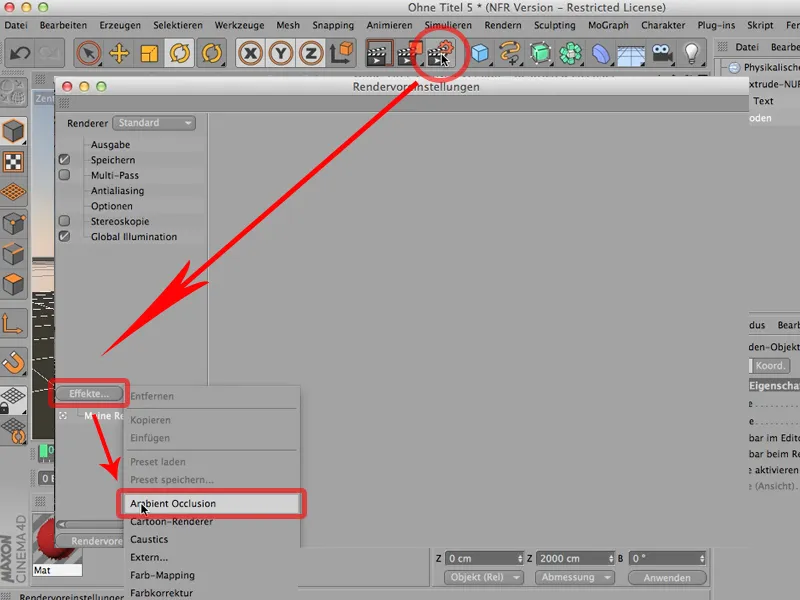
The shadow color can of course be influenced by double-clicking on this part here. But I would actually prefer to leave it at deep black..webp?tutkfid=61848)
If it gets grainy when rendering, you can increase the accuracy and the samples for minimum and maximum. But, as I said, you don't actually need to do much to the thing.
Let's render again and then you'll see that this render effect actually comes into play; that we now have deep shadows in these small holes compared to before..webp?tutkfid=61849)
Because that's exactly what the AO does: In the places, at the points where a lot of polygons come together or where they come close together, that's exactly where some of the GI is taken away. This is exactly where these deep shadows are created. That's how it was before, that's how it is now, and that's a massive difference.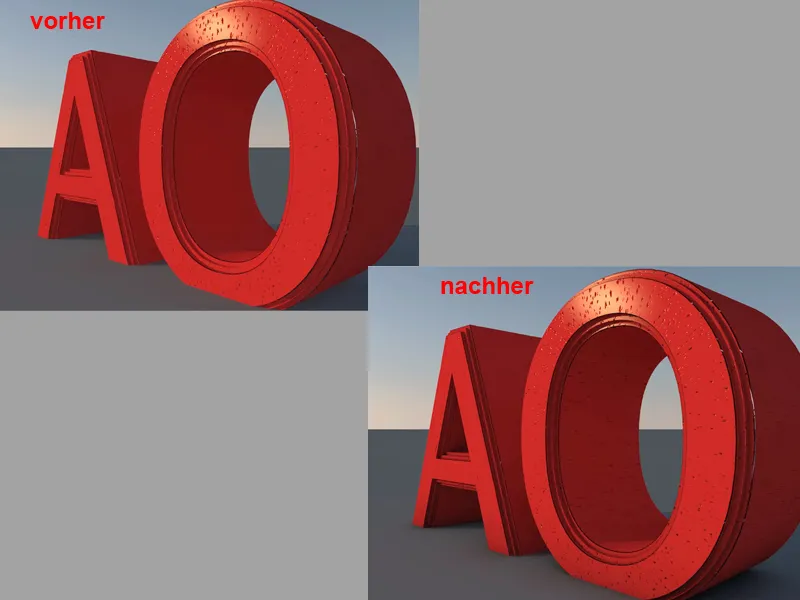
Now of course you can say - yes, that's a good thing, I can click on my AO at any time, but it's often the case that you don't want them everywhere, but that you might prefer to set them with different settings on the material side and not as a render effect at all, and that's something you should definitely bear in mind. If you basically need it over the entire scene, then you're right to do it as a render effect, as we've done here.
Or - I'll remove the tick again - that's the second option: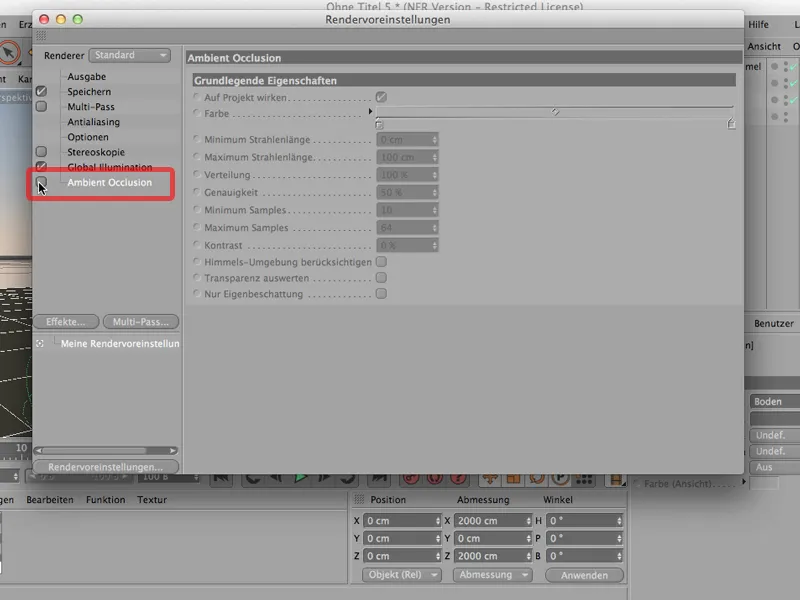
You can of course also do the following: You click on the respective material, go to the diffusion, click on it, and now the diffusion naturally wants something. Sure, otherwise it can't do anything yet. In the textures there are the effects down here, and you can click on the ambient occlusion as a channel shader, i.e. as a shader that only works here in this diffusion channel. That's what it says: Ambient Occlusion.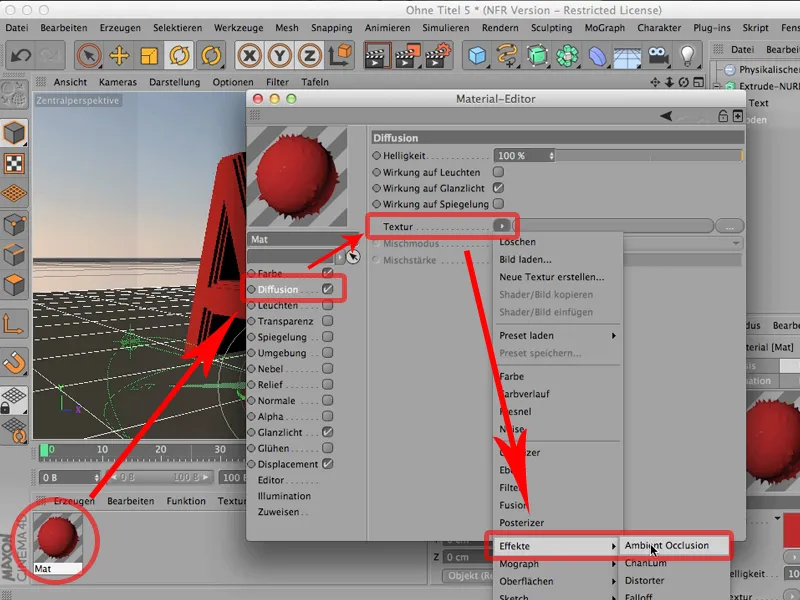
And if we now render again, you will notice two things. Firstly, of course, it works; secondly, the ambient occlusion is no longer on the floor; it is now limited to the material - which is sometimes desirable..webp?tutkfid=61853)
Just think about what you prefer from the outset: Do you want it all over the scene? Then definitely use it as a render effect. Or would you rather have it as a material channel shader? Then, for example, in the diffusion channel of the respective material.
This tutorial is about optimizing the render presets. You probably know the situation: You start rendering when your scene is finished and you think it's ready - I'll decide now.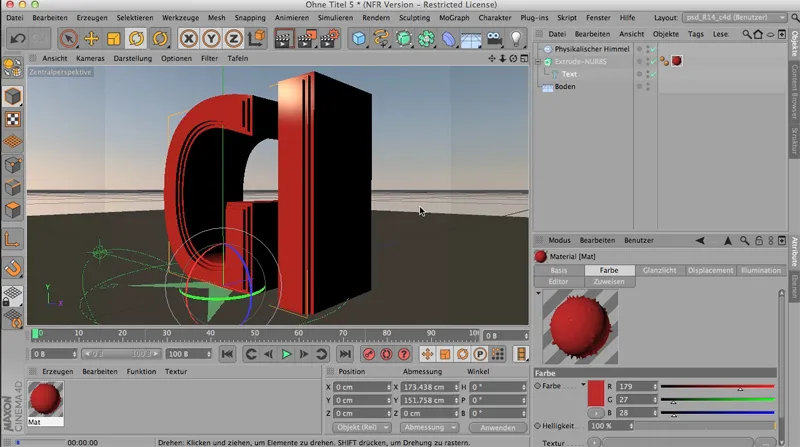
I'll just render it. Then the whole thing looks like this - and I say: Yes, ok, it's done, it's rendered. But of course it's not pretty, because ... we have quite dark edges here. We have a lot of self-shadowing of the objects here. This shadow is also quite dark. I can't see an edge here.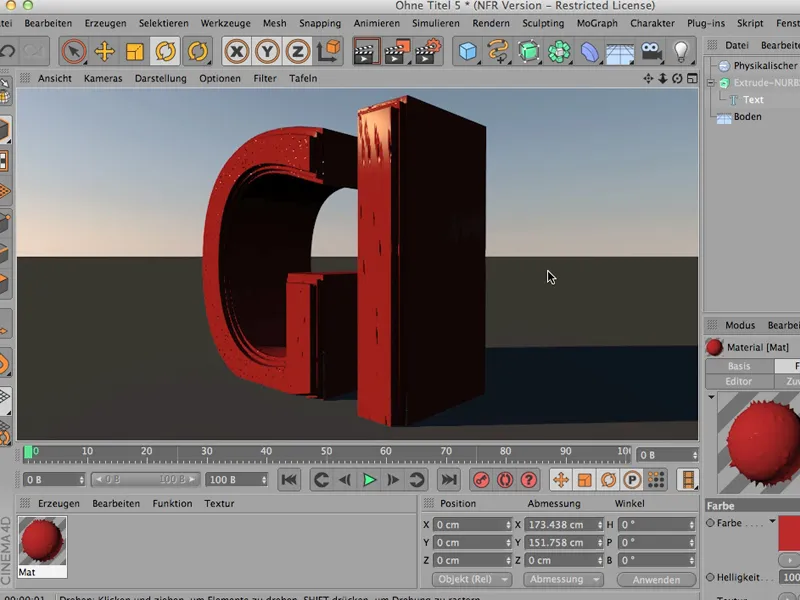
What do you do? Clearly - you get the global illumination, i.e. this effect, which is also available as a render effect, for example.
I simply get it by selecting or clicking on the so-called GI from the effects.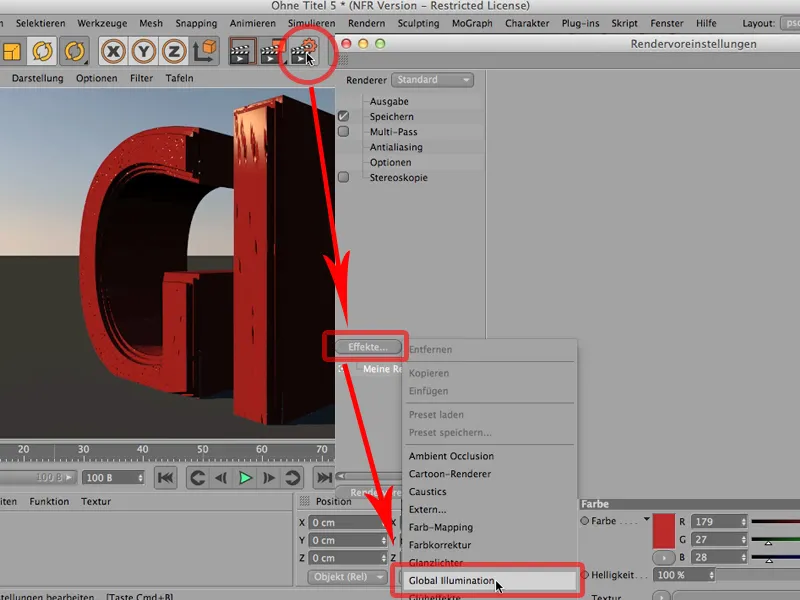
People who haven't been working with CINEMA 4D for very long do the following: They close it again, re-render and then take a look at the whole thing and say: "Yes, it's gotten a lot better, I like it a lot better.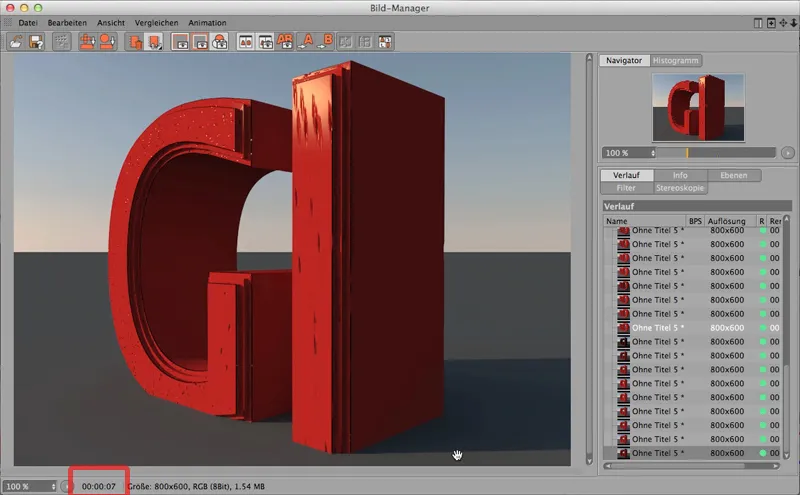
It's still a bit dark - I'd like a bit more separation here, so I'll make the whole thing a bit lighter. Please note: we're already at 7 seconds render time here.
So - let's do that. We increase both the beam depth (so that the light beam is reflected not just once, but twice in this case) and the gamma (I'm going to set this to a value of 2; this will increase the exposure caused by the GI, so to speak.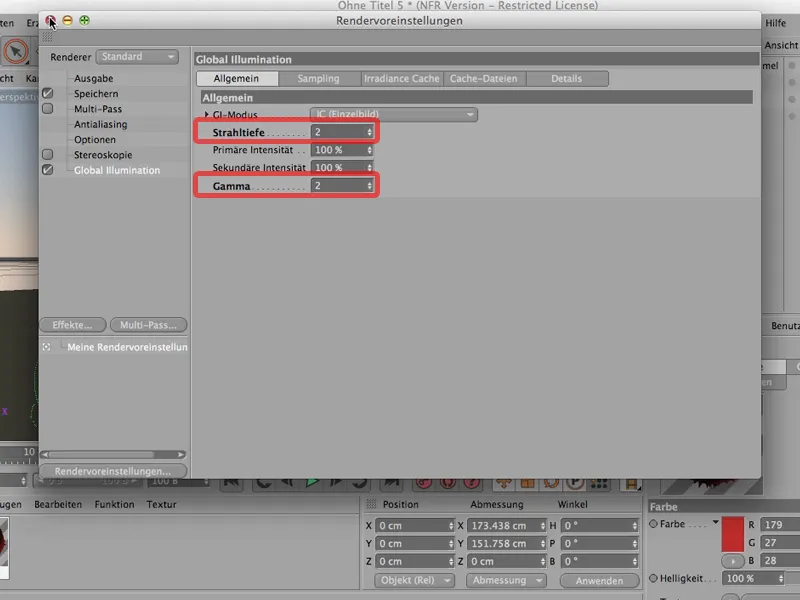
And if I now render again, then we have this: We first have to wait for the whole pre-pass again. See what happens. We see that the entry density is nice and high, and now we have a result after 11 seconds. That works quite well and is also quite nice.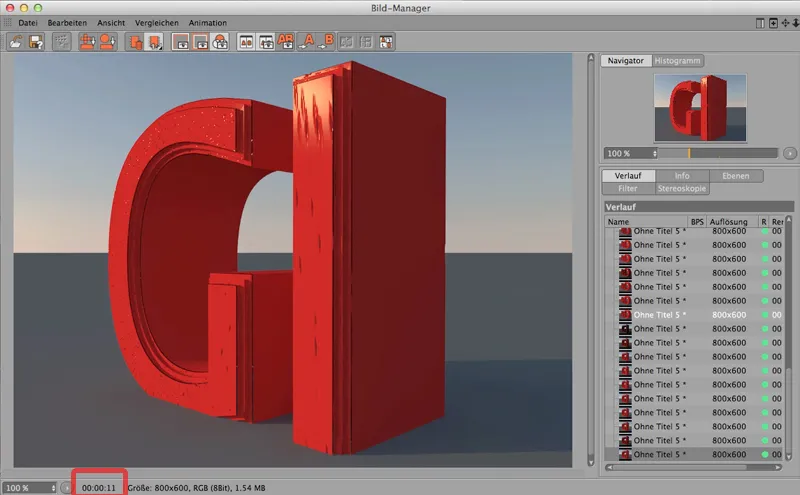
But: If you are still doing test rendering, but still want to see the influence of the GI, there is a very simple trick: Please go to Global Illumination in the render presets , go to the respective mode - in this case Irradiance Cache mode, i.e. the calculation mode that we have selected here and which also works great, but set the entry density from Medium to Preview.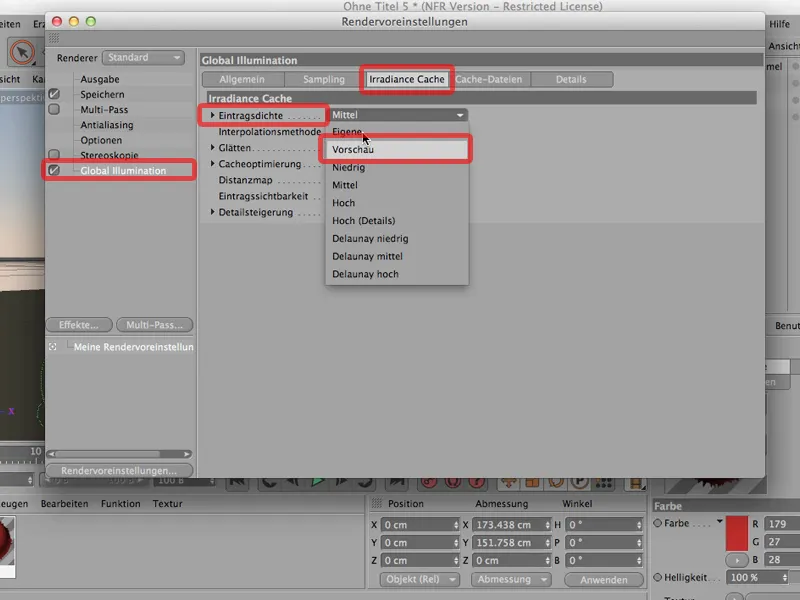
This is something that should of course be reversed for the final rendering.
But if I render now, the very same thing: back here in the image manager, then you'll notice that it's much faster. We're no longer at 11 seconds, we're at 4 seconds.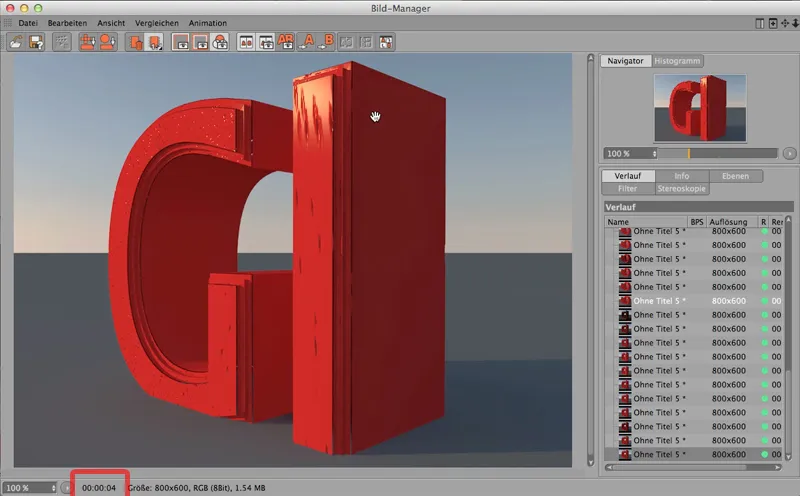
And imagine you have a somewhat more extensive rendering where you have to wait 10 minutes - then you'd get it in less than half that time, so in about 3 1/2 minutes the thing would be finished.
This saves a lot of rendering time and a lot of working time if you set the GI to preview right from the start.
Since version R13, CINEMA 4D can do real, wonderful, beautiful depth of field. You can work with CINEMA 4D as you would with a real camera, which of course - depending on the lens - will focus in one place or another, depending on where you focus; the rest will be blurred. This is exactly what you can do with CINEMA 4D, as you probably know. I would just like to give you a little tip on why it sometimes just doesn't work properly.
The following: I have created a scene here; this sphere is duplicated a total of 11 times by the clone object. As render instances, of course. We have a sky above it, which also illuminates the whole thing. Here you can also see the material for the sky. Below that is the floor. Here is the material for it. And this is the material for the balls.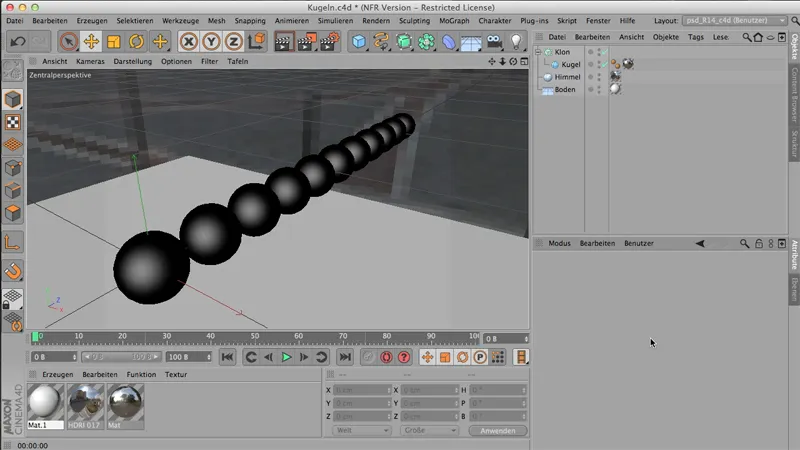
So if I were to render the whole thing now, it would look like this: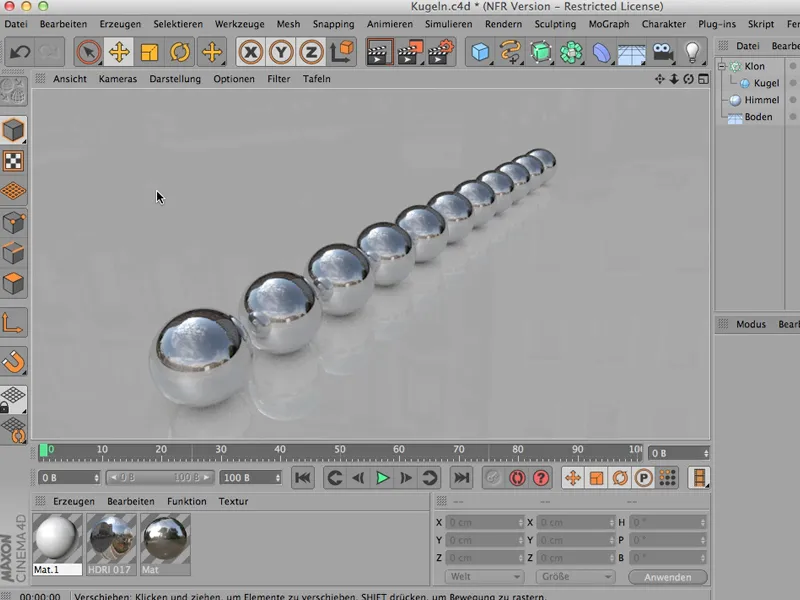
And you can see: one sphere as sharp as the other. Wonderful. Now let's get a camera, because without a camera you can't do anything with depth of field.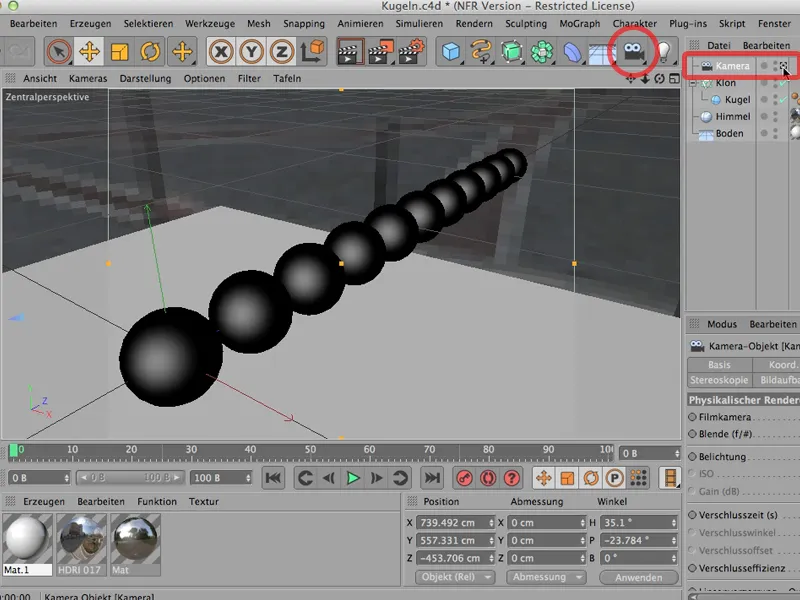
If I can't tell the camera to please work with depth of field, then that won't work either; so I have to set one up, switch it on, and now you can already see: Aha - so there we have the opportunity to work physically.
Nevertheless, we still have to do a few things beforehand, because you also have to set the renderer to physical in the render presets, for example, and also tell it to bring depth of field, so you definitely have to tick this box if it's not already ticked. Let's leave the quality as it is.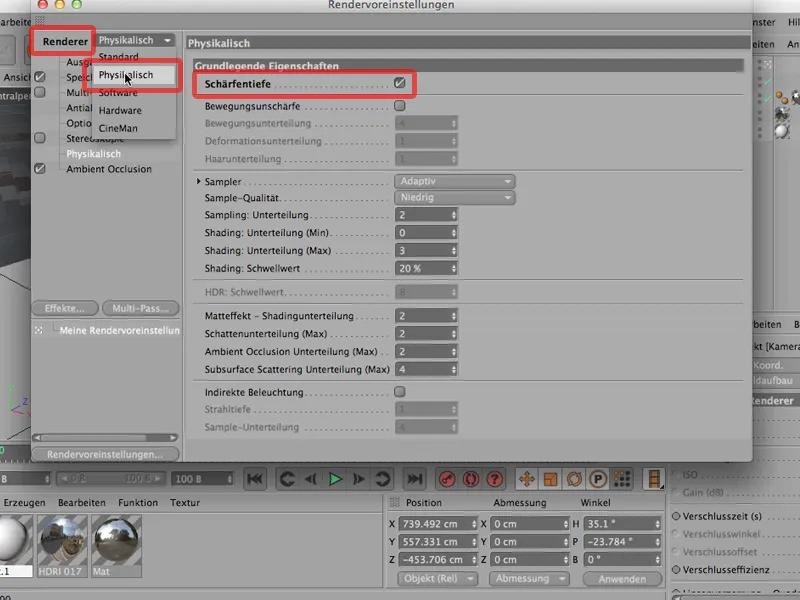
And when we render the whole thing again, then ... let's see ... the result is that everything is still sharp.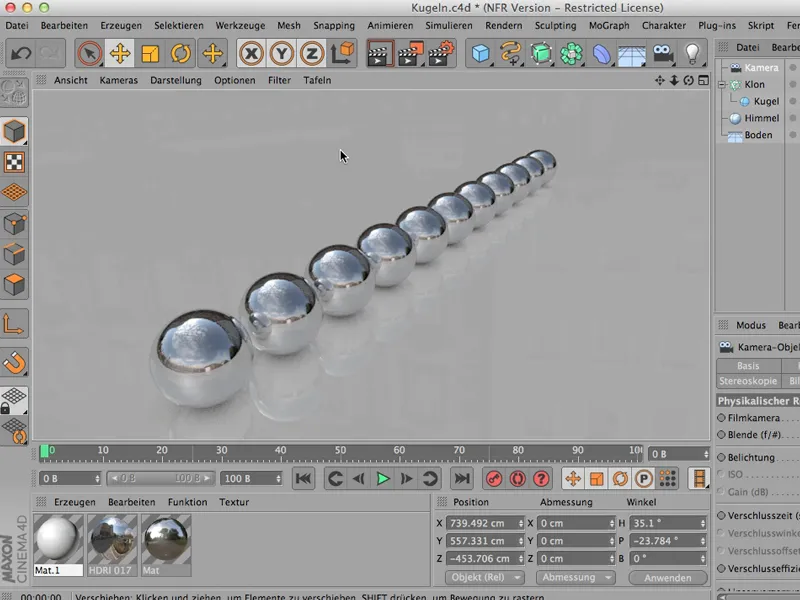
Of course, you'll say: Sure, at an aperture of 8, of course everything is relatively sharp; at a focal length of 36mm.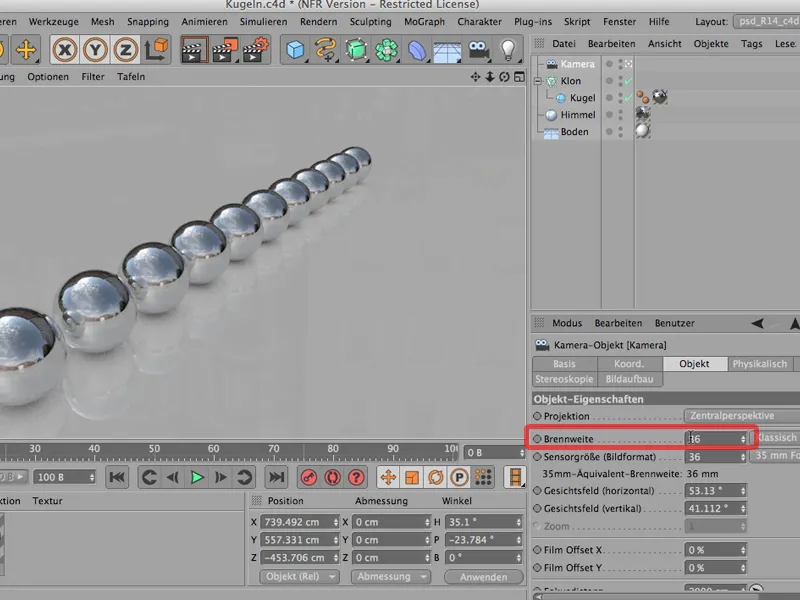
So let's go to an aperture of 1.8; nice and wide open;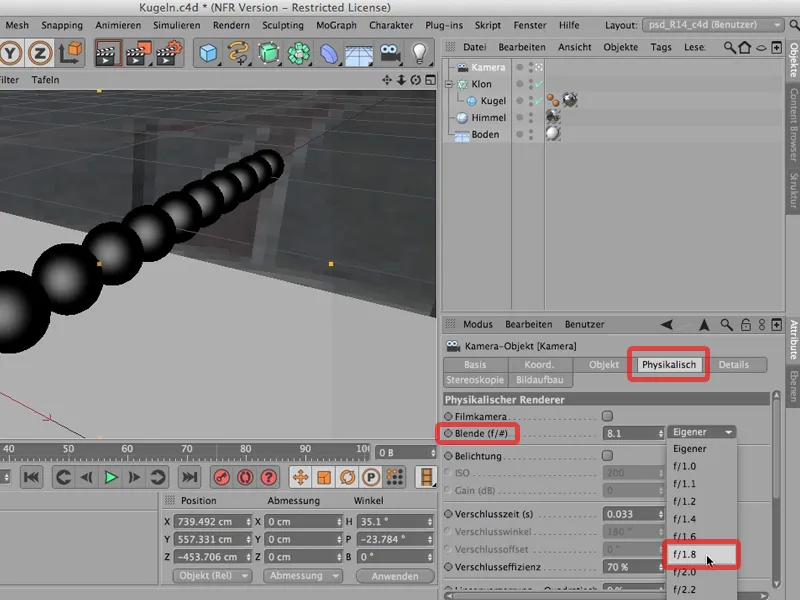
Render the whole thing again ... and now we have this: still sharp.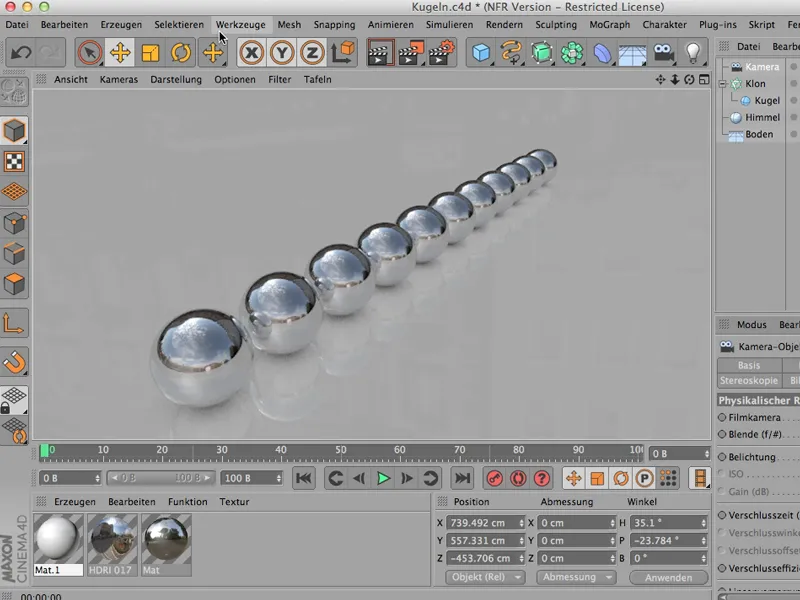
Hmm. What do we do? Of course, you first have to decide where to focus.
You can do this better from above than in the perspective view, so let's do it like this: And then you can also see here - this is the center of my focused area.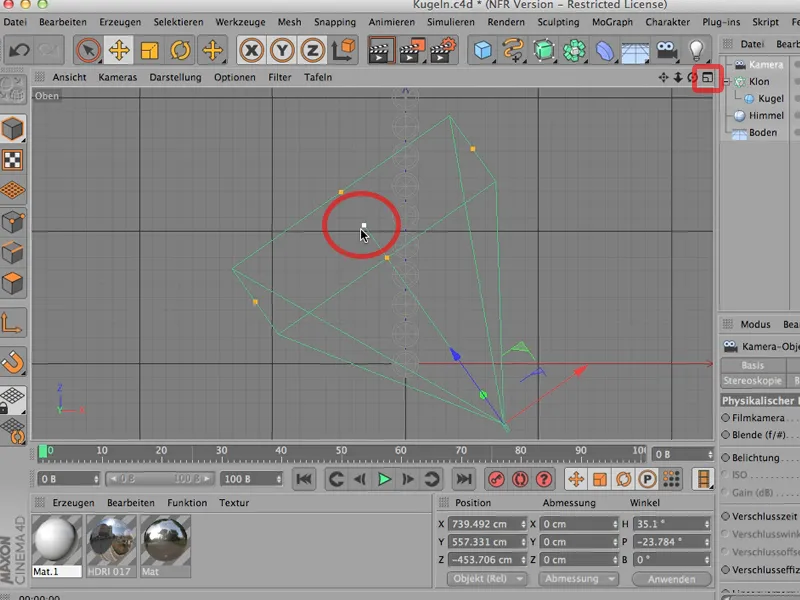
You can see this square here, of course, because the camera is tilted slightly downwards. If it weren't, if it were looking straight ahead, you would only see a single line here. But if you take the center point here, you can place it wonderfully on the plane of this second sphere, for example.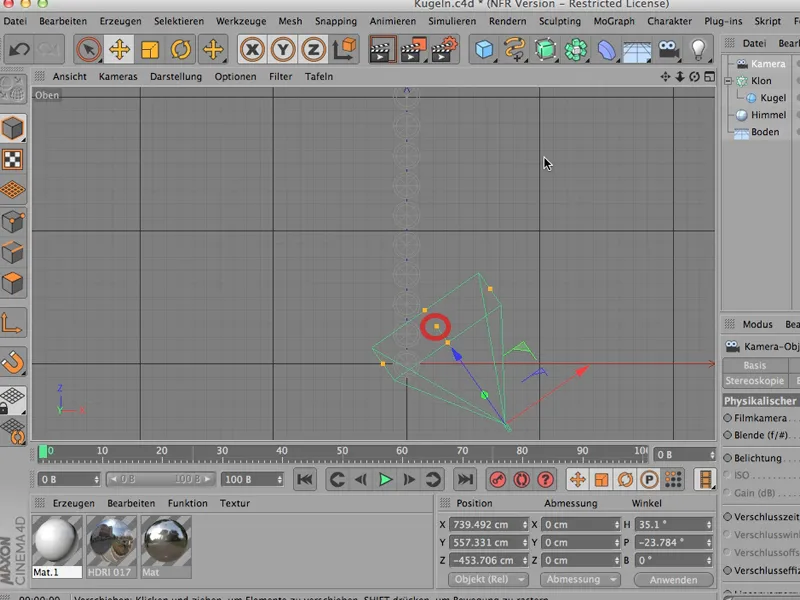
Then you can also see that the focus distance has changed. However, you can find this under the camera object and it has gone from 2000 to just under 1000. So we have focused on this sphere.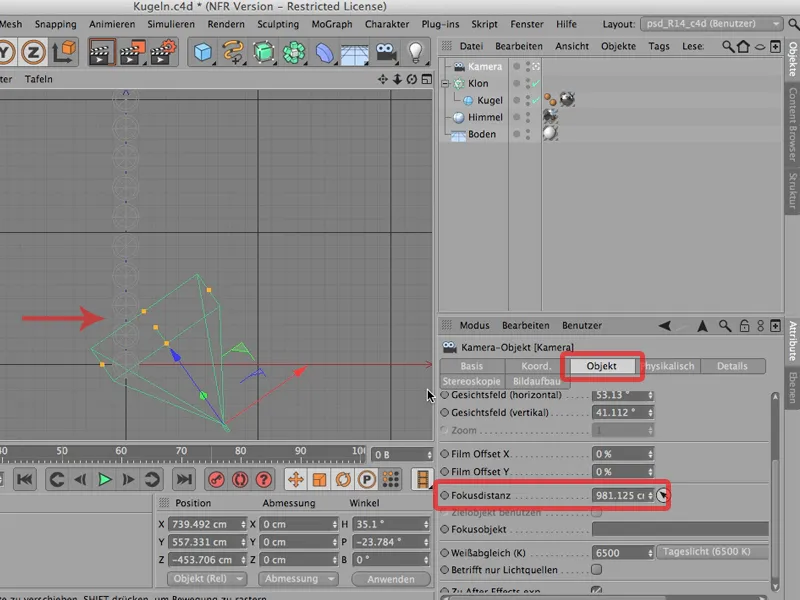
Now we can look at it again from the front. I'll render the whole thing again and we've got that: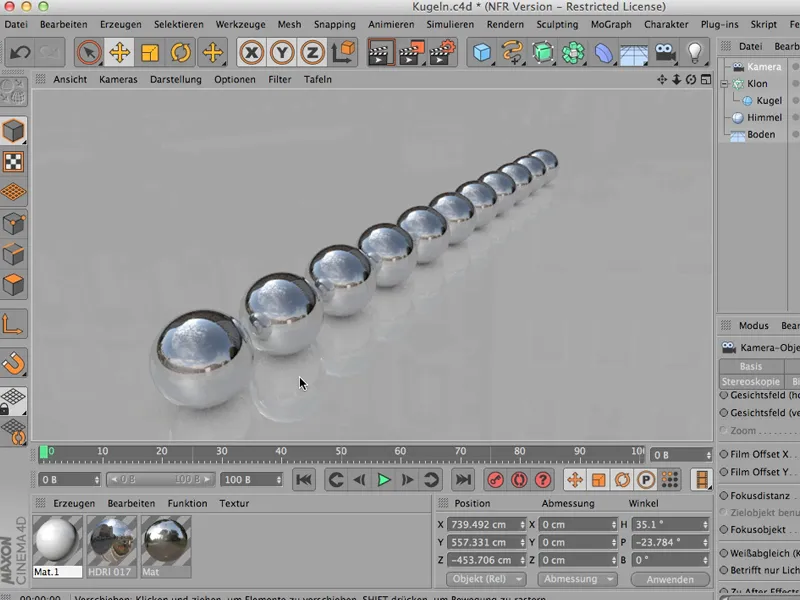
And now at the latest that's enough for most people, because now we have a small Blender, we've focused precisely, we have a physical camera, and yet nothing is out of focus.
It shouldn't be. It can't be out of focus because we have a sphere here - let's take a look at it - that has a radius of 100 cm. There's still a bit of distance between the spheres, so we can calculate that if there are 12 spheres, it's about 15 meters from this one to the last one.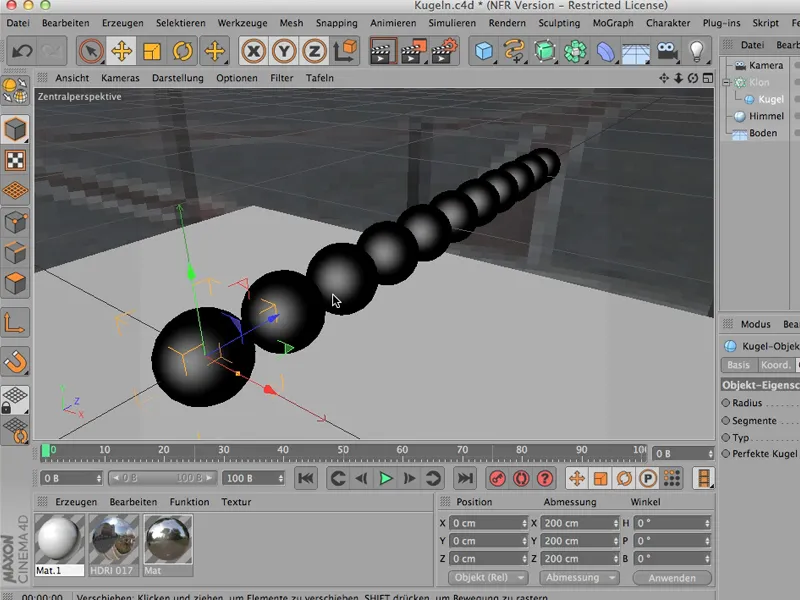
Now imagine a scene like this. You have a slightly wide-angle lens on your SLR camera and take a photo of this scene - there's not much in the way of blurring. It's just too big for that. The Matterhorn isn't out of focus either. We have exactly the same thing here. The object, the scene is too big. Not much can be blurred yet.
So we would either have to open the Blender much further - that's possible, of course - or scale our entire object. This is the command you need for this: So via Edit; there you will find Scale project, then a little window goes out that looks like this:
You could use this, for example, to say: I would like to scale it down to a scale of 1:10. Everything that is currently 1 centimeter should be just 1 millimeter in the target scale.
And when I click on that and say OK, watch how the scene changes: You can't see anything because the scene doesn't change at all. Only the floor has moved a little further back, simply because at least the display of the floor always remains the same.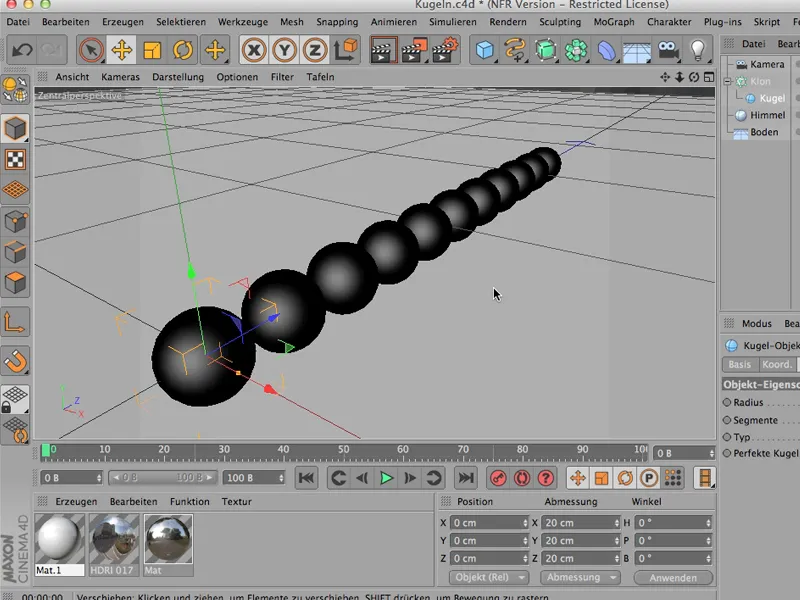
And now our whole scene is only 1/10 the size, and if I render it now, we should clearly see a blur; that's the case. It's blurred back there, it slowly gets sharper towards the front, and here on the second sphere is the perfect sharpness.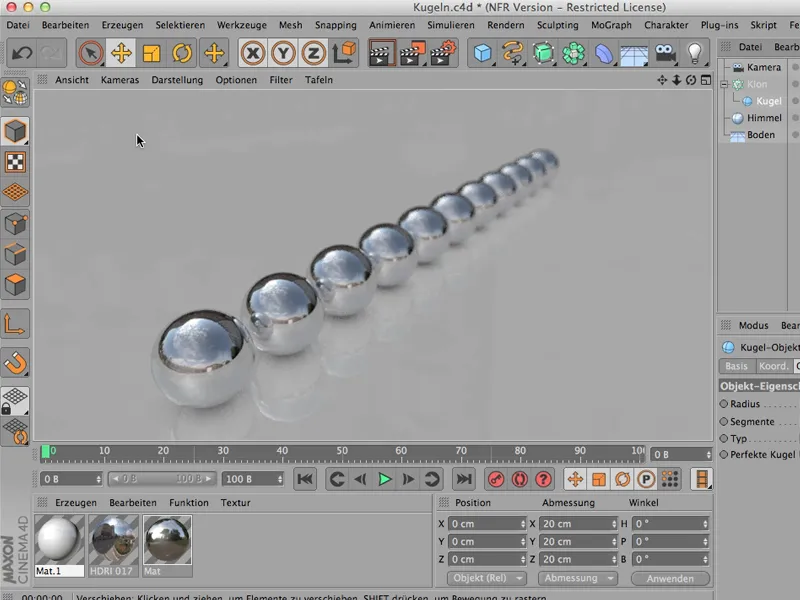
So remember: If this doesn't work, it's often because your scene is too big and you can quickly get to where you need to be via Edit>Scale project.
