Camera settings when working with studio and mobile flash units
Many photographers are used to having almost all settings made by the camera. Although this "all-round carefree package" produces usable results in most (standard) cases, there are enough exceptional situations in which the automatic settings would deliver incorrect results.
Even when photographing with the aid of flash units, you have to say goodbye to "automatic mode". Photography is done manually. However, this is not difficult, as the following explanations show.
Figure 7.1: If you work with studio flash systems, you need to pay attention to your camera settings so that the results are successful. However, these are not complicated and become second nature after just a few shoots. A quick check at the start of every photo shoot shows whether everything is set up correctly.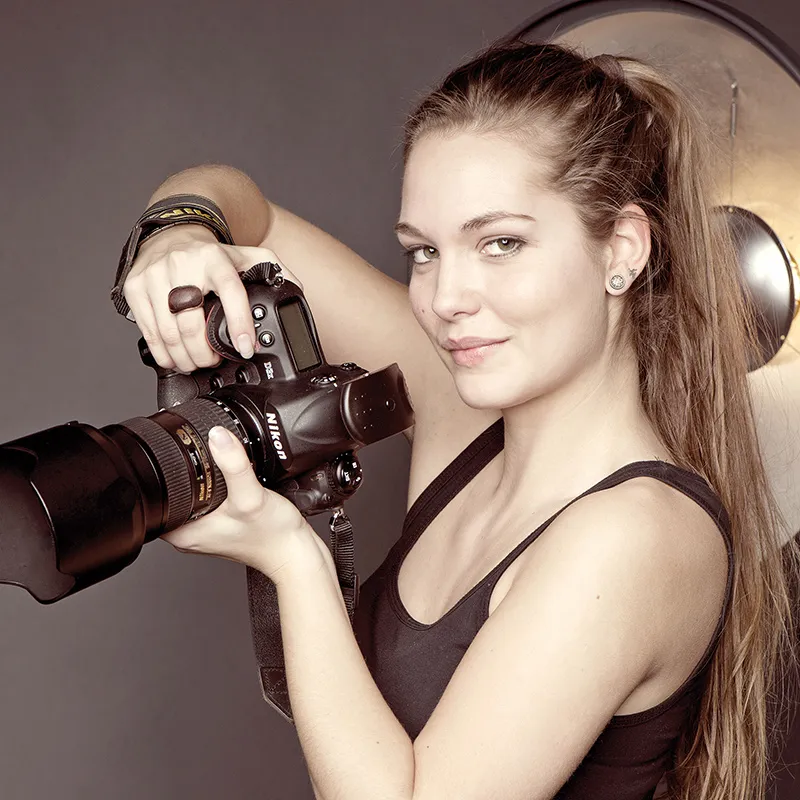
(Photo ©: Jens Brüggemann - www.jensbrueggemann.de)
The following camera settings are recommended as standard:
Figure 7.2: Listed here are the standard camera settingswhen working with flash systems. Depending on the situation (for example, it makes a difference whether I am photographing in a darkened studio or in mixed light) and requirements (for example, when taking sports photos or photographing outdoors), different camera settings may be necessary to achieve the desired effect.
| Parameters | Camera setting | Comment |
| White balance | Daylight 5,500 K (sun symbol) | see 1. |
| Speed | Single image | see 2. |
| ISO sensitivity | lowest ISO value: 100 or 200 | See 3. |
| Program selection | Manual mode (M) | see 4. |
| Shutter speed | 1/125 second | see 5. |
| Blender | according to the photographer's choice | see 6. |
- Flash units designed for photographic purposes provide a light that corresponds to average daylight of 5,500 Kelvin. The white balance on the camera is therefore set to the sun symbol. Professional flash units provide a constant color temperature even with power changes (reductions). This is not necessarily the case with cheap flash units, such as those often offered on the Internet.
Setting the white balance to automatic would be wrong; it leads to fluctuating and incorrect results. A different white balance setting can be useful if you want to achieve certain effects (e.g. color alienation).
Figure 7.3: With advertising photos in particular, it is (also) important that the colors of the product are reproduced as realistically as possible and, for example, that any paintwork is shown to its best advantage. This is particularly important when many products are photographed that are to be printed together in a catalog. There must be no changes in color temperature. A constant daylight temperature, even during prolonged use, is therefore an important criterion for a professional flash system. The fixed white balance setting on the camera to daylight (sun symbol) then ensures (color) consistency on the camera side.
(Photo © 2013: Jens Brüggemann - www.jensbrueggemann.de)
Figure 7.4: Here, for once, I have changed the white balance on the camera. Instead of the sun symbol, I set the light bulb symbol. This was the only way to make the umbrella in the background, which was used for the flash, appear colder (bluish). To prevent the model from getting a color cast, I illuminated it with the modeling light. In this way, you can achieve color alienation in a purely photographic way; without any subsequent image processing!
(Photo © 2011: Jens Brüggemann - www.jensbrueggemann.de)
If you want to understand the exact procedure, please refer to my new photo textbook "Modelfotografie: Profiwissen Beauty-, Fashion- und Erotikfotografie" (with DVD with over 8 GB of making-of videos, including one on this procedure) (mitp Verlag, 39.95 euros, ISBN 978-3826692123).
- Some flash systems would even be able to keep up with the continuous shooting speed of many DSLR cameras, but this is also unrealistic with a higher flash output. So: set the single-shot speed, unless you are photographing moving subjects where you want to flash at such short intervals in succession if you have such a fast flash system.
- Normally, you will choose the lowest ISO value because the image quality is best then (no image noise).
However, make sure that you use the "actual" ISO values and not the "L1.0" setting (or a similar designation). Although this setting would correspond to an ISO value reduced by one f-stop, the image quality would then be significantly worse.
Figure 7.5: Use only in an emergency: The setting L 1.0 corresponds mathematically to 50 ISO. However, due to the poorer quality, the higher actual ISO value (ISO 100; with some Nikon DSLRs also ISO 200) is to be preferred. The sun symbol (right in the picture) indicates that the white balance (WB) has been set to daylight.
(Photo © 2013: Jens Brüggemann - www.jensbrueggemann.de)
However, there are also plenty of situations where you will choose a different ISO setting. For example, if other (weaker) light sources are to be clearly recognizable in the photo and the selection of a slower shutter speed would lead to blurring of the image. It is then crucial that the flash system has a wide control range and that you can also take photos with a low flash output. - If you use flash units, you take photos in manual mode. The three exposure parameters - time, Blender and ISO sensitivity - are set manually. Because you "bring your own light", a fourth parameter is added: the flash intensity (which can be selected within limits).
Figure 7.6: If you do not want to rely solely on the available daylight (for example, because it leads to extremely strong contrasts in direct sunlight in summer) or if you want to use additional light for creative reasons, the flash intensity parameter is added to the three exposure parameters shutter speed, aperture and ISO sensitivity. Contrary to what many beginners believe, you need a lot of light outdoors, at least if you want to "keep up" with the sunlight during the day (contrast management!).
For this photo series (which I created for an erotic calendar and which I photographed in August in plenty of sunlight), I used two generators: one with 2,400 watts of power and one with 1,200 watts of power. Indoors, on the other hand, the situation is exactly the opposite: as it is already "relatively dark" indoors anyway, you only need a little light to make it "sufficiently bright".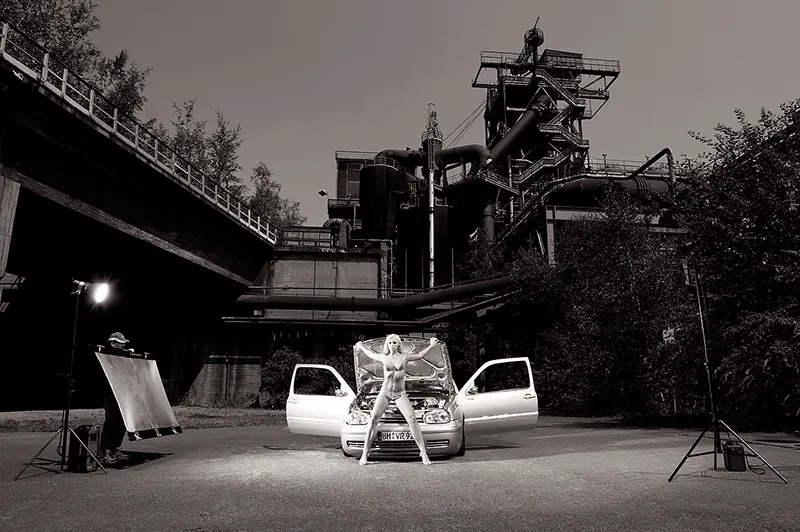
(Photo ©: Jens Brüggemann - www.jensbrueggemann.de)
The camera's automatic system (whether program, time or Blender automatic), on the other hand, would measure the available continuous light (including the modeling light of the flash system), which would lead to an incorrect exposure if the flash is also fired.
- The flash sync time of the cameras refers to the system flash units. But not to studio or outdoor flash units, which often emit a very strong flash output. The flash sync speed of 1/250 second that is often specified can therefore be too short in some situations when using a flash unit (part of the image would then turn black). It is therefore recommended to select a shutter speed below this. Sometimes 1/200 second also works, but to be on the safe side it is better to use an even slower shutter speed. 1/125 is recommended, although 1/160 second will usually also work.
The risk of camera shake is negligible anyway (and only potentially relevant in mixed light situations): In a darkened room with no other light sources, the short flash freezes any movement; even at shutter speeds of several seconds or even minutes.
Figure 7.7: In a darkened room, the flash freezes any movement. State-of-the-art flash units achieve the shortest flash times (t0.5) of 1/20,000 (e.g. broncolor "move") or even 1/25,000 second (e.g. Profoto "Pro-B4"). However, such ultra-short flash tube firing times are not necessary to capture a trampoline jumper without any motion blur.
Although the flash output depends not only on the intensity but also on the flash duration, this is all in the thousandths of a second range. Perfectly sufficient for most photographic tasks, even if you do not have one of the two systems mentioned above. (Extremely short firing times are only relevant if you want to catch a bullet in flight).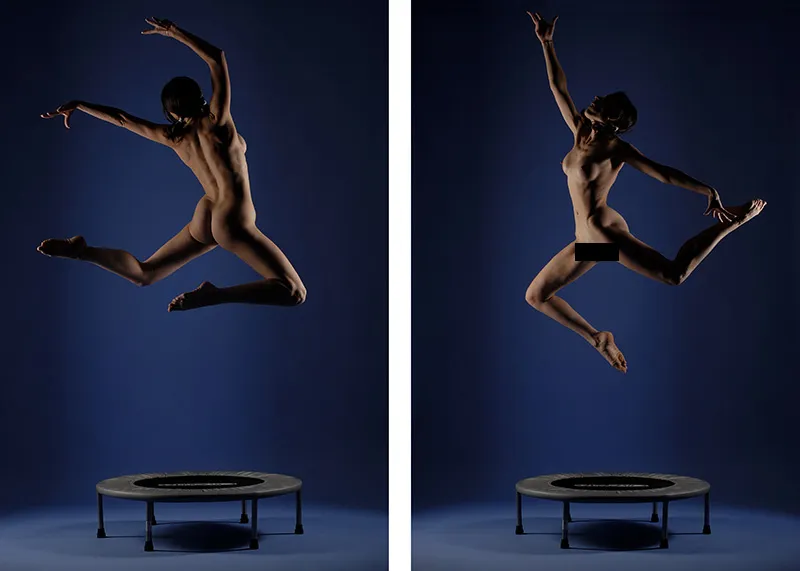
(Photo ©: Jens Brüggemann - www.jensbrueggemann.de)
Figure 7.8: I used a relatively long exposure time (1/8 second) to capture the very weak luminosity of the two neon rods.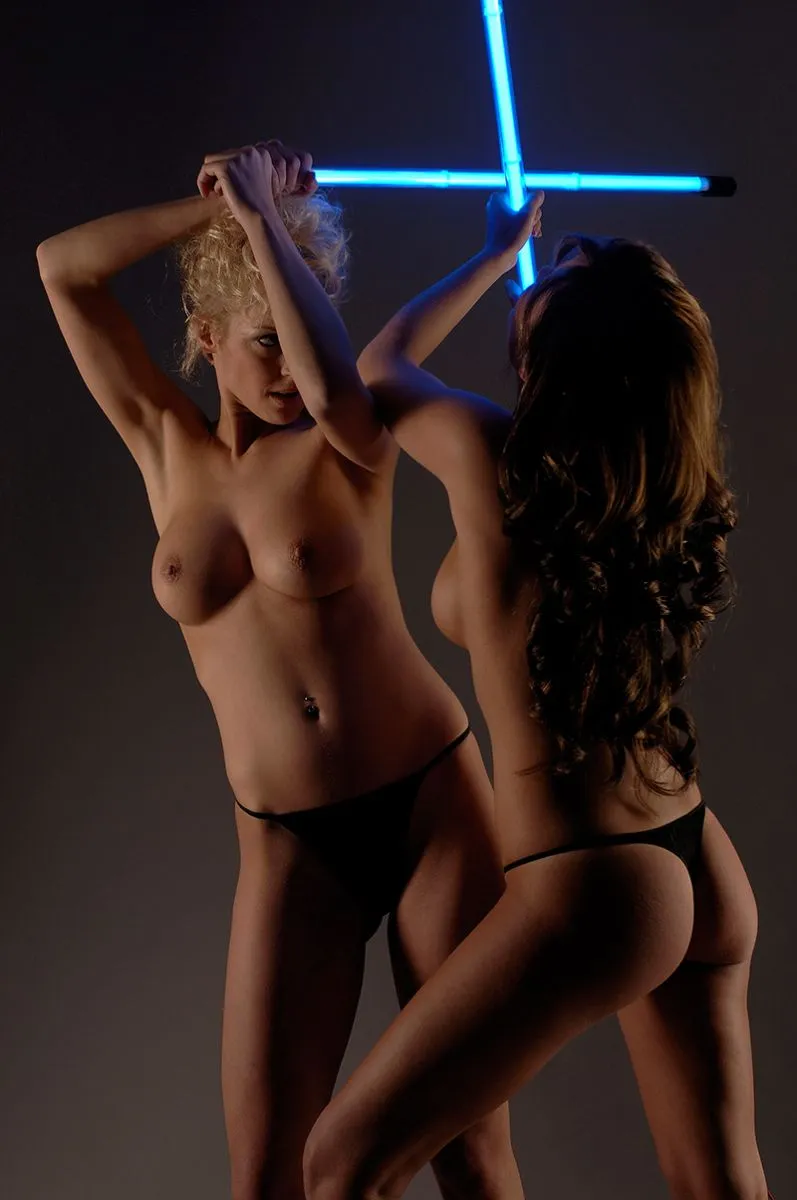
(Photo ©: Jens Brüggemann - www.jensbrueggemann.de)
Figure 7.9: In the otherwise dark studio, the flash ensured that the models were sufficiently sharp.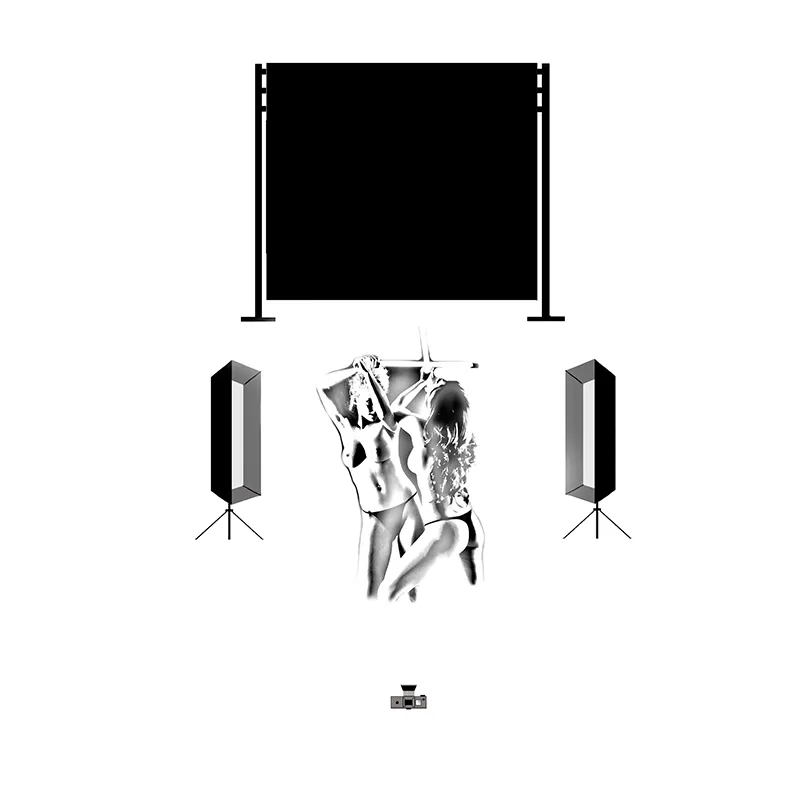
- The Blender is a creative element of the photographer. The choice influences the extent of the depth of field. For portraits, a large aperture is often preferred (large opening, small aperture number, little depth of field). For product photos for advertising, on the other hand, a small aperture (small opening, large number, large depth of field range).
Figure 7.10: For product photos where it is important that the entire subject can be recognized clearly and distinctly (and sharply), small apertures are used (here it was aperture 22). I used the 2.8/105mm micro Nikkor for this shot.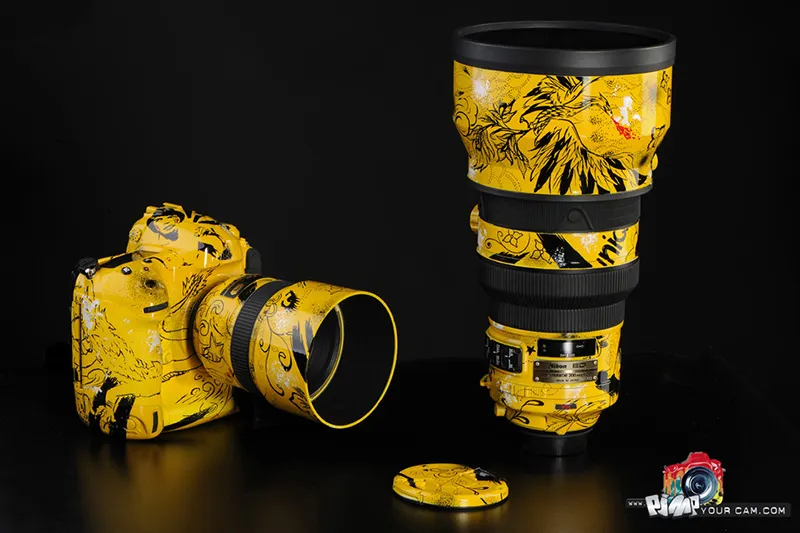
(Photo © 2012: Jens Brüggemann - www.jensbrueggemann.de)
Figure 7.11: For this shot I used the same lens at Blender 4.5.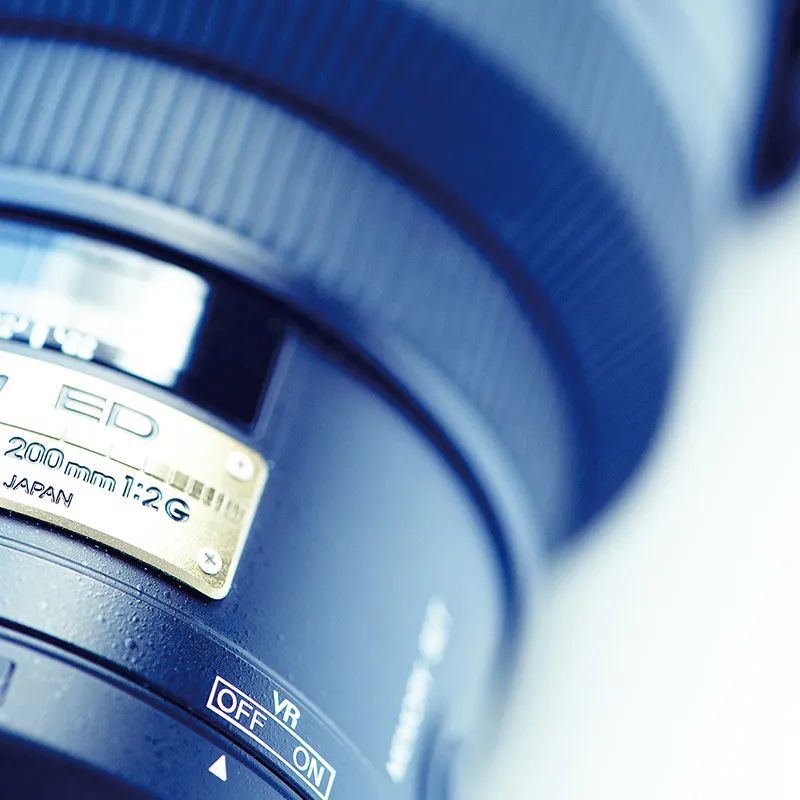
(Photo ©: Jens Brüggemann - www.jensbrueggemann.de)
Unfortunately, many photographers proceed as follows: They switch on the flash, leave it at the power setting, which is usually still set from the previous shoot, and adjust their Blender accordingly. It is better to think about what effect you want to achieve and which Blender is best suited for this. The power of the artificial light is then selected accordingly.
Figure 7.12: Blender plays a key role in the composition of portraits in particular. If you use a largely open Blender, you will achieve a beautiful sharpness-blur gradient. It is important that you focus on the eyes of the person being photographed. A photo is perceived as blurred if the eyes are out of focus. However, if only the eyes are in focus and the rest of the image is blurred, the photo will still be classified as sharp by the viewer. Nikon D4 with 2.0/200mm Nikkor. 1/125 second, Blender 3.5, ISO 125.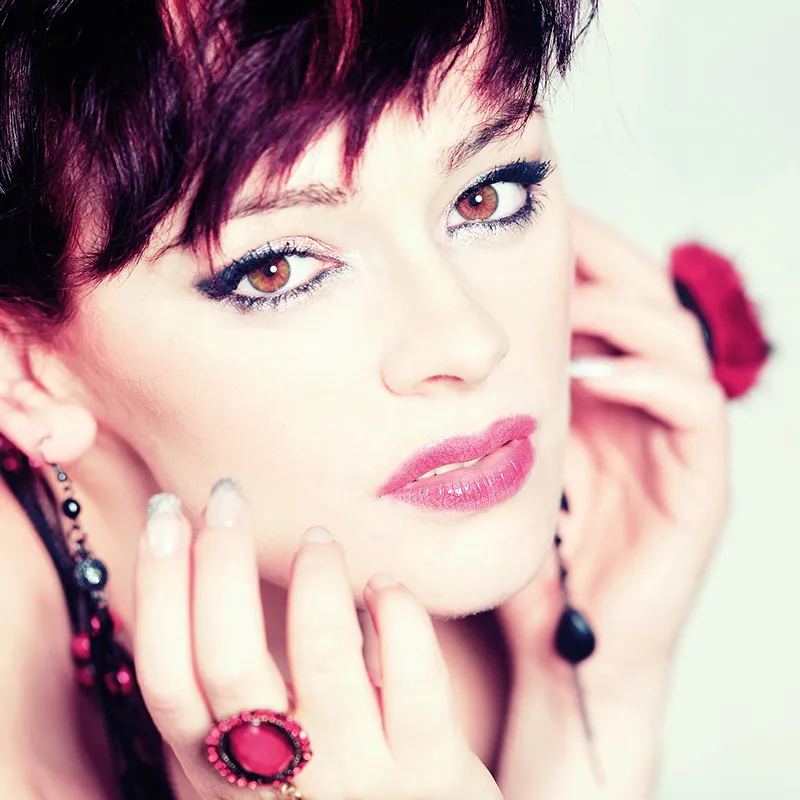
(Photo © 2013: Jens Brüggemann - www.jensbrueggemann.de)
Figure 7.13: The beauty dish is my favorite light shaper for expressive portraits of women. Here I used the P-Soft from broncolor. It has a silver inner coating instead of white, which makes the light even more "crisp".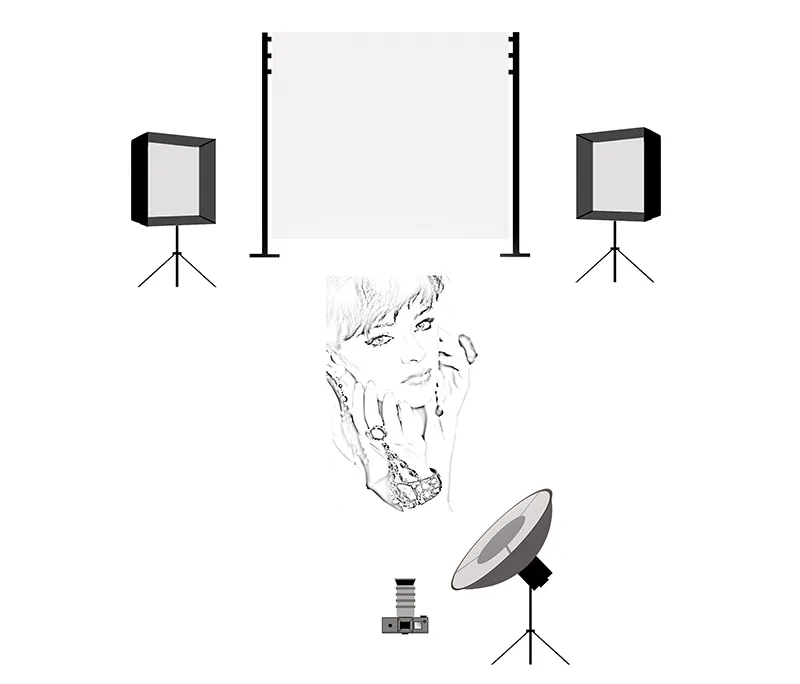
Figure 7.14: For an even illumination of the background (i.e. without gradient) you need two background lights (here I used two softboxes). This is especially true for white backgrounds, as they quickly appear gray instead of white if they don't get enough light. To ensure that the model is illuminated by the main light alone and not also by the background light, the model must be at a sufficient distance from the background. At least 1.5 m is recommended.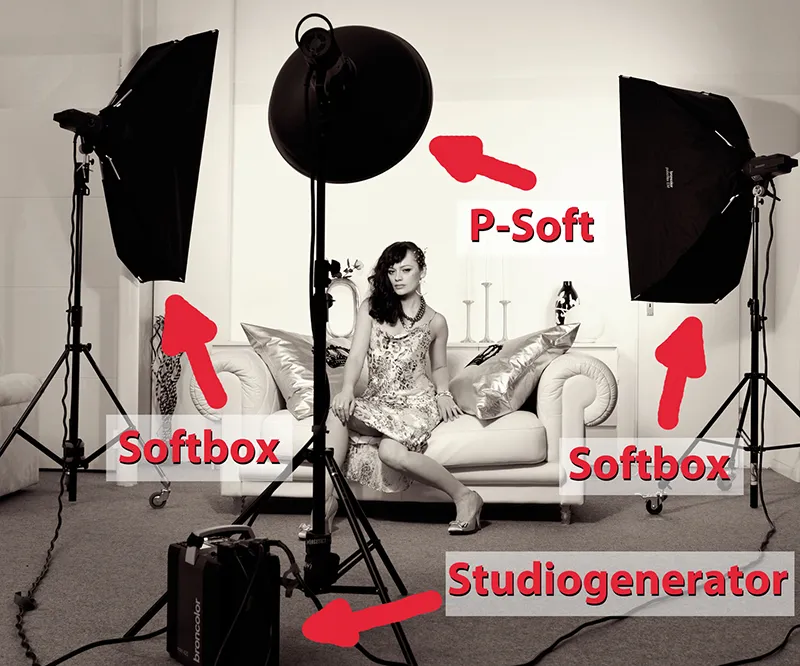
(Photo © 2013: Jens Brüggemann - www.jensbrueggemann.de)
Note
It is important to bear this in mind: When working with flash units, you do have to make a few specific camera settings on the DSLR (shutter speed 1/160 second or slower, manual setting), but these in no way result in the photographer's creative scope being restricted. On the contrary! It is understandable that we have to use a shutter speed that guarantees that the photos do not run black in places. Nevertheless, we can "play" with the time within limits: between several minutes (or theoretically even hours) up to 1/160 of a second. (Depending on the flash system and model and the flash power used, even up to 1/200 second).
However, you should bear in mind that when using flash, we have to differentiate between the effects of the available continuous light and the flash used when varying the three camera exposure parameters:
- Changing the ISO sensitivity affects the effects of both continuous light and flash equally.
- Changes to the aperture setting also have an effect on the image brightness: of both continuous and flash light.
- When changing the shutter speed, however, only the continuous light has an effect on the image brightness! If you are working within the permitted range (1/160 second to several minutes), changes to the shutter speed have no effect on the brightness of the flash.
It should therefore be noted that the image brightness in mixed light situations is made up of the continuous light component and the flash component. Changes to the shutter speed cause the proportions to shift: The slower the shutter speed, the more continuous light falls on the sensor (while the flash component remains the same).
Preview
The best flash system is useless if you can't use it effectively ("do right things") and efficiently ("do things right"). You can find out everything else you need to know about using flash units in the next part of this tutorial: "Practical tips for using studio and outdoor flash units"!
