In this tutorial, I will show you how to create your first Flow in Facebook Marketing. A Flow is a structured sequence of actions that your chatbot executes. It is important to understand precisely how to set up a Flow in order to optimize the interaction with your customers and achieve different goals, such as sales or data collection. Let's go through the process step by step.
Key Insights A Flow represents the chronological structure of interactions in your chatbot. The Flow starts with a starting point, known as the "Starting Step," followed by further actions that the bot should perform. It is crucial to consider how users will interact with the bot and what the specific goal of the Flow is.
Step-by-Step Guide
1. Accessing the Flows
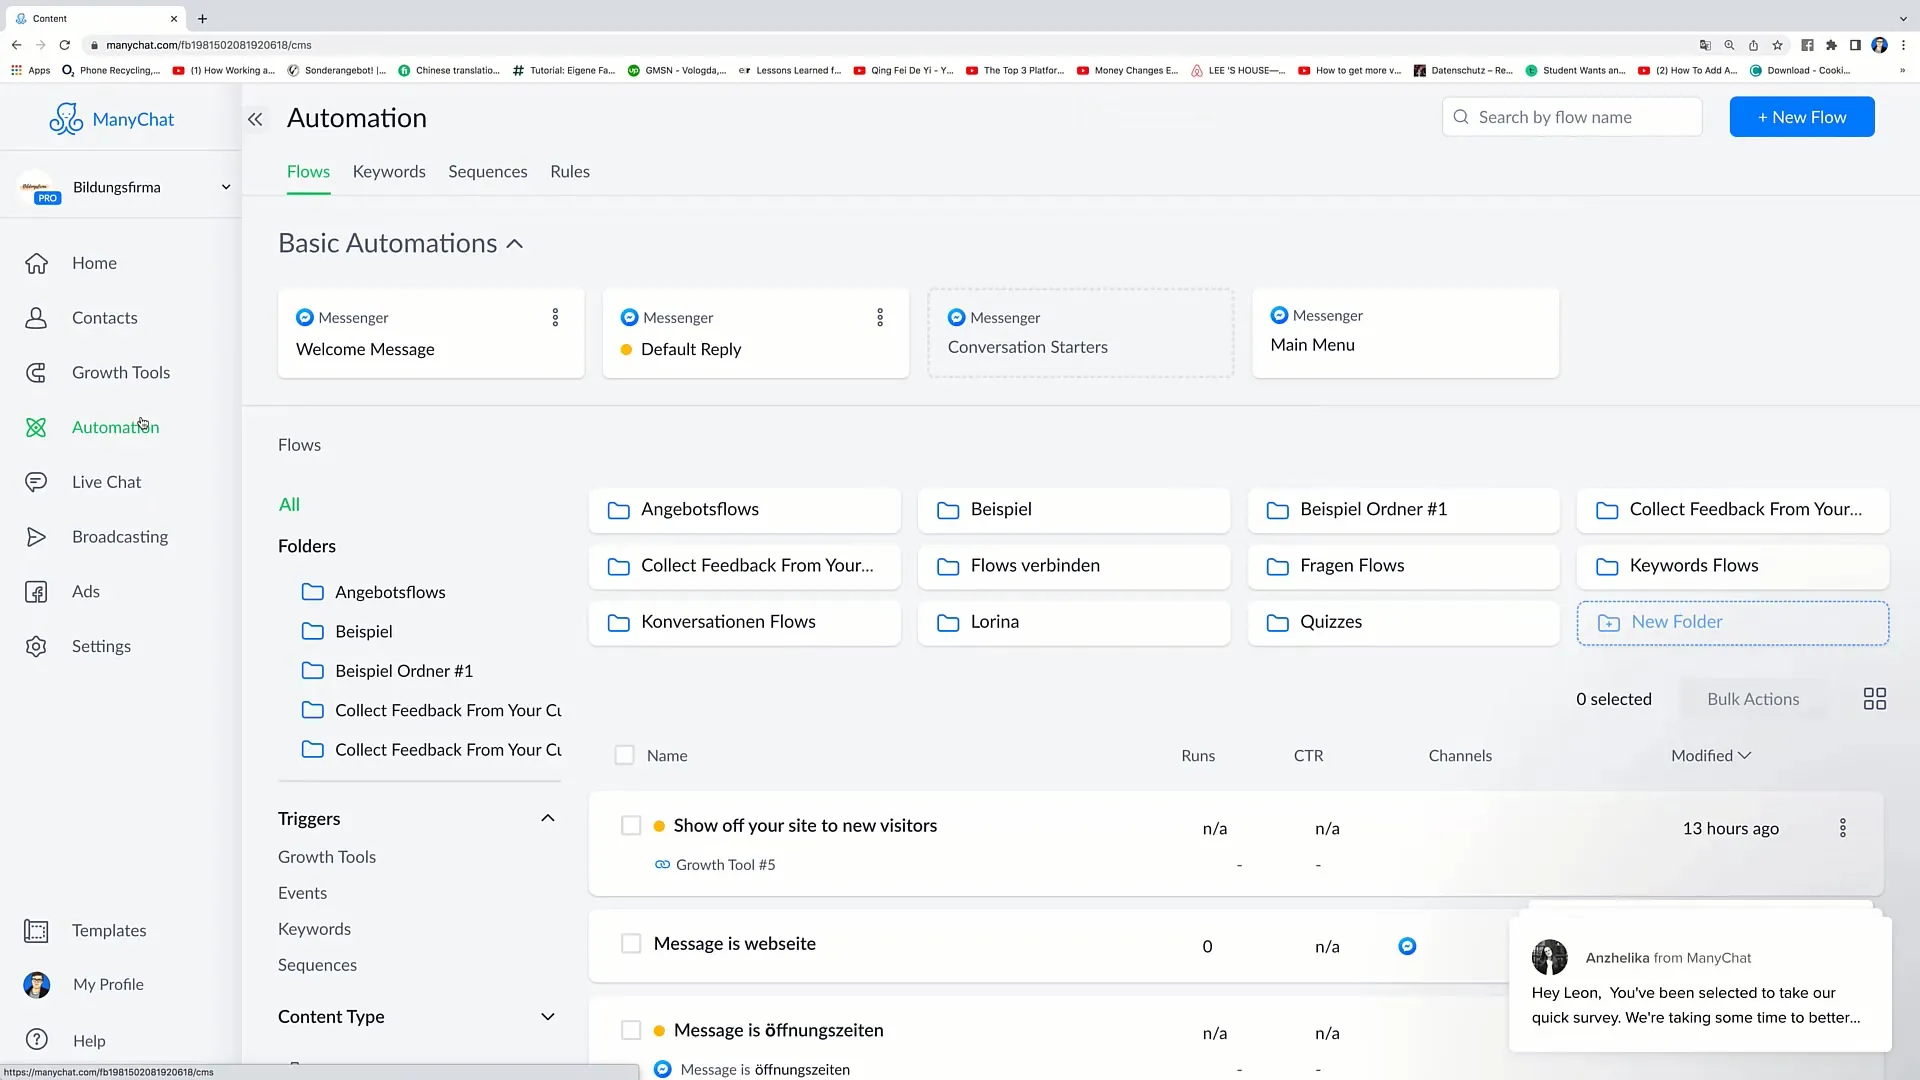
To create a new Flow, first go to the left side of your user interface and click on "Automation".
2. Creating a New Flow
After clicking on "Automation", you will find the option "Flows" in the top left corner. Click on "New Flow" in the top right corner to create a new Flow.
3. Starting from Scratch
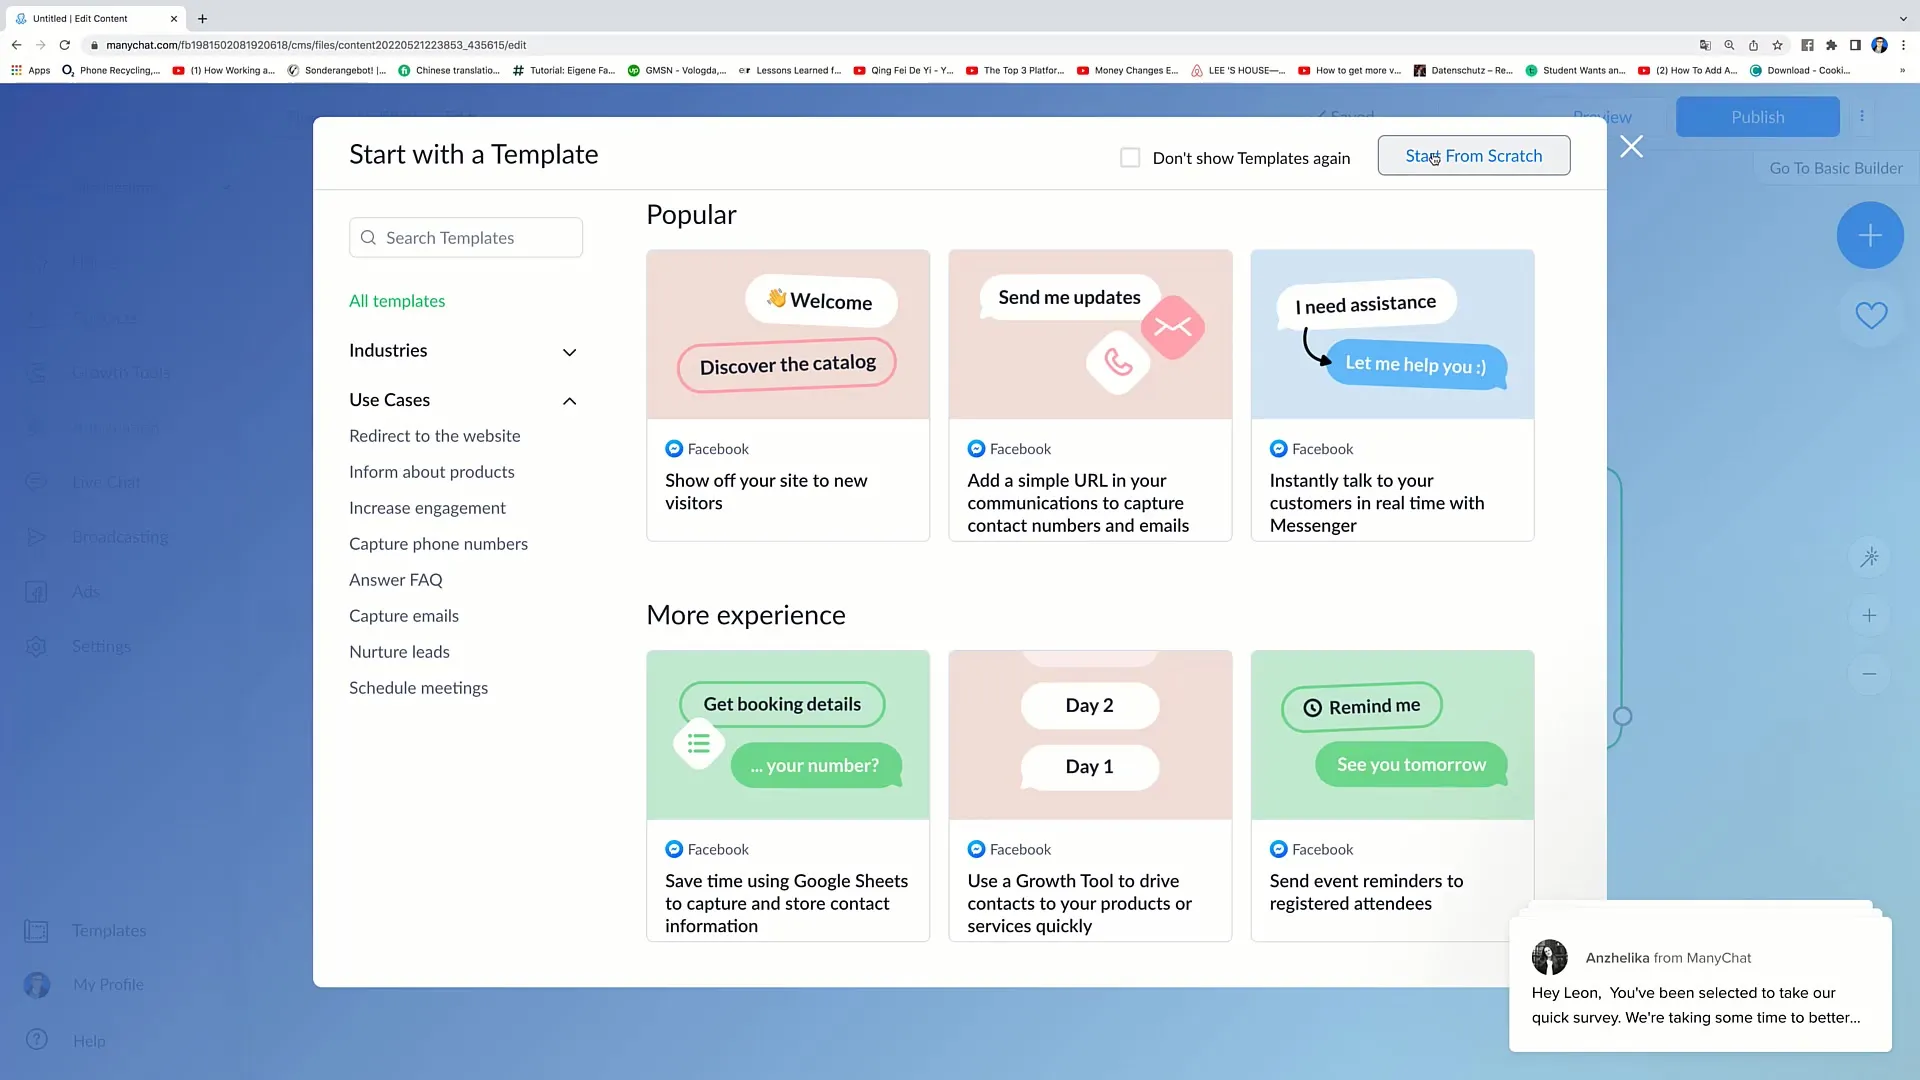
You will then be taken to a page showing various example Flows. However, you want to create a new and custom Flow, so click on "Start from scratch".
4. Naming the Flow
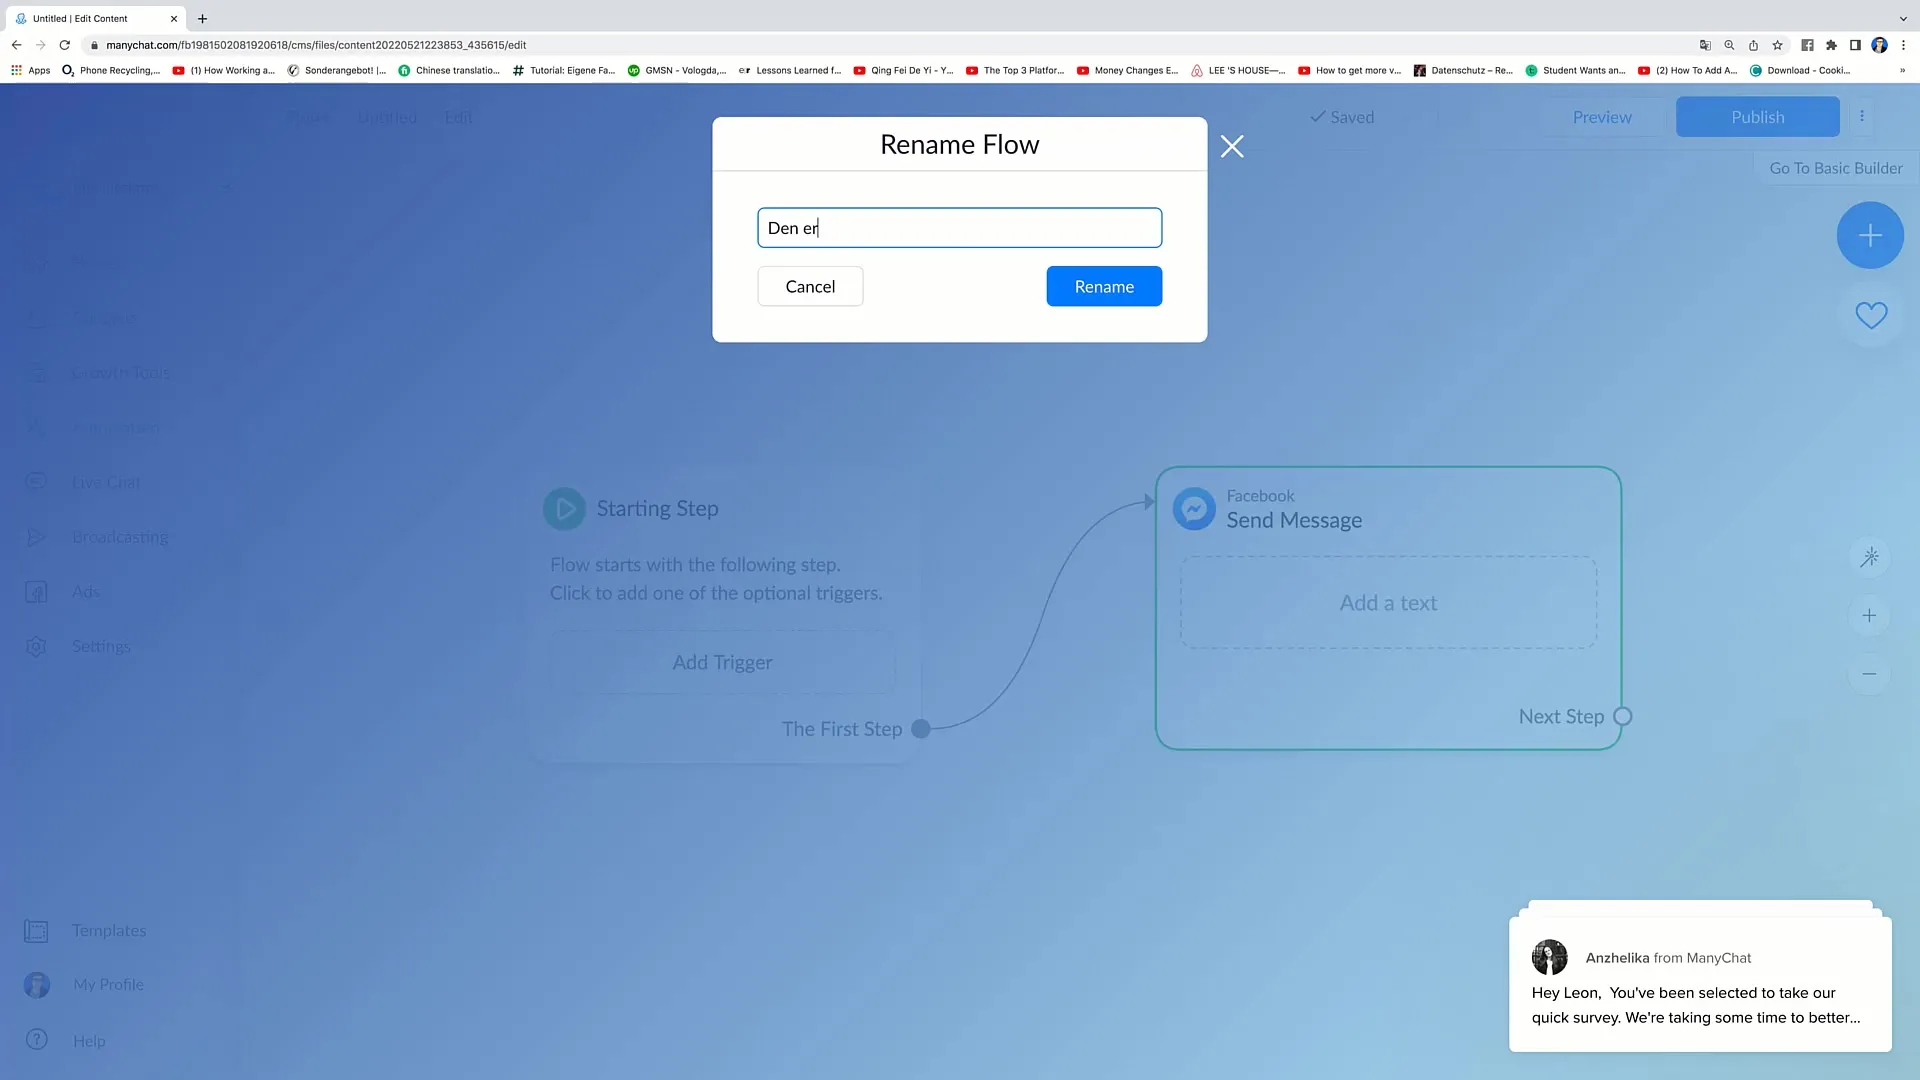
Now you can give your Flow a name. For example, you could simply name it "First Flow". It is important to choose a clear name that will help you identify the Flow later on.
5. Defining the Starting Step
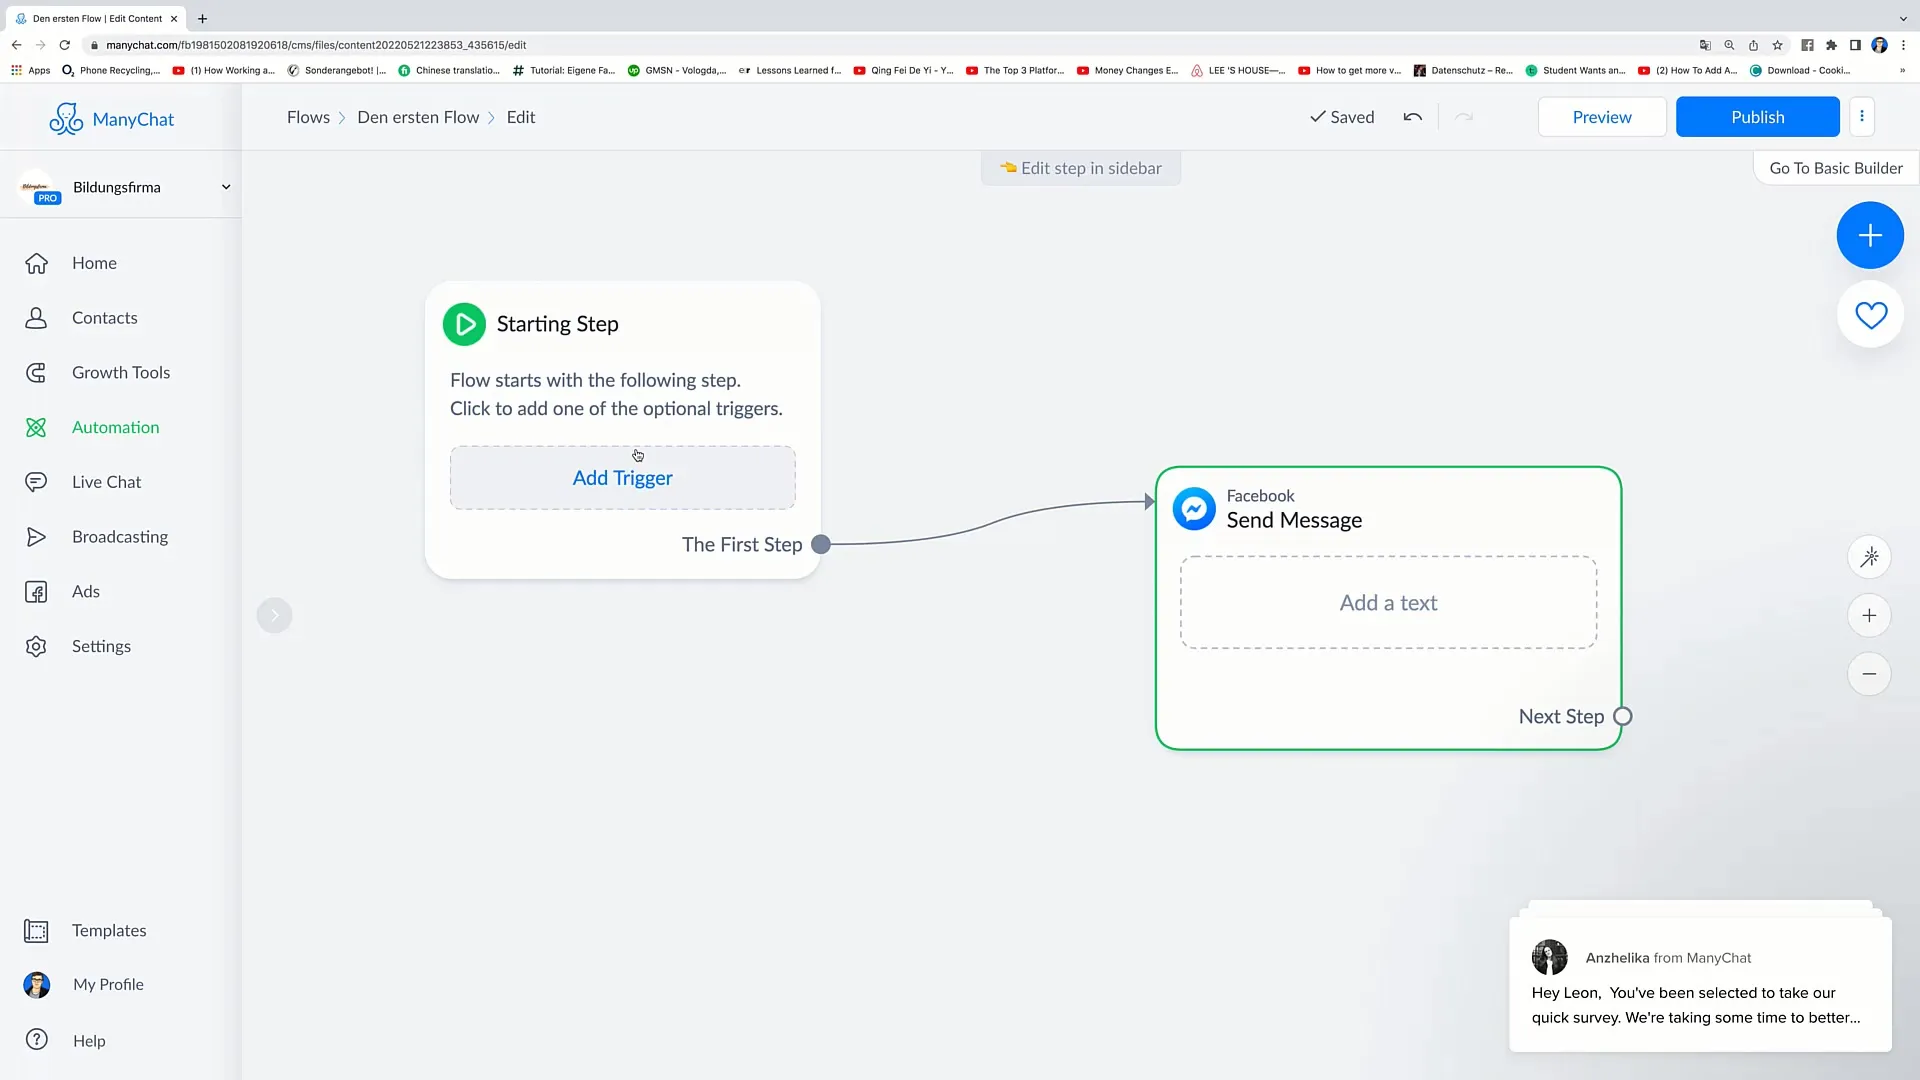
The next step is to define the "Starting Step". Consider what should happen first when someone interacts with your bot. This could be the person becoming part of your target audience, for example through a contact via Facebook Messenger.
6. Adding a Trigger
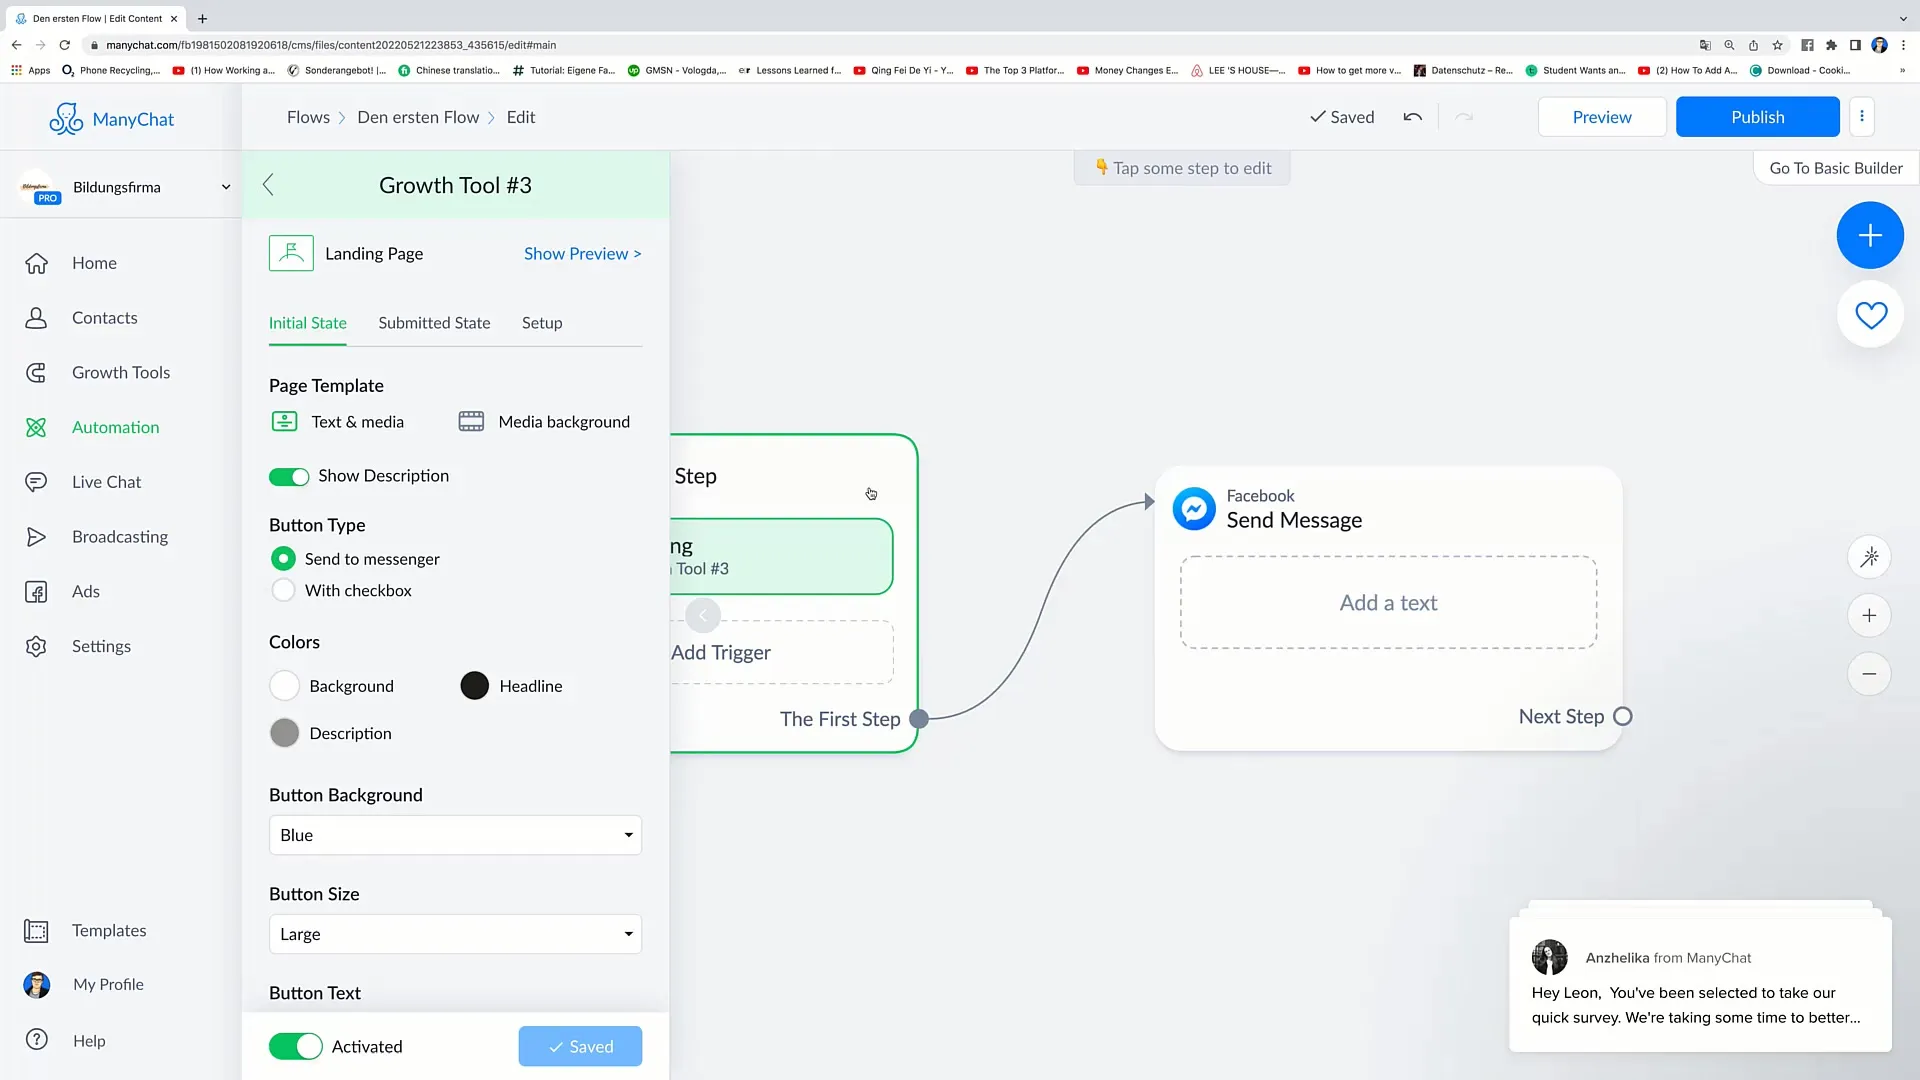
Now it is time to add a trigger for your Flow. Click on "Add Trigger" to set the starting point for your Flow, which will be activated when certain conditions are met.
7. Setting up the Trigger
Choose the trigger that should start the Flow, for example, when a person interacts on a landing page or wants to chat with your bot. Confirm that this trigger is activated.
8. Adding a Message
Now add a message to be sent to the users when the trigger is activated. Click on the message in the right box and enter your message text – for example, a friendly greeting message.
9. Personalizing the Message
To personalize the message, you can integrate the user's name. Click on the brackets and select the "first name" field to make the message look unique for each user.

10. Publishing the Flow
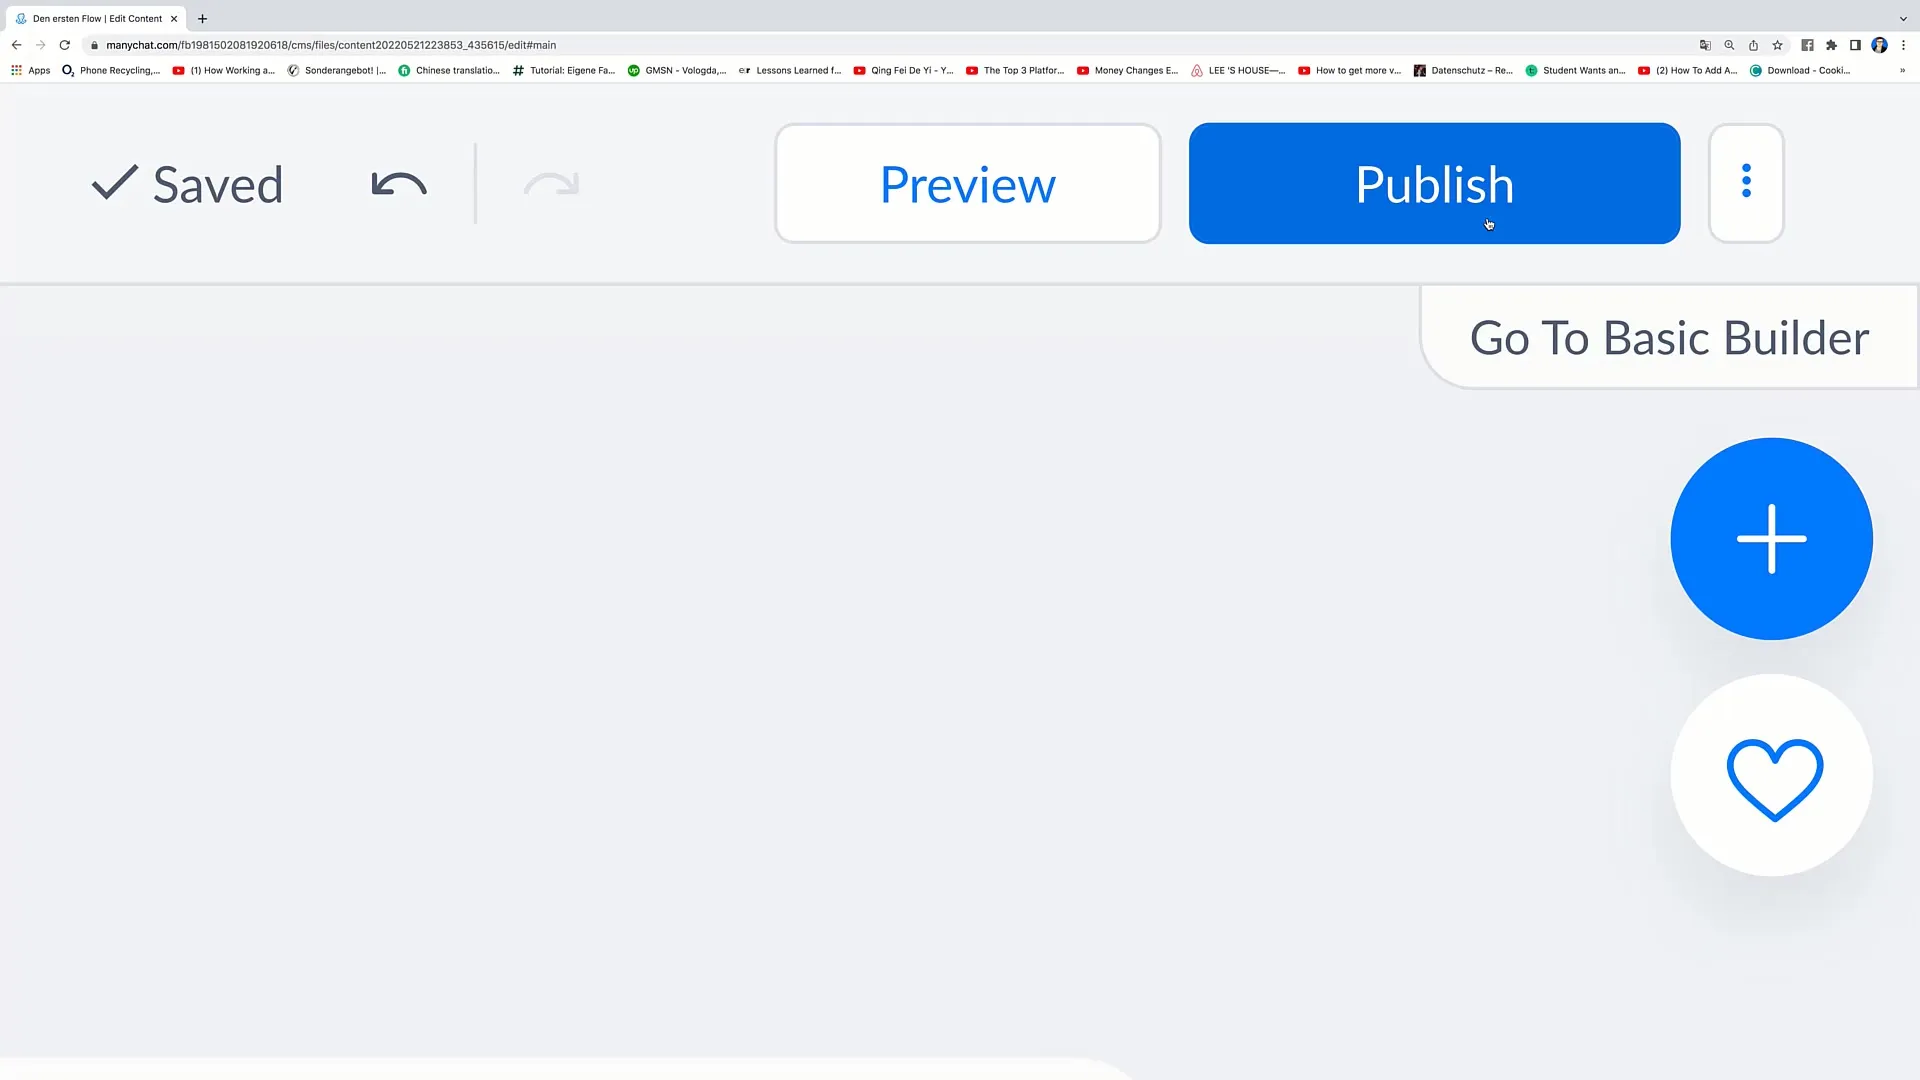
You have now created the basic structure of your first Flow. To publish it, click on "Publish" at the top of the user interface. Your Flow is now active and ready to be used.
Summary
In this tutorial, you have learned how to create your first flow in Facebook marketing. The process includes defining the Starting Step, adding a Trigger, inserting and customizing a message, and publishing the flow. These steps allow you to effectively interact with your users and guide them to the desired goals.
Frequently Asked Questions
What is a flow in chatbot?A flow is a chronological structure that defines the actions of a chatbot.
How do I set a trigger for my flow?You can set a trigger by clicking on "Add Trigger" and setting the desired conditions.
How do I personalize the messages in the flow?You can integrate the user's name by selecting the system field "first name" into the message.
How do I publish my flow?Simply click on "Publish" in the user interface.
