In this tutorial, you will learn how to add actions, more specifically tags, to a flow in Facebook Marketing. Tags are an effective method for storing information about users, tracking their interactions with your chatbot, and improving your communication strategy. By implementing tags, you can send personalized messages and enhance the user experience. This is particularly important when interacting with a chatbot. In the following guide, I will walk you through the process step by step.
Key Takeaways
- Actions, especially tags, are important components of a flow.
- Tags help you store information about users based on their interactions.
- You can assign different tags to different messages to make communication more effective.
Step-by-Step Guide
To add tags to a flow, follow these steps:
Start by understanding what an action is. An action is a specific task that is executed within a flow. It cannot be sent simultaneously with a message. Actions and messages follow a chronological sequence. First, a message is sent, followed by an action. You can then send another message and so on.
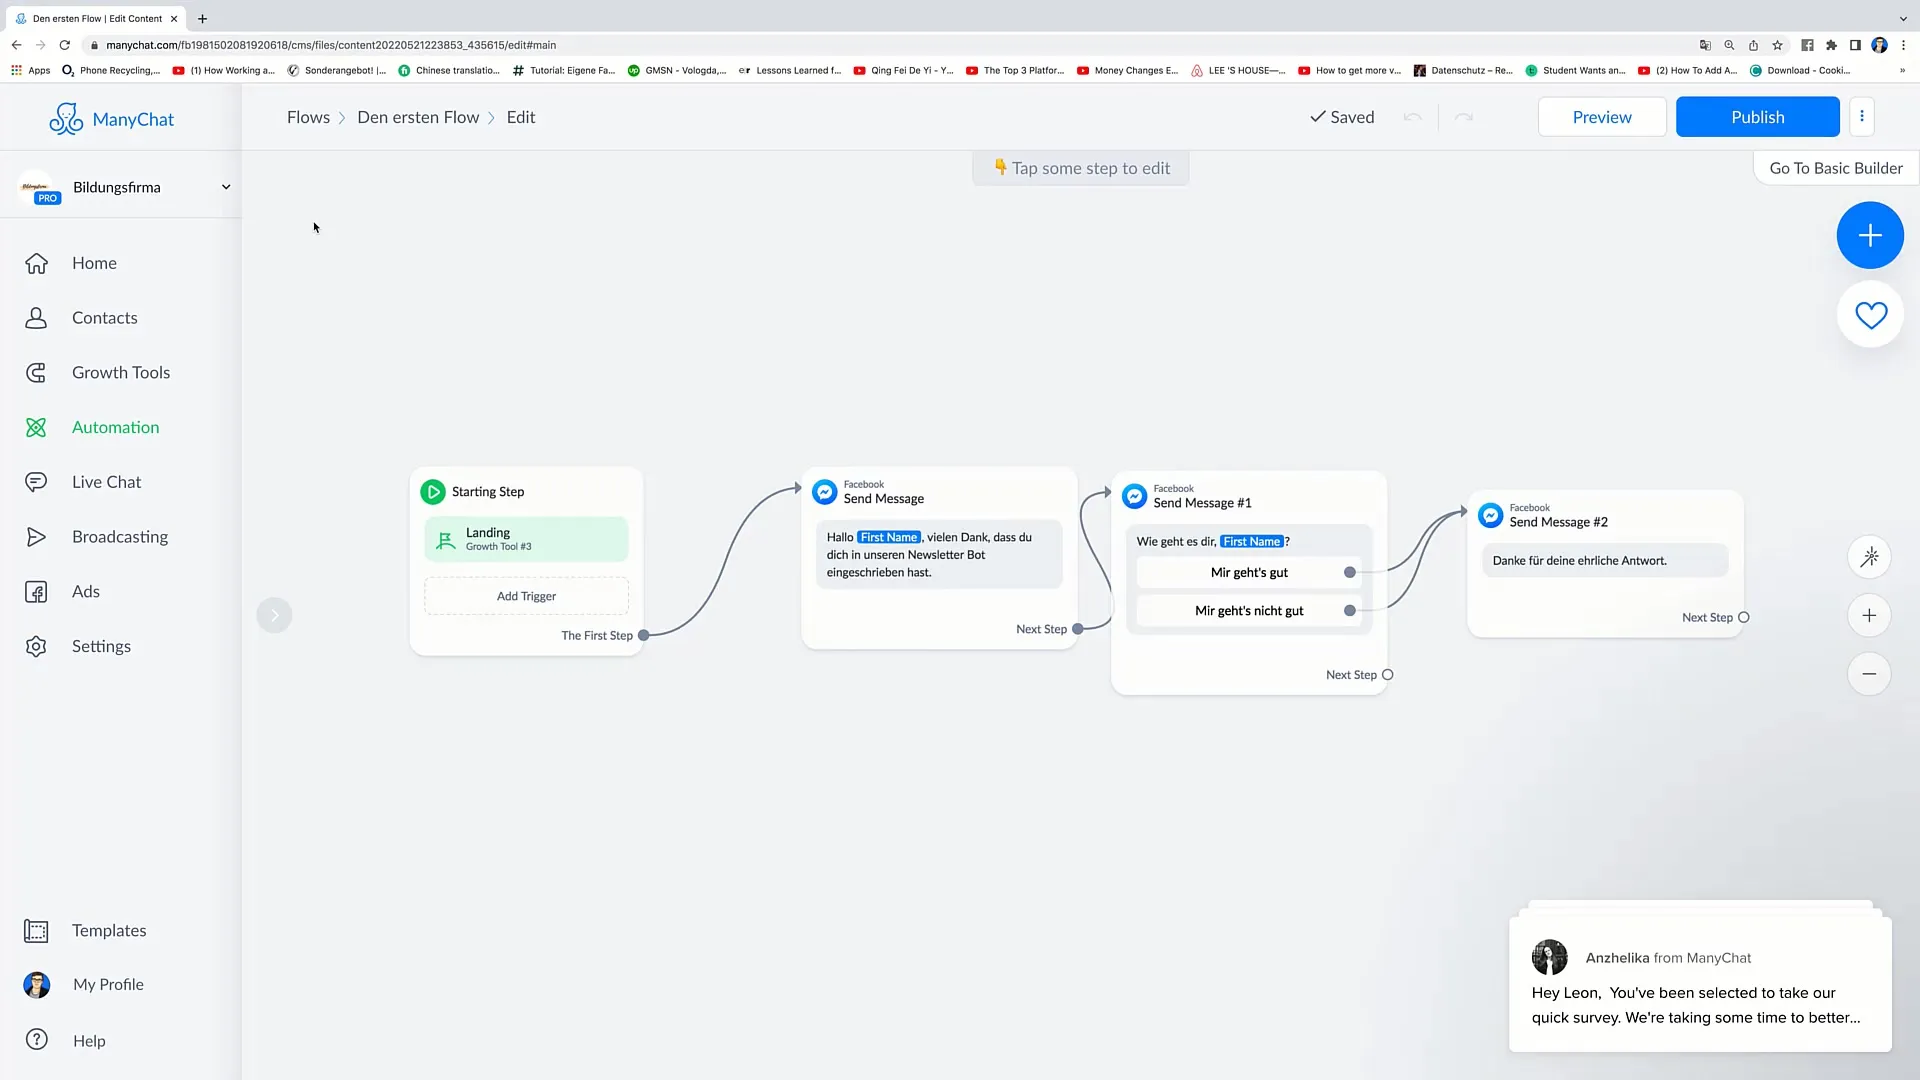
A common application of an action is adding a tag. Tags are used to store information about a person. So, if you want to store information about a person in your flow, you must integrate an action that adds a tag.
To clarify the process, let's first delete the last message in the flow. Click on "Confirm" to complete this action.
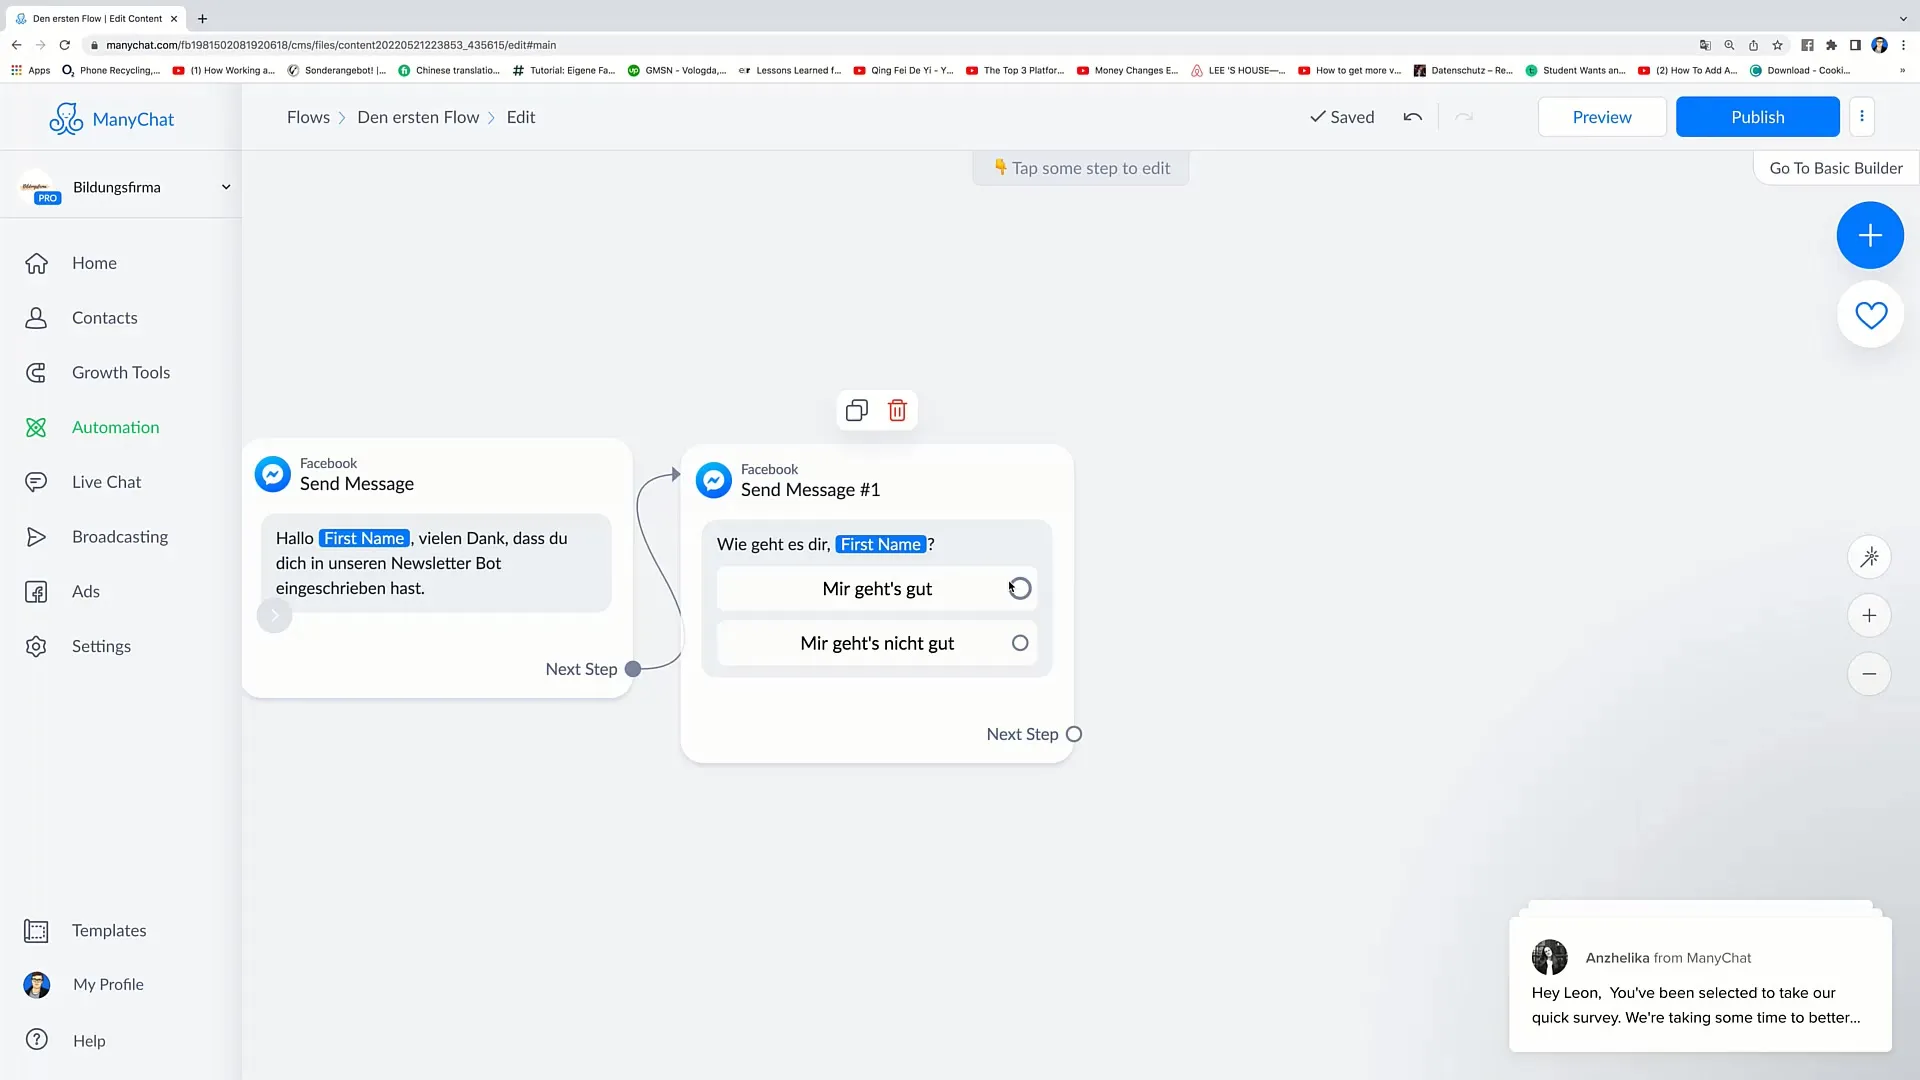
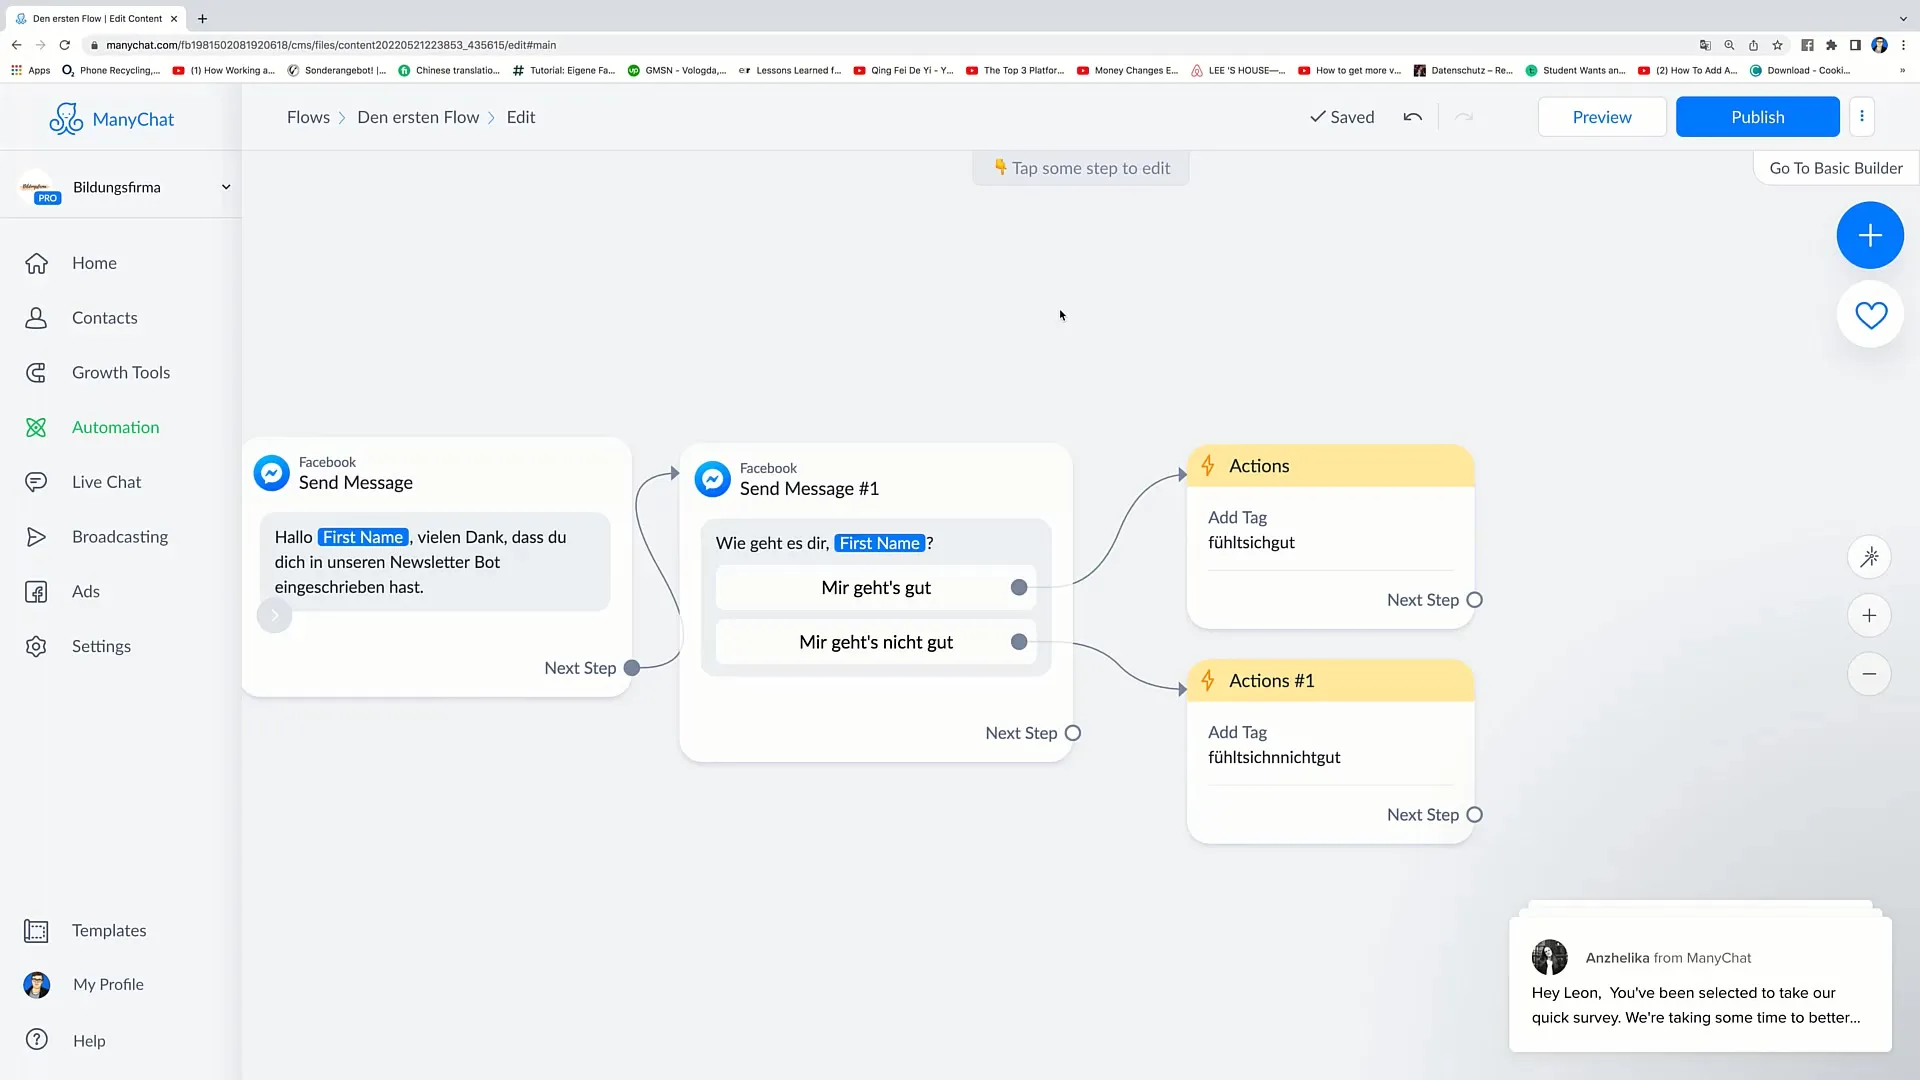
Now you see that the buttons are free again and you can move on to the next step. The crucial question now is how you can add information about the user, such as when a person responds to a question. In our example, we have the question "How are you, Leon?" and the options "I'm fine" or "I'm not doing well".
If the user selects "I'm fine", you can add this information as a tag. Click on the area, draw a circle around the required area, and select the "Actions" option "Add Tag" from the menu.
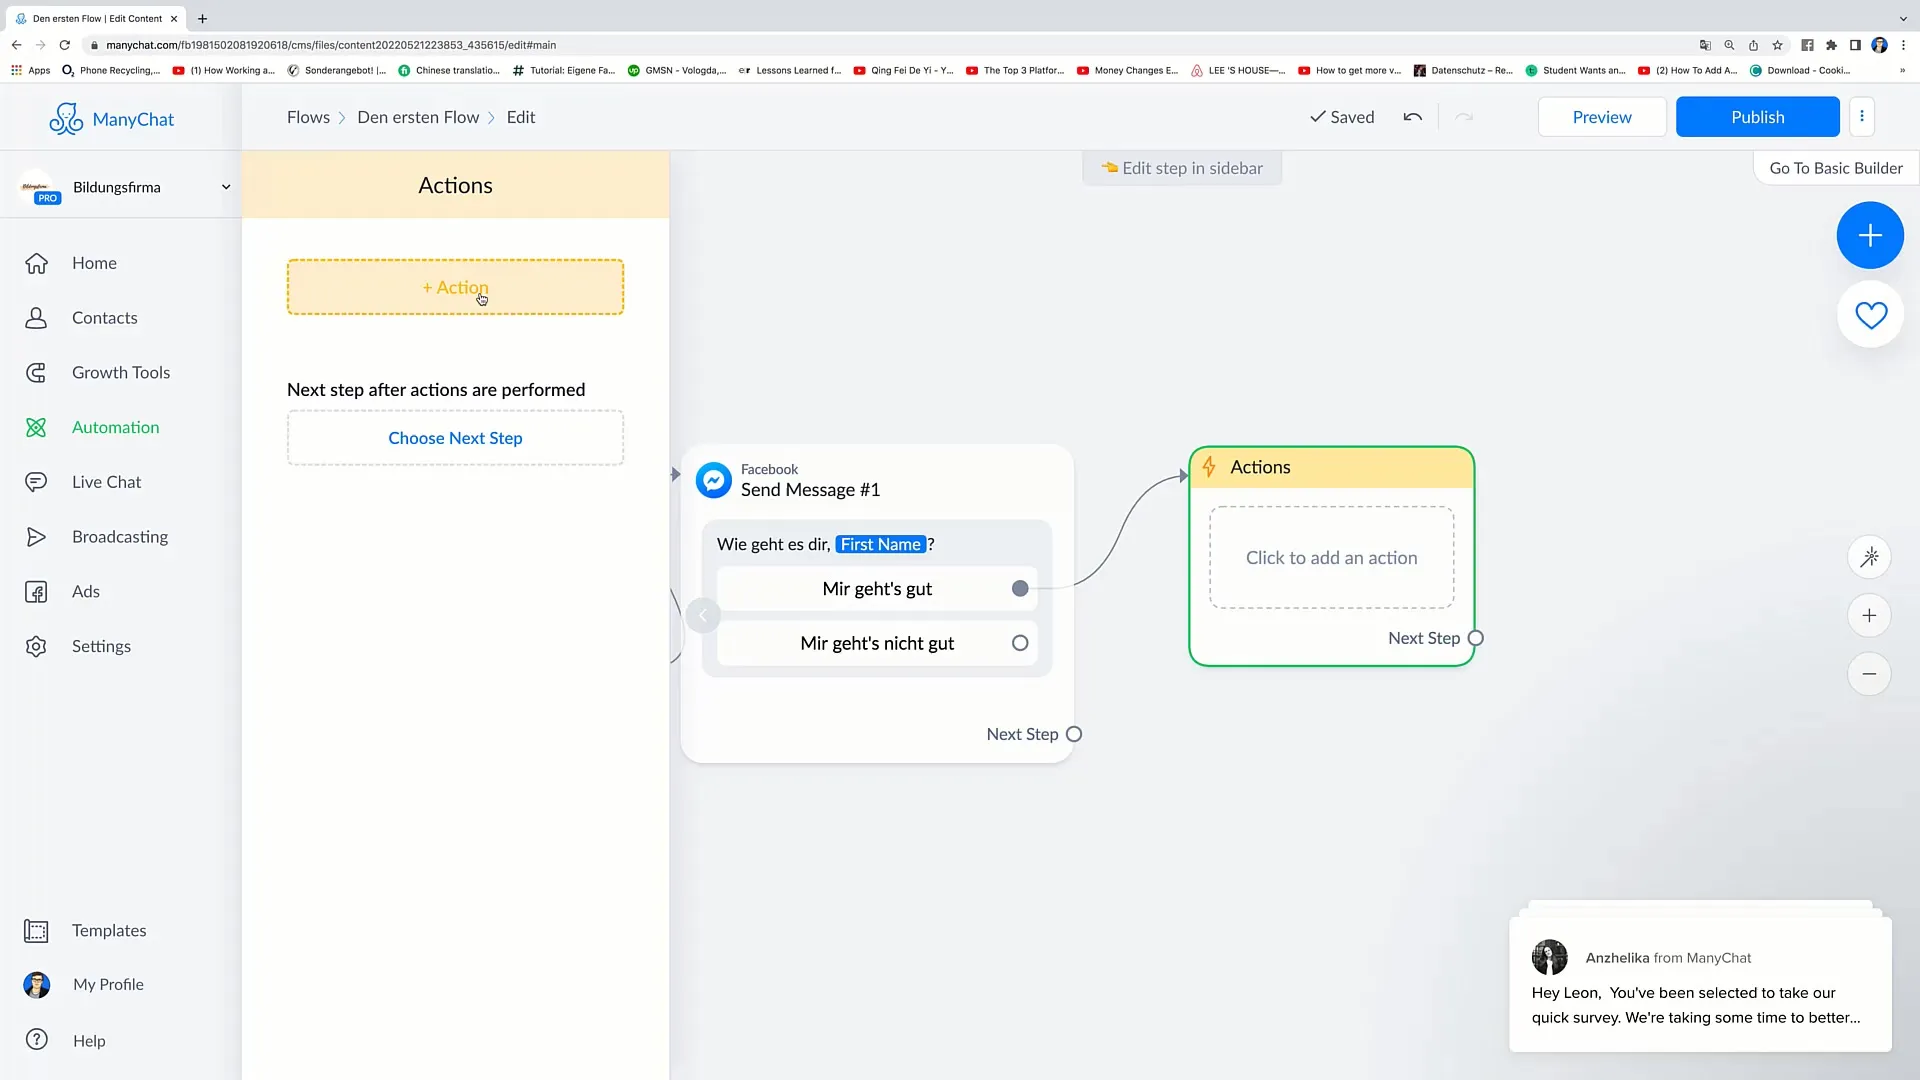
Now think of the tag you want to add. Go to the "Enter Tag" field and write, for example, "feeling good". This tag will be assigned when the user clicks on "I'm fine".
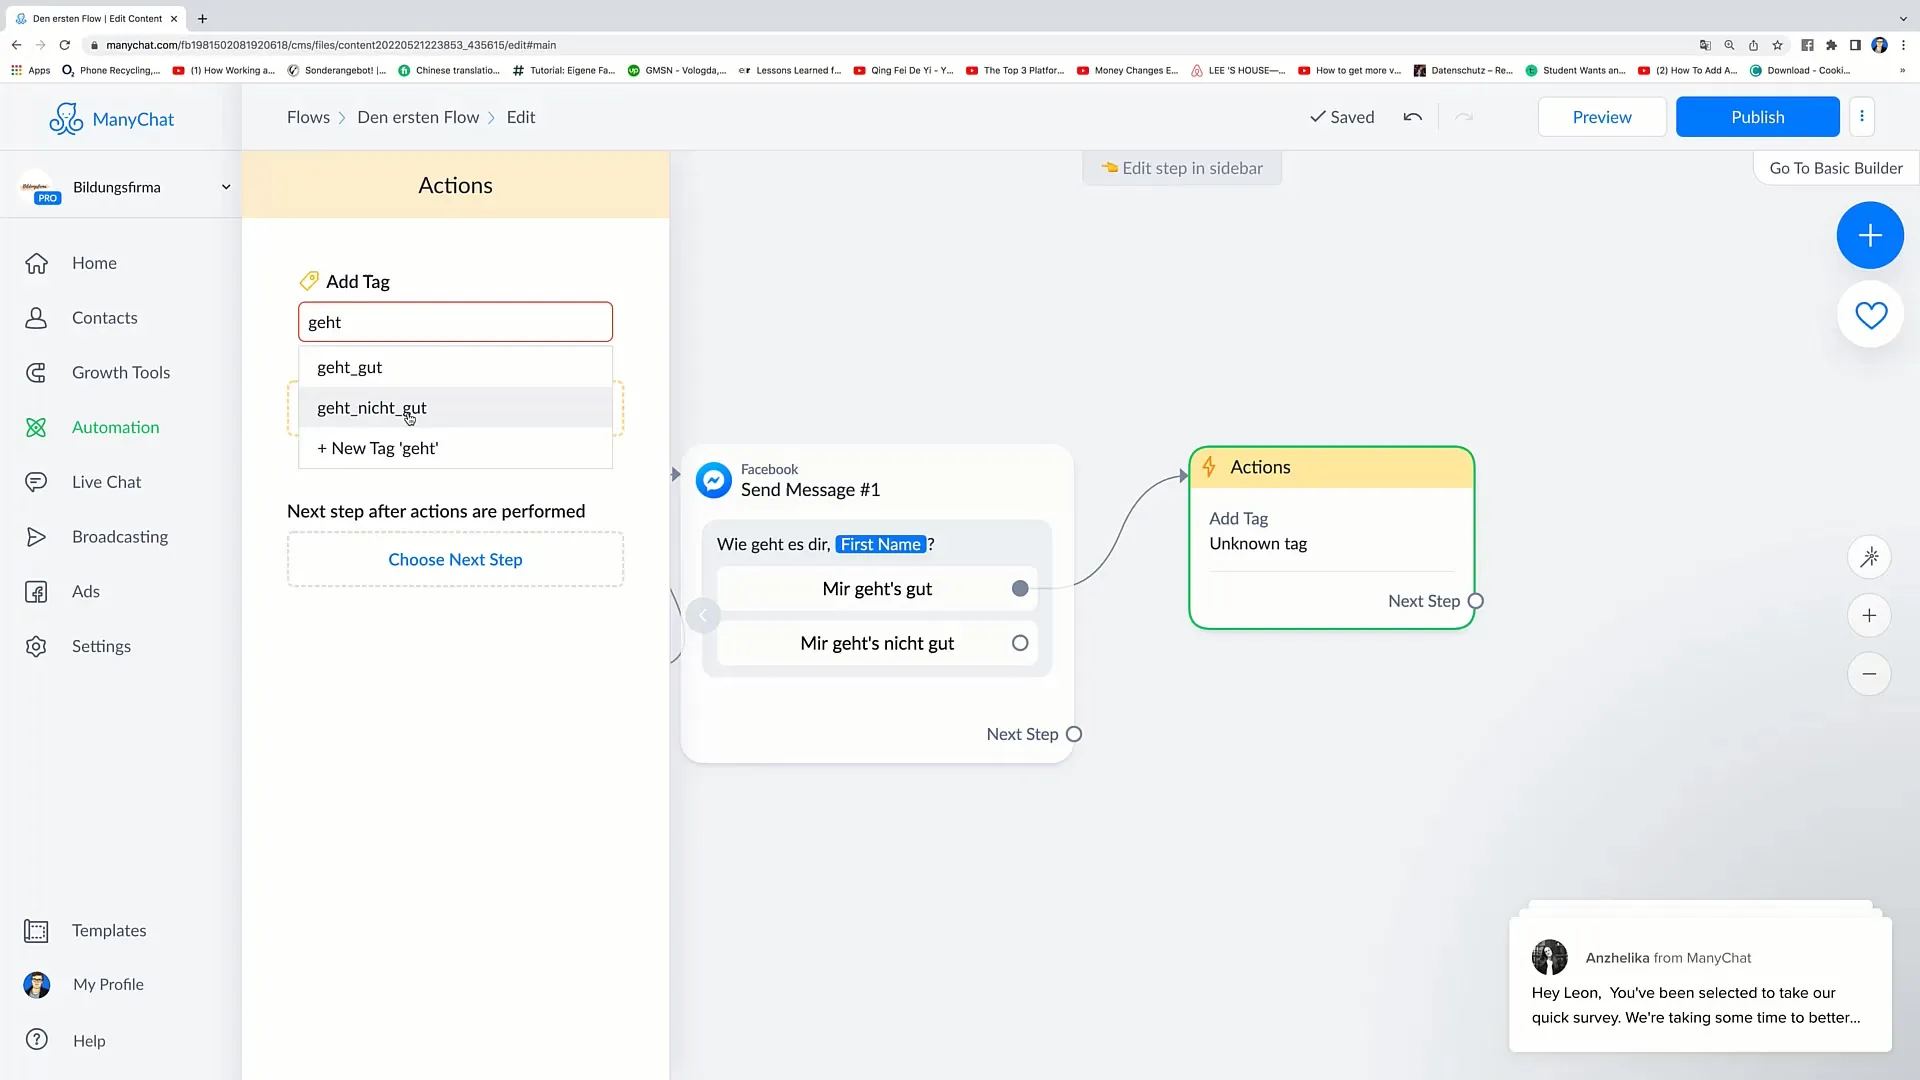
If the user selects the response "I'm not doing well", repeat the same process. Again, go to "Actions", click on "Add Tag", and write the tag "feeling unwell".
Now you have created two tags: "feeling good" and "feeling unwell". It is important to emphasize that these tags are for your internal use and will not be displayed in the chat.
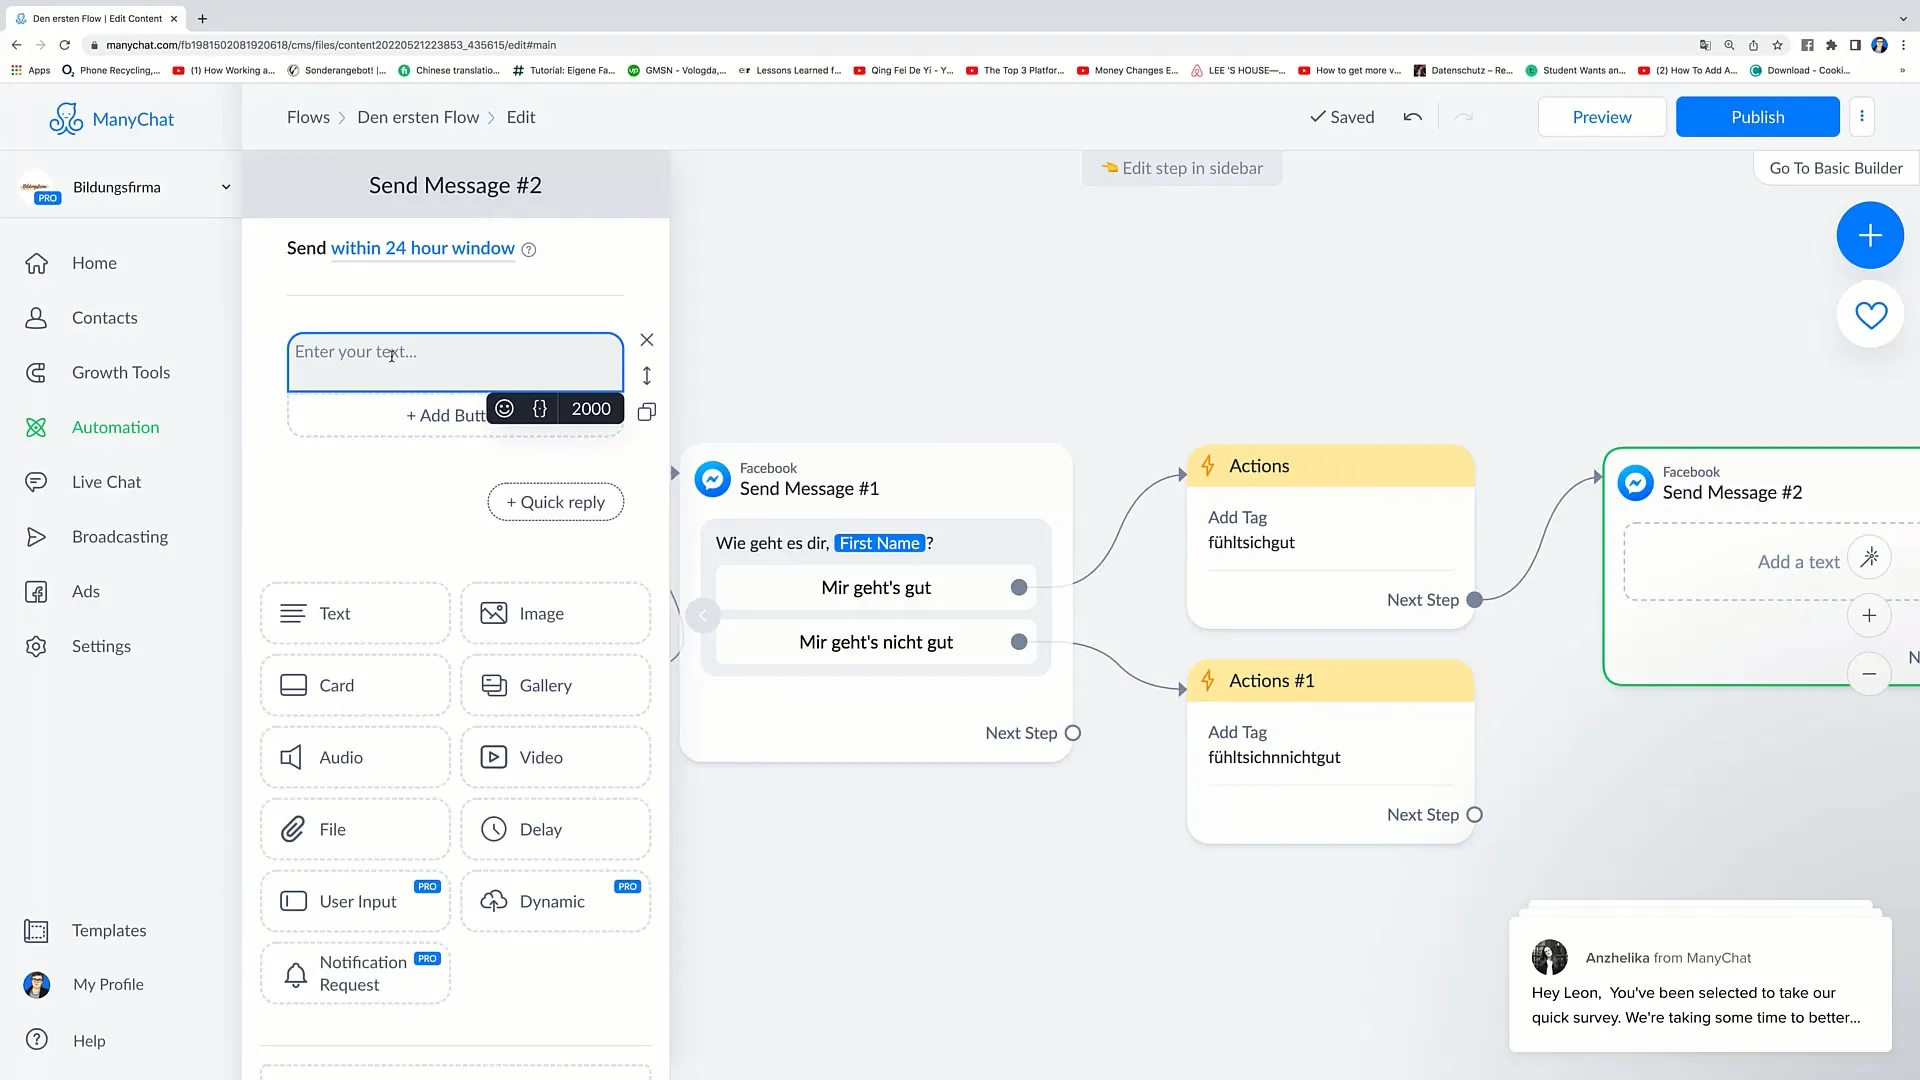
For the next step, you want to link these tags to corresponding messages. Click on "Messenger" to create the next message. In this message, you can say: "We're thrilled, we're in a great mood today too."
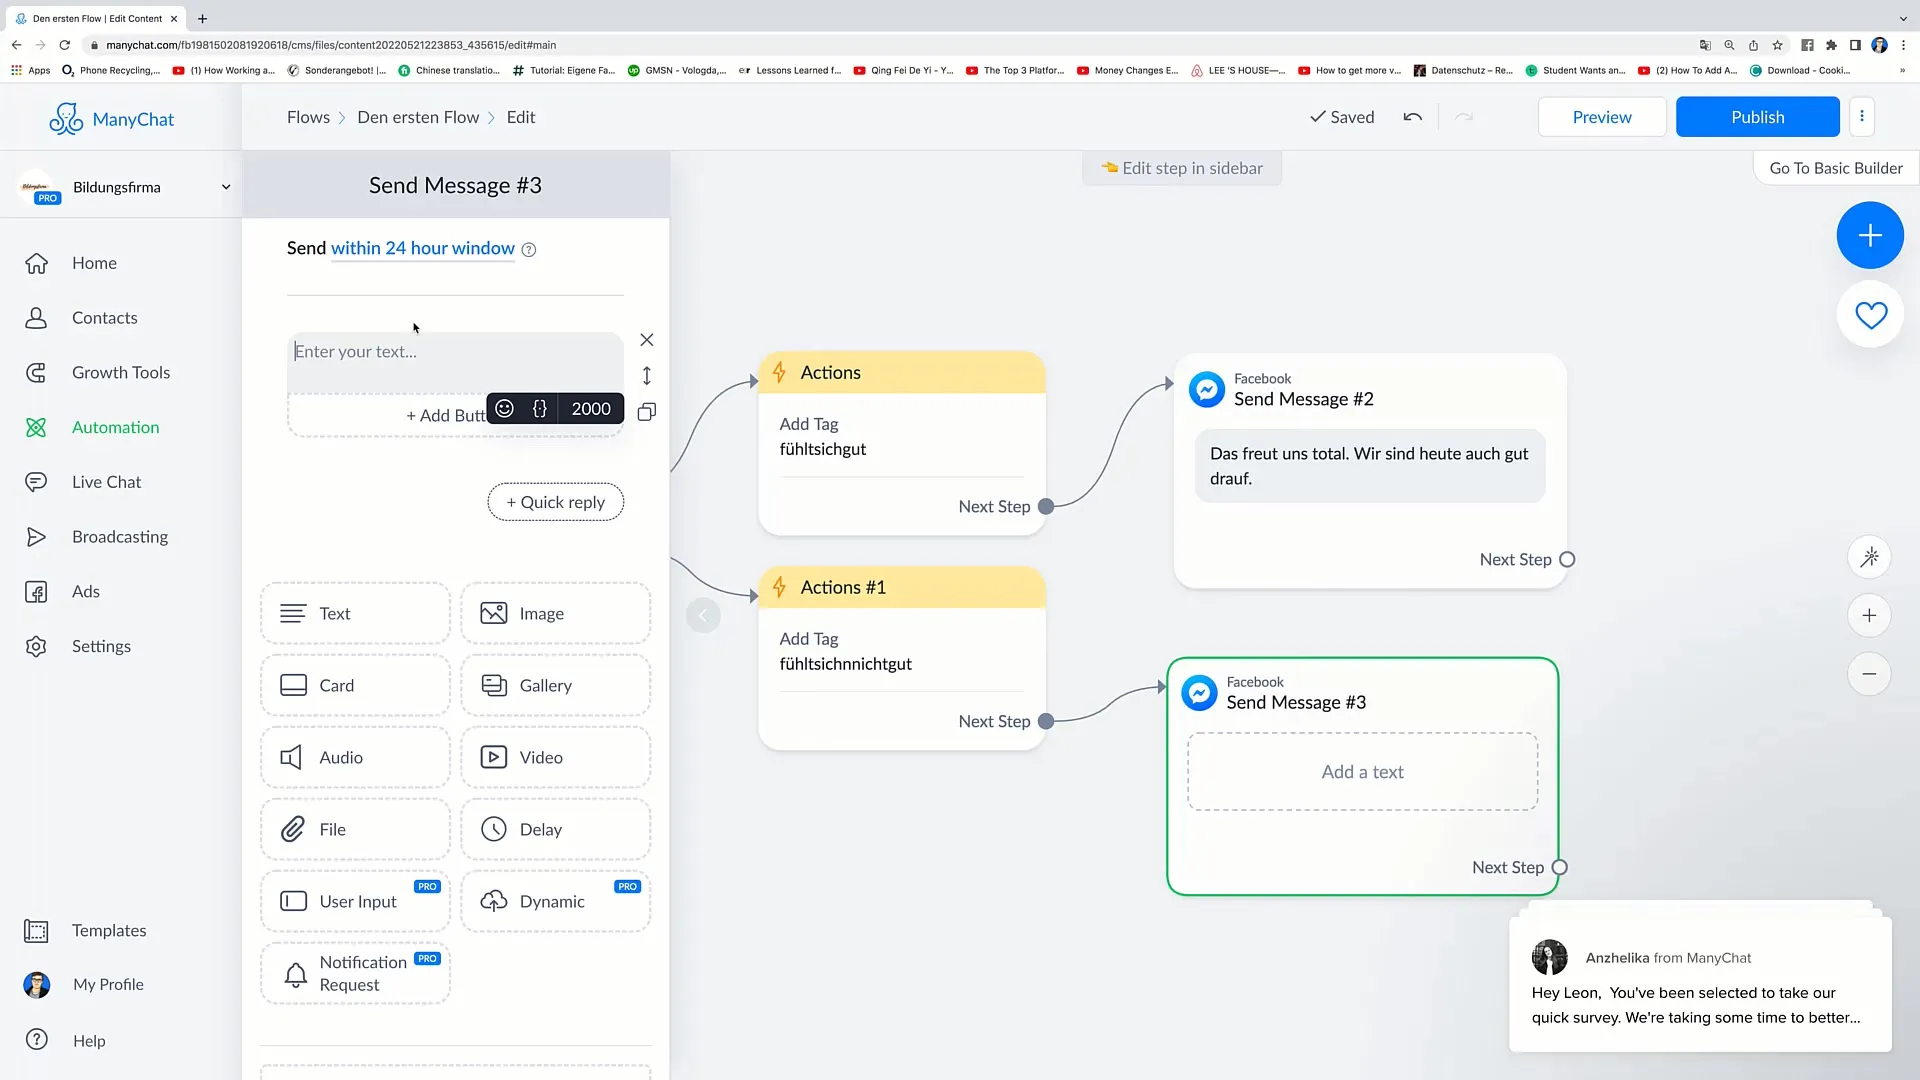
For the user response "I'm not doing well", the next message could possibly be: "Oh, we're sorry to hear that, we hope you feel better soon."
After defining both messages, it's time to publish your flow. Click on "Publish". Once you publish the flow, it will go live.
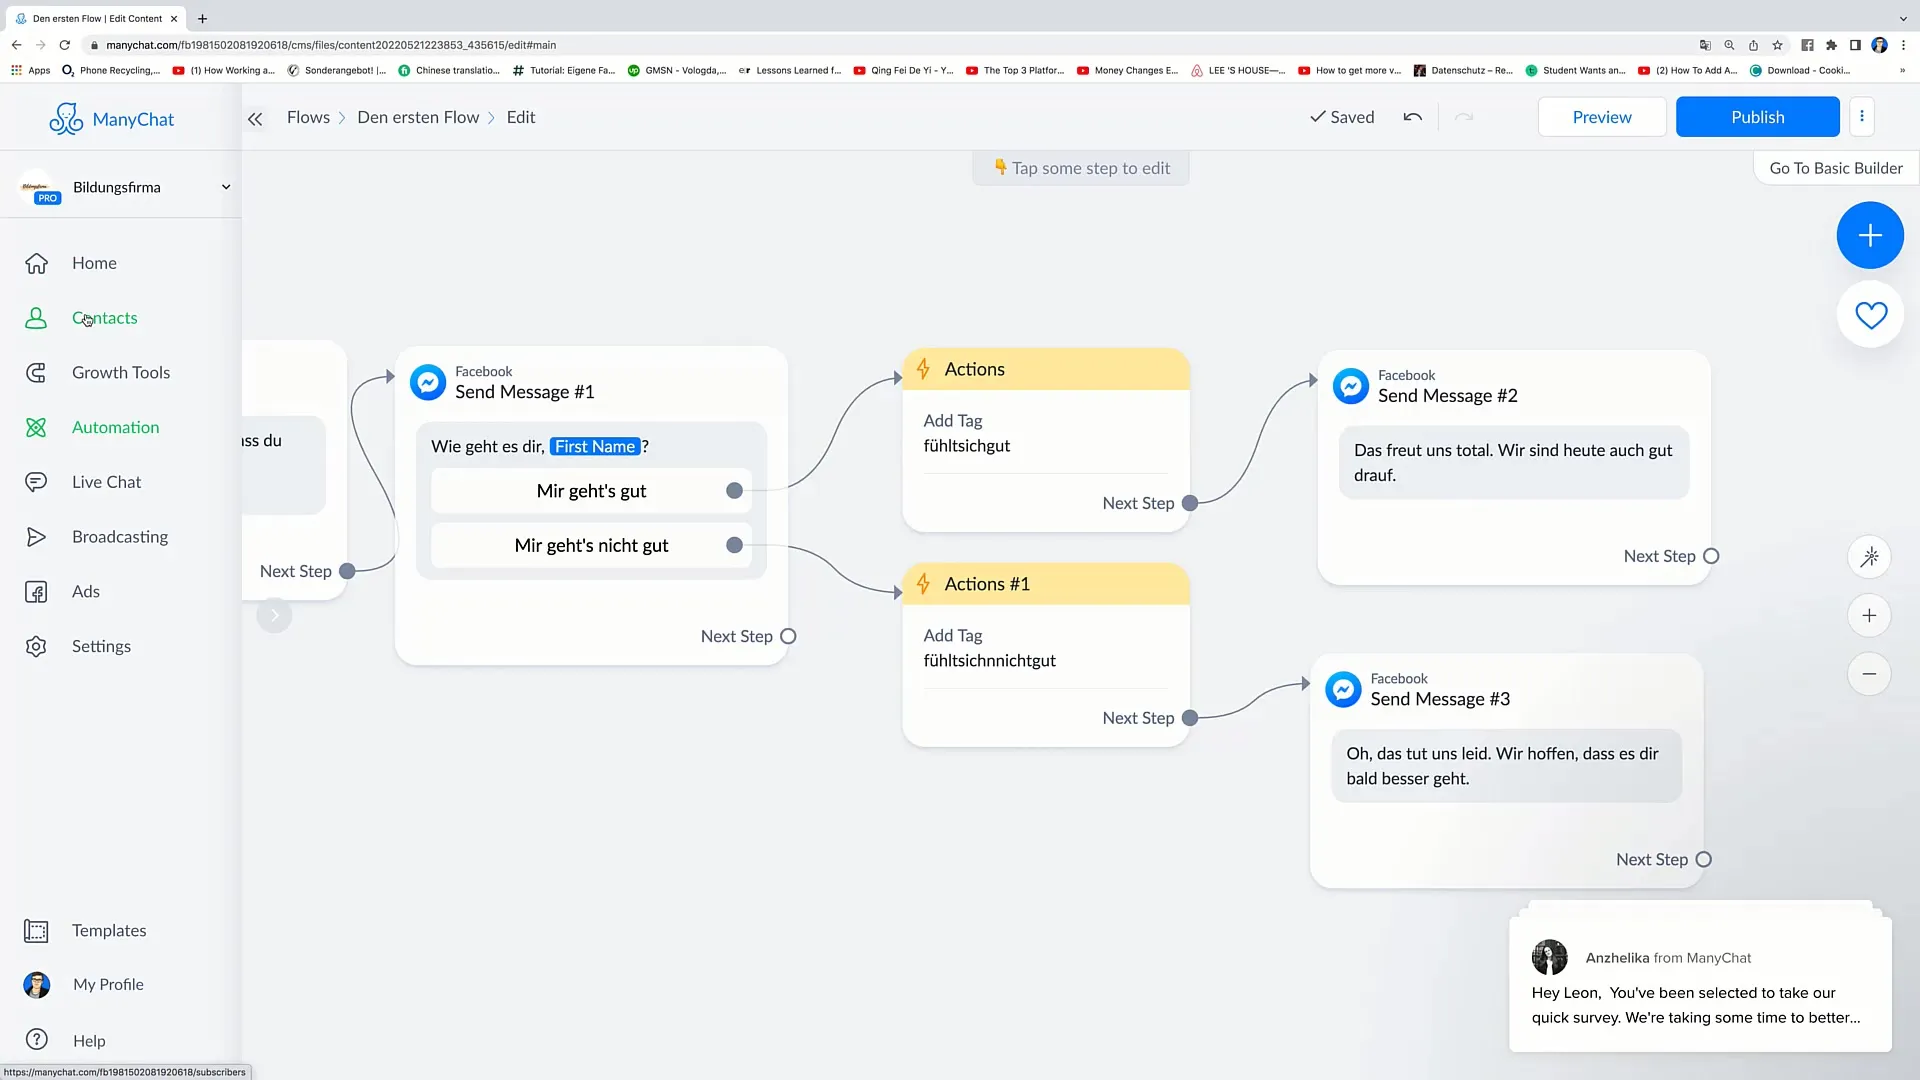
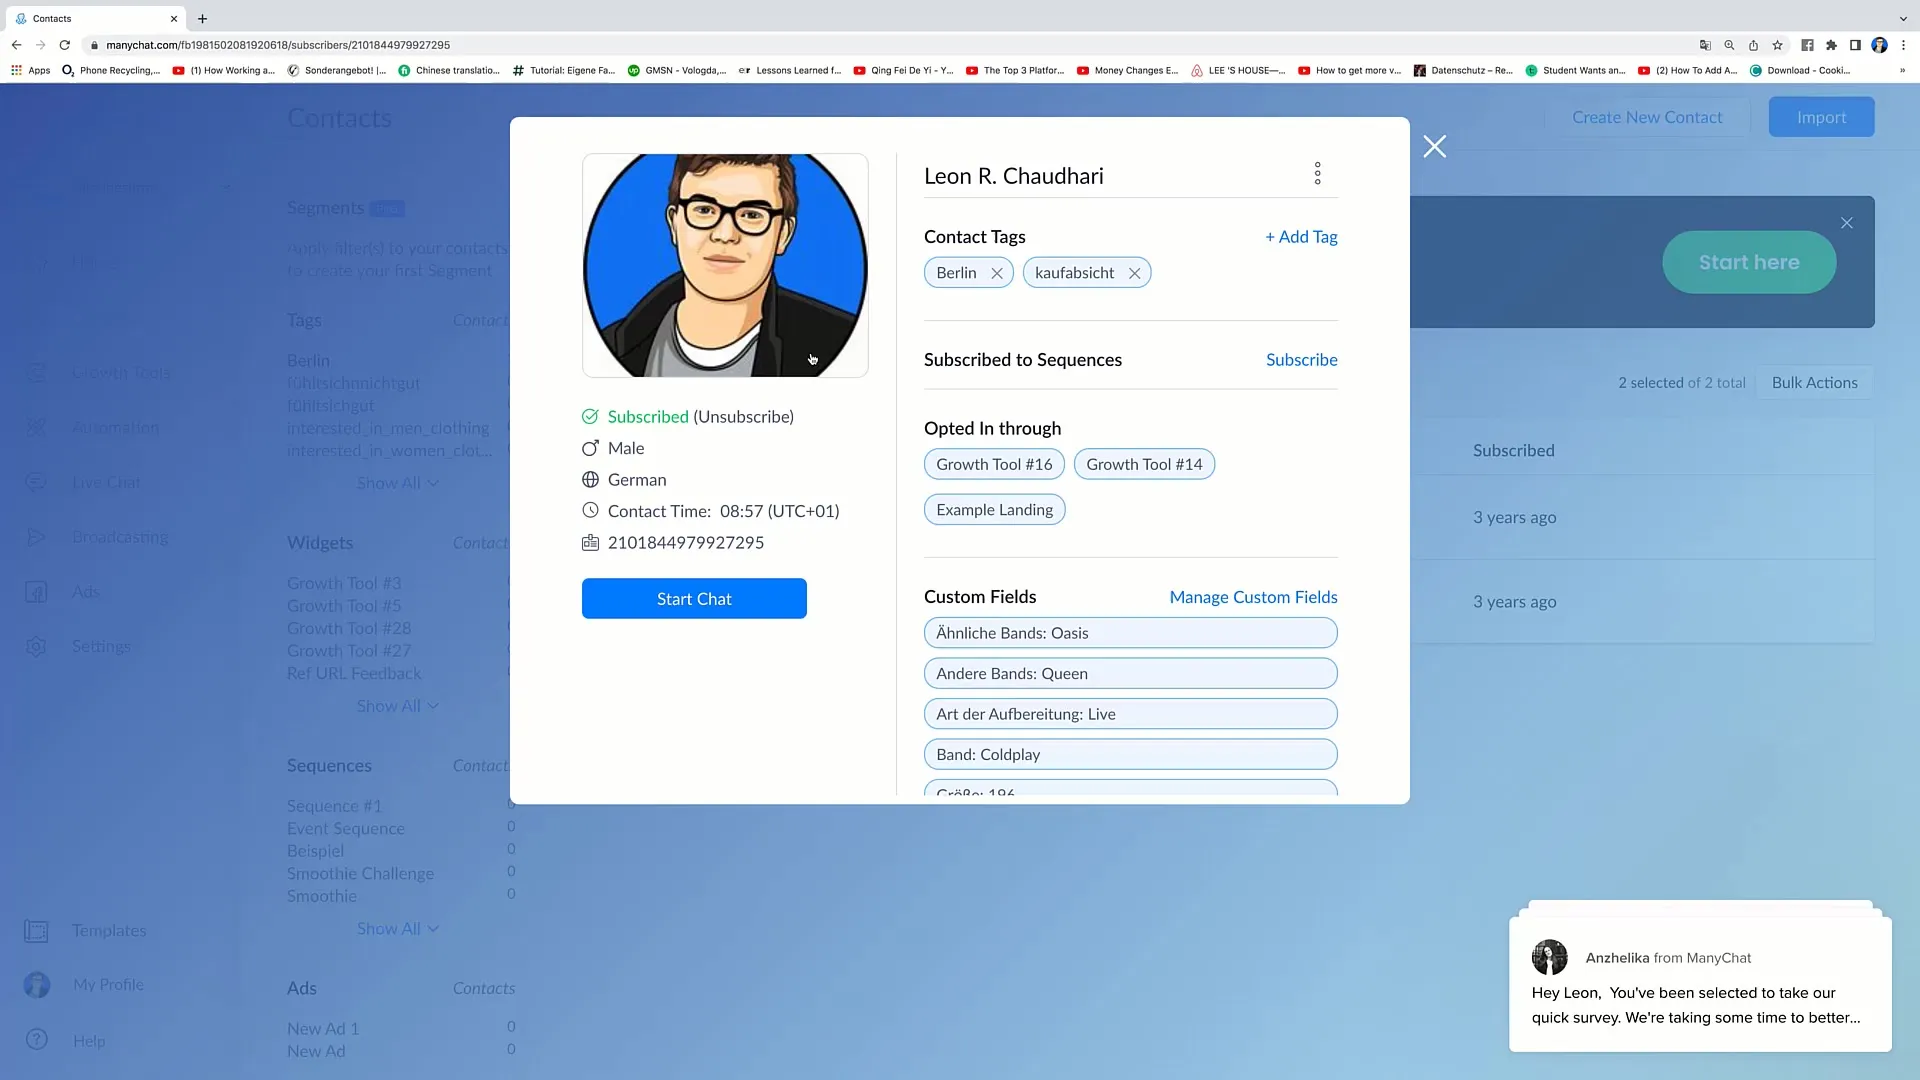
The flow is now ready for interaction. When you later go into your contacts, the corresponding tags will be assigned to the respective users. These tags will then be visible, allowing you to address them in a personalized manner.
That's it for this tutorial. Thank you for your attention and I hope to see you in the next video!
Summary
In this guide, you have learned how to integrate tags into a flow in Facebook marketing. The process involves deleting messages, adding tags, and linking these tags to messages to create a better user experience.
Frequently Asked Questions
How do I add a tag to a flow?You can add a tag by clicking on "Actions," then on "Add Tag," and entering the desired tag.
Are tags visible to users?No, the tags are only visible to you and are not displayed in the chat.
How can I view my tags later?You can view your tags in the contact settings after you have published the flow.
