In this tutorial, I'll show you how to integrate multiple smart delays into a flow. Smart Delays are useful to allow time between different messages in your marketing workflow. This can help prevent your recipients from being overwhelmed with information and allow them to process each step better. Let's get started!
Main Takeaways
- Smart Delays allow you to insert breaks between different communication steps.
- You can integrate multiple Smart Delays into a single flow.
- Adjusting the time duration between messages can enhance the user experience.
Step-by-Step Guide
1. Accessing the Automation
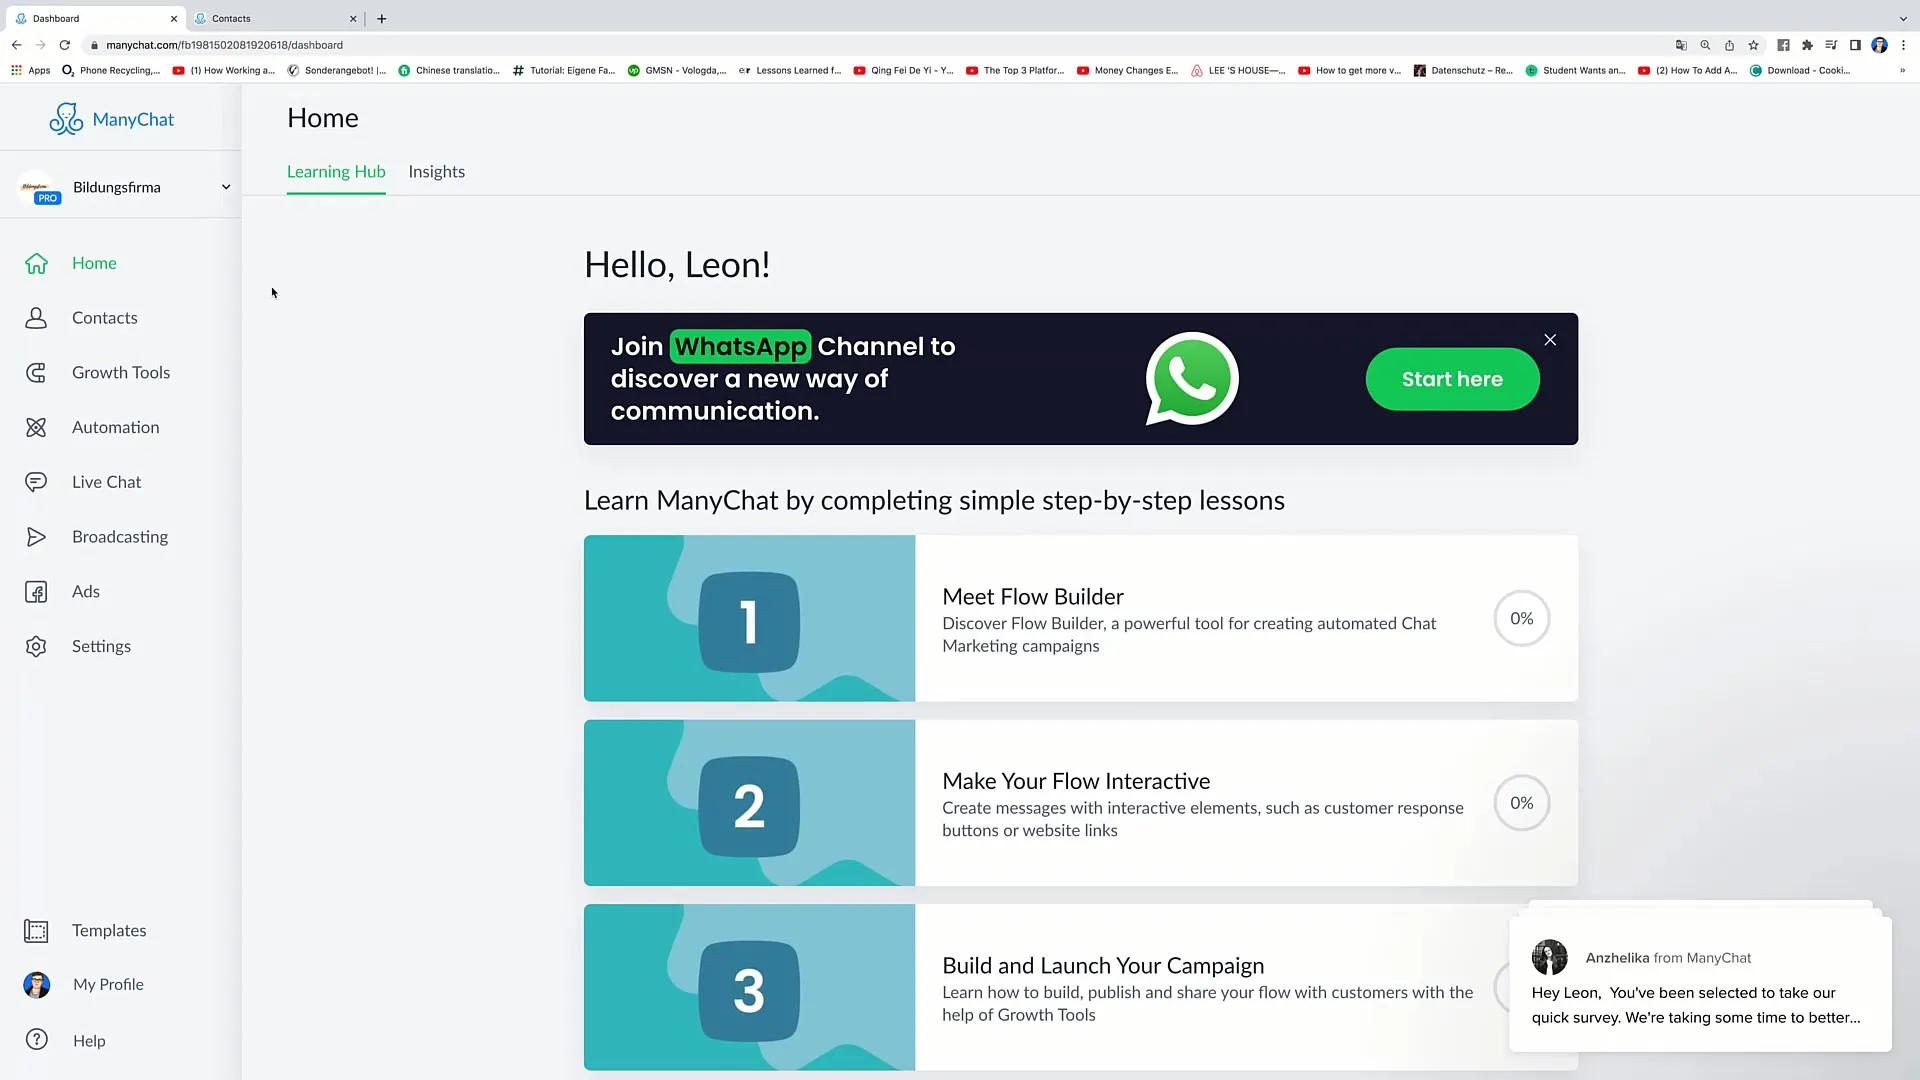
First, you need to go to your automation platform. Log in to your account and navigate to the "Automation" section. Here, you can manage your existing flows and create new ones.
2. Creating a New Flow
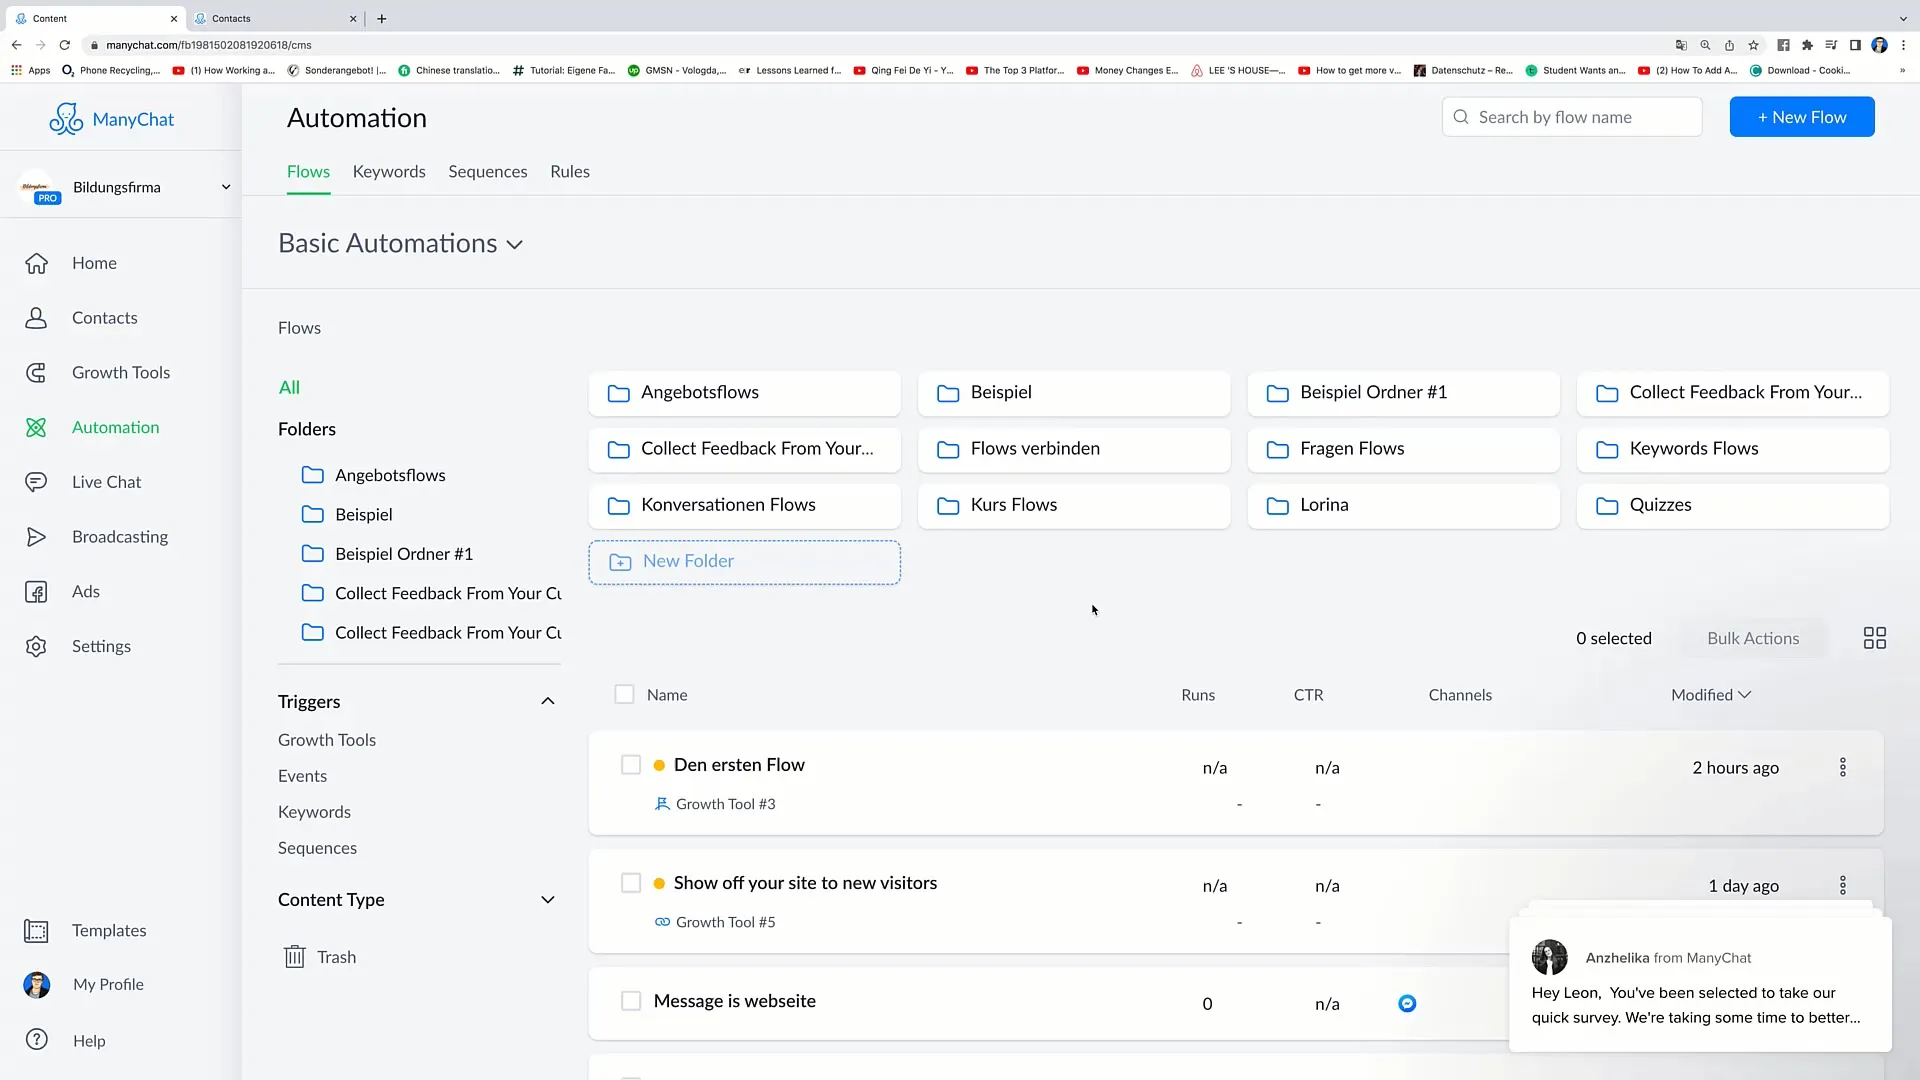
Go to the folder where you store your flows. Typically, this is the "Course Flows" folder. Then click on the top right corner to create a new flow. This is usually done through the "+ New Flow" button.
3. Naming the Flow
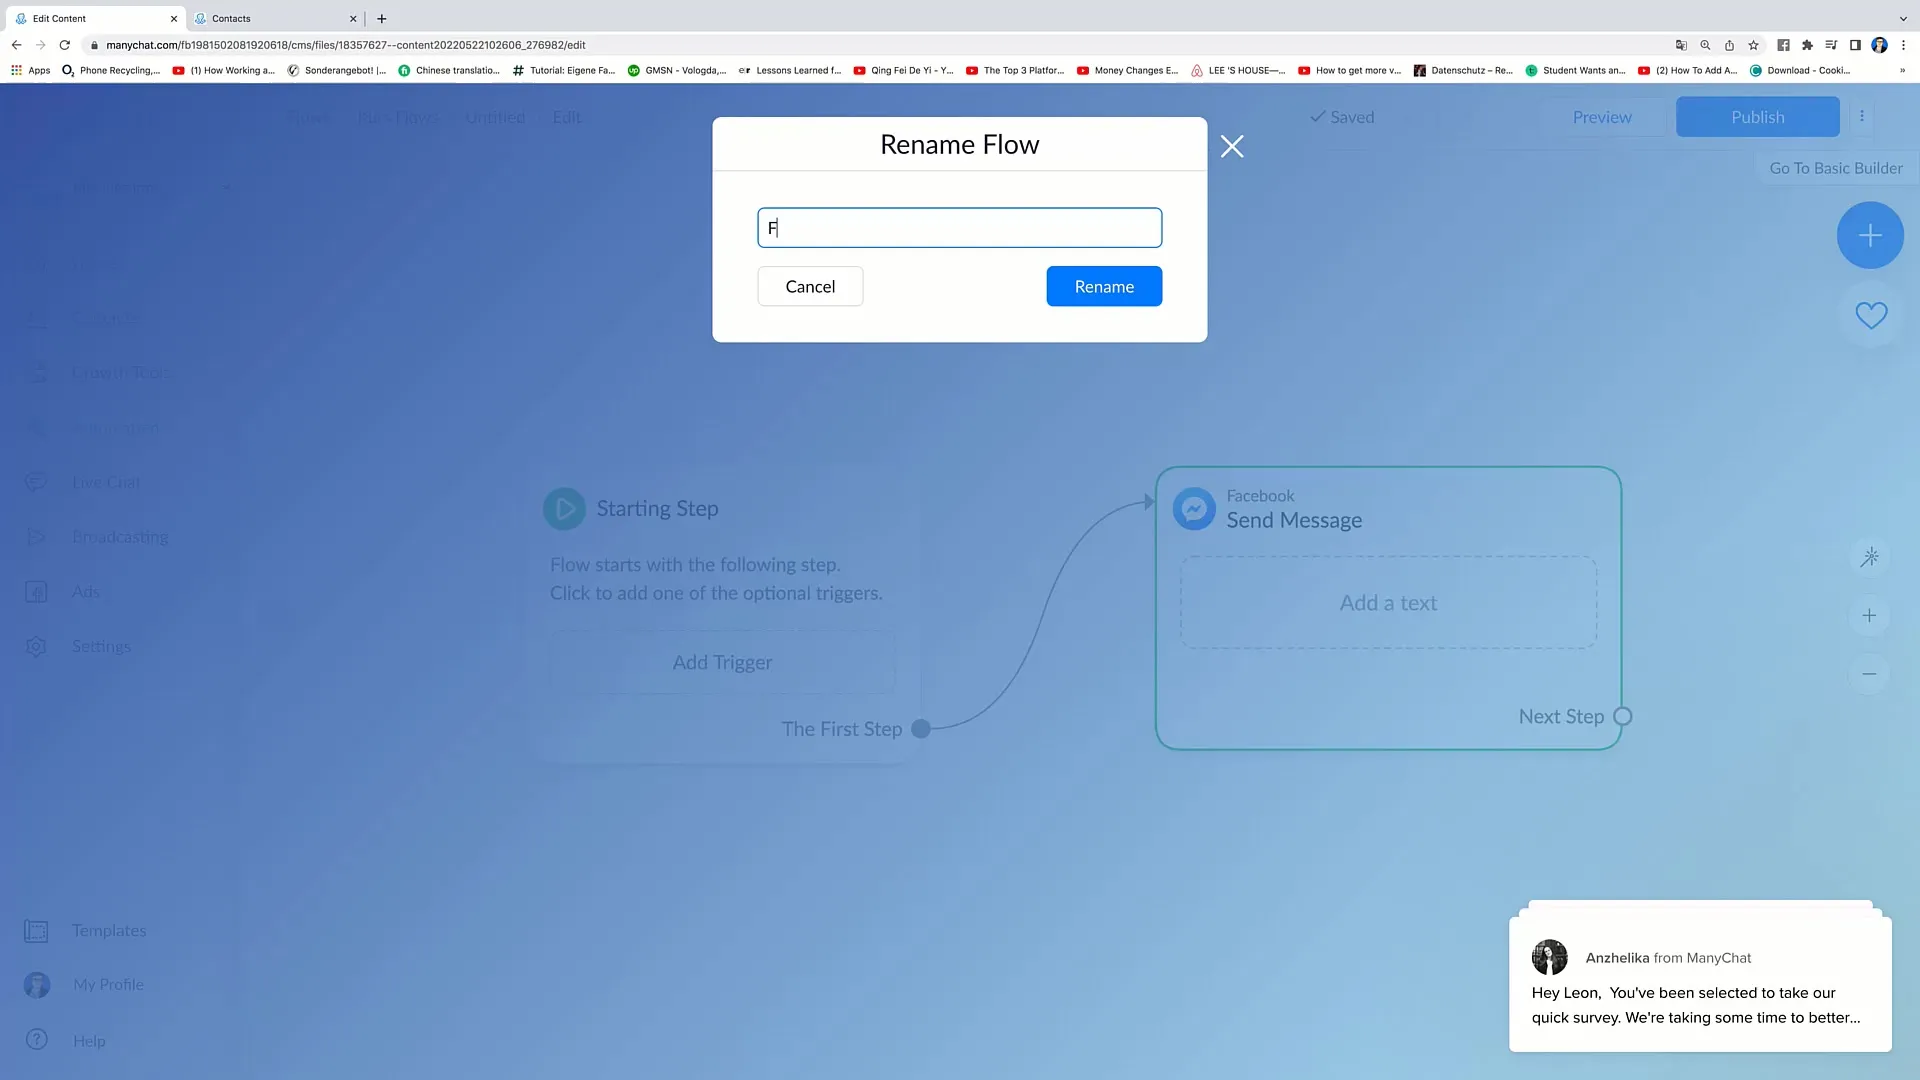
You will be prompted to enter a name for your new flow. Name this flow, for example, "Flow Number 3." Click on "Start from scratch" and then "Rename" to save the changes.
4. Adding the Starting Steps
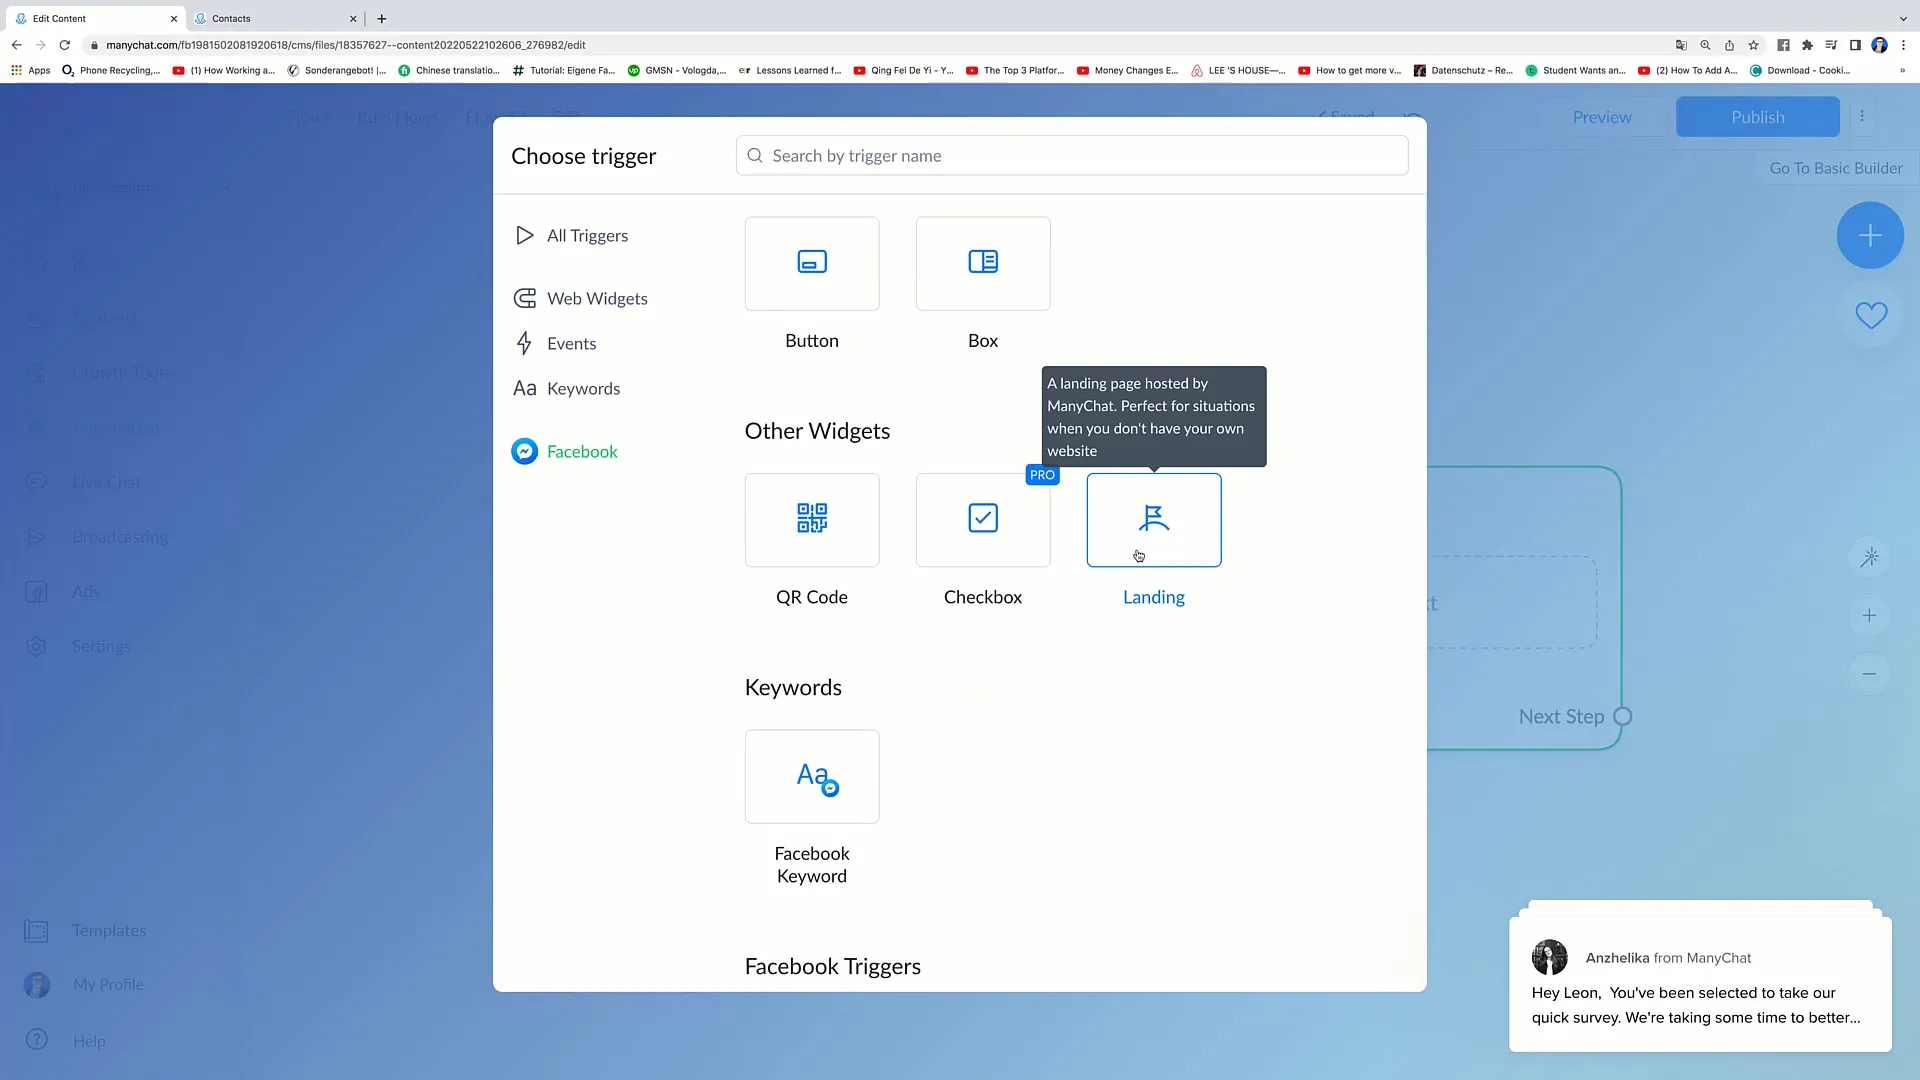
Now you need to add the starting step for your flow. Click on "Add Trigger" and select the "Landing Page" option. This option ensures that users who sign up on your landing page receive the desired messages.
5. Adding the First Smart Delay
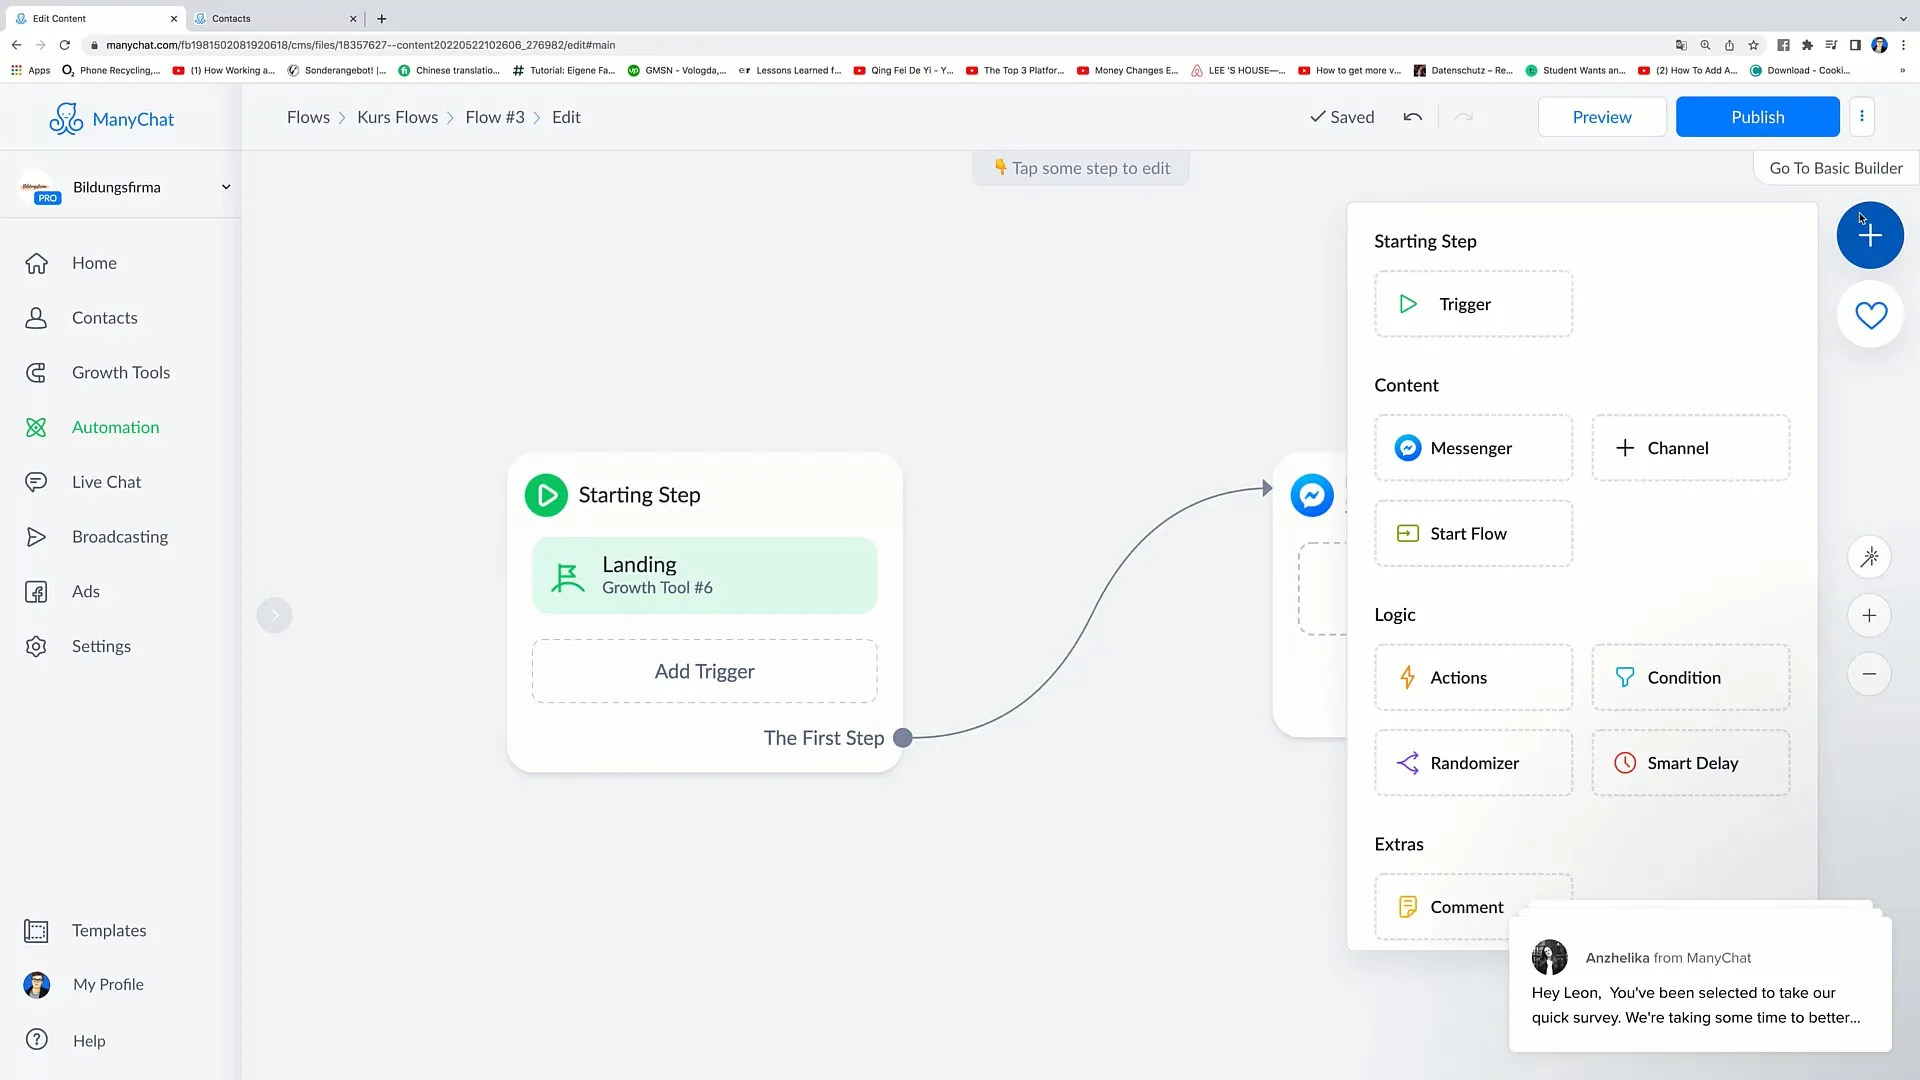
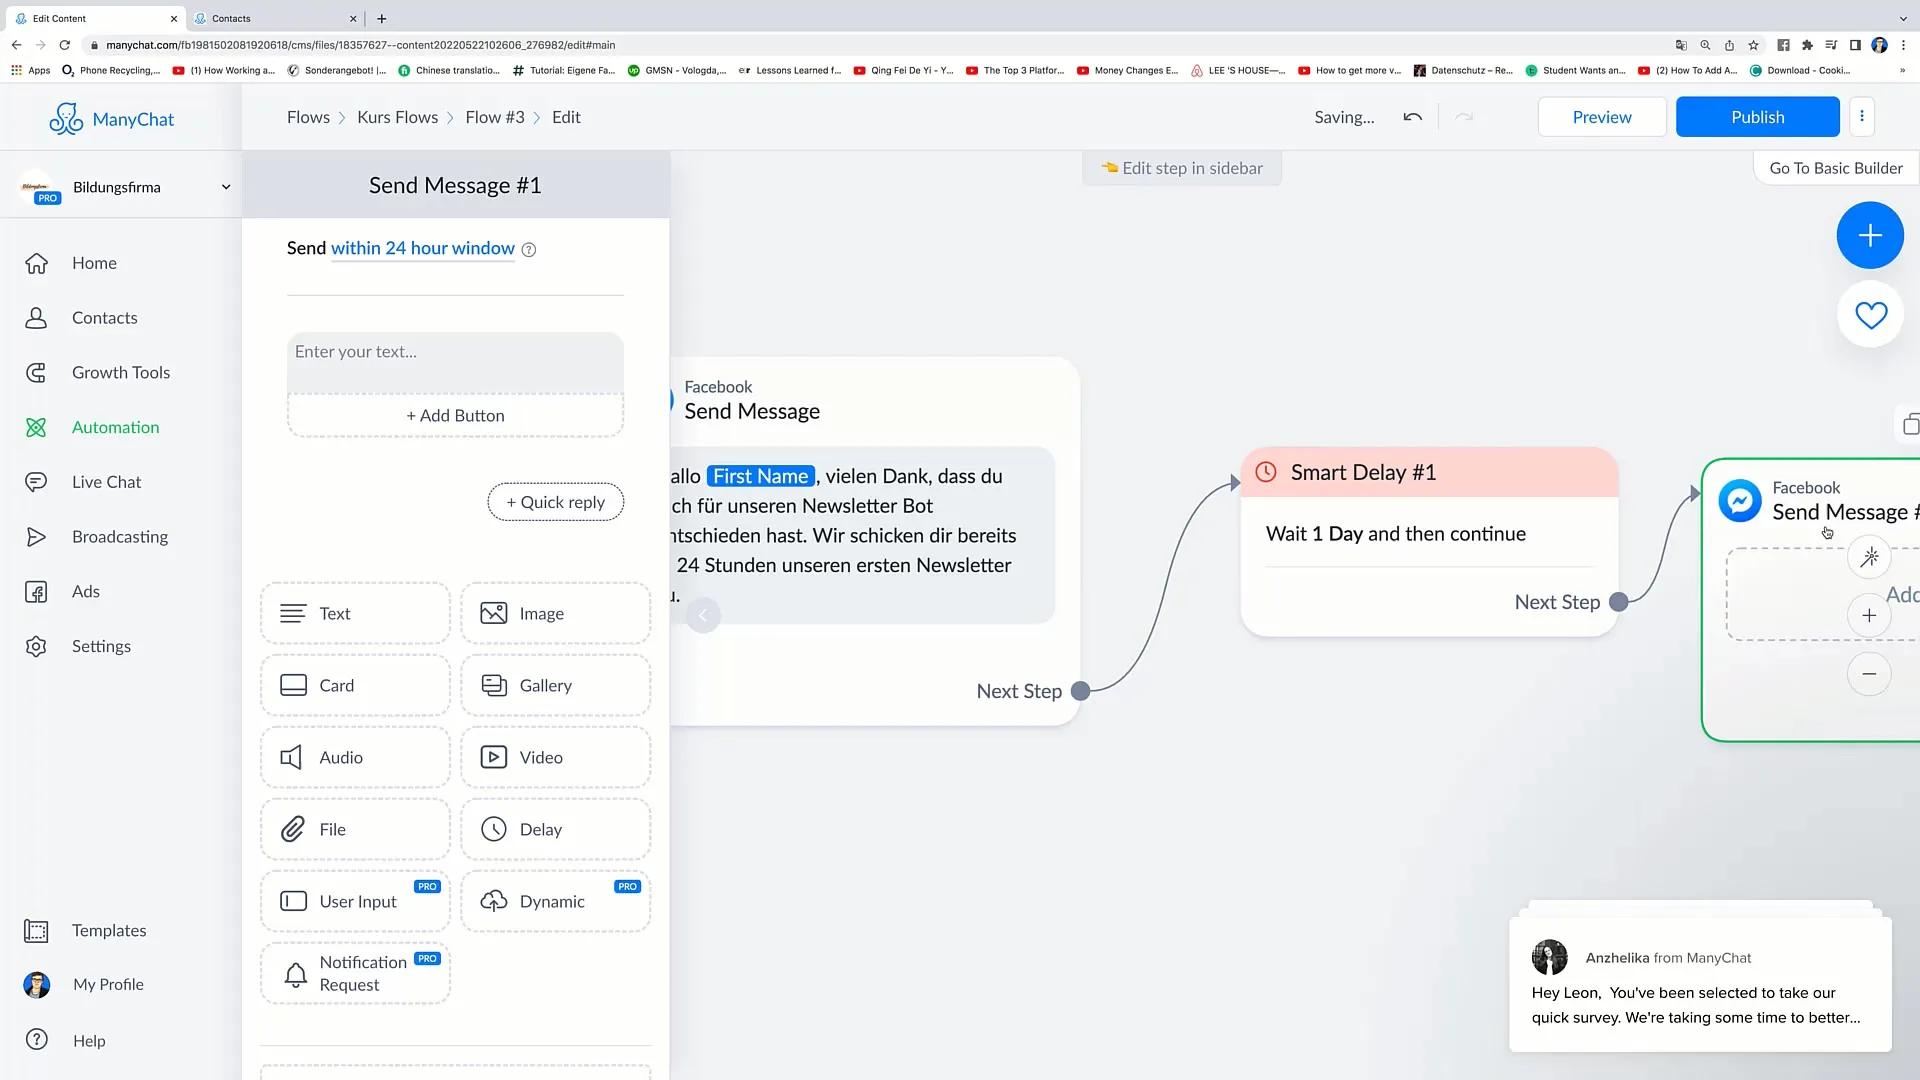
After setting up the starting step, you may want to delay a first message. To do this, click on the plus sign to add a smart delay. This will insert a pause between your first step and the next message.
6. Setting the Time Frame
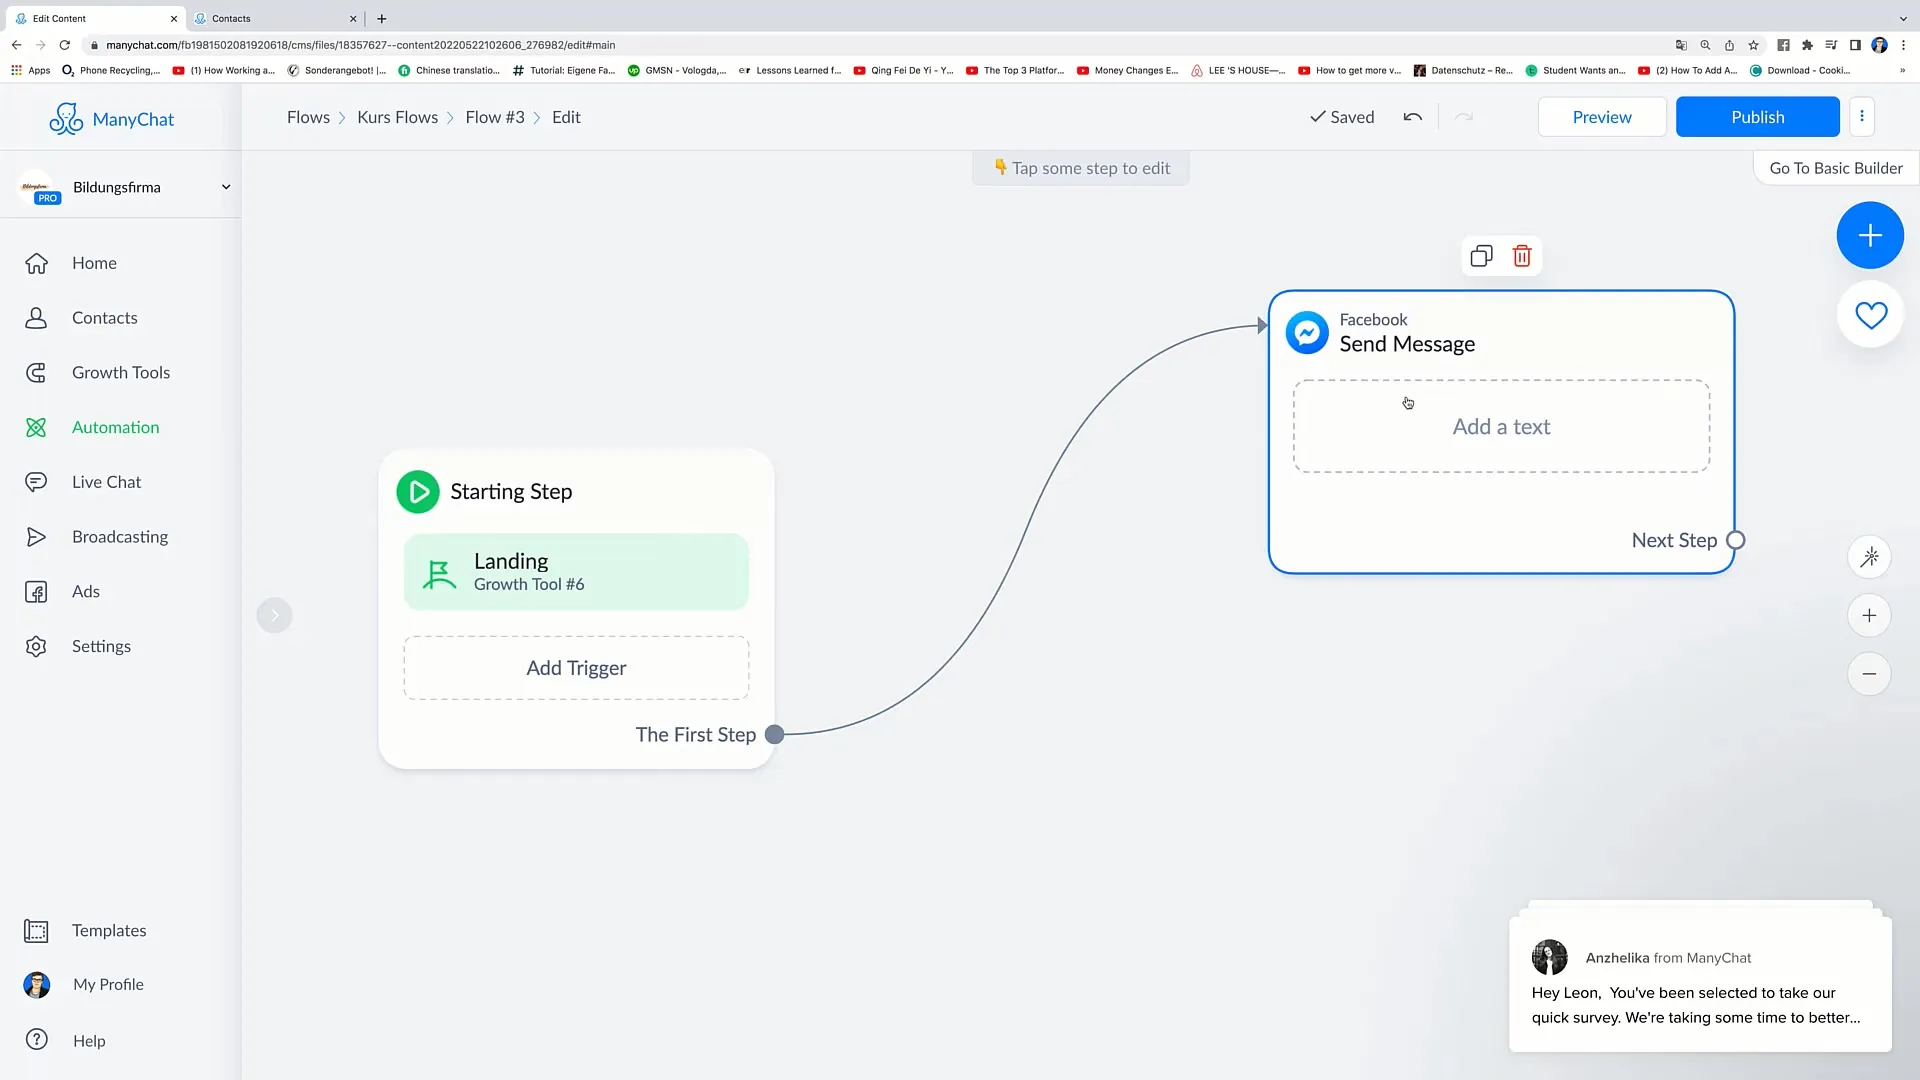
You have the option to set the time frame for the smart delay. If you want the first message to be sent after a day, you can adjust this. Alternatively, you can choose a shorter time frame, e.g., 2 hours.
7. Creating the First Message
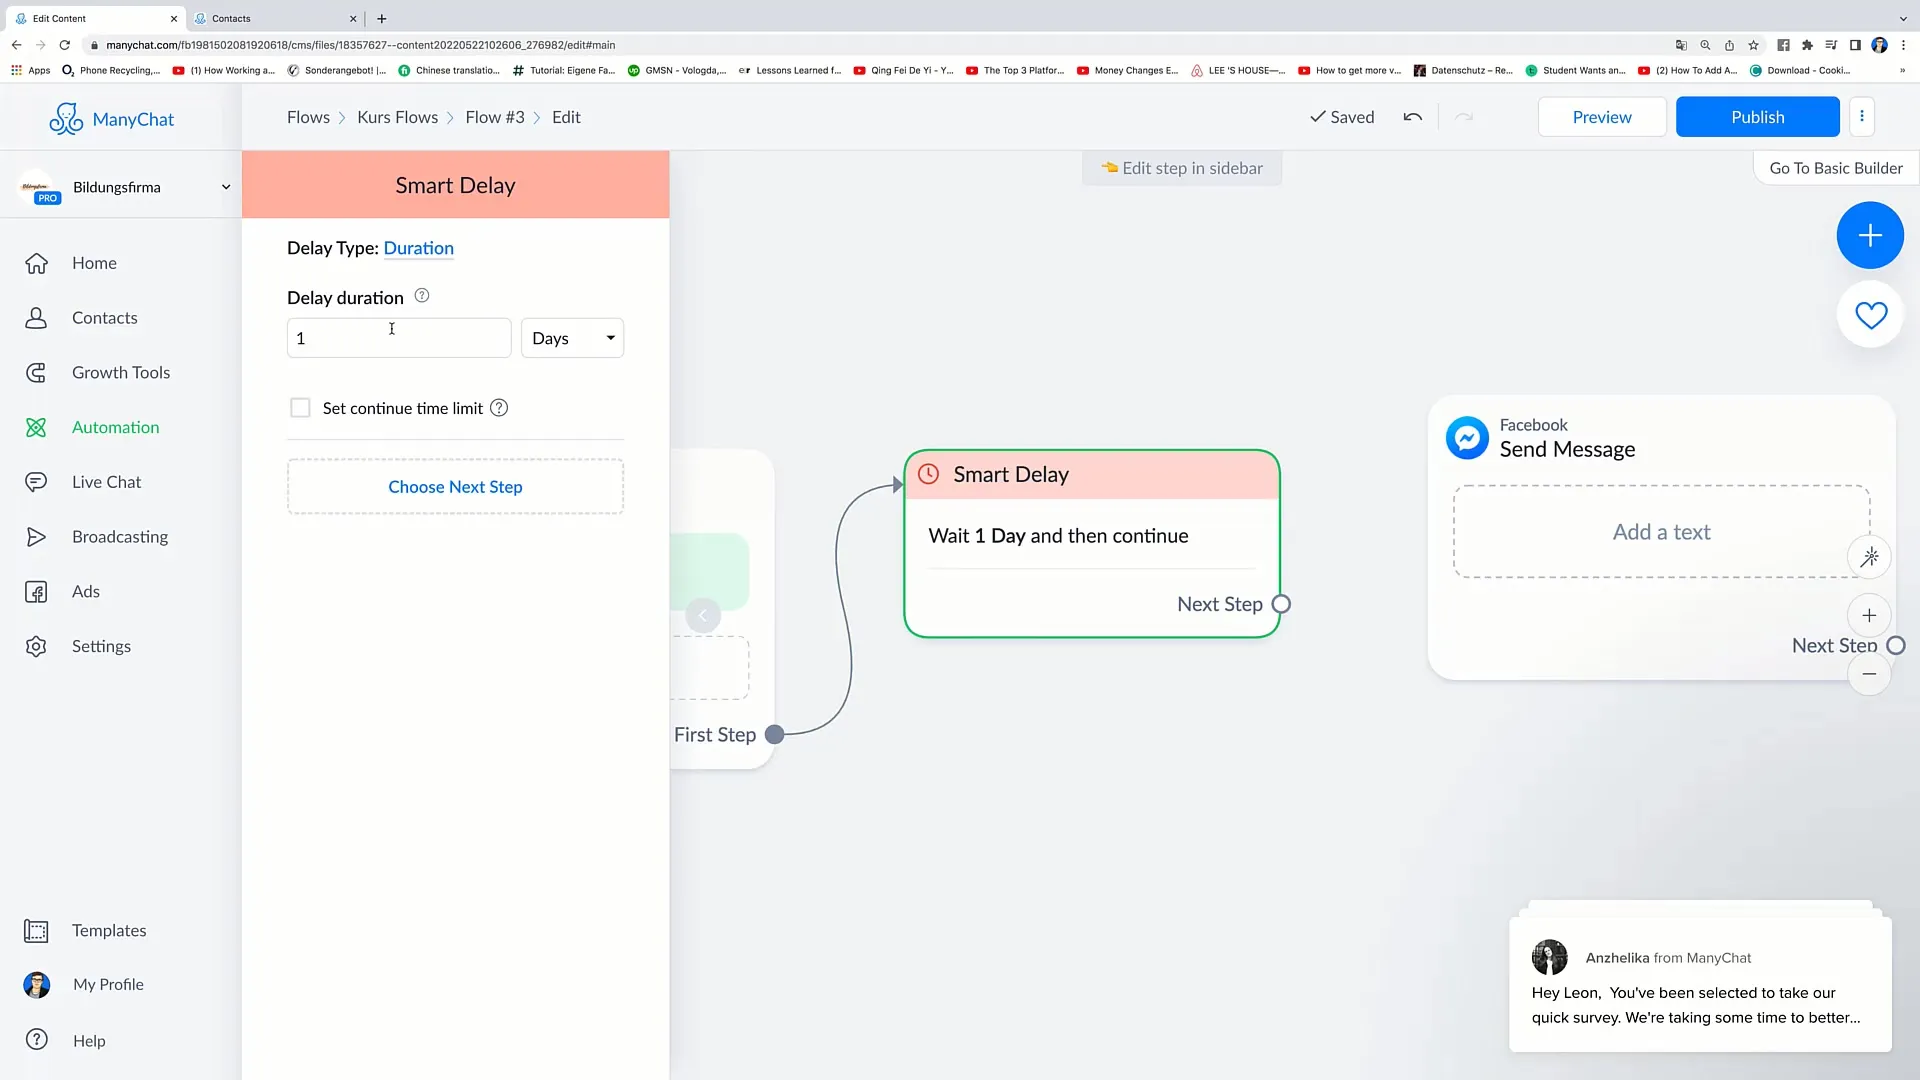
Now it's time to create the message that will be sent after the smart delay. The first message could start like this, for example: "Hello [Name], thank you for choosing our newsletter."
8. Adding the Second Smart Delay
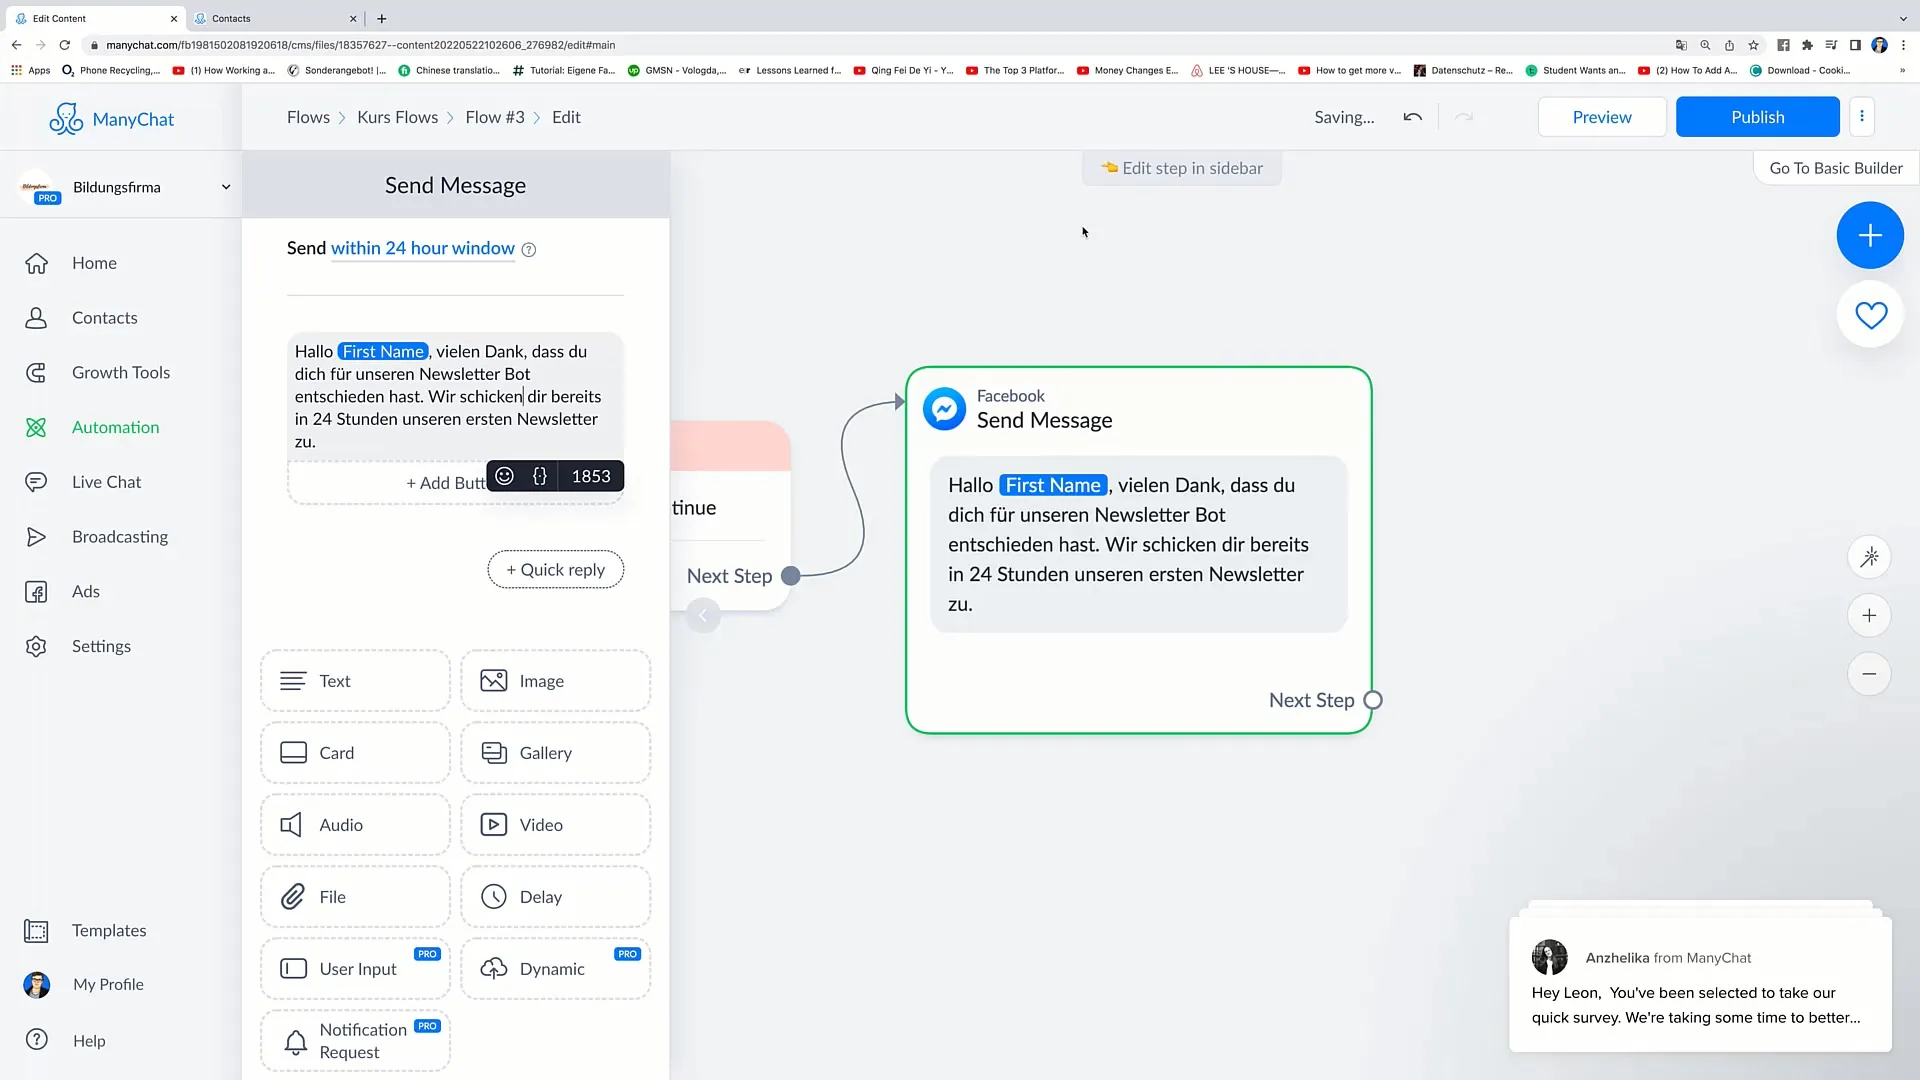
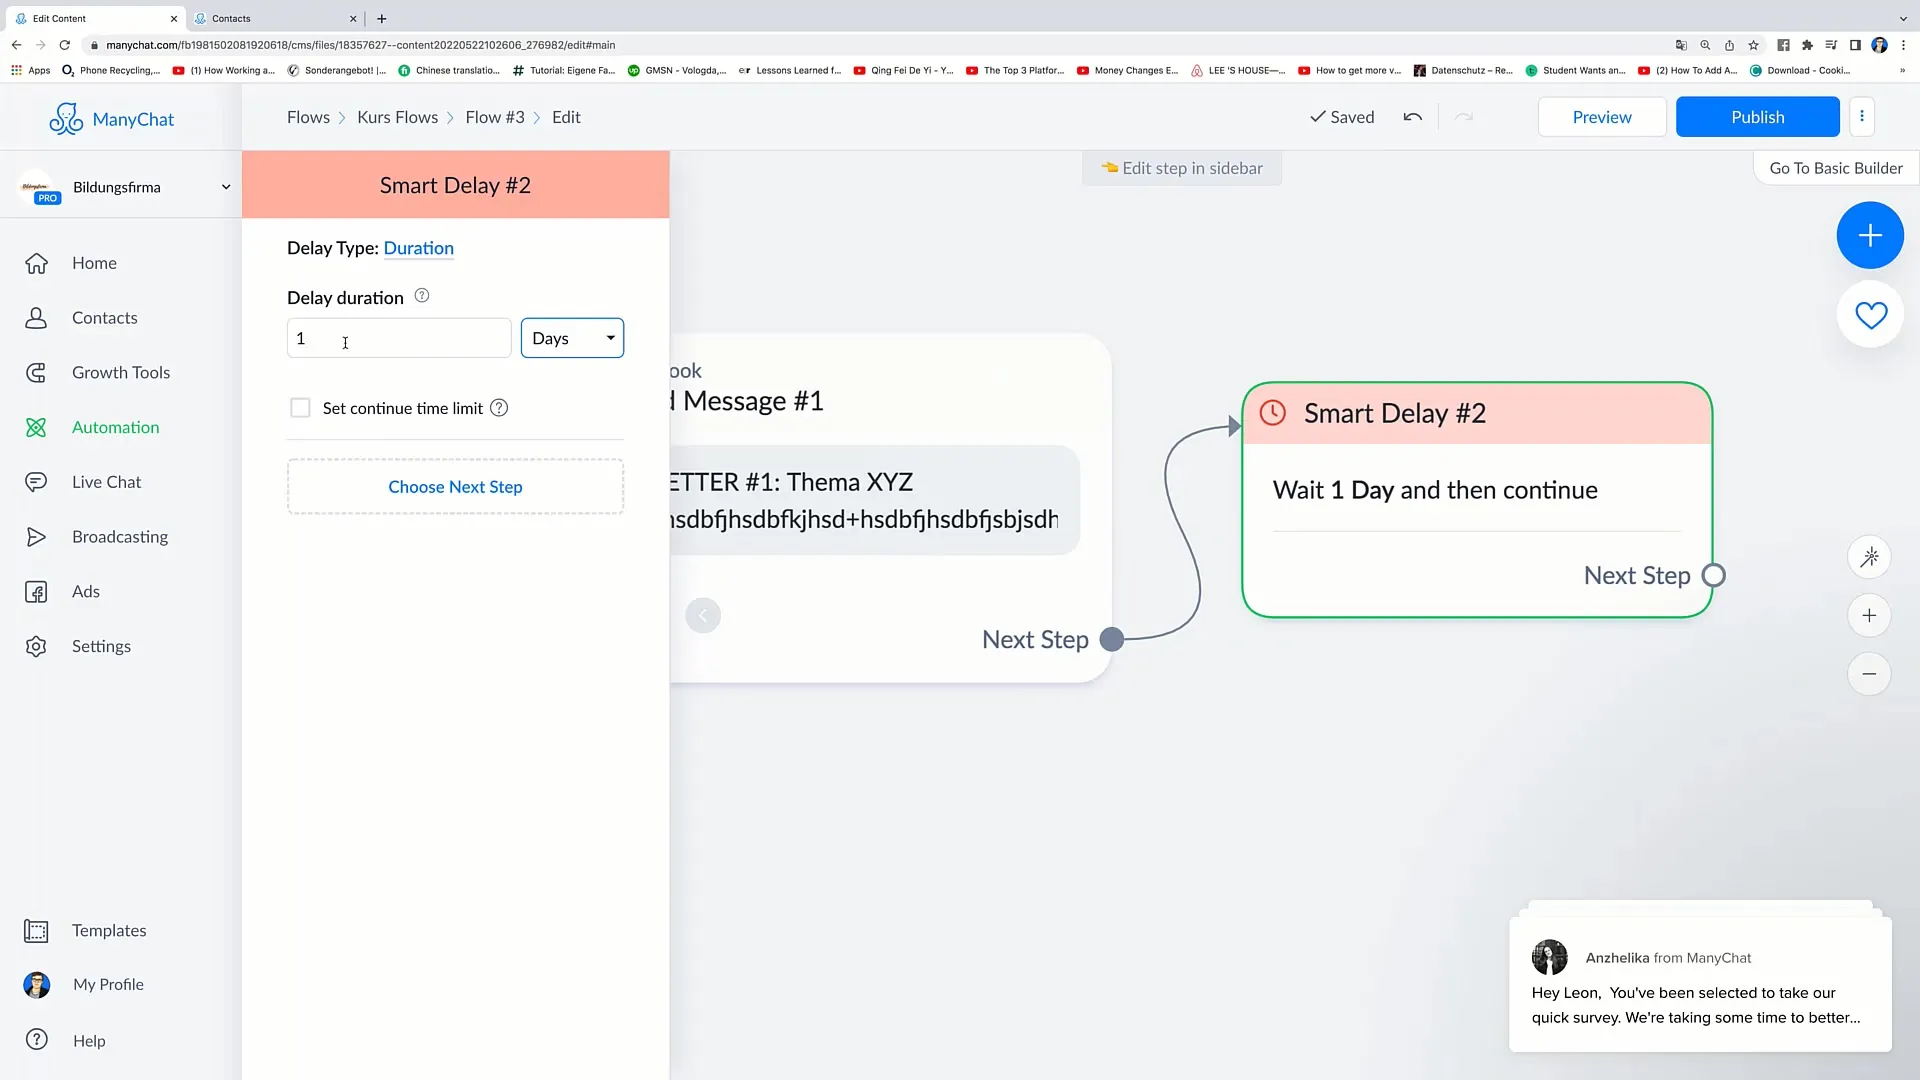
Next, you need to add the second smart delay. Go to "Next Step" again and choose "Smart Delay" once more. Set the time frame to one day this time to ensure that the next message is sent the following day.
9. Creating the Newsletter Message
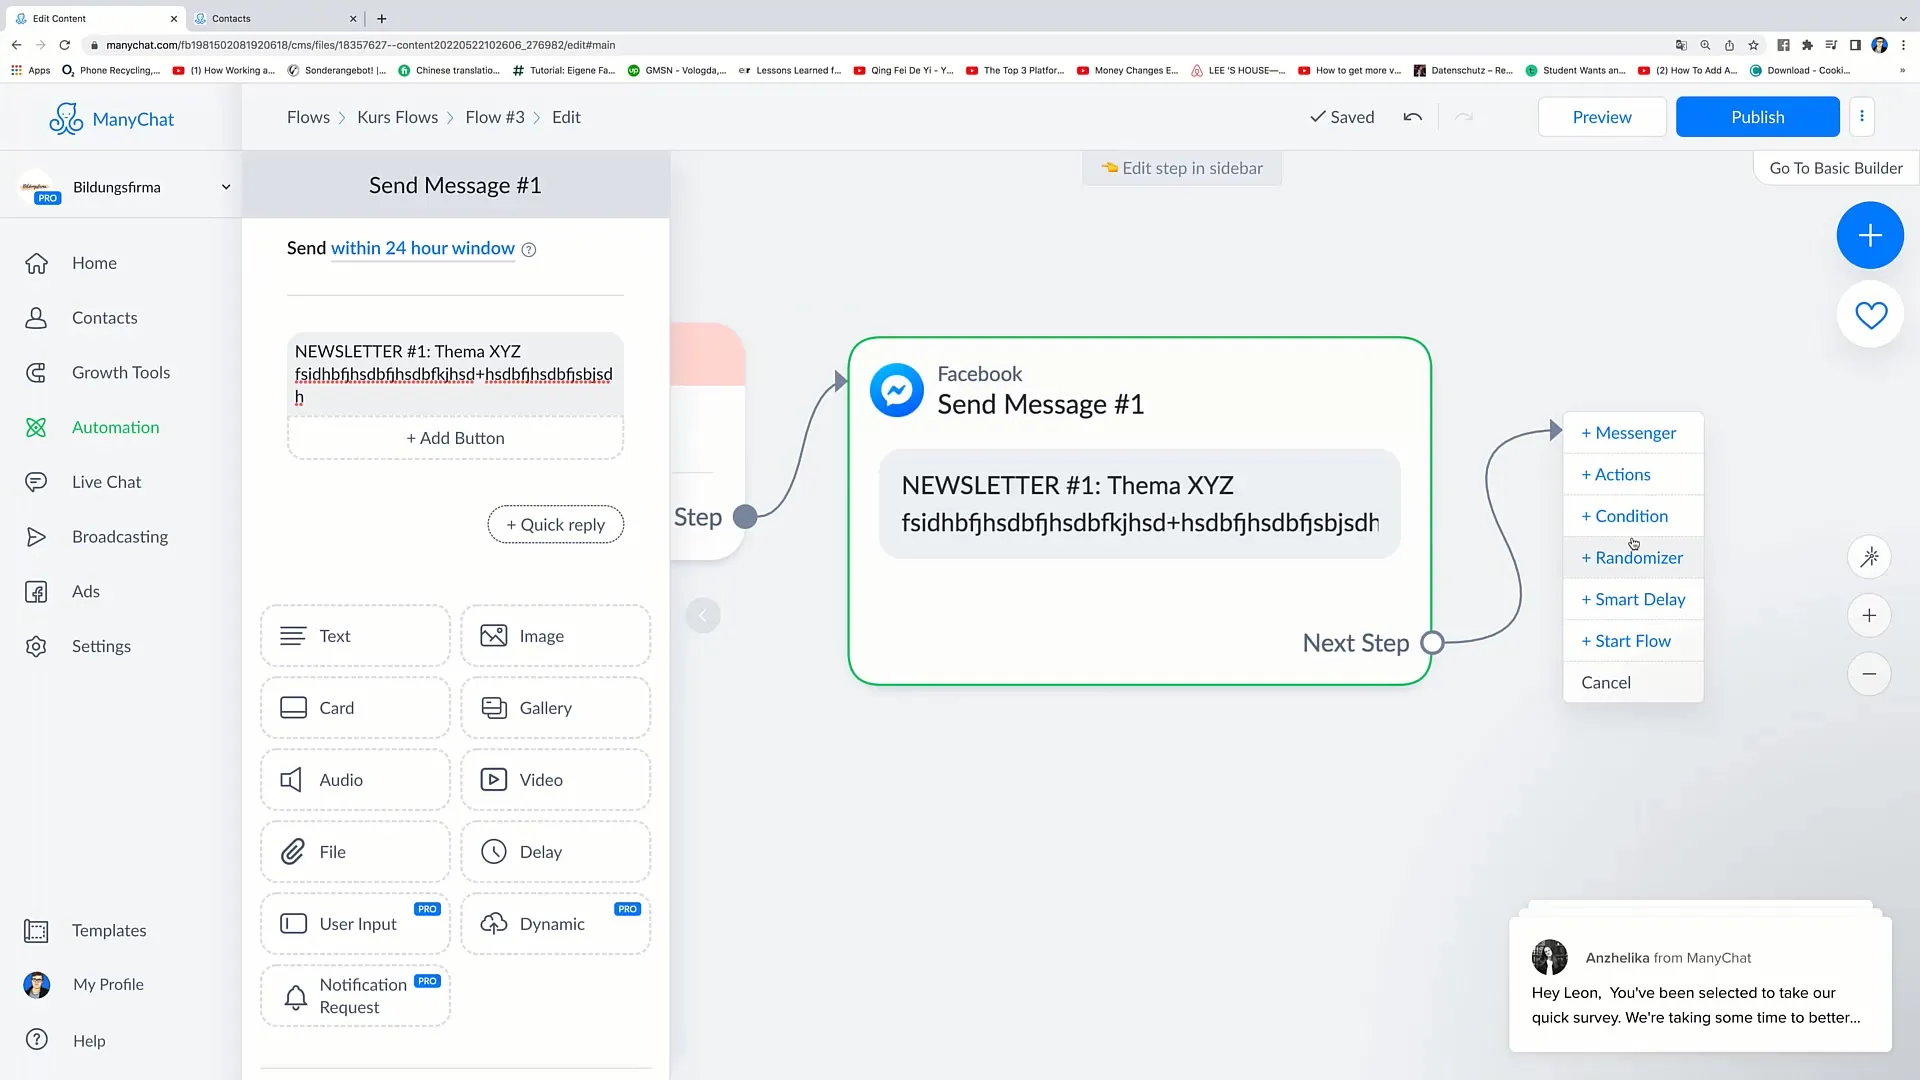
In this step, you can design the content for the first newsletter. You can name the subject and add the text you want to send to the users.
10. Add more Smart Delays
If you like, you can add more Smart Delays. For example, you could send the next message after seven days. This would be the second weekly newsletter message.
11. Create Newsletter Message 2
Create the content for the second newsletter and paste it into the corresponding field. Make sure the topics and content are relevant and engaging for the recipients.
12. Automated Sending of Next Messages
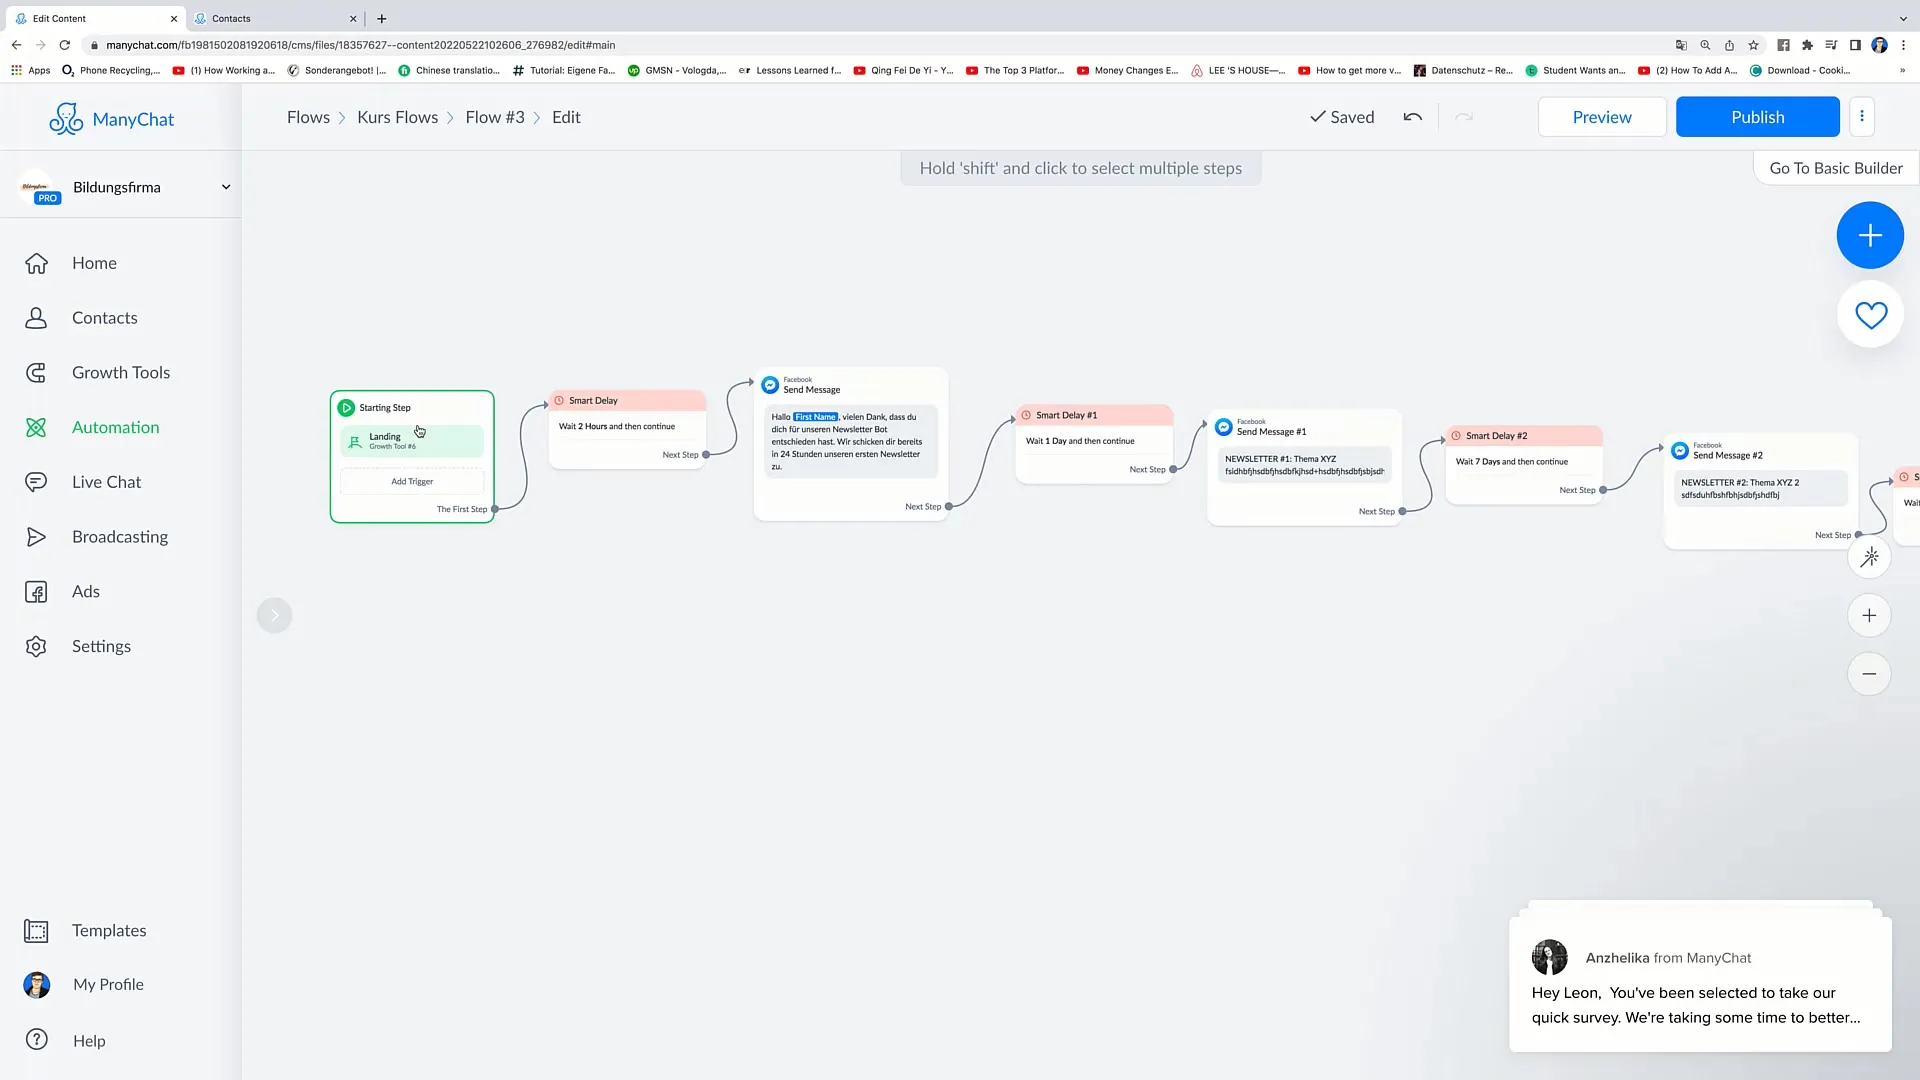
To create an automated sequence of messages, add Smart Delays again after each newsletter. This way, you can continuously send a new message every seven days. This gives your readers the opportunity to process the information.
Summary
In this tutorial, you learned how to integrate multiple Smart Delays into a flow. By inserting time intervals between your messages, you can improve the user experience and ensure that your content is better perceived.


