In today's guide, we delve into the world of automation in Facebook marketing, specifically focusing on the application of "Rules." This video tutorial gives you a comprehensive overview of how you can effectively use Rules to optimize your marketing workflow and minimize manual tasks. The goal is to show you how to set rules for your entire marketing account so that you can spend less time on manual tasks and make your marketing more efficient.
Main insights
Rules in your Facebook marketing account allow you to set triggers and actions that are automatically executed when certain conditions are met. This enables you to automate and personalize your numerous marketing activities, ultimately leading to increased efficiency and a better customer experience.
Step-by-step guide
Step 1: Accessing the Rules
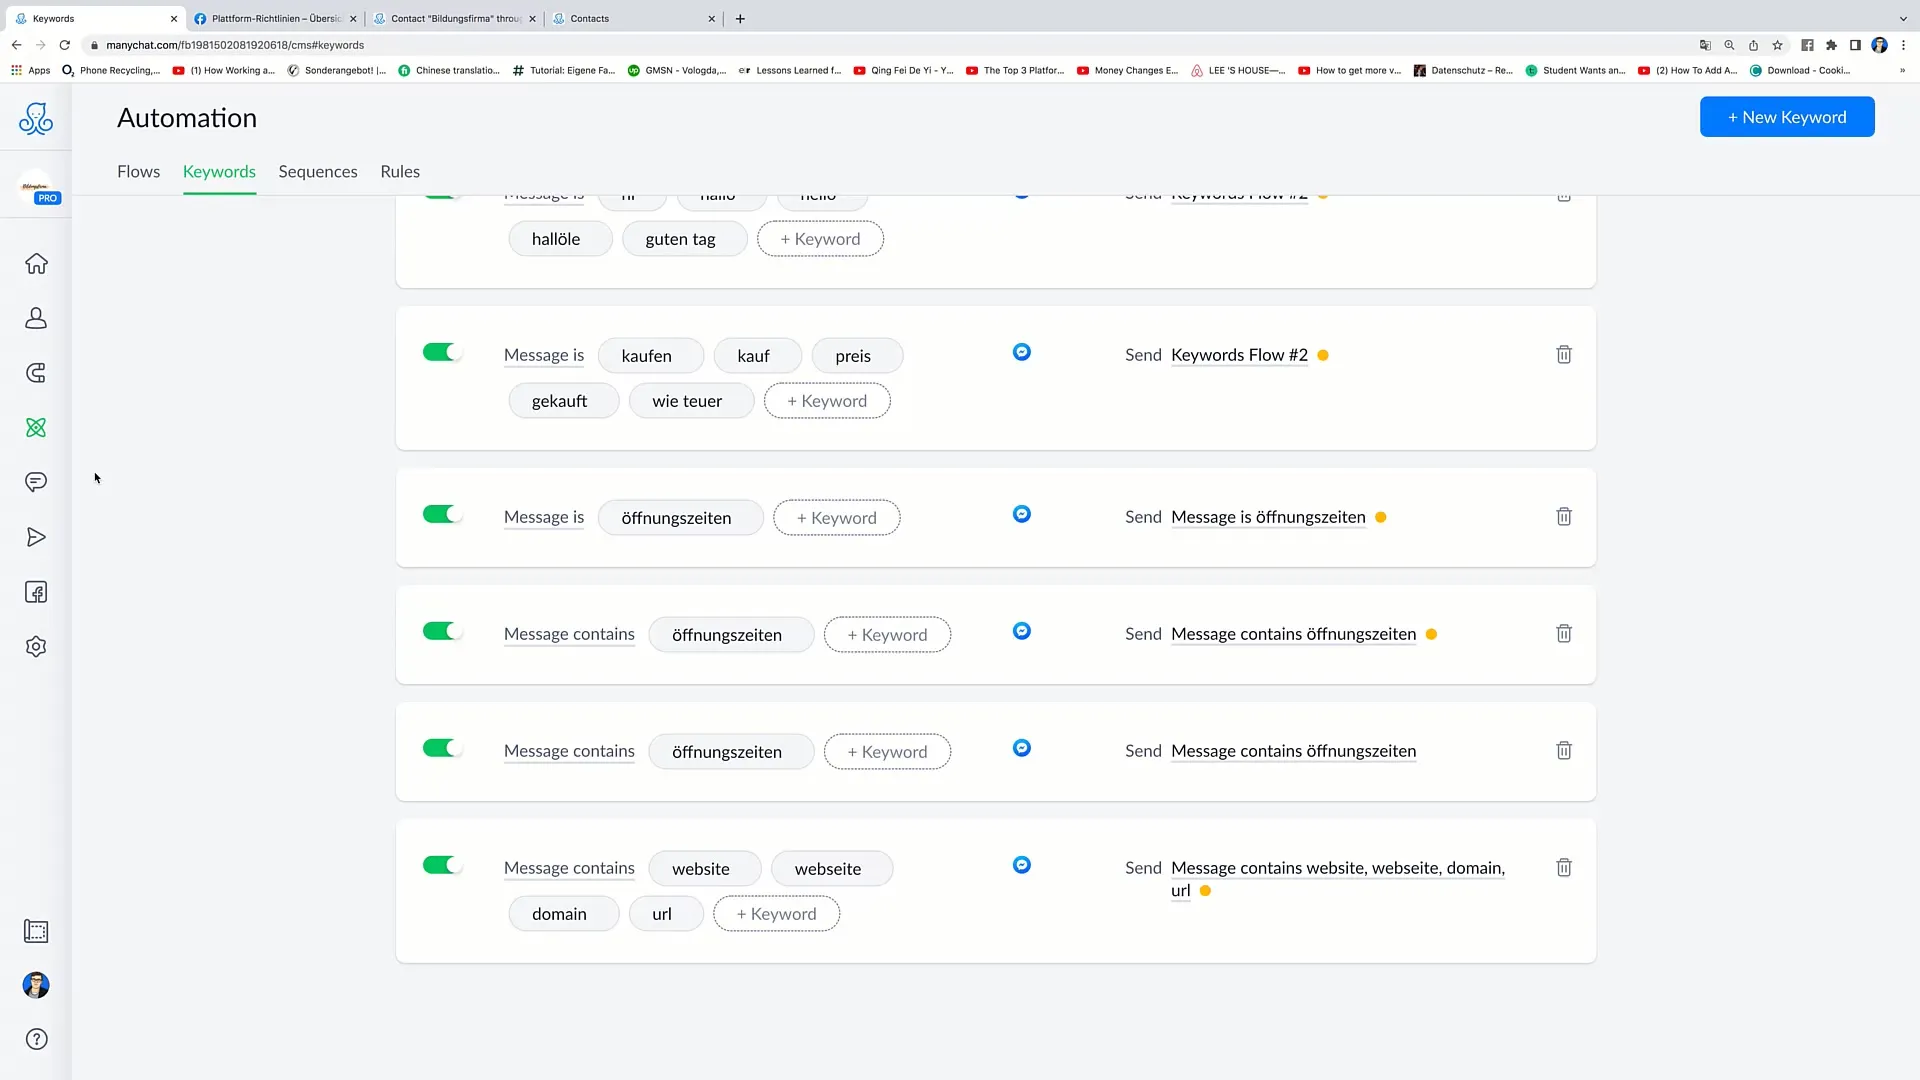
To start setting up your Rules, you first need to click on the "Automation" tab on the left side of your dashboard. This area is essential as it contains all the automation options that can help you optimize your marketing process.
Step 2: Selecting Rules
Once you are in the automation area, you can click on "Rules" at the top. Here you have the option to view existing rules and create new ones. It's important to note that these rules apply to the entire marketing account.
Step 3: Active Rules
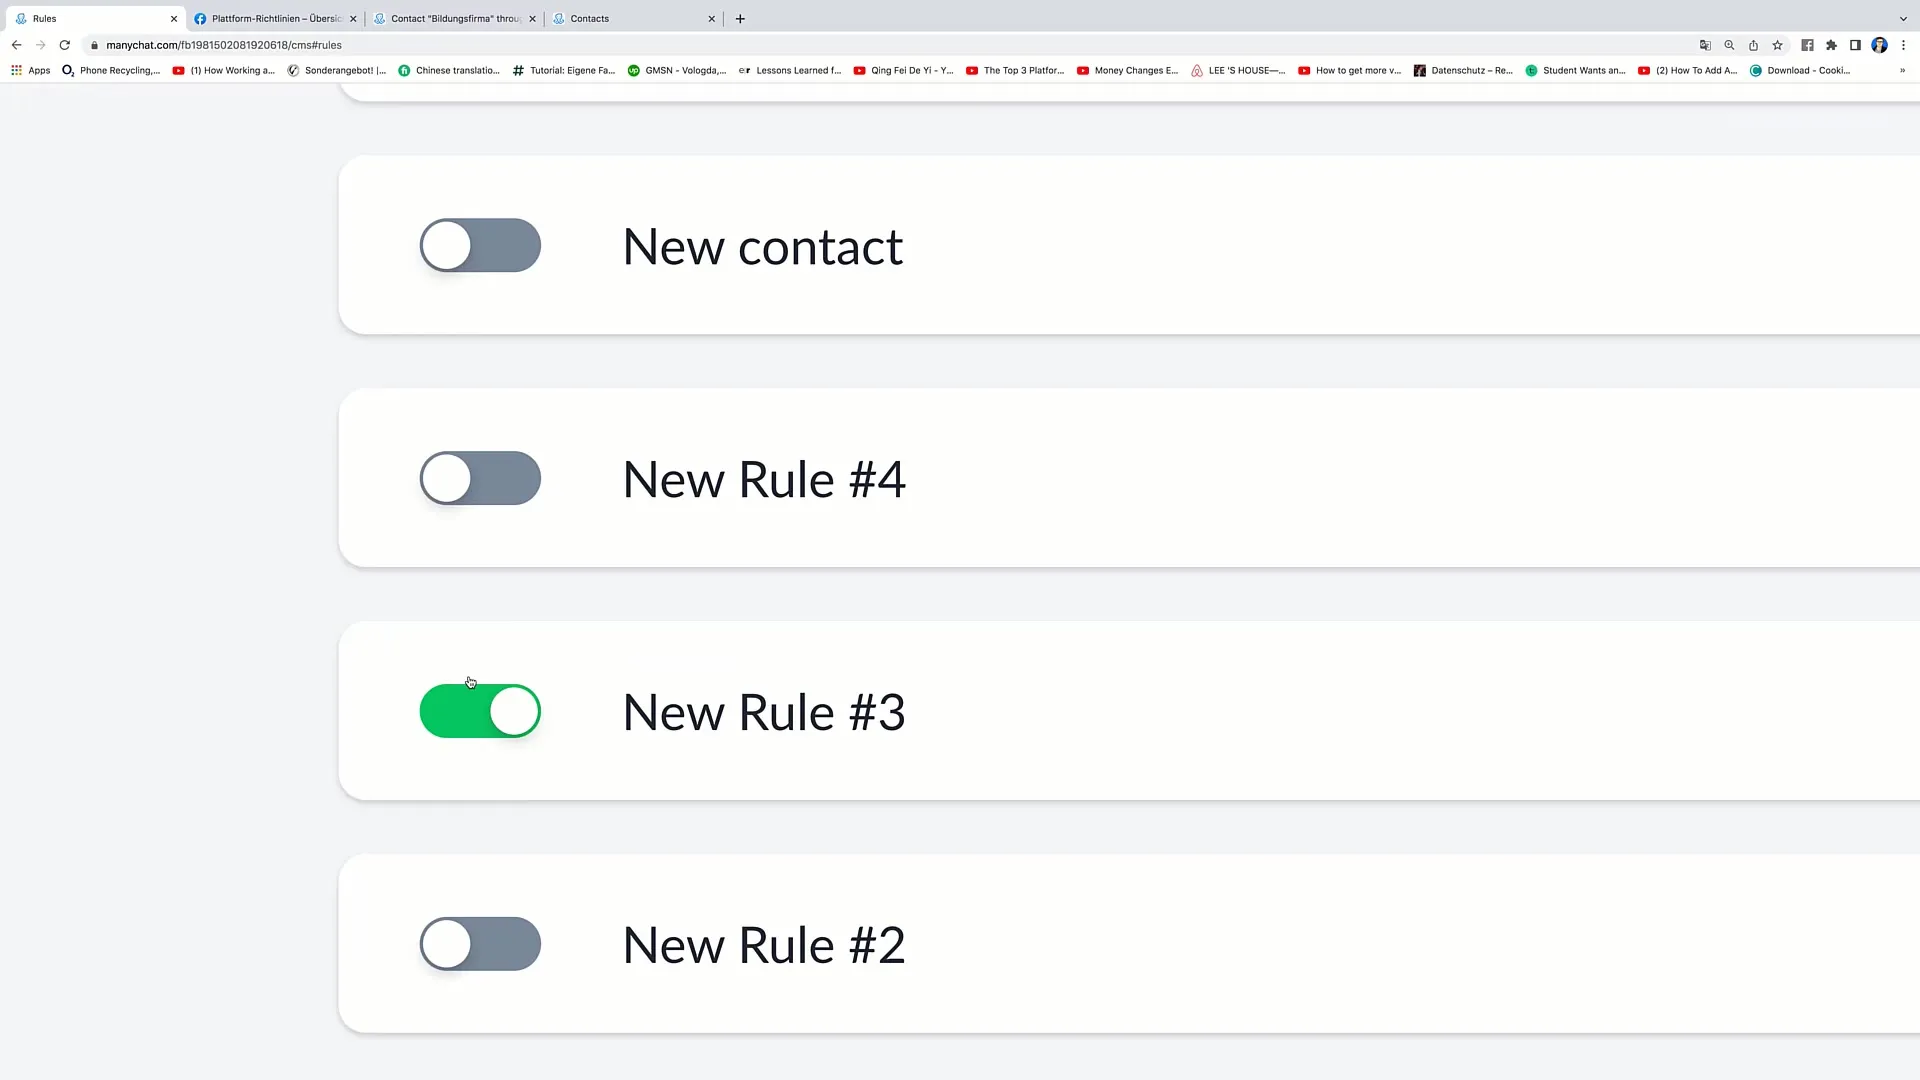
In the Rules section, you will see an overview of all available rules. You can activate or deactivate the switch for each rule by sliding it to the right, making it green. This action makes the rule active and effective immediately.
Step 4: Duplicating or Deleting a Rule
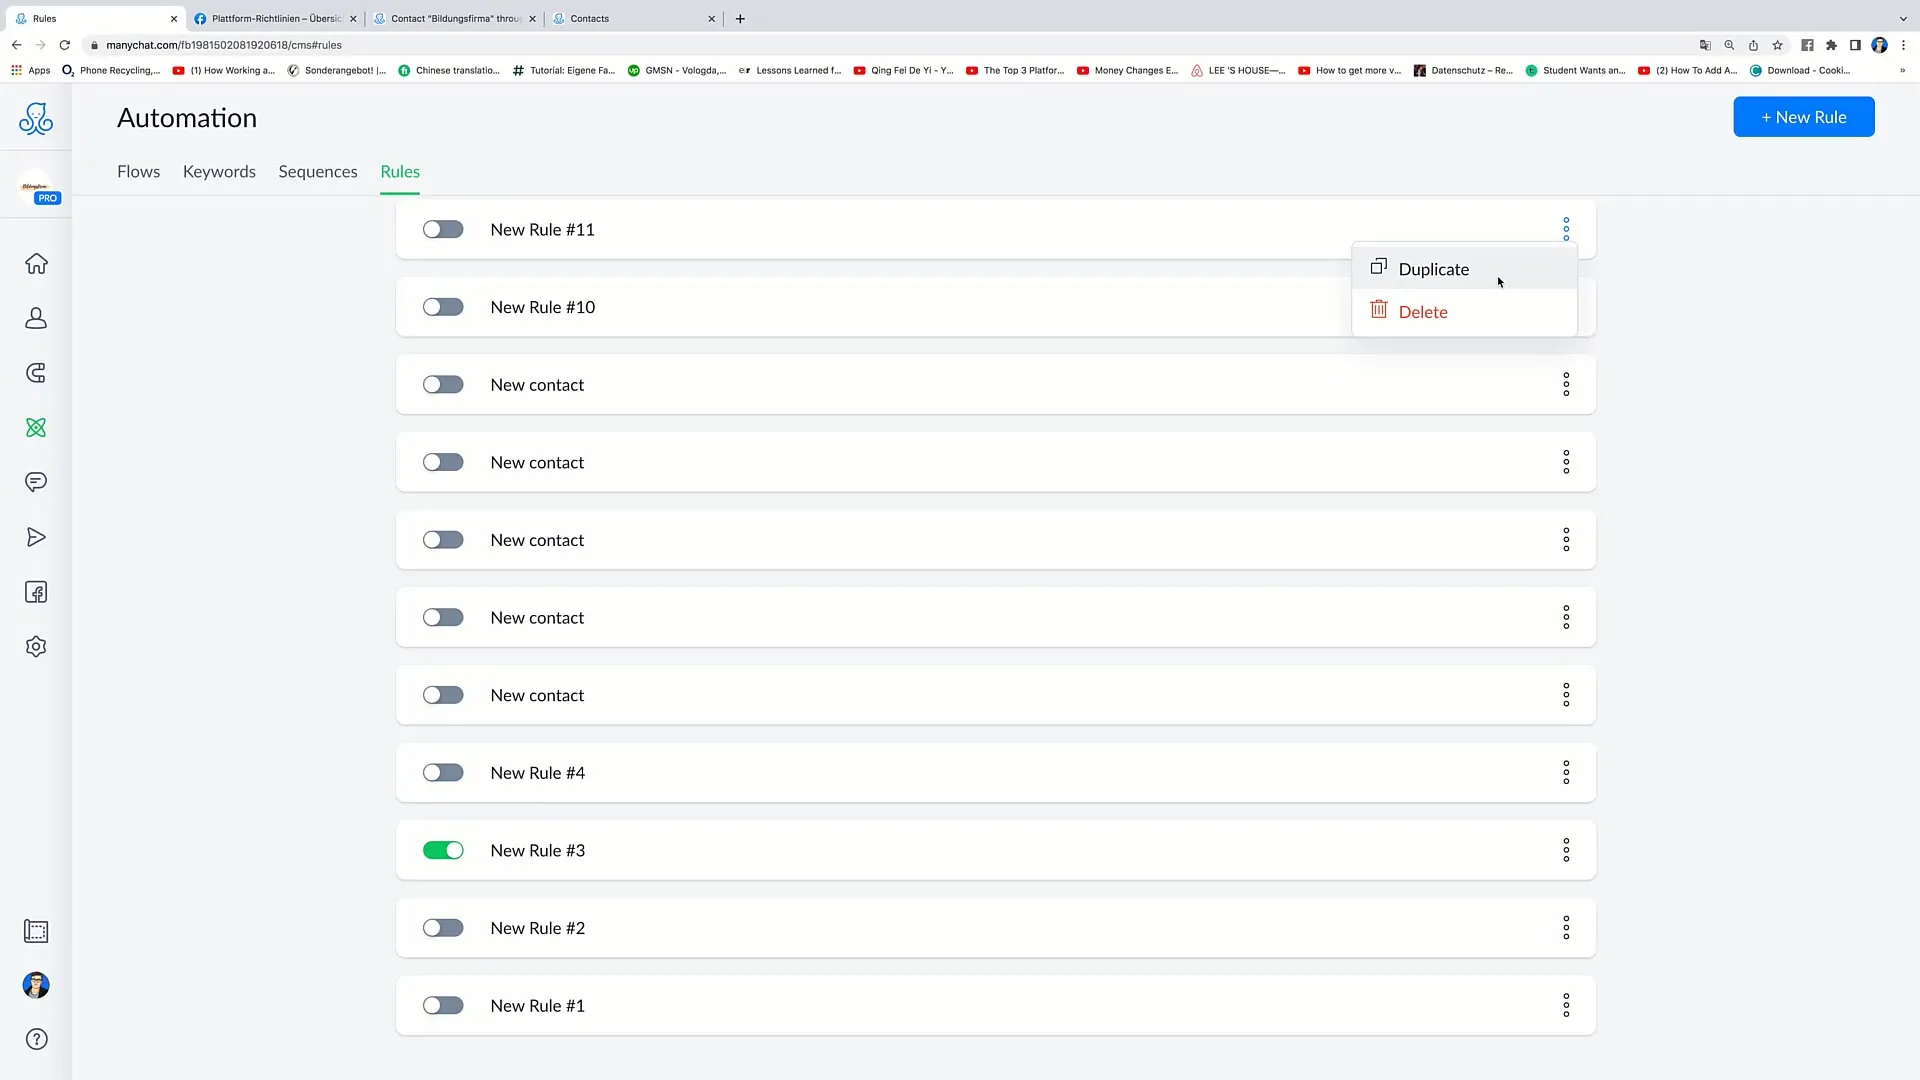
If you want to modify an existing rule or create a similar one, you can click on the three dots next to the rule. There you will find the options to duplicate or delete the rule, making rule management much easier.
Step 5: Creating a New Rule
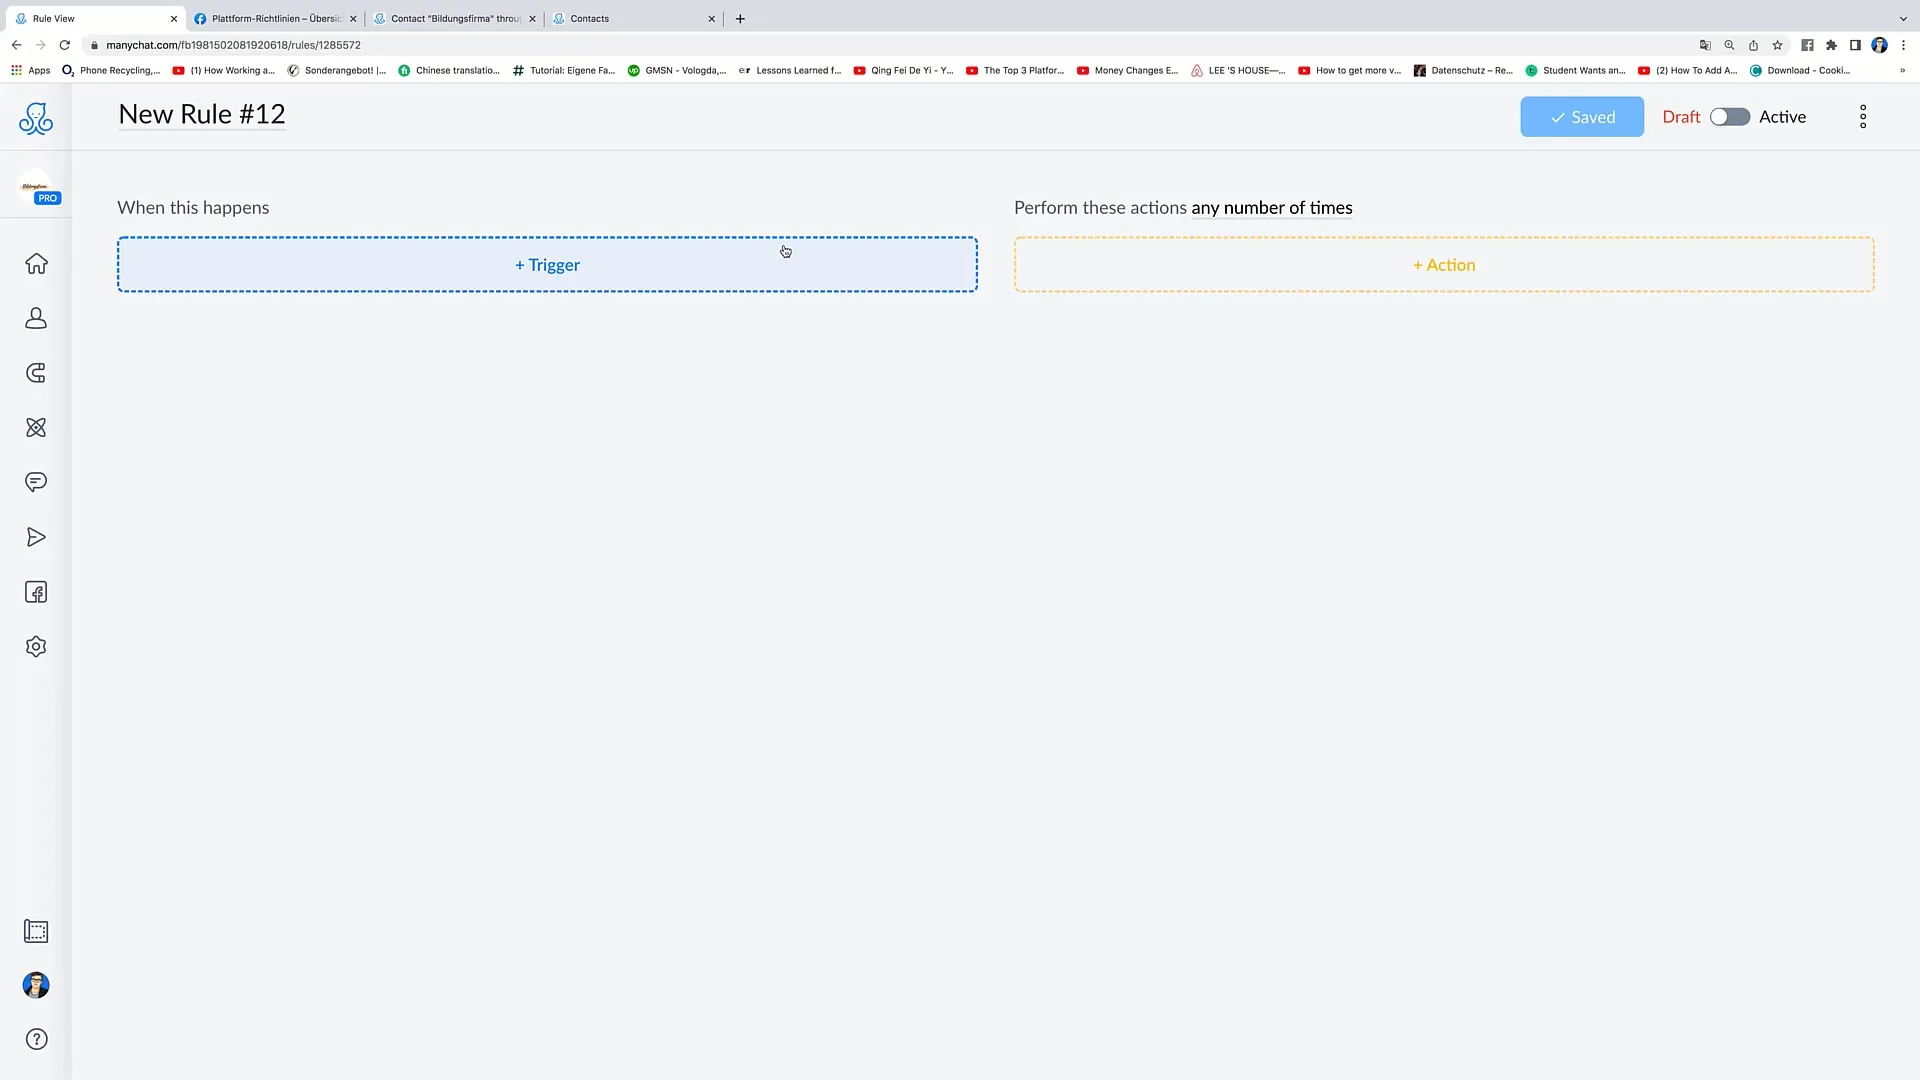
Click on the "Plus" or "New Rule" button to create a new rule. In the next step, you will be asked to define a "Trigger" and an "Action." A trigger is an event that activates the rule, while the action is the consequence you want to perform.
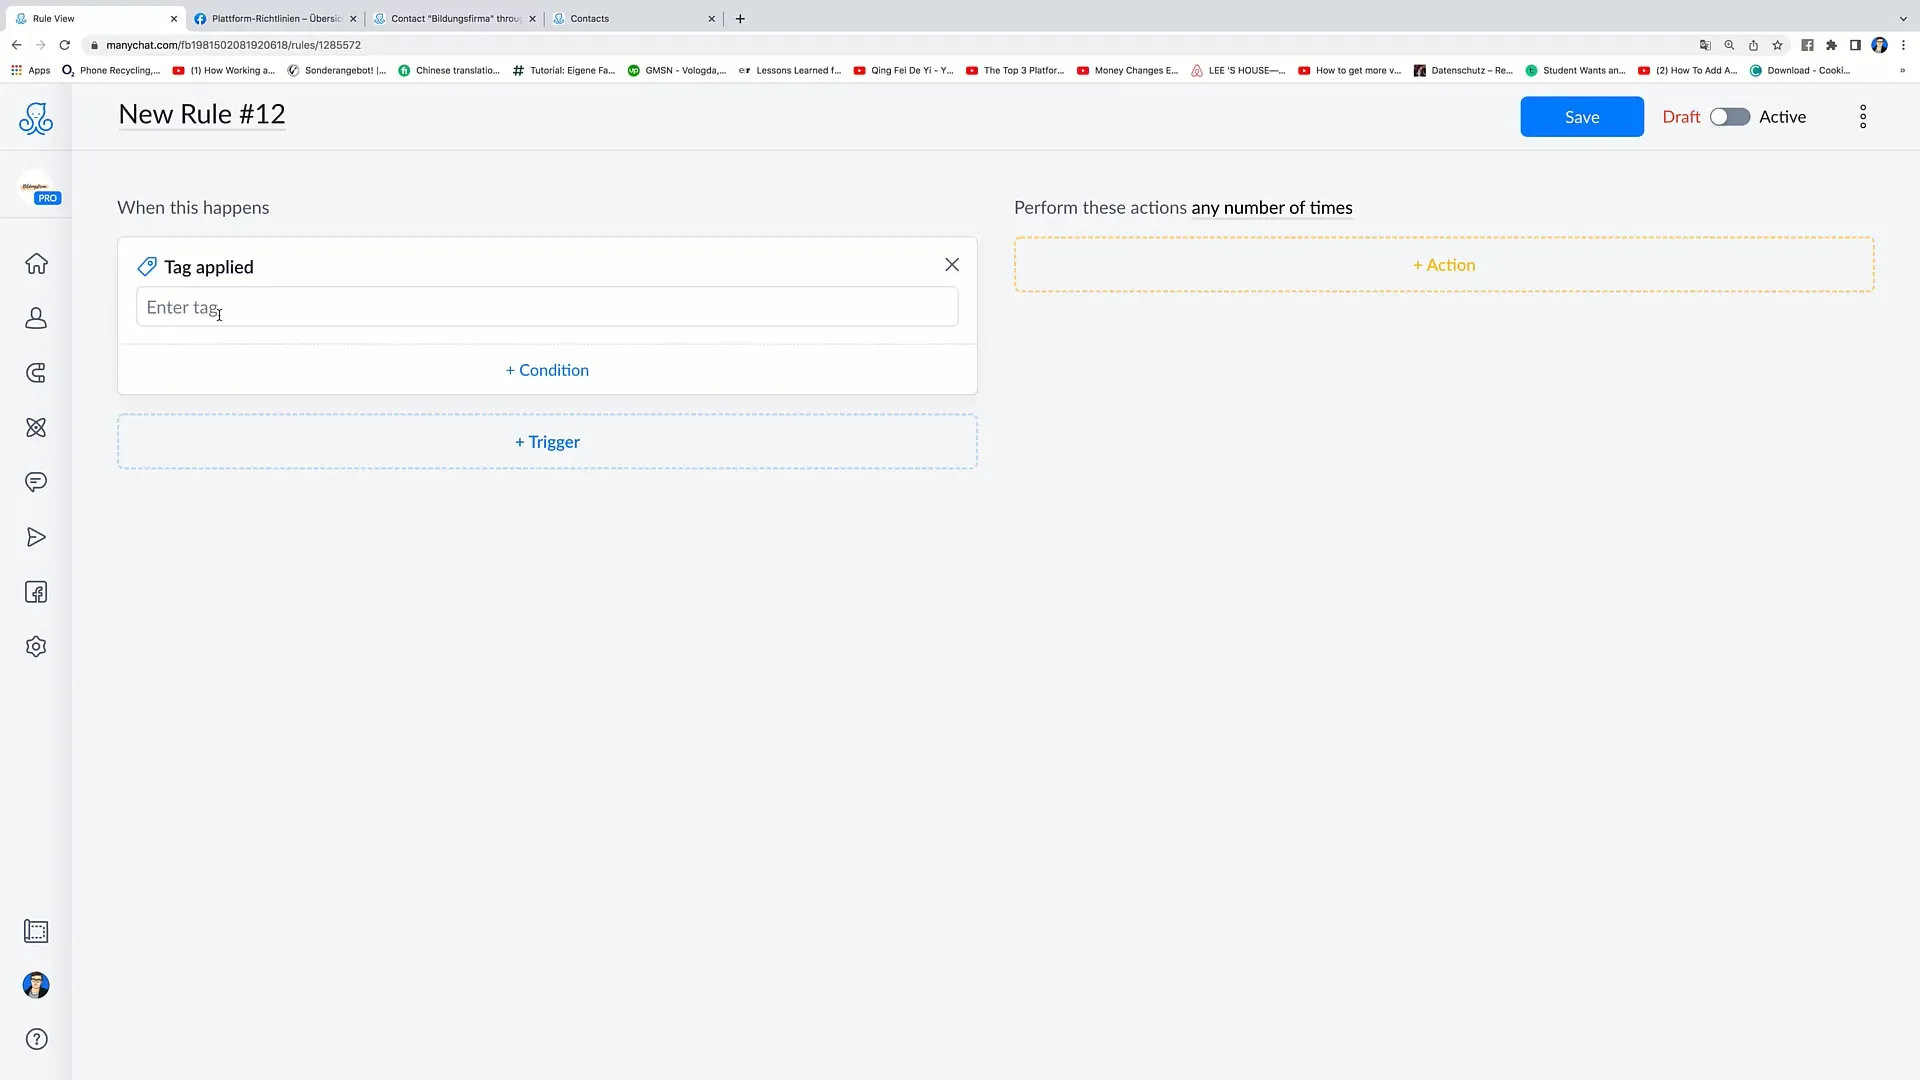
Step 6: Setting Triggers
After clicking on "Trigger," you can select the type of trigger you want to use. For example, you can specify that the rule is activated when a tag is assigned to a user.
Step 7: Choosing an Action
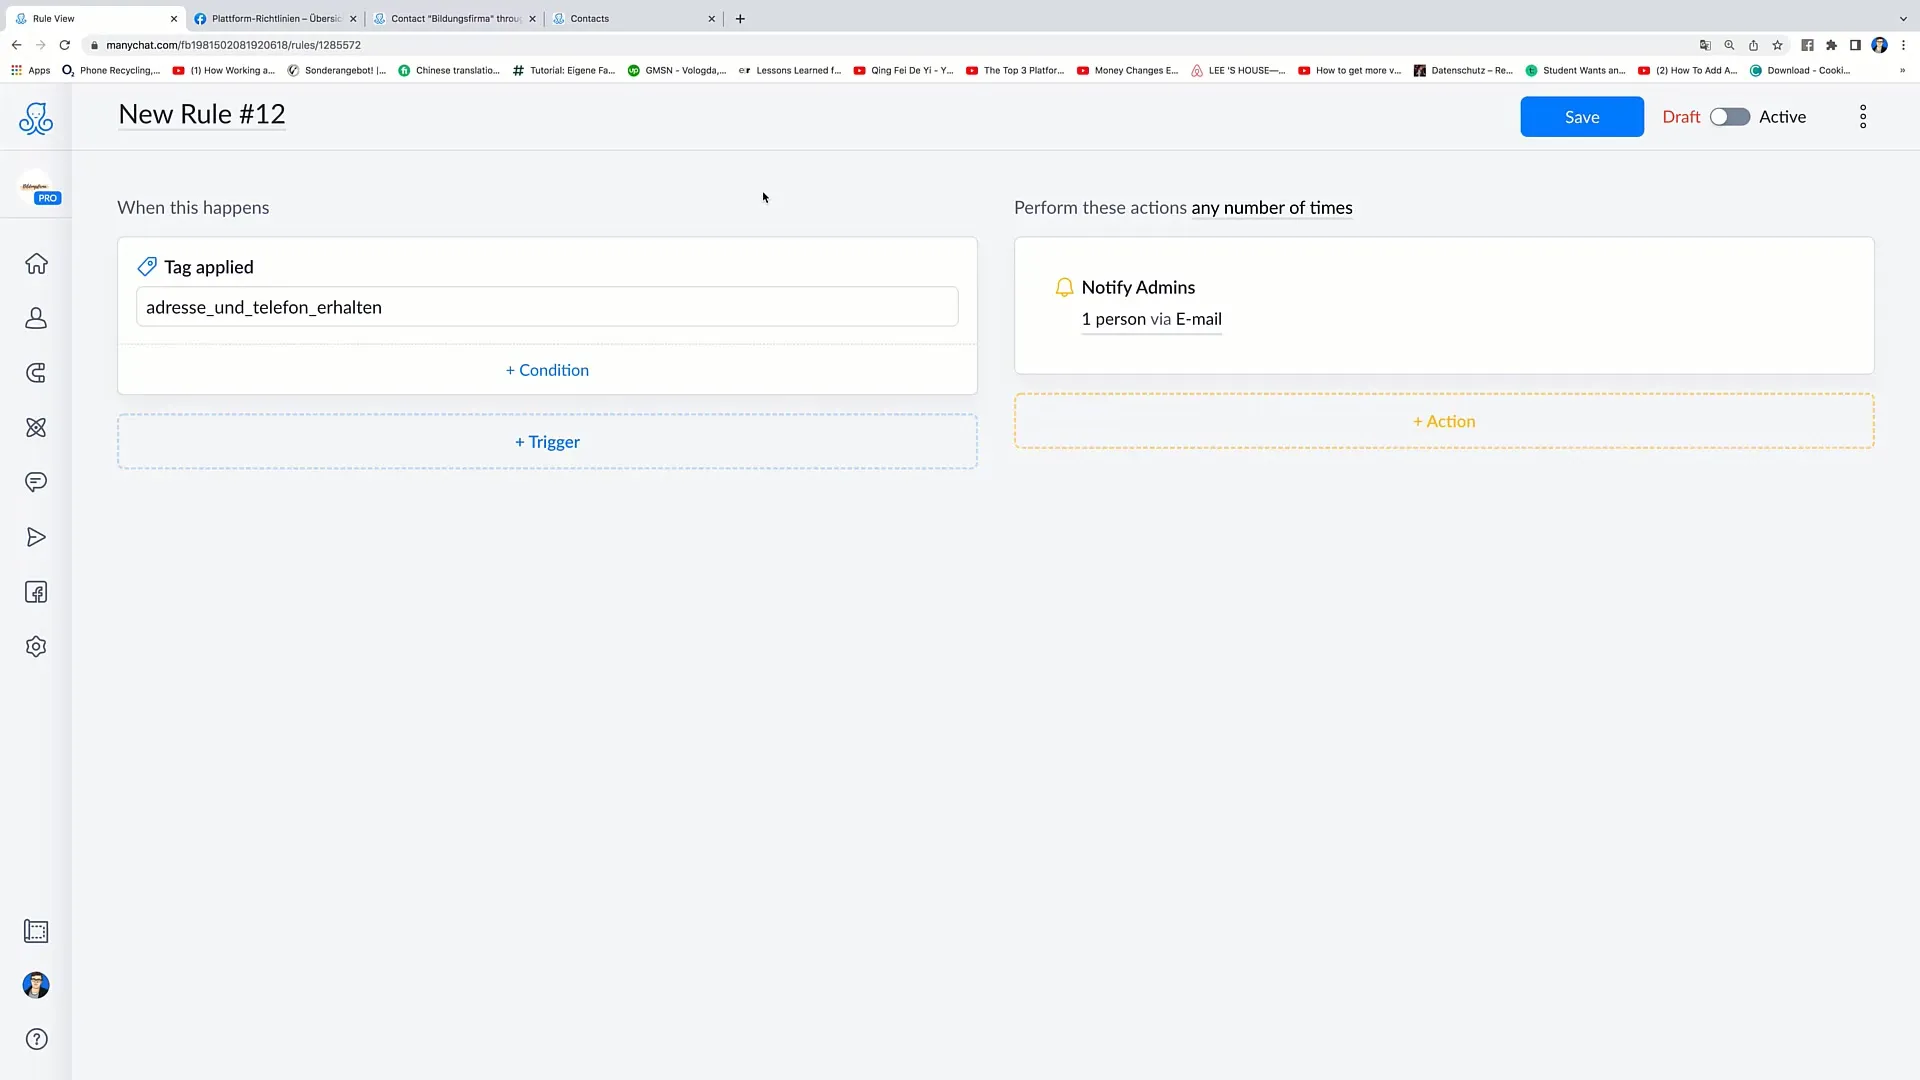
Once you have defined your trigger, it is time to set the corresponding action. For example, you can send a notification to the admin when specific criteria are met. Here you can set up email notifications so that the admin is immediately informed when a relevant interaction occurs.
Step 8: Adding More Triggers and Conditions
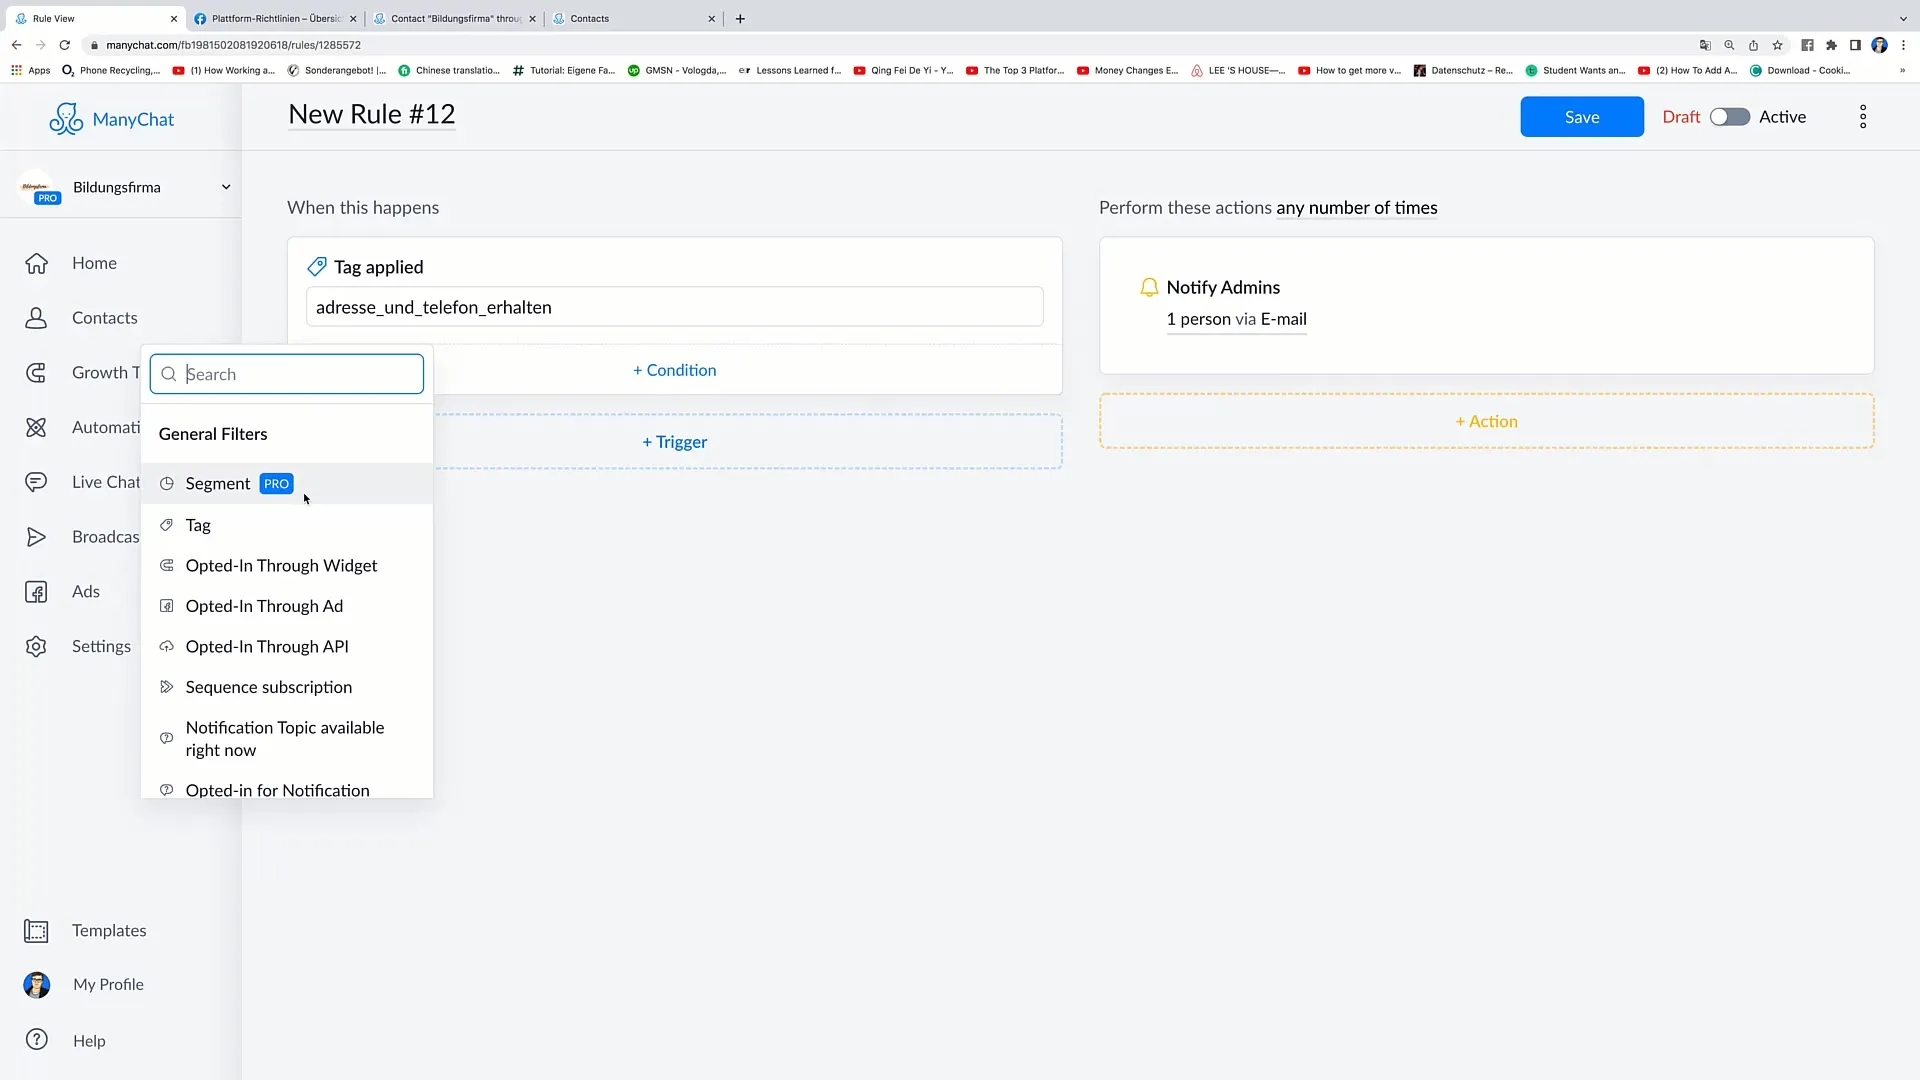
You can also add conditions to make the triggers even more specific. For example, you can apply the rule only to users with a specific gender or language, ensuring that the automation is used selectively.
Step 9: Sending Customized Messages to Customers
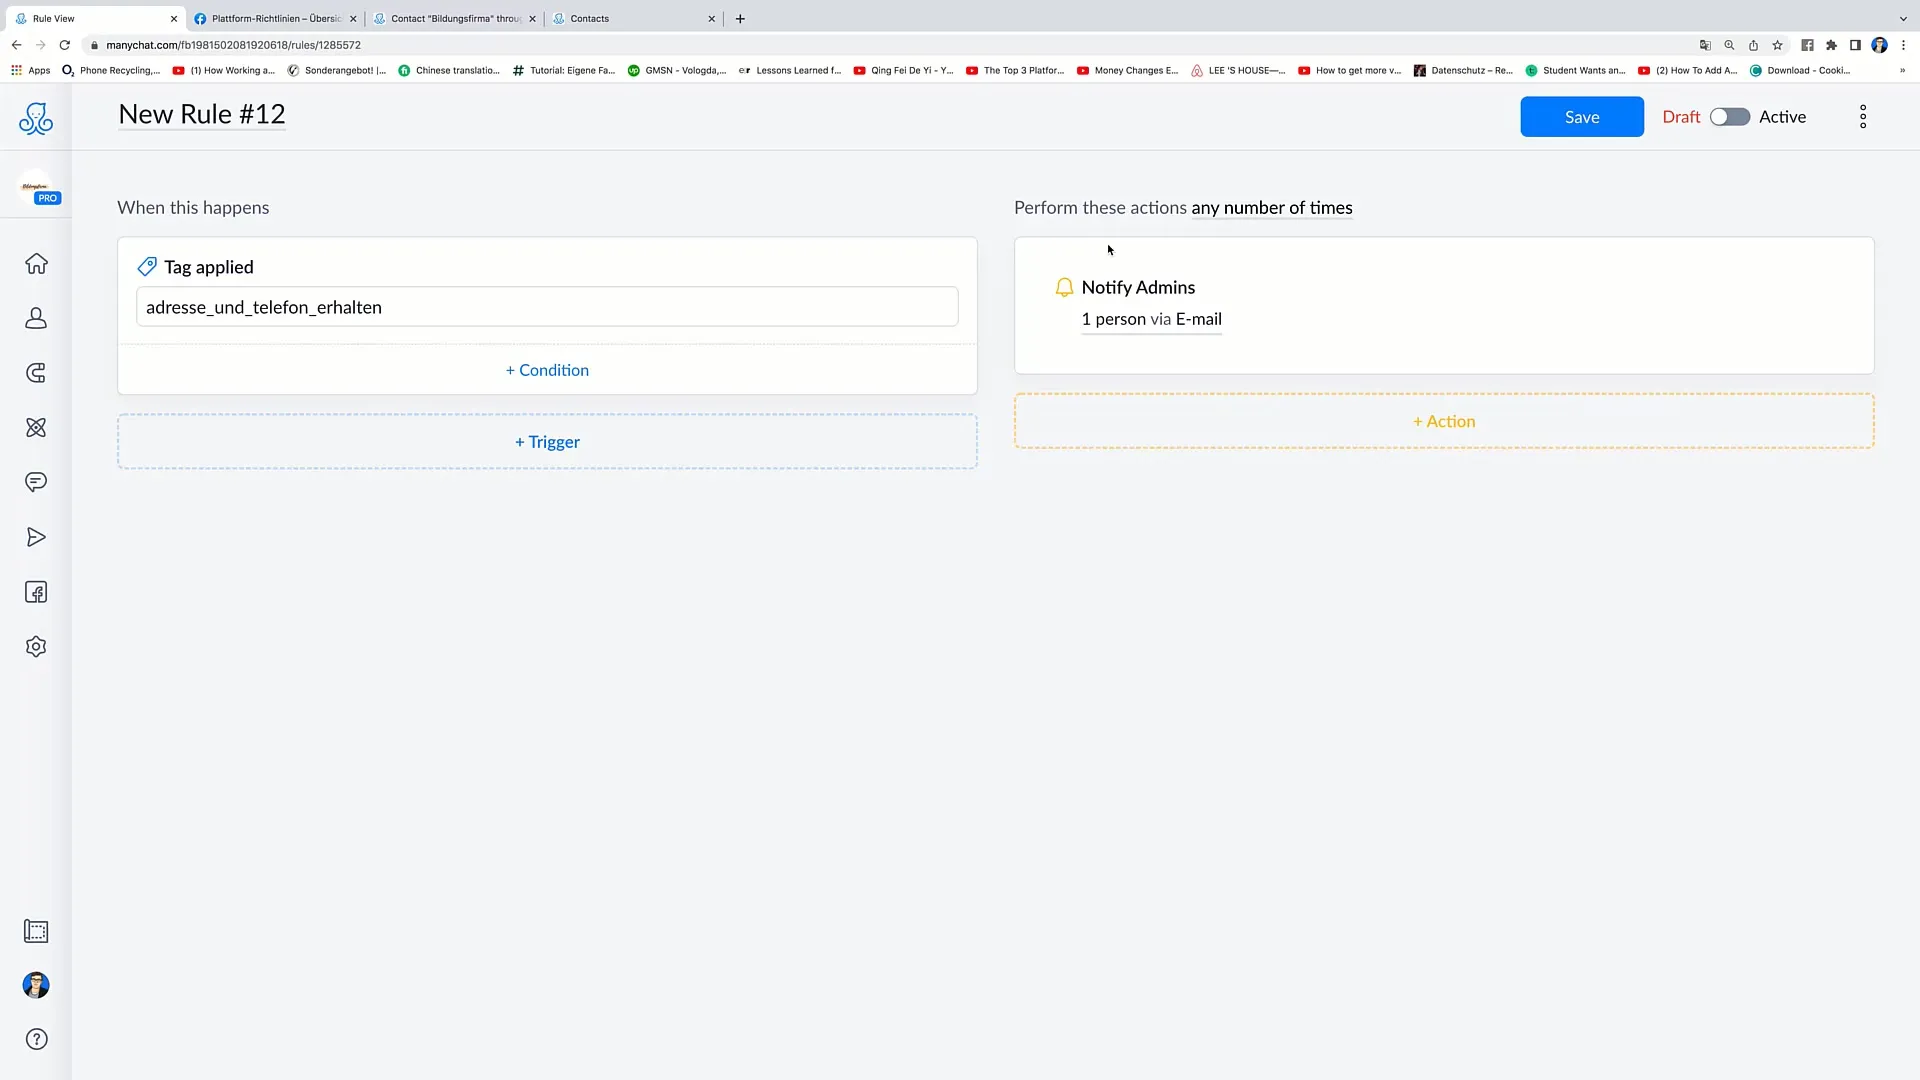
It is crucial to consider how you engage with users activated by these triggers. A good example would be to send users special offers when they have provided certain data such as address and phone number.
Step 10: Save and activate rule
After you have defined all desired triggers and actions, click on "Save" to save your rule. Make sure to set the switch to "Active" to ensure that your rule is actually executed.
Summary
In this guide, you have learned how to effectively use automation through Rules in your Facebook Marketing account. You now know how to set up triggers and actions in your rulebook and optimize the workflow of your marketing. These automation techniques help you do less manual work and make your marketing more effective.
Frequently Asked Questions
How do I create a new rule?Click on "Plus" or "New Rule" in the automation area and define a trigger and an action.
Can I modify existing rules?Yes, you can duplicate or delete existing rules by clicking on the three dots next to the rule.
How do I activate a rule?After you have created or edited a rule, simply click on "Active" to activate it.
What are triggers and actions?Triggers are events that trigger a rule, while actions are the reactions that automatically follow when the trigger is activated.
Can I define conditions for my triggers?Yes, you can add specific conditions to make the triggers more targeted.


