In this tutorial, you will learn how to embed a Facebook Pixel on your website. The Facebook Pixel is a powerful tool to track user behavior on your site and run targeted ads on Facebook. If you want to track specific actions of your visitors and increase the effectiveness of your advertising efforts, the Facebook Pixel is essential.
Key Insights
The Facebook Pixel allows you to analyze the behavior of your website visitors, track conversions, and create tailored audiences for your ads. By installing the Pixel, you can ensure that your ads are shown only to those who have already shown interest.
Step-by-Step Guide
To successfully embed a Facebook Pixel, follow these steps:
Step 1: Access the Facebook Events Manager
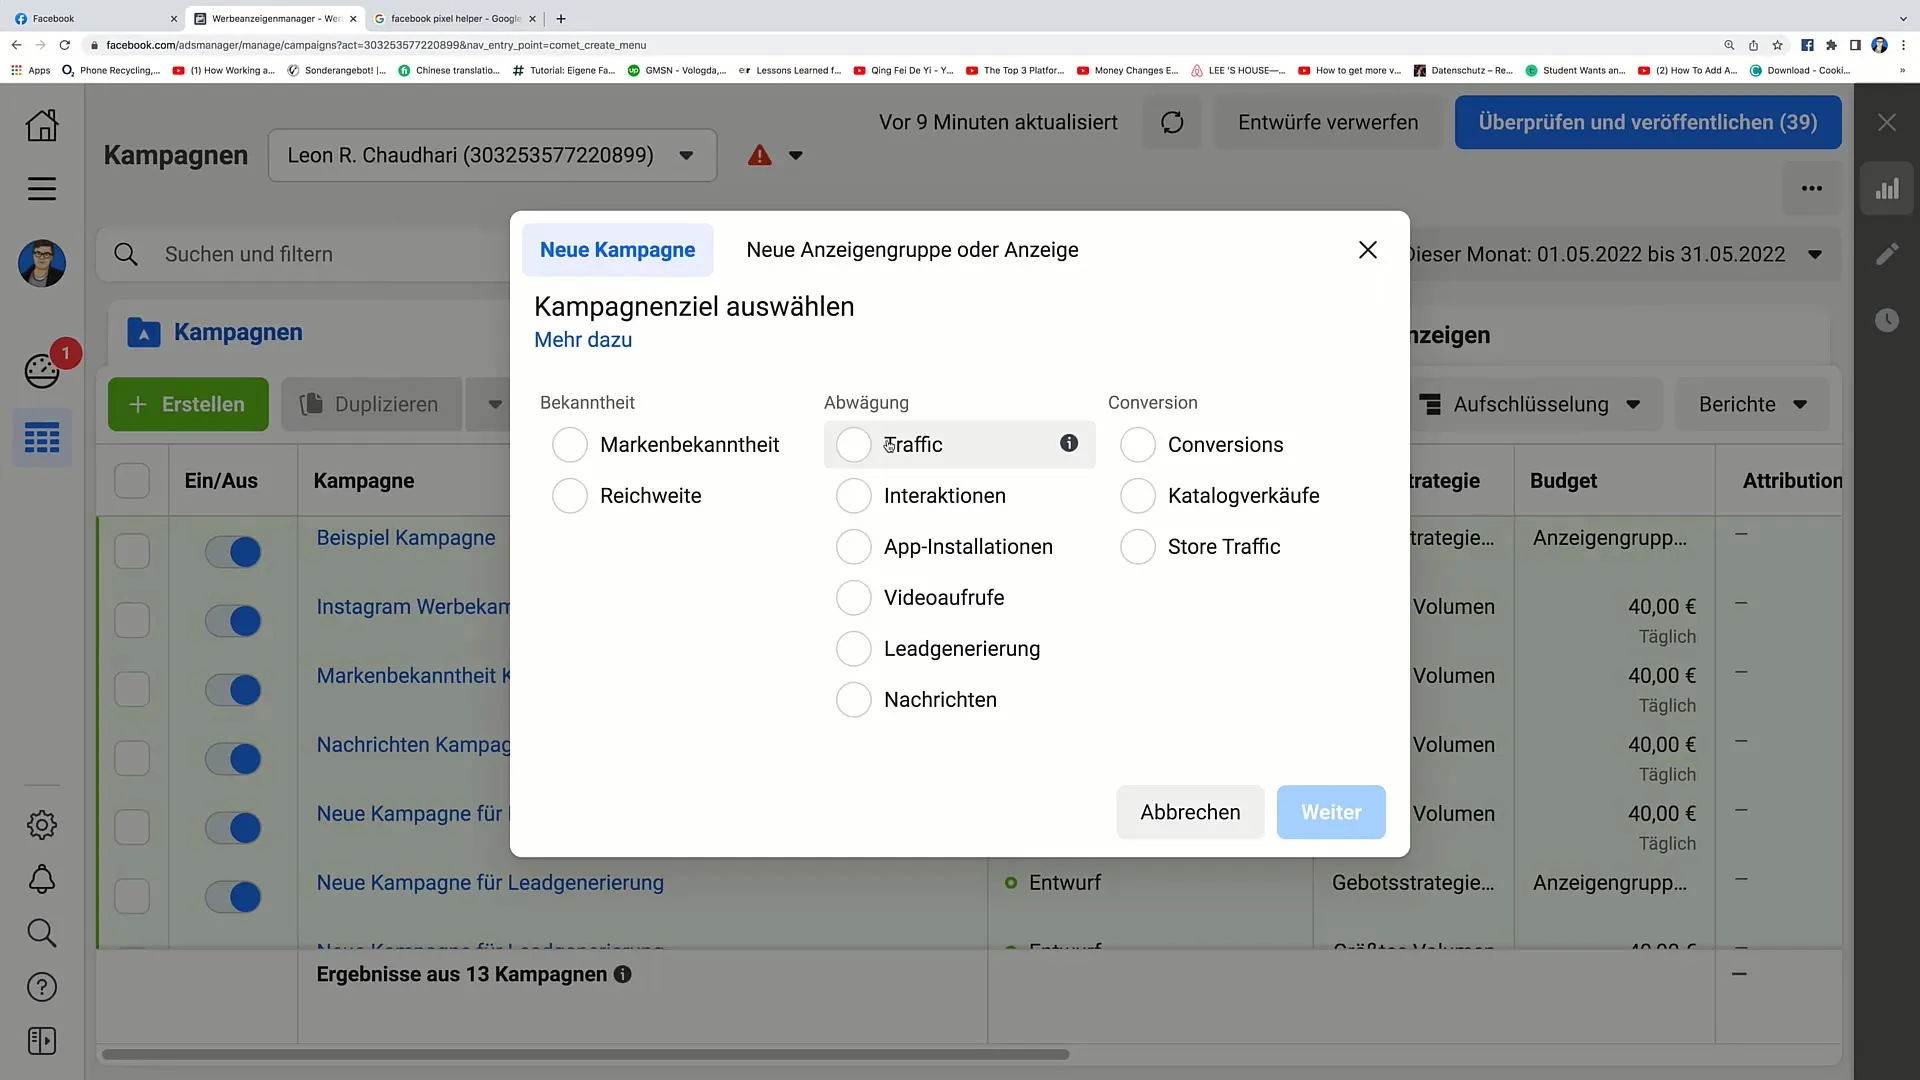
First, you need to log in to your Facebook ads account. Click on the X in the upper right corner of the homepage.
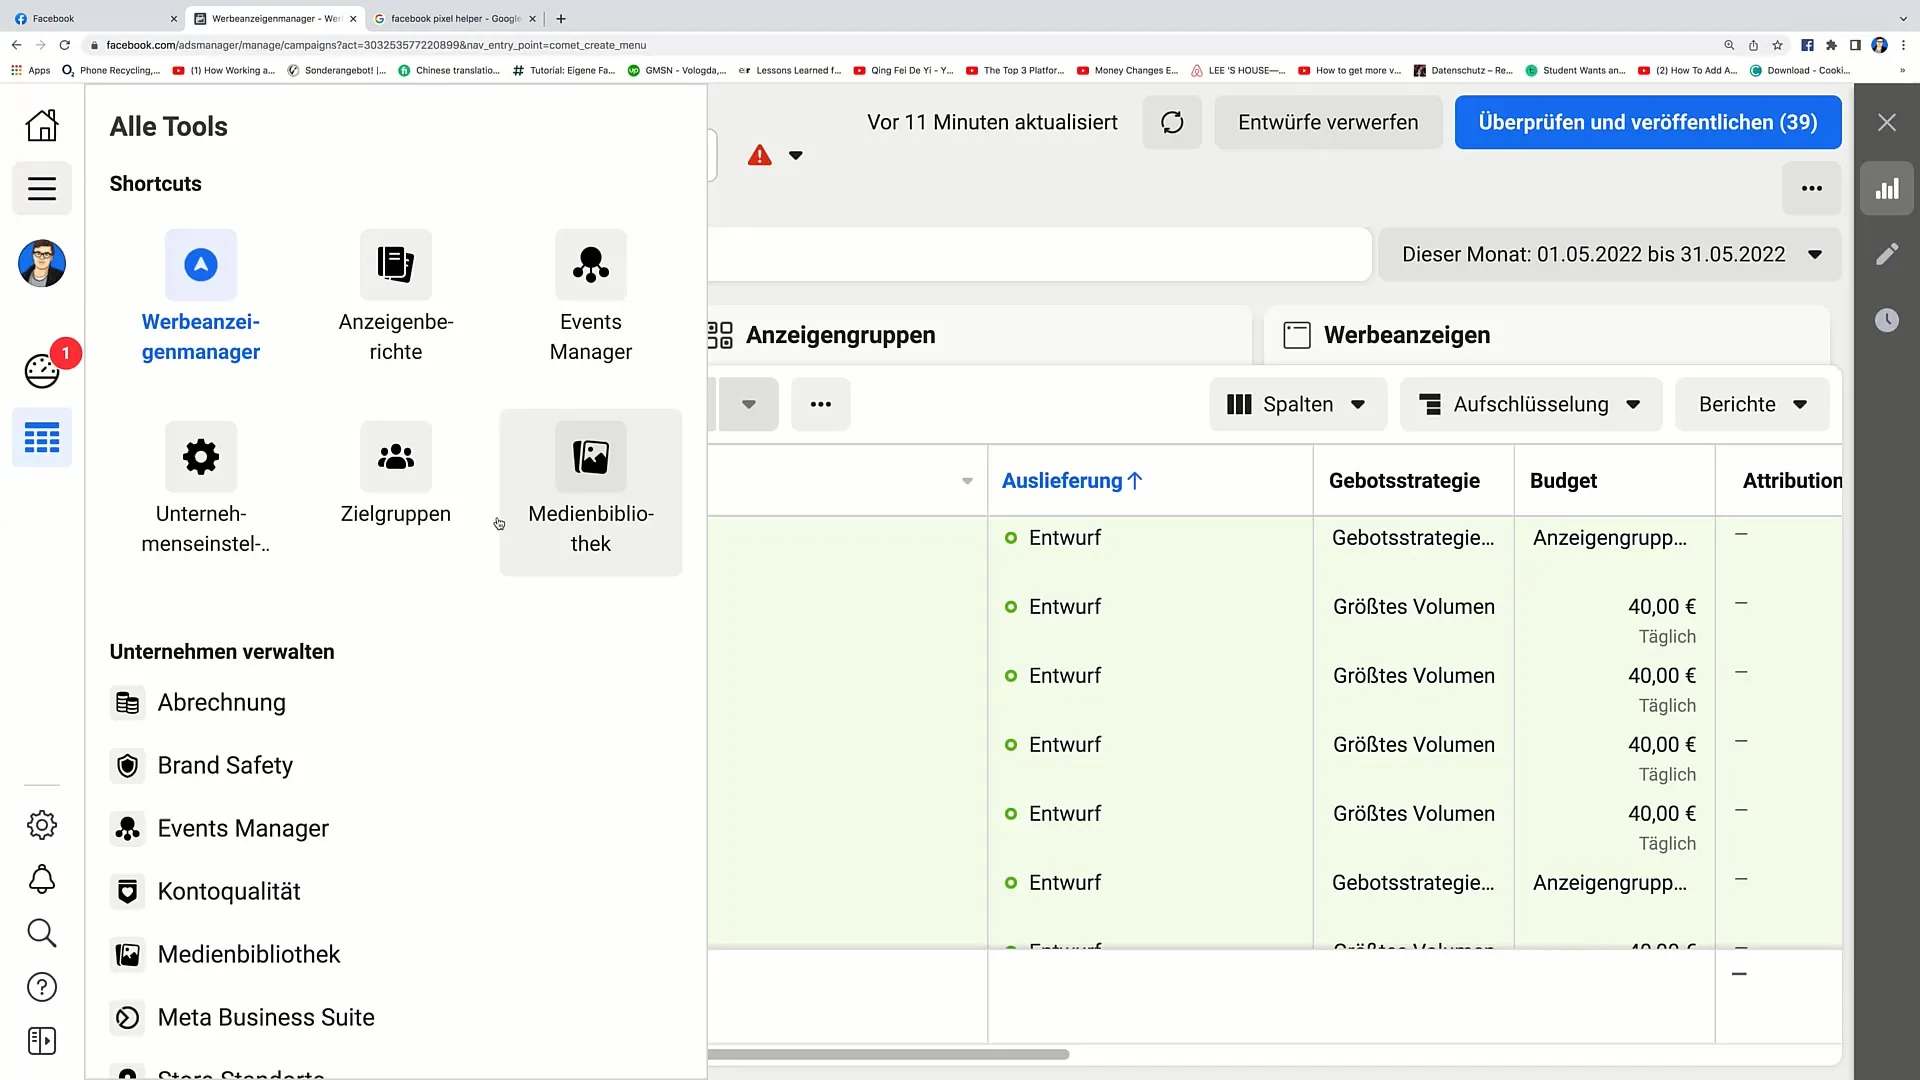
Now, you will see the option "All Tools" on the left side. Click on it and look for "Events Manager".
Once you are in the Events Manager, you should either see an existing Pixel or have the option to create a new Pixel.
Step 2: Create Pixel
If you do not have a Pixel yet, click on "Create".
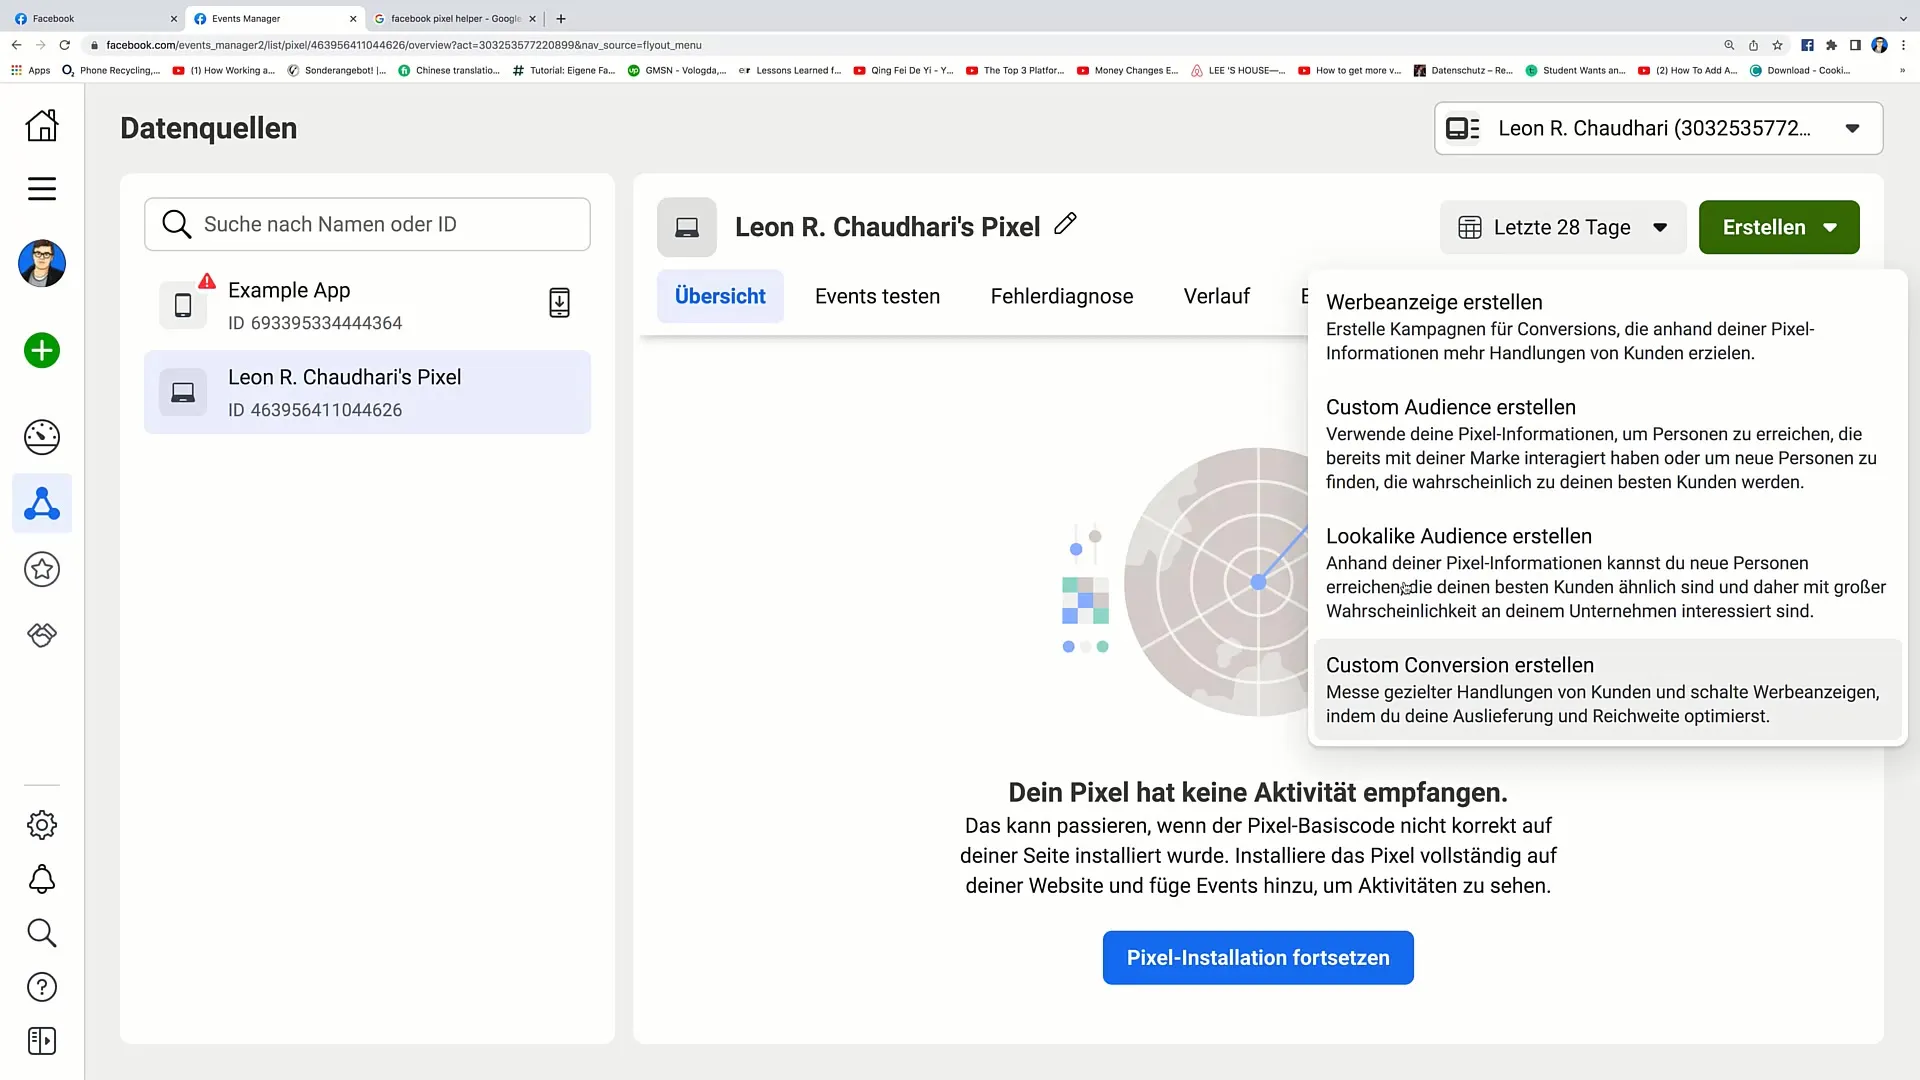
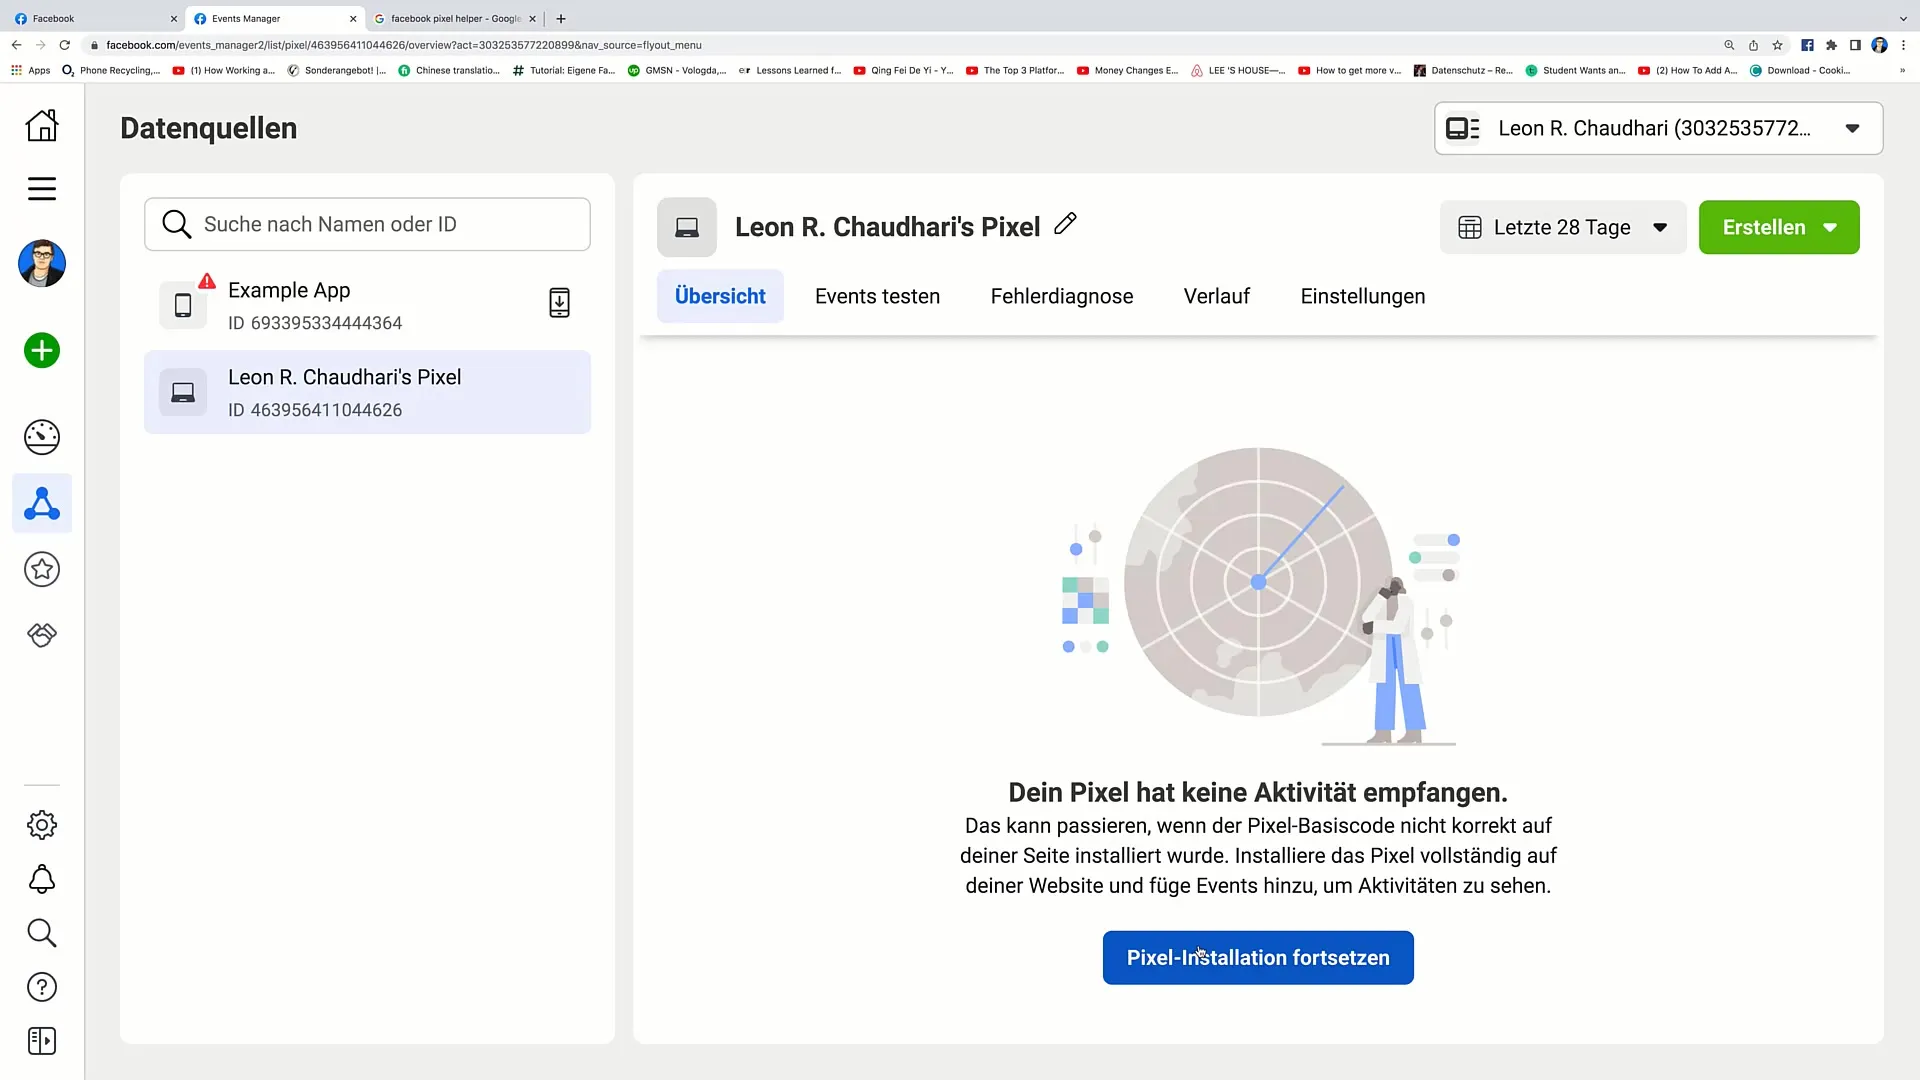
Now, you have the option to choose various actions such as creating ads or custom audiences. However, we are focusing on "Pixel Installation". Click on "Continue Pixel Installation".
Step 3: Start Pixel Installation
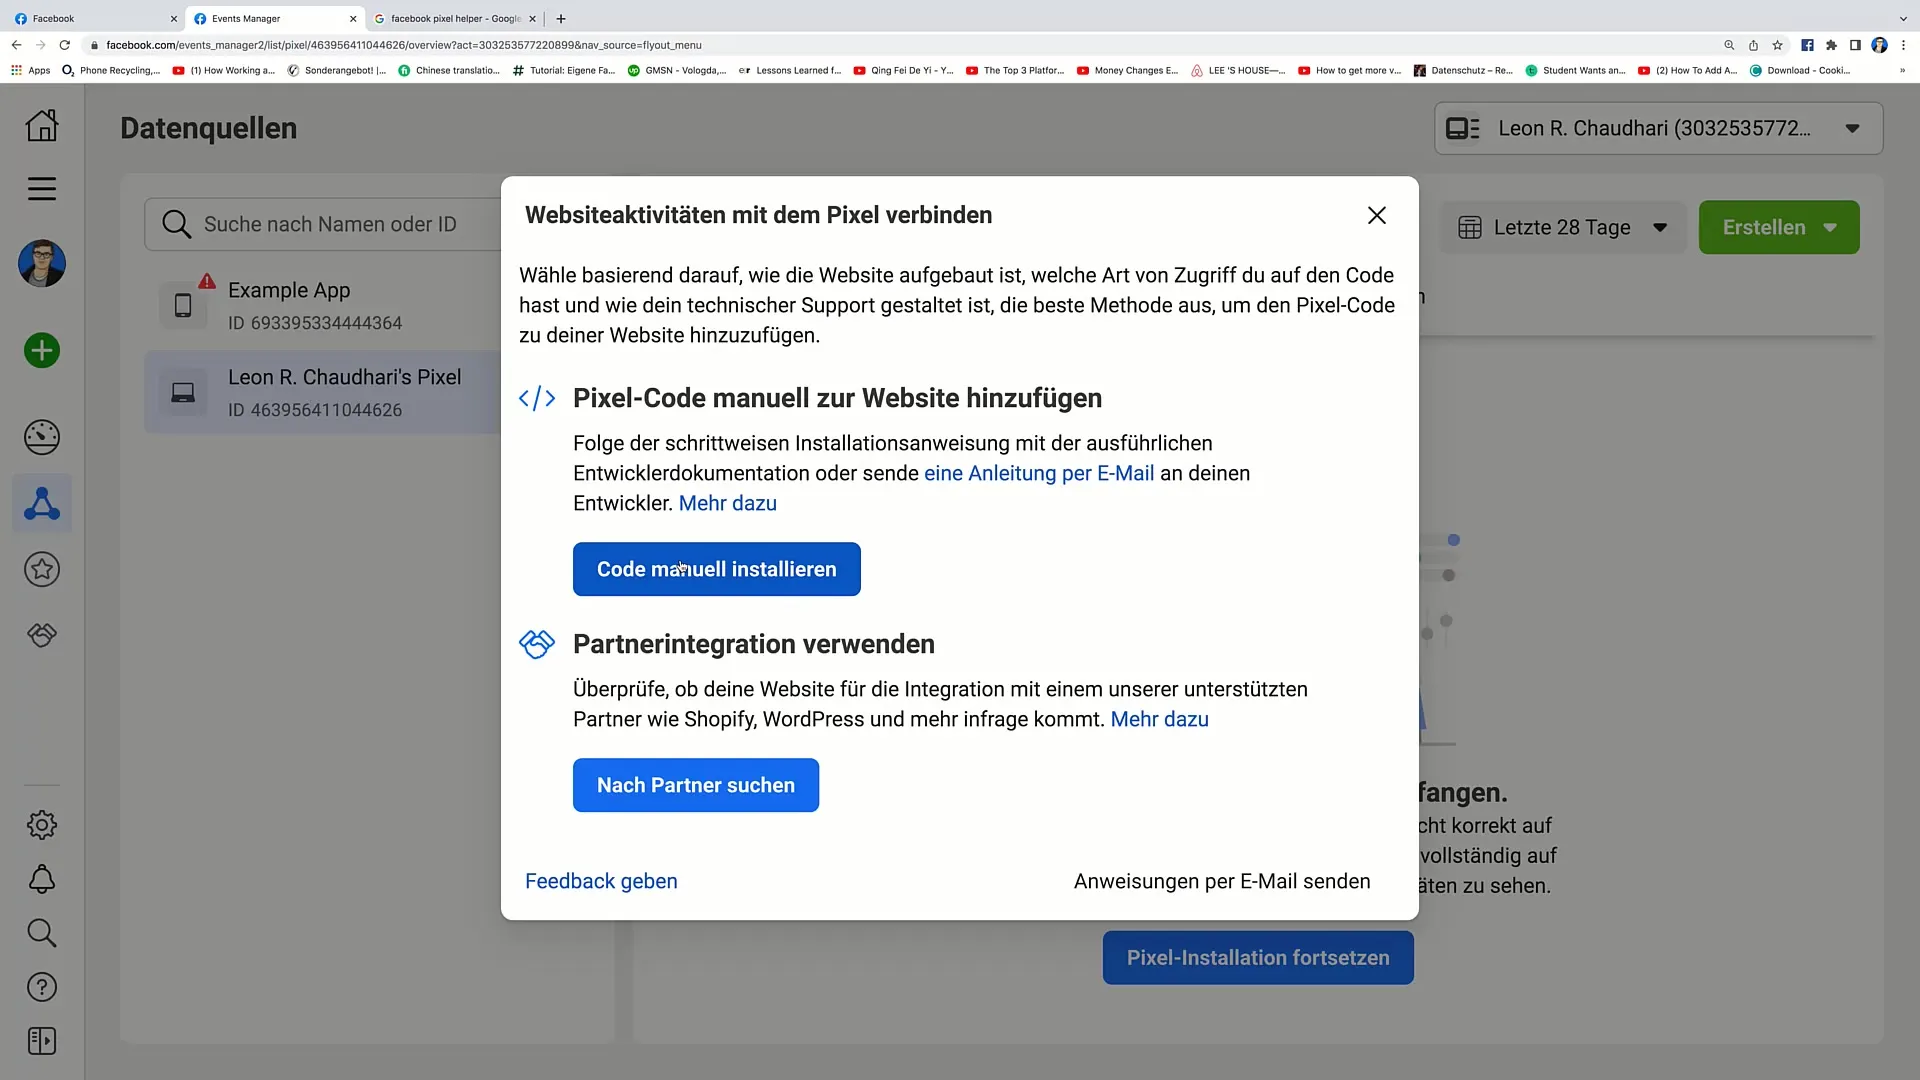
Here you will see two options for connecting the Pixel to your website. Choose the option "Manually install the code".
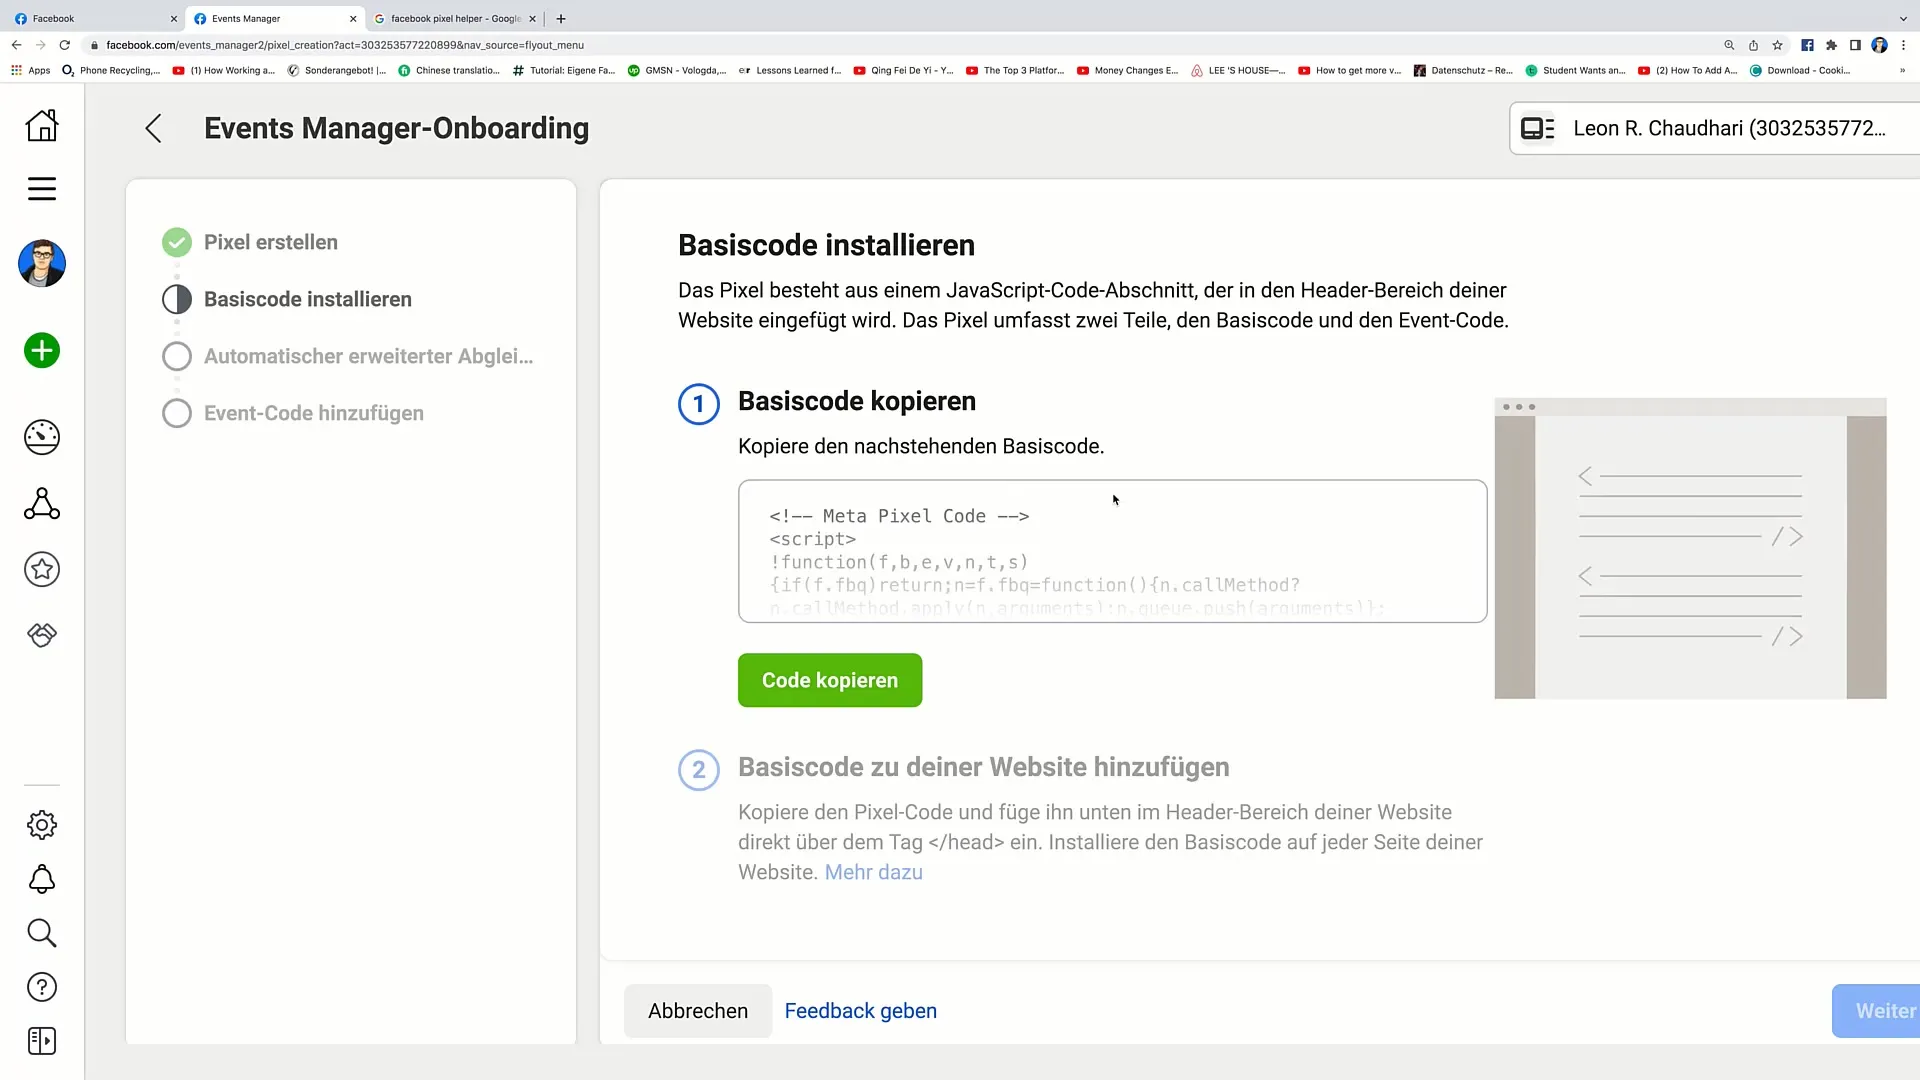
Now you will see a so-called base code. You need to copy this code to paste it later into the header of your website.
Step 4: Paste Base Code into Header
Go to your website and open the HTML code of your page. Look for the section responsible for the header. Paste the copied base code right before the closing tag.
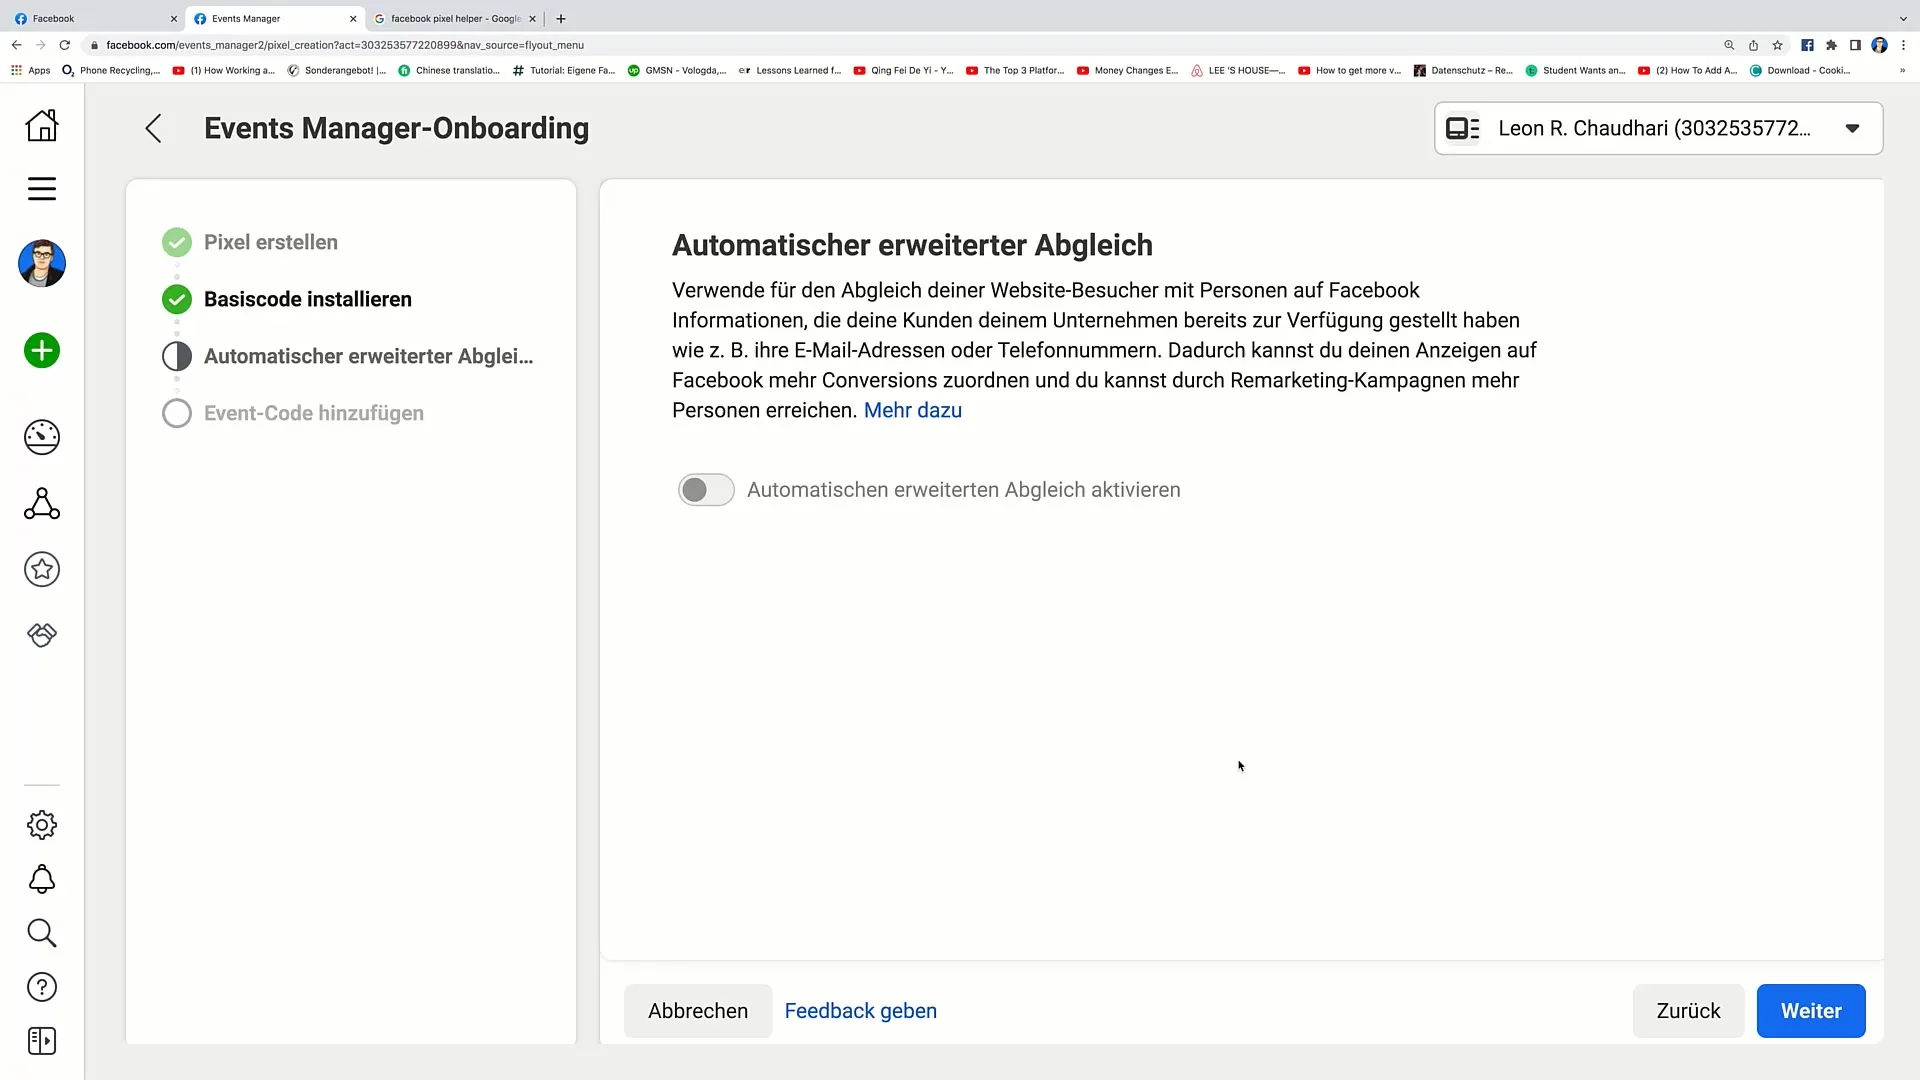
After you have inserted the code, click on "Next".
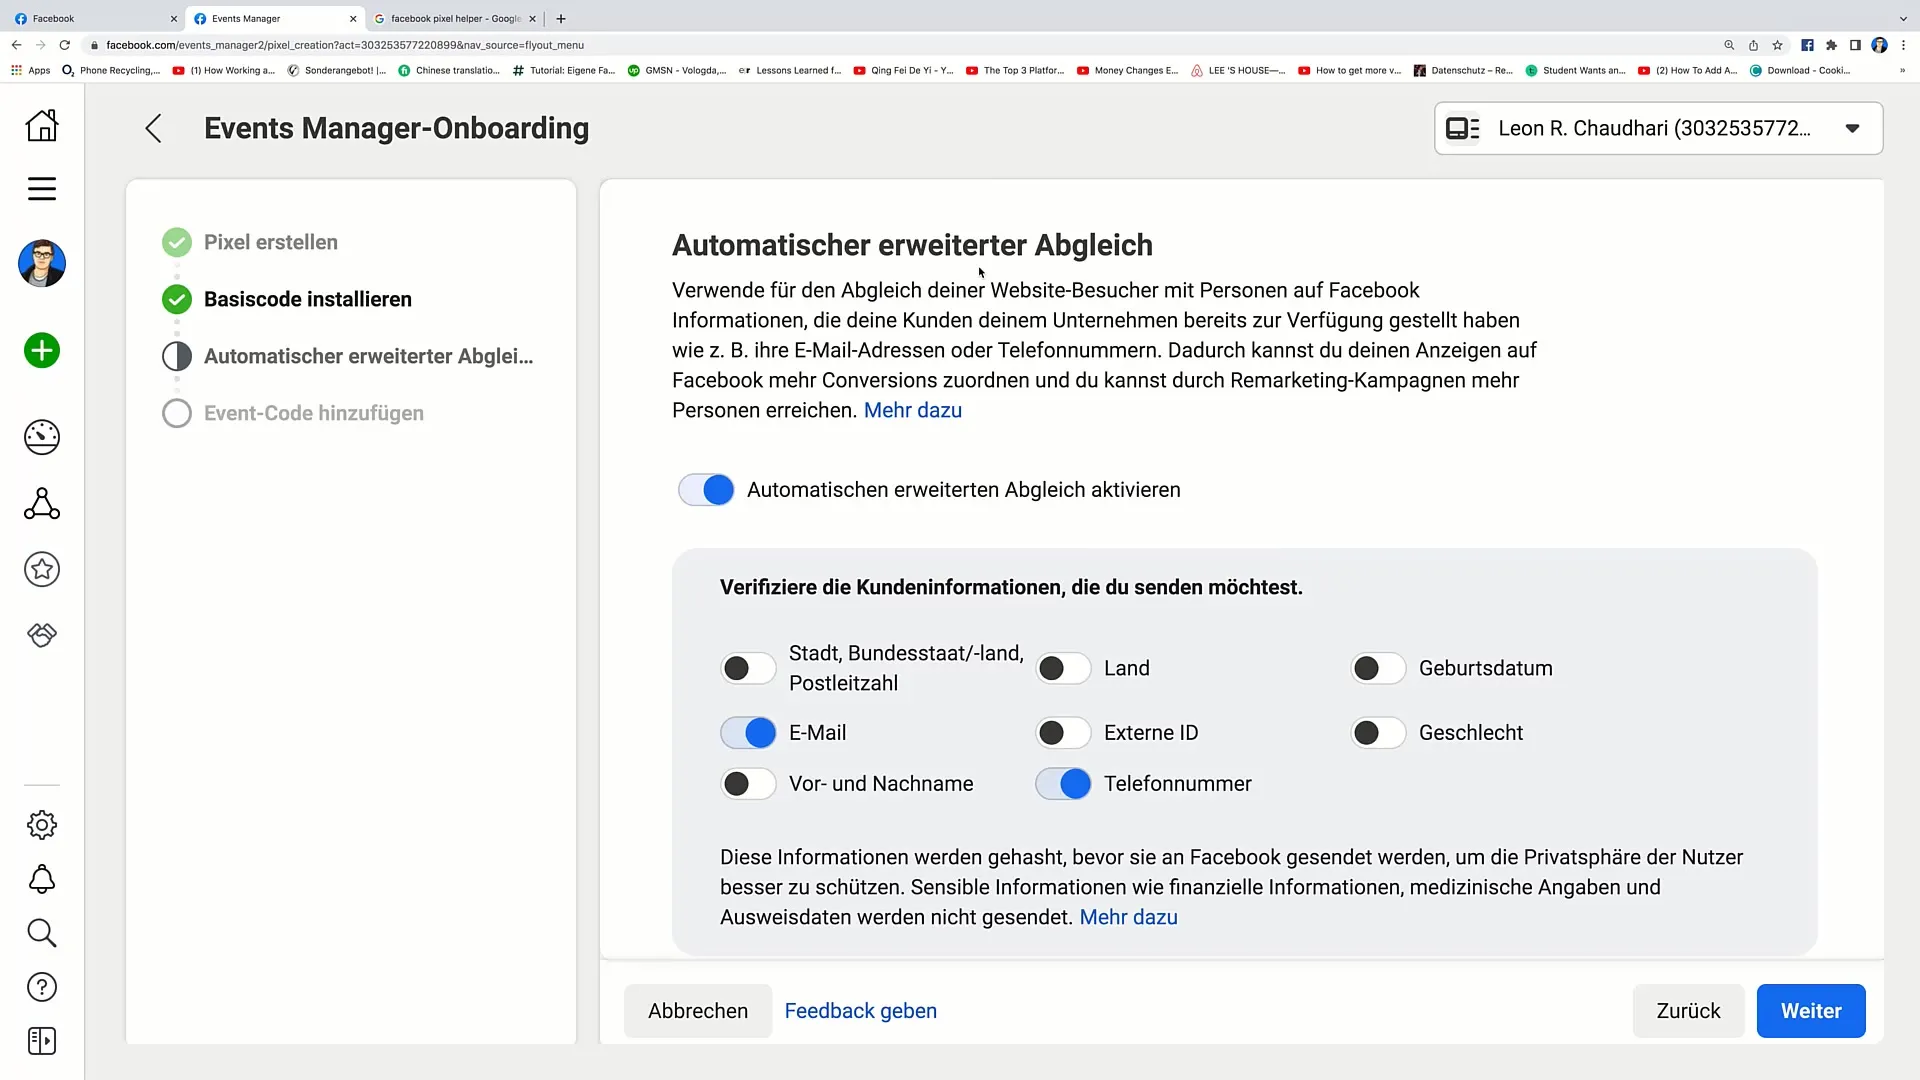
Step 5: Activate Automatic Matching
Now you will be prompted to select information for automatic matching. These help Facebook better tailor your ads to your customers' needs. Select relevant information such as email addresses or phone numbers.
Then click on "Next".
Step 6: Use Event Setup Tool (optional)
If you want to define specific events, you can use the Event Setup Tool. This tool allows you to specify what should be tracked when a visitor clicks on a specific button, for example. For this tutorial, we will skip this option, but it is useful for advanced users.
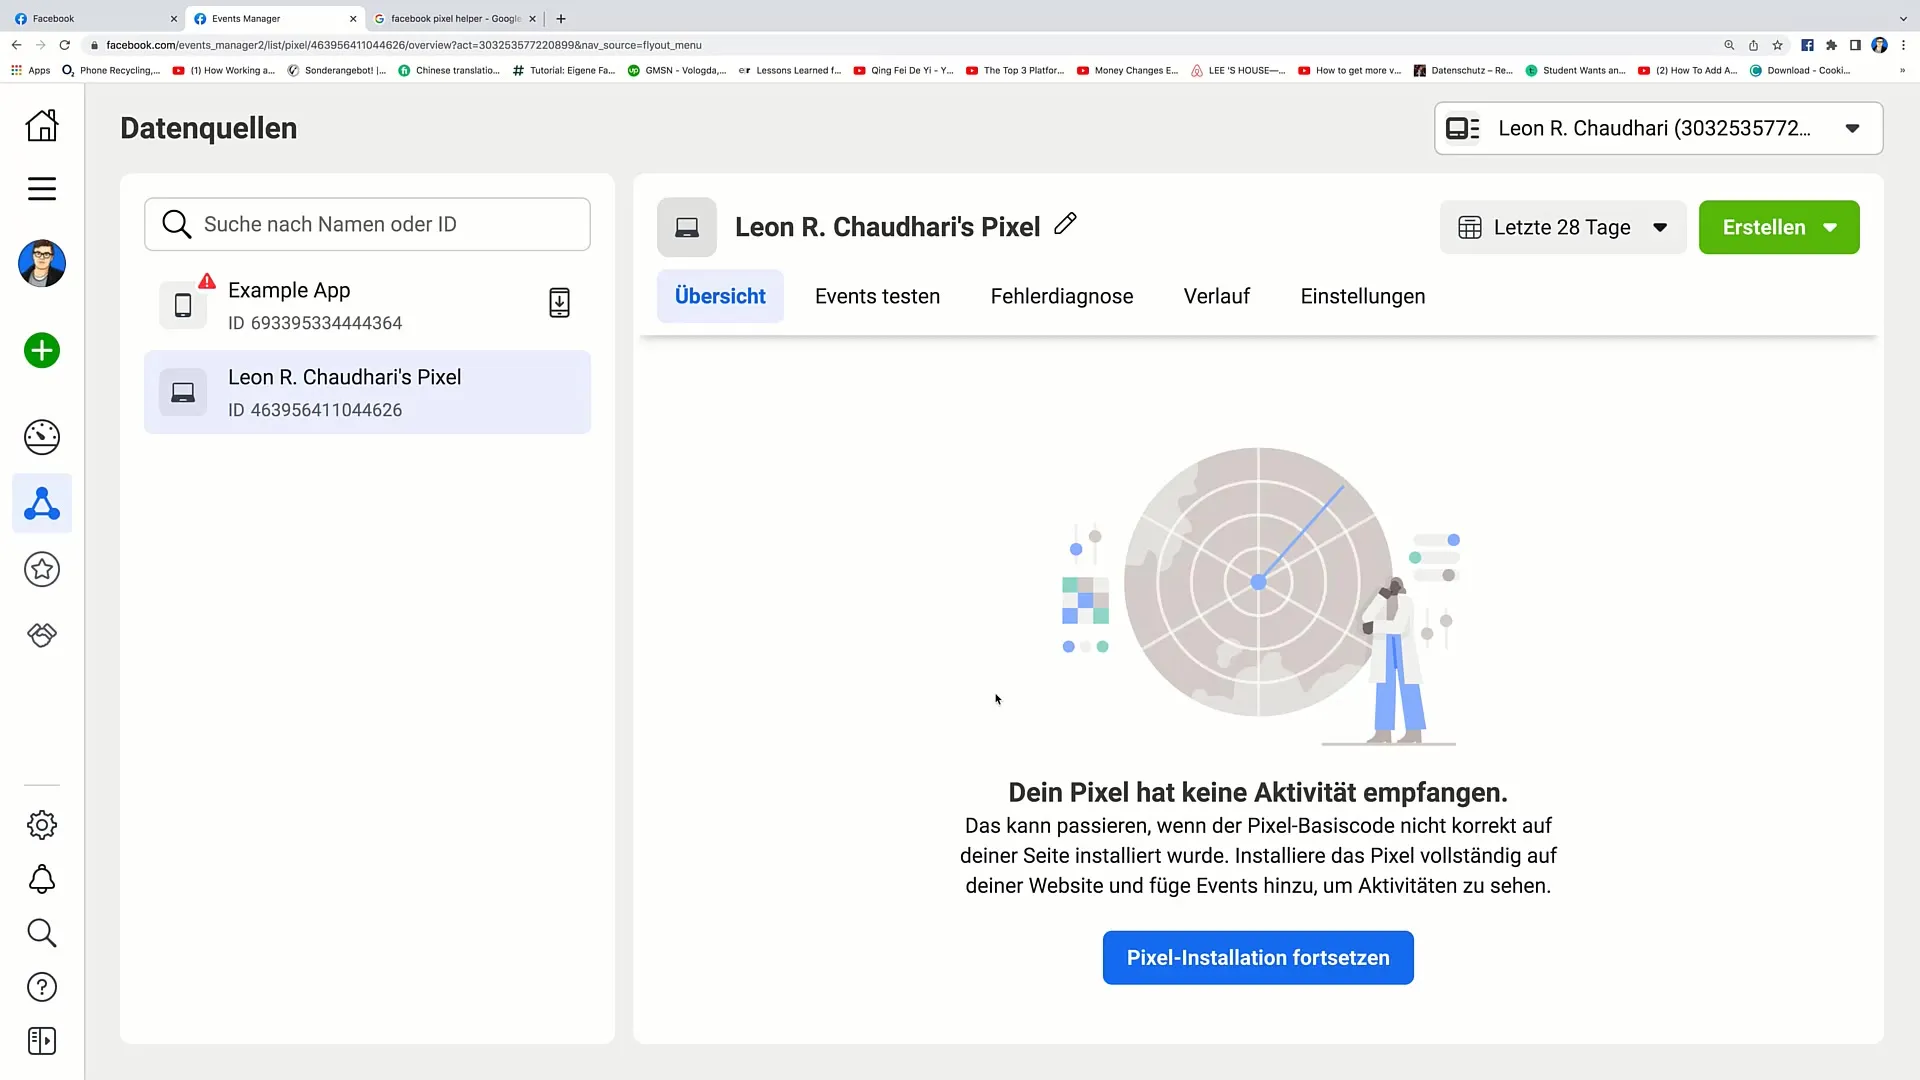
Step 7: Pixel Overview and Completion
You should now be able to return to the Pixel overview to check if your Pixel is set up correctly. It may take some time for the first data to be captured.
Make sure you have the correct base code placed in the header for the pixel to function correctly.
Well done! You have now successfully added your Facebook pixel.
Summary
In this guide, you have learned how to add a Facebook pixel to your website to track user behavior and create targeted advertising campaigns. By correctly installing the pixel, you can collect valuable data and run retargeting campaigns.


