In this guide, you will learn how to create and set up Custom Audiences in the Facebook Ads Manager. A Custom Audience allows you to target specific groups based on their behavior on your website. This is an important strategy to optimize your marketing and run targeted ads.
Key Insights
- Custom Audiences help you communicate specifically with users who have already shown interest in your offers.
- The right timeframe for selecting target audiences is crucial for the success of campaigns.
- You can refine your target audience based on interactions and visit frequency.
Step-by-Step Guide
Step 1: Accessing the Ads Manager
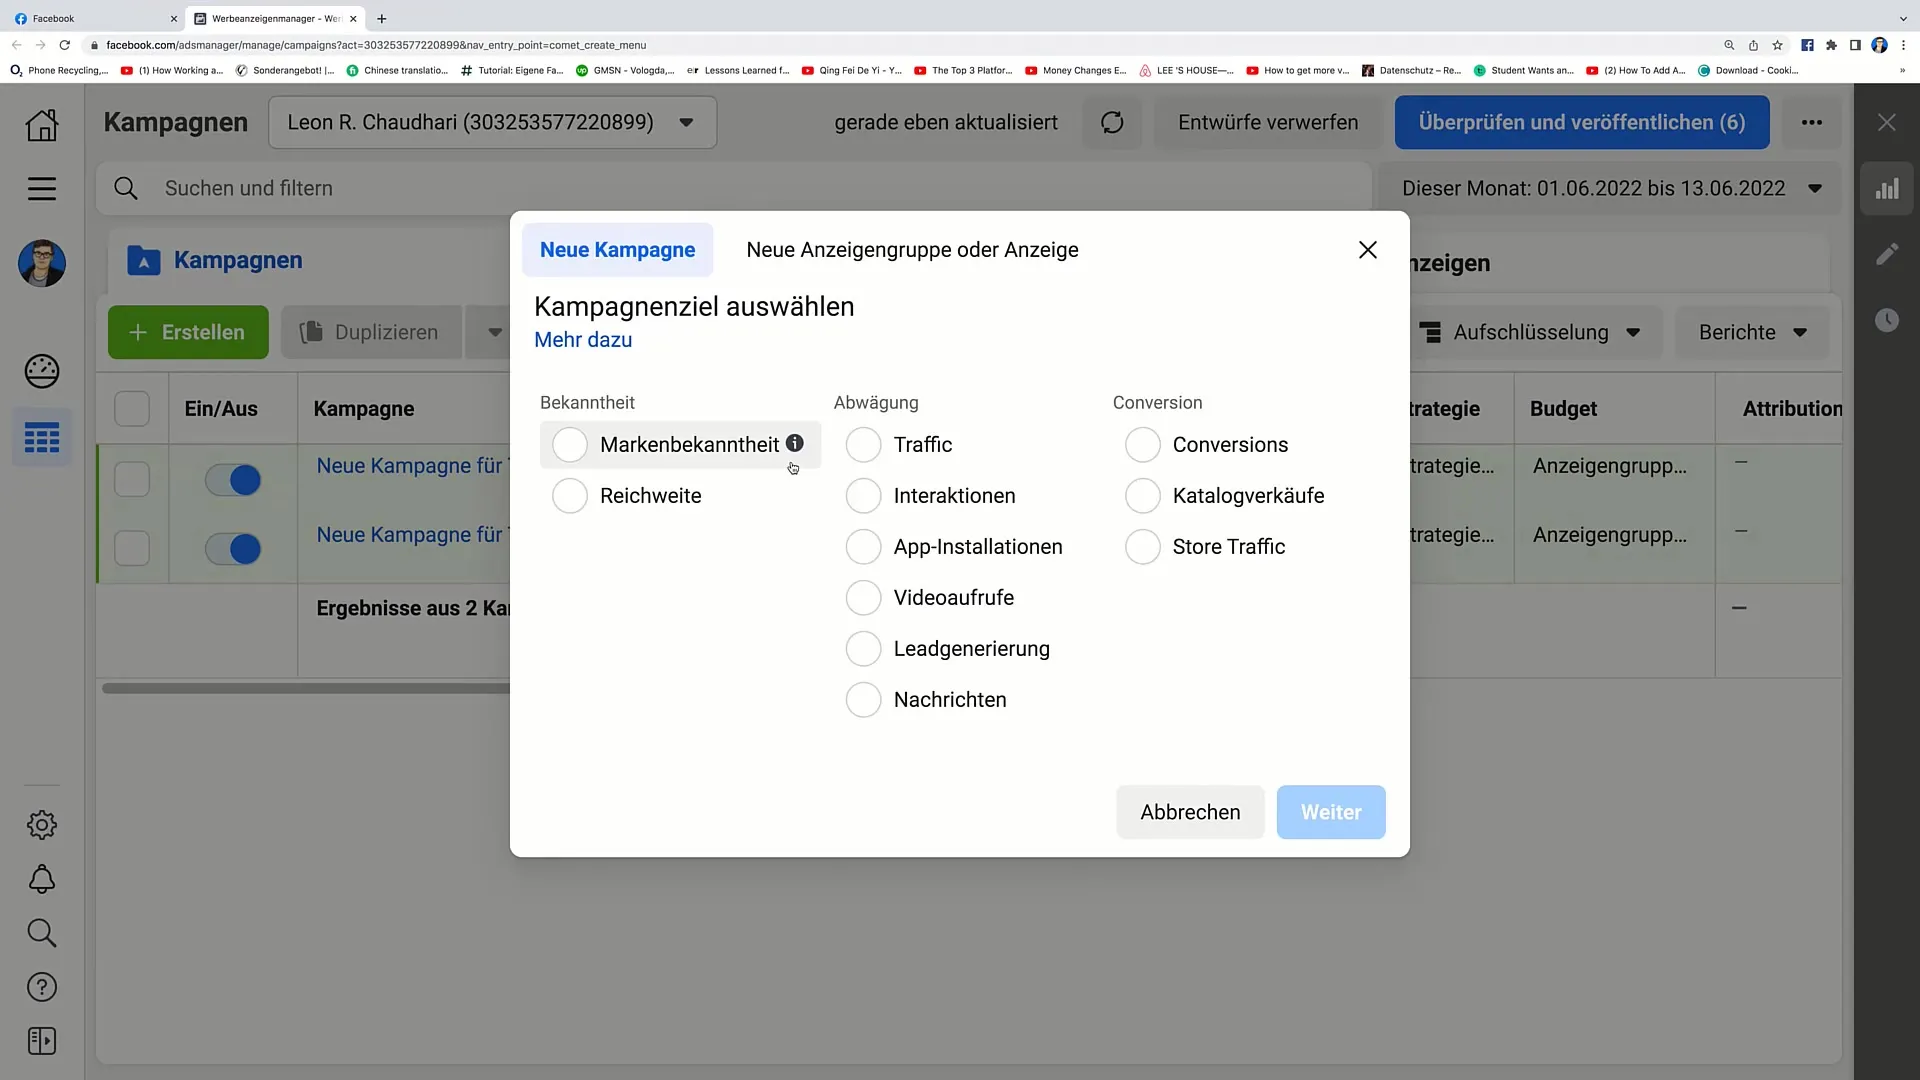
First, you need to log into your Facebook Ads Manager. Navigate to "All Tools" on the left side and click on "Events Manager."
Step 2: Creating a Custom Audience
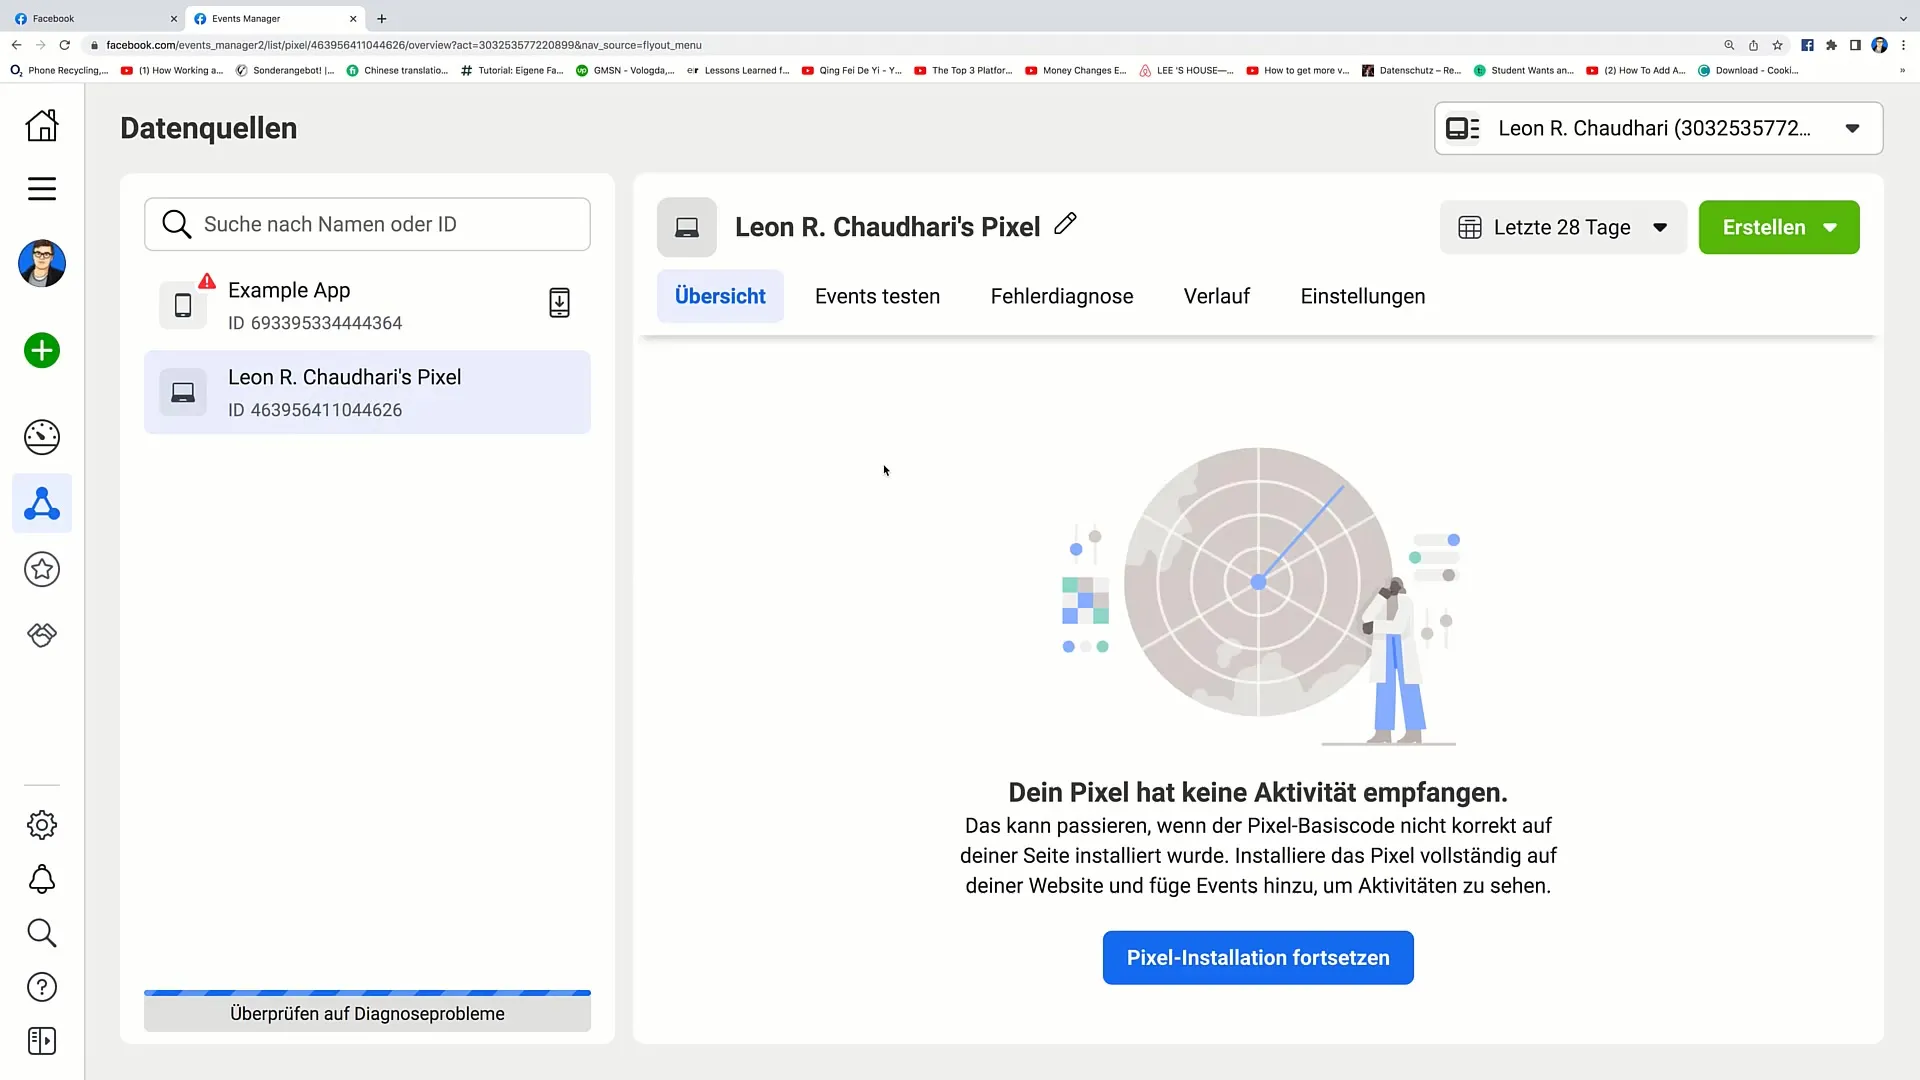
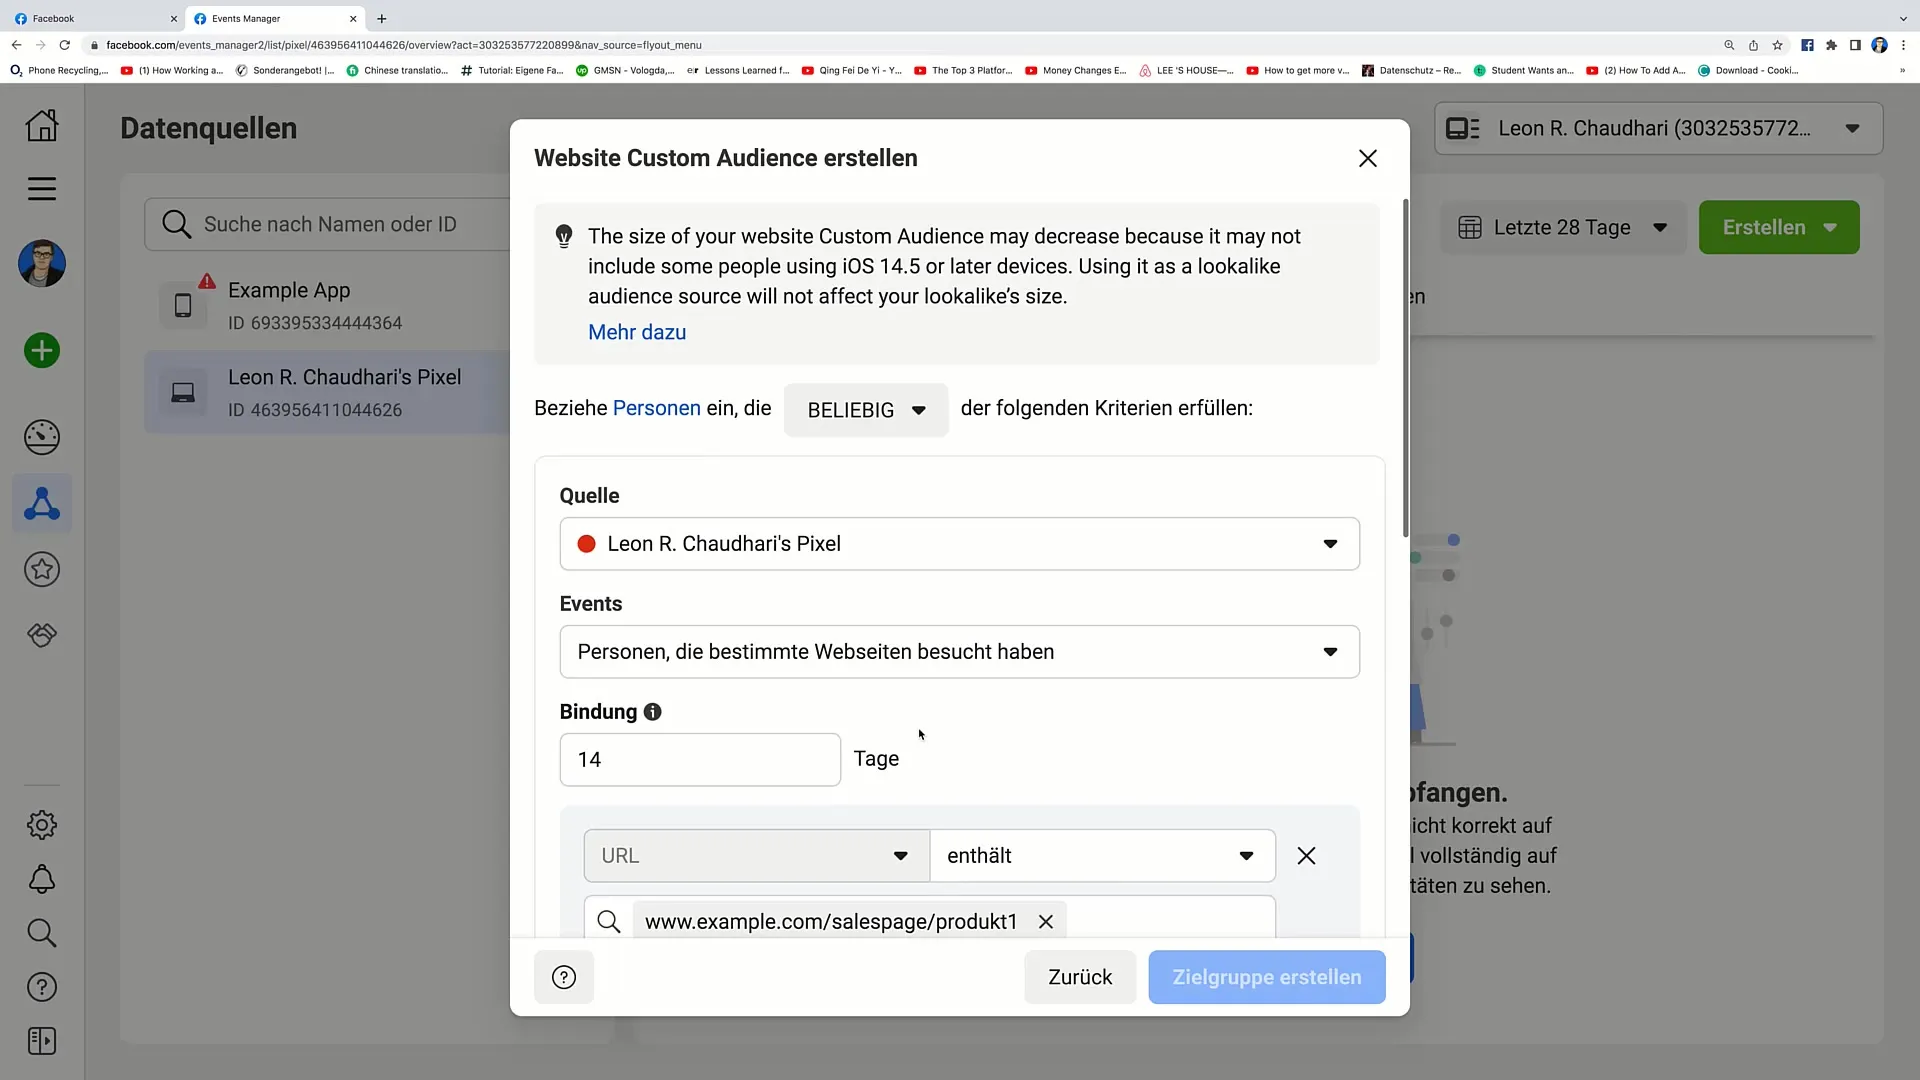
Once you are in the Events Manager, select your Pixel and then go to the right side. Click on "Create" and choose "Create Custom Audience."
Step 3: Selecting the Target Audience
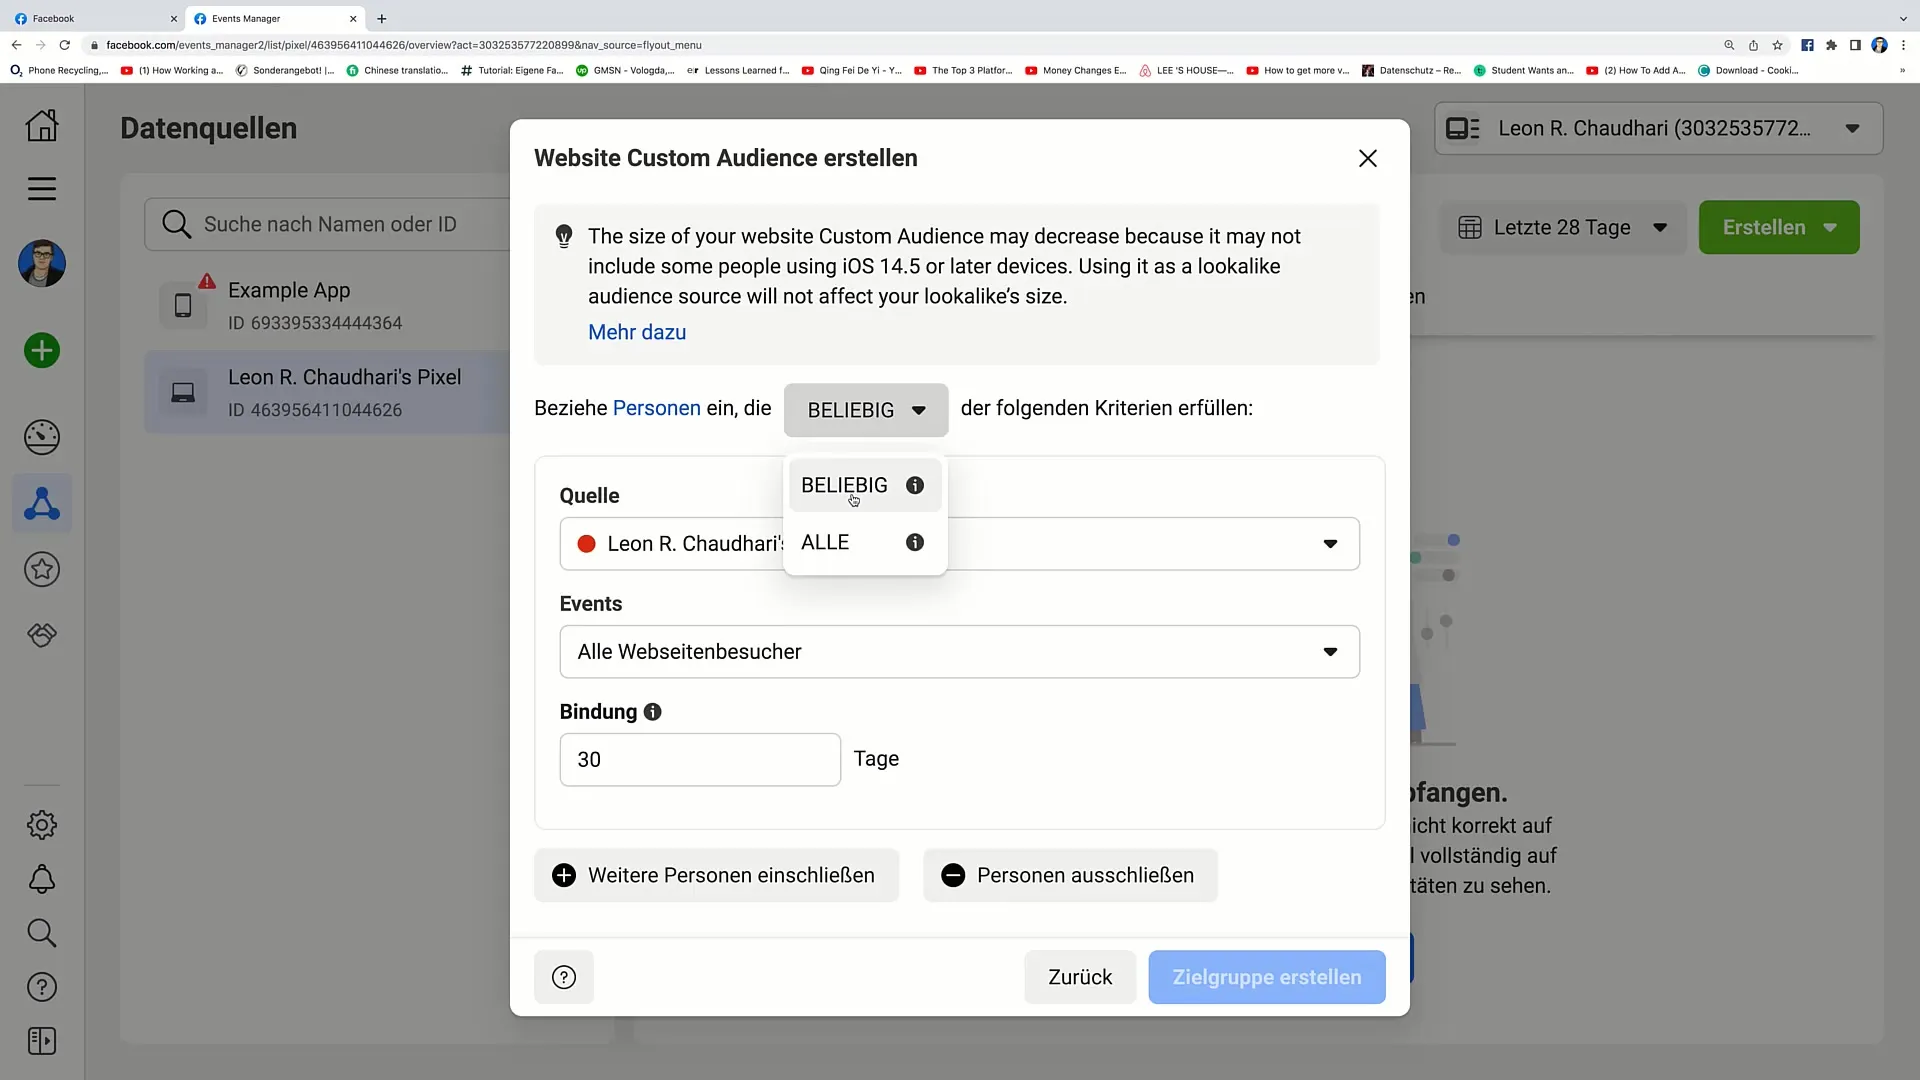
Now, you have the option to choose whether you want to target "any" or "all" website visitors. In this example, I will choose "any."
Step 4: Selecting the Events
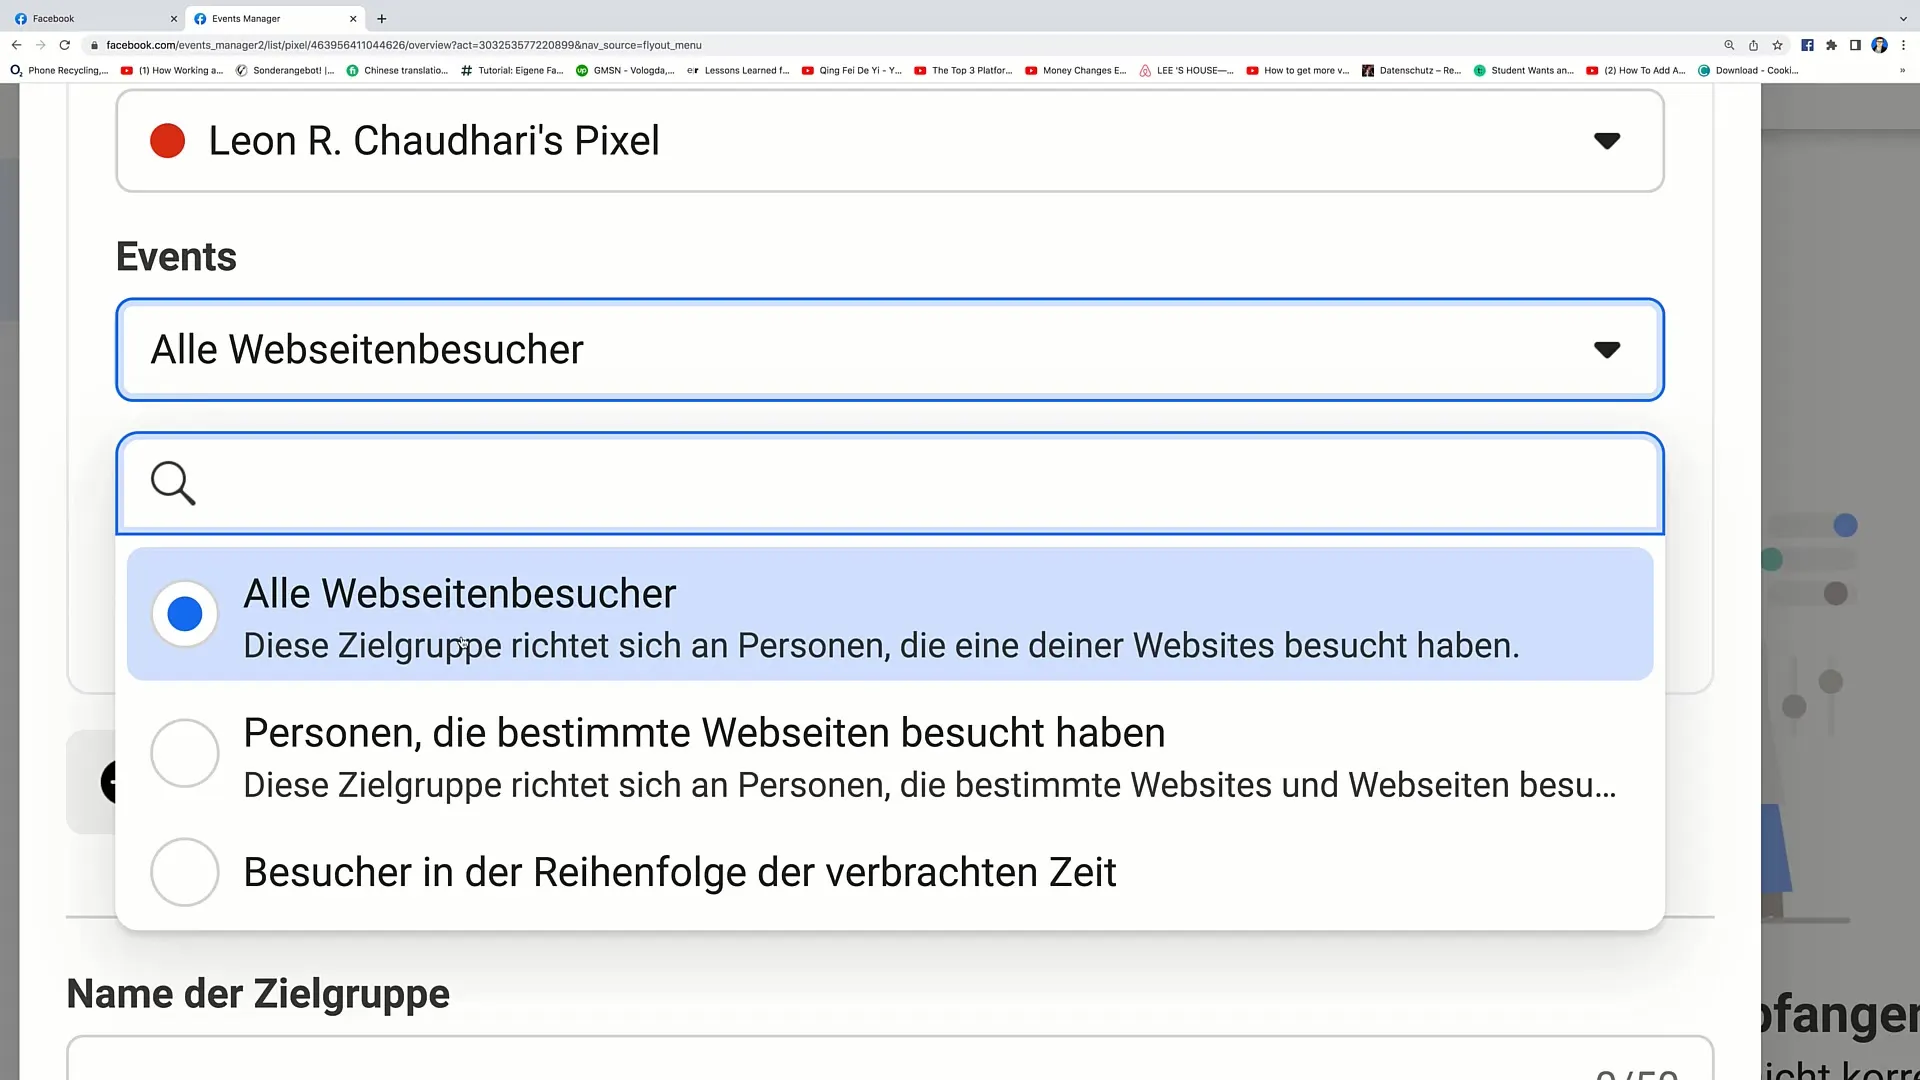
Scroll down to view the different event options. Here you can choose between three main options:
- All website visitors
- People who visited specific webpages
- Visitors in order of time spent
Step 5: Event Details
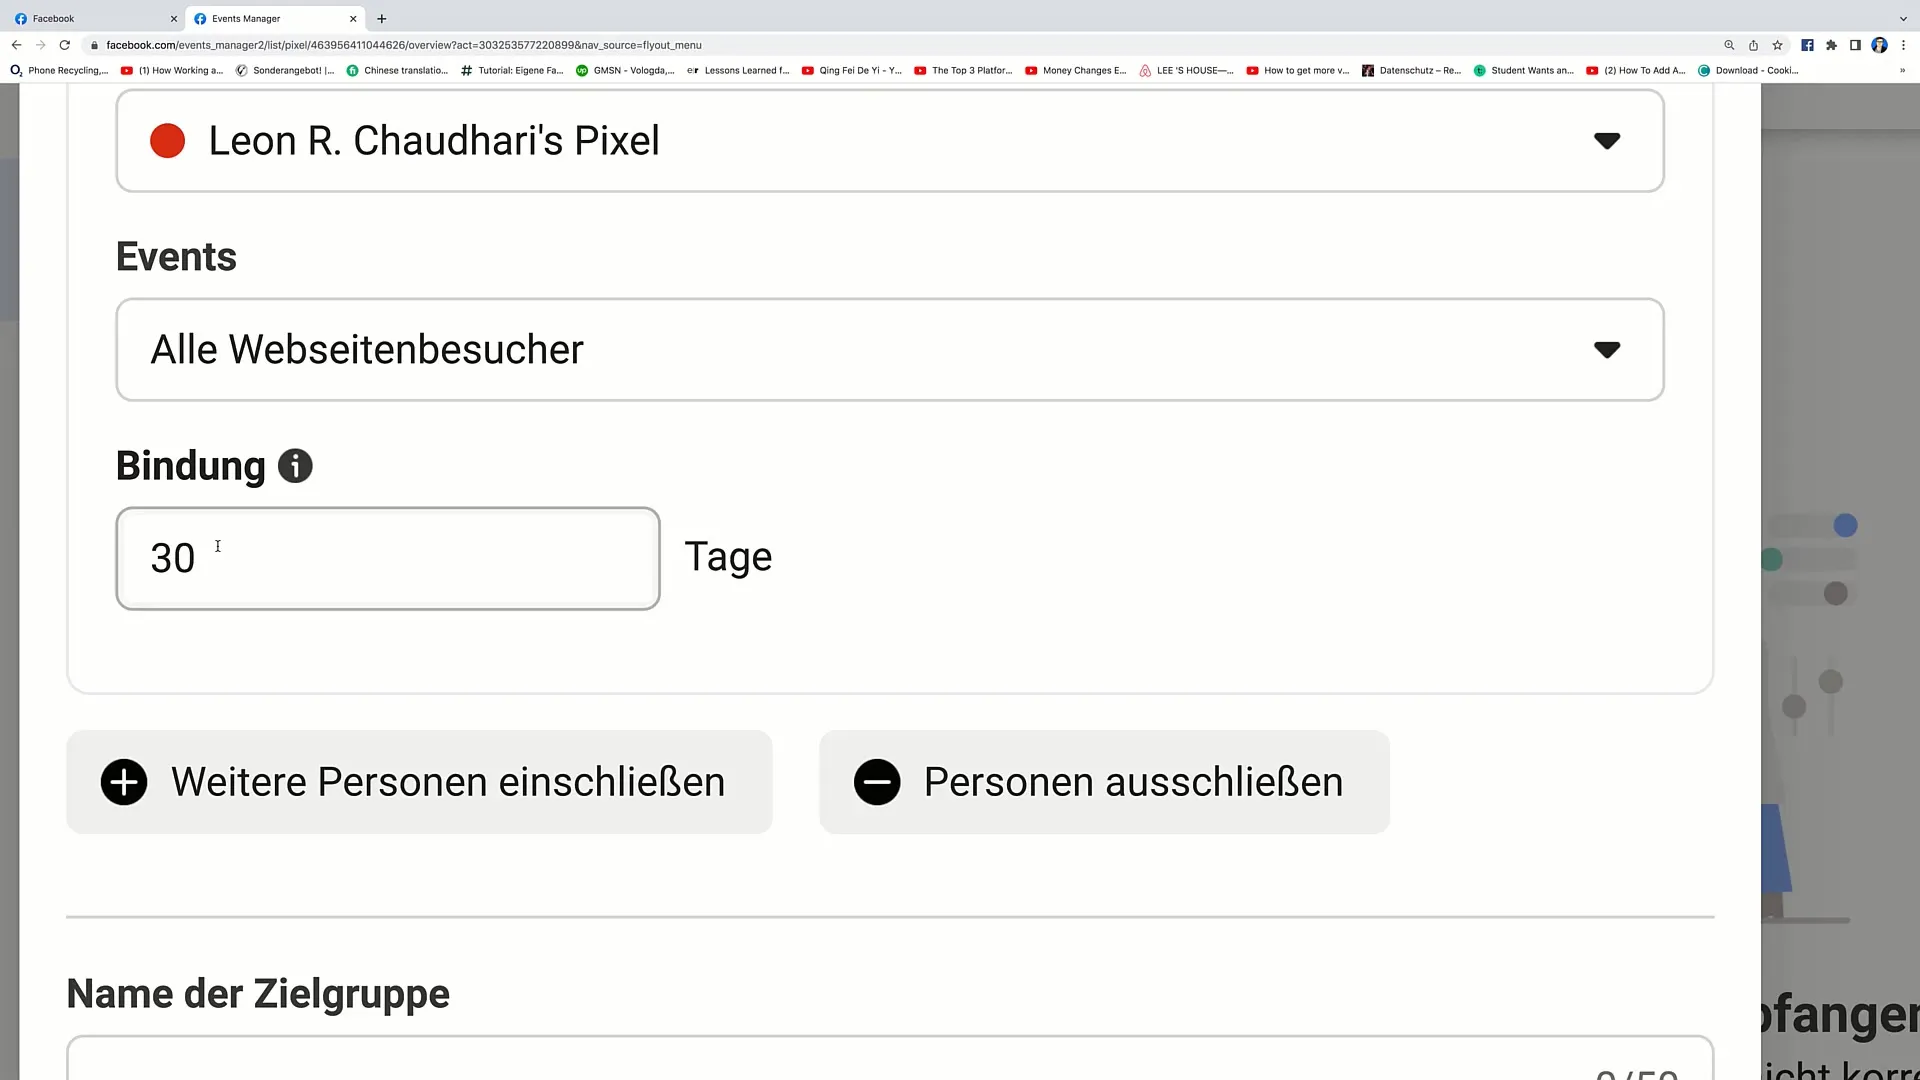
To target more accurately, you should know the following: The "all website visitors" option targets all users who have visited any page on your website. If you want to specifically determine which pages were visited, choose the second option.
Step 6: Binding Duration
Another important point is selecting the binding time. I recommend choosing a minimum period of 14 days as this often yields the best results. However, you can also experiment with shorter or longer periods to find the best results for your target audience.
Step 7: Further Audience Refinement
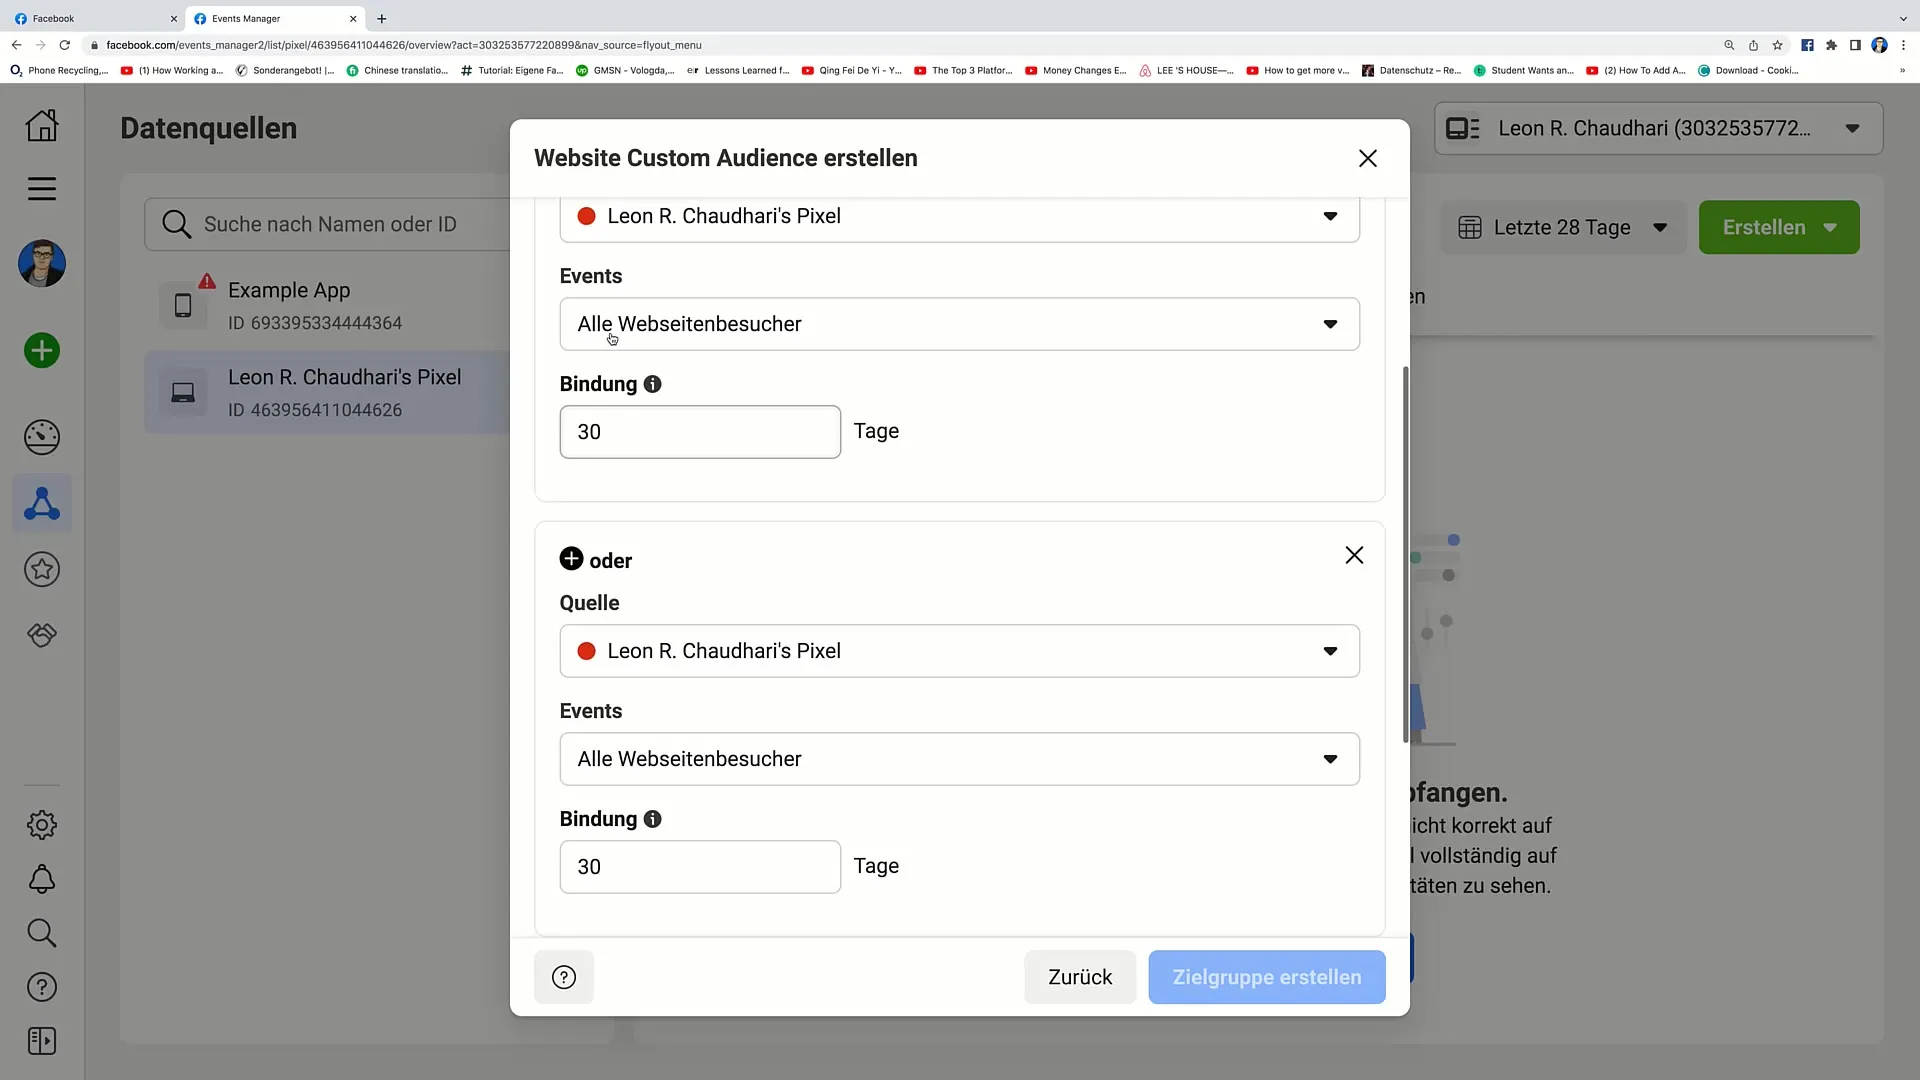
You have the option to include or exclude more people. Click on "Include People" and choose whether you only want to track visitors in order of time spent. You can also specify specific percentages here to select the most engaged users.
Step 8: URL-Specific Target Audiences
You can add a specific URL for target audience selection. For example, if you only want to track people who visited a specific product page, enter the URL and choose the option "contains" or "equals." This way, you can create very precise target audiences.
Step 9: Keyword Options Selection
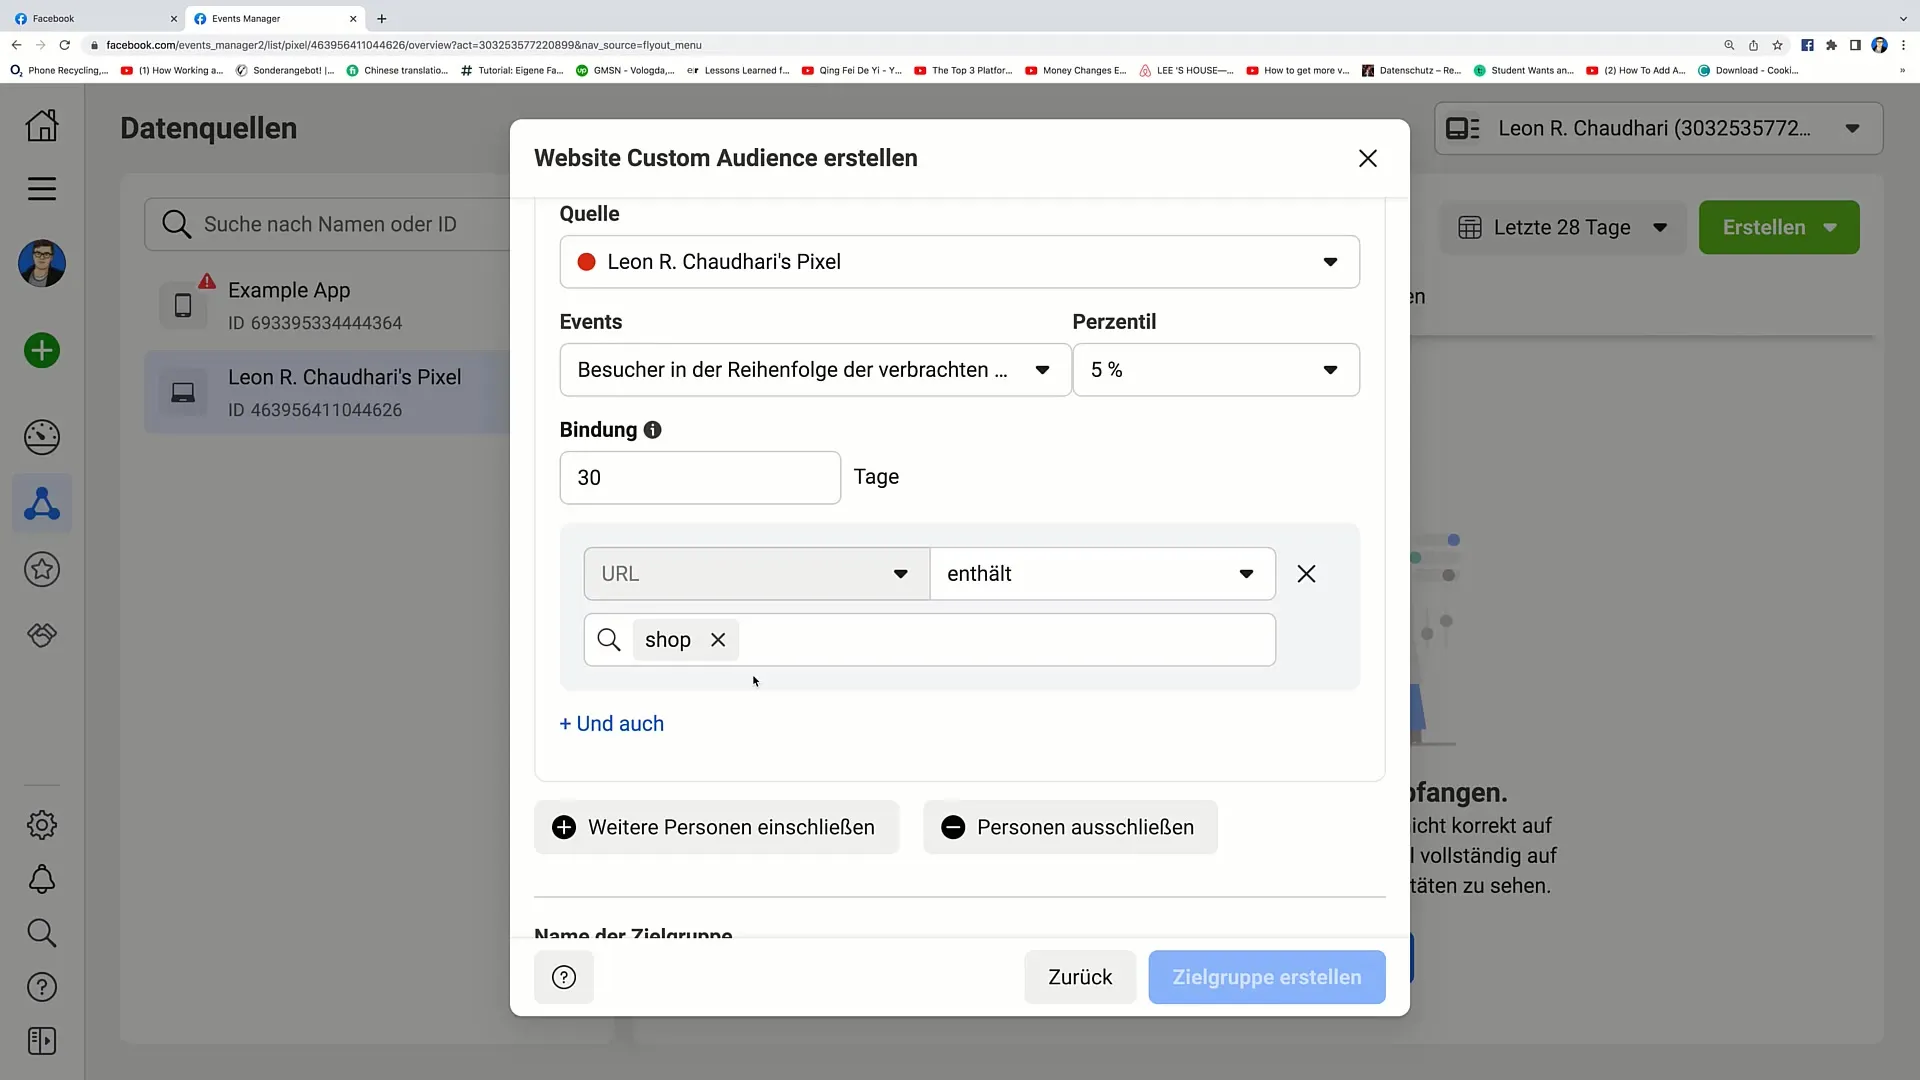
Here, you can also enter keywords to further refine your target audience. For example, if you want to expand the audience of people who visited pages with the term "Shop," enter this in the corresponding field.
Step 10: Refinement Options
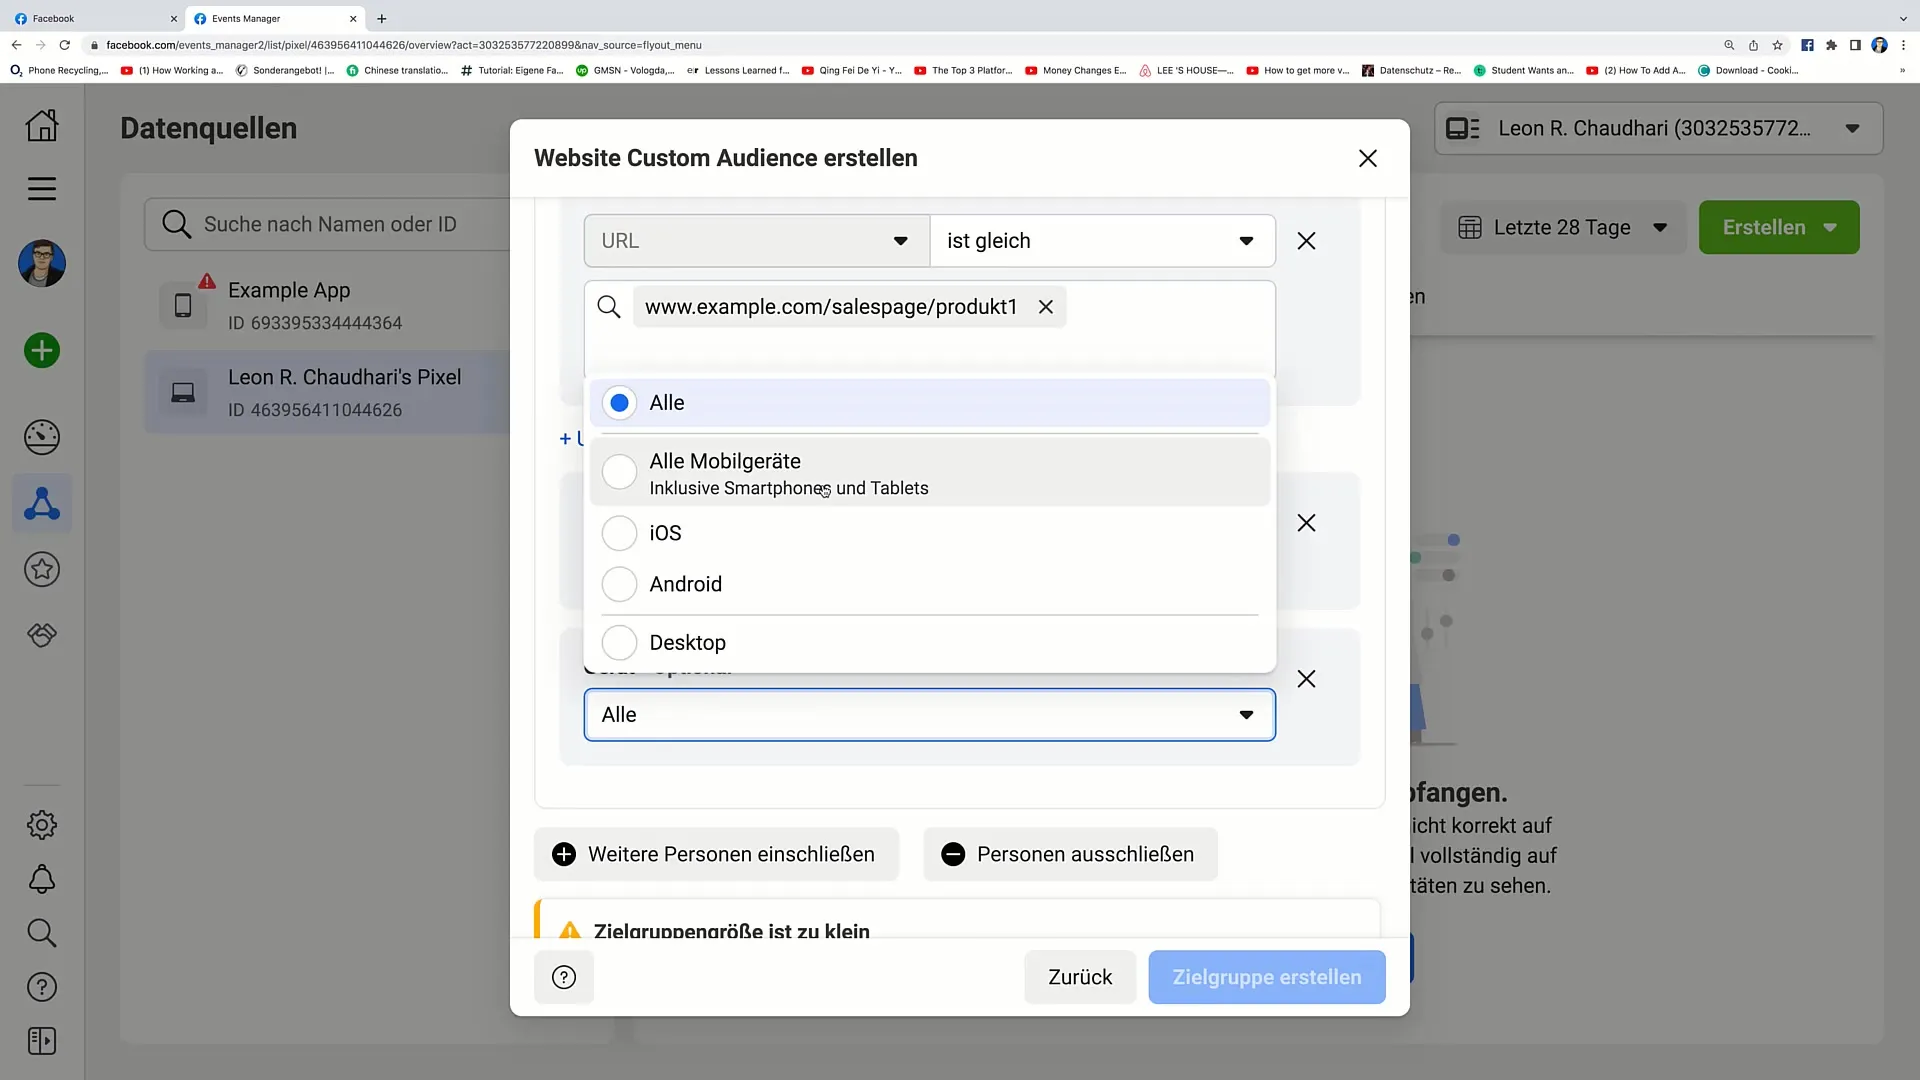
You also have the option to make even more specific refinements, such as by device settings or frequency. This helps you choose your target audience even more precisely, which is especially useful when promoting a specific app or website.
Step 11: Adding a Name and a Description
Finally, you have to add a name and a description to the created target group. This will make it easier for you to keep track of and organize your Custom Audiences.
Summary
In this guide, you learned how to create and set up Custom Audiences in the Facebook Ads Manager. You can target specific audiences based on specific interactions and significantly improve your marketing strategy.


