This tutorial should help you to crop things, in our example the fur of animals (Uli calls them mountain animals), which you can hardly crop.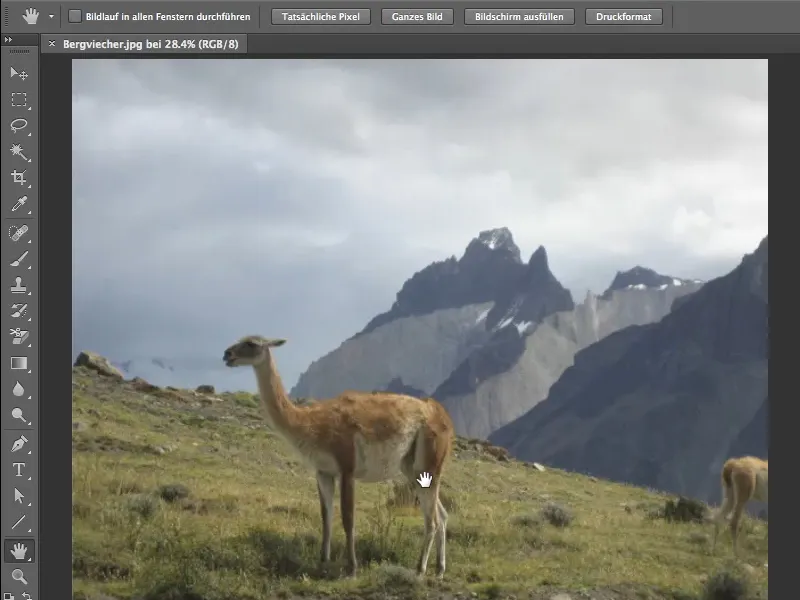
The problem
When zooming into the image, you can see quite ugly artifacts on the back of the animals, the other problem is the not exactly fine chip architecture, which you can see especially on the neck, which causes noise in many parts of the image. The very similar color tone between the fur and the background doesn't really make cropping any easier either.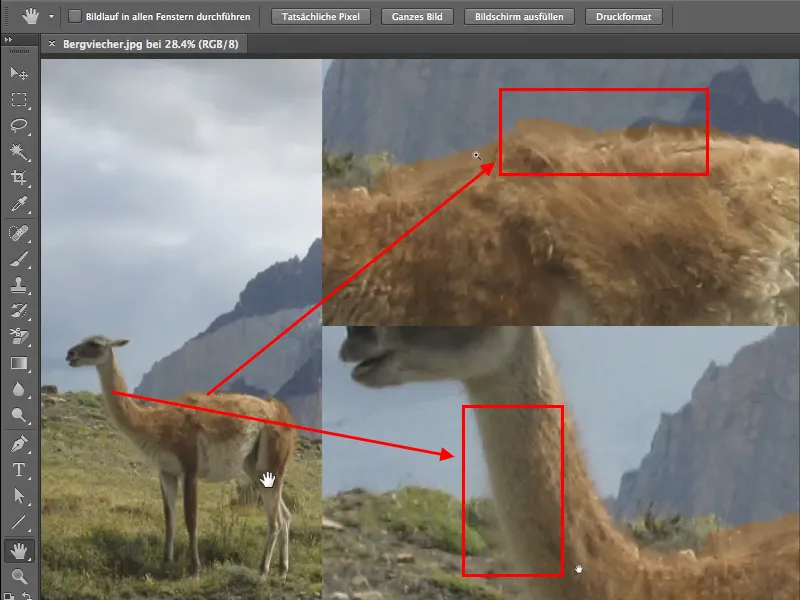
Create a mask
Before you start clipping with the brush, create a mask. This is very easy to do in CS6 by clicking on the mask symbol at the bottom of the layer control panel. You don't even need to turn your layer into an editable layer.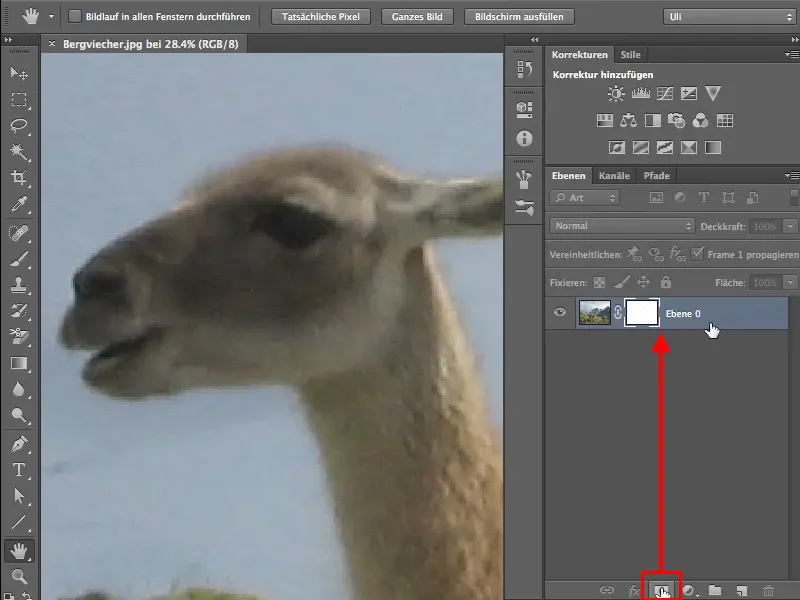
Crop
Now you can start clipping your image with a normal brush, an opacity of 100% and the foreground color black. Make sure you paint in the mask and not in the image.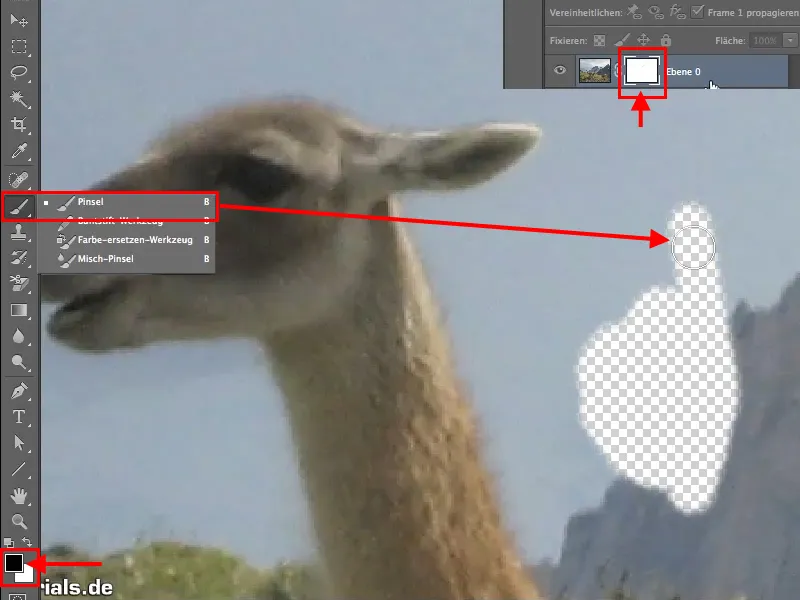
However, you will soon realize that the transition points between the fur and the background will be problematic with a normal, round brush. Even with a small brush size, it is not possible to achieve a satisfactory result.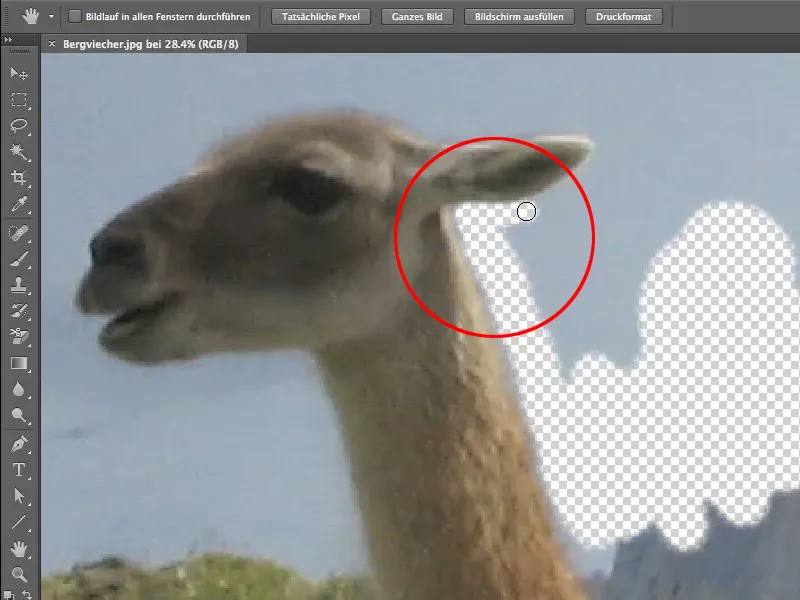
Brush selection
You can find the brushes and brush presets in the brush menu. You should make sure that you always have the brushes and brush presets next to each other. You can also switch within the control panels, but the panels belong together anyway, so it is best to place them next to each other.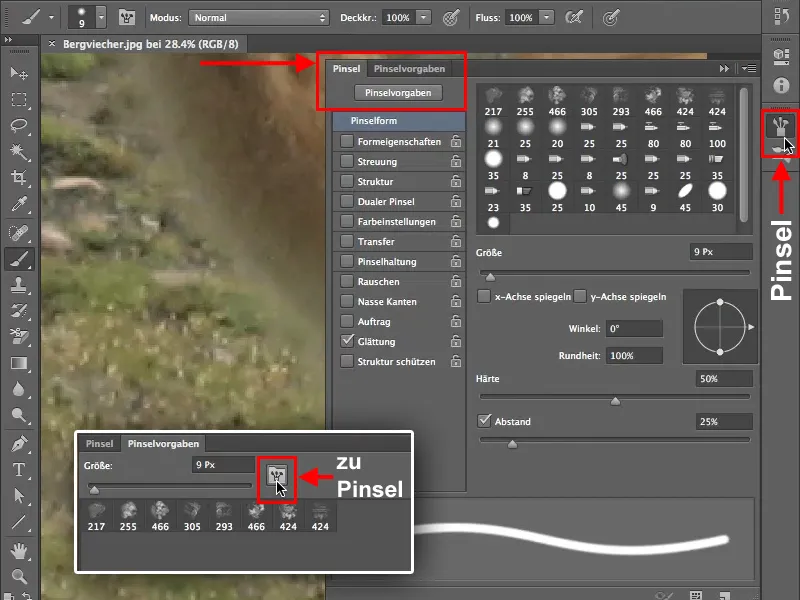
To select a suitable brush tip, go to the brush presets. You will need the faux tips to cut out the animal fur. If these are not yet in your brush library, you can find more brush presets via this button. It is up to you whether you want to add the new brush tips to the existing ones or just work with the faux tips, i.e. replace the existing brush tips.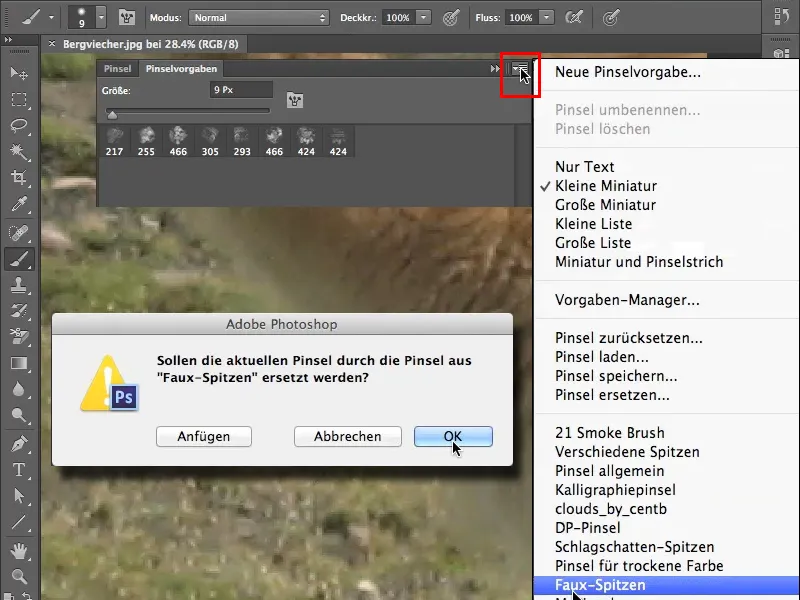
In our example, we only need the faux tips , so we replace the existing tips. Double-click on one of these brush tips to open a new window with the name of the corresponding brush, in this case Plastic Wrap - Dark 40 pixels, which also translates as "plastic bag", and ask yourself how you are supposed to use it to cut out a plastic bag.
It has to be said that there is a misunderstanding here, because the brush tip is not intended to be used to cut out a plastic bag, but was created from one. So take a close look at the tips and think about which one you can use best for your purposes.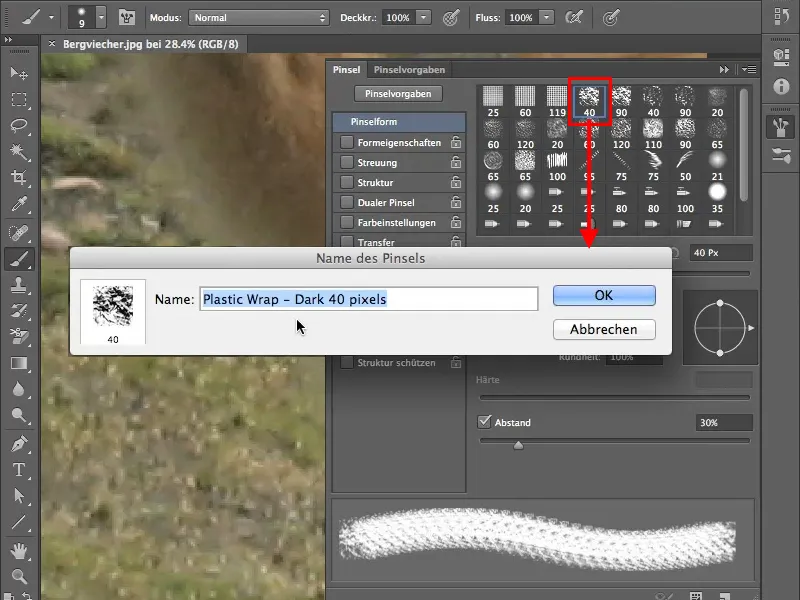
Brush settings
To crop the fur, find the brush tip for the grained feather. If you now start to paint with 100% opacity in your picture, you will see that this tip already looks a little more like fur, even if it is still very regular.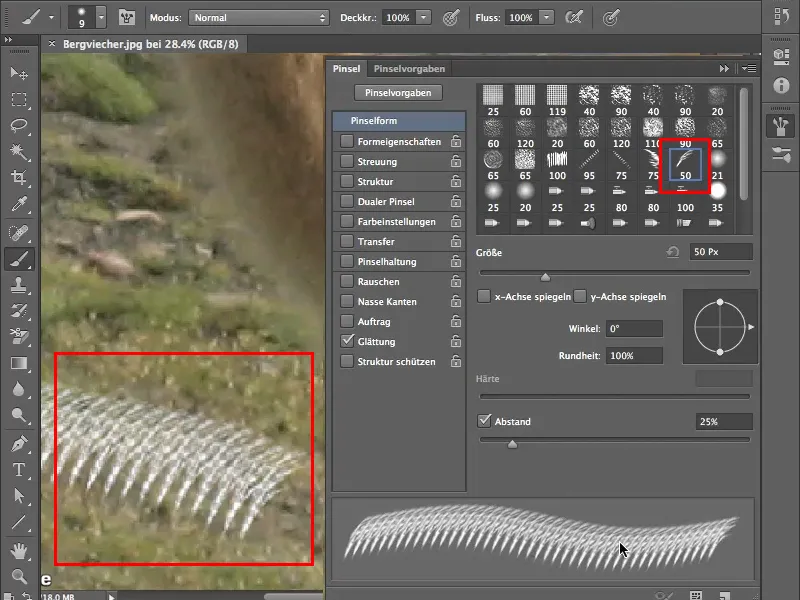
You can now use the shape properties to make further adjustments to your brush tip. But before we start looking at the various sliders (size jitter, minimum diameter, angle jitter, roundness jitter, etc.), check the Shape properties box. As an aside, jitter simply means random value, but it probably sounds better.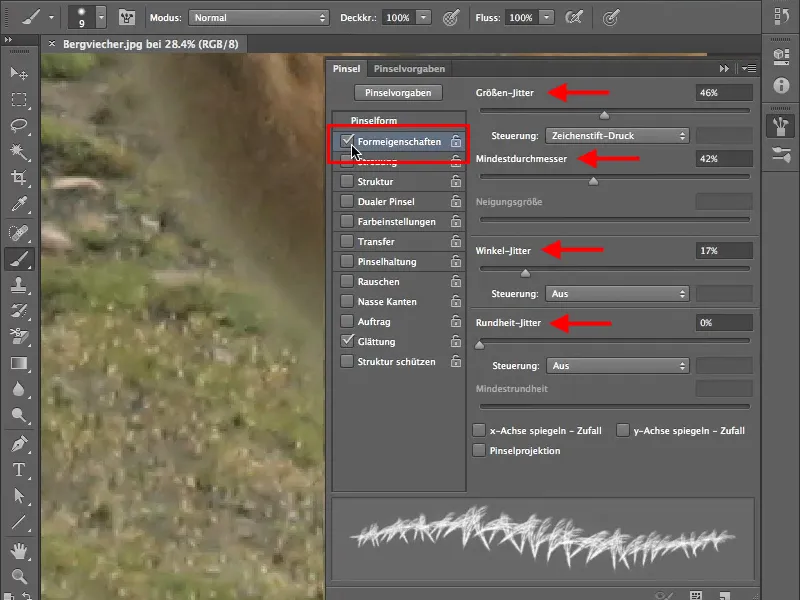
Here is an example of how the minimum diameter affects the brush tip.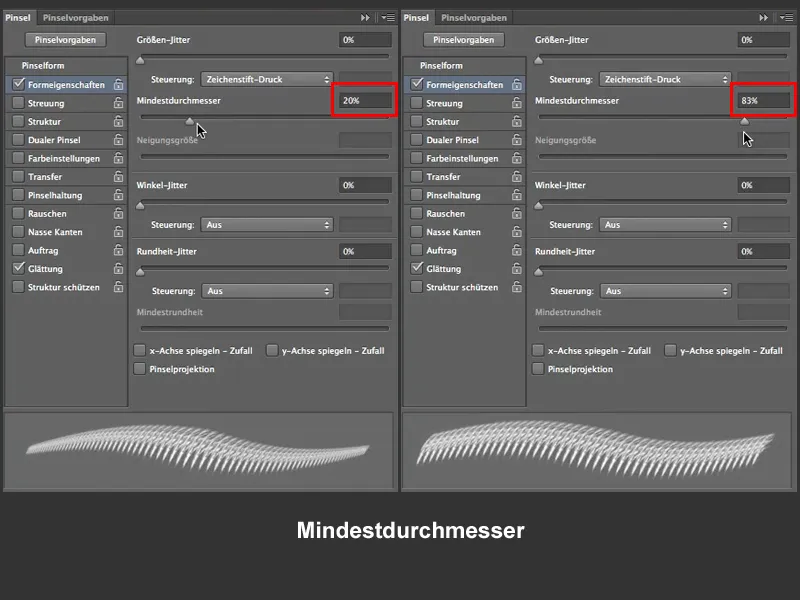
These jitter settingsinfluence each other and the following image shows you the dependency of size jitter and minimum diameter.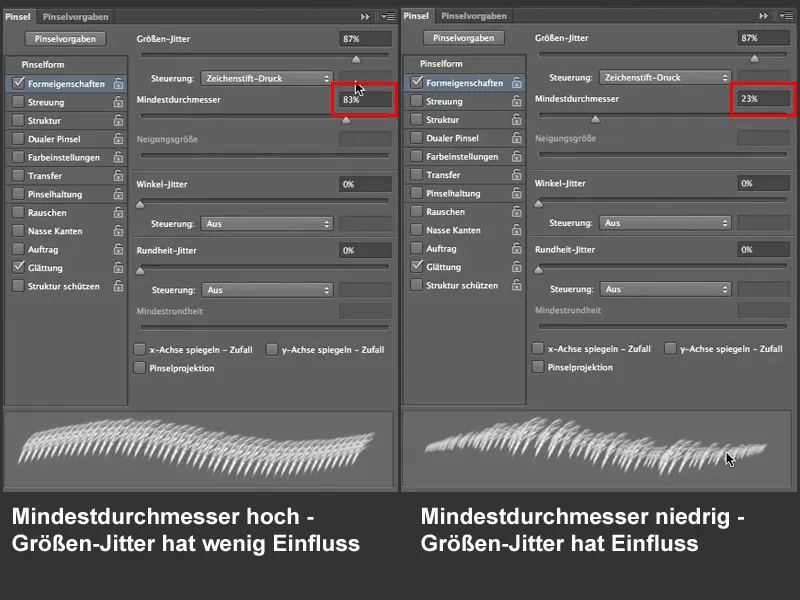
The angle jitter is very important for our work, the clipping of the fur. It determines how far the tip of the brush can twist. Incidentally, you can specify the effect of all settings, whether via the pen pressure or whether Photoshop should decide this itself = Off. In our example, the setting remains Off.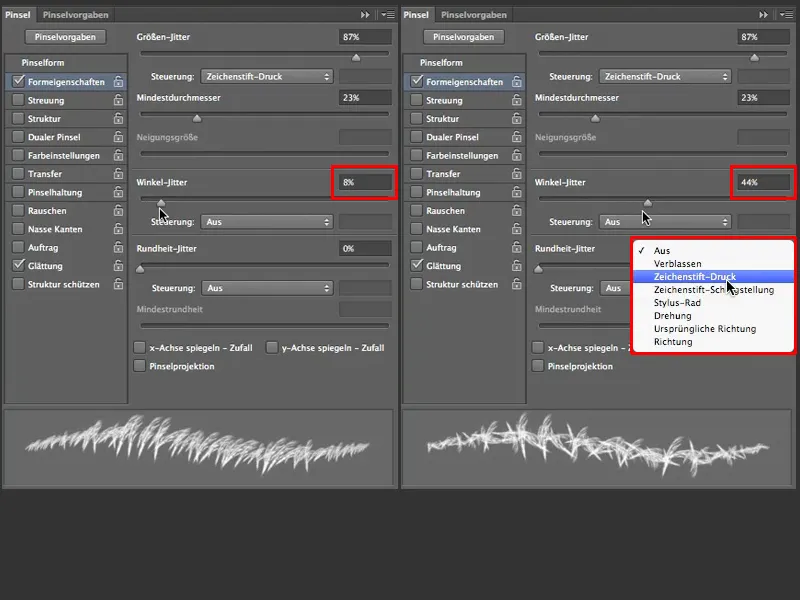
Now the brush tip looks a bit like fur, but at the moment it is still quite thin, and for our work it should be a bit thicker, so we need more brush tips. You can either set this via Brush shape>Distance...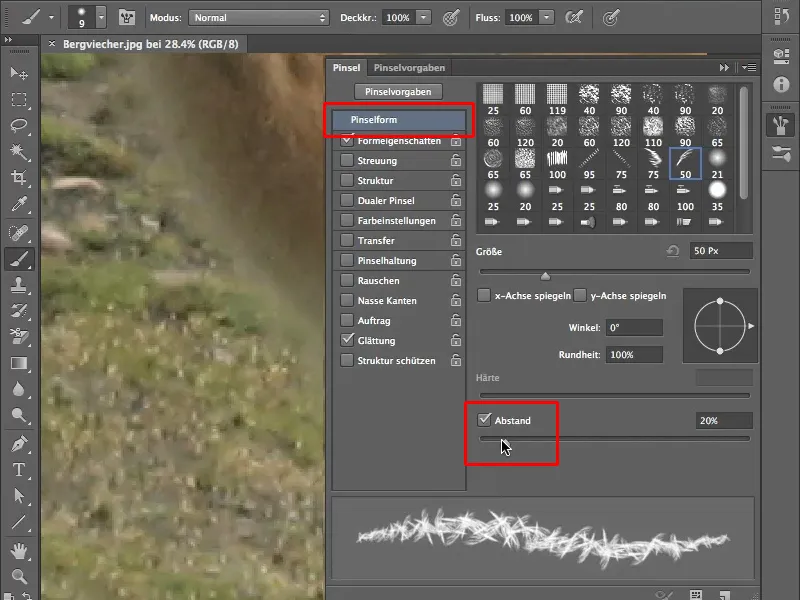
... or you can choose the more elegant option and use the scattering. To do this, place a tick in the Scattering field and increase the number to 3. You can see the difference directly on the left in the picture.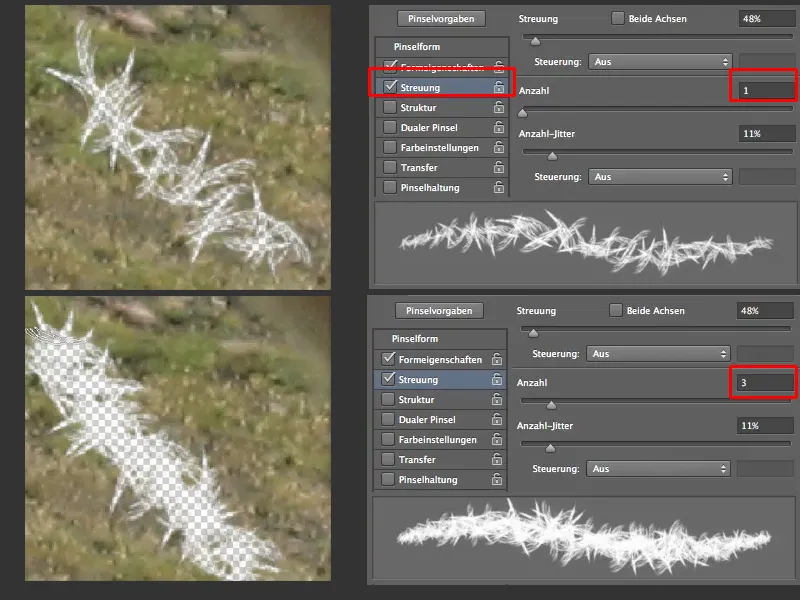
Now, however, the fur looks quite disheveled, so we change the angle jitter to 9% in the shape properties and get a nice shaggy fur.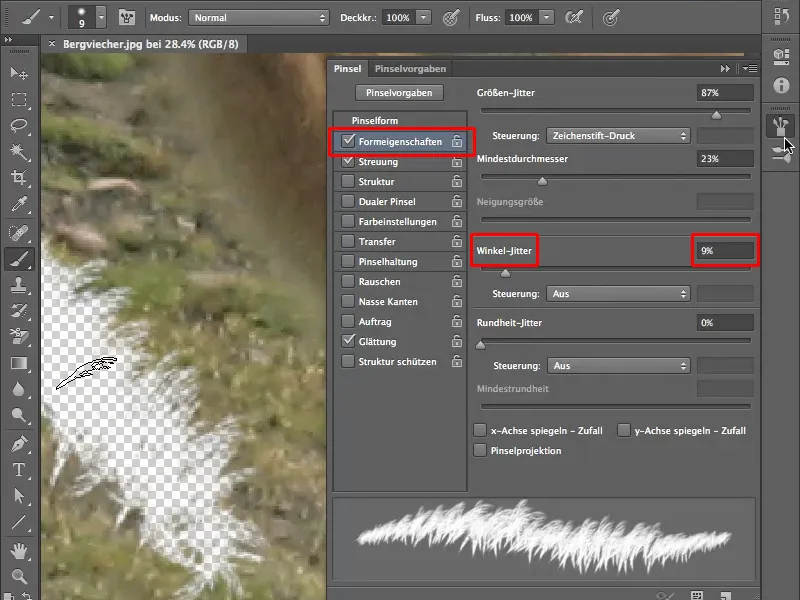
Adjusting the brush size
Now that we are happy with the brush properties, the real work begins, the cropping. To make this work a little easier for you, here's a little tip on how to change the size of your brush. The usual option of using the brush size, as shown in the picture below, is very cumbersome in our case, as we often have to change the size. You can also see that the hardness of the brush is not adjustable, this is because it is a prefabricated brush tip.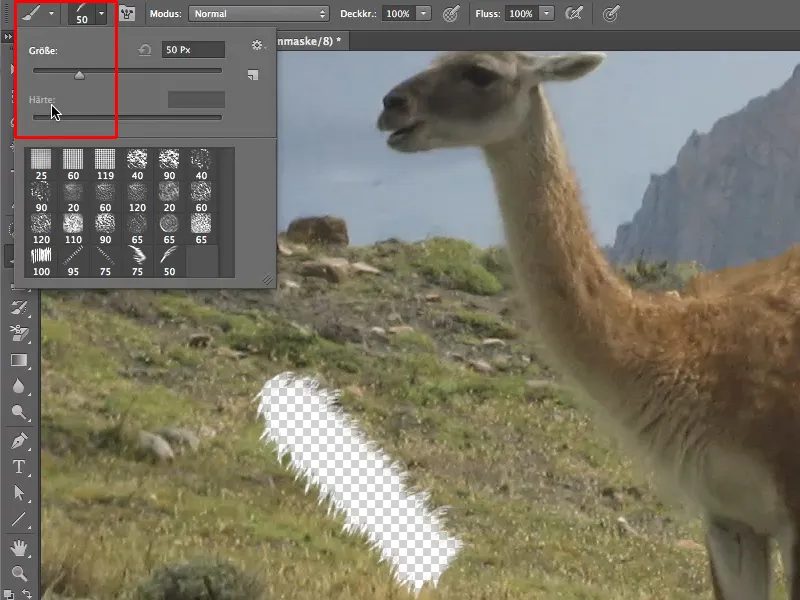
You can change the brush size more quickly using the keyboard shortcuts. These can be found under Edit>Keyboard commands>Keyboard commands for tools. You can use the commands already assigned or assign others as you see fit..webp?tutkfid=62523)
Another way to change the brush size is the classic way - press the Ctrl+Alt key. If you move your mouse/pen from right to left, the size of your brush tip will change, from top to bottom you can change the opacity, but this only works with the prefabricated brush tips.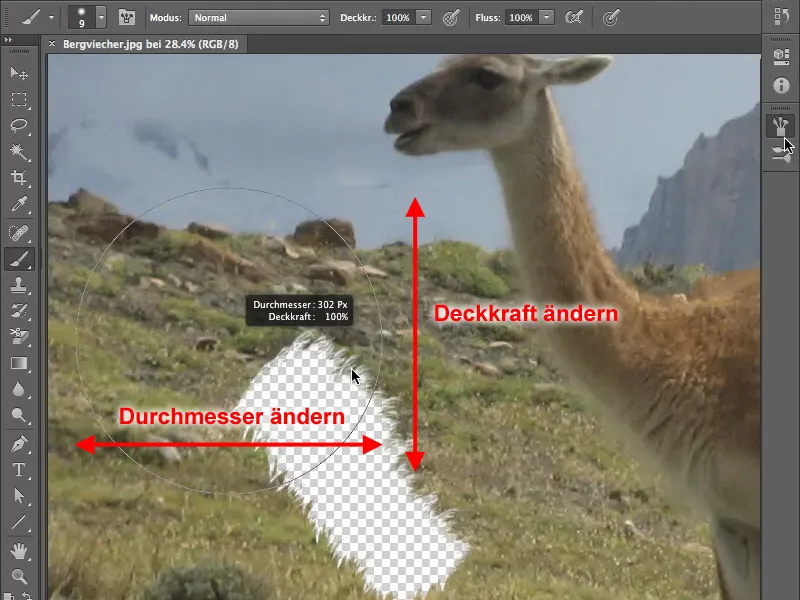
With the circular brushes, you can change the hardness of the brush tip by moving the mouse or pen vertically.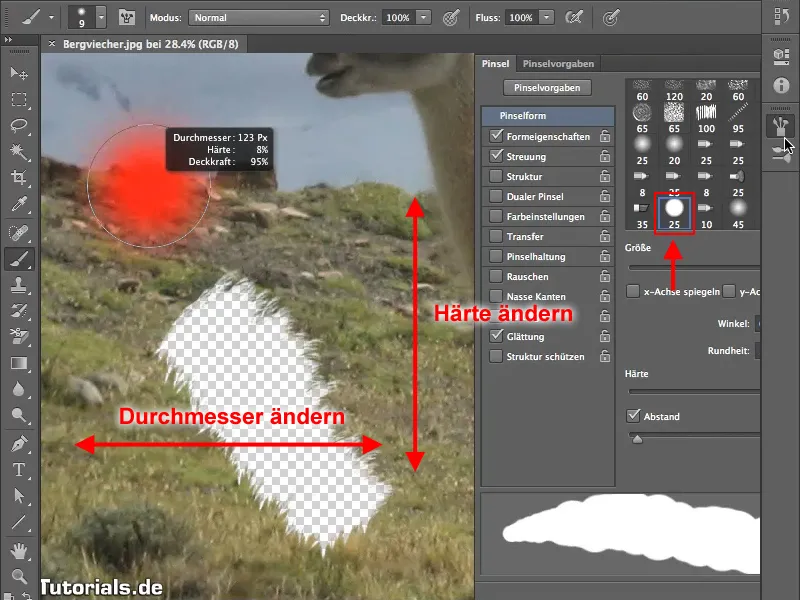
Clipping the fur
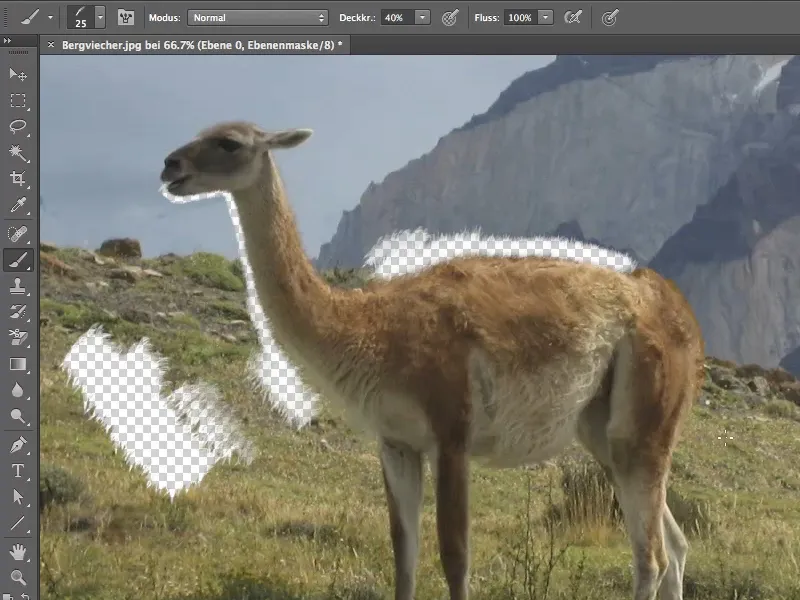
Here we go. Now you can start to cut out the animal's fur. It is best to start with an opacity of 40% and make sure you work in the layer mask, not in the image. Try out how you get on with the brush size and opacity.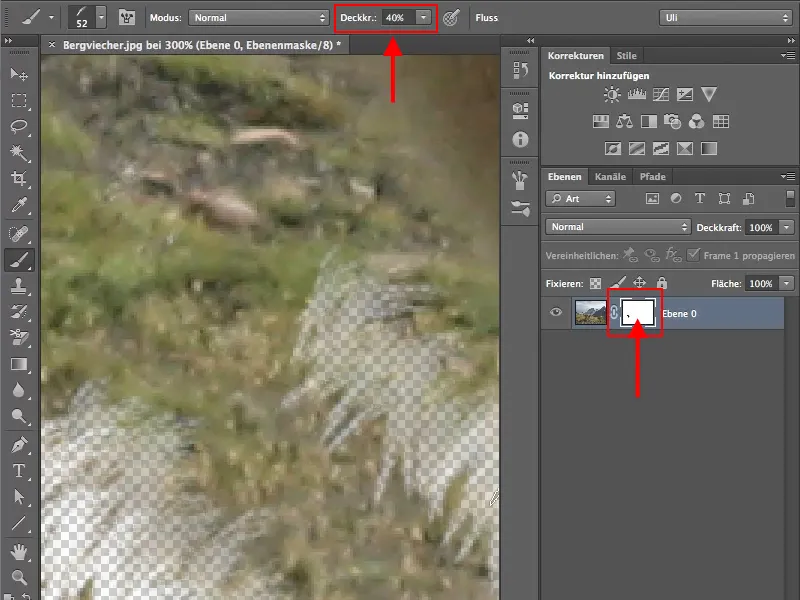
To be able to use the soft edge of the brush on the animal's back, rotate it in the Brush shape menu until you achieve a satisfactory result.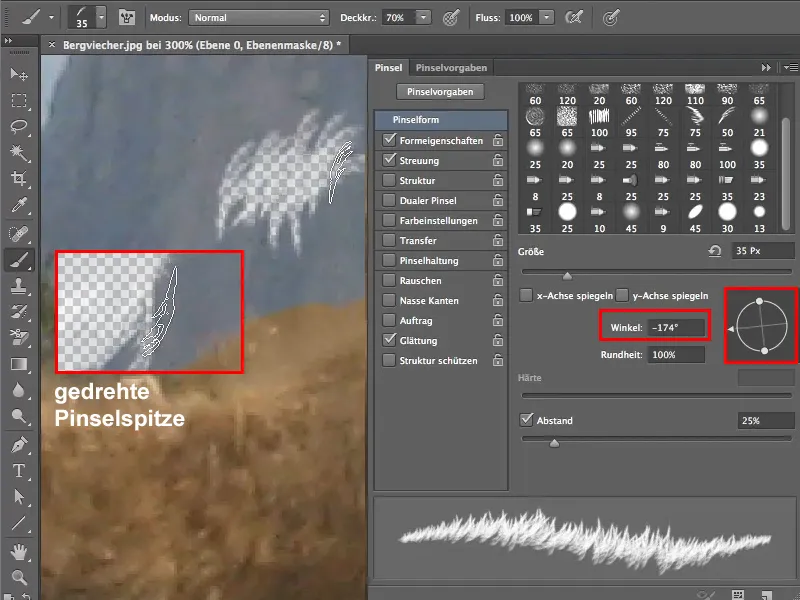
You now have the basics for cropping fur and with a little practice you should be able to "free" such an animal from the background.