The Gap tool in Adobe InDesign is a helpful tool to flexibly control the distance between objects. It allows you to quickly and precisely adjust gaps between frames, images, and other layout elements without having to painstakingly change the size or position of individual objects. In this guide, I will show you step by step how to effectively use the Gap tool to create clean and professional layouts. Let's get started and discover the benefits of this handy tool!
With the Gap tool (Shortcut U), you can change the distance between neighboring objects on the print sheet without touching the object frames.
After selecting the Gap tool and positioning the cursor next to an object, a double arrow immediately appears, marking the distance to a neighboring object or to the top or side edge.
The value of the distance can be read in the Control palette.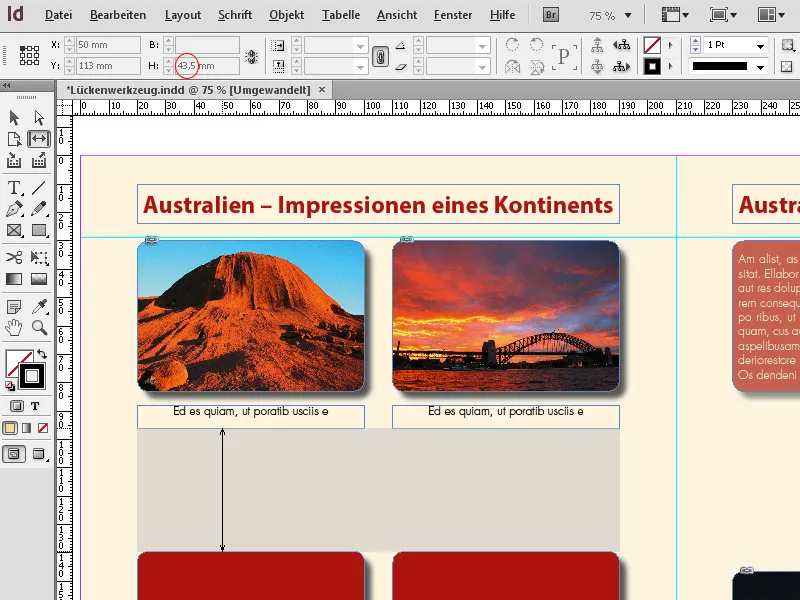
Now, there are various ways to change the distance:
By moving the area with the mouse button held down, you can enlarge or reduce this area, as well as the relevant object frames simultaneously.
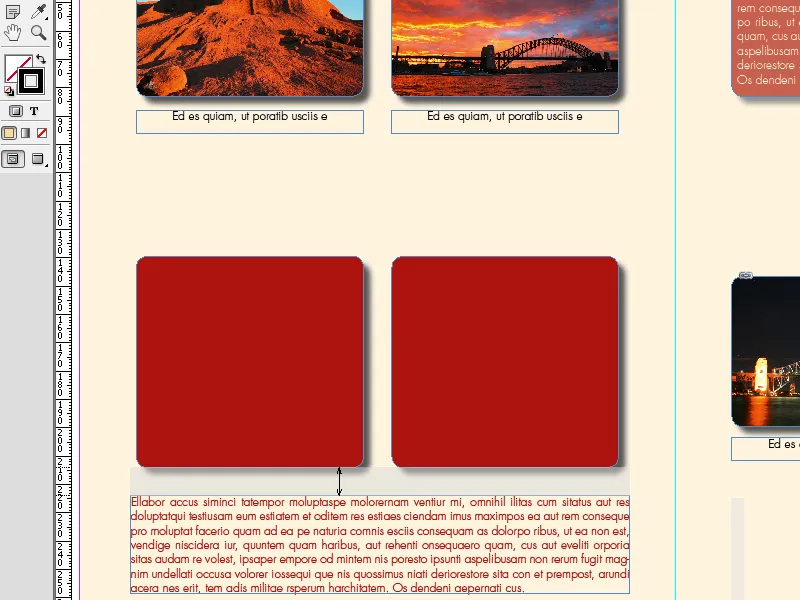
The contents of the object frames behave as defined in the Object Fitting Options (e.g., with the setting Fit Automatically, the content is scaled accordingly).
The neighboring objects are enlarged or reduced, while the object edges opposite the gap maintain their position.
If the Alt key is additionally pressed, the neighboring objects are moved parallel to each other. They retain their original size.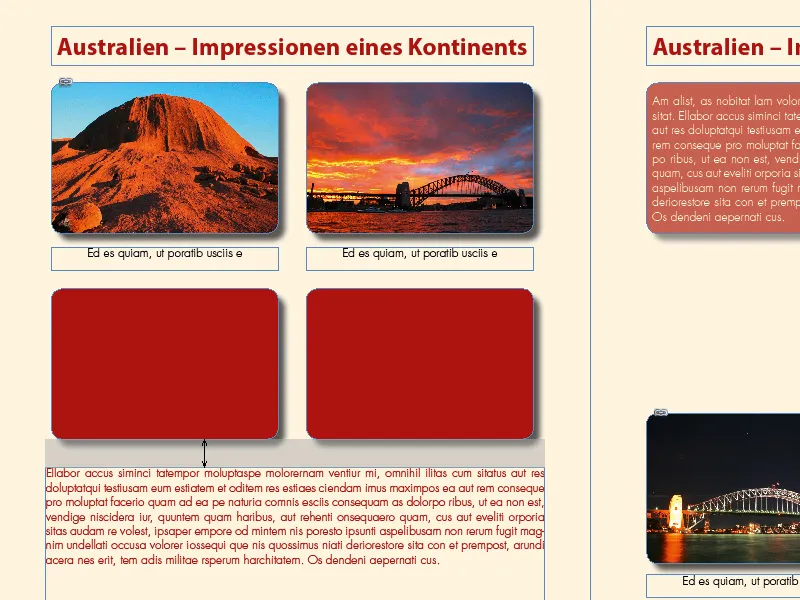
When the Alt key and Ctrl key are pressed simultaneously, only the space between the neighboring objects is scaled.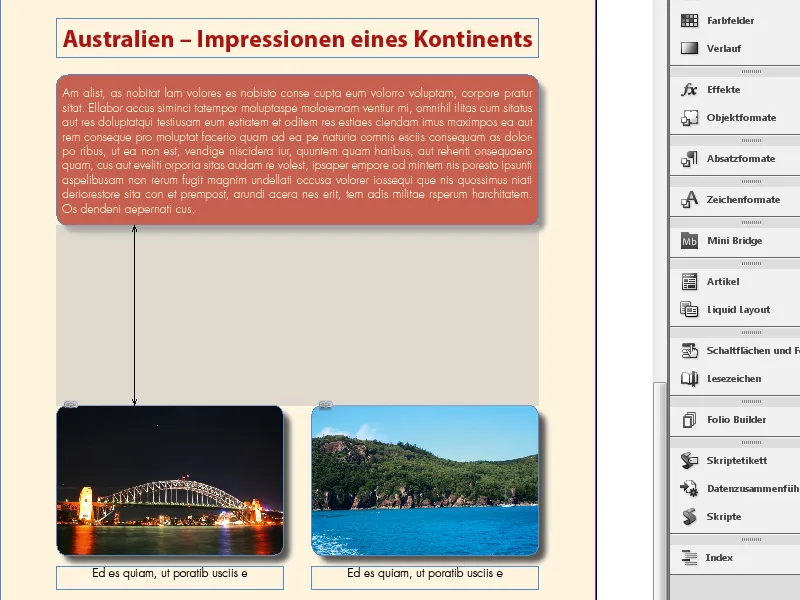
So they move towards each other or away from each other without changing their own size.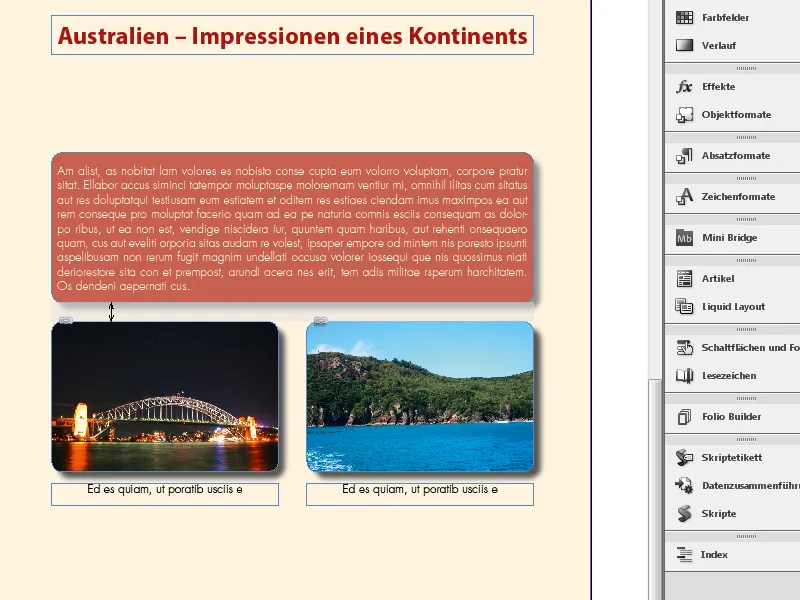
Pressing the Ctrl key also scales the distance between two neighboring objects – but these change their size accordingly as well.
In order for images and graphics to grow along with changing frames, the frame fitting option Fit Automatically must be activated.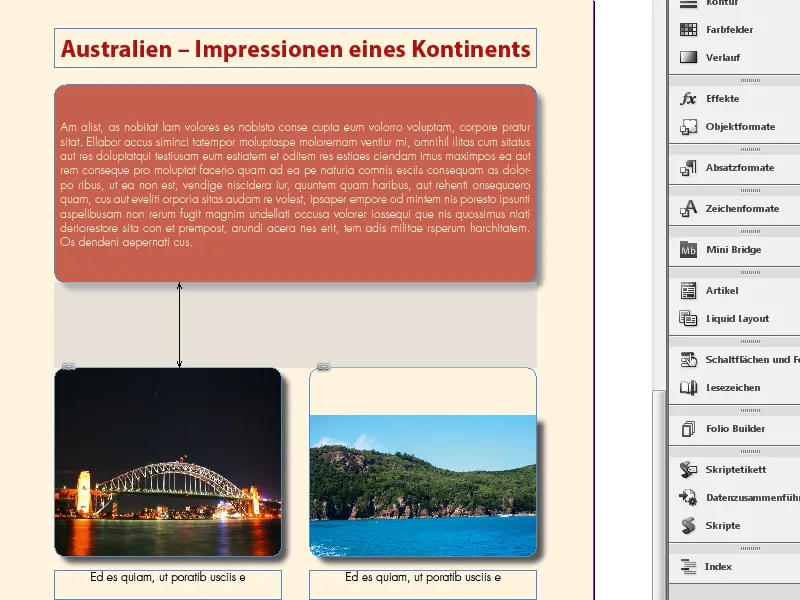
This way, layout adjustments can be made evenly, intuitively, and time-efficiently, especially when multiple objects are involved.
The Gap tool in Adobe InDesign is a practical tool to quickly and easily edit the distance between frames. Here are the best tips to effectively use the tool:
1. Faster Adjustment of Gaps between Objects
The Gap tool allows you to dynamically change the distance between multiple frames (image or text frames):
- Here's how: Select the Gap tool (Shortcut: U) and move the mouse pointer near the gap between two or more frames. The gap will be highlighted.
- Drag the gap to enlarge or reduce it.
- Tip: Hold down the Shift key to only change the gap size without moving the frames themselves.
2. Maintain Frame Proportions
- Tip: Hold down the Ctrl key (Windows) or Cmd key (Mac) while adjusting the gap. This way, the frames remain proportional and change their size according to the gap adjustment.
- Advantage: Ideal for keeping the layout symmetrical and achieving a harmonious appearance.
3. Precise Control for Complex Layouts
The Gap tool works particularly well in grid layouts with many objects:
- If you want to change the distance between specific frames only, hold down the Alt key. This ensures that only adjacent frames are adjusted without affecting the entire layout.
- Tip: Combine the Gap tool with smart guides (View → Grids and Guides → Enable Smart Guides) to maintain precise spacing.
Additional Pro Tip: Consistent Gaps in Large Projects
For projects with many pages (e.g., magazines), you can quickly set up standardized gaps using the Gap tool. Hold down the Shift key to ensure that the adjustments are global and consistent.
The gapping tool saves time and allows you to create layouts efficiently and professionally!


