In this tutorial, you will learn how to create an appealing banner for your Facebook group using the online tool Canva. Whether you are a beginner or already familiar with graphic design, creating a group banner is simple and quick. In just a few steps, you can create a custom design that suits your group and attracts the attention of your members.
Key Takeaways
Creating a group banner in Canva is an uncomplicated way to visually design your Facebook group. With a few clicks, you can add elements, customize text, and change colors to create a unique banner. Canva provides a variety of templates that can serve as inspiration for you.
Step-by-Step Guide
To create your banner, follow these simple steps:
Step 1: Access Canva
First, visit the website canva.com. There, you need to create an account if you don't have one yet. Log in to access the numerous design features.
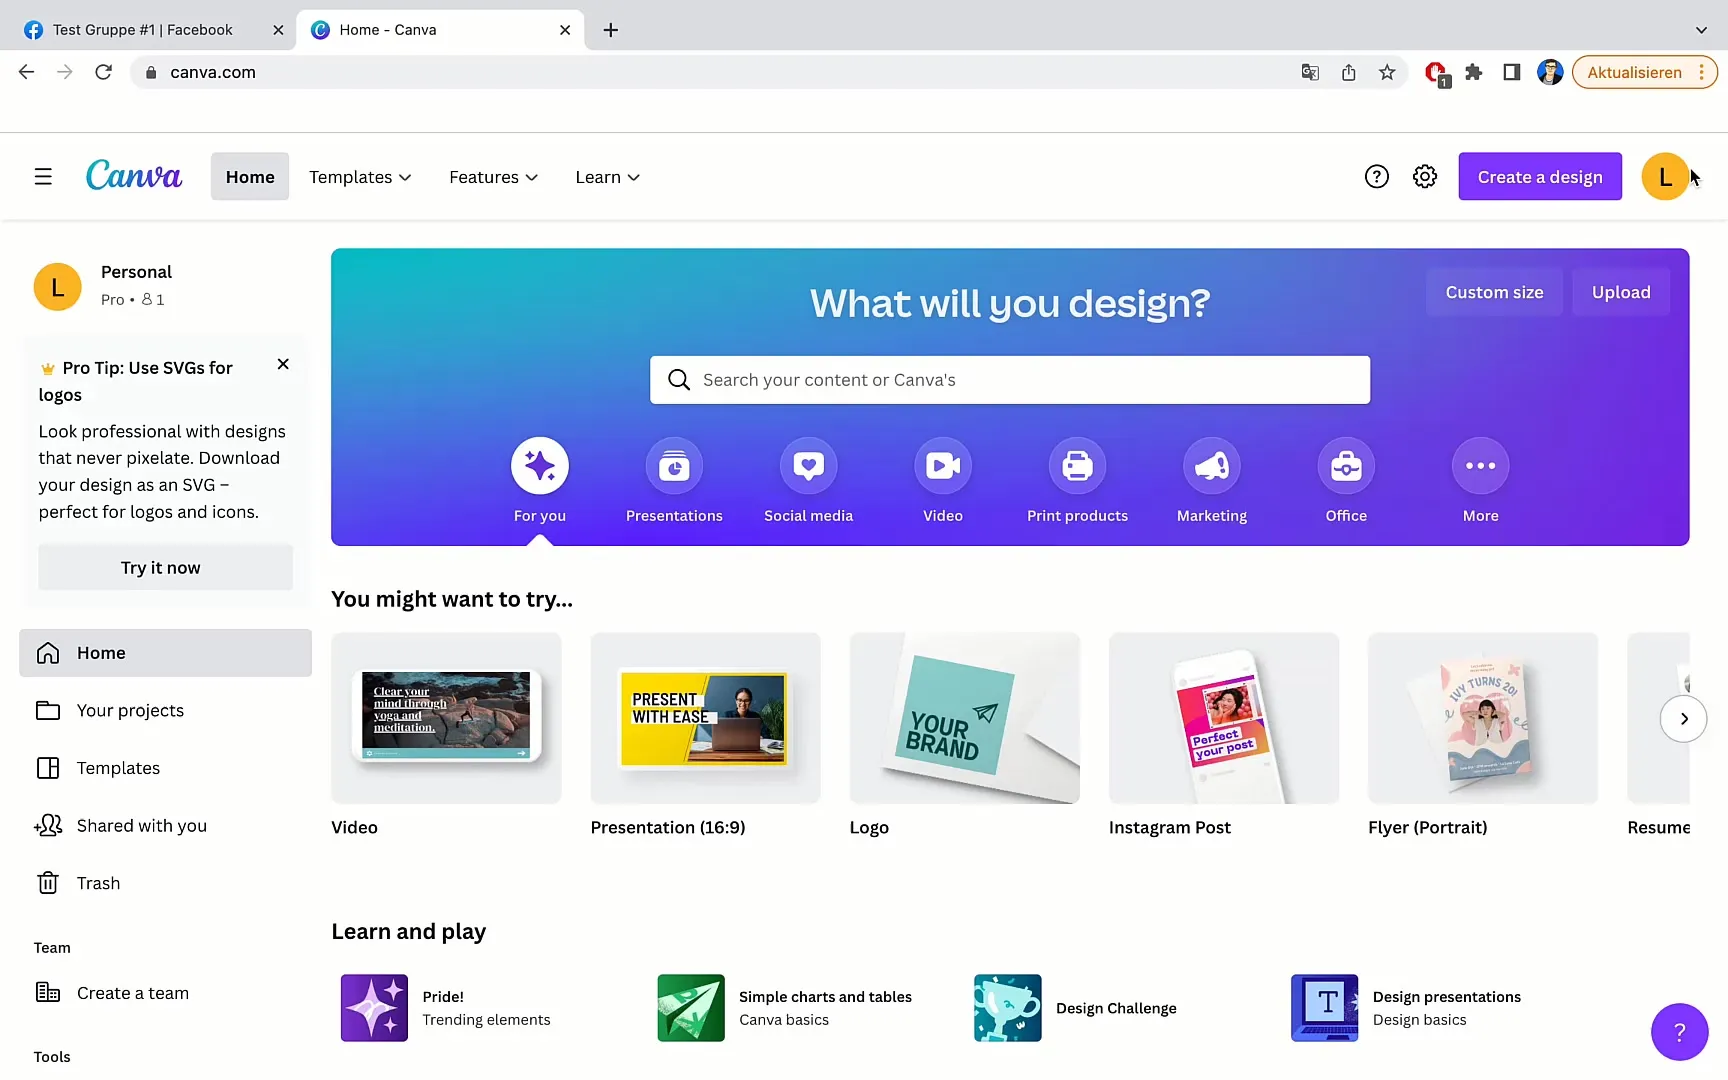
Step 2: Use the Search Function
Once you are in your account, go to the search bar at the top and type "Facebook Group" or "Facebook Group Banner." This will show you the relevant templates.
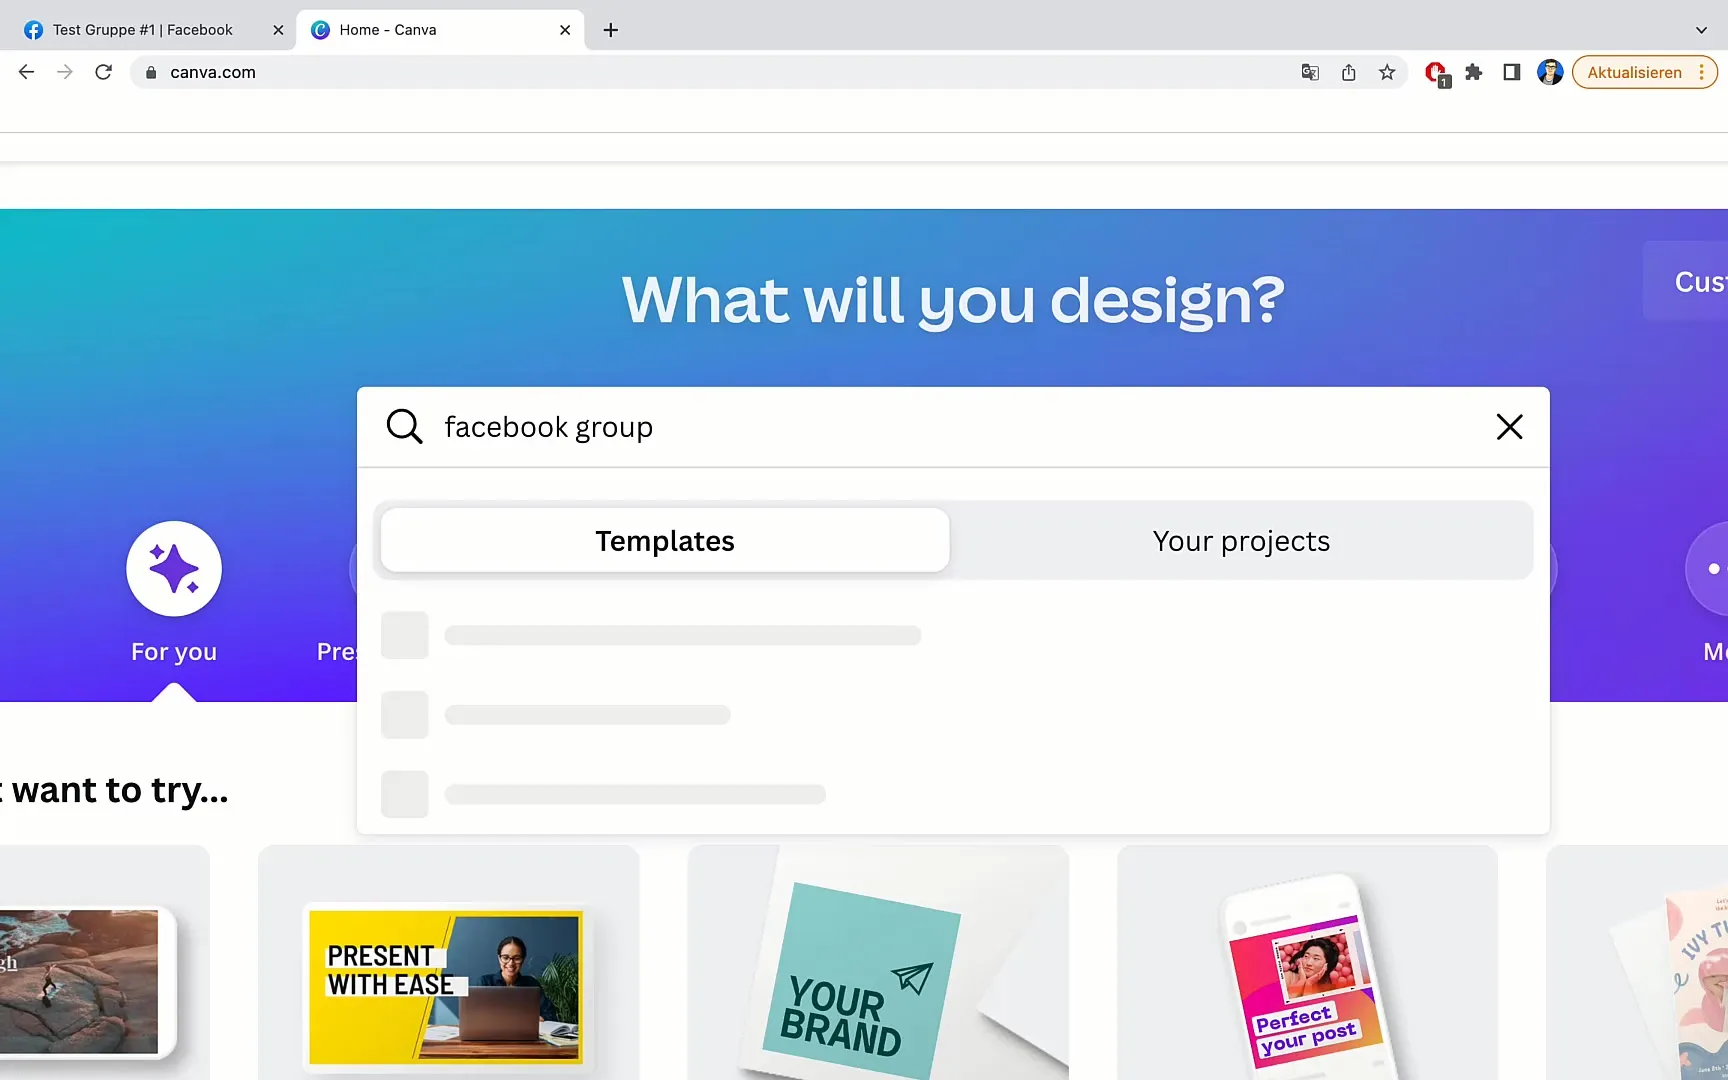
Step 3: Choose a Template
You will see a selection of banner templates. Choose the one that suits you best. Remember, you may need to adjust the size of the templates to fit perfectly for your group.
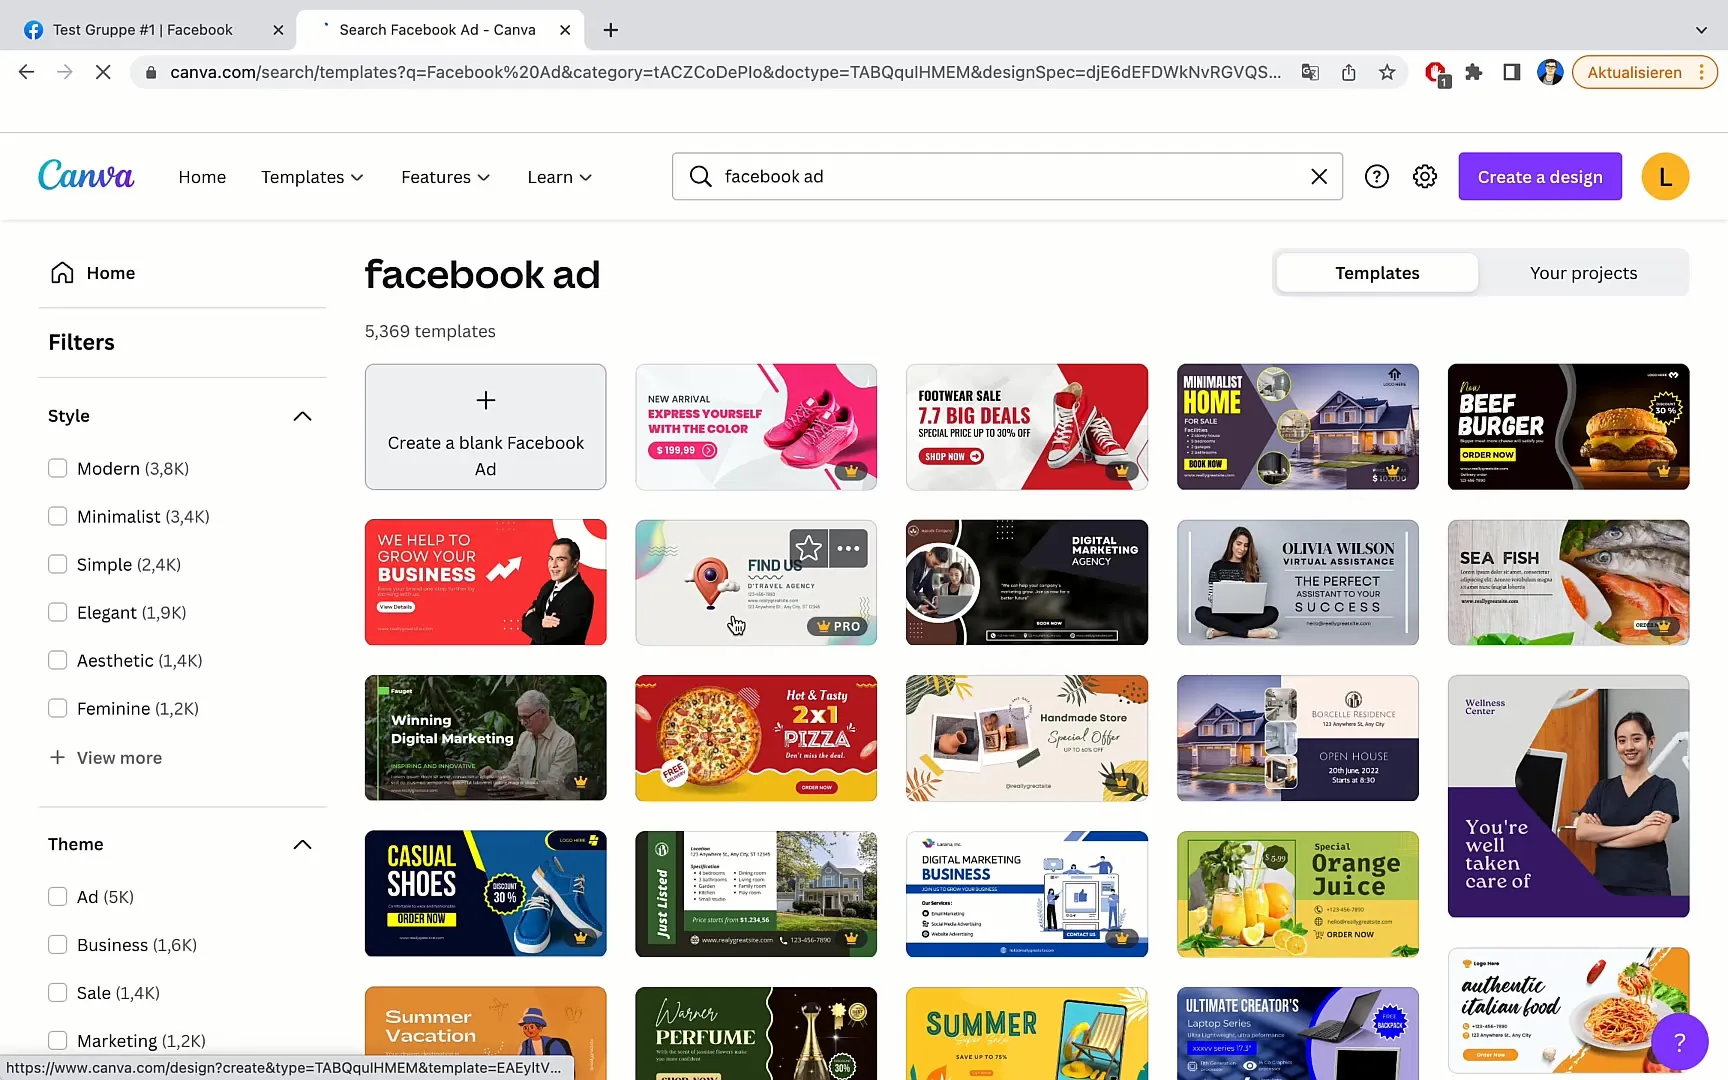
Step 4: Edit the Banner
Click on the chosen template to edit it. Remove elements you don't need and move desired content to the center to ensure nothing is cropped at the top or bottom.
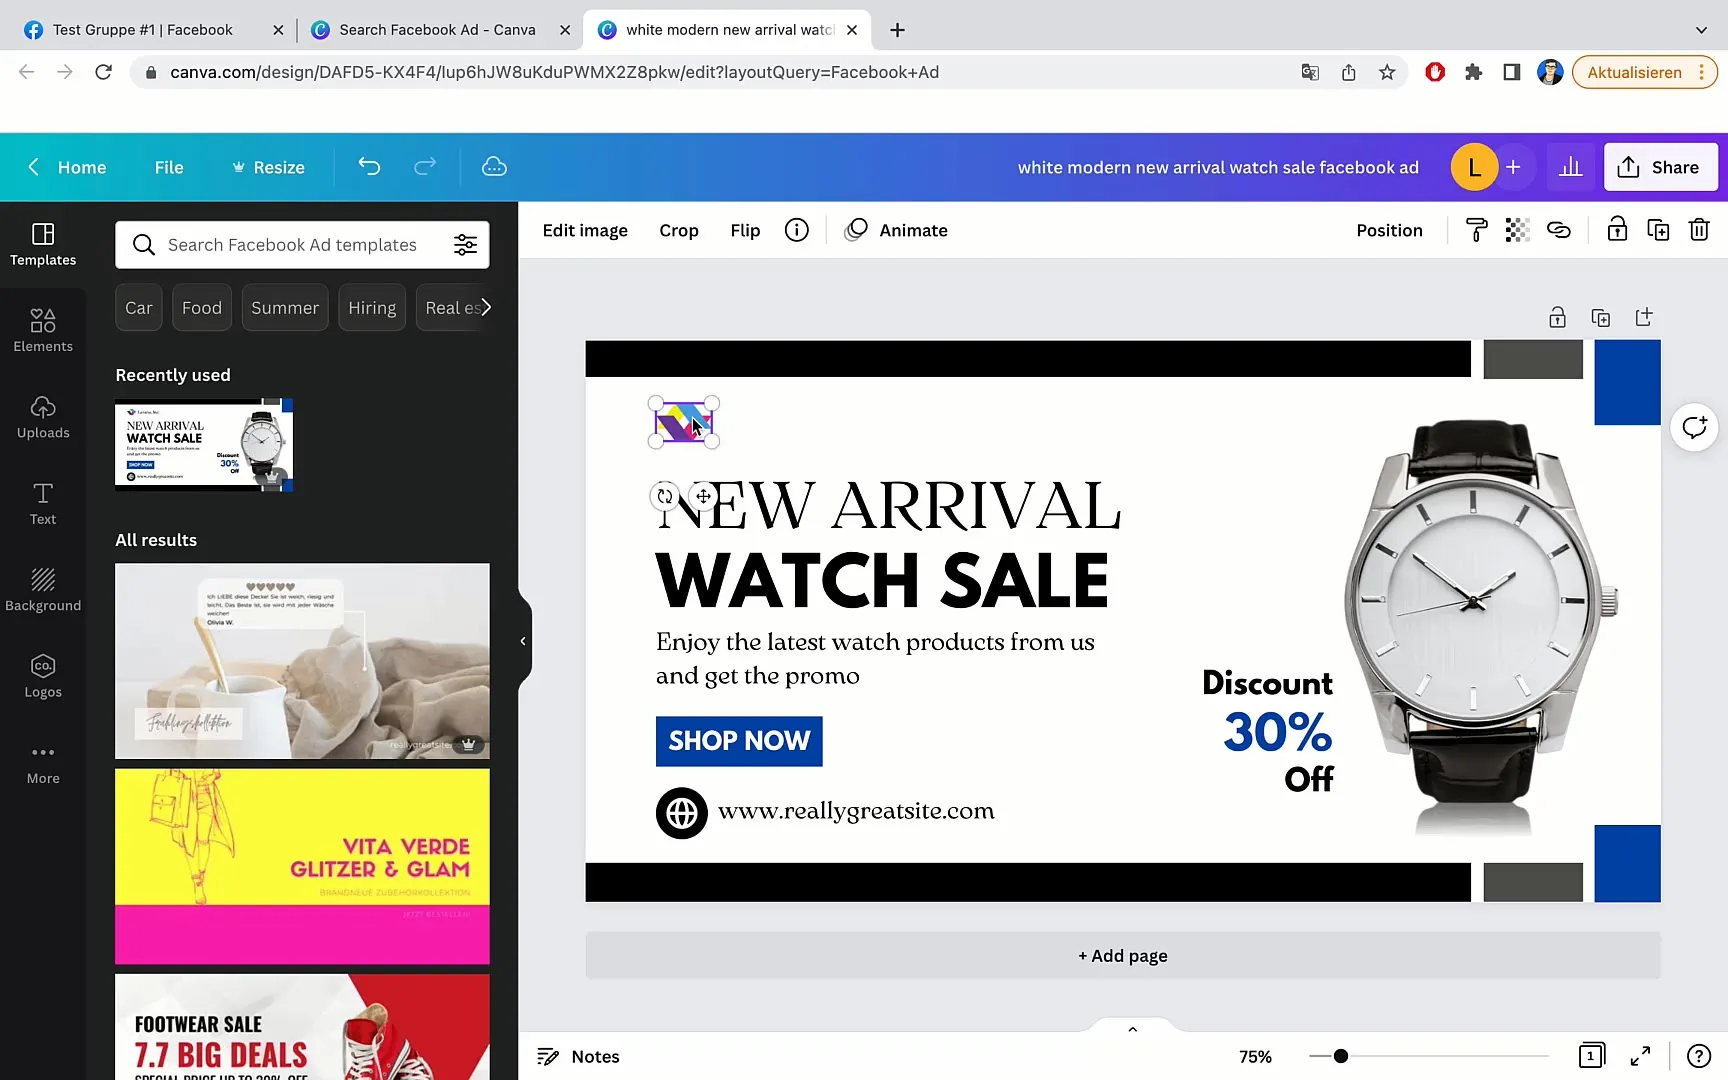
Step 5: Adjust Text
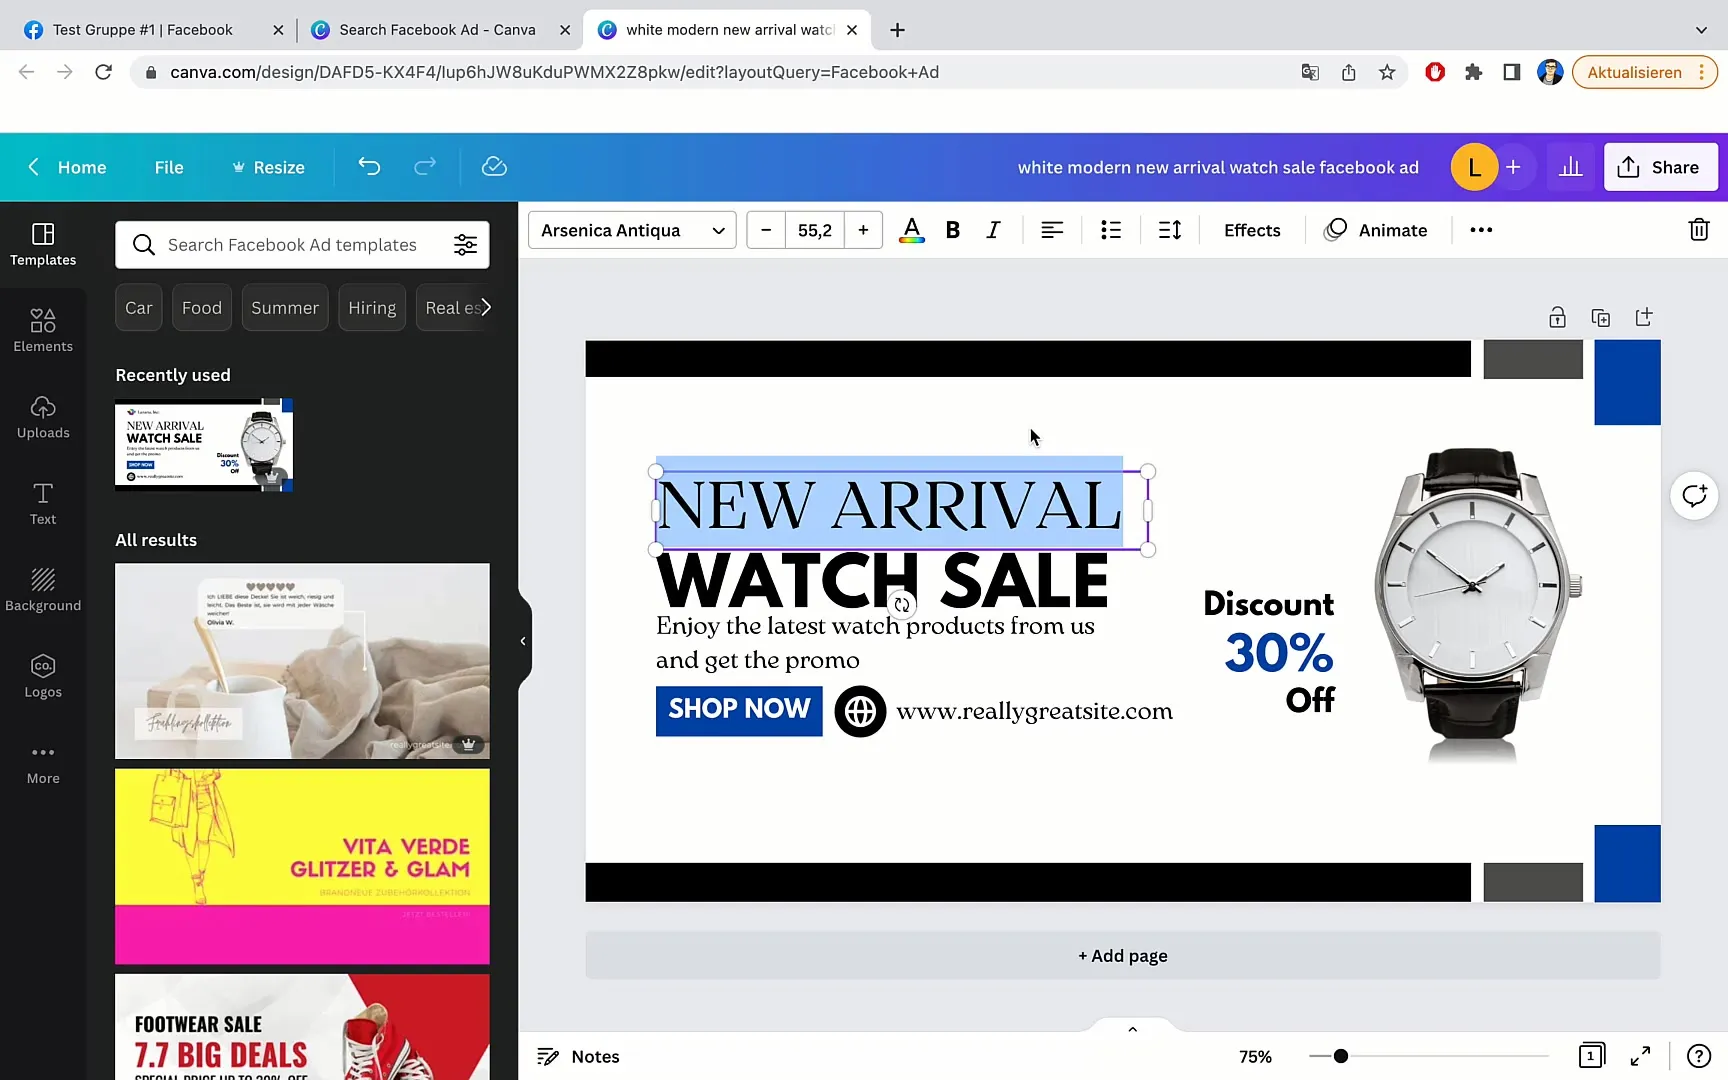
Now you can adjust the text in the banner. Replace the placeholder text with your own content. For example, you can customize the nature of your business or group and add relevant information.
Step 6: Replace Images
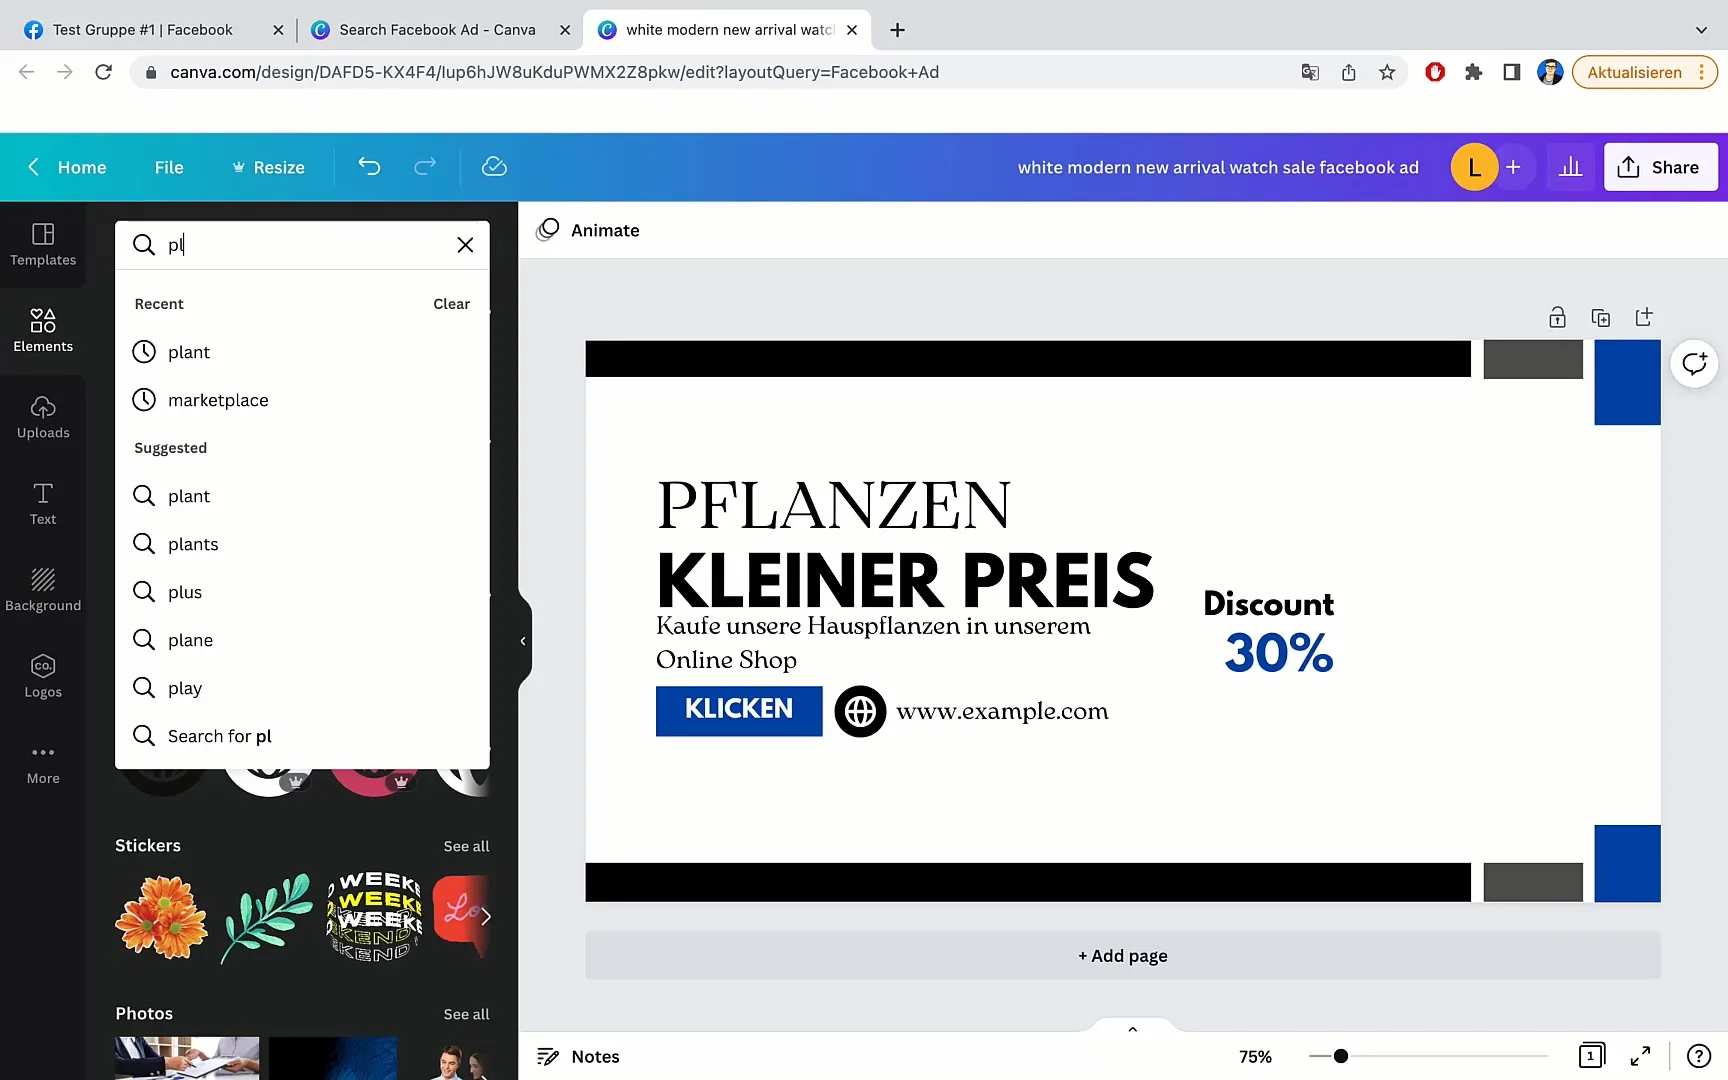
To make the banner more unique, you can change images. Click on the current image and delete it. Then, in the "Elements" or "Photos" tab, look for a new image that fits your group.
Step 7: Adjust Colors
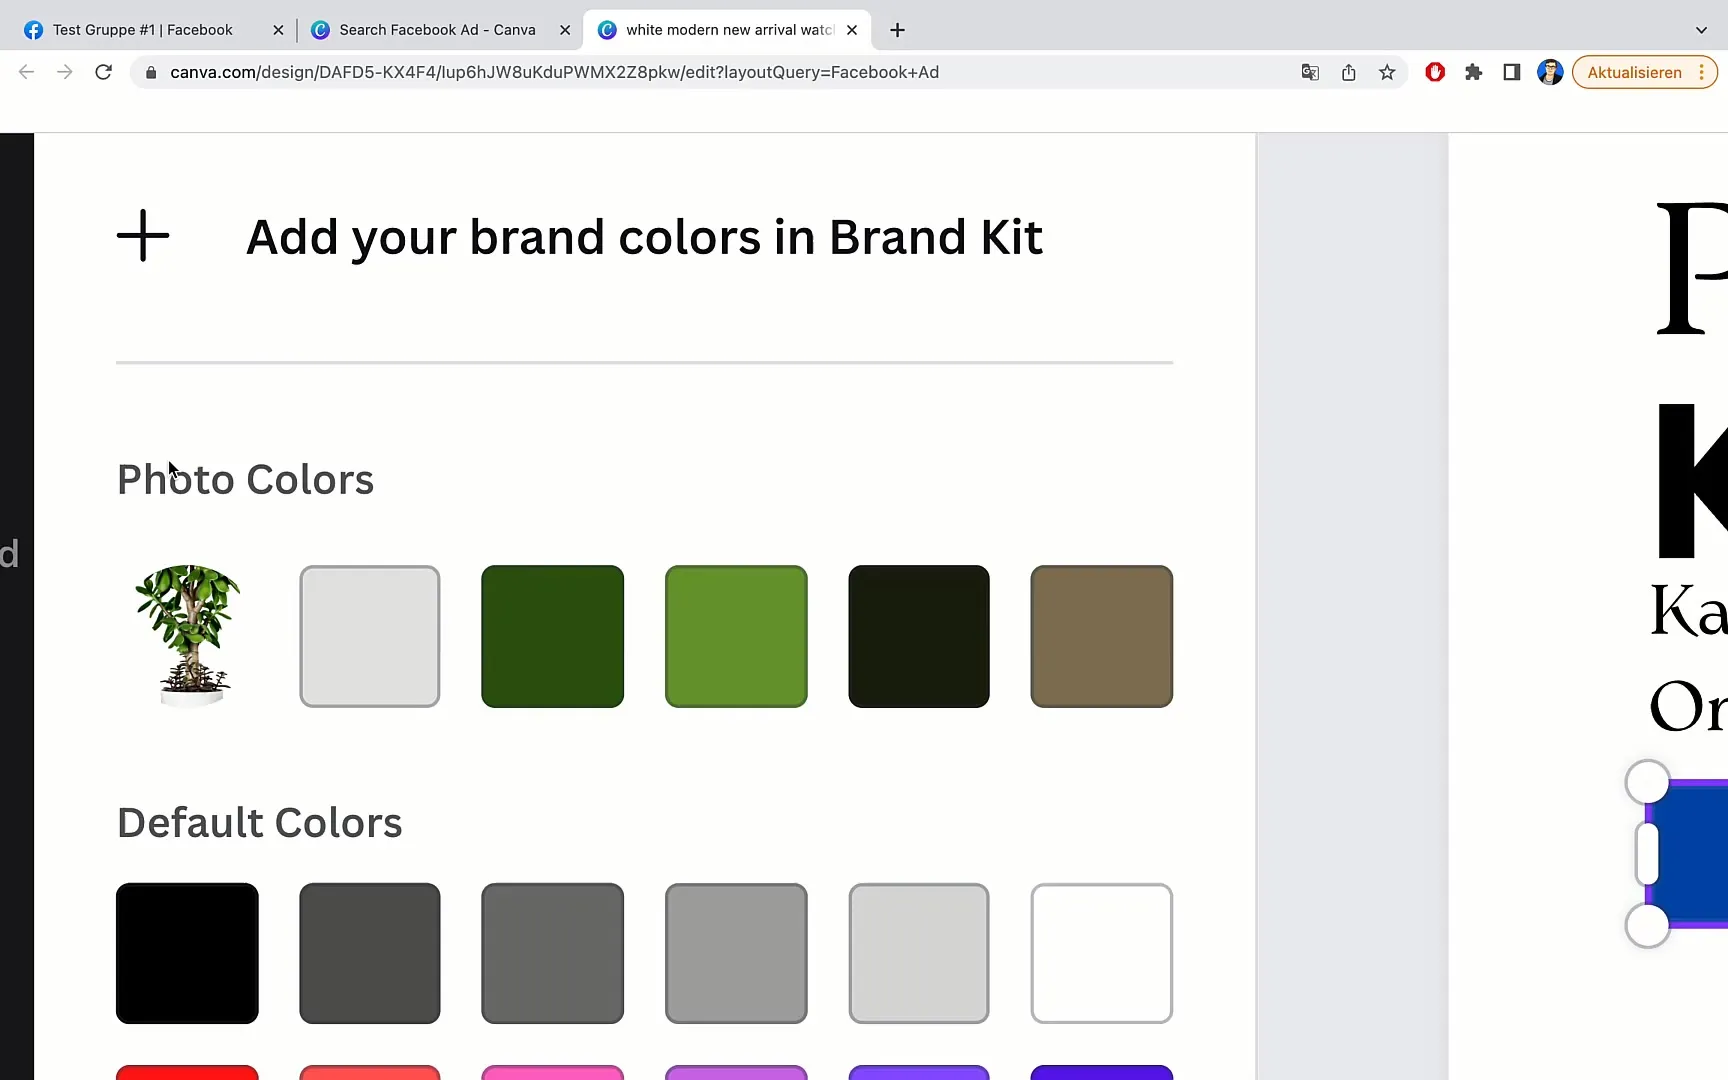
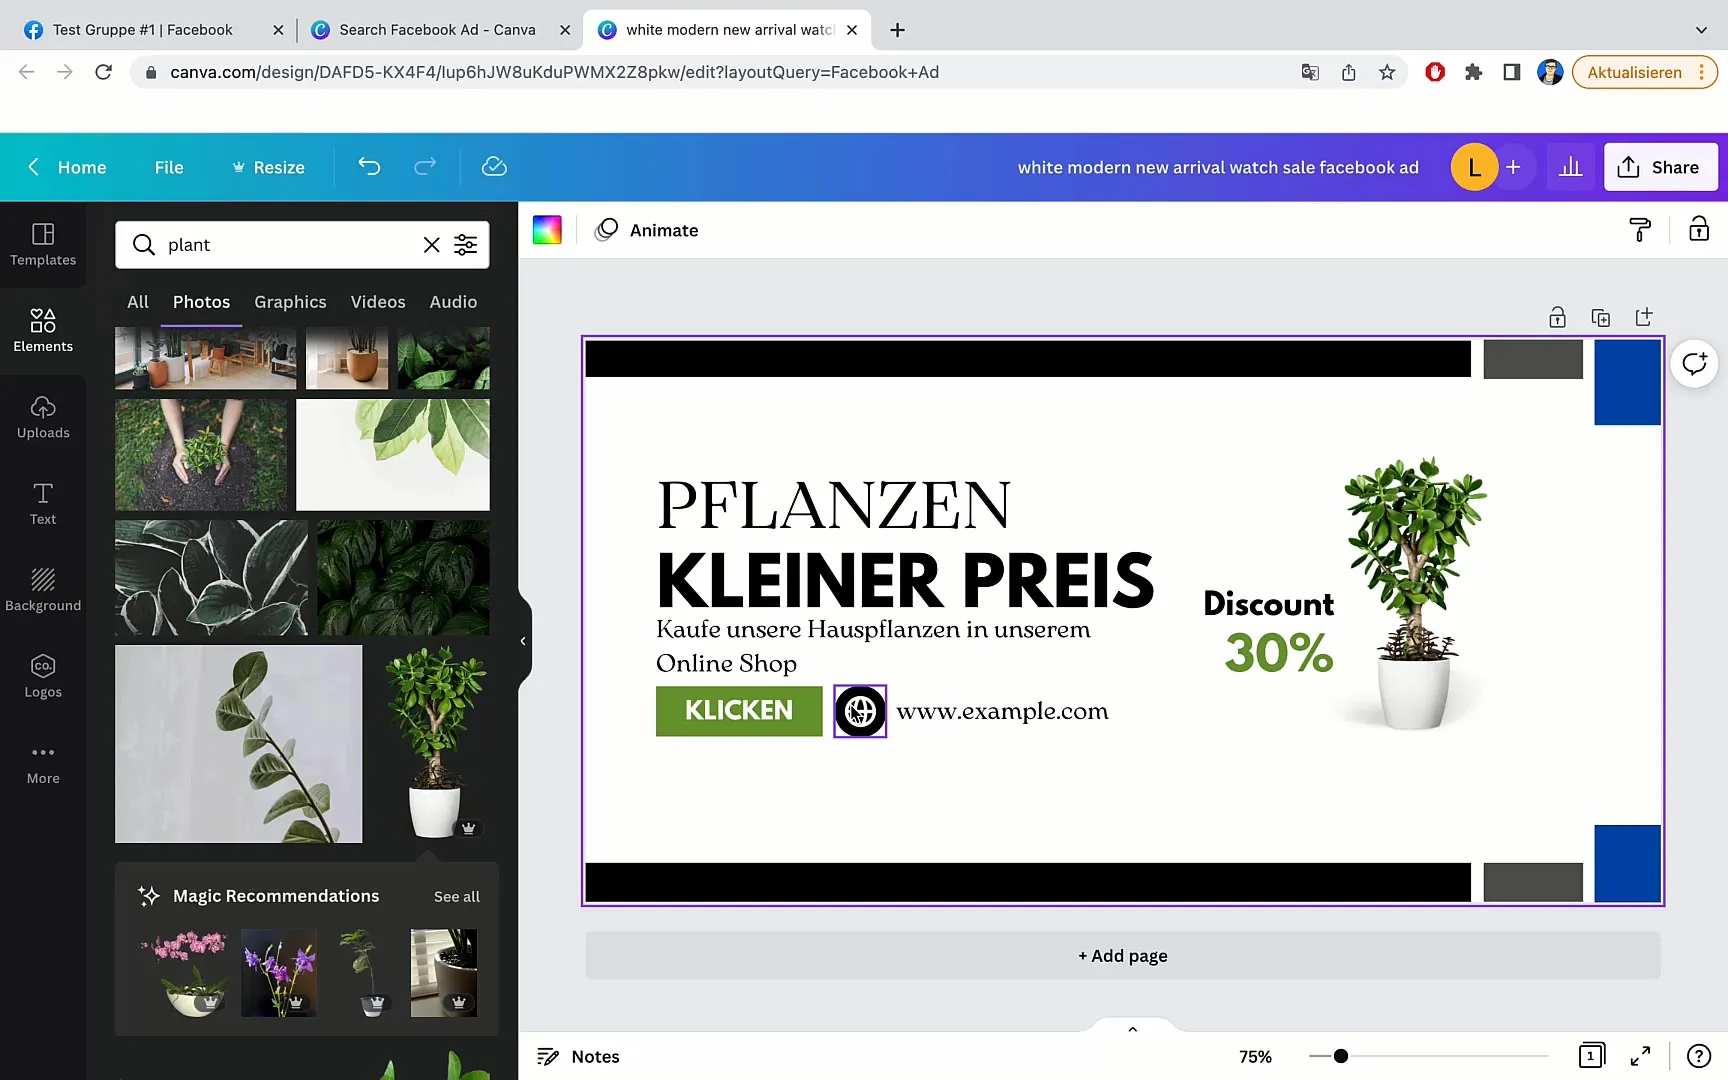
To complete the design, you can change the colors of the text boxes and buttons to match your new image. Choose the desired color from the color palette provided by Canva.
Step 8: Final Details
Review your design and make necessary changes to fonts, sizes, or spacing to optimize the overall look. Make sure everything is well-aligned and visually appealing.
Step 9: Download the Banner
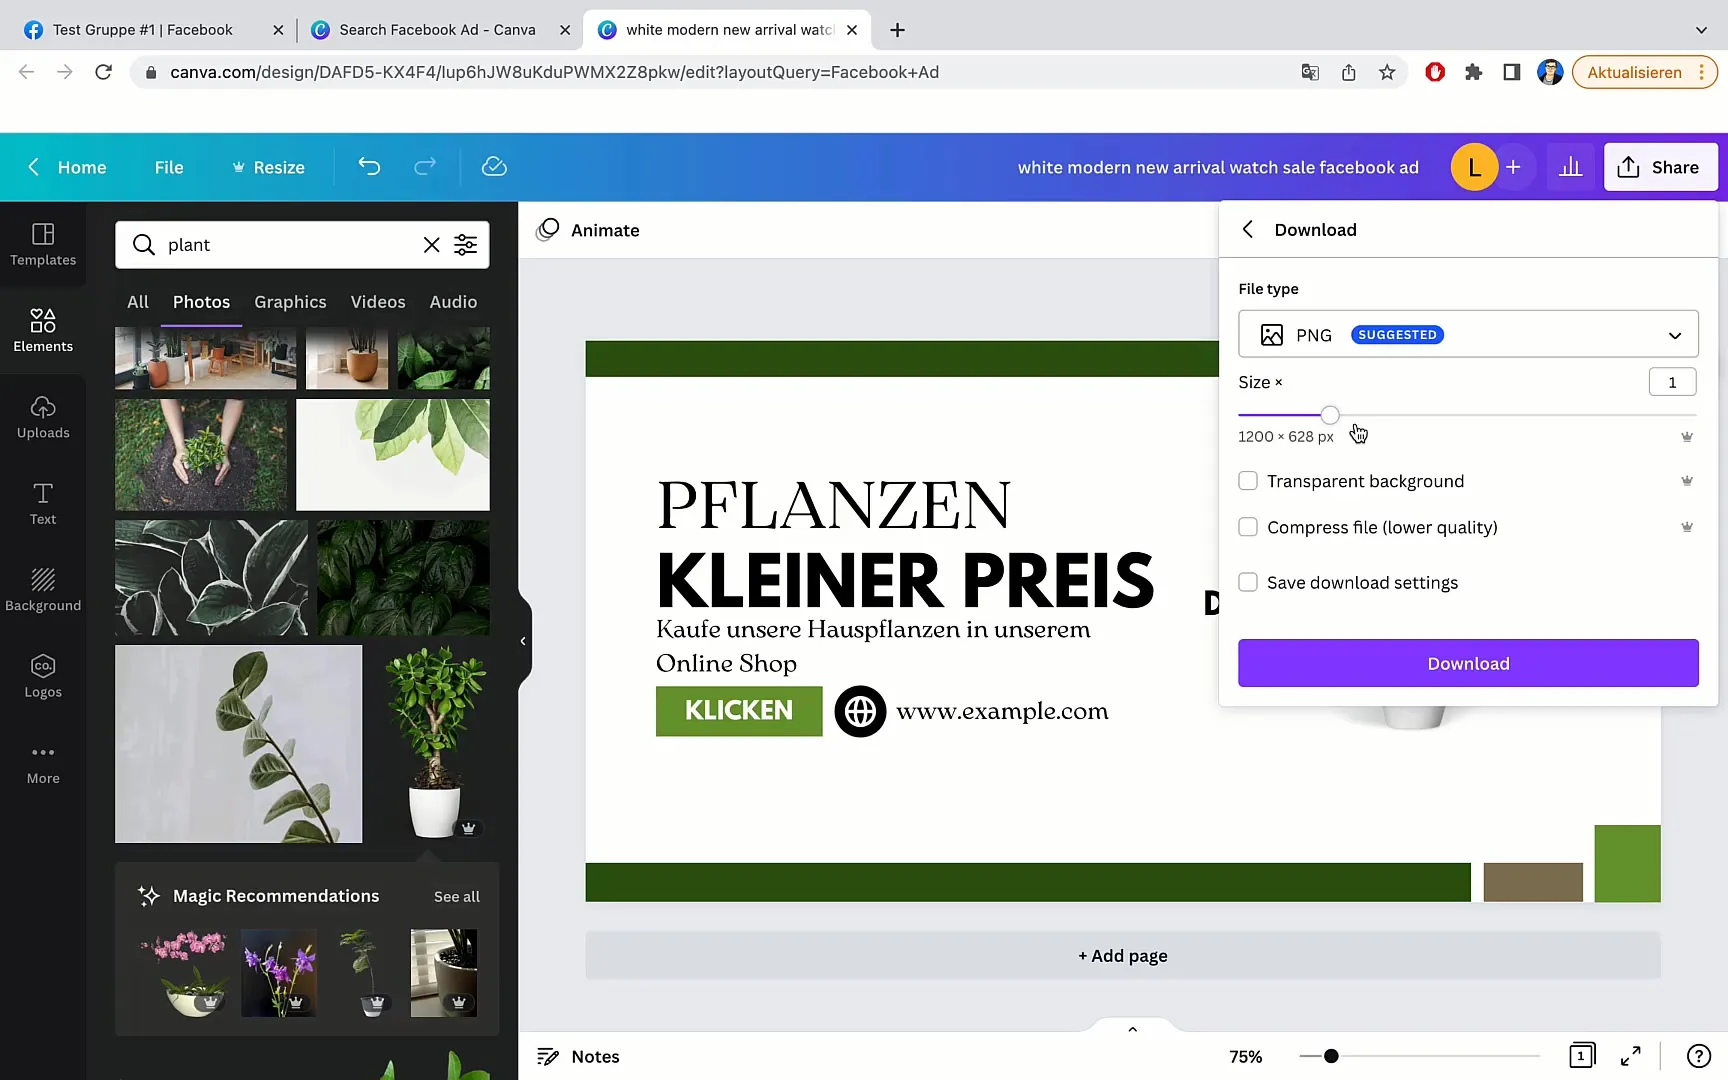
If you are satisfied with the design, click on "File" at the top left and select "Download." Here, you can adjust the quality and resolution. Choose the best option to ensure your banner is of high quality.
Step 10: Upload Banner
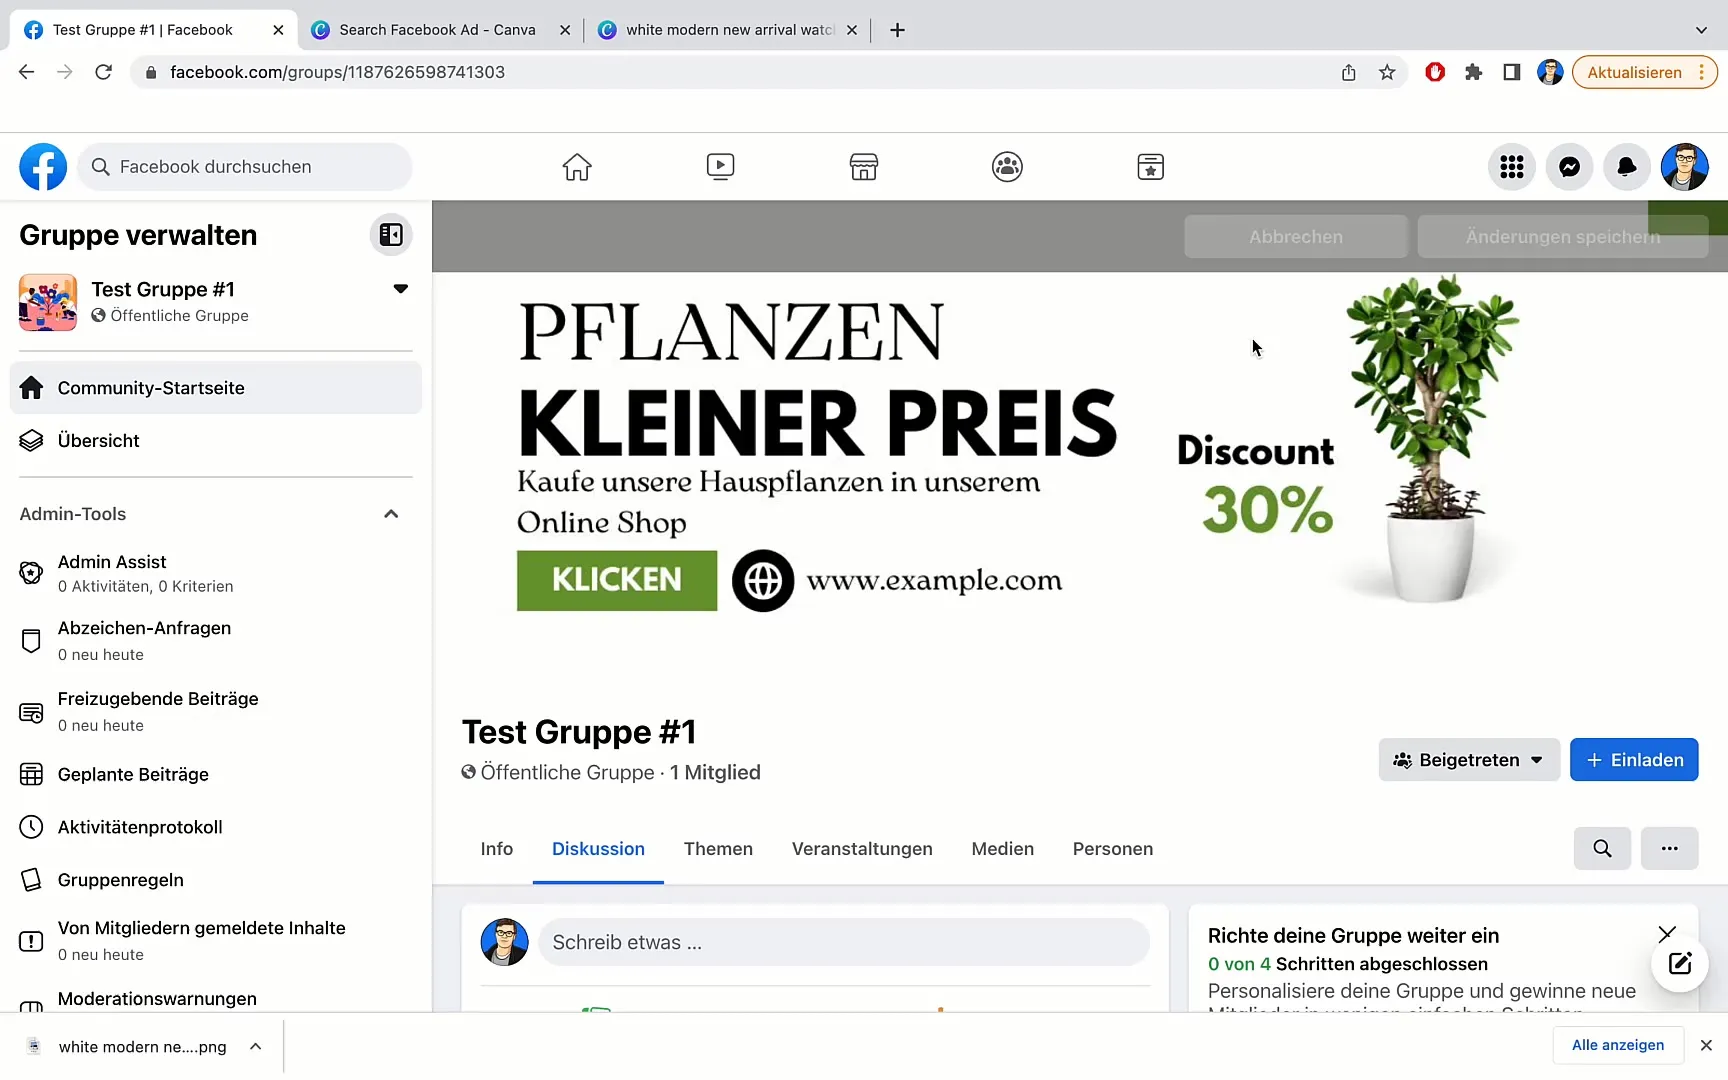
The final step is to upload the downloaded banner to your Facebook group. Go to your group and use the banner or cover photo change field to upload your new design.
Summary
In this tutorial, you have learned how to create an appealing group banner for your Facebook group using Canva in a few simple steps. From finding the right template to downloading the finished design – you are now well equipped to visually enhance your group.
