In today's digital era, building an active and secure online community is more important than ever. Facebook groups provide an excellent platform to interact with like-minded individuals and exchange information. However, while building a community itself is a fulfilling task, spam and inappropriate content can significantly affect the user experience. For this reason, it is advisable for admins to set that posts from members must be approved before they are visible in the group. In this tutorial, you will learn step by step how to activate this feature.
Key Insights
- Approving posts protects the group from spam and inappropriate content.
- Transparent communication with members is crucial to create understanding of the approval policy.
- Administrators can easily enable post approval in the group settings.
Step-by-Step Guide
Define the Group Rules
To effectively implement post approval, you should first define clear rules for your Facebook group. Explain why approvals are required and what constitutes as spam or inappropriate content. These rules create transparency and help members understand expectations.

Access the Group Settings
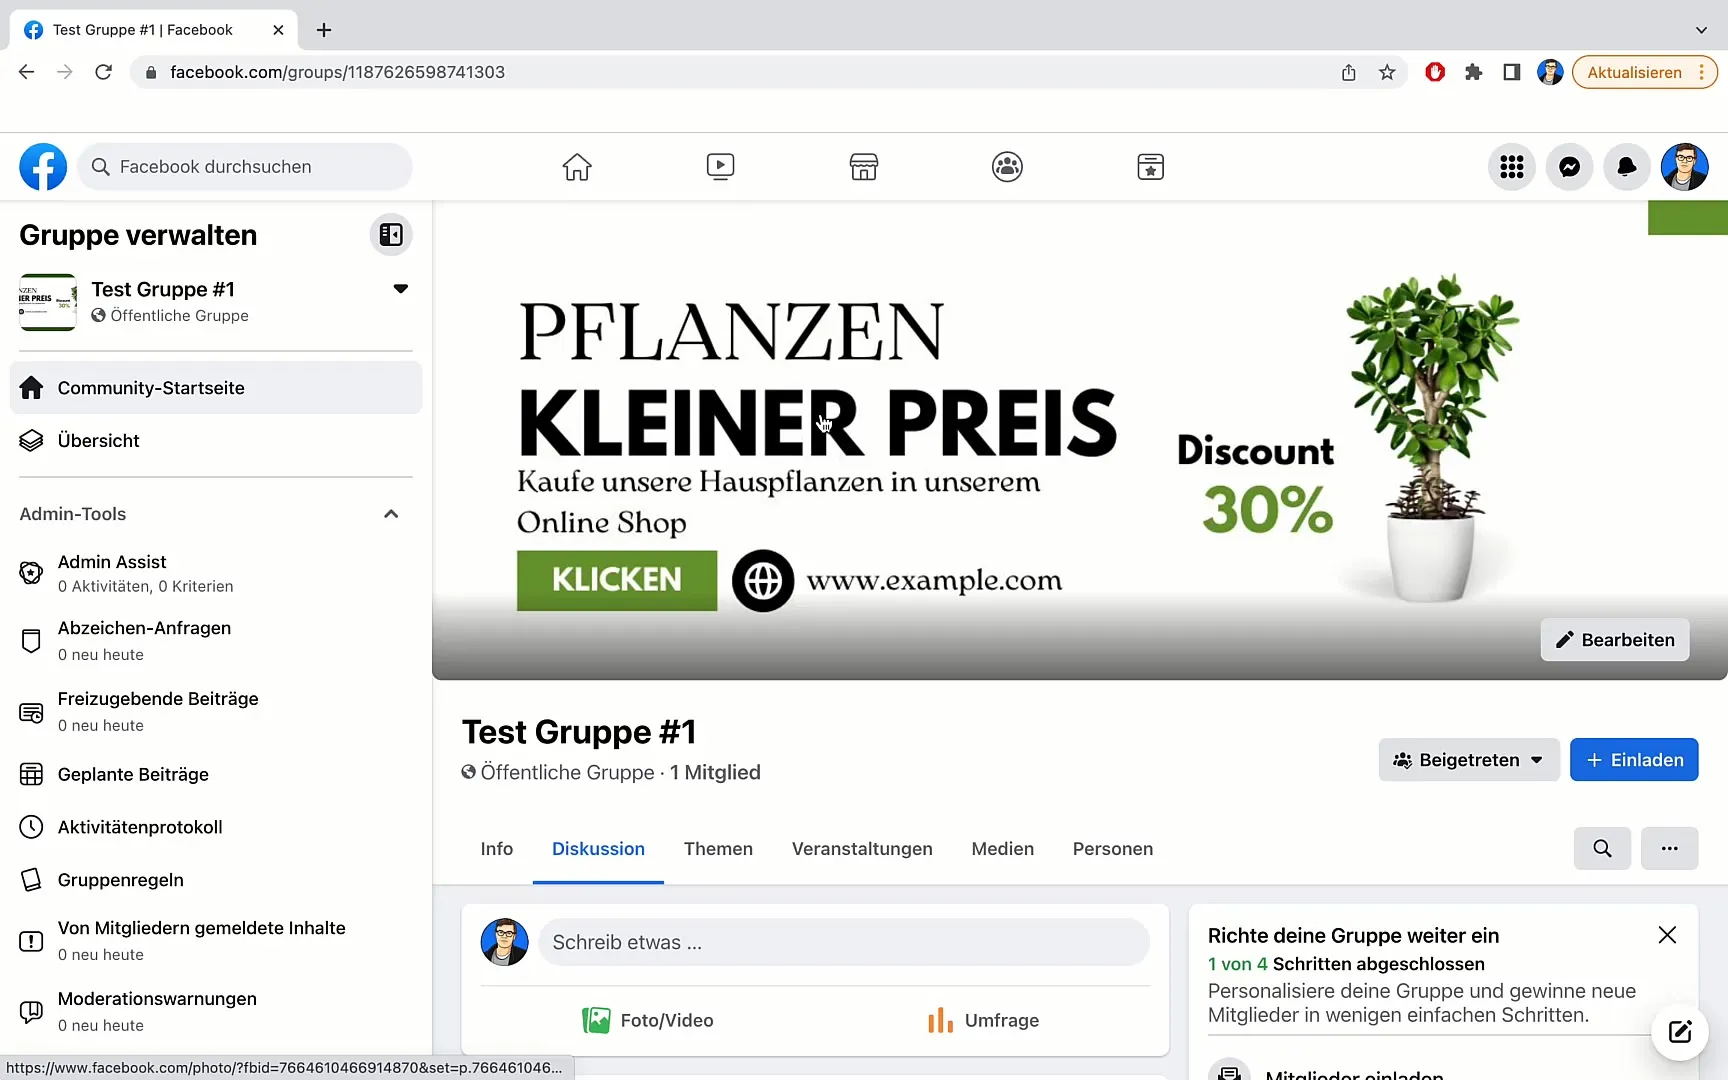
To enable the approval function, navigate to the left side of the Facebook group. Scroll down and look for the option to access "Group Settings."
Modify the Discussion Settings
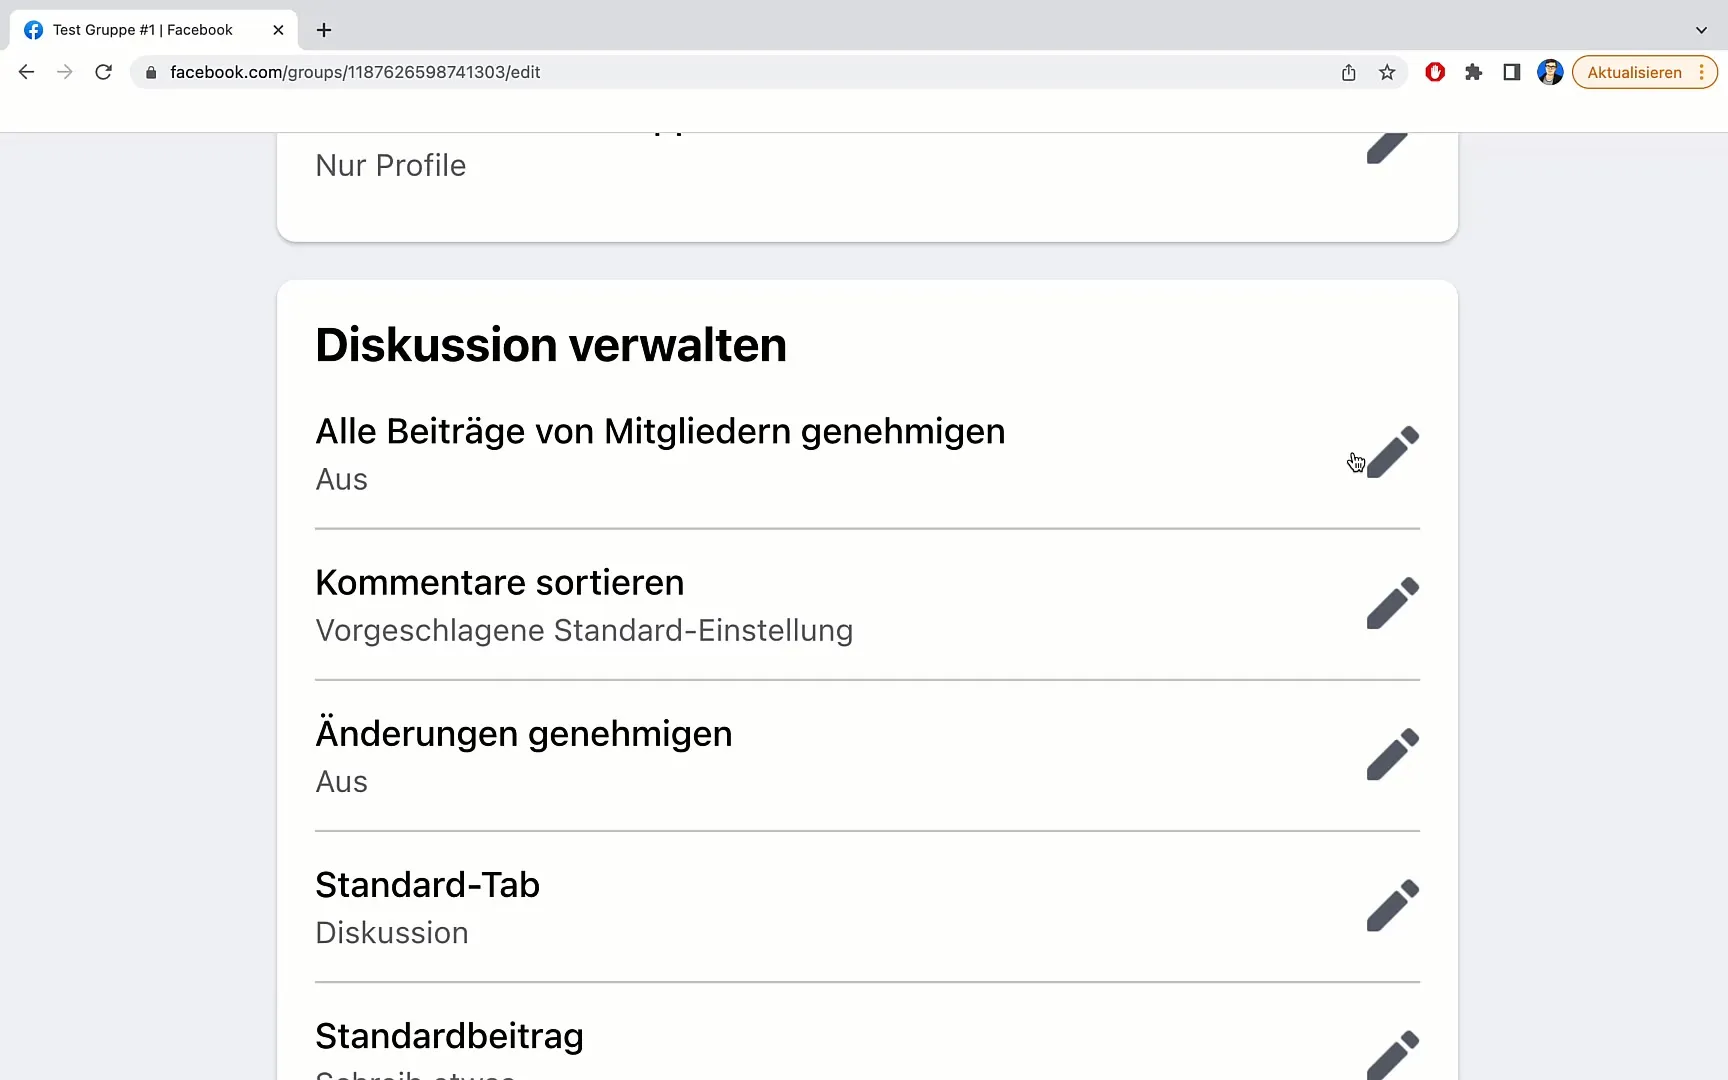
In the Group Settings, you will find many options, including "Manage Discussion." Here, you can adjust specific settings for approving member posts.
Activate Post Approval
Once you are in the "Manage Discussion" section, you will see the option "Approve all posts from members." Click on it to activate the function. This setting ensures that every post must be approved by an admin or moderator before becoming visible.

Save the Settings
After selecting the desired option, click on "Save." From now on, all new posts will require approval before appearing in the group.
Approving Member Posts
When members create posts now, as an admin, you must decide whether to approve them. You can easily do this by clicking on the relevant approval button. The post will then be immediately published.
Additional Post Sorting Options
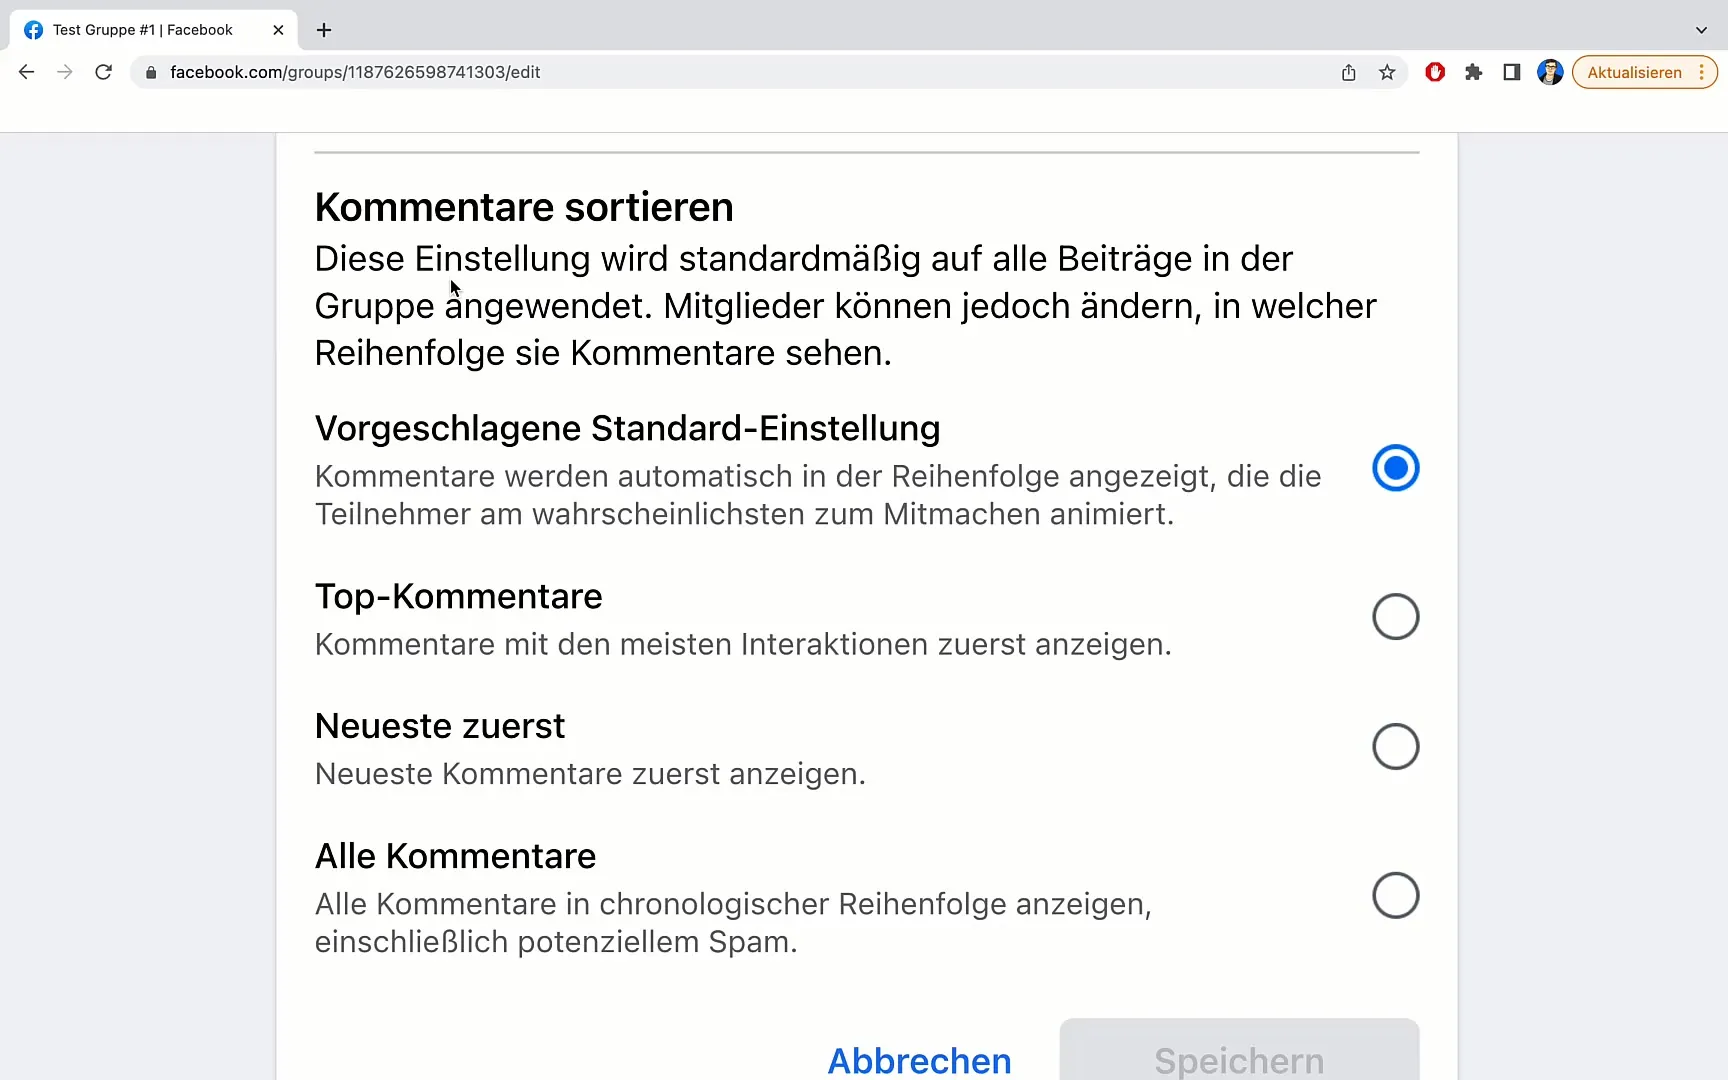
In addition to approving posts, you can also specify how comments should be sorted. You have the option to set the default order for comment sorting to promote interaction within the group. This can help display the most discussed posts or the latest comments first.

Set Participant Rules
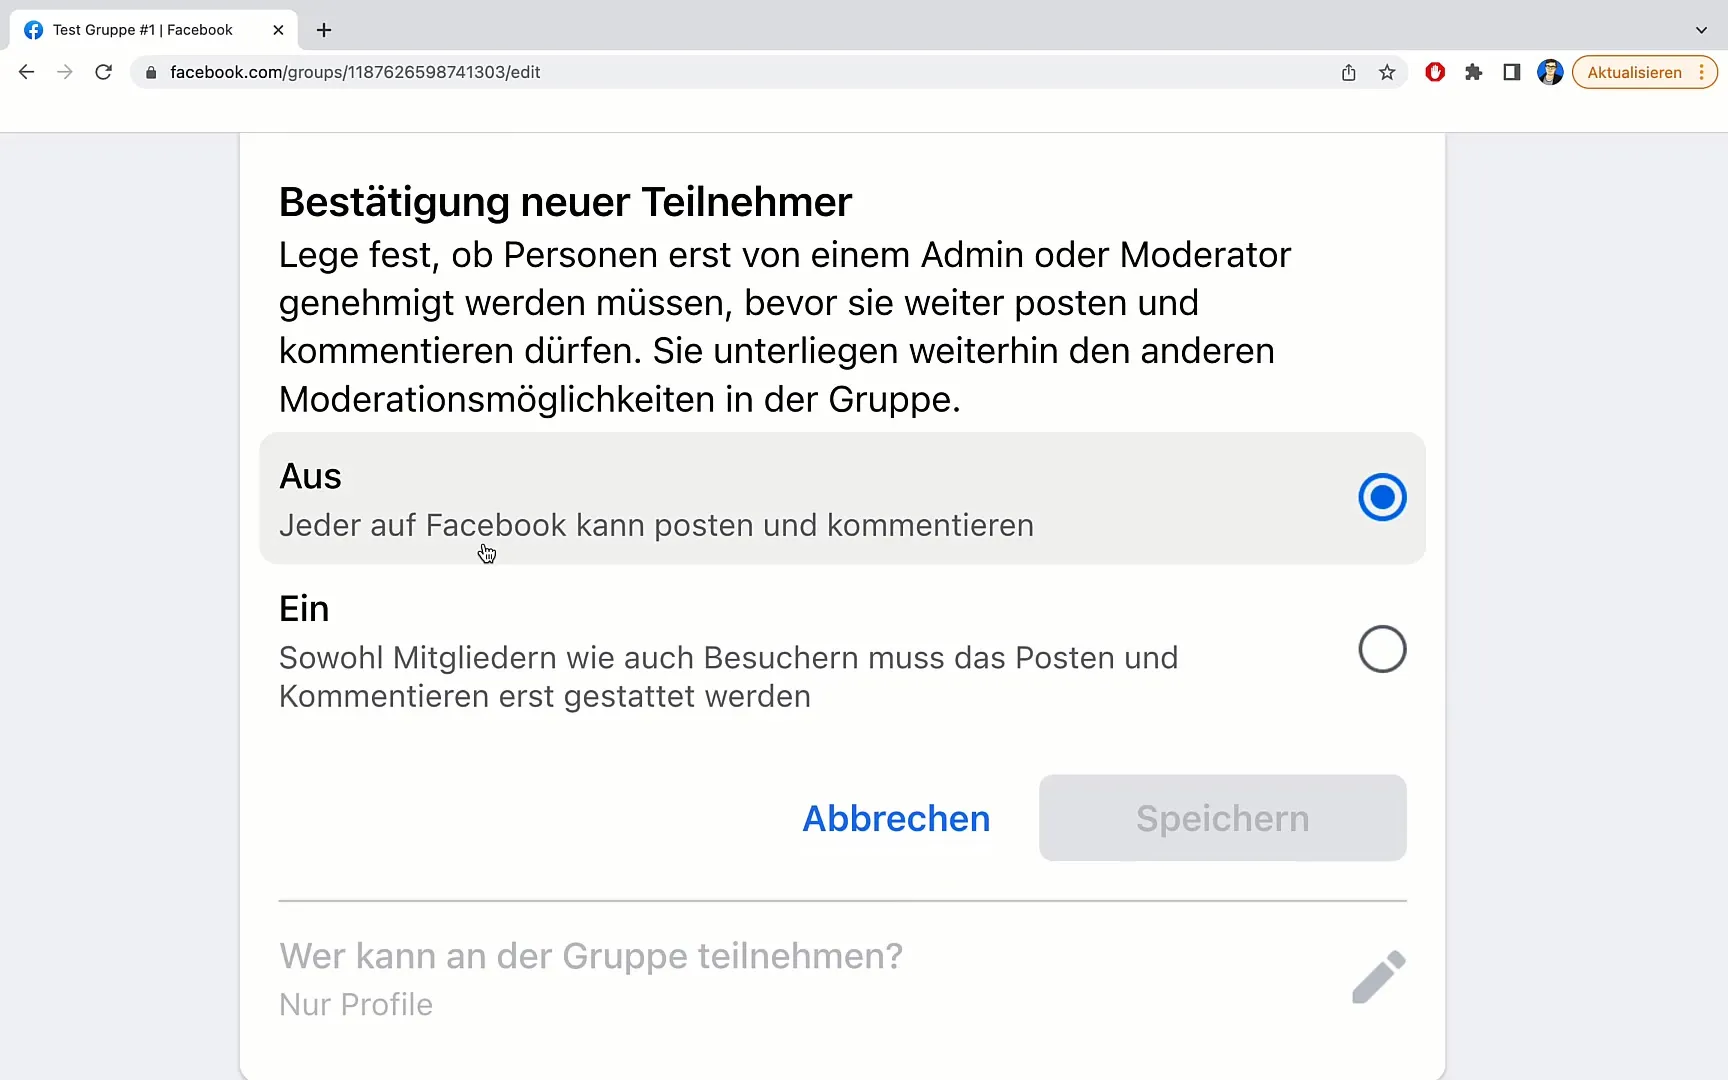
Consider who should be allowed to participate in your group. You can choose between profiles and pages and decide who can post and comment. This decision depends on your target audience and the goals of your group.

Conclusion and Outlook
With these steps, you are well-equipped to set up post approvals in your Facebook group. This not only contributes to the quality of discussions but also protects against spam. Remember to communicate openly with your group members about these regulations to create a positive and respectful community.
Summary
In this guide, you have learned how to enable post approval settings in your Facebook group as an administrator. This measure protects the group from spam and contributes to a pleasant user experience.
Frequently Asked Questions
What is the advantage of approving member posts?Approvals protect the community from spam and inappropriate content.
How do I activate post approval?Navigate to group settings and enable the option "Approve all posts from members."
Must all posts be approved?Yes, all posts must be approved by an admin or moderator.
What do I do if a post is inappropriate?You can reject the post and take appropriate steps to uphold the topic rules.
Can I deactivate the approval later?Yes, you can change the settings in the group settings at any time.


