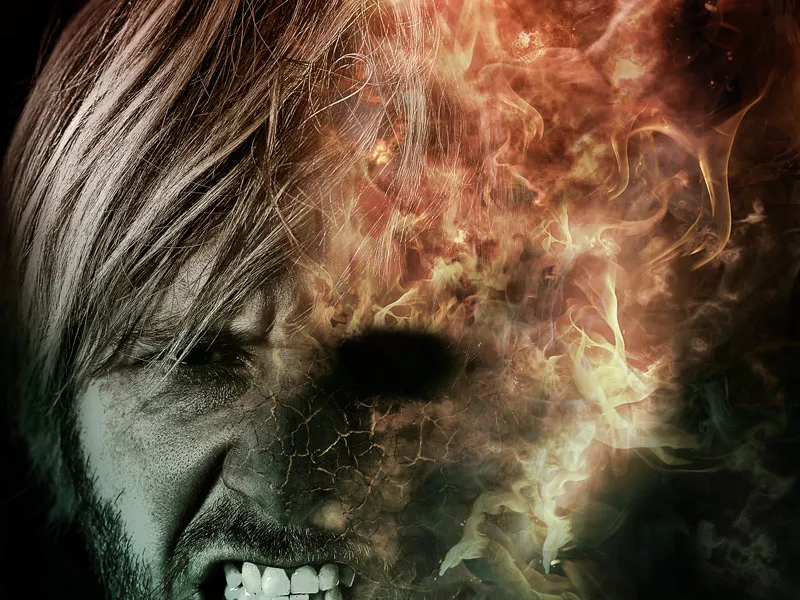
A fire effect on a face is a powerful technique that adds drama and energy to your image. Photoshop allows you to create this look step-by-step by skillfully using embers, flames and light reflections. In this first part of the tutorial, I'll show you how to lay the foundation for the fire effect, adjust the skin texture and integrate the first glow effects. Let's get started and turn your portrait into a fiery work of art!
Fire effect on the face
The fire face tutorial uses various editing options to create this effect.
Step 1 - Prepare the portrait photo
A portrait photo that is as dark as possible can be used as a starting point so that the effect comes into its own later on. I opted for a portrait of a young man whose facial expressions make him look somewhat evil. The way he looks almost invites you to play with the fire on his face. However, before I put the first flames on his face, I work on this portrait so that the right half of his face, as seen from us, is darkened. Editing the portrait is important as a preparatory measure.
The result of the editing should then look something like this: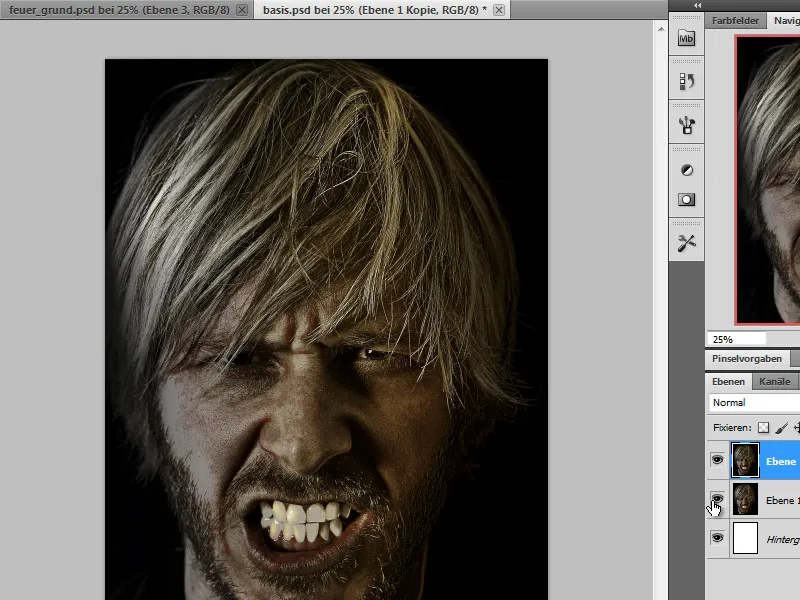
Step 2 - Creating the fire wall
The aim of this step is to create an area of fire that we can later use to cover larger areas of the face. The main aim here is not to create real fire, but rather a blazing surface. This only requires a few editing steps in Photoshop.
I create a new working file, as large as possible, with a preset resolution of 300 pixels per inch. I have used the original dimensions of the portrait photo of 1700x2300 pixels in portrait format.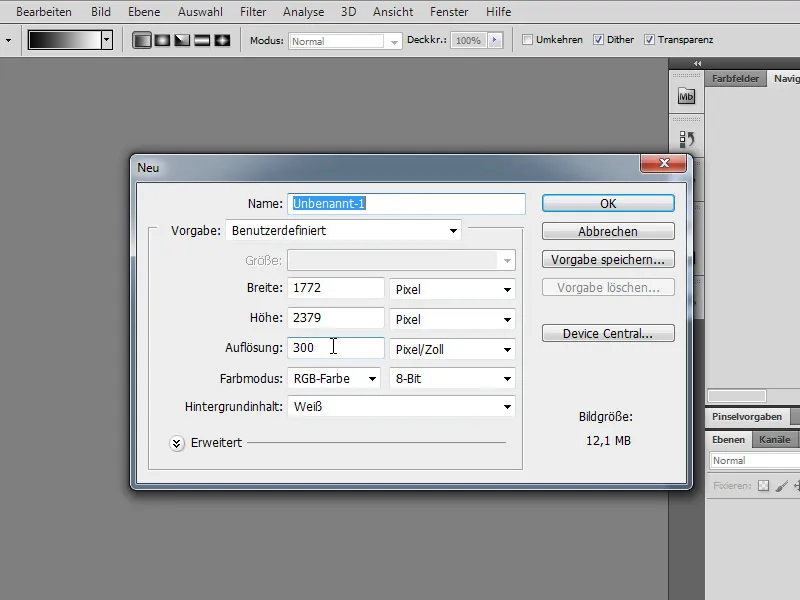
I fill this new workspace with a gradient adjustment layer. I set the gradient so that I move from a dark reddish brown to black.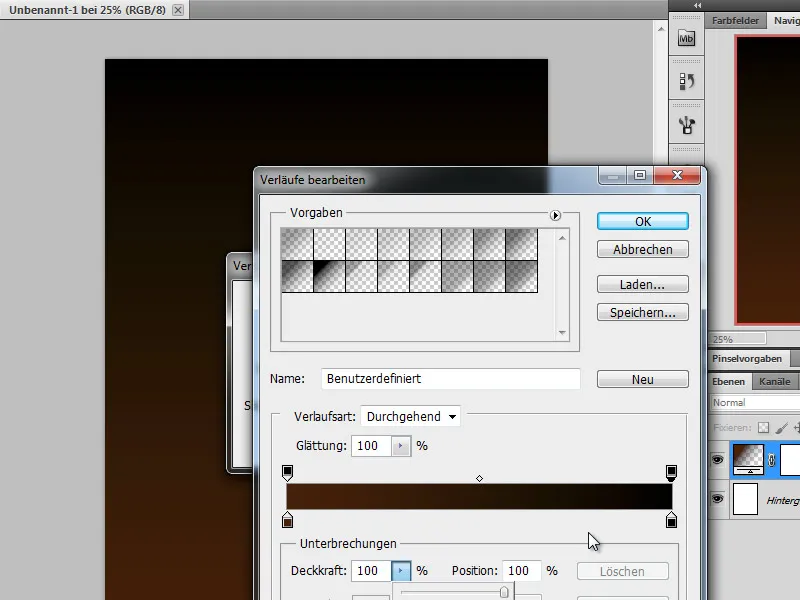
I create another new layer and color it black. The layer mode is switched to color dodge. I then set the foreground and background color to black/white and use a filter on this layer: the Difference Clouds render filter.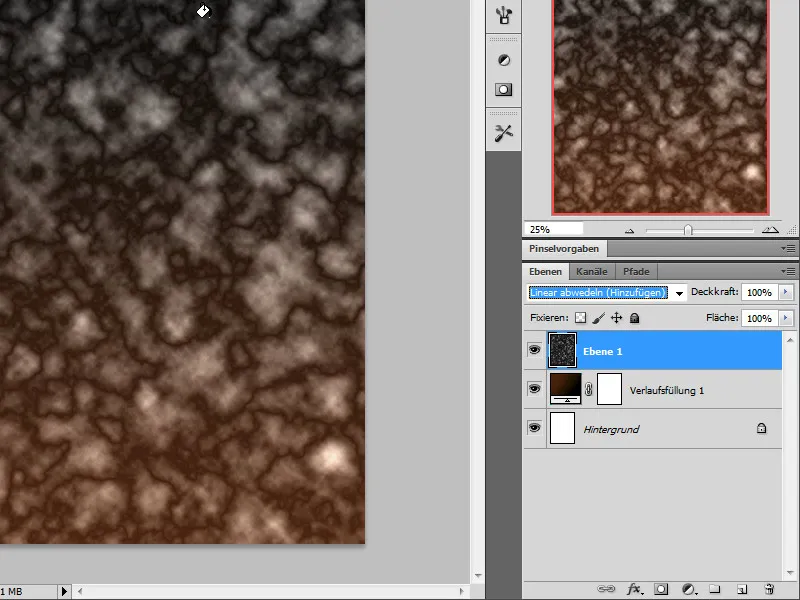
This filter ensures that I create a kind of cloud structure on this layer. I can use the key combination Ctrl+F to apply this filter repeatedly to my layer. This process is recommended for a better fire image.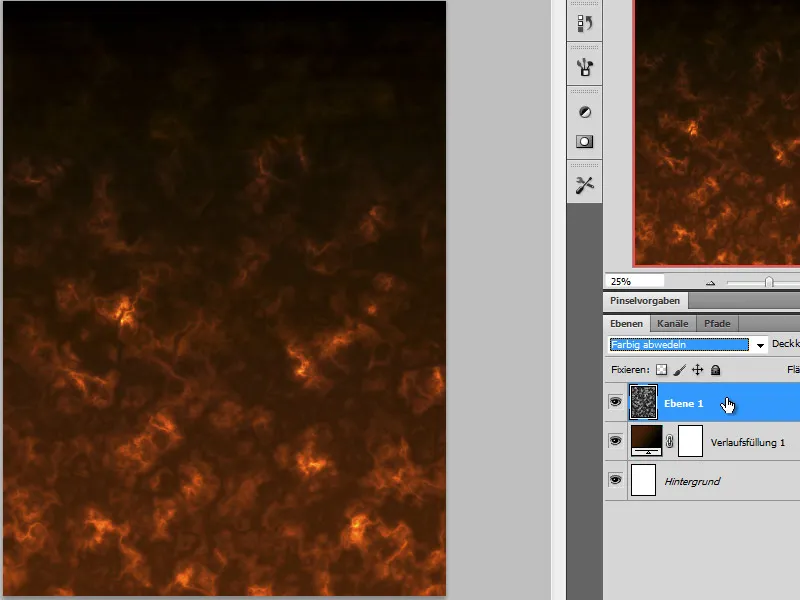
To create a brighter outline, I duplicate this layer. I can also give it its own structure using the Difference Cloud filter. If I want, I can adjust the color gradient of the adjustment layer. In addition to the linear gradient, the mirrored or circular gradient can also be used as a basis.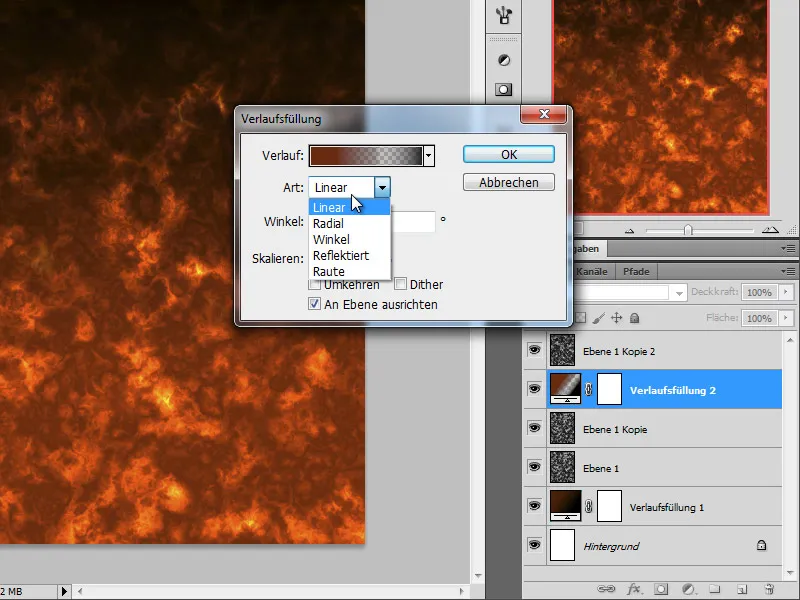
If the gradient and structure meet my requirements, I can combine the layers on a separate layer using Ctrl+Alt+Shift+E. I now need these areas in my portrait layer. It is advisable to save this fire surface file for later editing.
Step 3 - Place the portrait and fit using a layer mask
Our prepared portrait is now opened or placed in a new work file. I make sure there is enough space on the right and top for the flames I still need to add.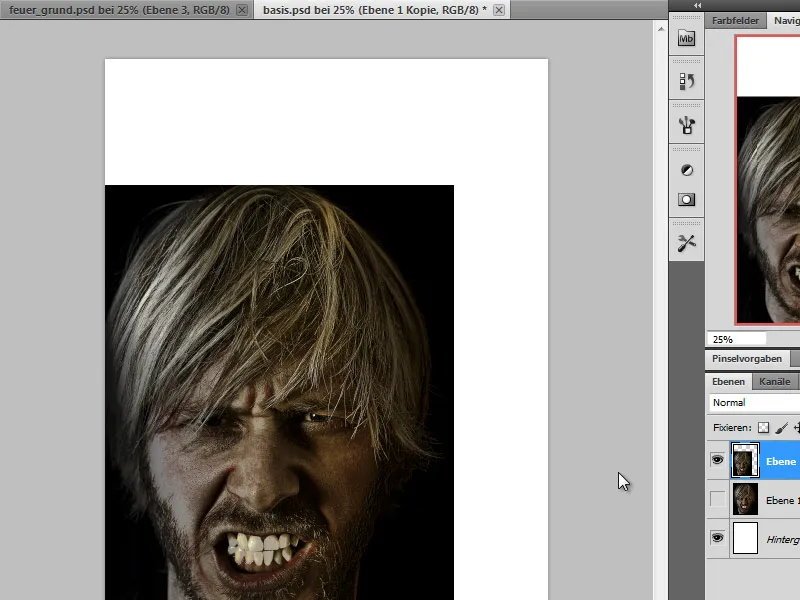
My portrait still has a small blemish - it is not quite round at the top of the hair. I therefore create a layer mask on the image and blend this area gently into the rest of the background.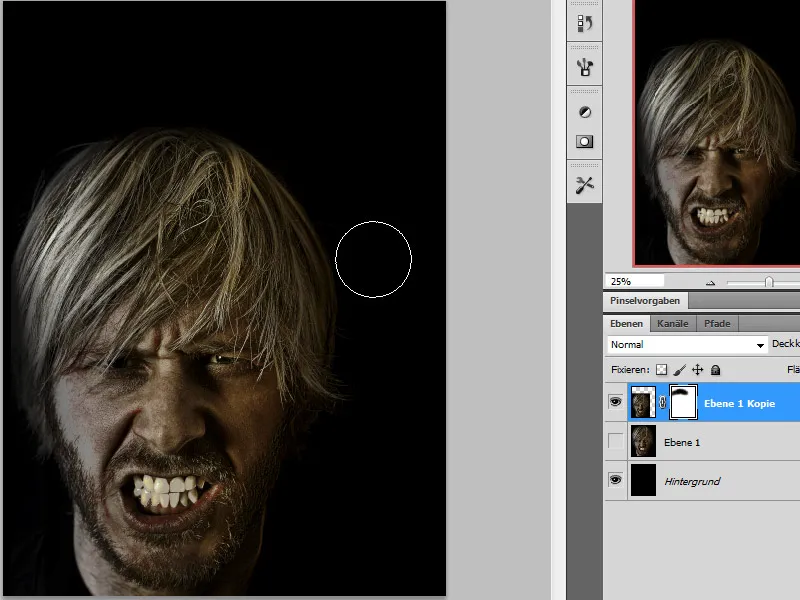
Step 4 - Adding fire to the face
Now it's time to get started with our world of flames on the face. I load the fire wall background images I created earlier and drag one of my backgrounds into the picture.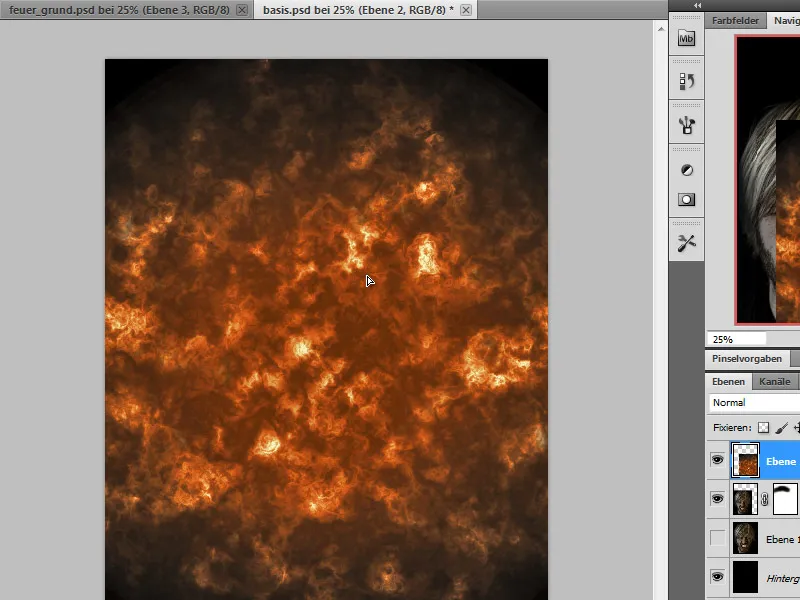
This wall of fire now completely covers the face and I create a layer mask on this layer. Using a large, soft brush, I now Blender out parts of the image.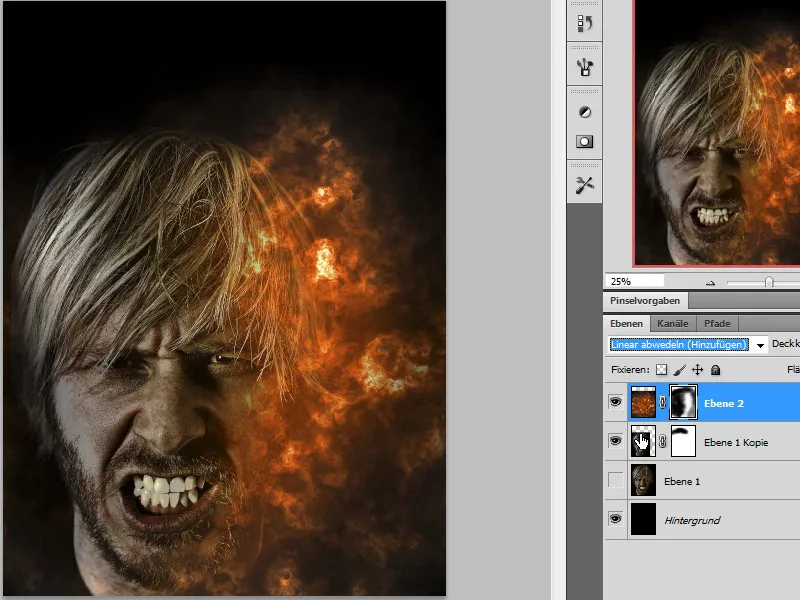
Step 5 - Contour for orientation
During the editing process, it became apparent that the orientation could be lost with the increasing application of fire, as the right-hand side of the face would be completely covered. To retain the original contour, I roughly trace the contours of the face with a pen tool and initially fix this layer at the top of the layer stack.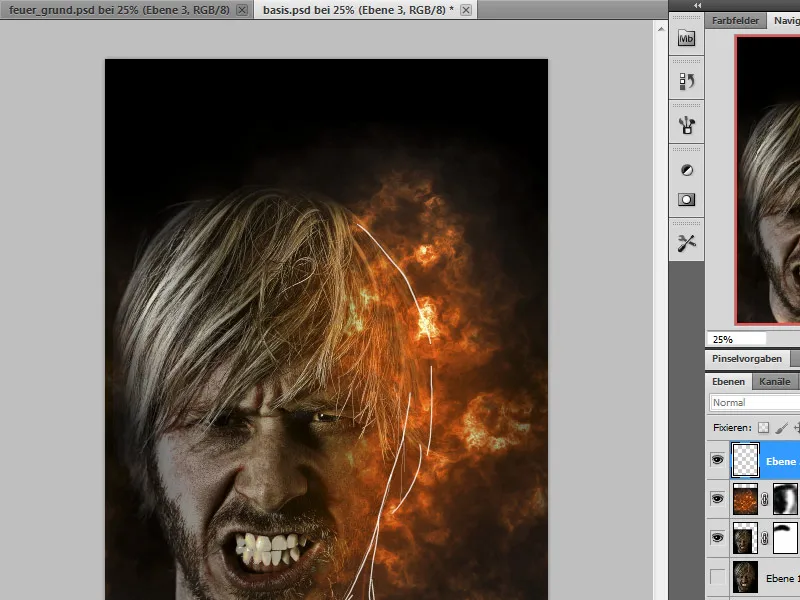
Step 6 - Fire - more fire (repetitive steps)
Now it's time to add real flames. I take these from other pictures, cut them out and put them together in the picture like a puzzle. To do this, I open an image of my choice with flames and cut out the required parts of the image to insert them into my portrait layer.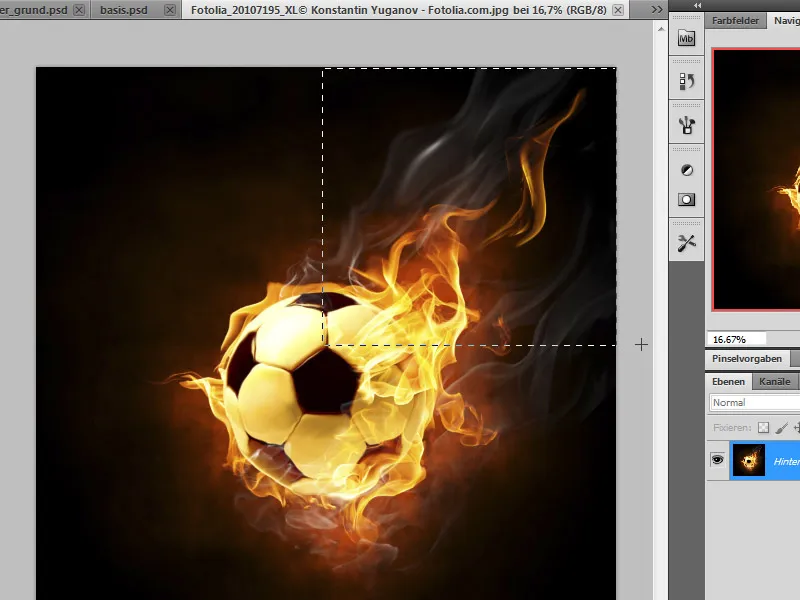
I change the size of the inserted image using the transformation tools. I can use the optional scaling, rotation or even the distortion tool.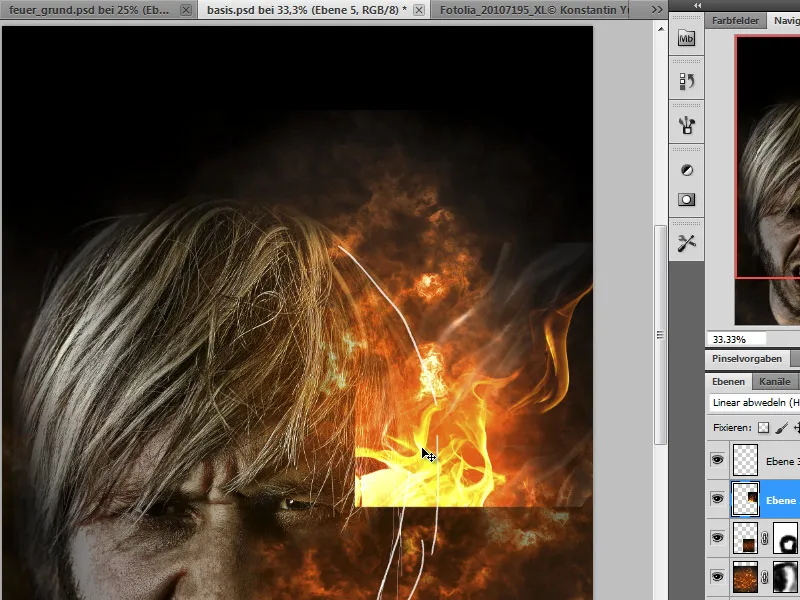
Once the piece of fire has been fitted in, it is adapted to the conditions on the face using a layer mask.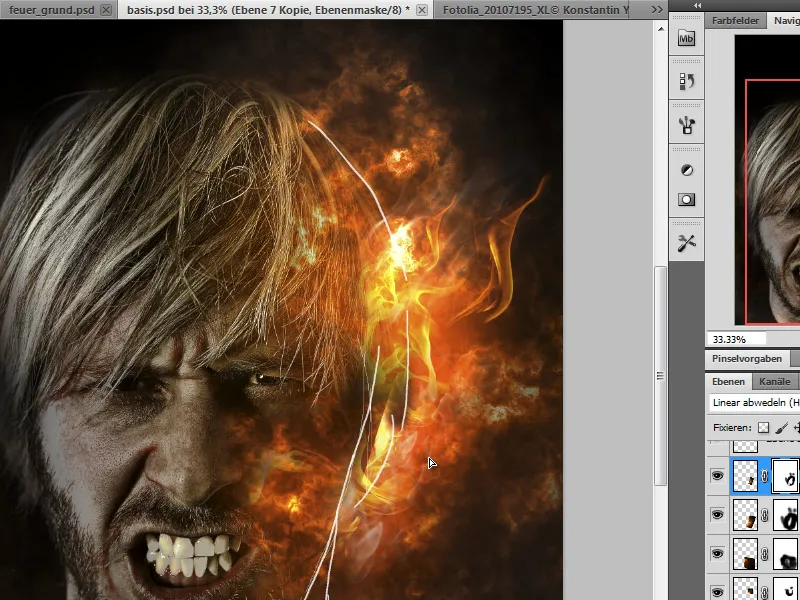
Various blending functions are available for the layers so that the fire can blend into the face. These include darken, copy into each other, multiply negative or dodge linear in the layer palette as a layer mode, which I can set as required. In this way, the fire parts are added to the image piece by piece.
Step 7 - Darken the eye
In the next step, I want to darken the eye. To do this, I use the post-exposure tool and apply it to the eye area. Before I do this, I create a copy of the portrait and Blender out the parts of the face that I don't need using a layer mask.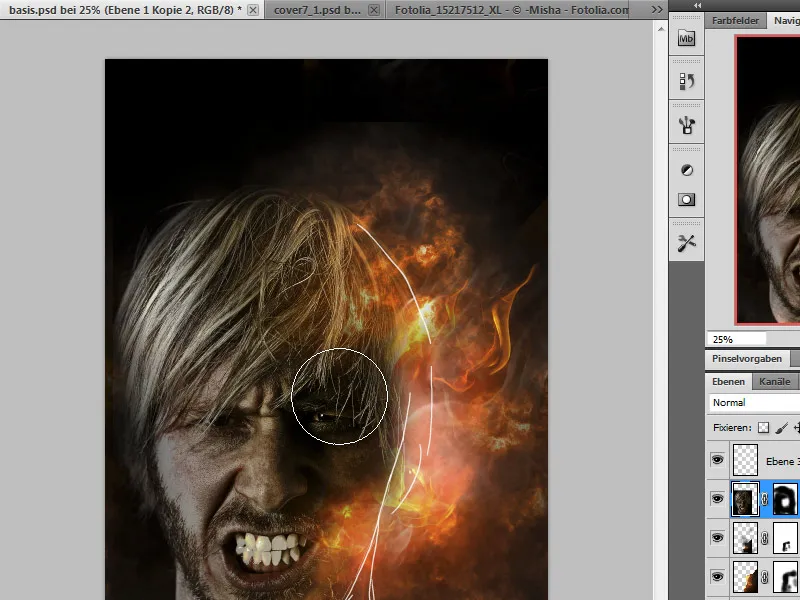
Step 8 - Adding tears to the face
I want to create more tension by integrating a torn skin structure. To do this, I simply use a picture of a dried-out floor.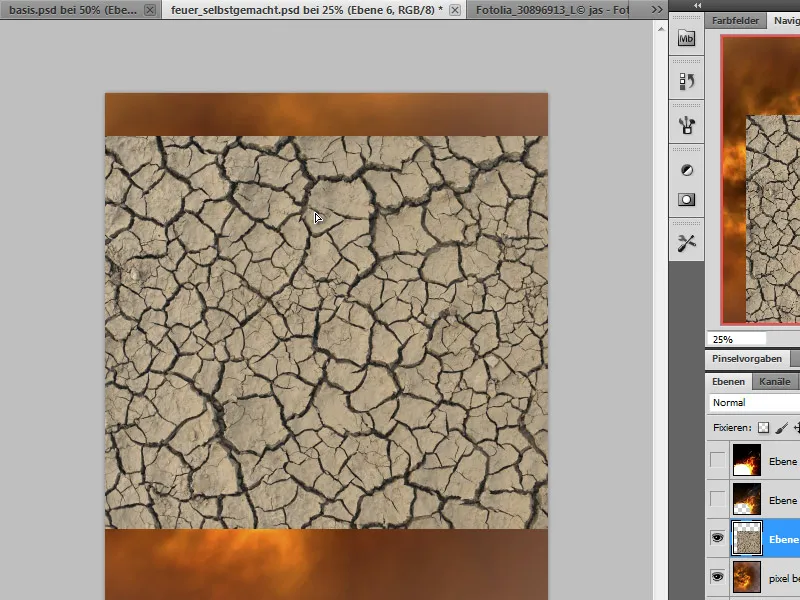
These cracks are then marked using a selection.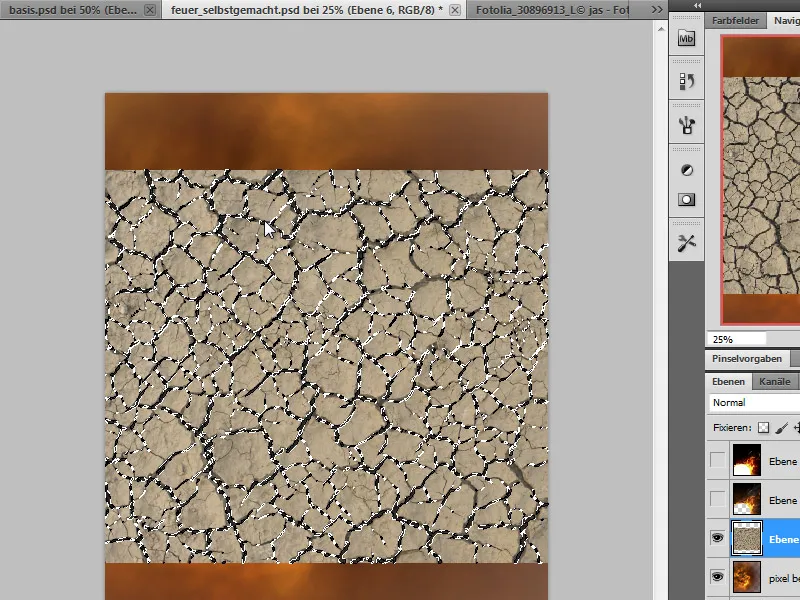
I import one of my backgrounds from the firewall file and copy parts of it using this selection.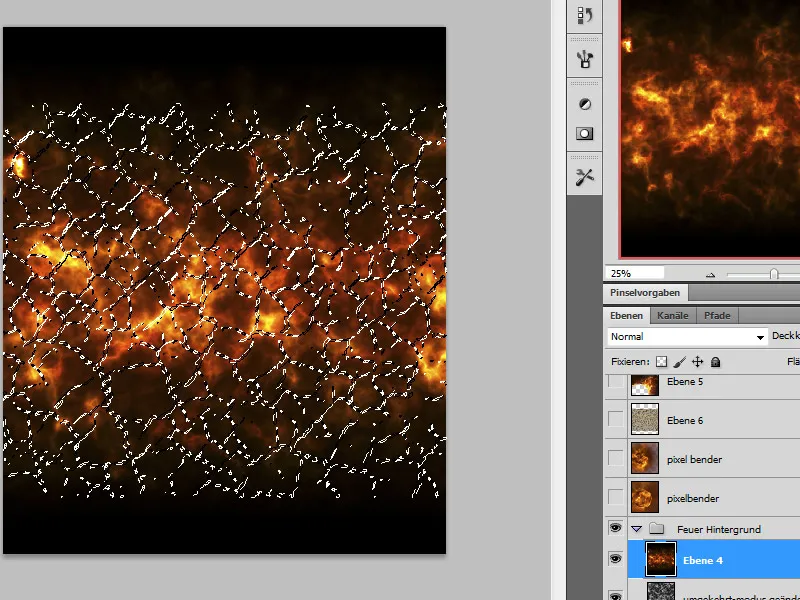
I duplicate this copy of the cracks to be on the safe side. One of these crack layers is now moved in the Multiply negative mode so that the cracks fit better into the image. A layer style is assigned to the layer, which I use to emphasize the structure of the cracks. To do this, I double-click on one of the crack layers and assign the flattened edge and relief style to this layer.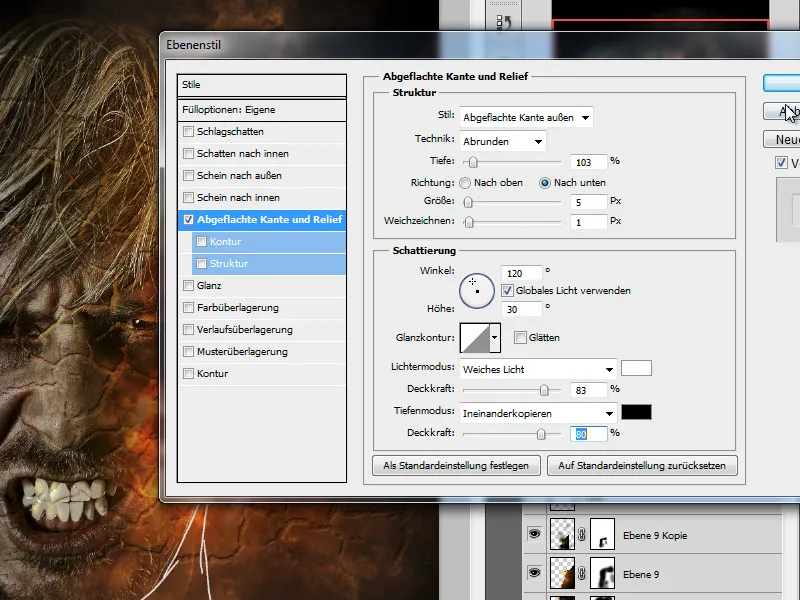
The opacity of the area is also reduced. I scale the size so that the cracks are where I want them to be.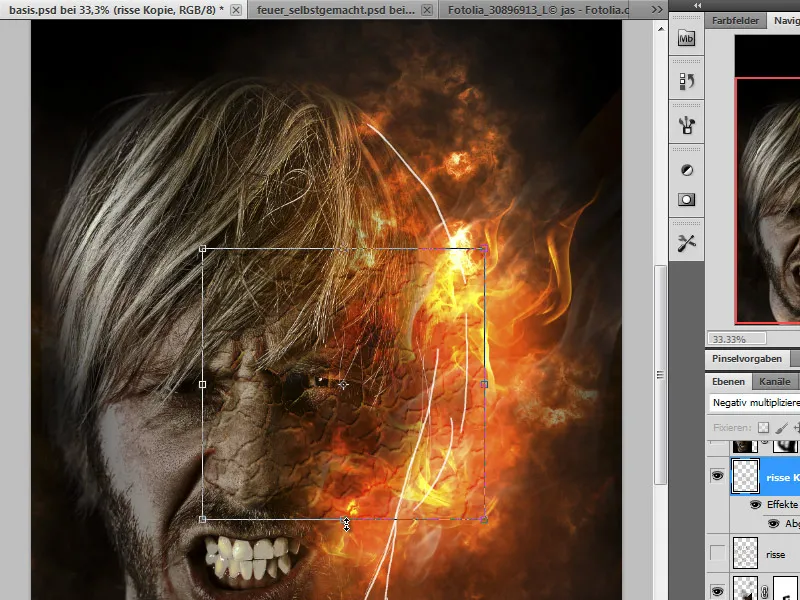
Now I edit the layer style again and set the Flattened edge and relief mode to Flattened edge inside.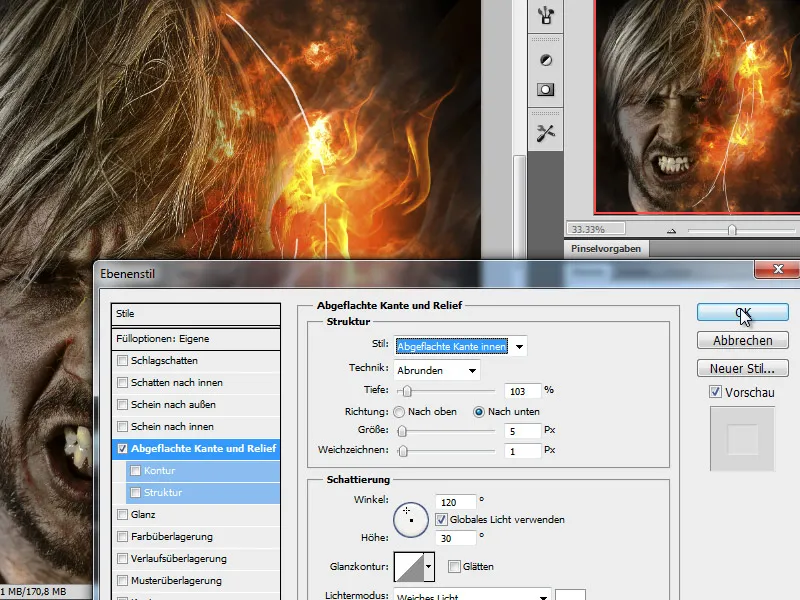
To create a more intense glow, I increase the opacity of the layer again.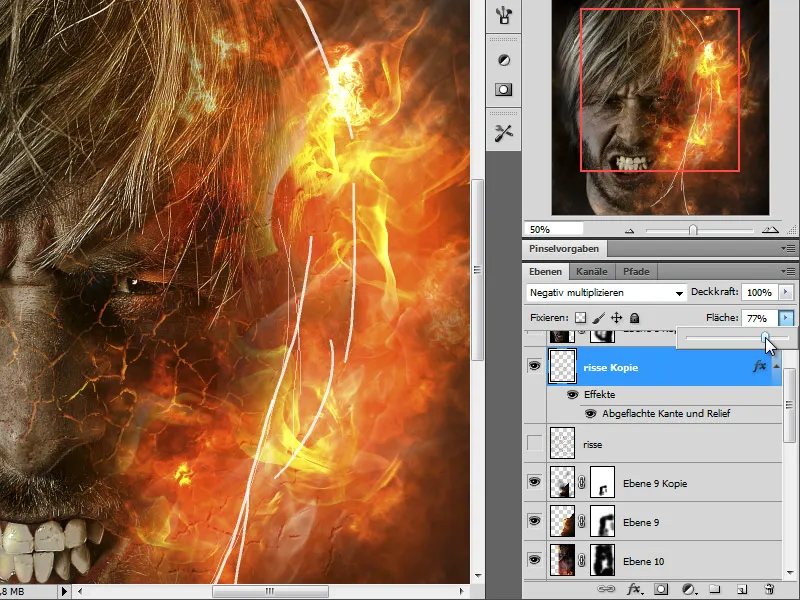
Step 9 - burnt skin
I repeat the step with the insertion of the crack layer with the aim of simulating burnt skin. After inserting the layer, I release the unwanted parts of the image using another layer mask.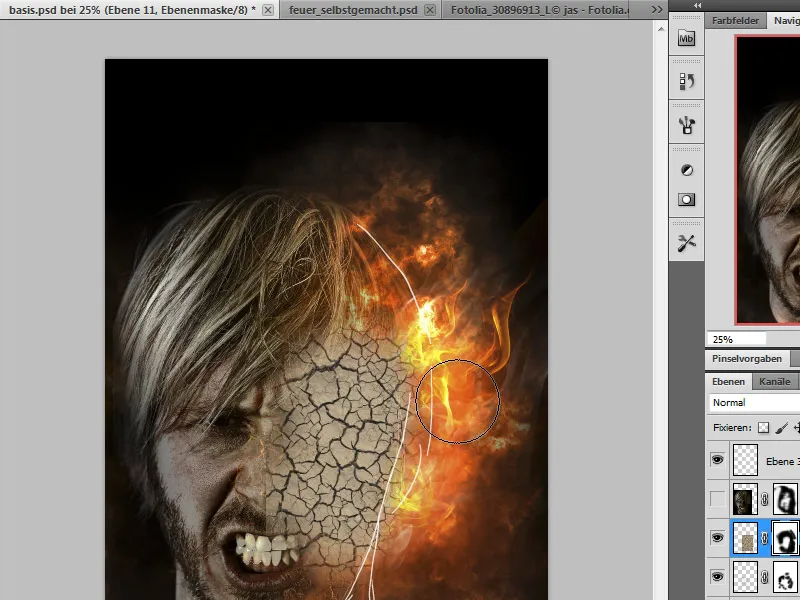
The layer mode is set to Subtract and the opacity of the layer is adjusted.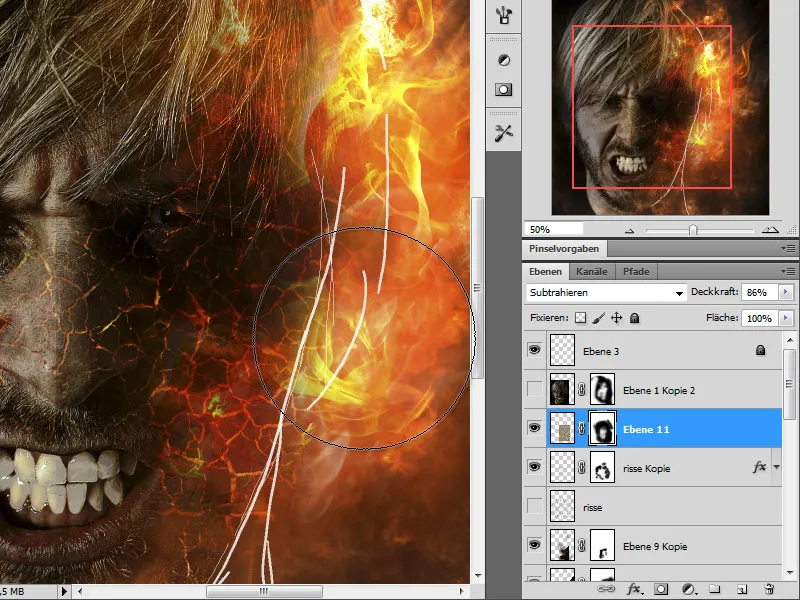
To make the effect stand out even better, I apply a tone correction to this layer. It will distribute the nuances in the image better.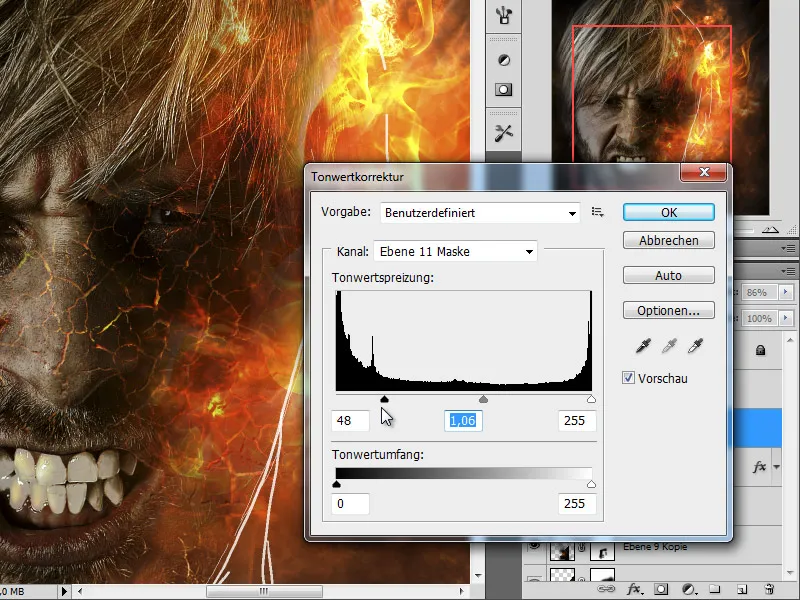
Step 10 - the eye
At the moment, the eye from the portrait layer is still showing through. However, I would like to apply a black spot there. I do this using a simple method: applying the paint with a brush on a new layer. To make the shape fit in better, I use the warp function on this layer to adjust the shape.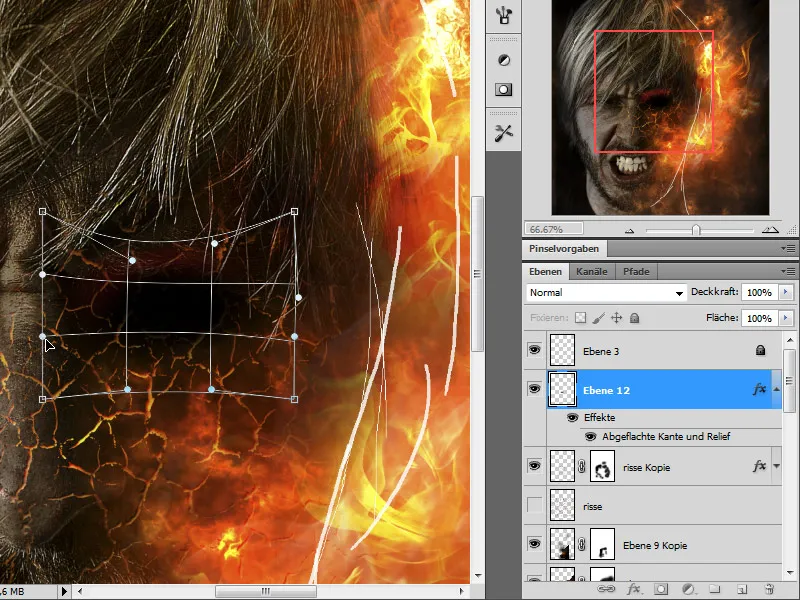
Step 11 - Complete the fire
Now it's time to continue the design with the fire.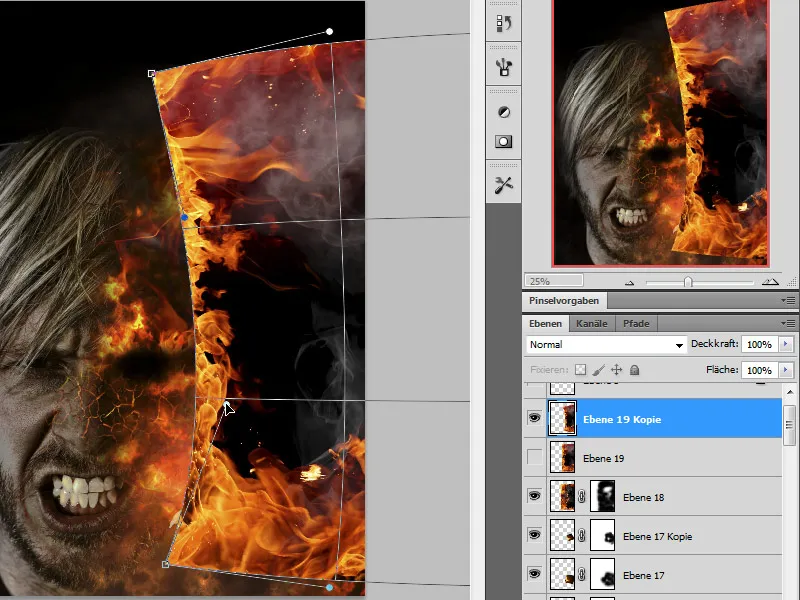
I have already explained the necessary steps above.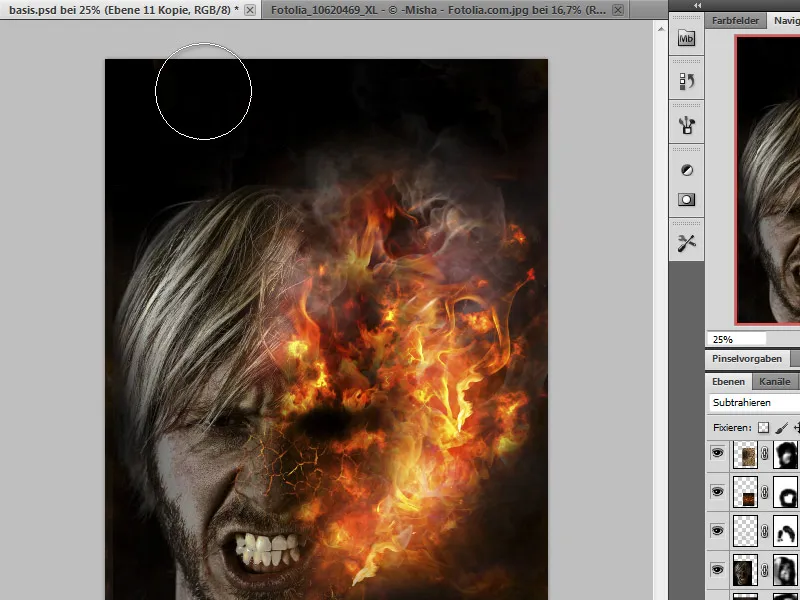
Step 12 - assemble, make color corrections
Now our picture is basically finished and the final touches are needed to optimize perception. I therefore call up a selective color correction with the layer merged (Ctrl+Alt+Shift+E) and remove the red components a little. I can also sharpen the image if necessary.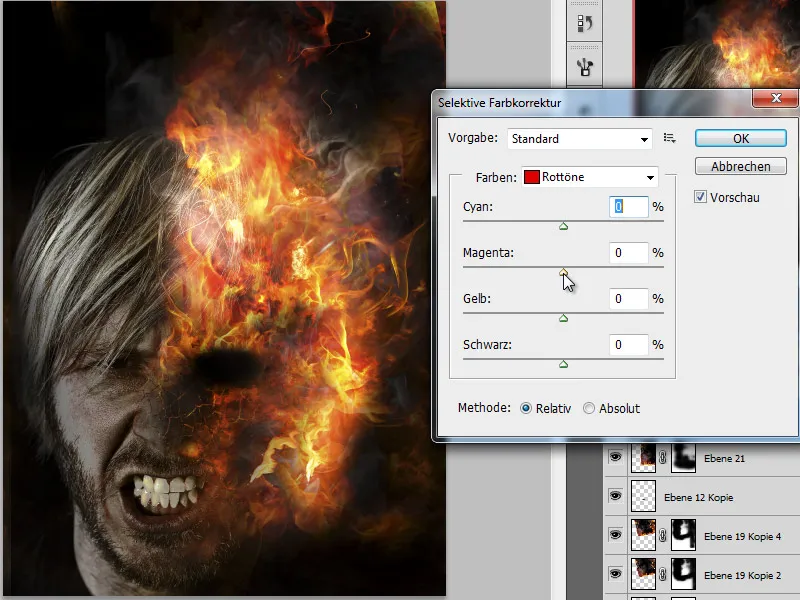
Final
This is my result: