In this tutorial, you will learn how to add additional steps to a Flow in Facebook Marketing. You will learn how to interact with various options and improve the user experience of your chatbot interactions. It is important that you already understand the basics of Flow creation in order to effectively utilize the new steps.
Key Takeaways
- With the available options, you can customize your Flow and enable various user interactions.
- Methods like Randomizer and Smart Delay help make communication more dynamic and engaging.
- Interactive design is crucial for increasing user engagement.
Step-by-Step Guide
First, let's look at how to add new steps to an existing Flow. In the last video, you configured your Starting Step; now it's about moving forward.
First, ensure that your Flow already has a Starting Step that sends the first message. Your first message could be: "Hello Leon, thank you for subscribing to our newsletter bot."
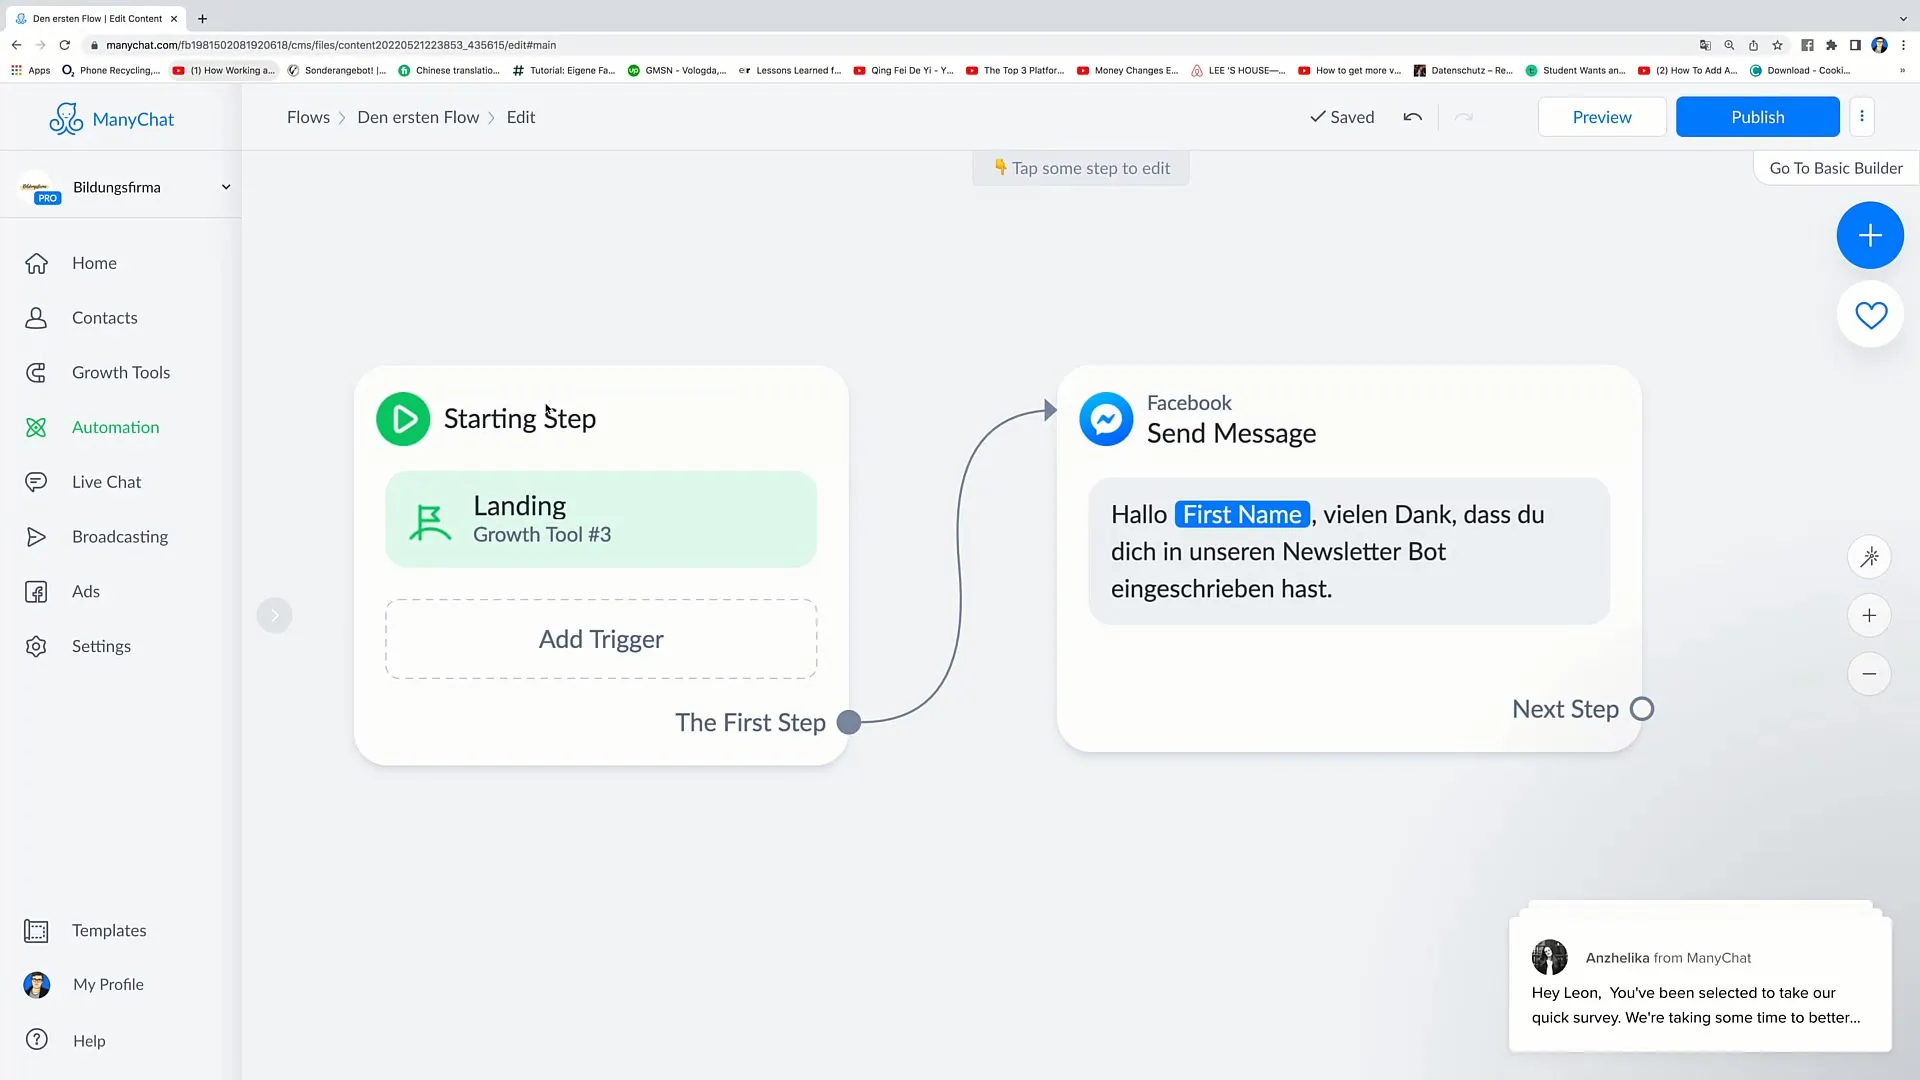
Now you can add the next step. To do this, switch to your Flow and drag the "Next Step" circle to the desired position in your Flow.
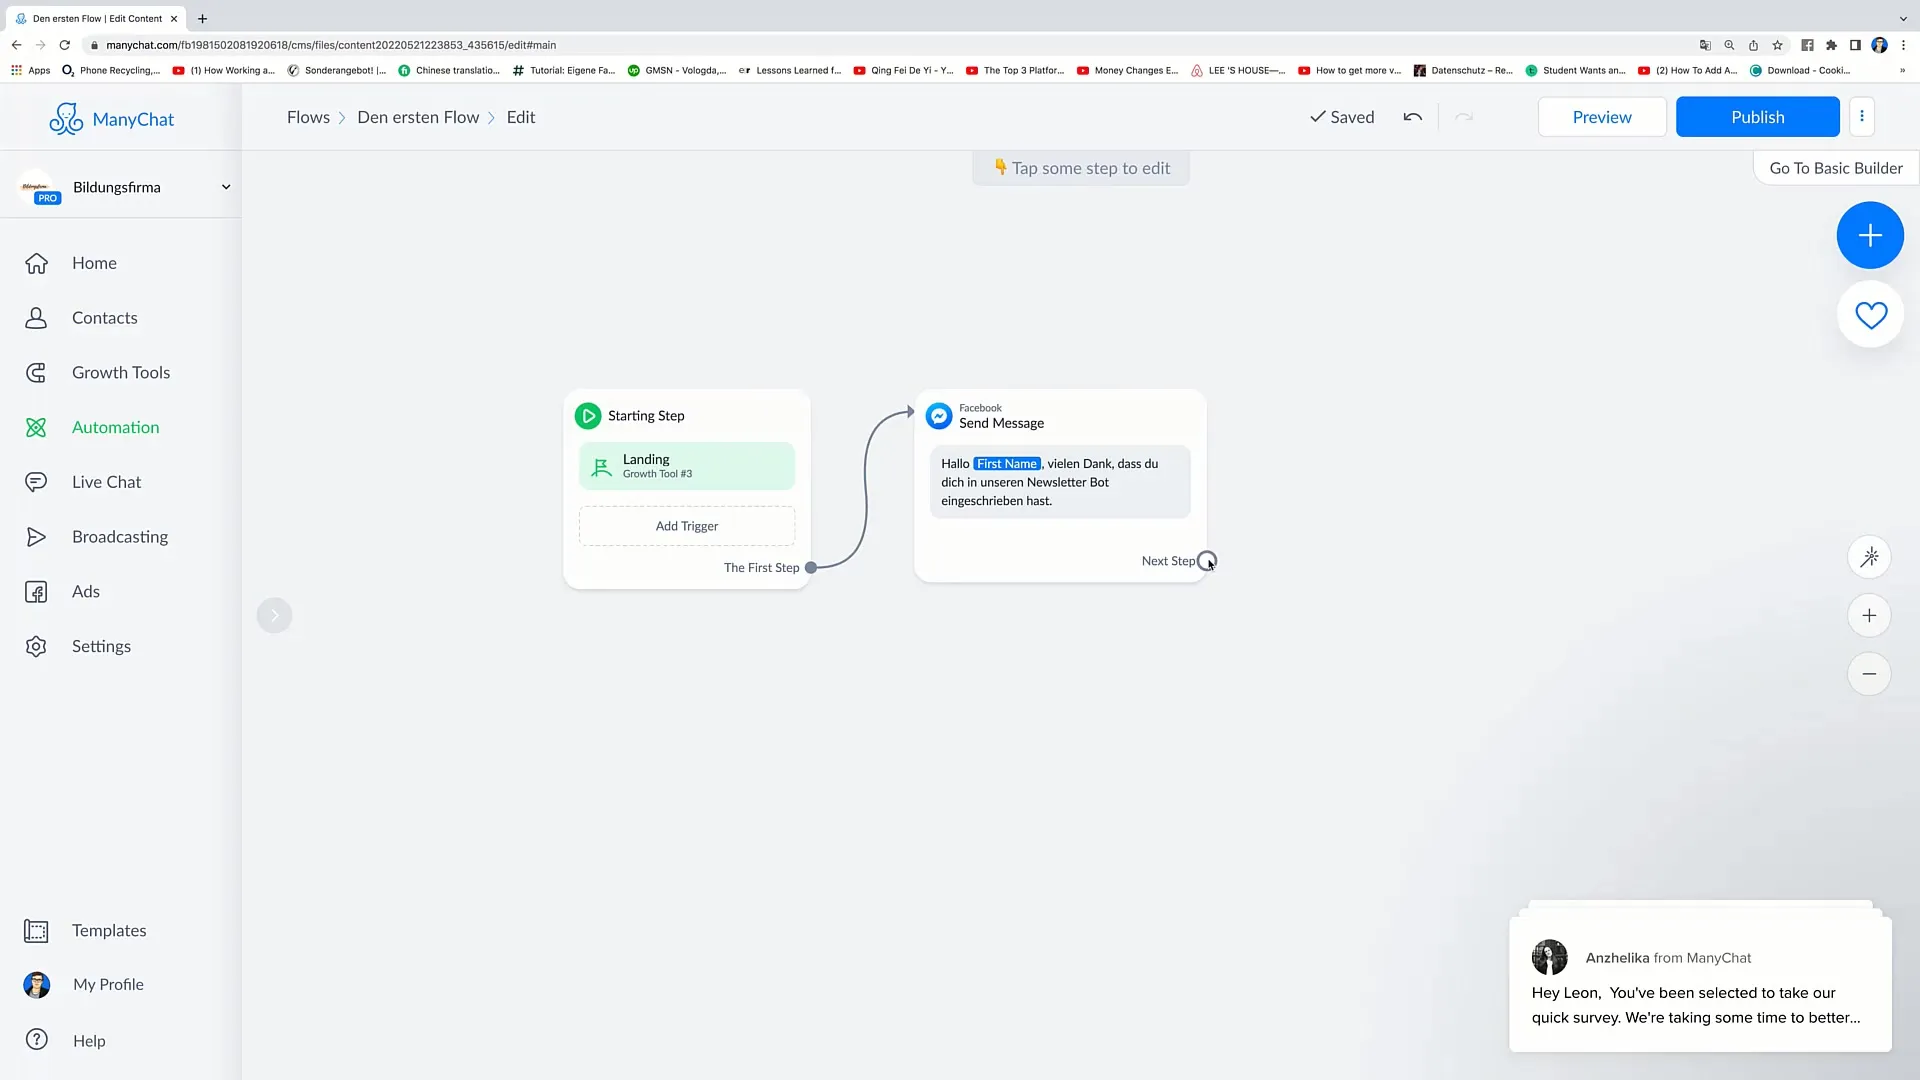
The options available to you now are Messenger for another message, Actions for specific actions, Conditions for conditions, Randomizer for random decisions, Smart Delay for time delays, and Start Flow to connect to another Flow.
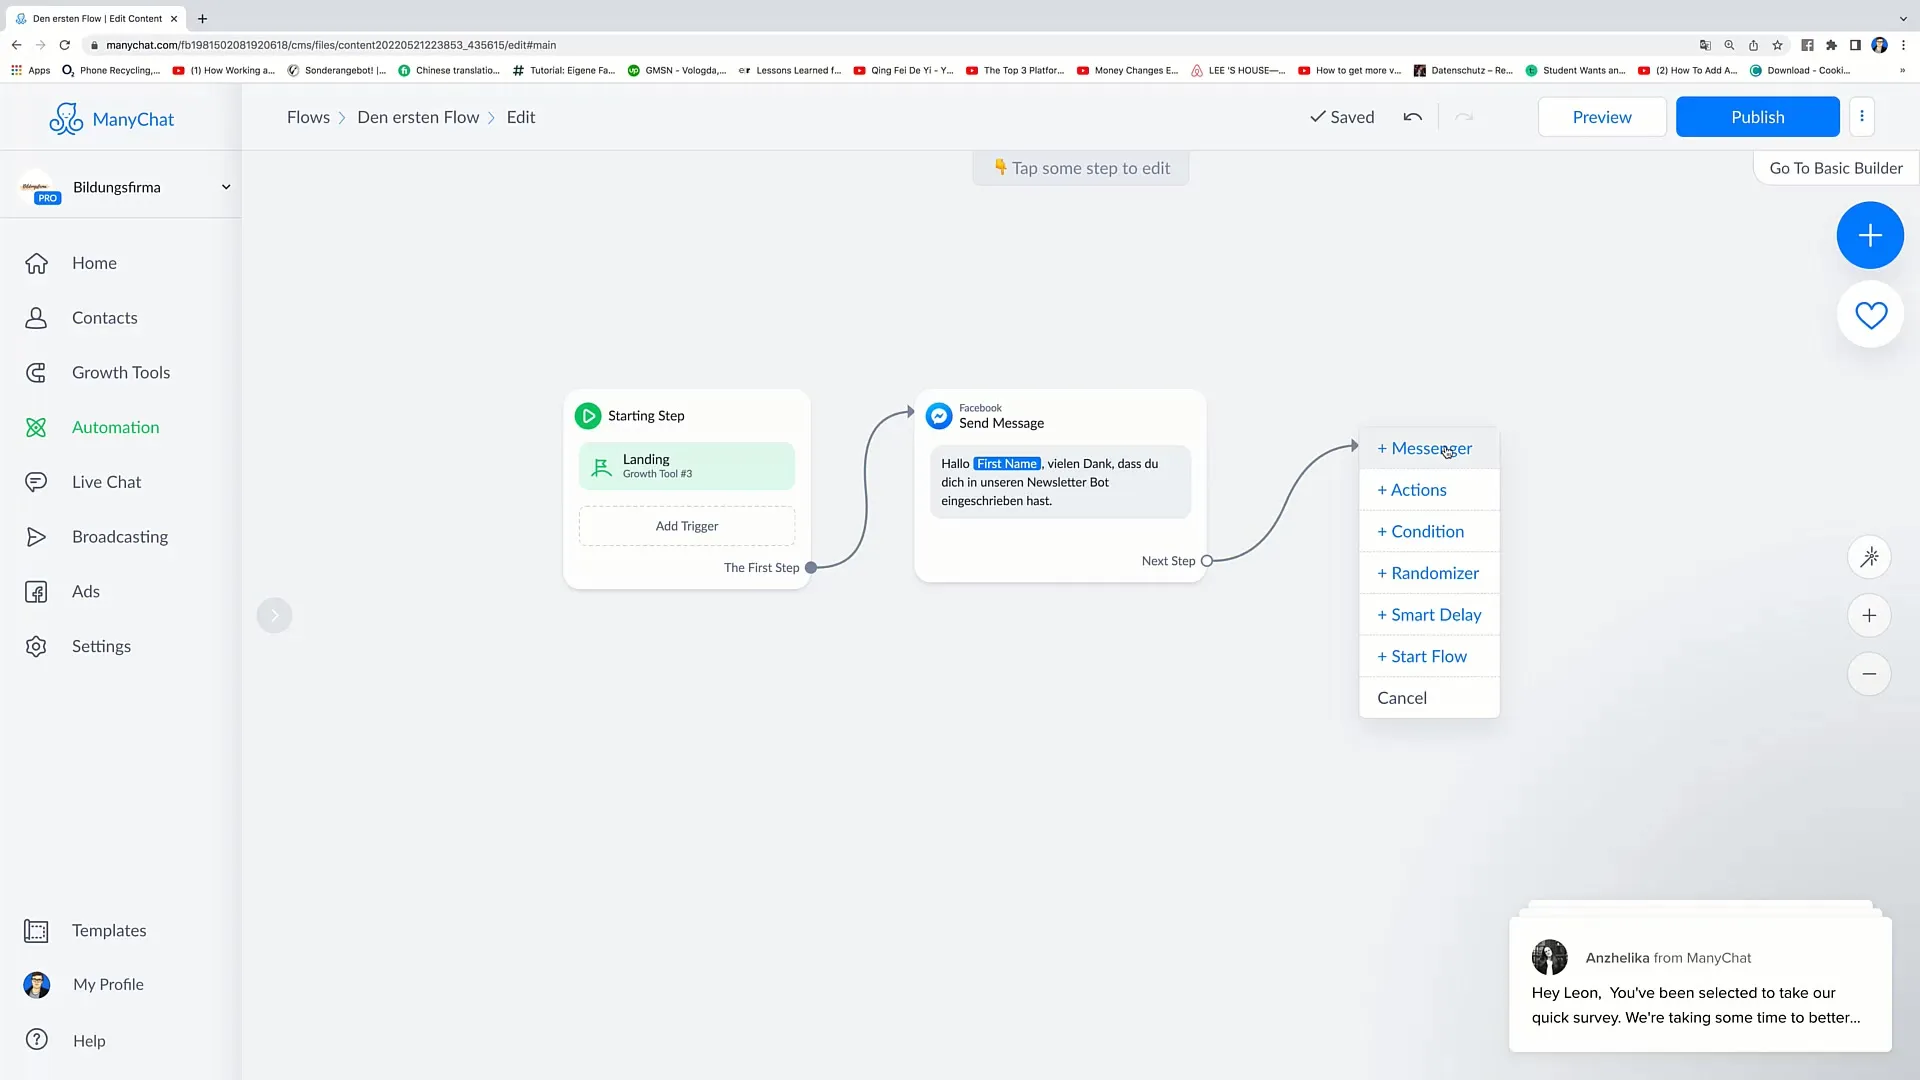
If you want to send another message, select the Messenger option. You can enter your text here. An example text could be: "How are you?"
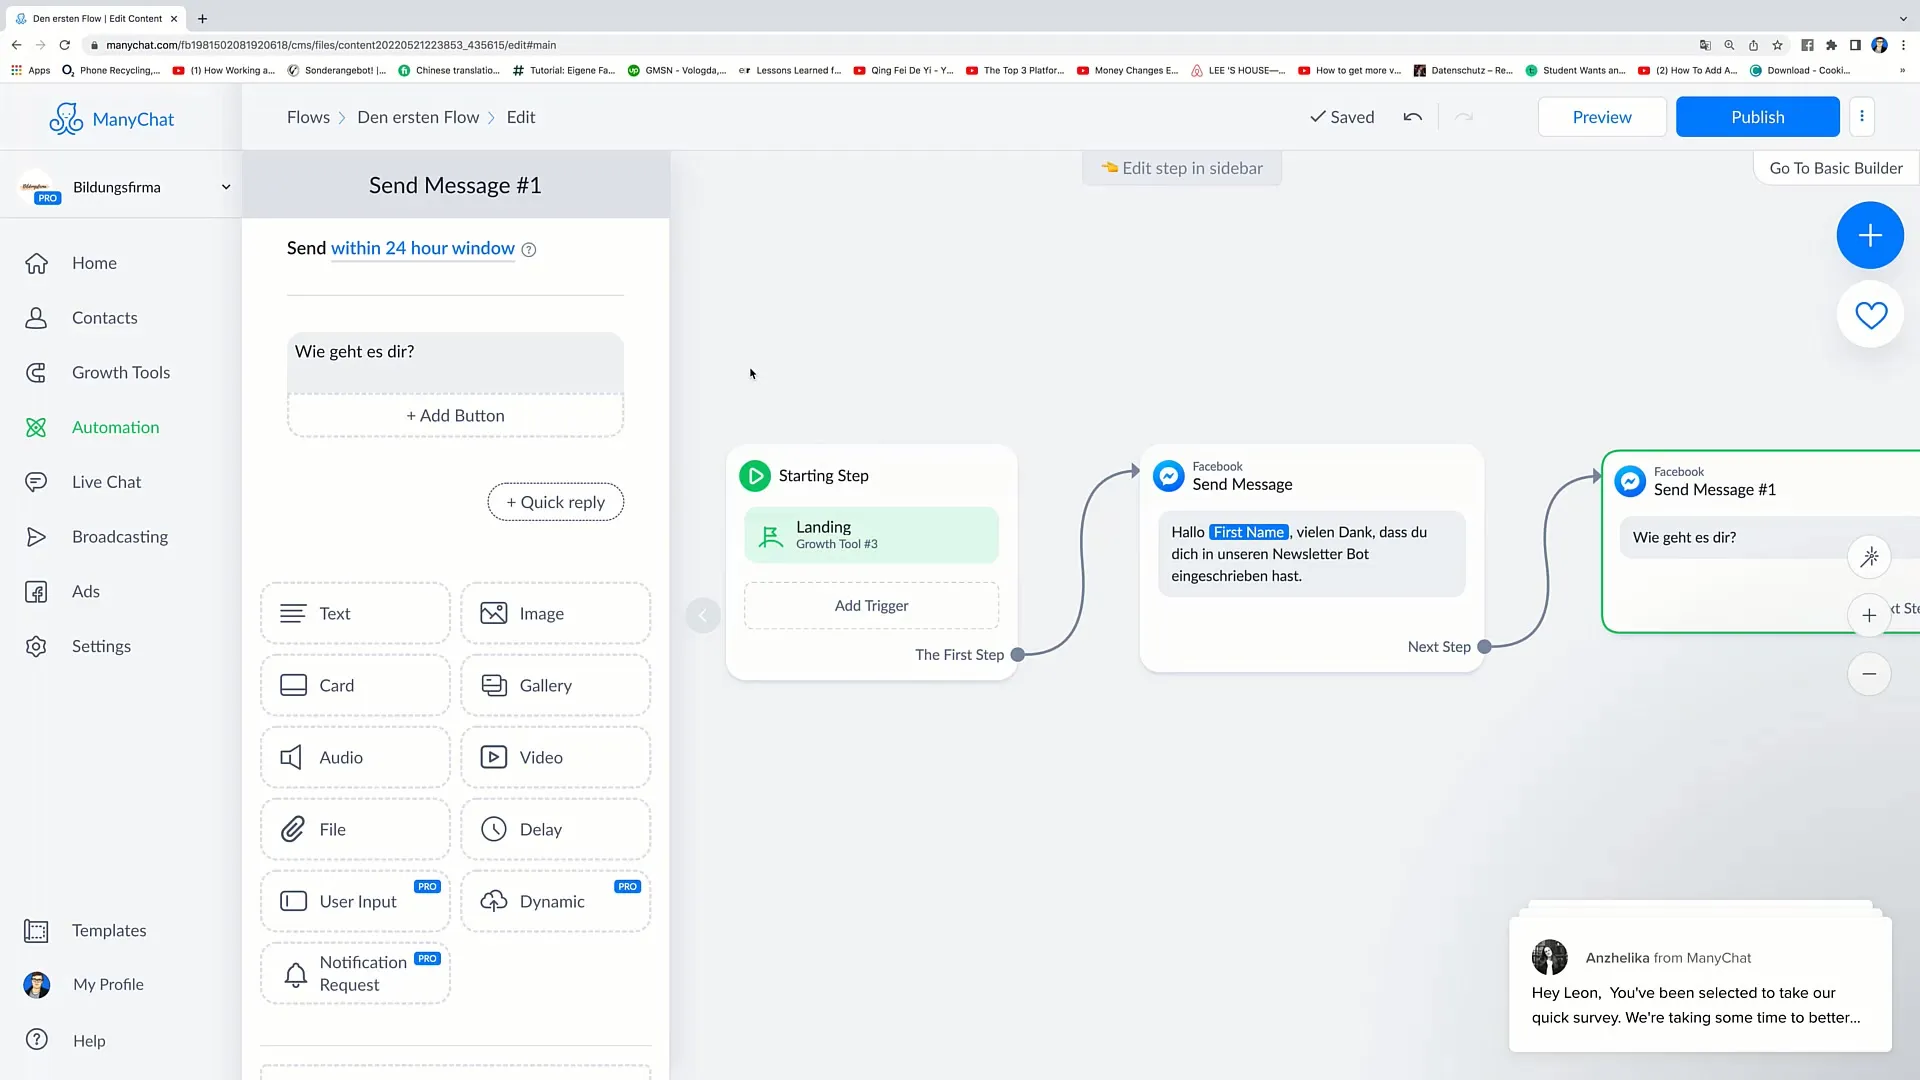
To make this message generate interesting interactions, add buttons. Click on "Add Button" and create the options "I'm doing well" and "I'm not doing well".
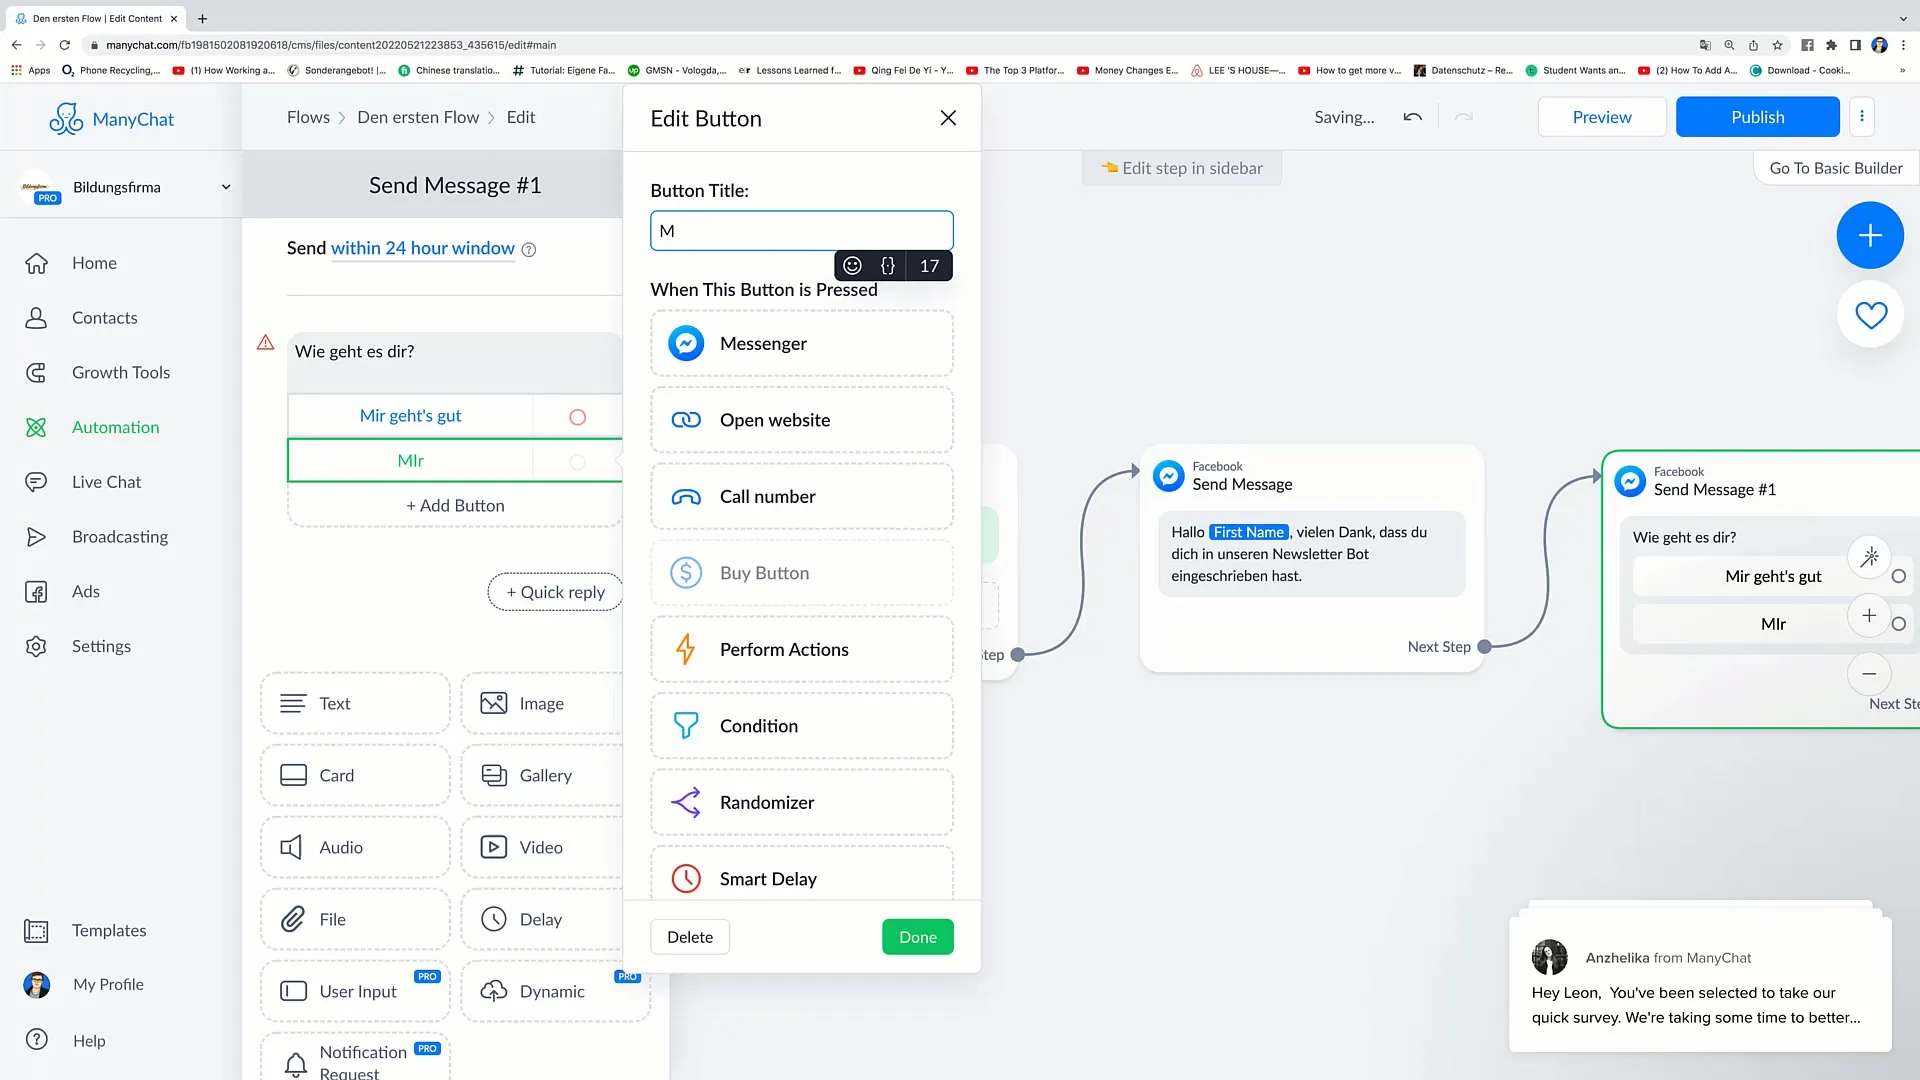
Now you see that you have some red circles. This means that these buttons are not yet connected to another action. You need to define a response, so once again, drag a new Messenger circle and connect it to the buttons.
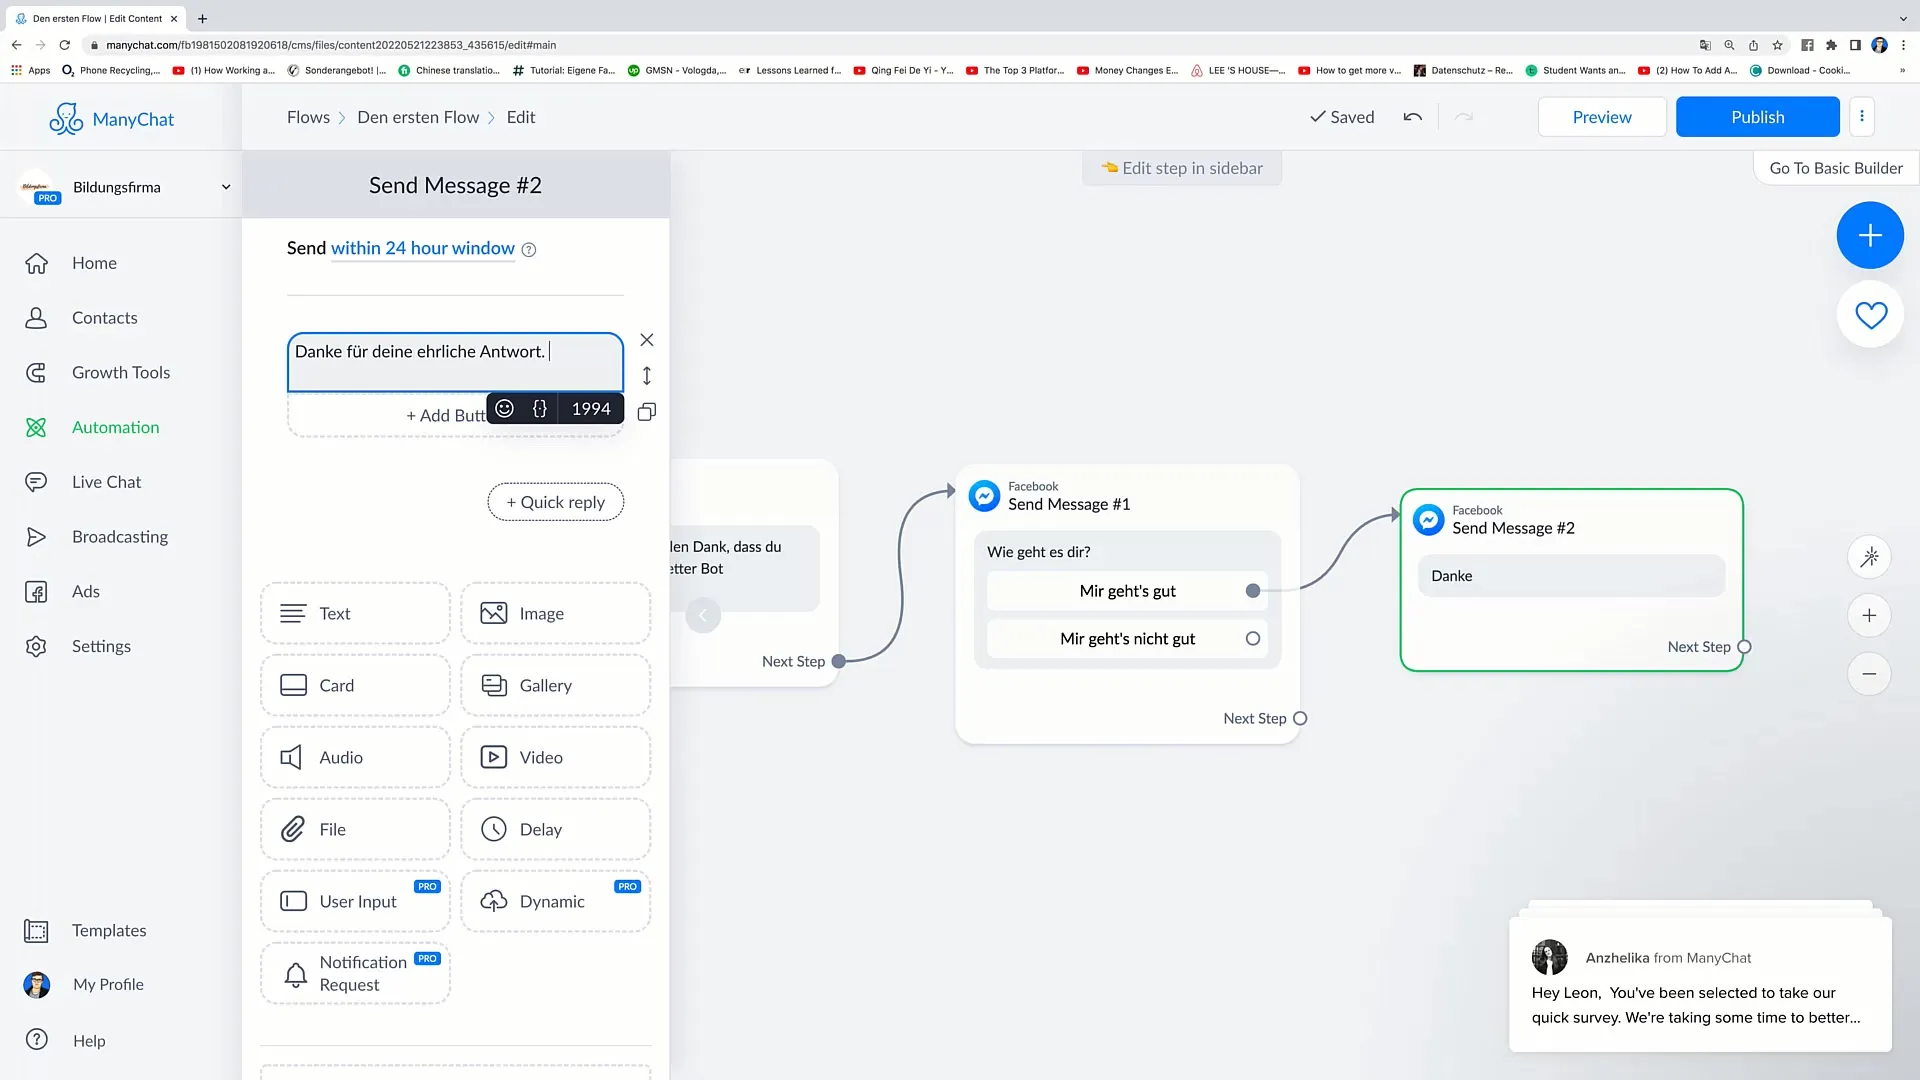
In the new Messenger, you can then enter a message, such as "Thank you for your honest answer." This will be sent regardless of which button the user clicks.
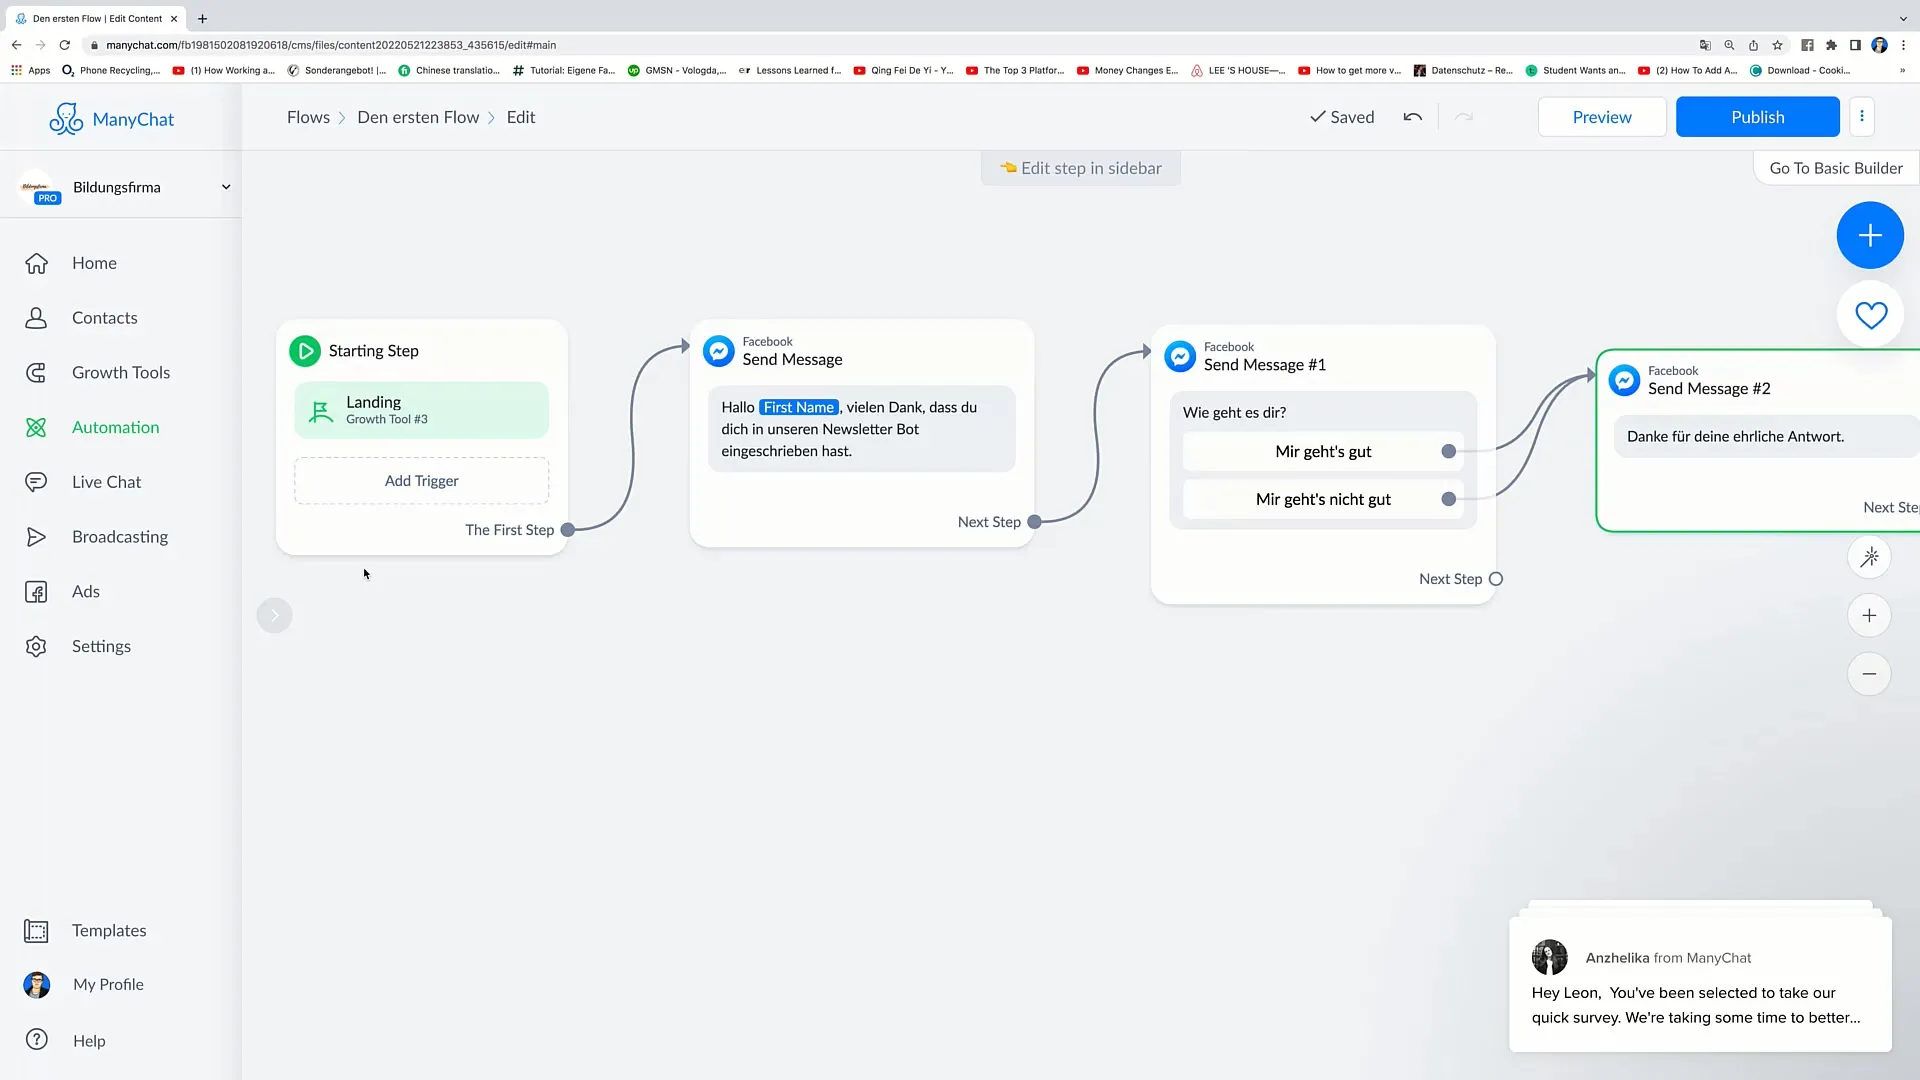
Once you have established all connections, review your Flow from top to bottom. You should be able to see a clear structure: the Starting Step, the first message, and the question with the respective answer choices.
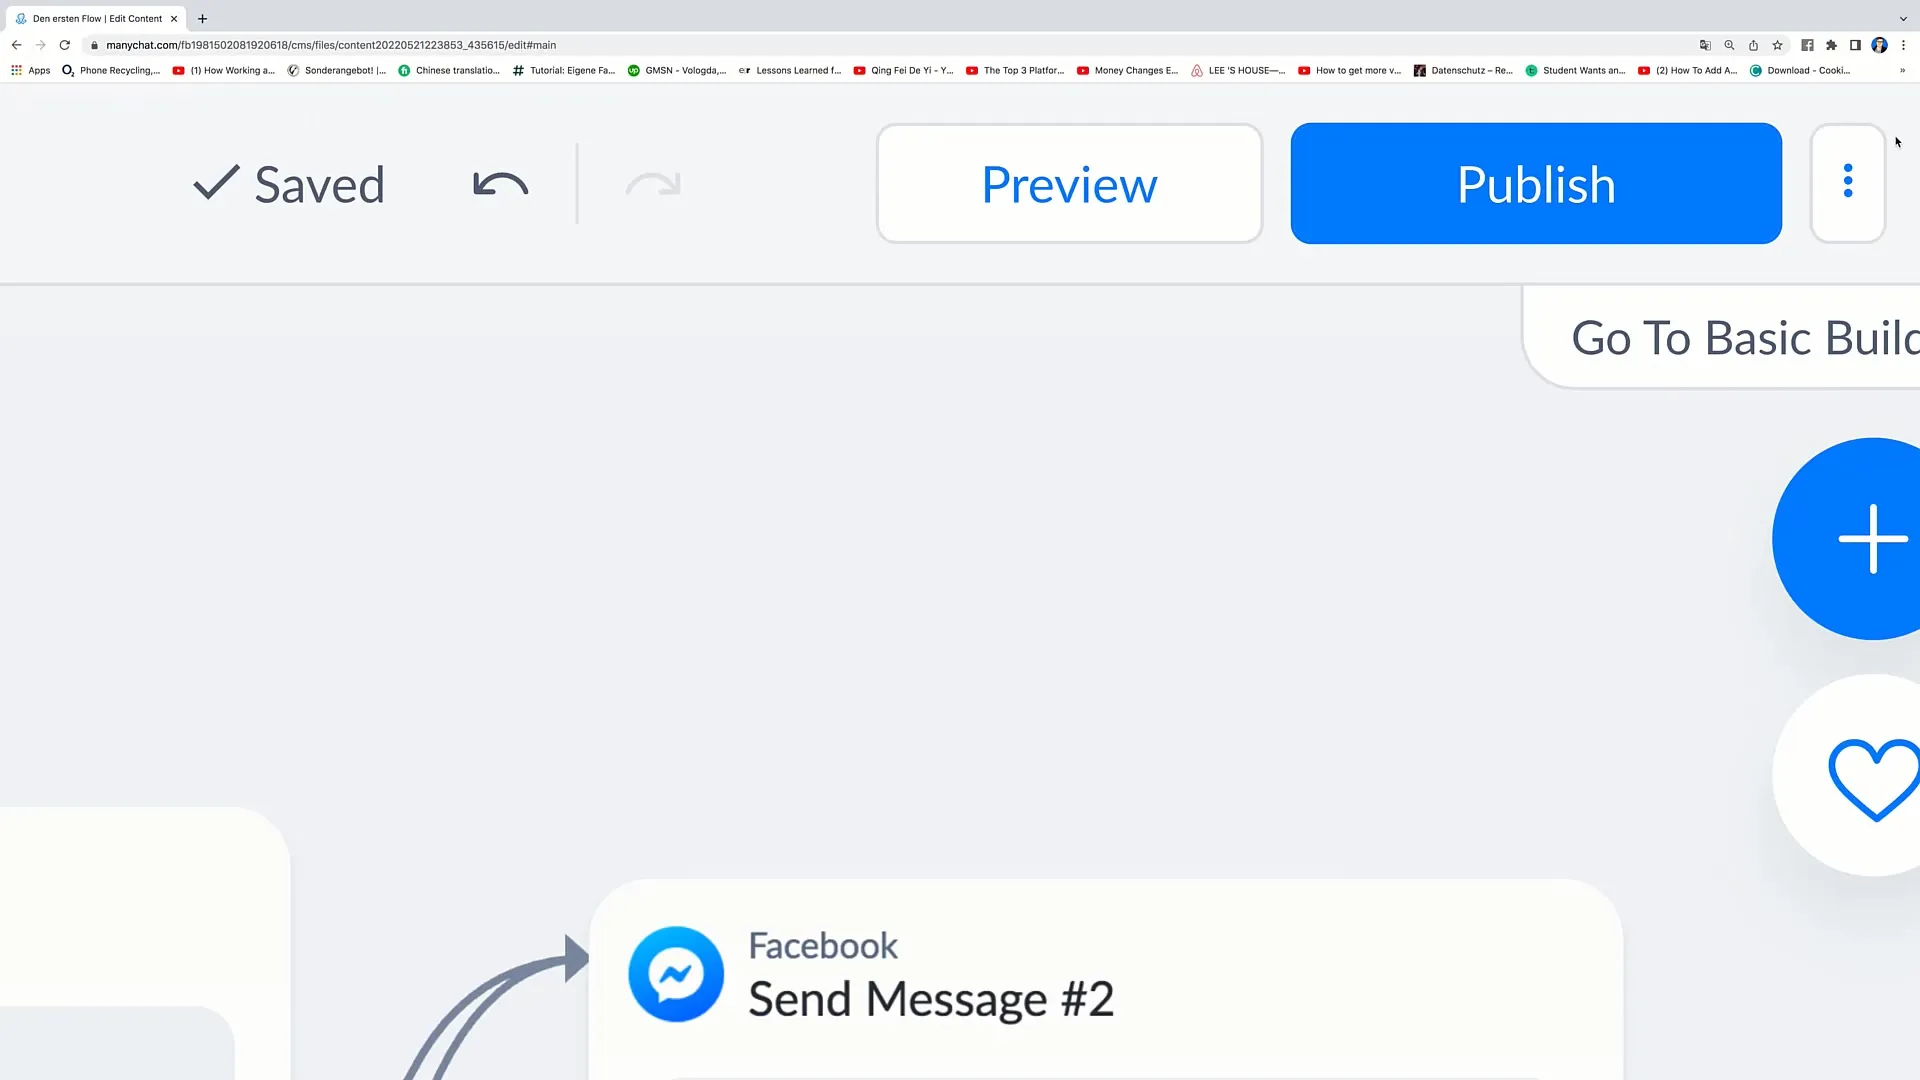
Once you are satisfied with your Flow, click on "Publish" at the top to make the changes live.
You have successfully added further steps to your Flow and are ready to improve interactions with users.
Summary
In this guide, you have learned how to integrate additional steps into your Facebook Marketing Flow. You have learned about the various options and how to improve user interaction through targeted messages and buttons. Creating a functional Flow is the key to effective communication.
Frequently Asked Questions
How do I add a new step in a Flow?You drag the "Next Step" circle into the Flow and select the desired option.
What do the red circles next to the buttons mean?The red circles indicate that these buttons are not yet connected to another action.
How can I add a condition in the Flow?You select the "Condition" option and define the criteria that need to be met.
Can I connect multiple Flows together?Yes, you can use the "Start Flow" option to link multiple Flows.
What is a Randomizer and how does it work?A Randomizer allows you to make random decisions, such as between two possible messages with a set probability.
