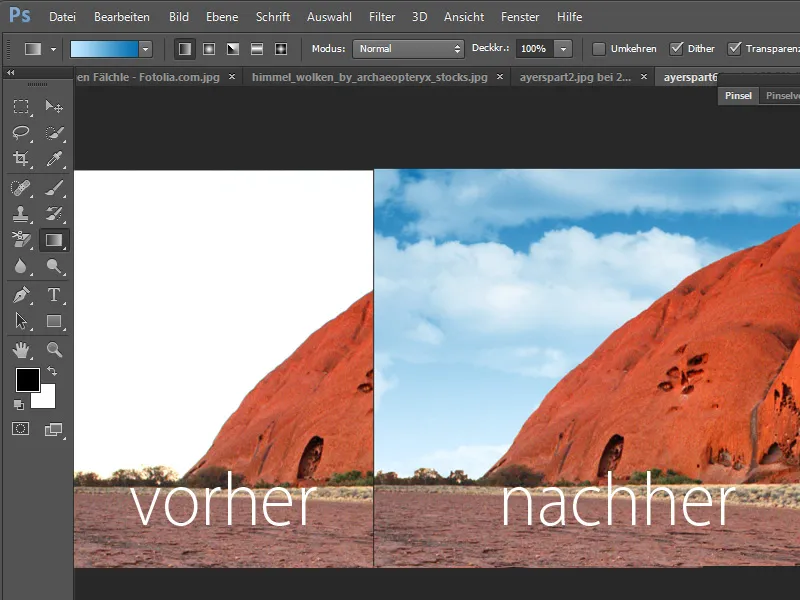
It is surprisingly easy to crop clouds out of an image.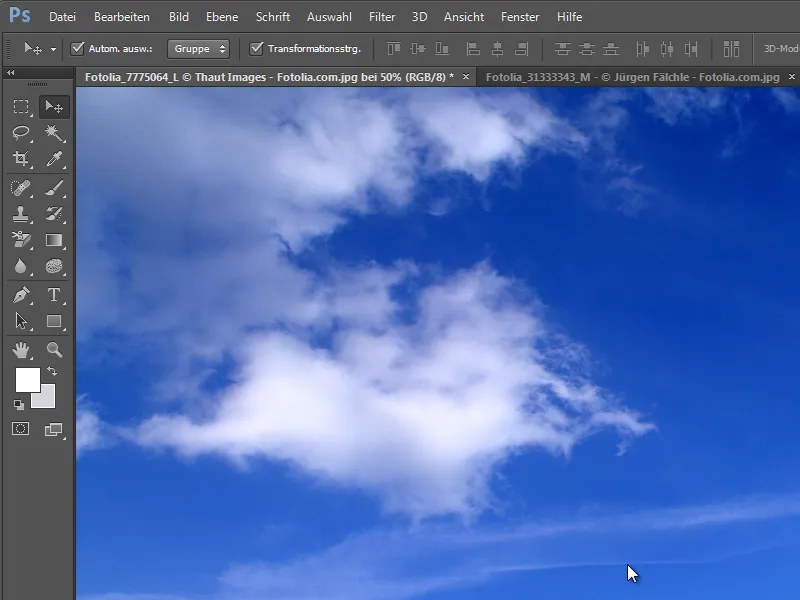
There are many clipping techniques that can be used for this. One of the simplest of these is using the background eraser tool.
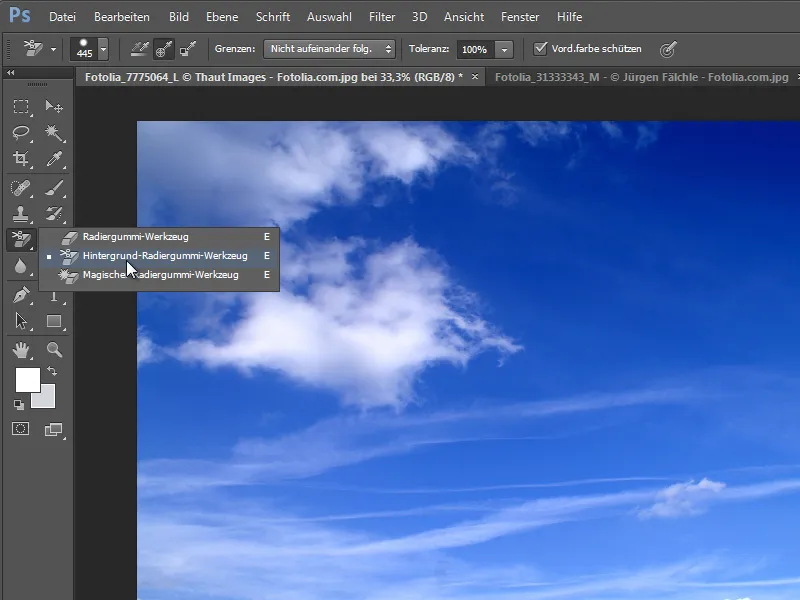
It is important that the Protect foreground color option is activated in the options palette..webp?tutkfid=63061)
This ensures that the selected color - in this case the white of the clouds - is protected from being changed.
Use the eyedropper tool, which you can call up by pressing the Alt key at the same time, to determine the color to be preserved. To do this, simply click on a white cloud area.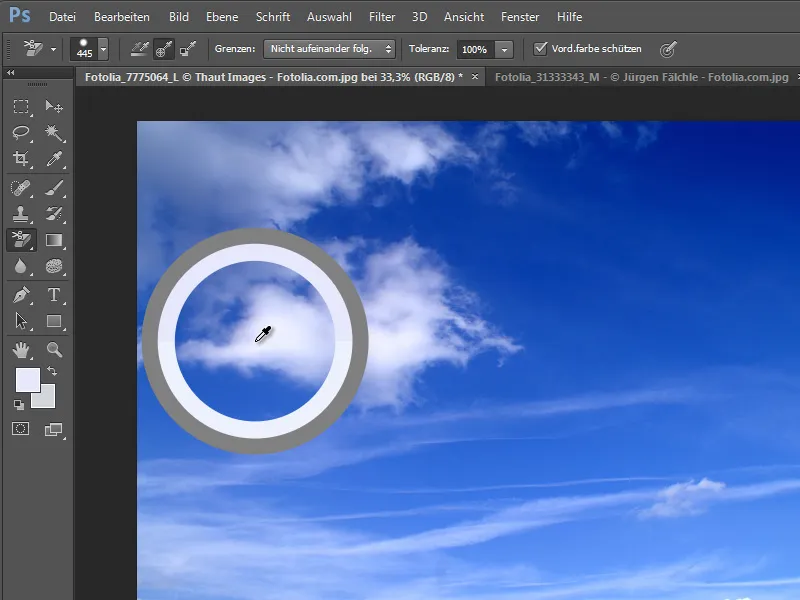
The tolerance value should be preset to 100 percent. This ensures that you can remove all blue tones in this image.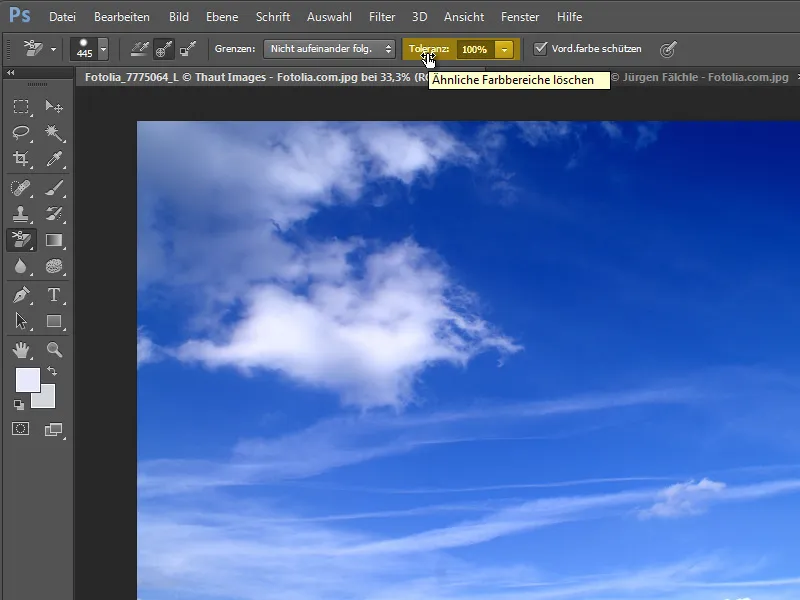
The exposure, i.e. the determination of the color to be obtained, should be limited to once.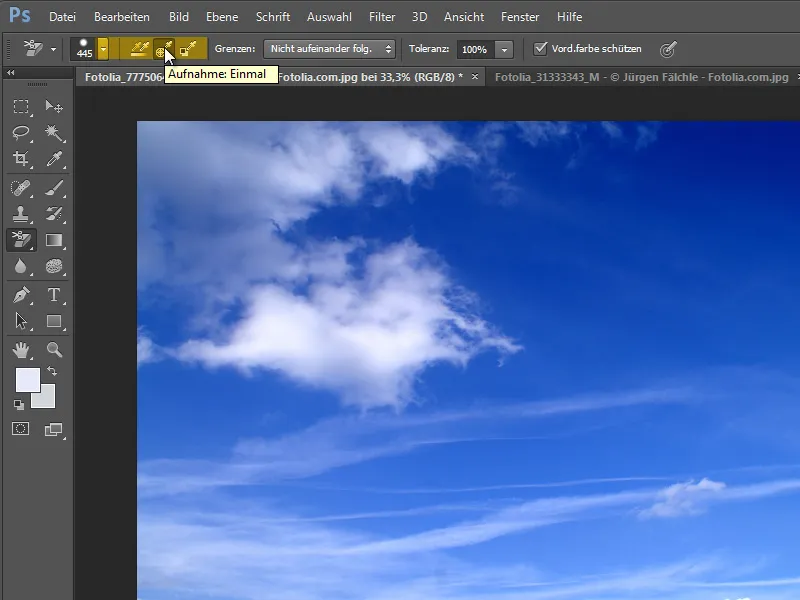
The option for the borders should also be preset. The setting Not consecutive has proven itself here.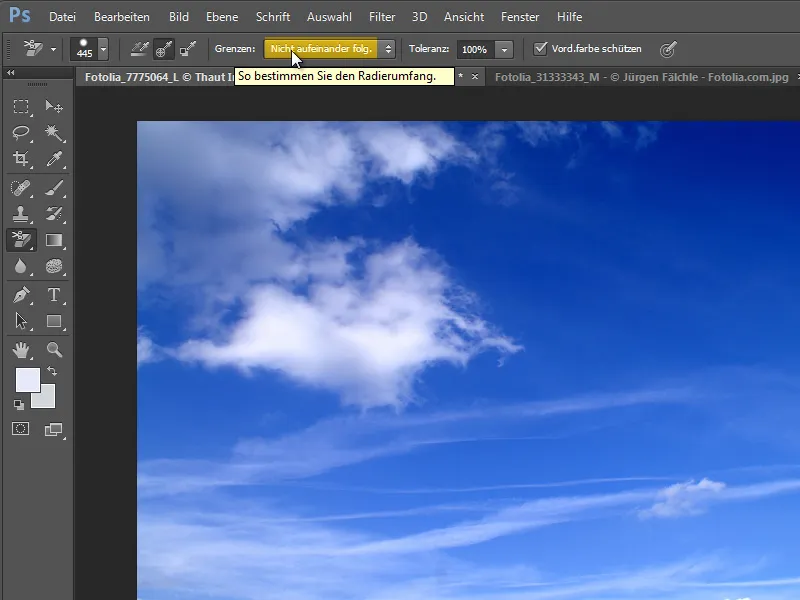
To remove the background from this image, you need a converted or duplicated layer. You can create a layer copy with Ctrl+J.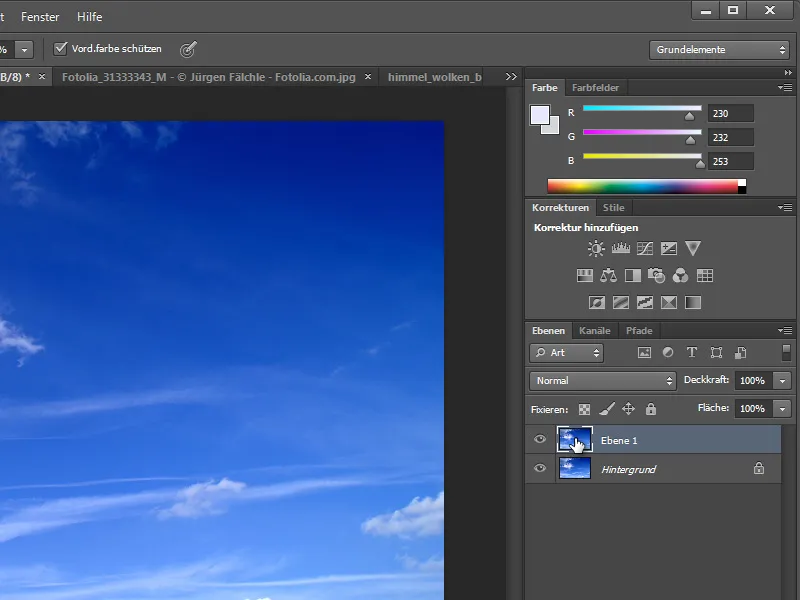
It is best to create a new layer below this layer copy. You can easily do this by holding down the Ctrl key and clicking on the Create new layer icon in the layer palette.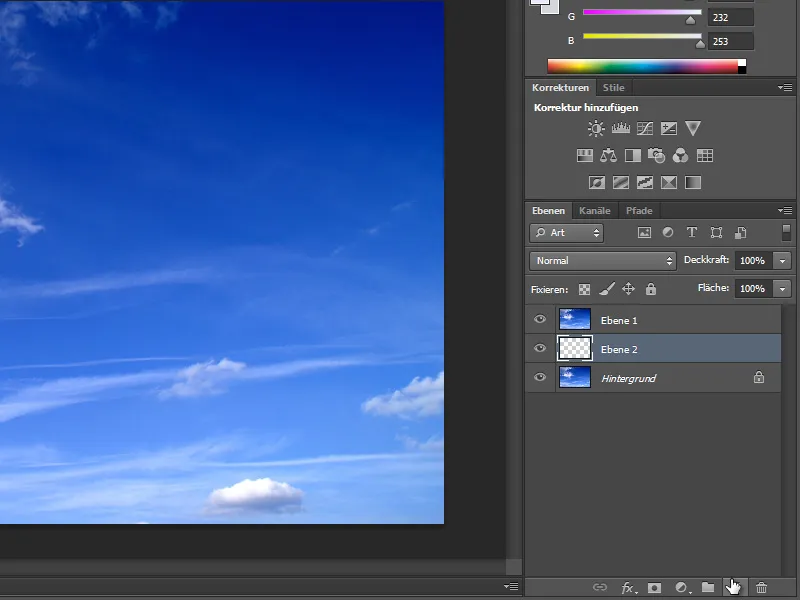
Simply fill this empty layer with a color or a gradient. I used the gradient tool and selected a gradient from the palette.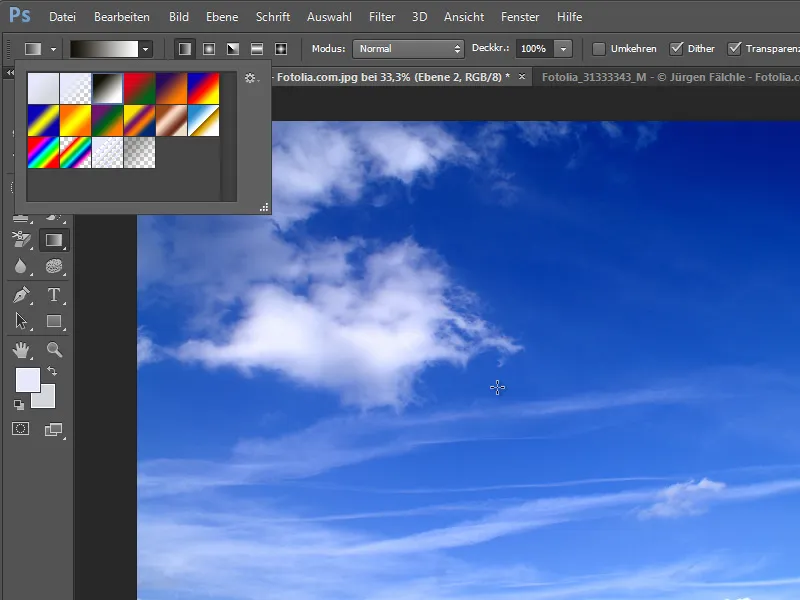
Your layer should now look something like this after applying the gradient. This background will become increasingly visible during the clipping process.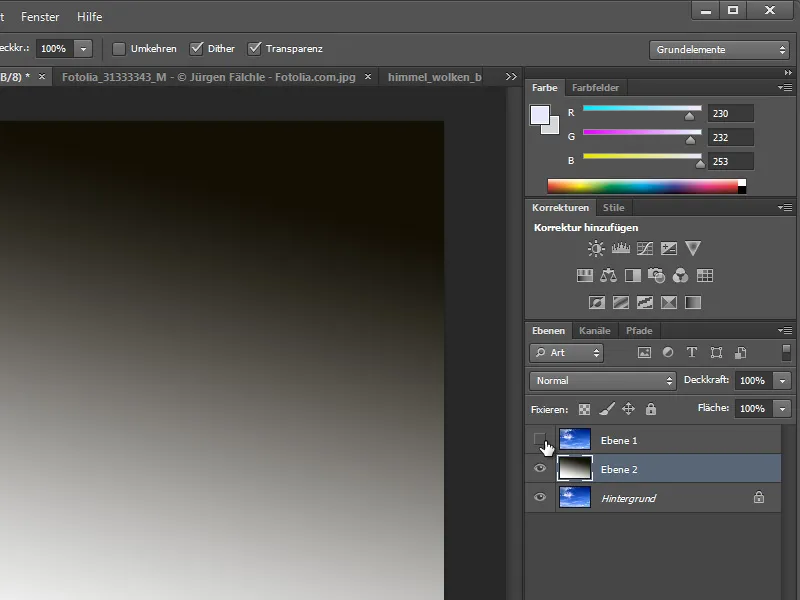
Now switch back to the background eraser tool. Place the tip of the brush so that the crosshairs mark the exact color area that you want to remove. For the cloud image, this would be the color blue.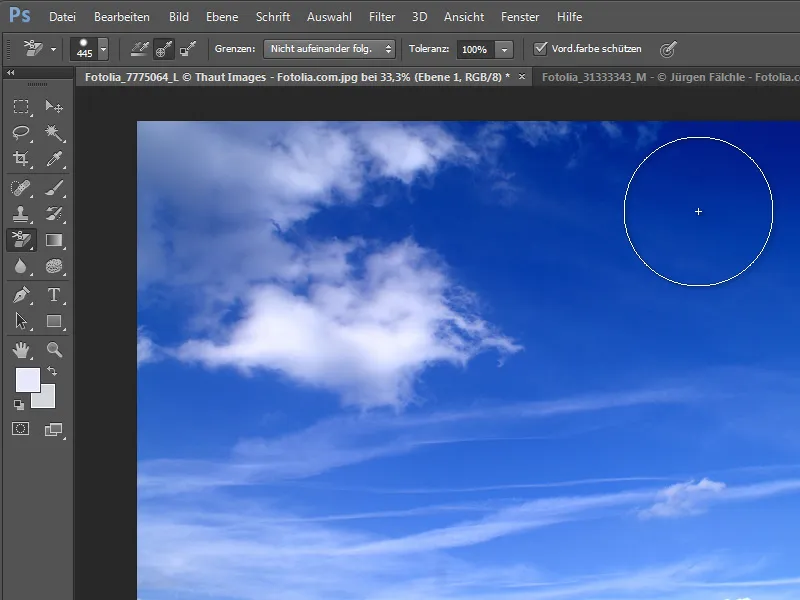
You can already remove the background at this point. With this tool, however, you do not have to limit yourself to a small brush tip and can select a larger brush tip.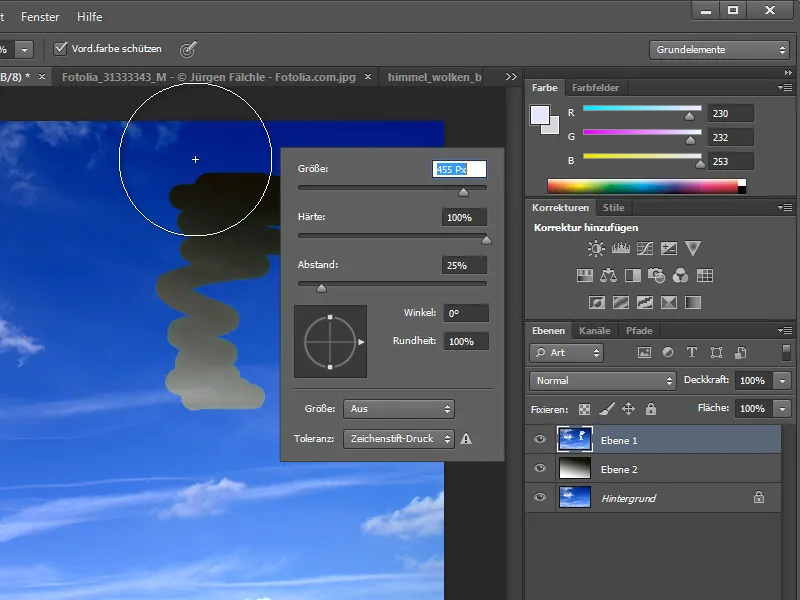
You can now draw over the image with this large brush tip and the blue values will be removed by this eraser.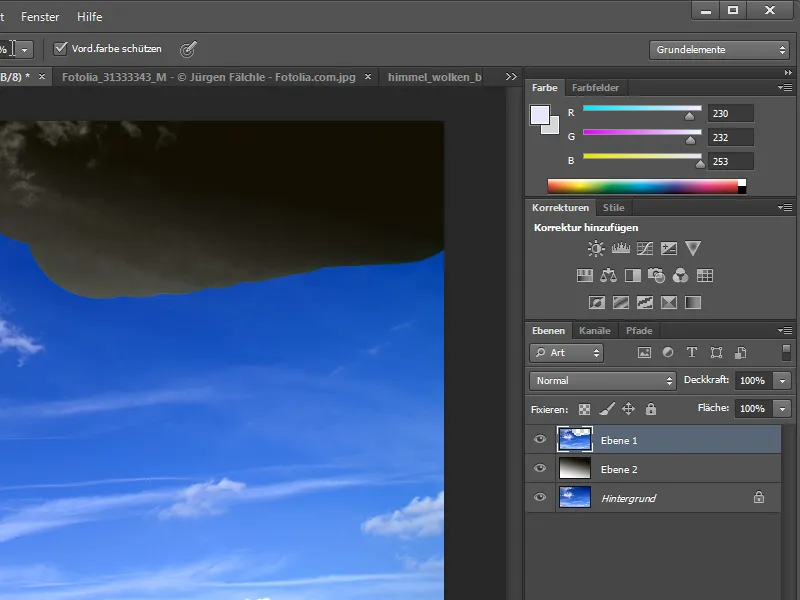
With a lower tolerance value, the clipping would not work as cleanly. For comparison, I temporarily reduced this value to 20 percent and used it to erase the background. You can clearly see the blue fringes at the edges of the clouds.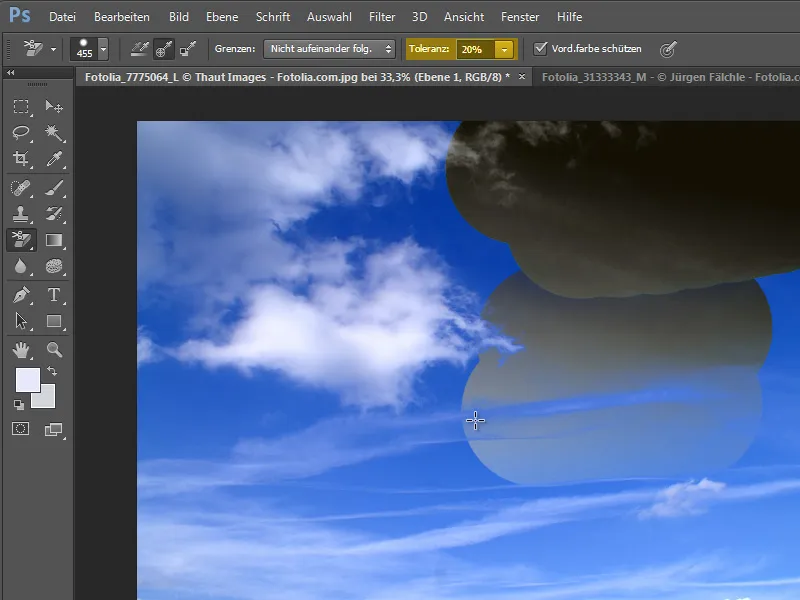
After you have treated the entire cloud photo with it, it should now look similar to the following image. The background coloring comes from the color gradient that was created on the layer below.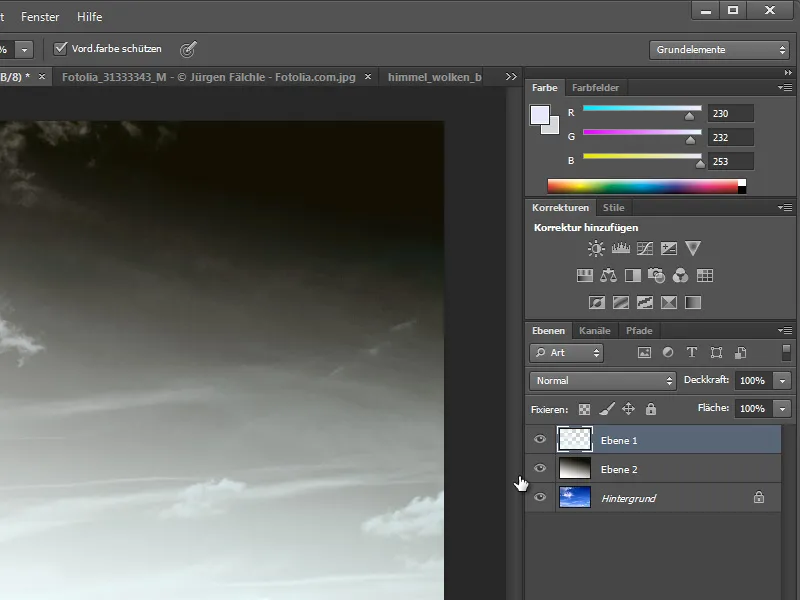
If you Blender out all of these layers, only the clipped result remains.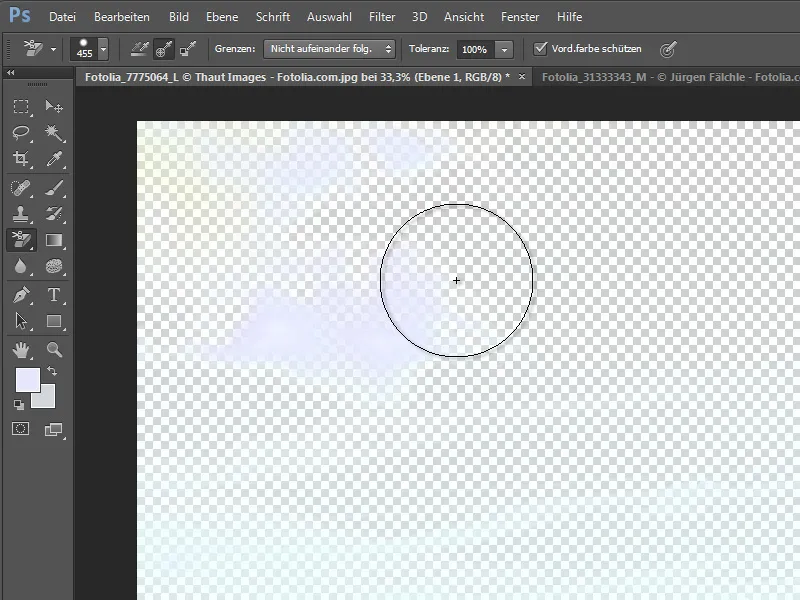
To better assess the clipping result, you can also change the background color or draw a new gradient.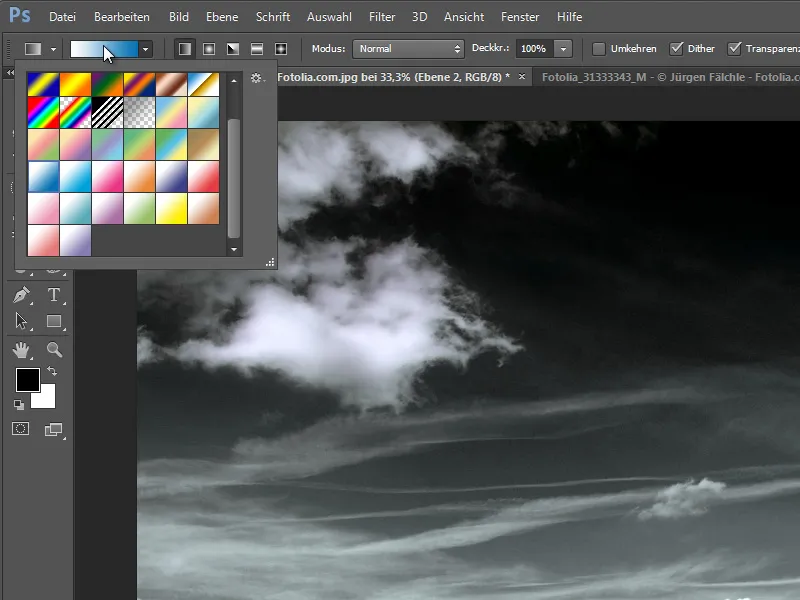
If you want to create a gradient, you can take an existing gradient from the gallery and adjust it if necessary. To do this, simply double-click on the desired gradient to open the Edit gradient dialog box. You can then create user-defined colors here.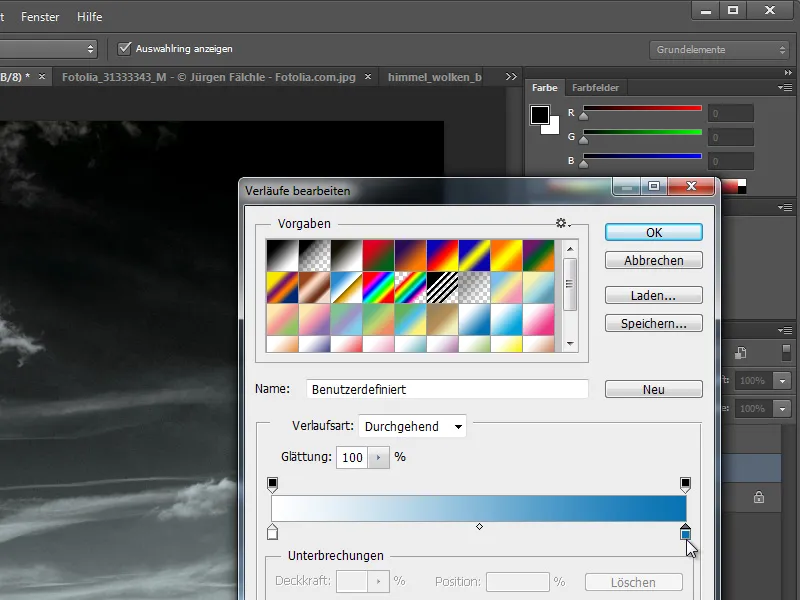
If the gradient has been changed according to your wishes, you can also save it permanently for later use. All you have to do is assign a name and use the save function in the dialog box.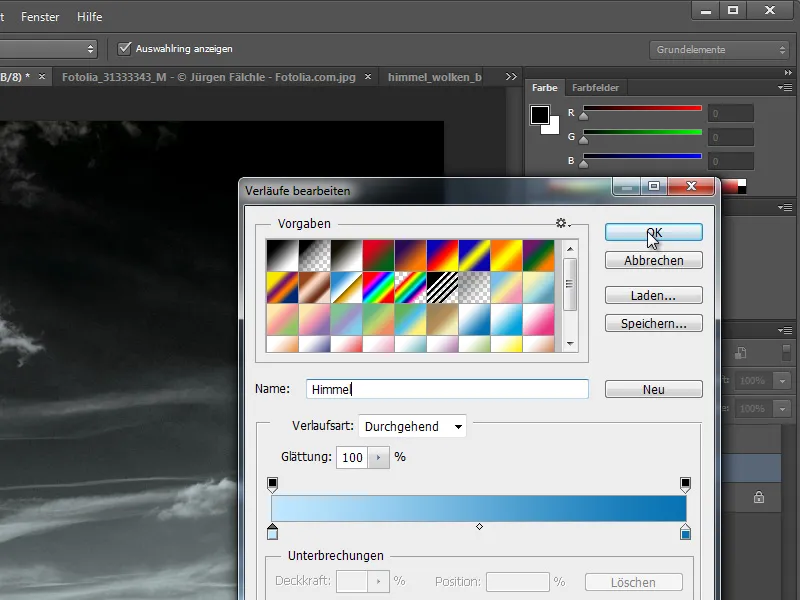
You can drag this newly created gradient under the cropped layer.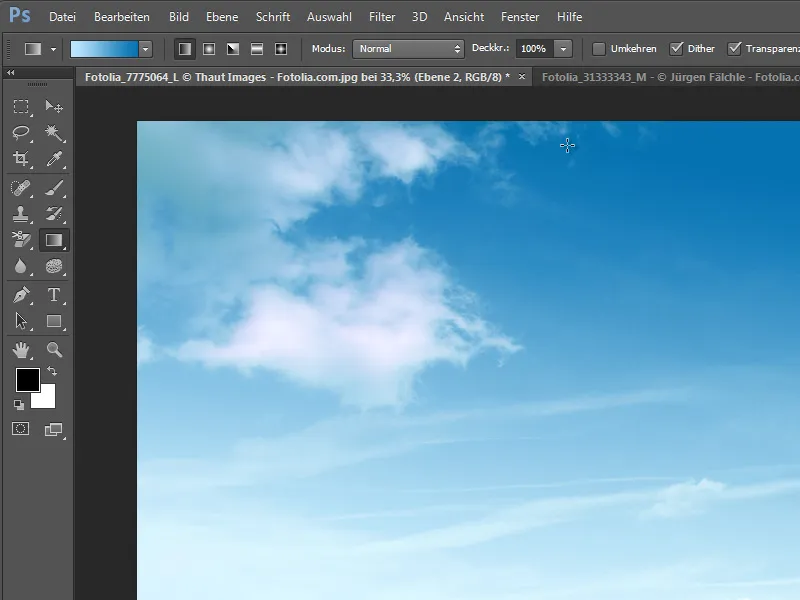
The motifs cropped in this way can also be combined with other images. To do this, I call up another image. The aim is to give this image even more dynamism.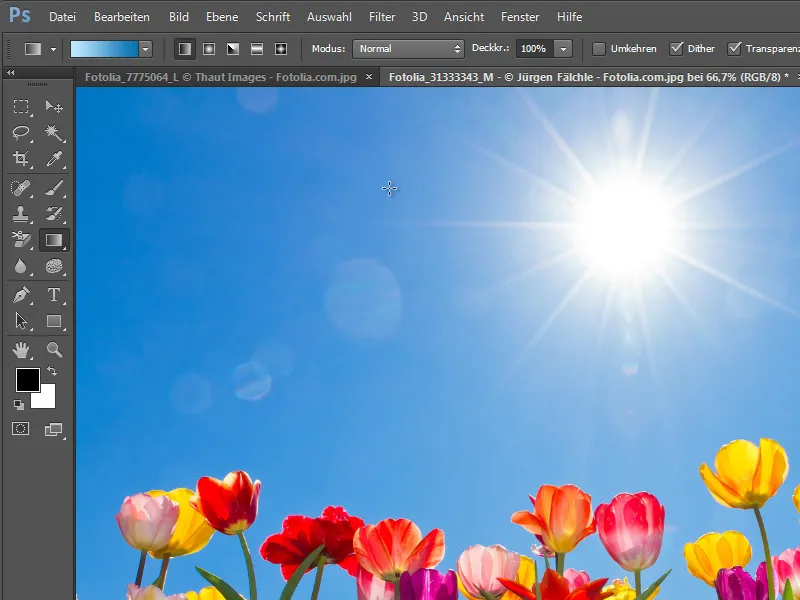
To transfer the clouds to this new image, I switch back to the cropped layer, use the Move tool and drag the image into the document with the Blums by holding down the left mouse button and dragging the image onto the tab with the Blum photo.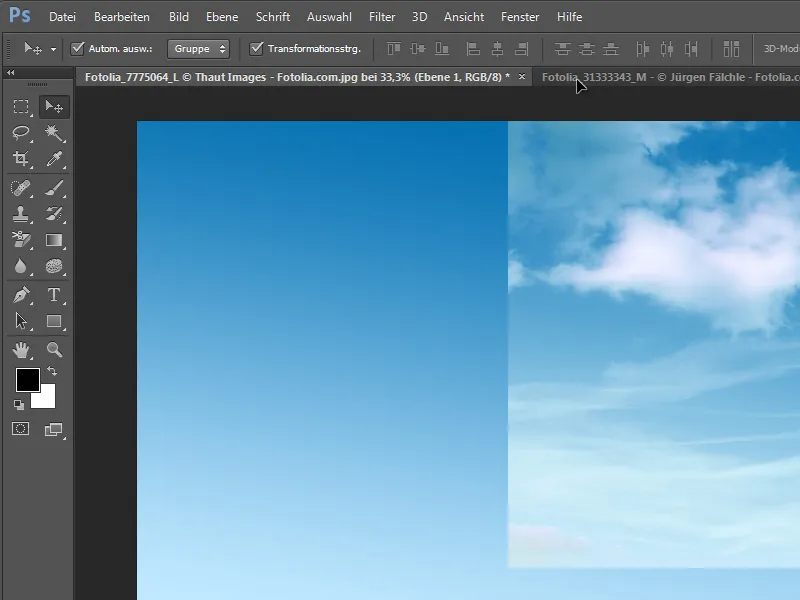
Photoshop now switches to the flower photo. There I release the layer by releasing my finger from the left mouse button.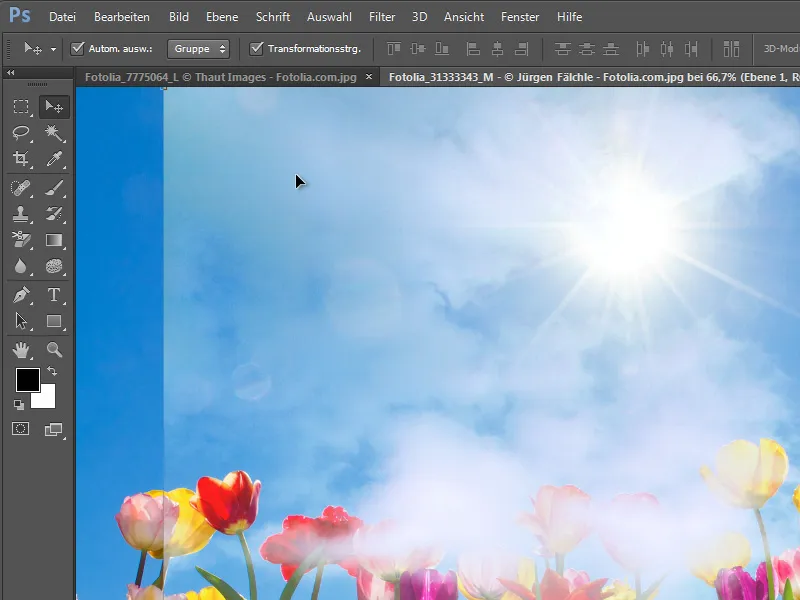
Now I can simply move the image to the correct position.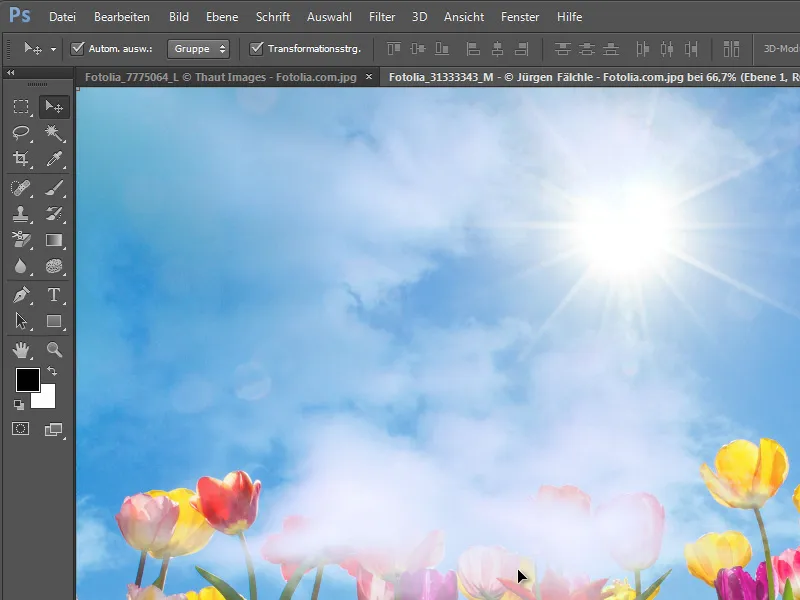
However, the layer dropped in this way causes a new problem. It covers the main motif unfavorably and literally "clouds" the photo. However, you can hide this fog using a layer mask. To do this, simply place a new, empty layer mask on the cloud photo.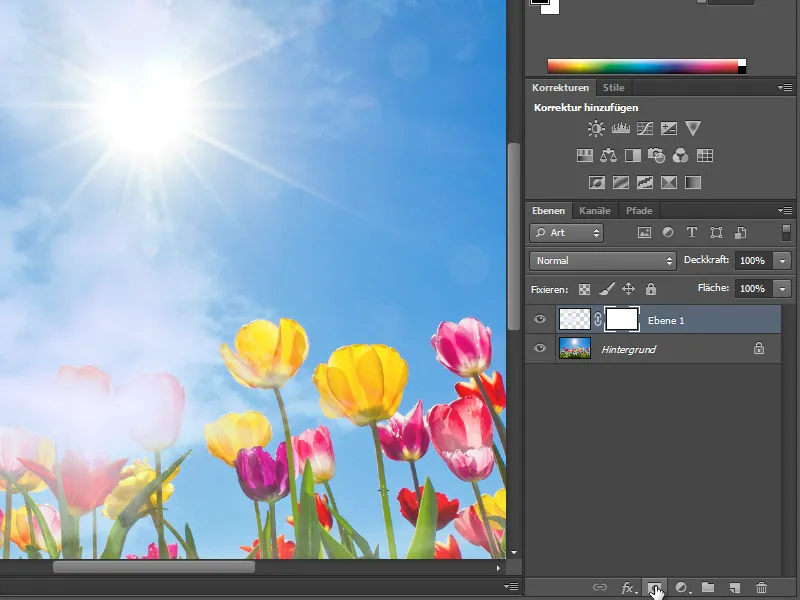
You can then draw on this layer mask with a soft brush and black paint to hide the veil of clouds in front of the Blum and in the area of the sun.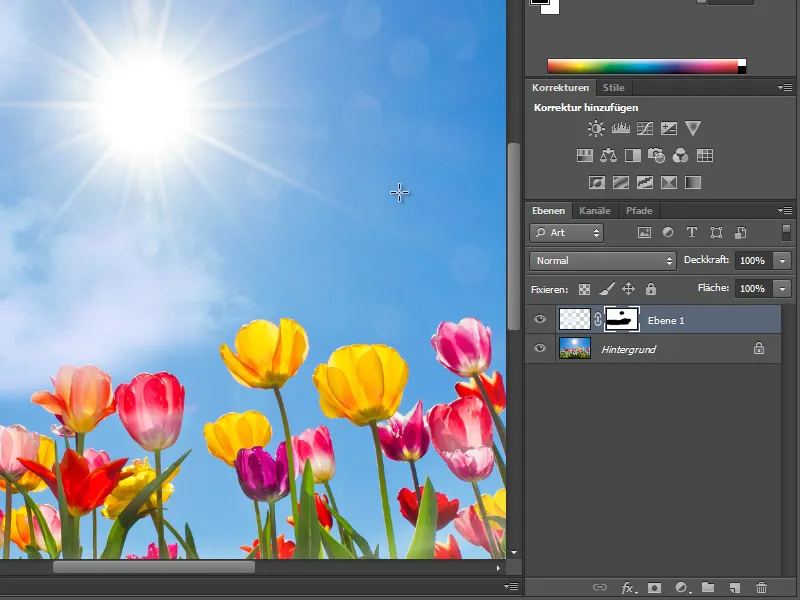
Alternatively, you could also remove the background again with the background eraser. However, this does not work well with this motif, as the colors of the Blums and the background change wildly, making it difficult or impossible to determine which color can be erased from the image. If, for example, a red color is defined as the foreground color to be protected, this motif is only partially protected by this setting. Other, adjacent colors will still be erased semi-transparently.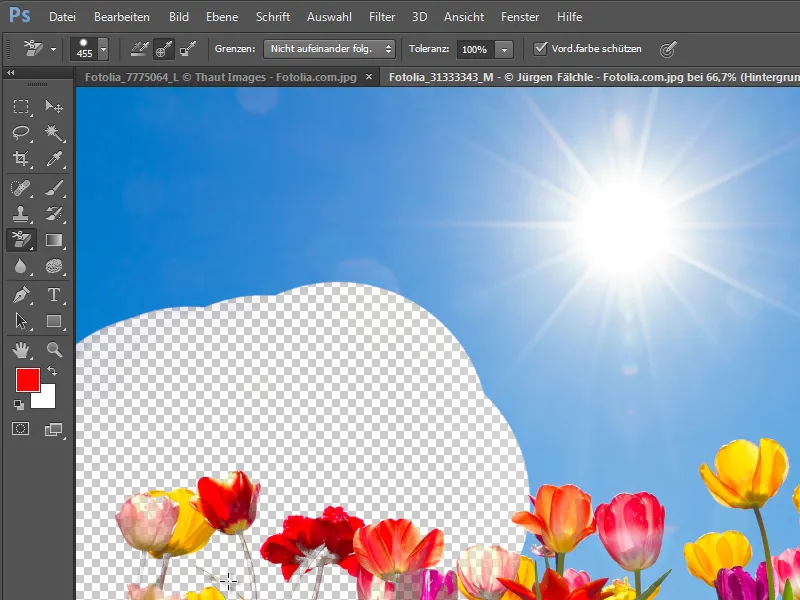
If, on the other hand, you set the tolerance of the background eraser to a lower value of around 20 percent, the result is much finer.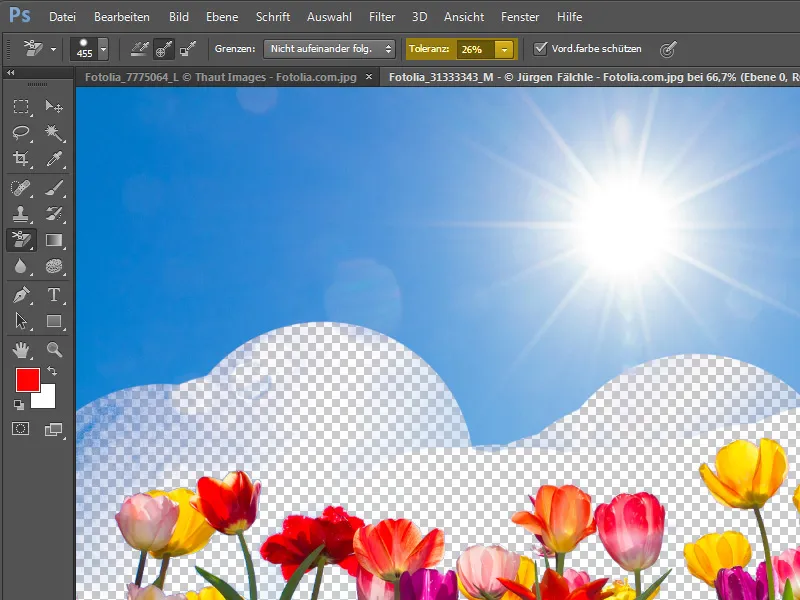
If you process the entire image in this way and vary the tolerance of the background eraser, you can remove the Blums from the background in the same way. The result can be seen if, for example, a background layer with a gradient or a single color is added again.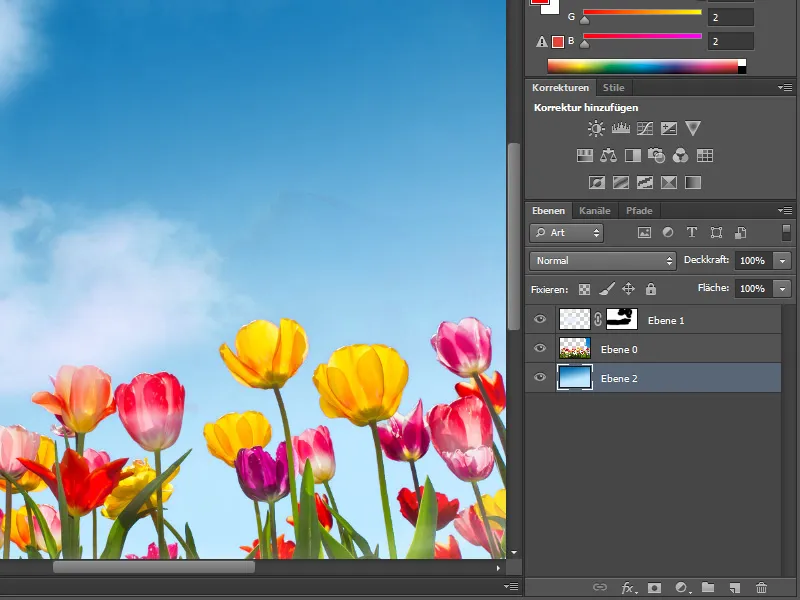
Once the main motif has been cleanly cropped, the cloud layer can be moved behind the Blums in the layer palette.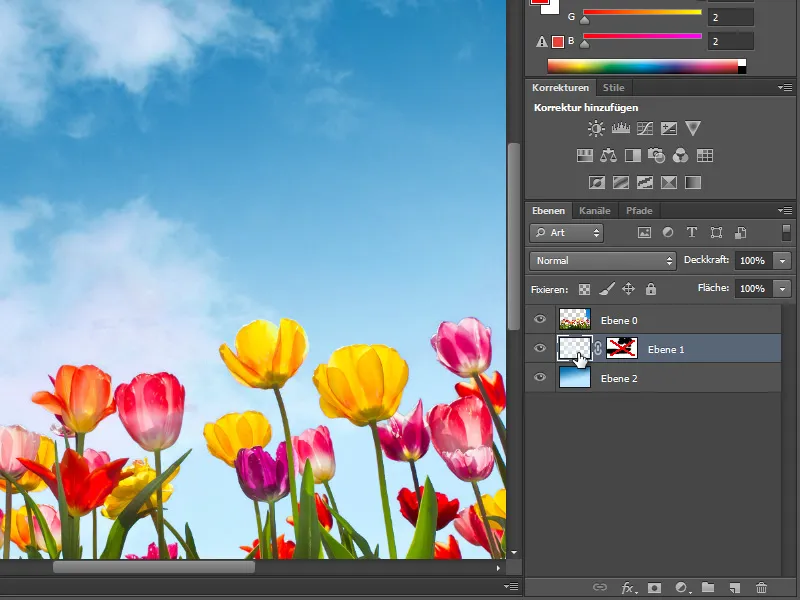
The effect of the backgrounderaser can be demonstrated again using another motif. The difficulty here lies in the motif itself, which is drawn in dull colors. To make matters worse, this sky already has a color gradient from light to dark.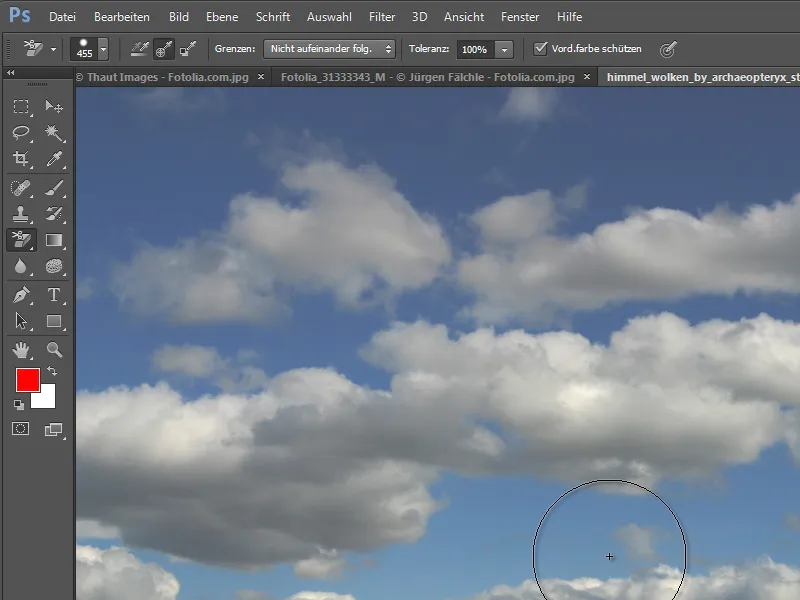
First, this image is duplicated again with Ctrl+J. Meanwhile, the bottom original layer can be hidden and a new empty layer can be created between the duplicated and hidden layers.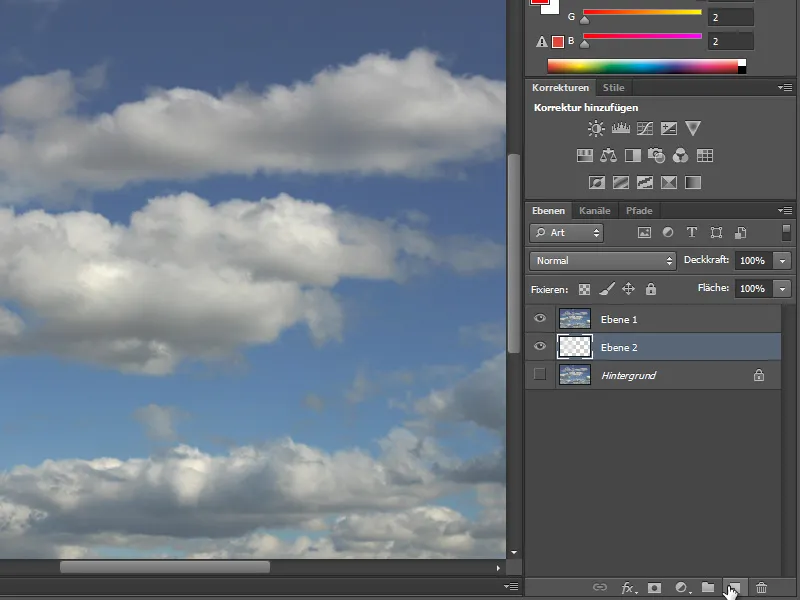
The empty layer is then filled again with a color gradient. The background eraser is then called up again.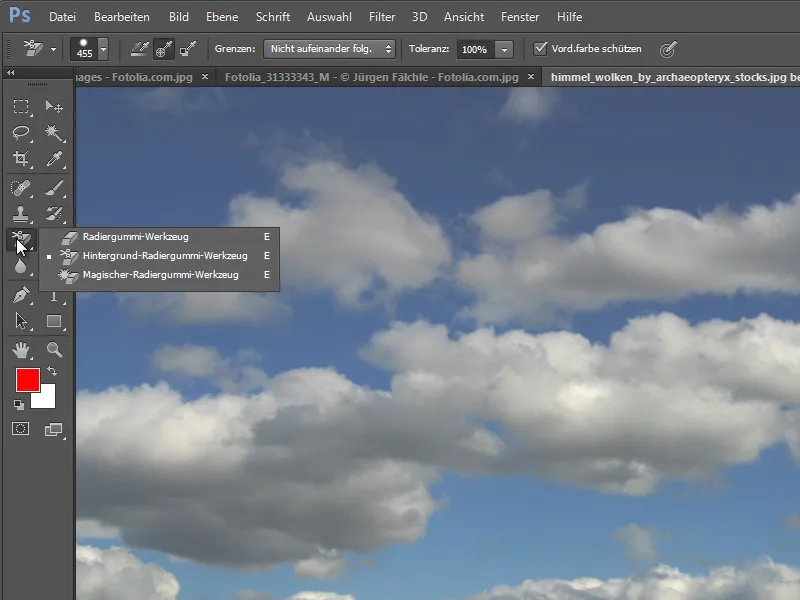
The foreground color is then set so that the color to be protected is preset. To do this, you can double-click on the color thumbnail of the foreground color. The Color picker dialog box appears and now the color to be protected can be scanned from the image or set directly in the dialog box.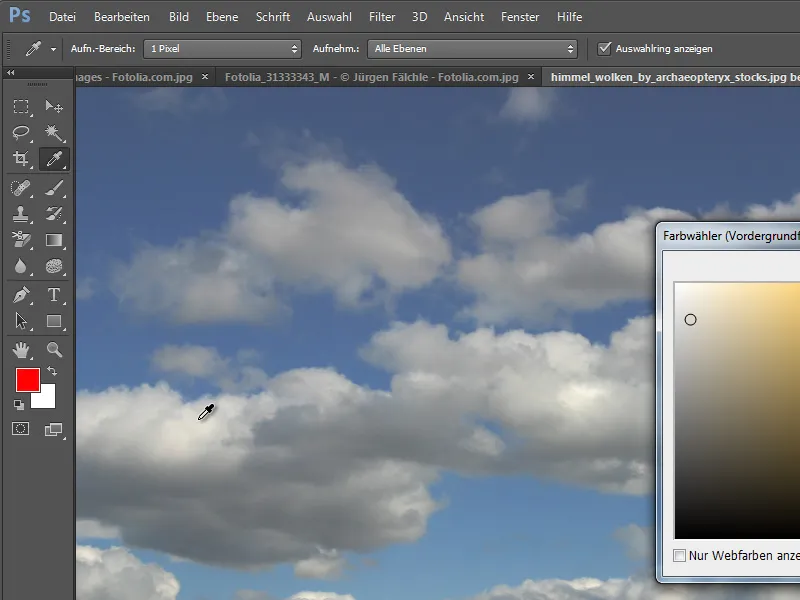
Once the color has been selected, you can click in the blue of the sky and erase the background from there.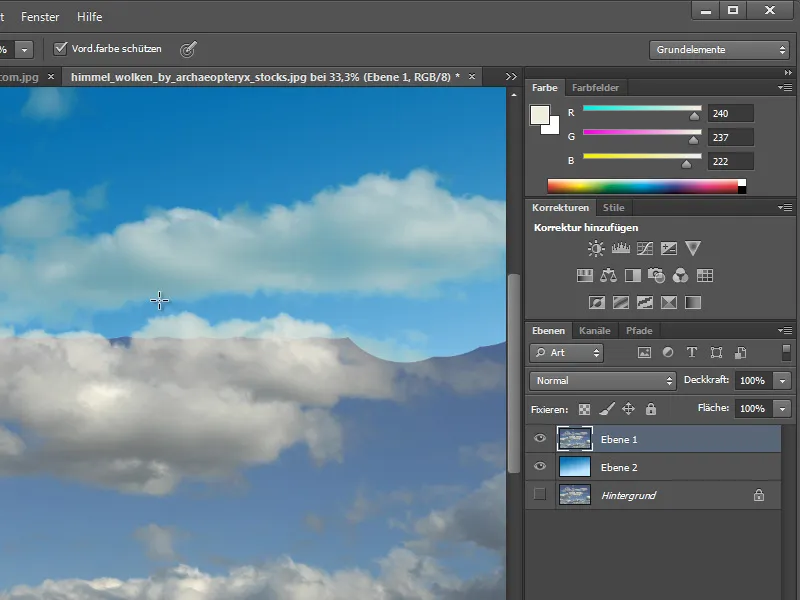
The clouds removed in this way can then be moved to another document and used there. To do this, simply right-click on the cloud layer and select Duplicate layer.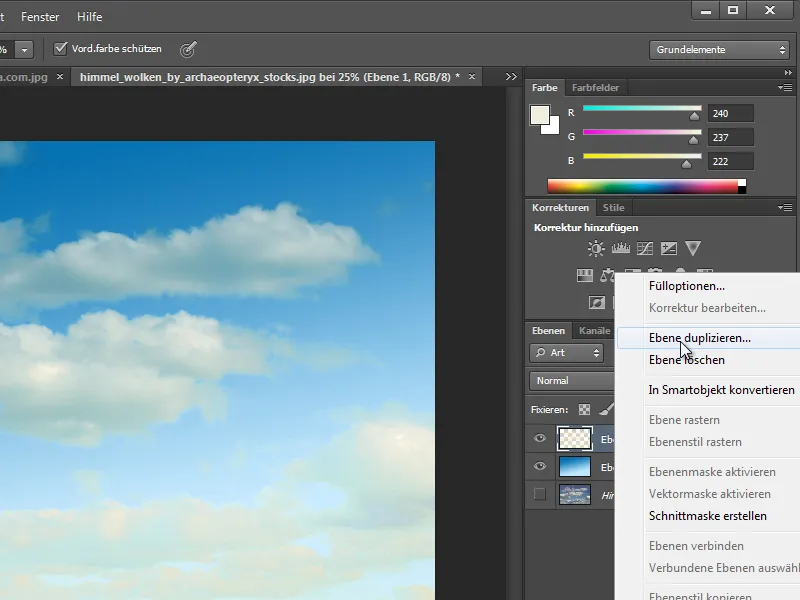
In this dialog box, you can specify in which currently open document the copy should be created. You can also enter a suitable layer name in this dialog box, which will be applied to the open document after confirmation.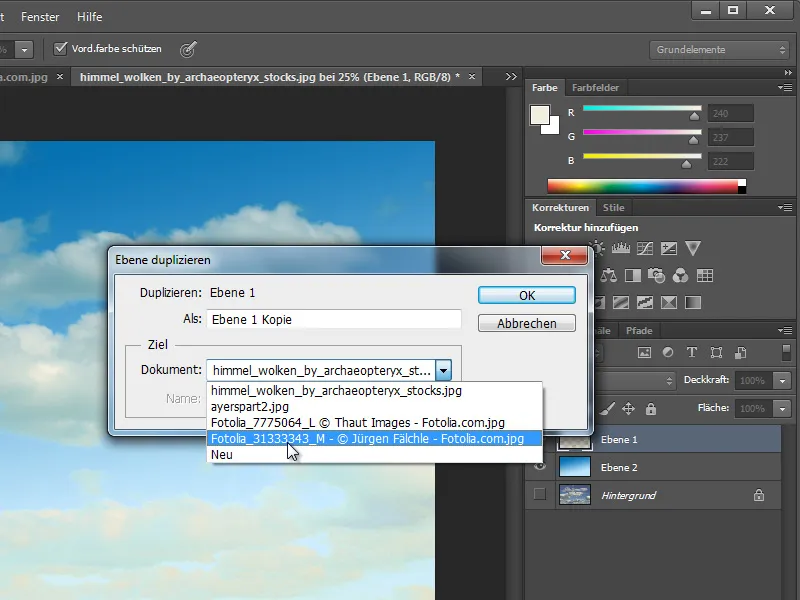
After confirmation, the cropped image is now in the selected document.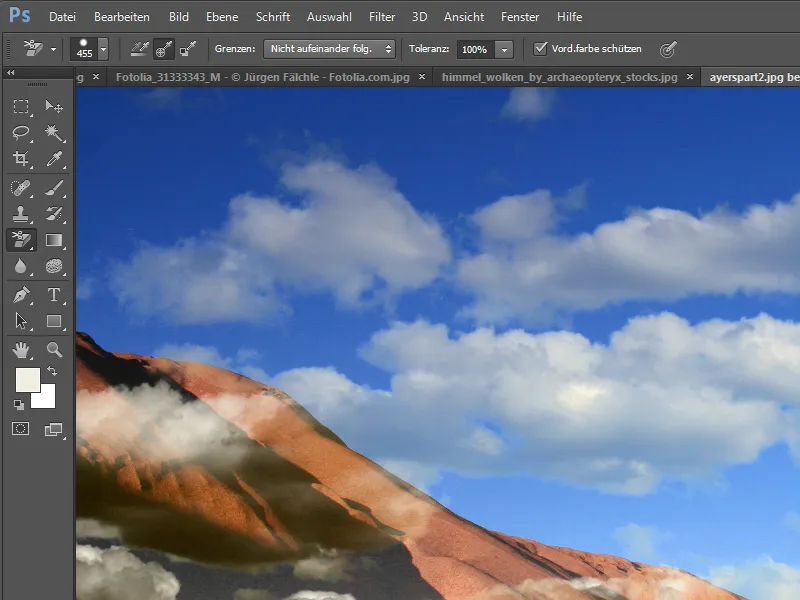
The image may still need to be moved or scaled.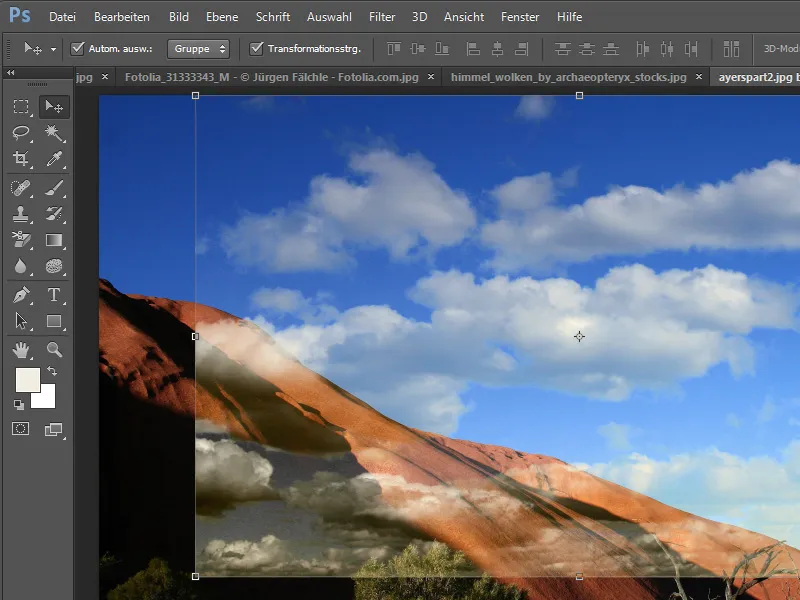
It is somewhat more elegant to select the background layer first. The sky can then be selected there using the quick selection tool.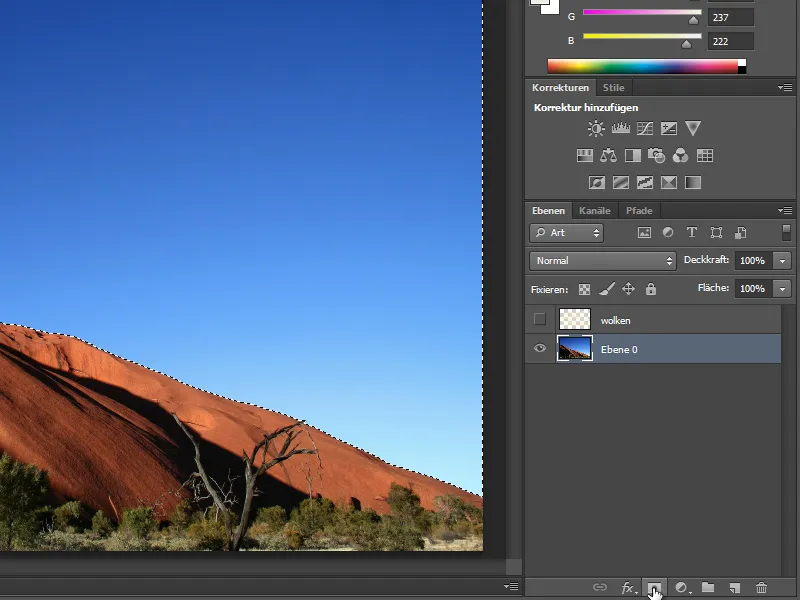
You can now use the selection to create a layer mask on this layer. To do this, click on the layer maskicon at the bottom of the layer palette with the selection activated. The mask is now created.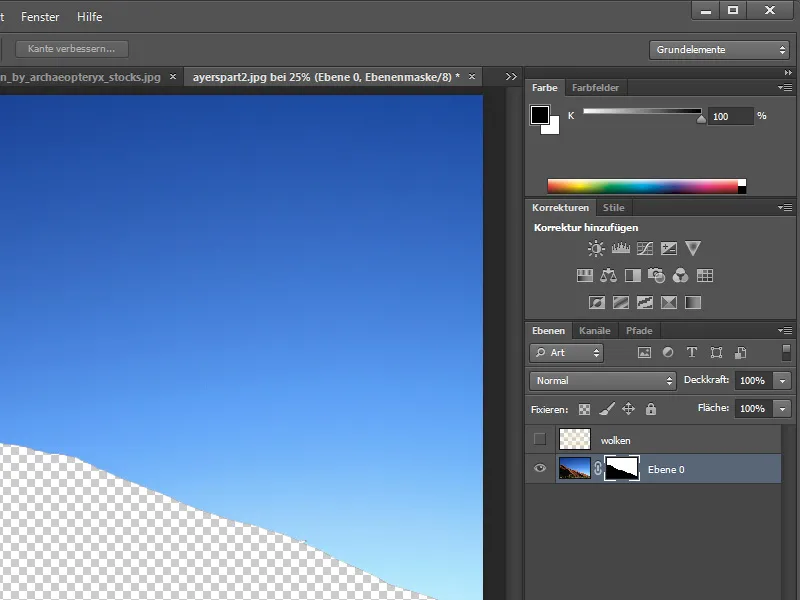
However, to ensure that this mask hides the correct image area, it must be inverted. To do this, simply select the mask thumbnail on the layer and invert it using Ctrl+I.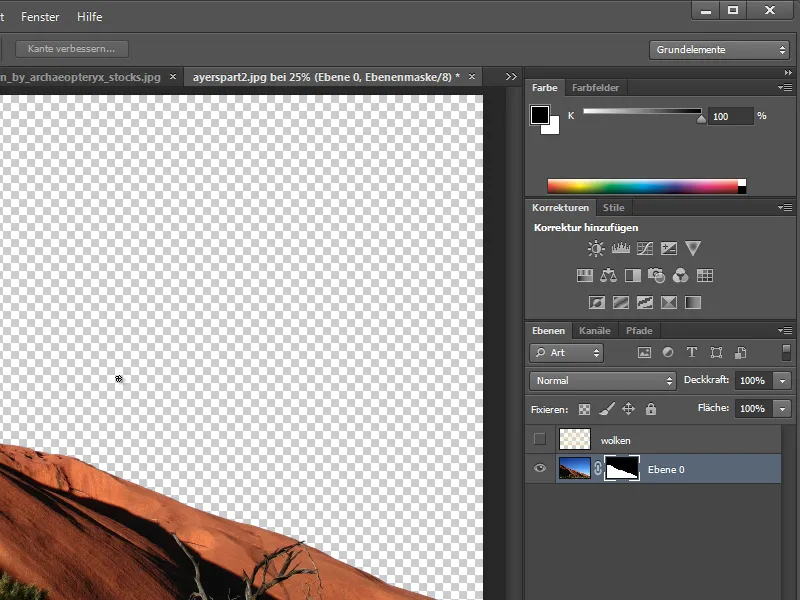
The clouds can then be shown again and placed below the landscape in the layer palette . A gradient is now created again on an additional layer at the bottom of the layer stack. It should look something like this: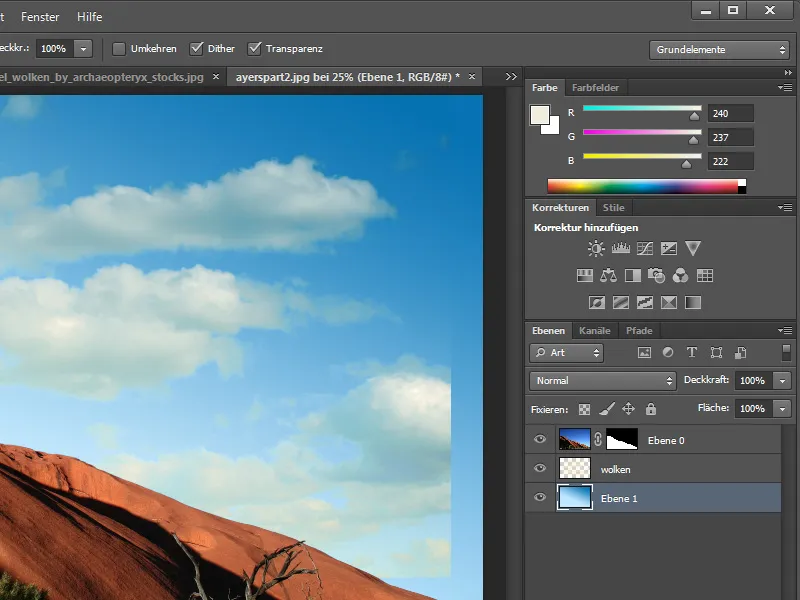
The cloud layer can be moved so that it integrates better into the image. The cloud structure can be partially lightened or darkened with the post-exposure or dodge tool.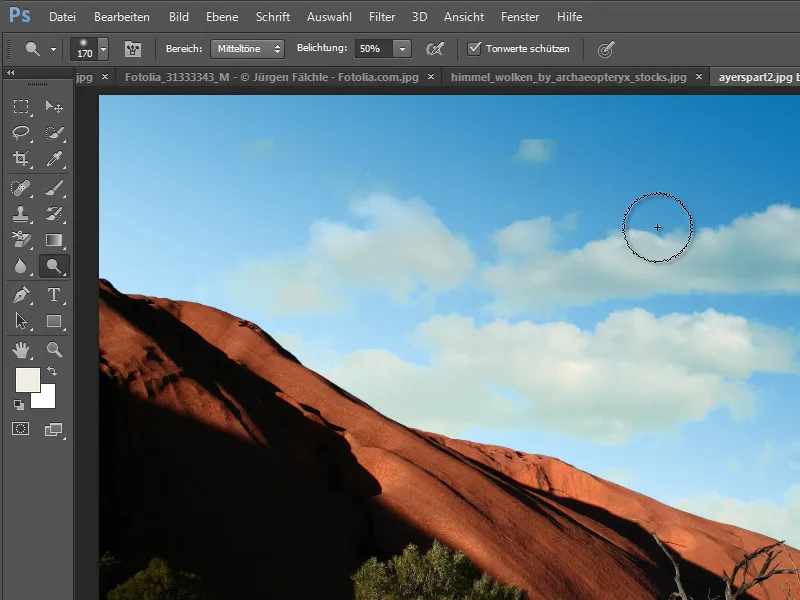
Clipped cloud areas that stand out due to the smaller image dimensions can be masked out with a layer mask.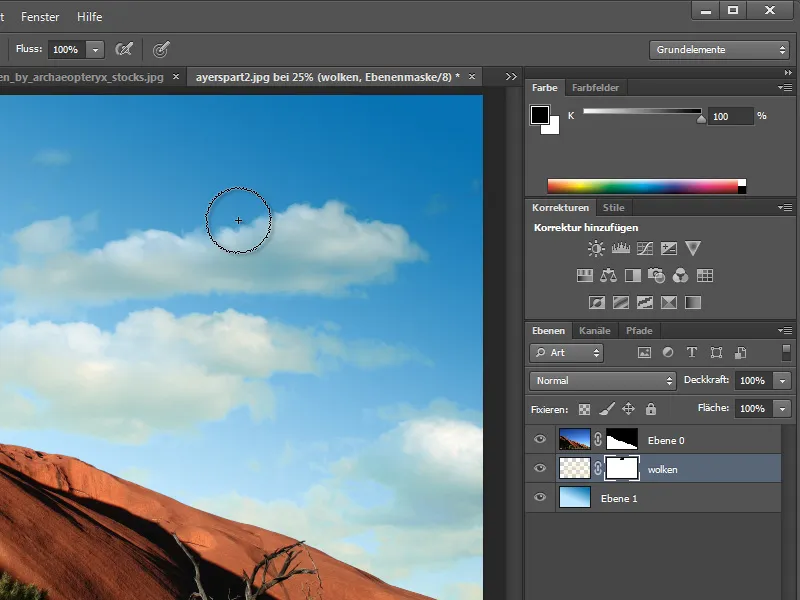
You can also use several cloud formations in this way for an even more realistic or dramatic look. Here I'm using the clouds from our first image again. Since I like these a little better overall, I'll only use these to fill the sky and Blender out the cloud layer I added first. I scale this cloud layer a little so that it fits better into the landscape image.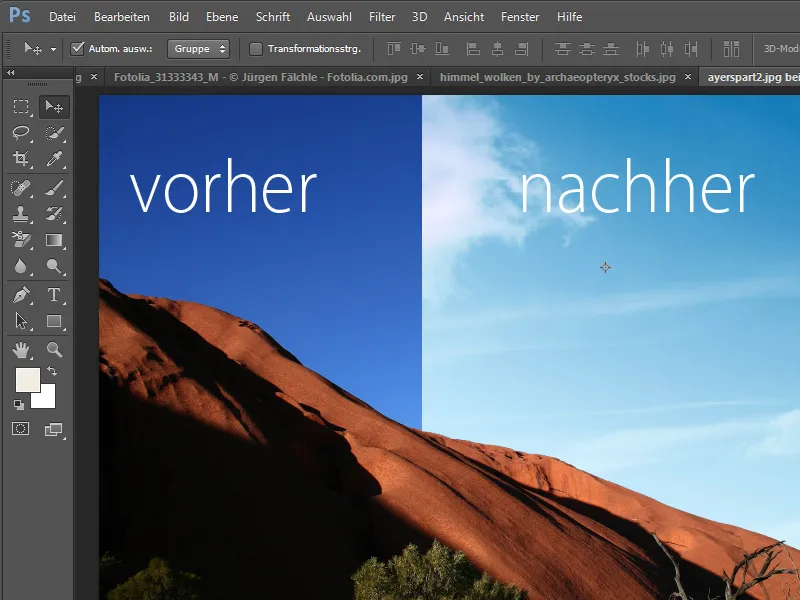
The clouds can also be enhanced using additional filter techniques. For example, you can call up the Hue/Saturation adjustment layer.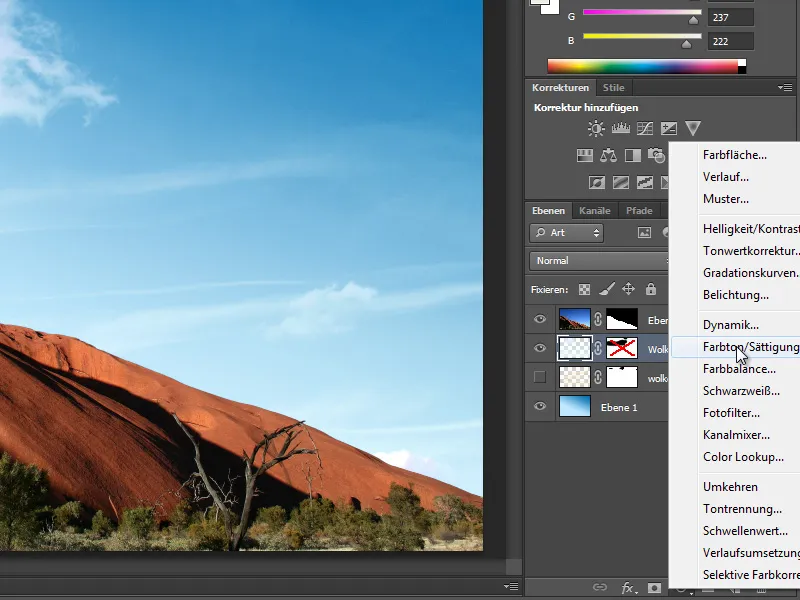
This allows you to enhance colors ...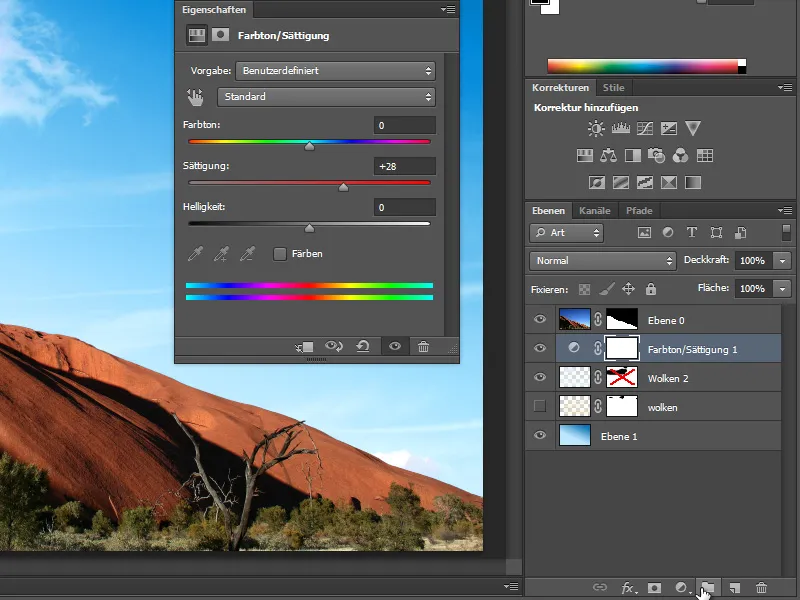
... or darken the entire appearance with a gradation curve adjustment layer.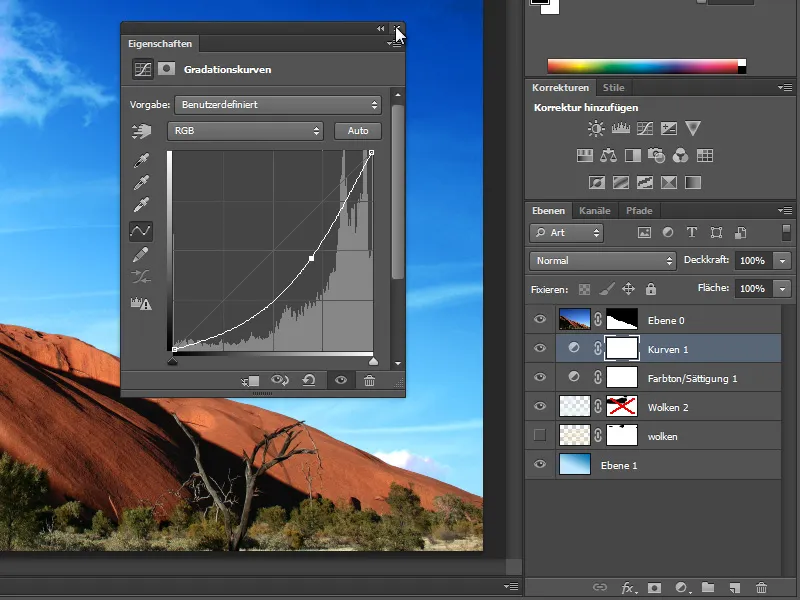
If the clouds look a little noisy, for example, you can convert the cloud object into a smart object by right-clicking on it.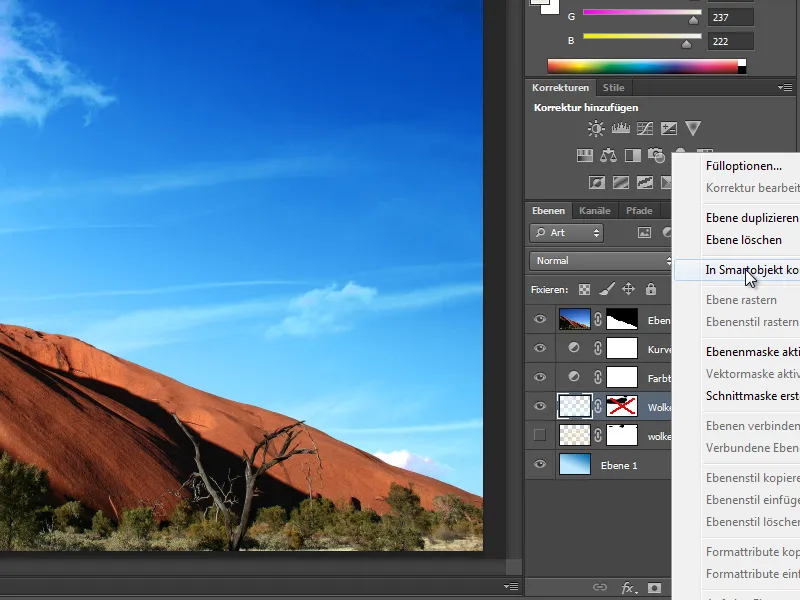
You can now apply numerous filters to this layer without destroying it.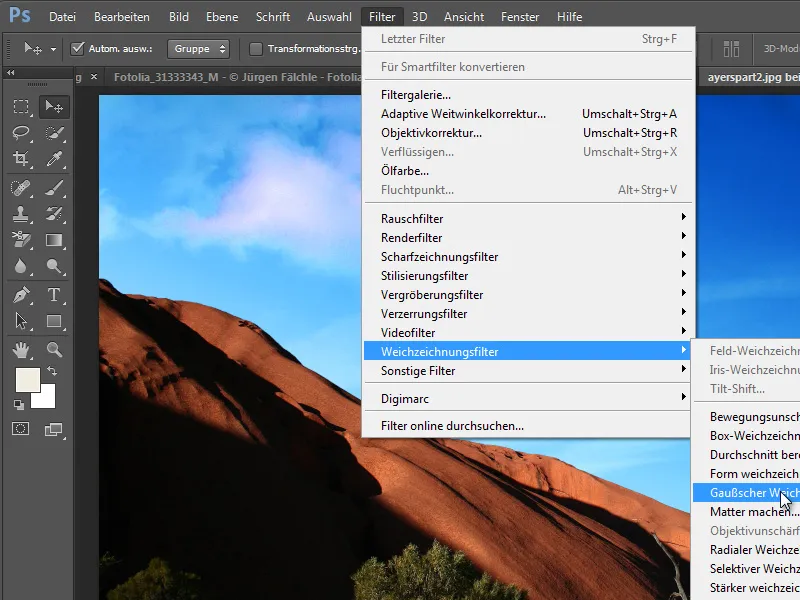
All settings made can be undone by hiding the eye symbol in front of the filter entry in the layer palette or edited again by double-clicking on the entry.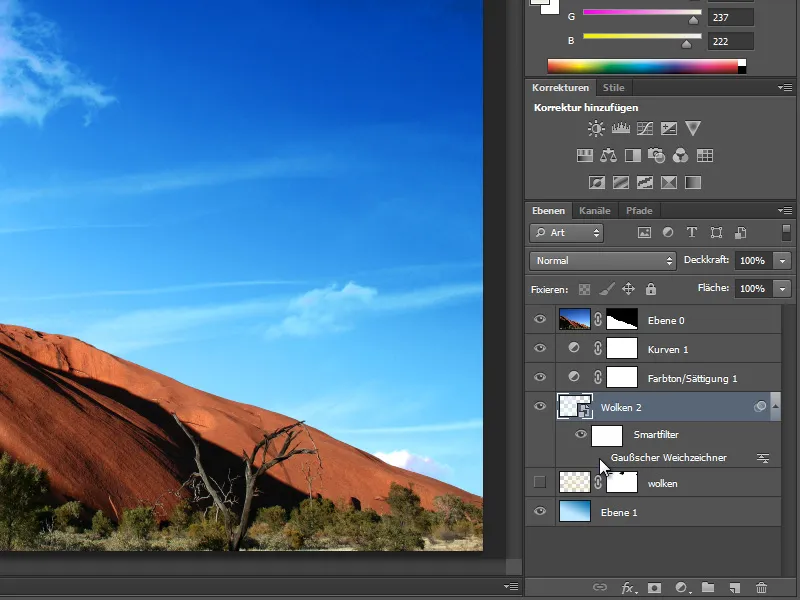
The function to save clipped cloud images as brush presets is also extremely useful. To do this, I switch back to my original image and only blend in the cloud layer. I use the selection tool to mark the area that is to be saved as a brush.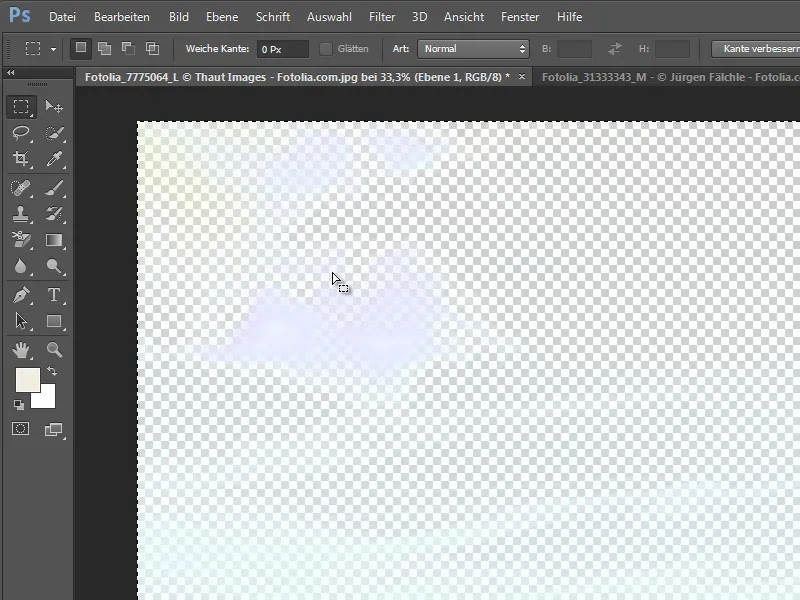
To create a brush from the selection, I now navigate to Edit>Set brush preset.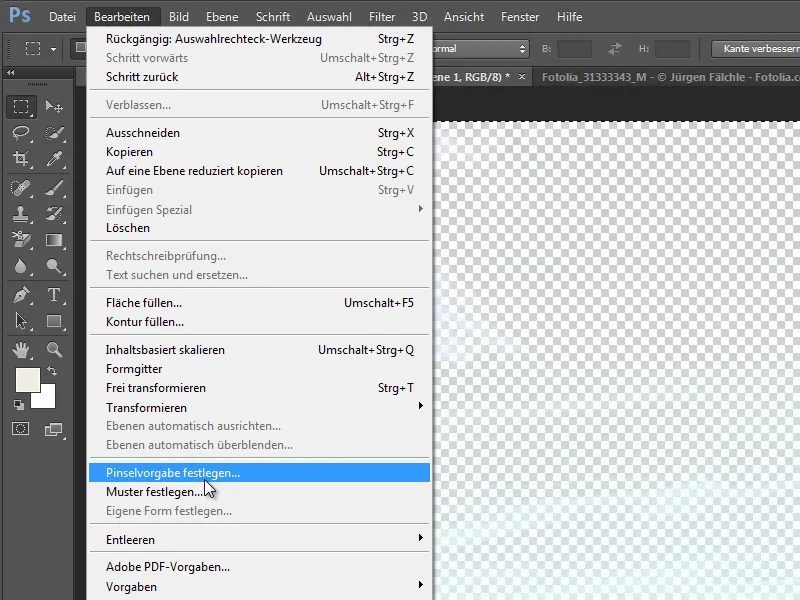
In the dialog box that then appears, I can give this brush a name.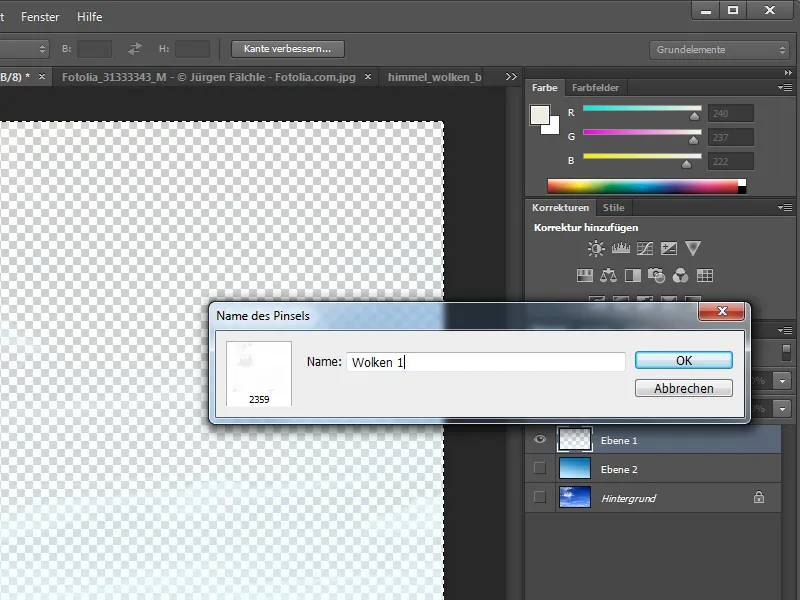
Now I test this new brush on a new layer. I Blender out the original clouds. I call up the brush tool. I right-click to open the brush tip selection and find the brush I just added at the end of the list, which I select.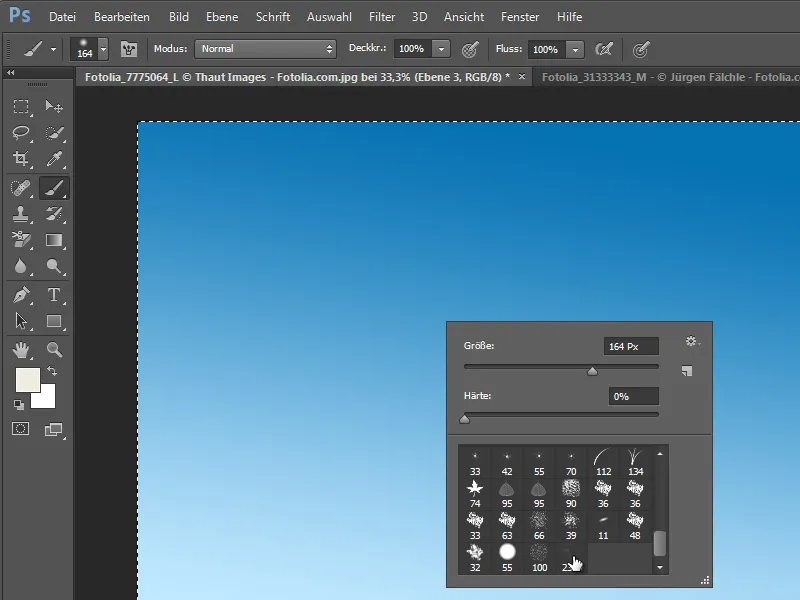
Now I can draw with this brush on the active layer. To do this, I click on the area as required until the desired opacity is reached.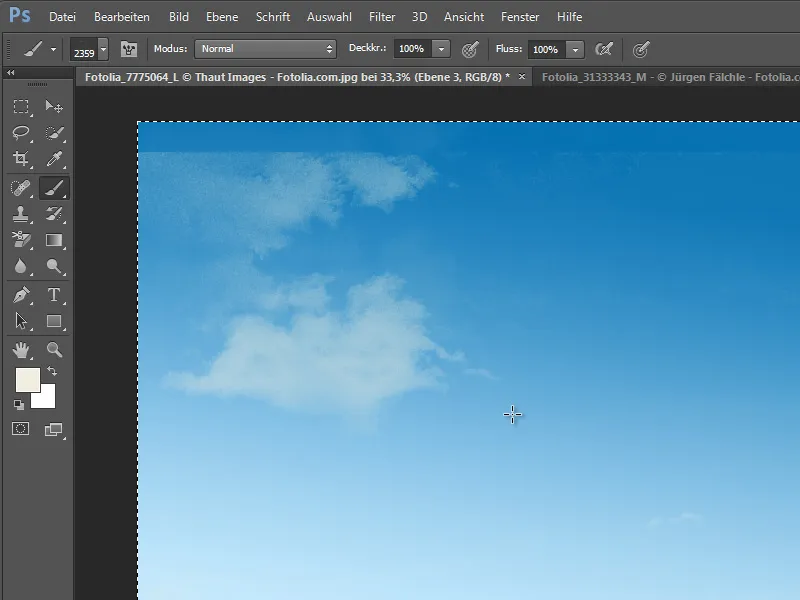
However, if I click several times on one area, the image initially becomes noisy.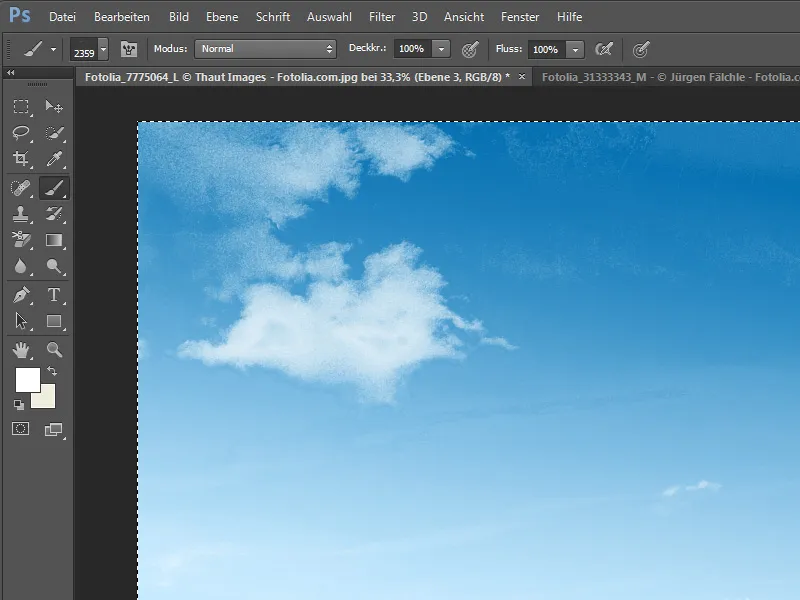
The trick is to first invert the selected clouds that you want to save as a brush preset, i.e. invert the layer.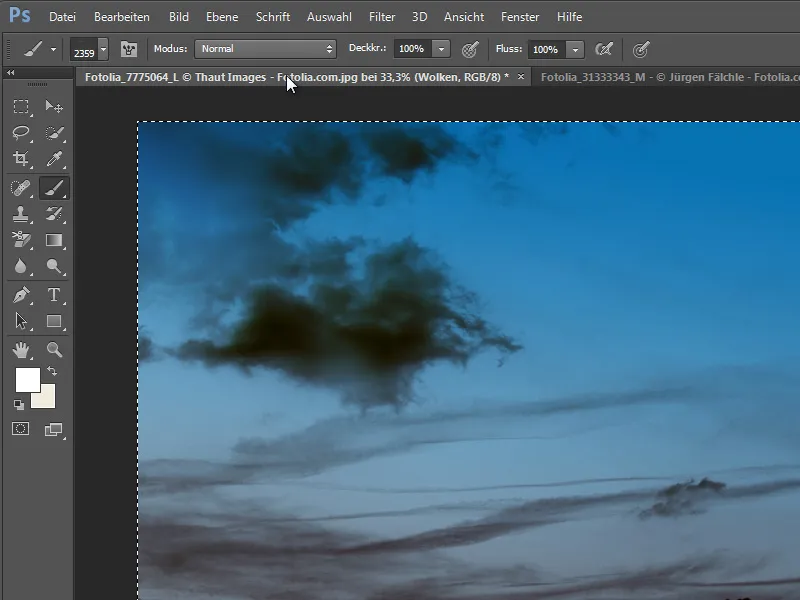
Only then is the selection saved as a brush. However, the other layers should be hidden beforehand.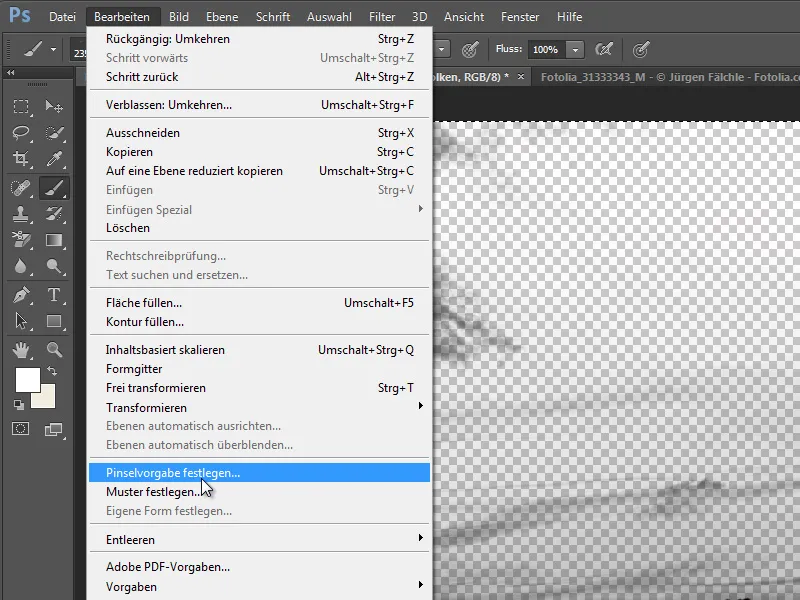
Now you can load the cloud brush you have just saved and use it to draw the clouds onto the layer. Noisy clouds can then no longer be observed.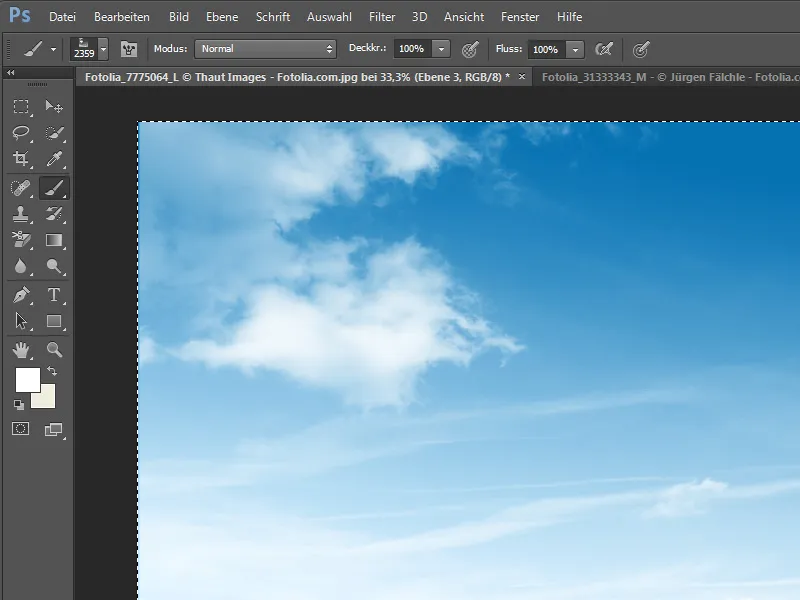
However, there are other pitfalls to be aware of. If you click with the same brush not in the middle but offset to the edge of the working area, the cloud structure will be applied, but so will the saved image edges. A smooth transition is not possible.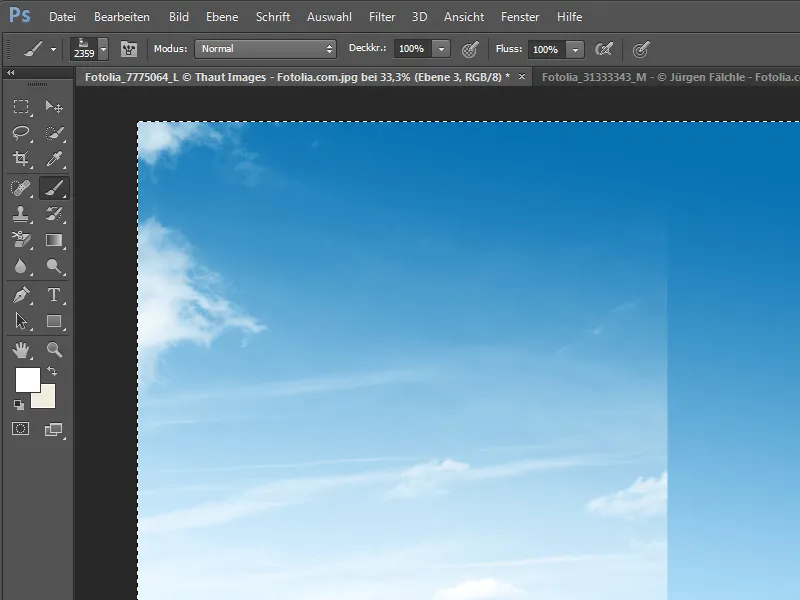
To prevent this from happening in the first place, the layer can be modified in advance, before the clouds are saved as brushes. The best way to do this is to create a layer mask on the cloud layer. Simply mask out the corners and edges on this mask using a soft brush.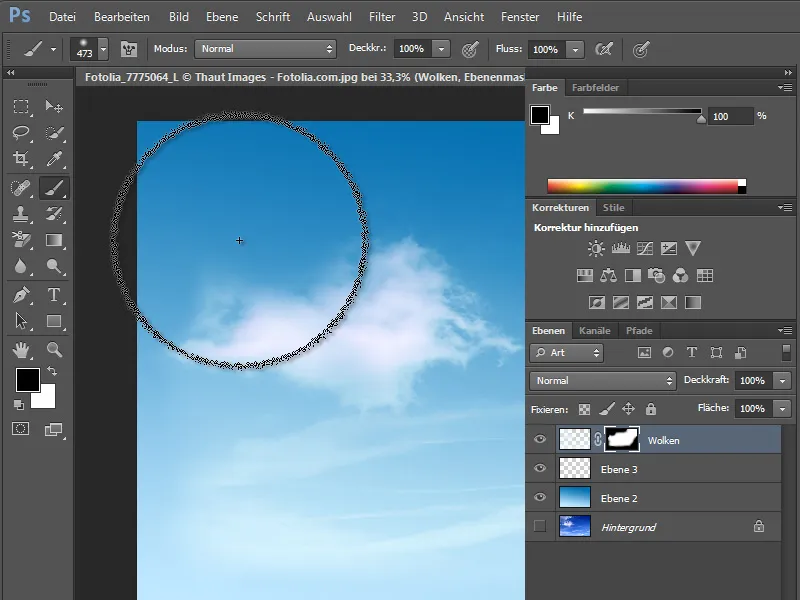
Then invert the layer again with Ctrl+I, select it completely and set it as the new brush preset.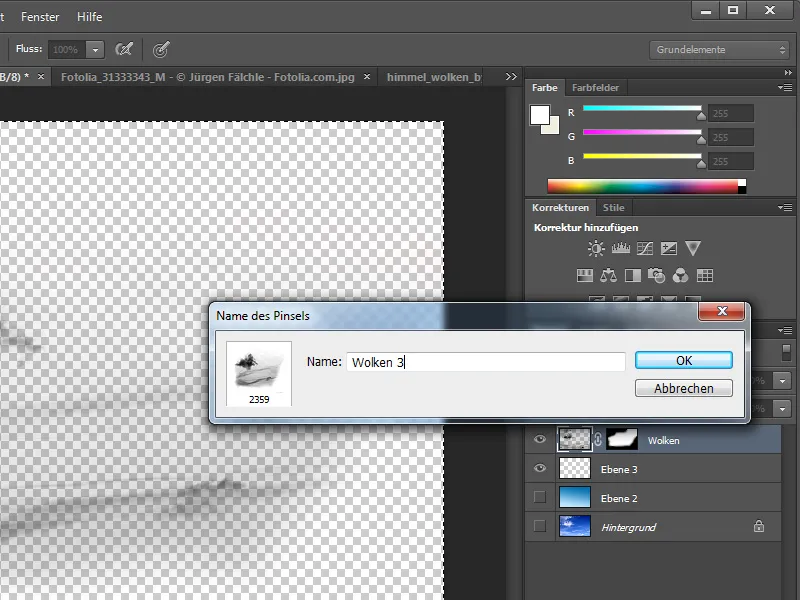
You can now use this brush to create any cloud structures on a new layer.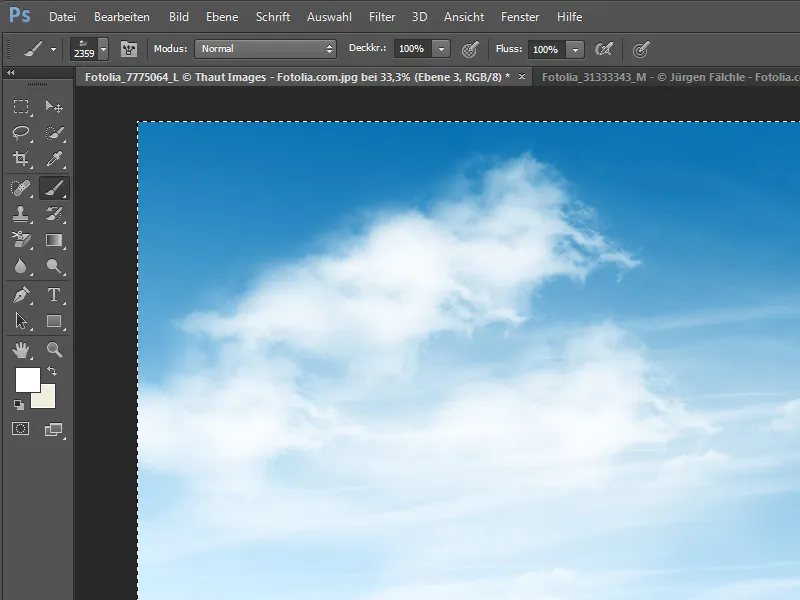
To avoid uniform cloud patterns, it is advisable to make some settings in the brush control panel. You can call this up from the properties bar when the brush tool is active. For example, you can easily rotate the brush tip or add other functions to it.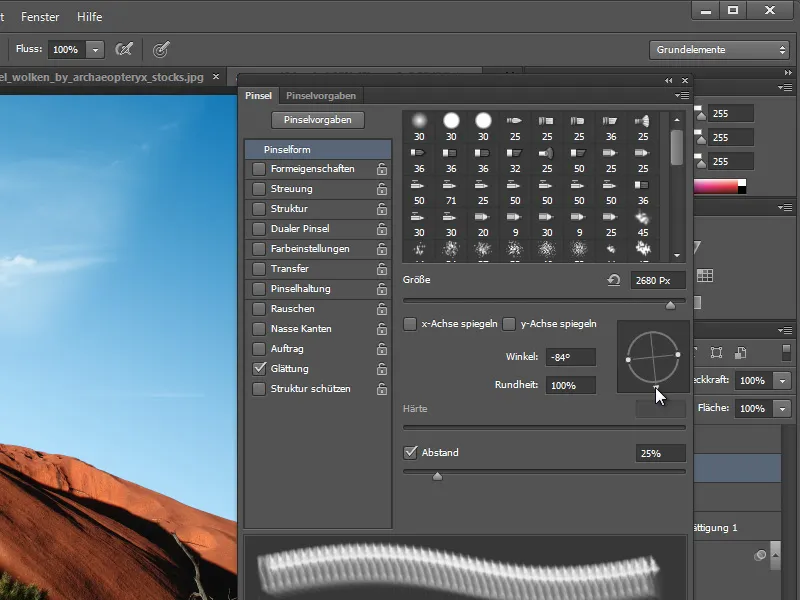
This technique is practically unlimited and can be applied to many image areas.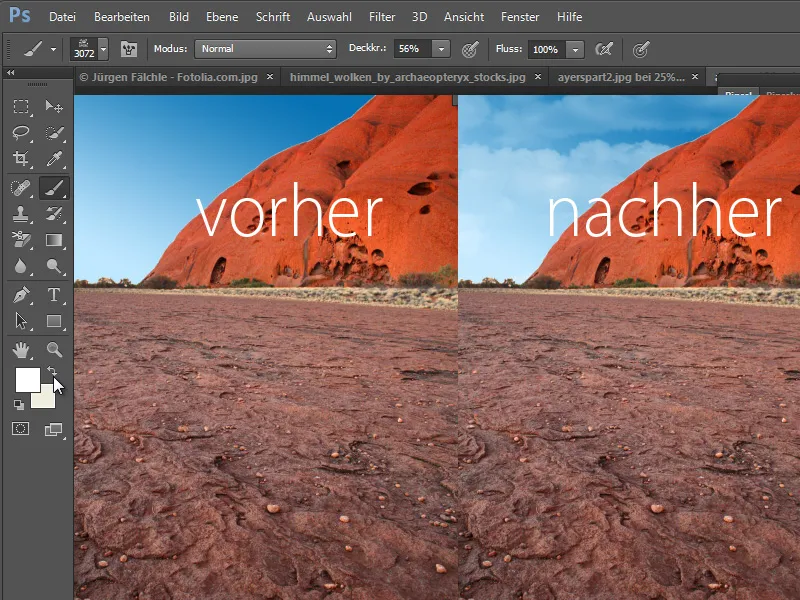
In the enlarged view, an unclean transition between masks and image areas can sometimes be observed. But even this is not a problem for Adobe Photoshop. You can right-click to call up an additional function to improve the existing mask.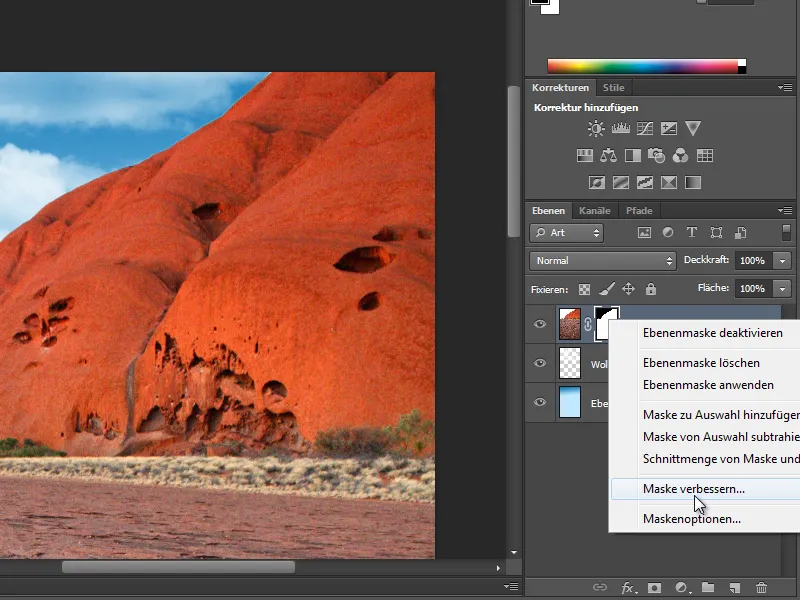
In this dialog box, you can, for example, move the mask slightly or add a soft edge.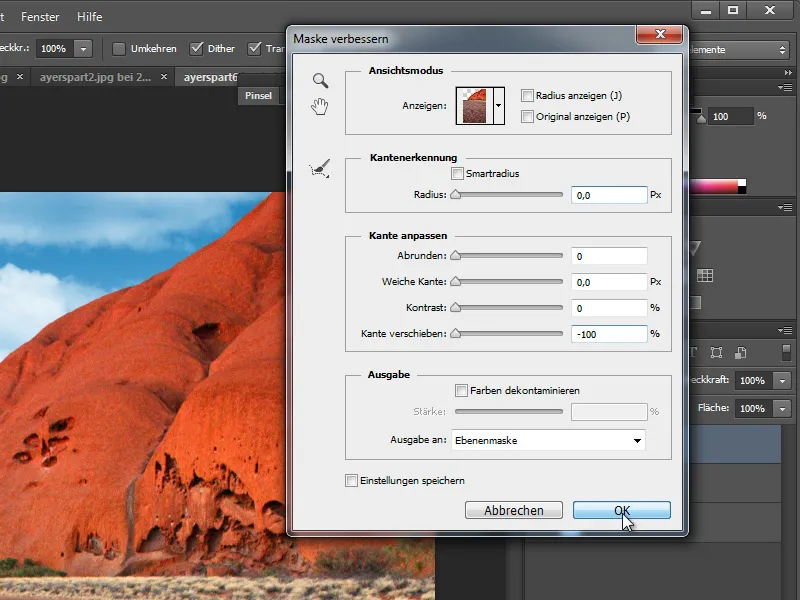
Once the mask has been adjusted, the end result looks much better.