In today's digital world, it is essential to make yourself visible on social media. Facebook is one of the most widely used platforms to interact with potential customers and a broader audience. A captivating graphic for your posts can make all the difference. In this tutorial, you will learn how to create a professional Facebook post with Canva in just a few steps.
Key Takeaways
- Canva is a user-friendly platform that allows you to create appealing graphics for free.
- You can choose from a variety of templates or customize your designs according to your preferences.
- The color scheme and text of your graphics can be easily changed to represent your individual style.
Step-by-Step Guide
Step 1: Open Canva
First, go to canva.com. Creating a Canva account is free, and you need it to save your designs.
Step 2: Enter Search Term
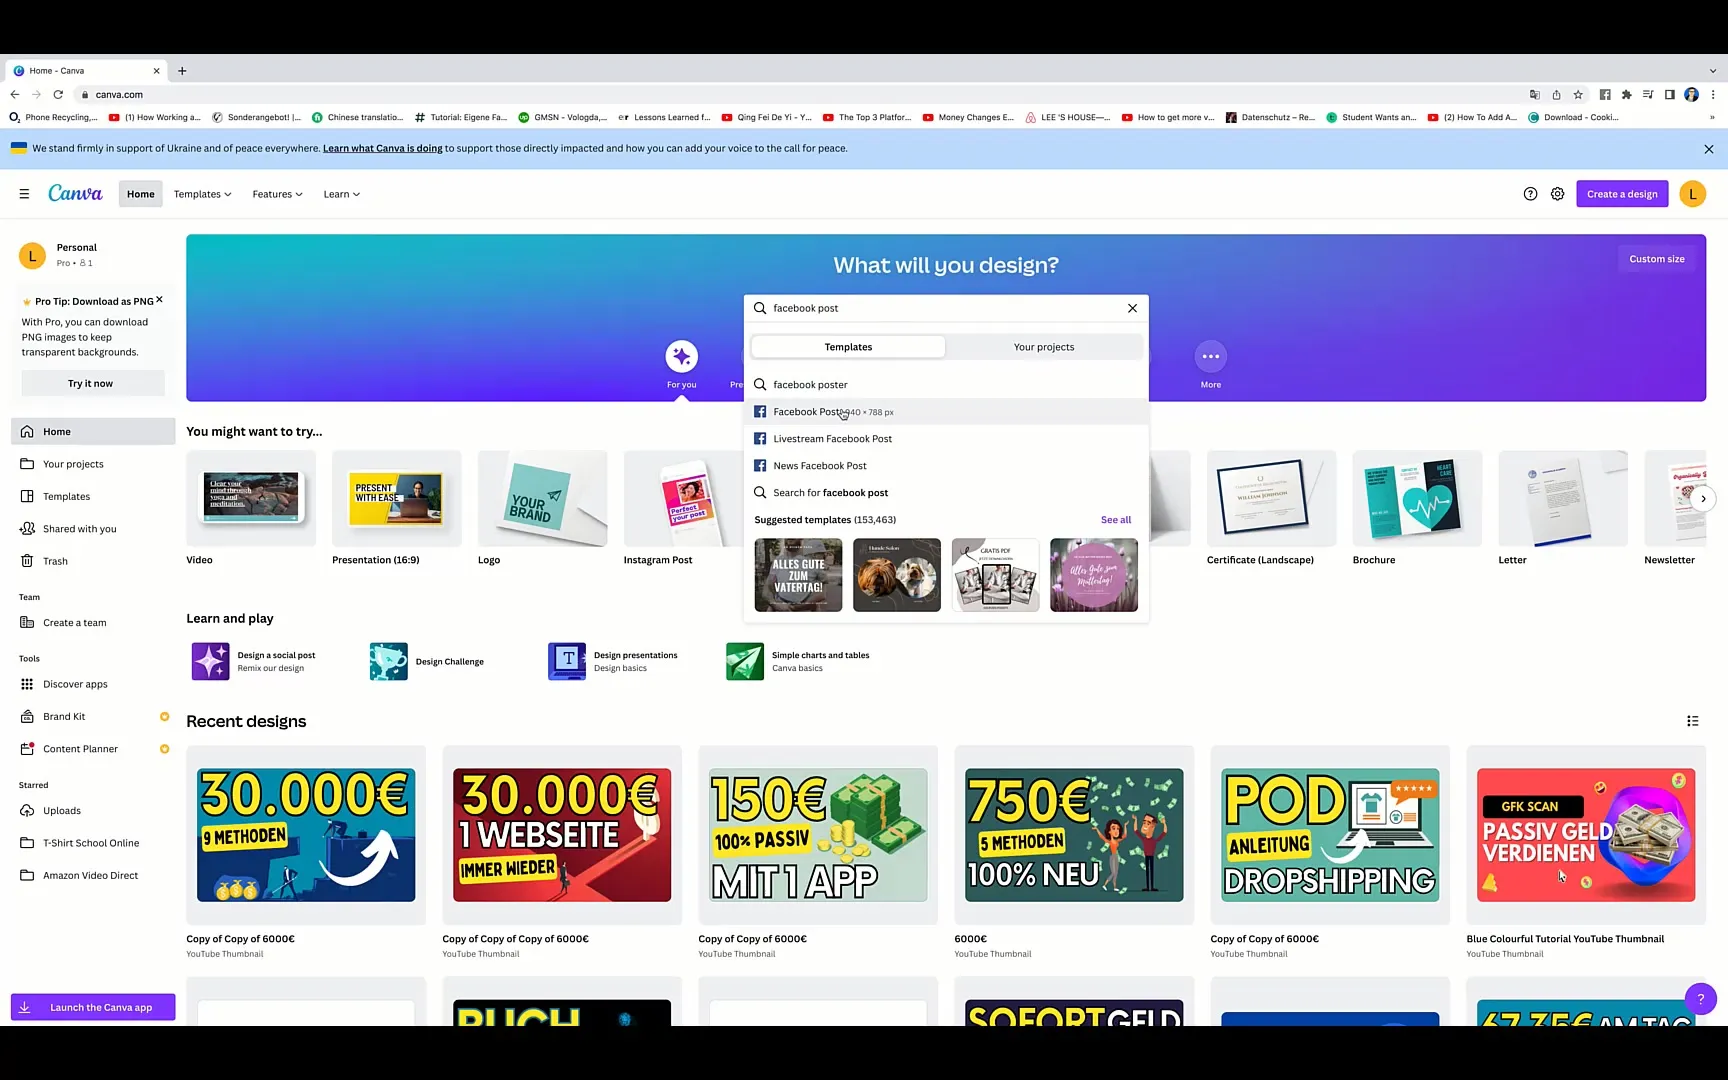
Enter the term "Facebook Post" in the search bar. This will show you a variety of specific templates ideal for Facebook posts.
Step 3: Select Template
Choose the template that suits you best. Click on the "940 x 788 pixels" option to start designing.
Step 4: Customize Design
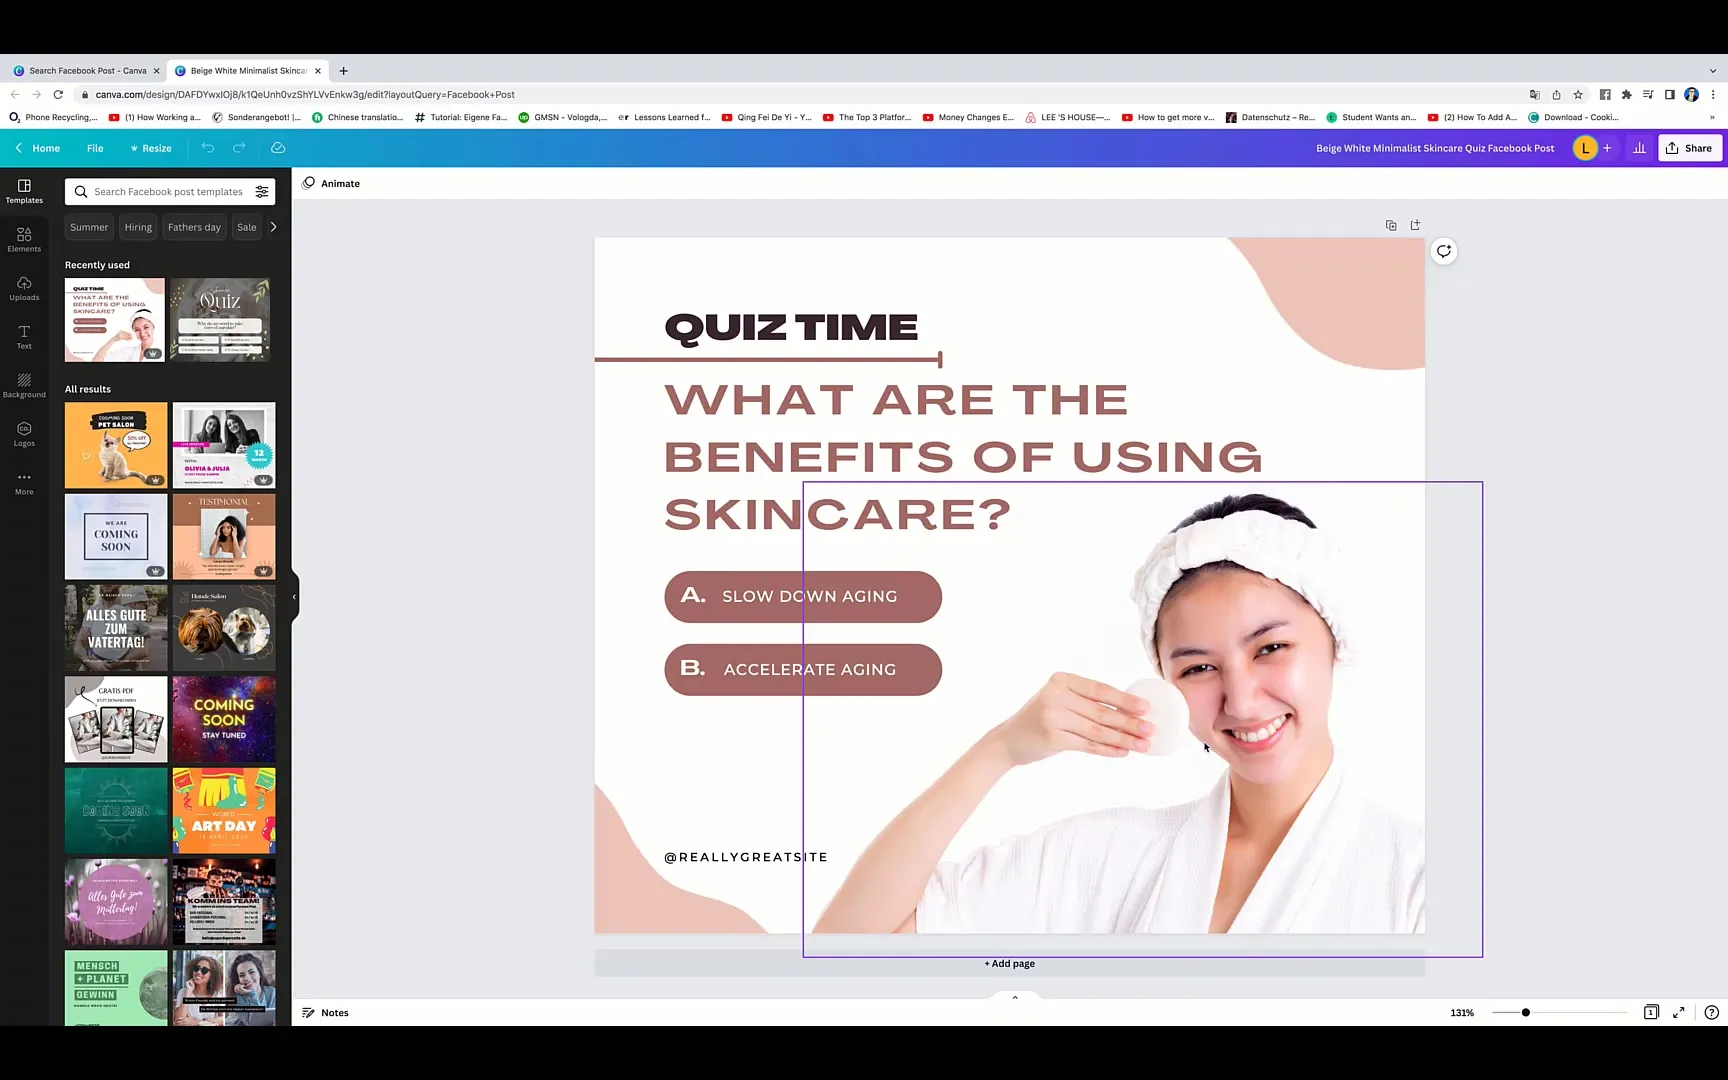
You are now in the editor. You can start with an existing template or completely redesign the design. If you want to disable a specific element, click on it and use the delete option (trash can).
Step 5: Add Elements
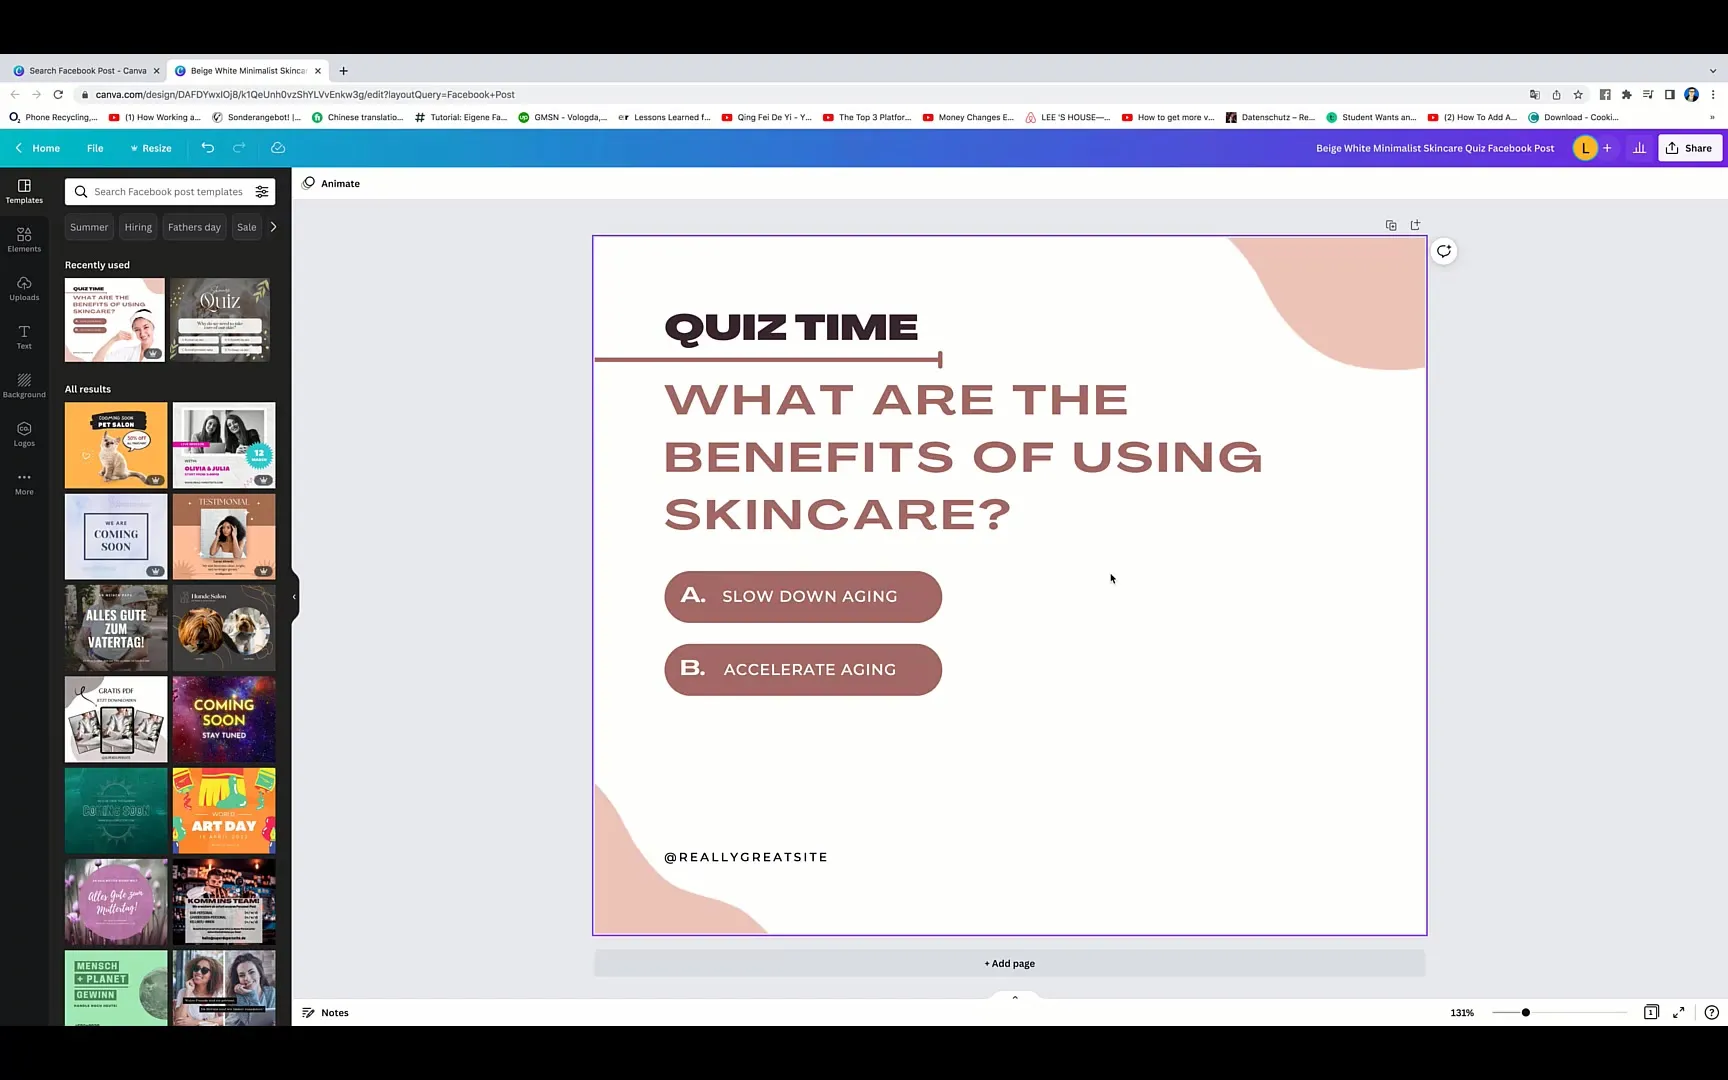
If your post is related to botany or gardening, for example, you can search for relevant elements. Go to "Elements" in the top left corner and search for "Plant" to find suitable images or illustrations.
Step 6: Customize Colors
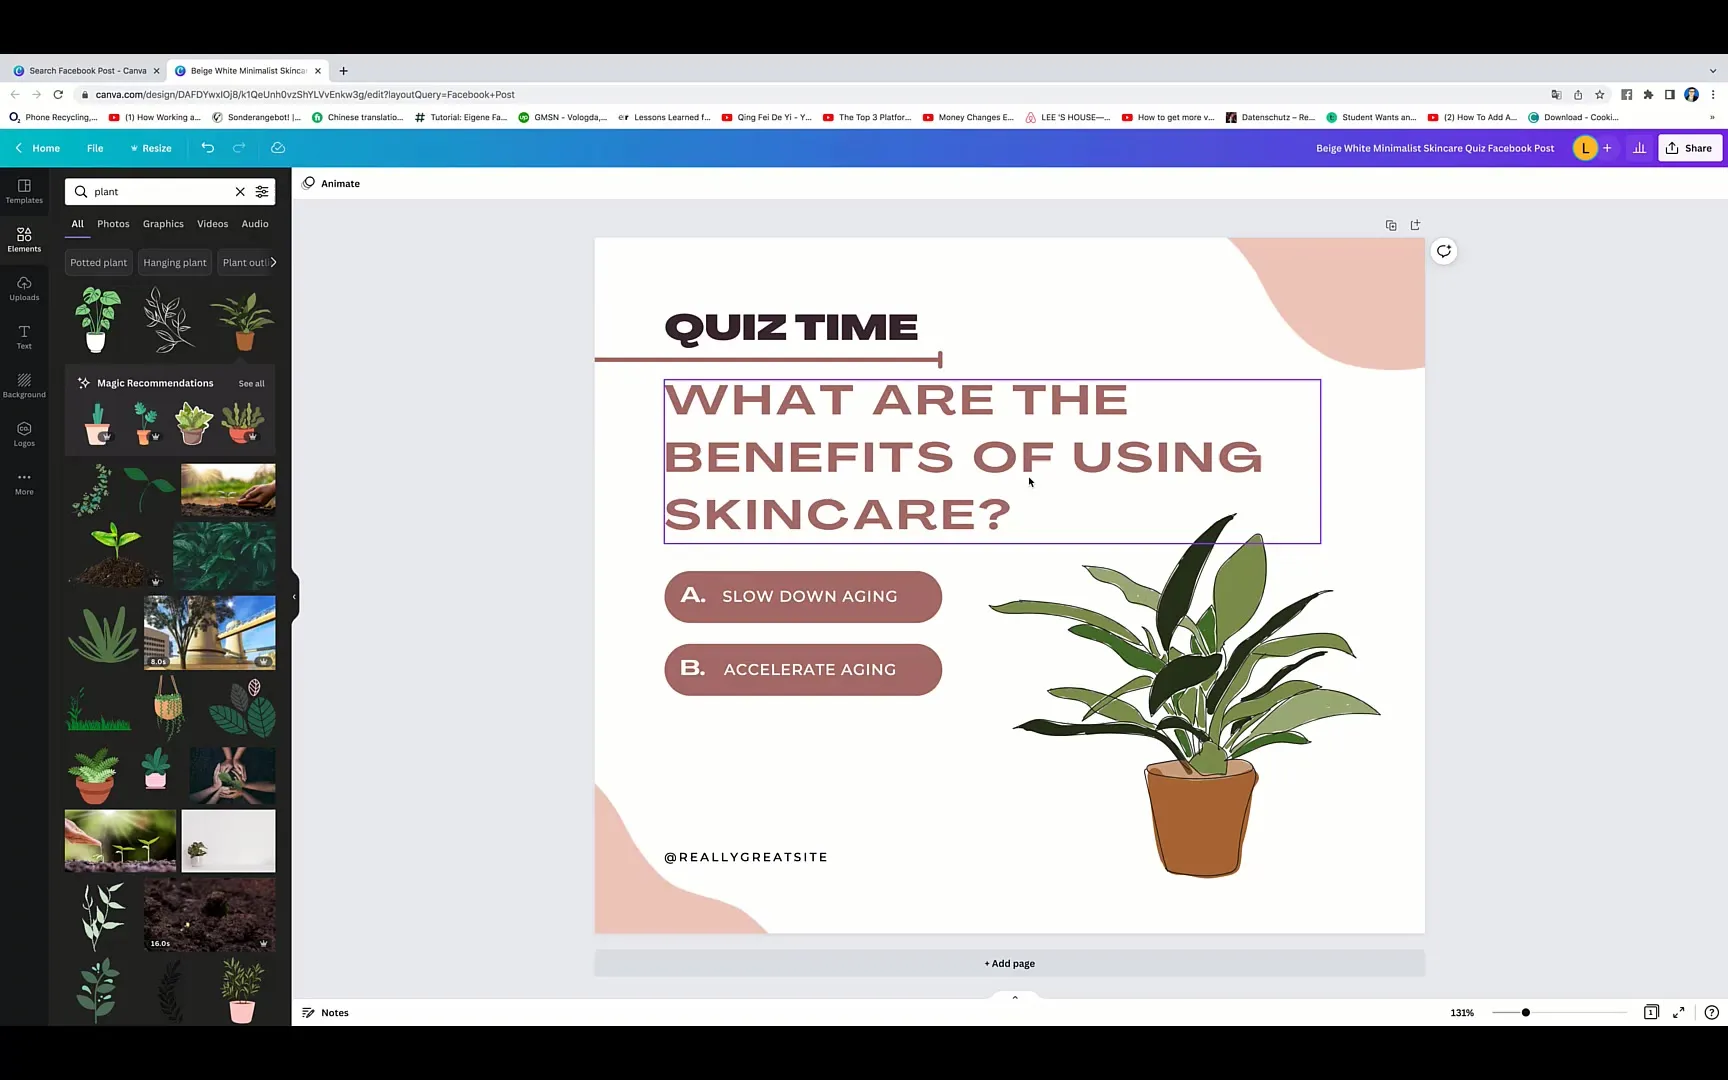
To refresh the colors of your design, click on the respective element and choose the desired color. Ensure that the colors harmonize well and match your theme.
Step 7: Add Text
Go to the text area and insert your headline. You can customize the text, change the font, and determine the text color. Experiment with different fonts to find the right style.
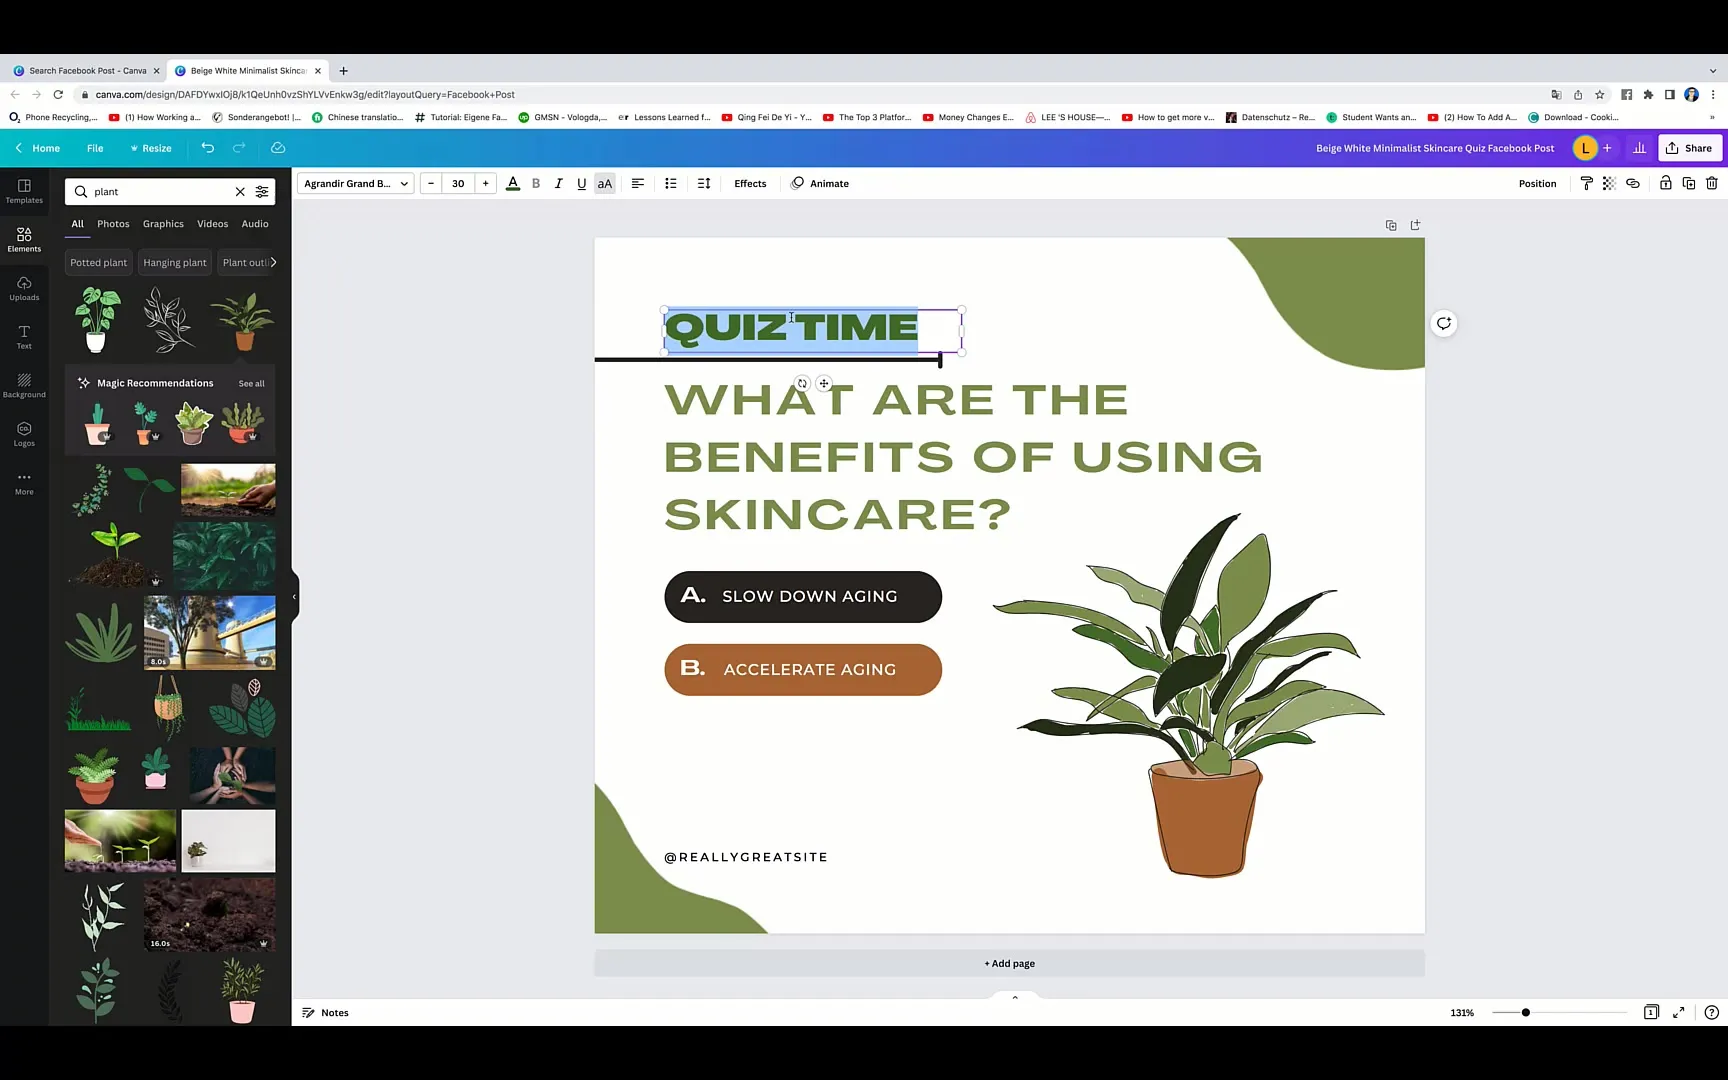
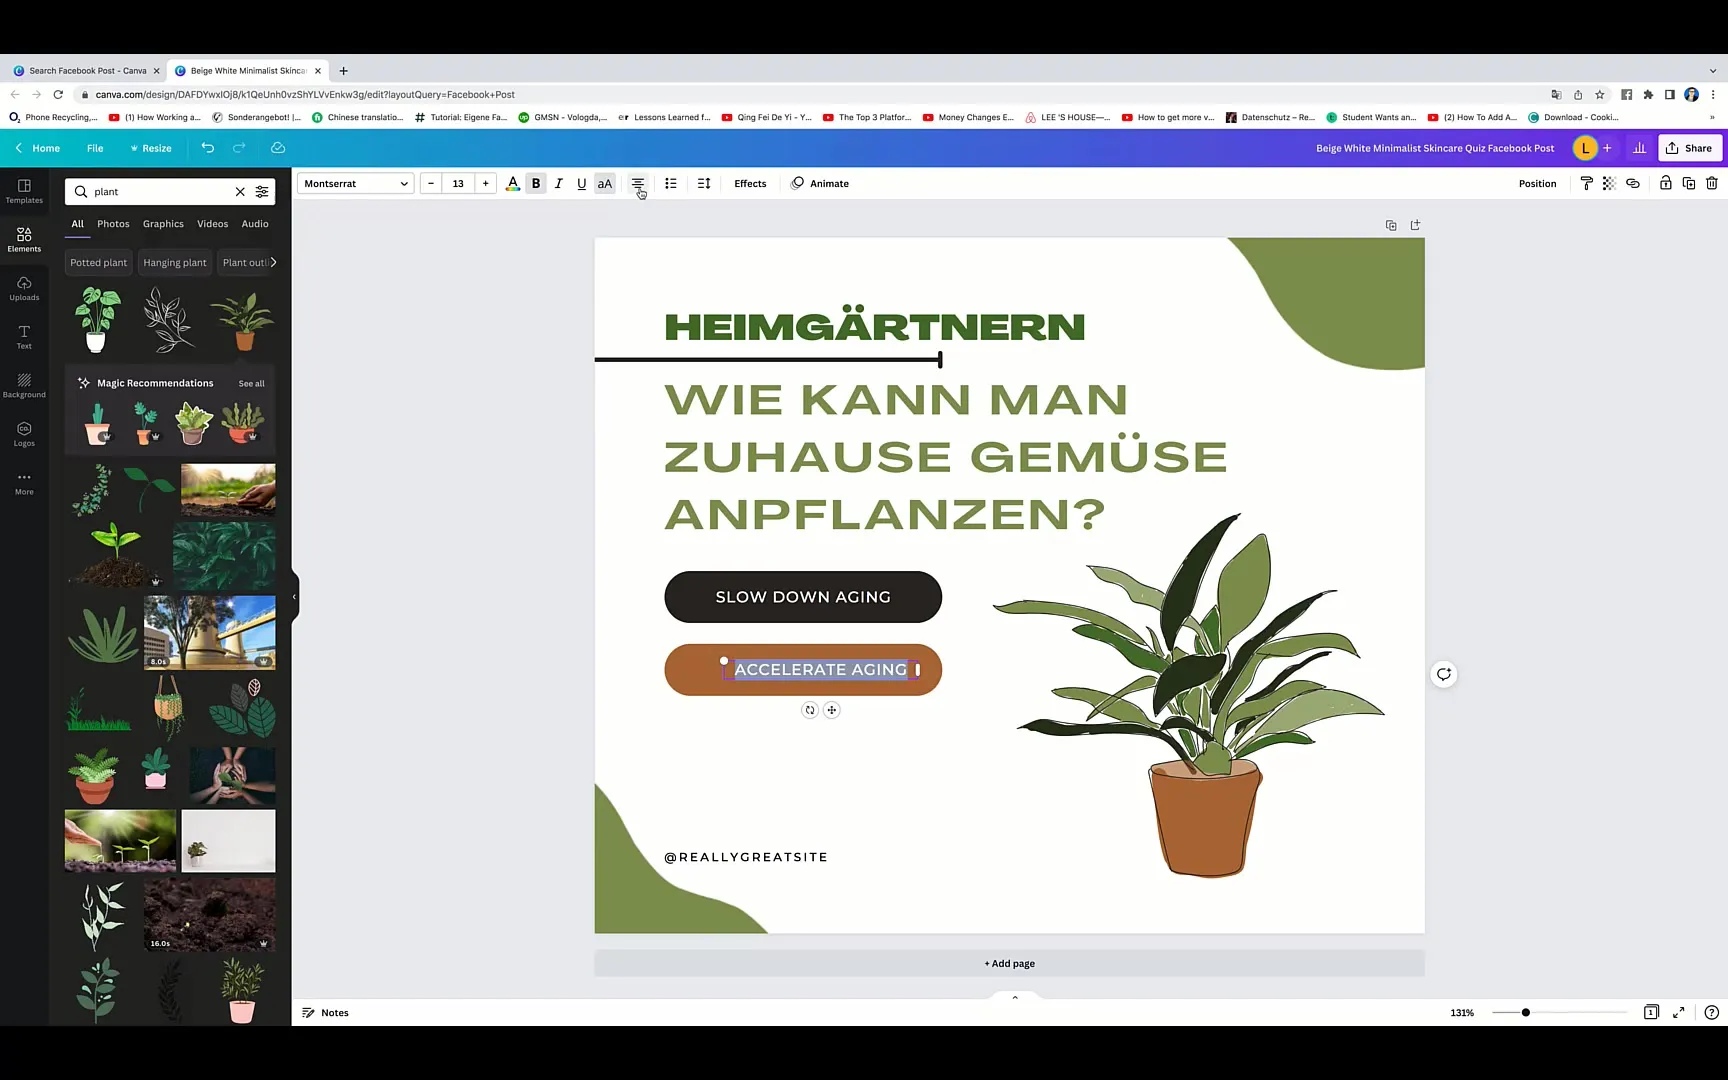
Step 8: Layout and Centering
To visually enhance the design, center all elements. Click on the text, go to "Alignment," and choose the centering option. Make sure everything looks well-proportioned and clean.
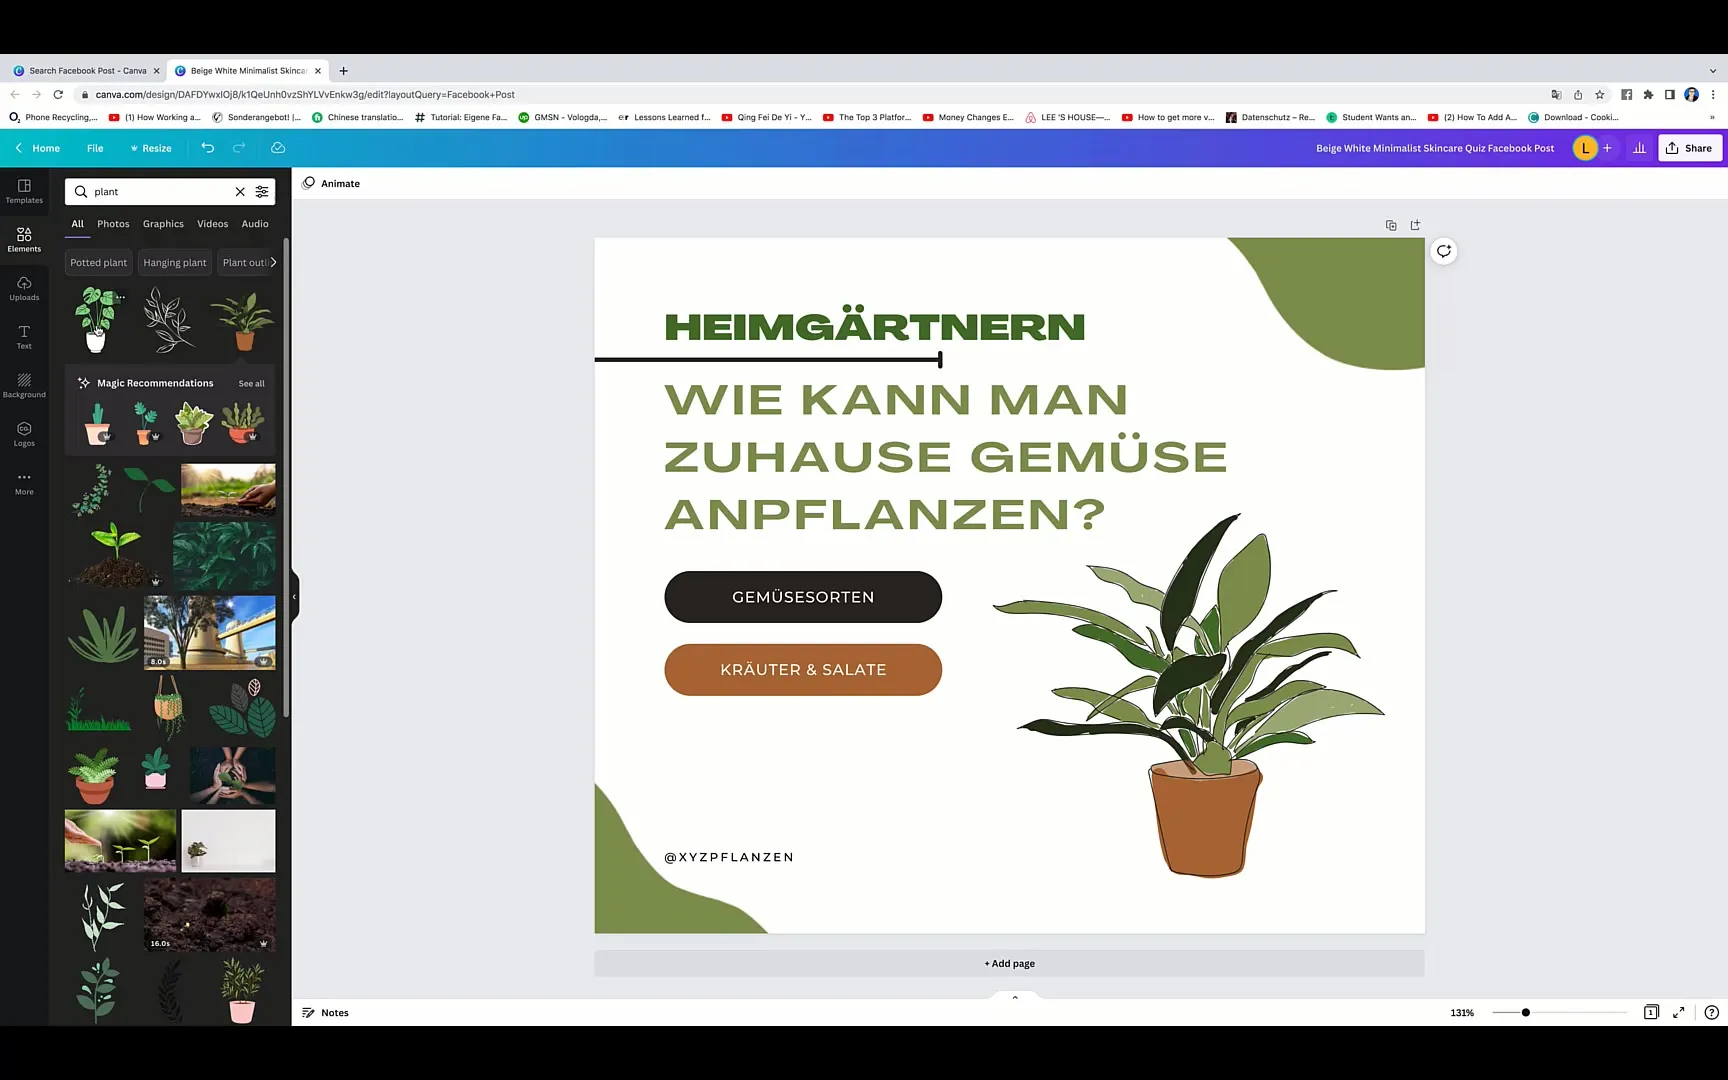
Step 9: Add More Elements
If needed, you can add more elements such as your logo or additional images. Go to "Elements" again and choose as required.
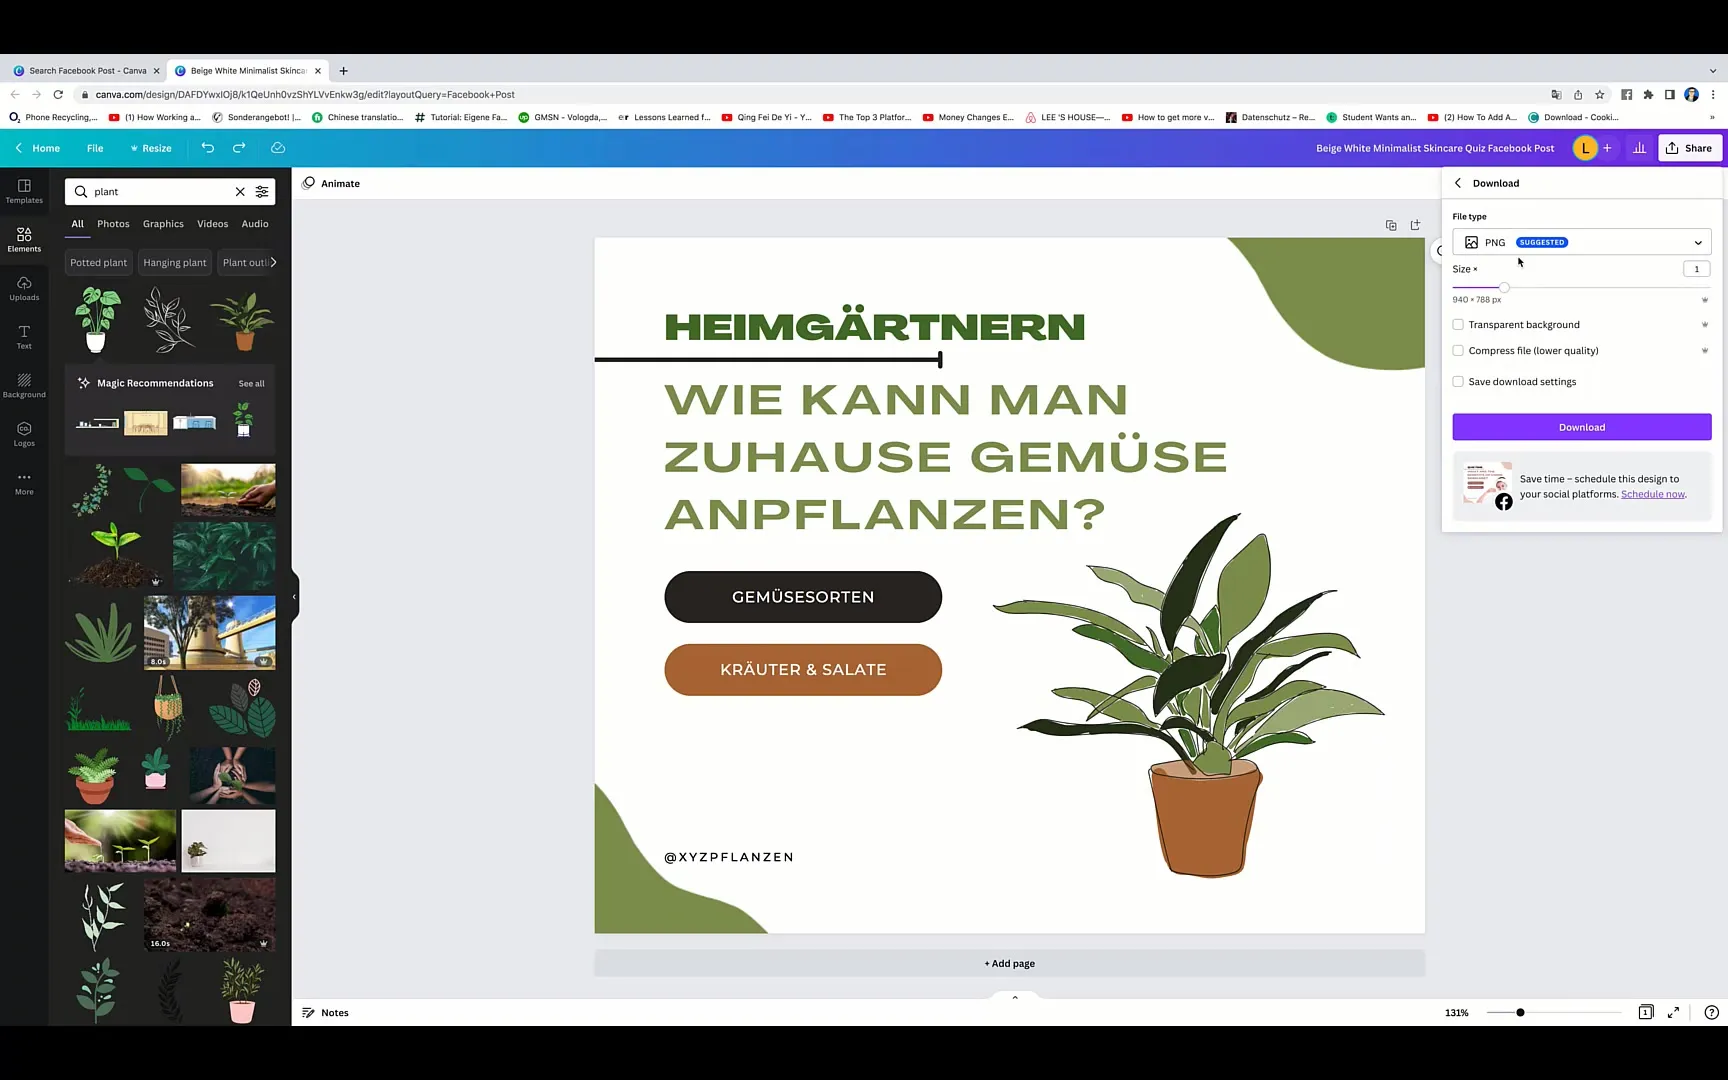
Step 10: Save and Download
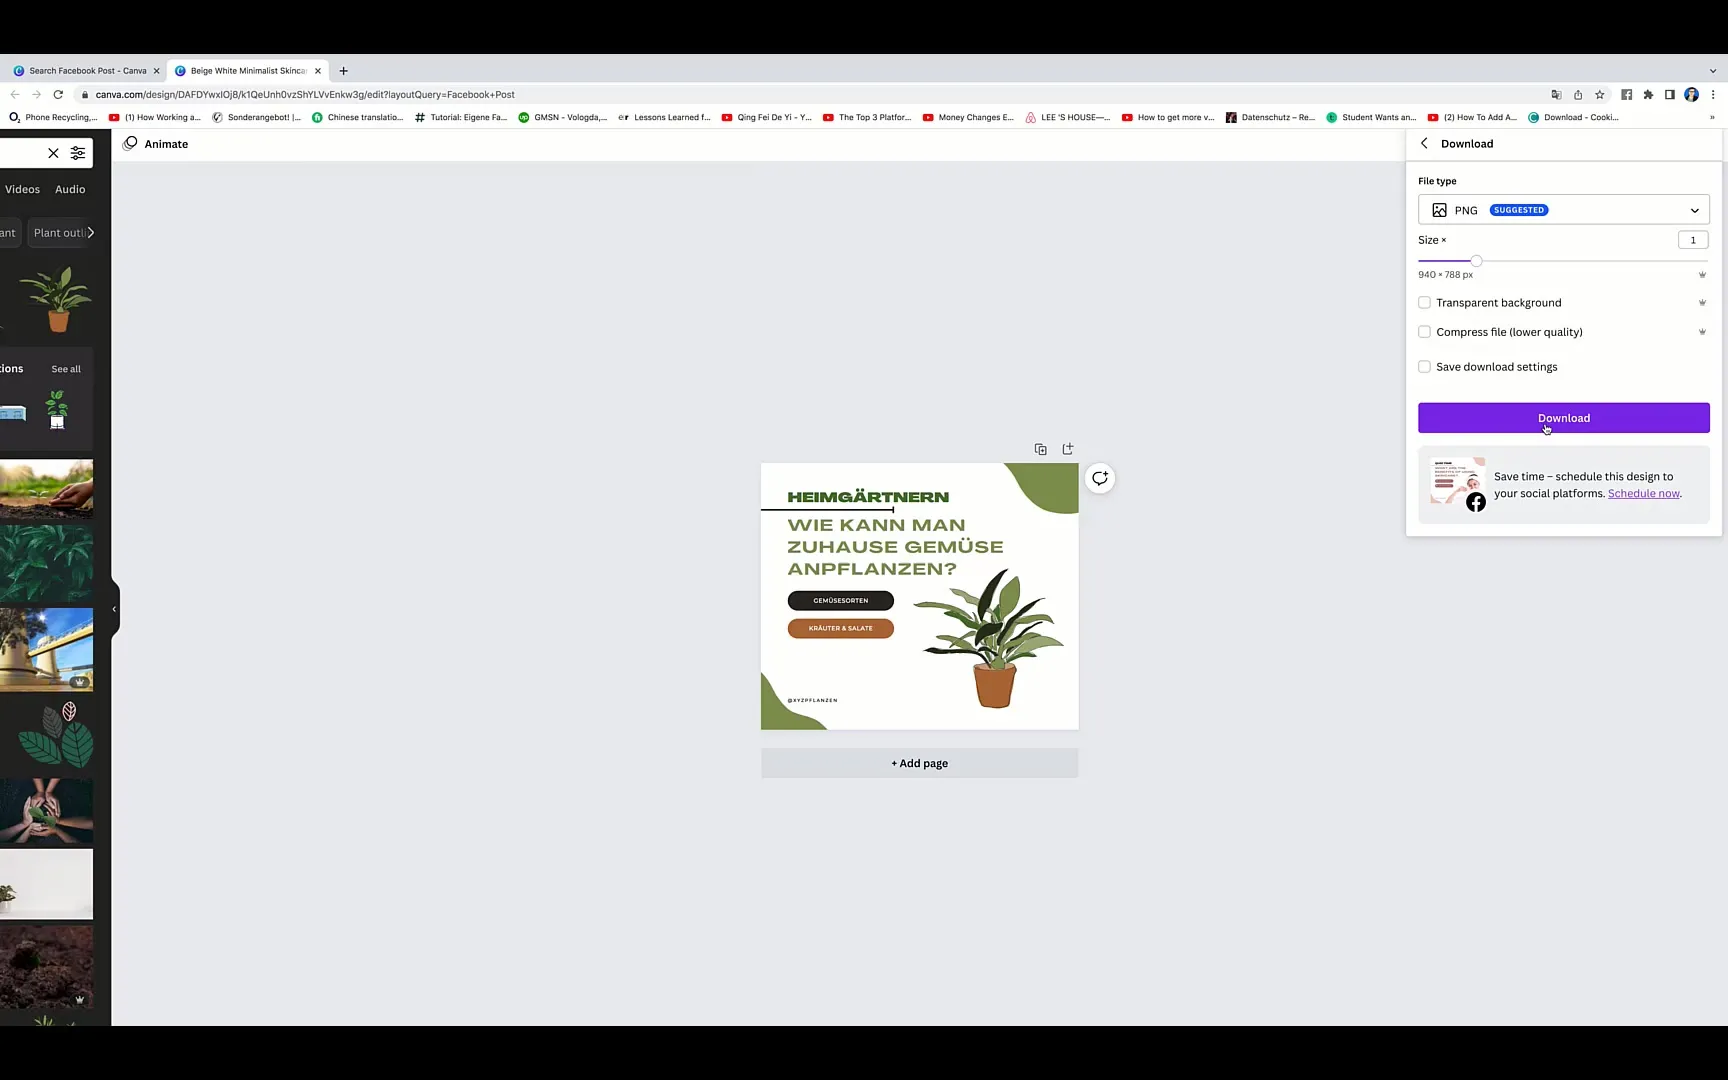
Once your design is ready, go to "File" and then "Download." Choose the format in which you want to save the image – JPEG or PNG are the most common formats for Facebook posts.
Step 11: Uploading to Facebook
Now you have everything you need to upload your image directly to Facebook. Go to your Facebook profile or the page where you want to post, and upload the image.
Step 12: Return to the Homepage
To return to the Canva homepage, click on the Home button. There you can also save and continue editing all your created designs.
Summary
In this guide, you have learned how to create an attractive Facebook post in Canva with simple steps. You just need to use the platform's basics to create a compelling design that reaches and impresses your target audience.
Frequently Asked Questions
How can I download my Canva design?Go to "File" and click on "Download" to save your design in the desired format.
Can I upload my own images in Canva?Yes, you can always upload your own images in Canva to use in your design.
Is Canva free?Yes, the basic functions are free, but you can also access premium features if you have a paid account.


