In today's digital world, the use of social media to create communities is essential. A Facebook group can be an effective way to find like-minded individuals and engage in discussions about common interests. In this guide, I will show you how to create a Facebook group and successfully scale it. You will also learn how to invite friends and generate QR codes to increase the reach of your group.
Key Insights
- A Facebook group can be either public or private. Public is usually the better choice to attract more members.
- Inviting friends is an effective first step to scaling your group.
- QR codes are an innovative tool to attract new members.
Step-by-Step Guide
Step 1: Create Facebook Group
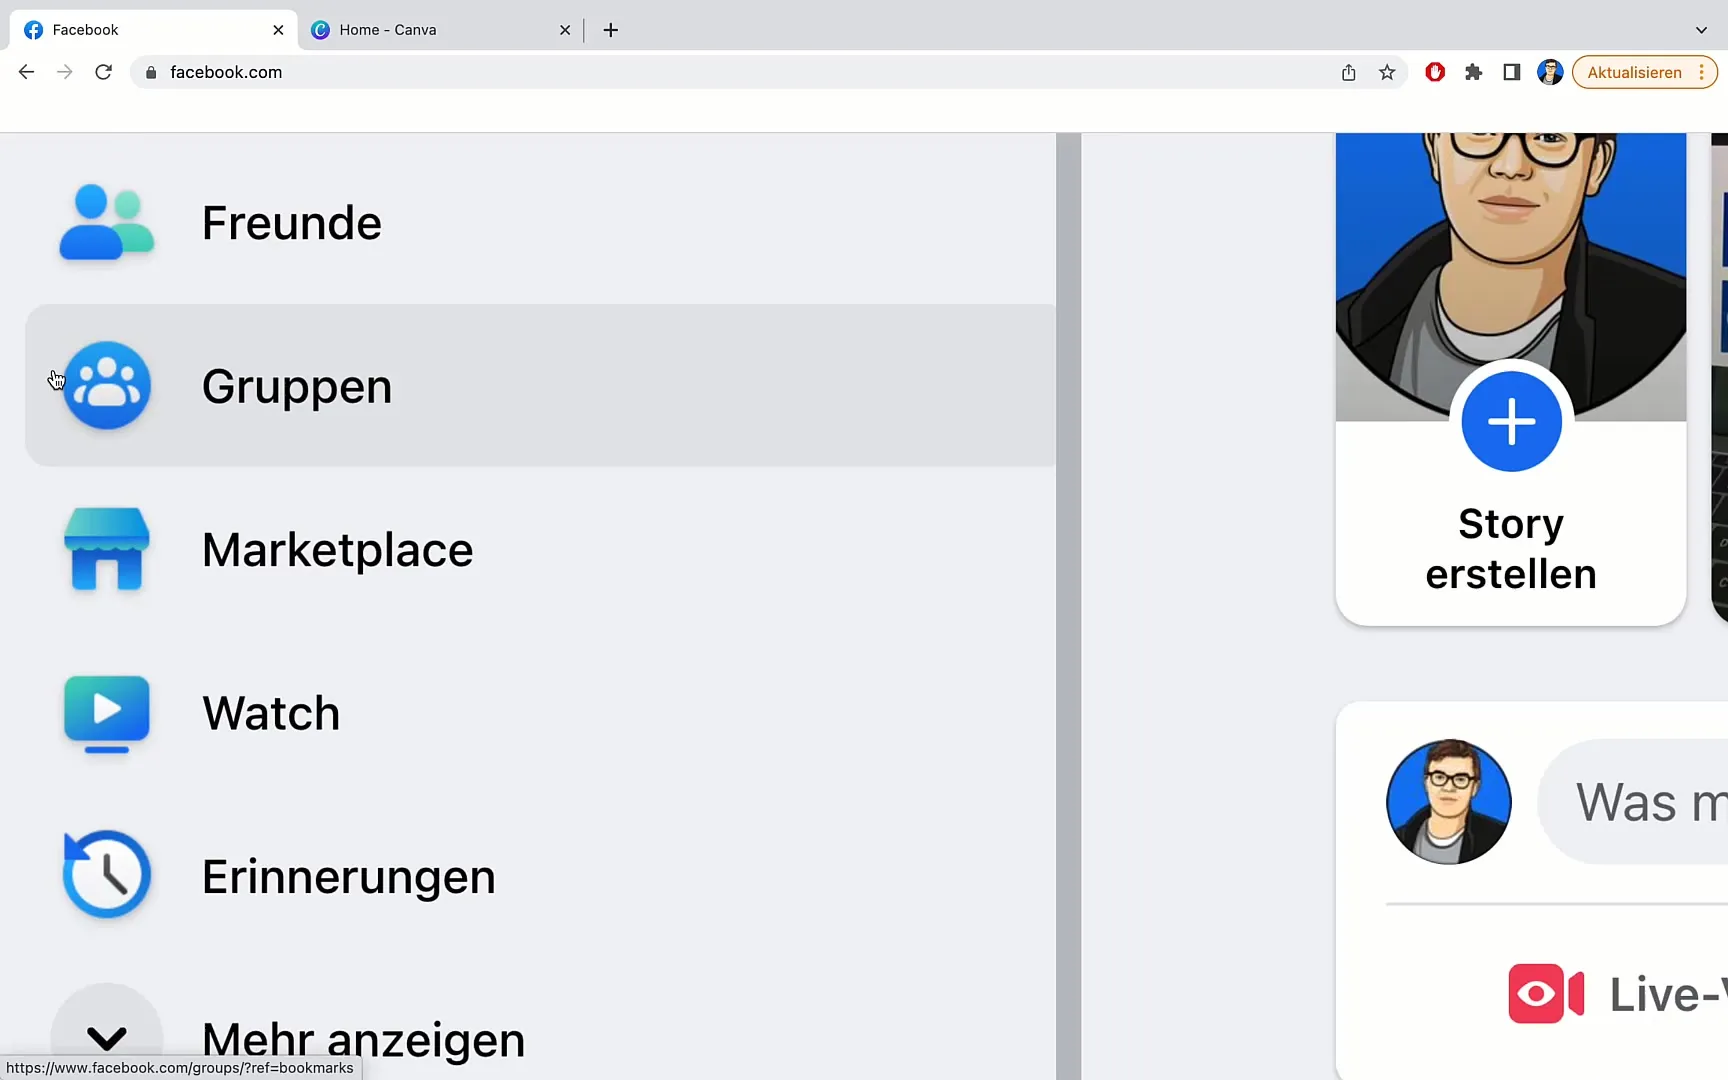
First, you need to log into your Facebook account. Then go to your homepage. On the left side, you will see the menu. Click on Groups to go to the overview of your groups.
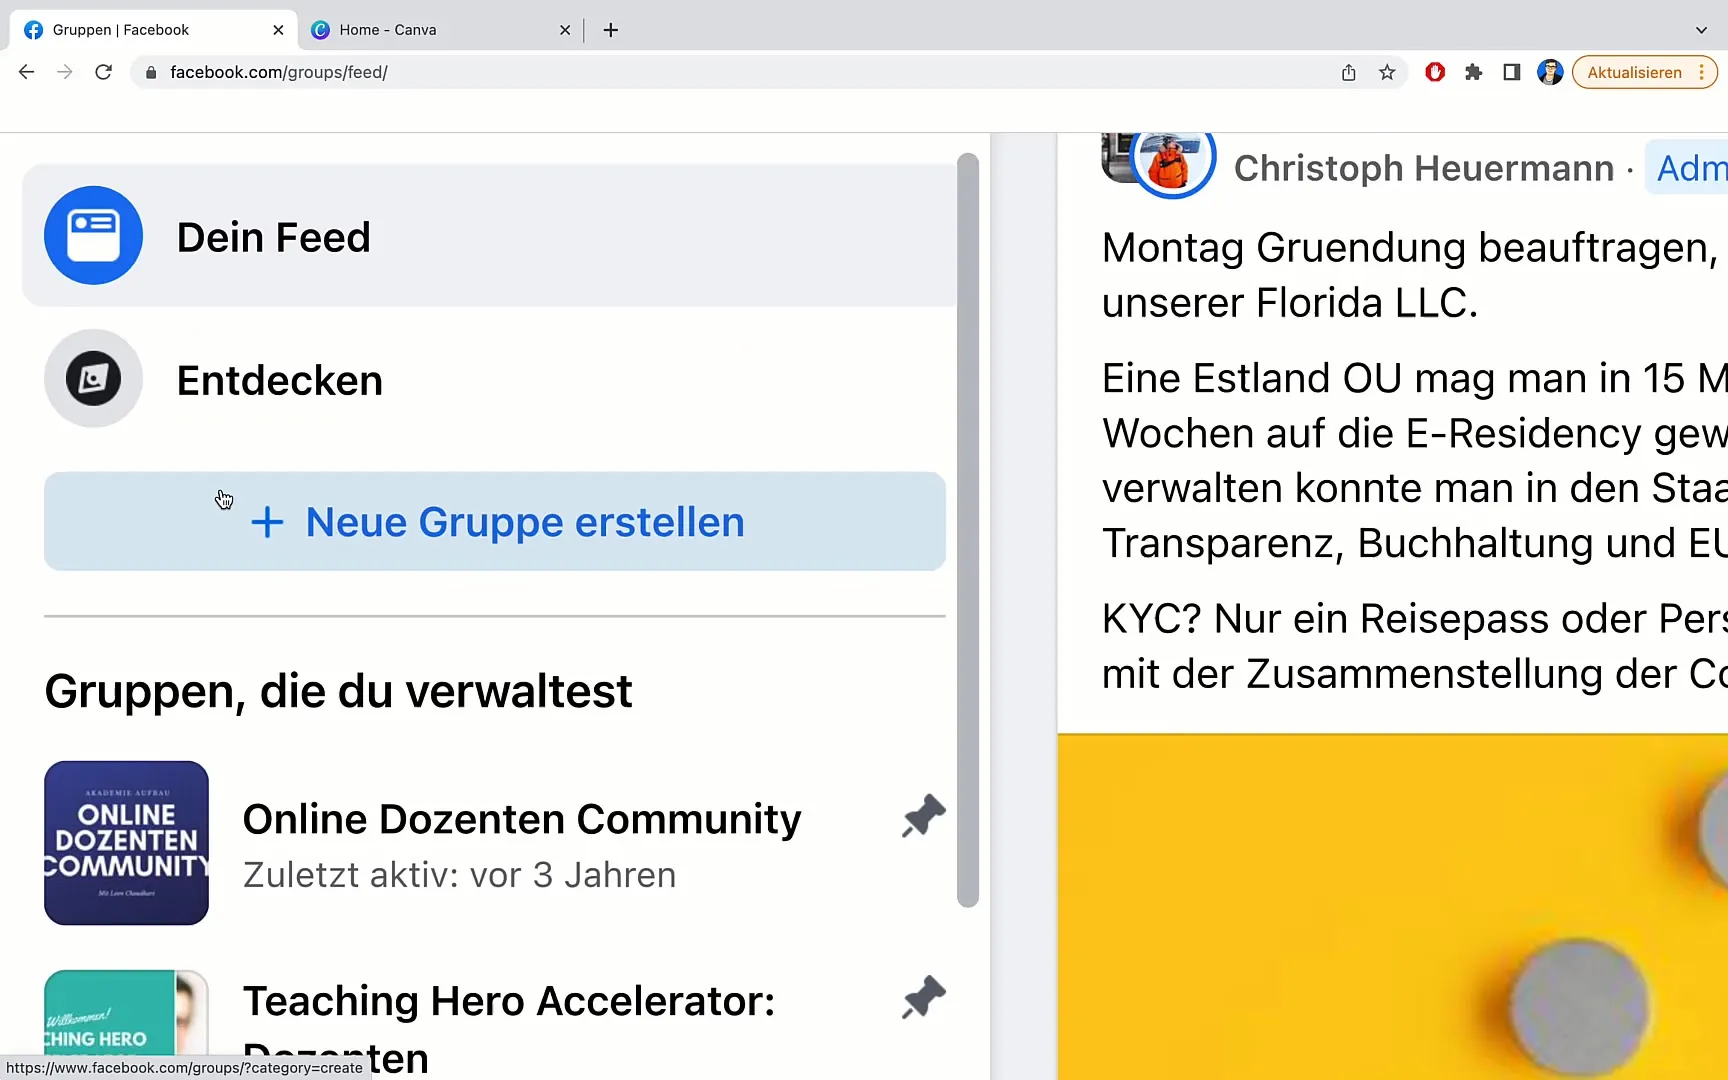
You will then be redirected to a page where you can see all your existing groups. To create a new group, click again on the left side on Create New Group.
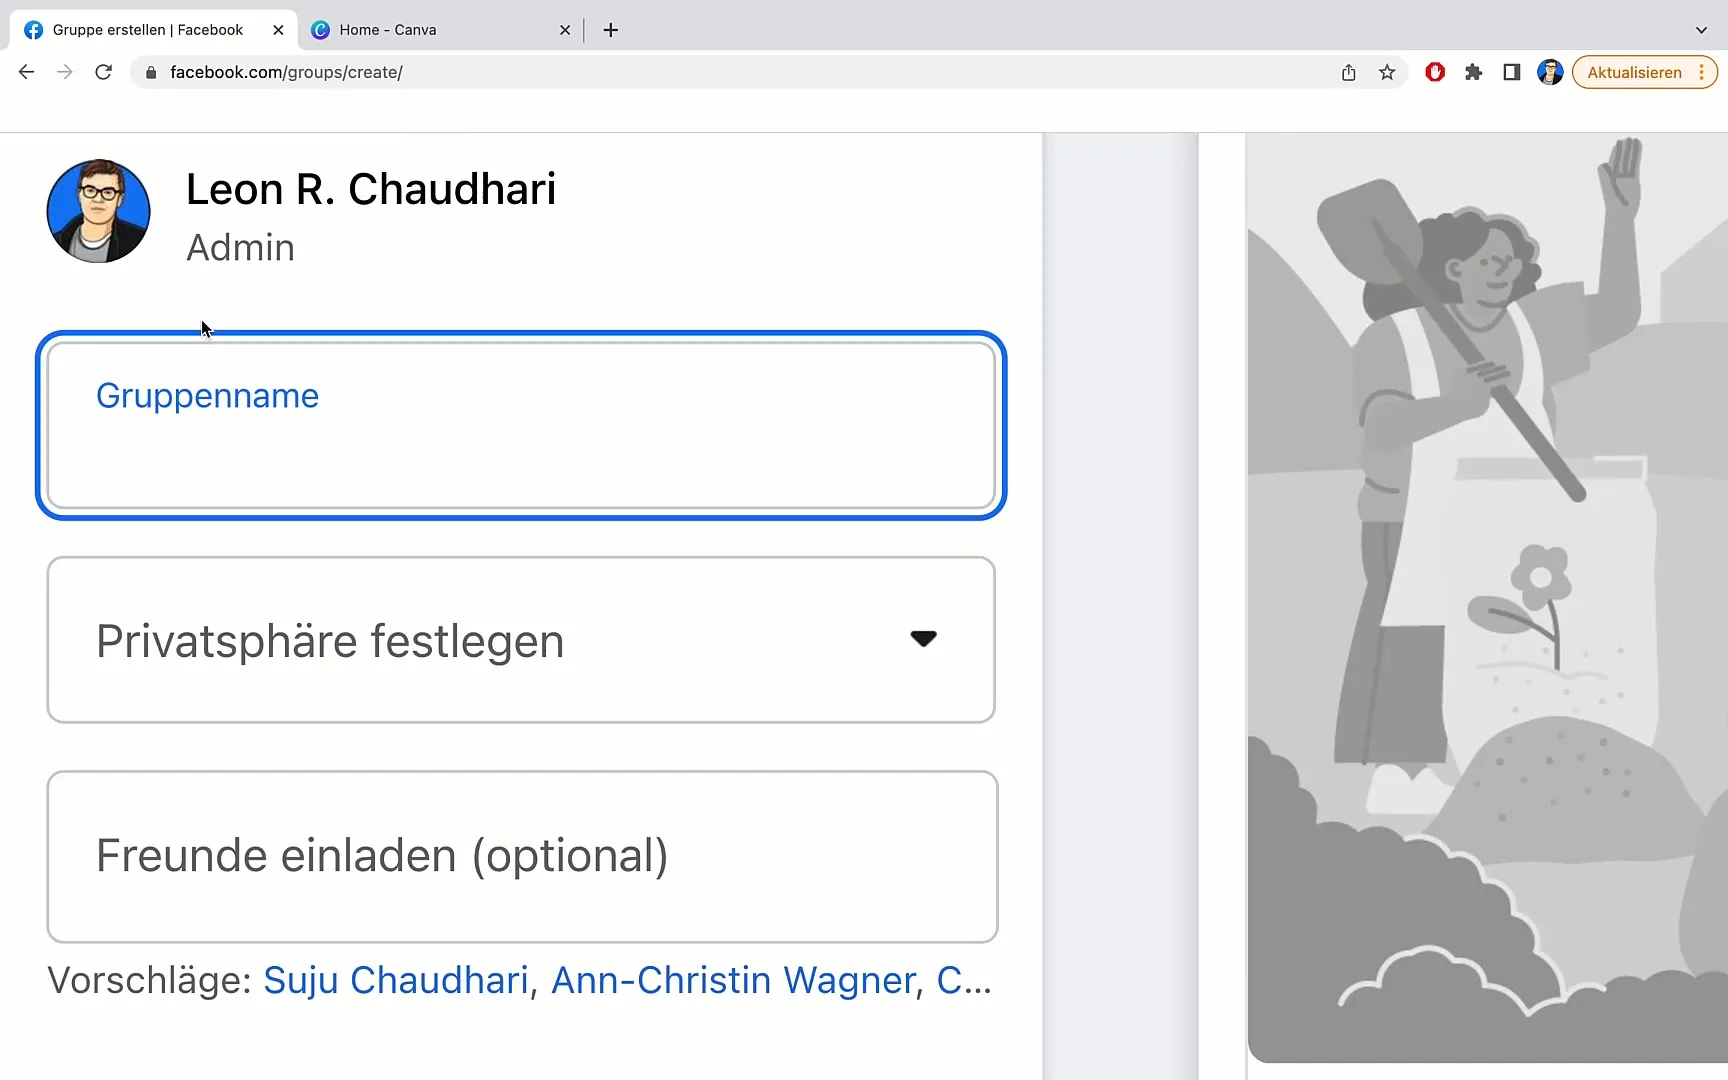
You will then be redirected to a page where you can enter the name of your group. Let's name it, for example, "Test Group Number 1".
Step 2: Set Privacy Settings
After entering your group name, scroll down to set the privacy of your group. Here you have two options: public or private. The public setting allows anyone to see the group members and posts, while the private option only allows members to view this information. If you intend to scale your group, I recommend making it public.
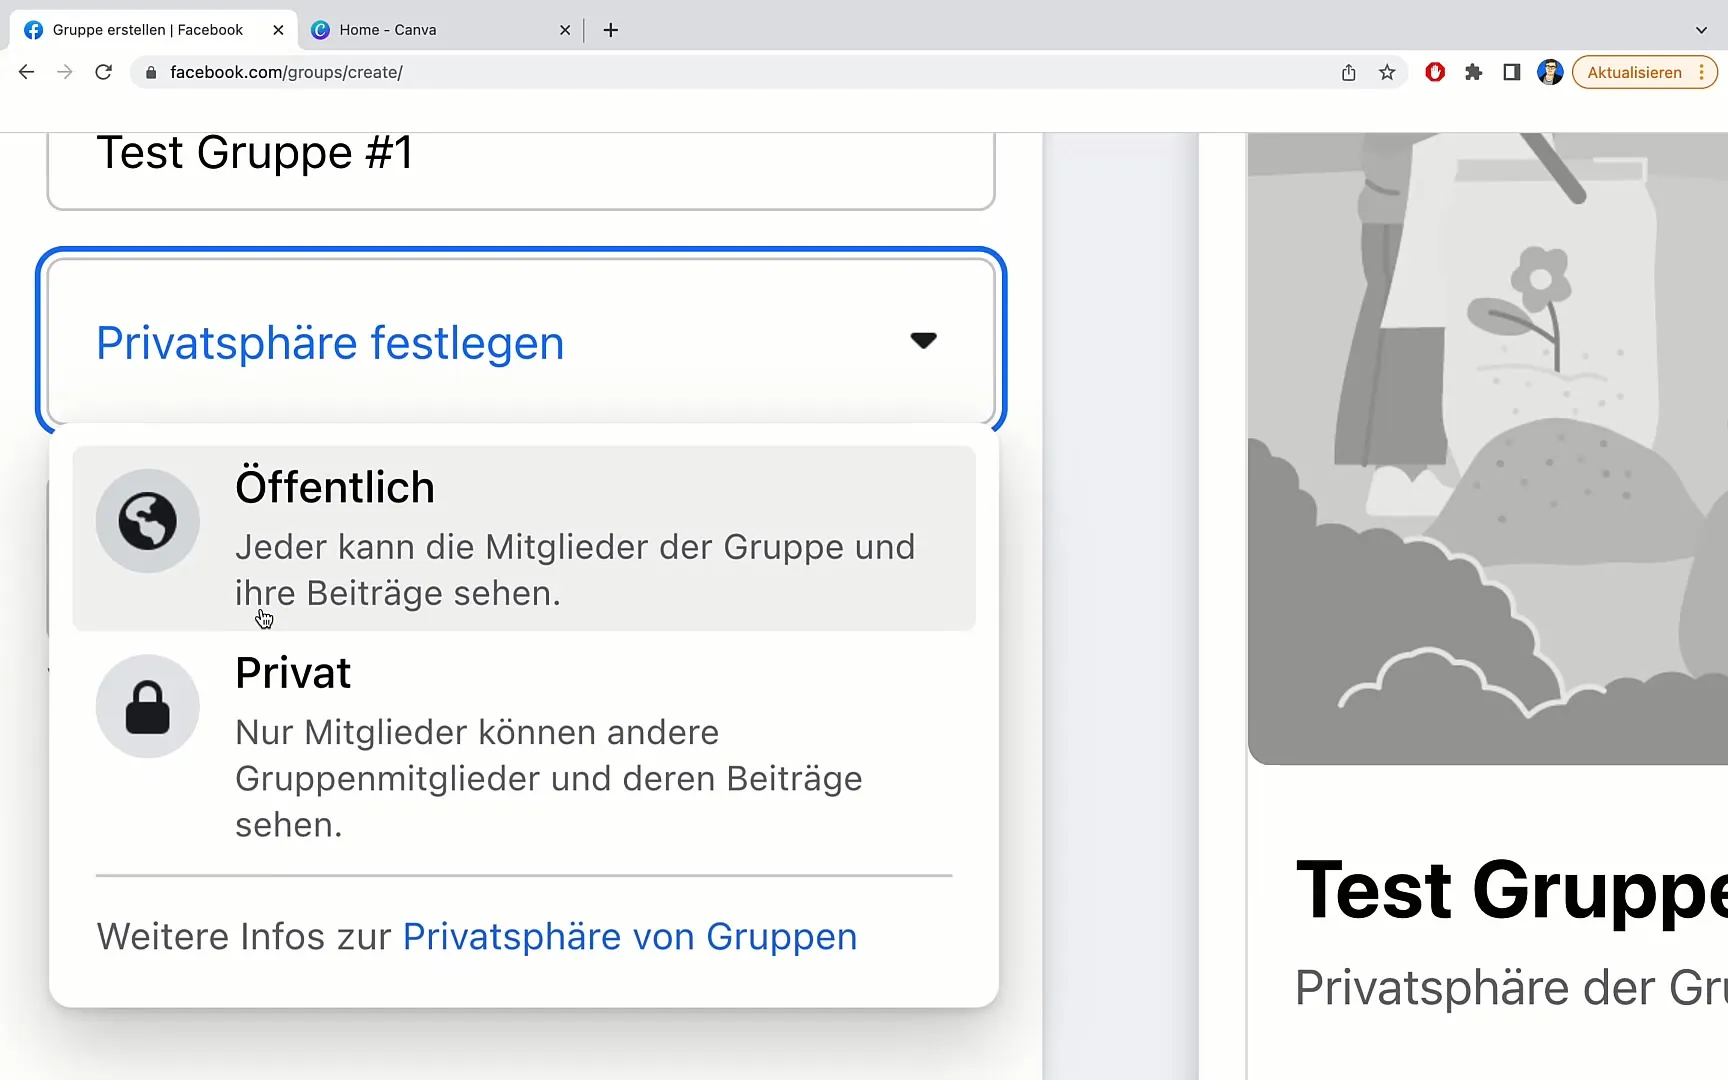
This is because a public group allows potential members to get a first impression and decide if they want to join.
Step 3: Invite Friends
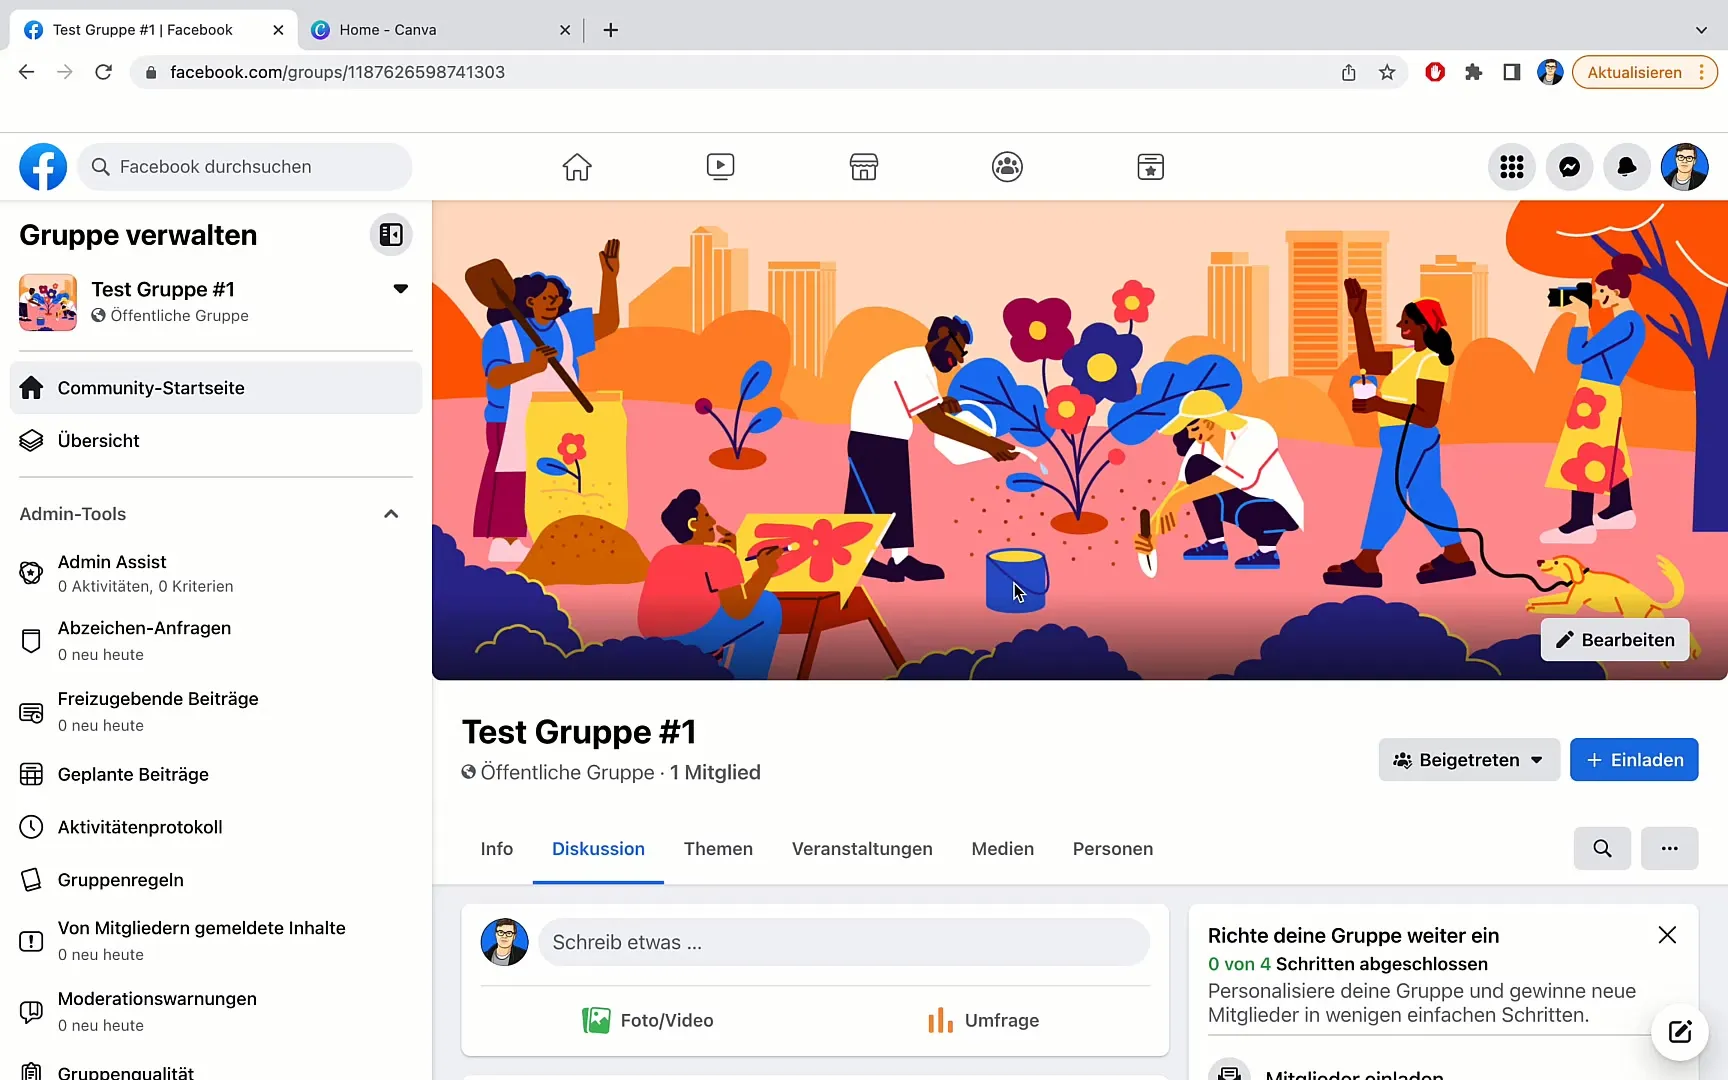
Now that your group is created and privacy settings are set, the next important step is to invite friends. Go to the right side of your group and click on the Invite button.
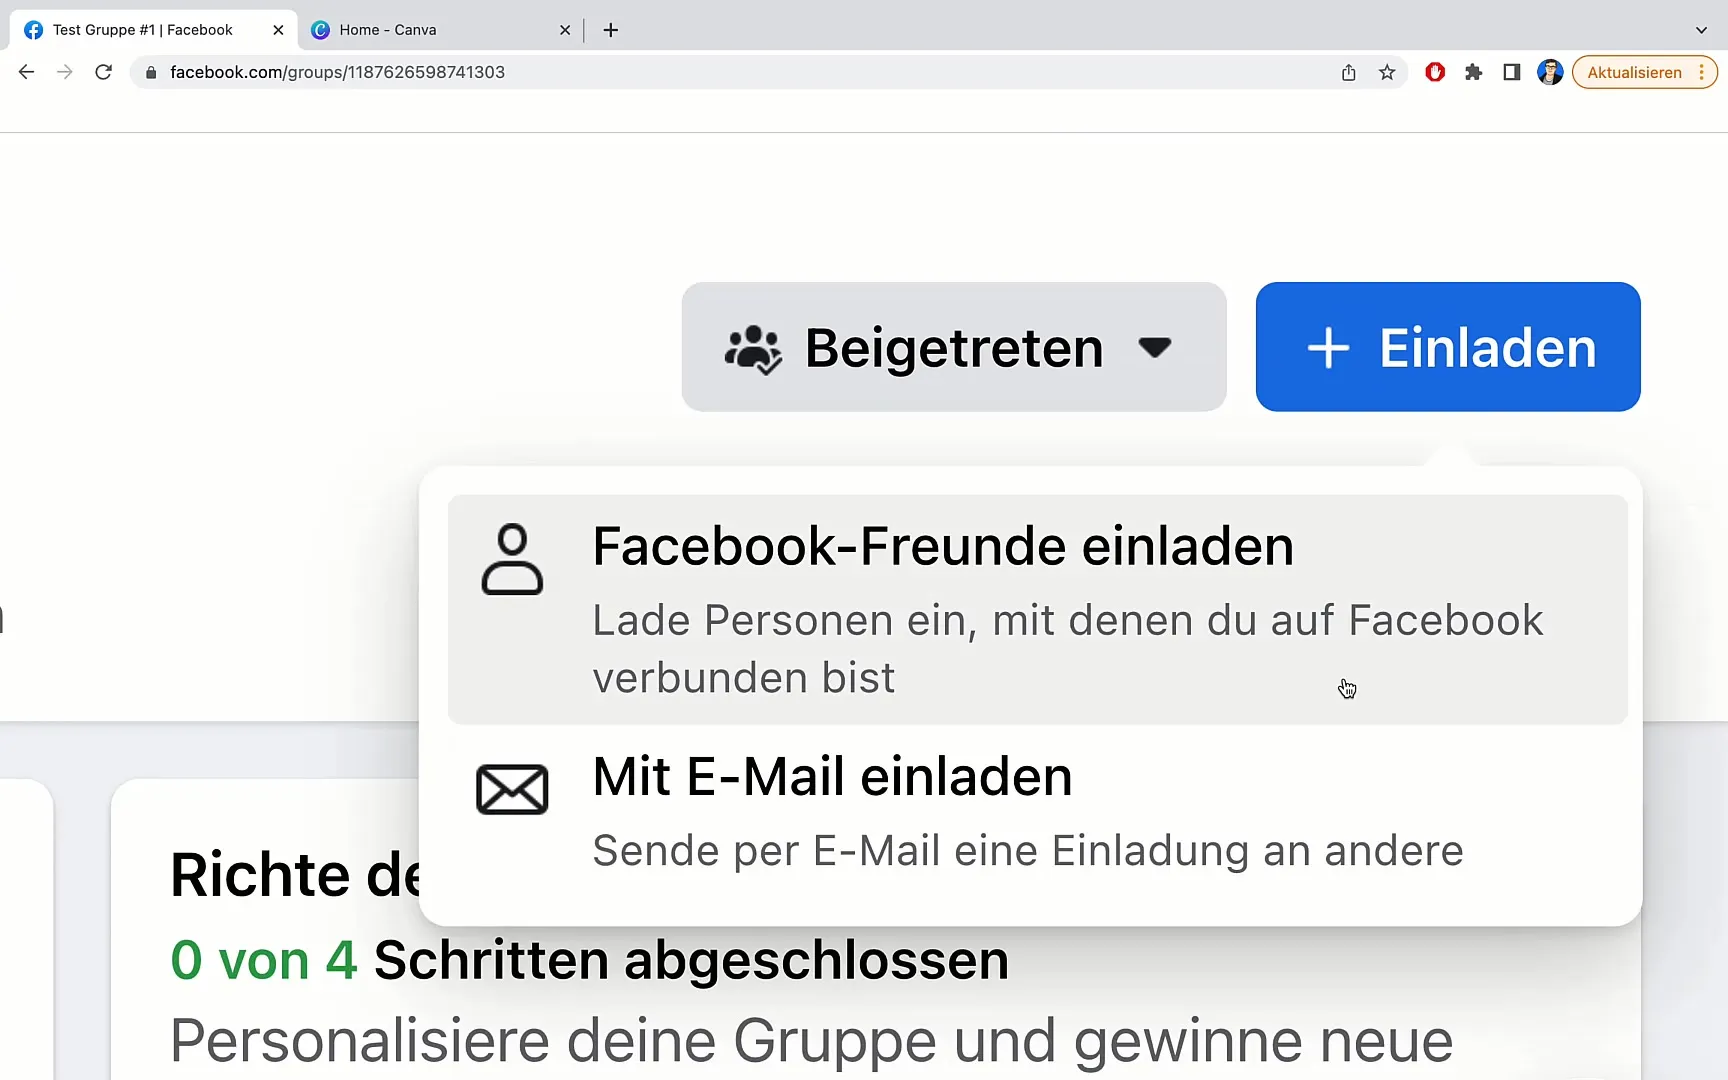
You will receive two options: Invite Facebook Friends or Invite by Email. Choose the first option, and a list of your friends will be opened.
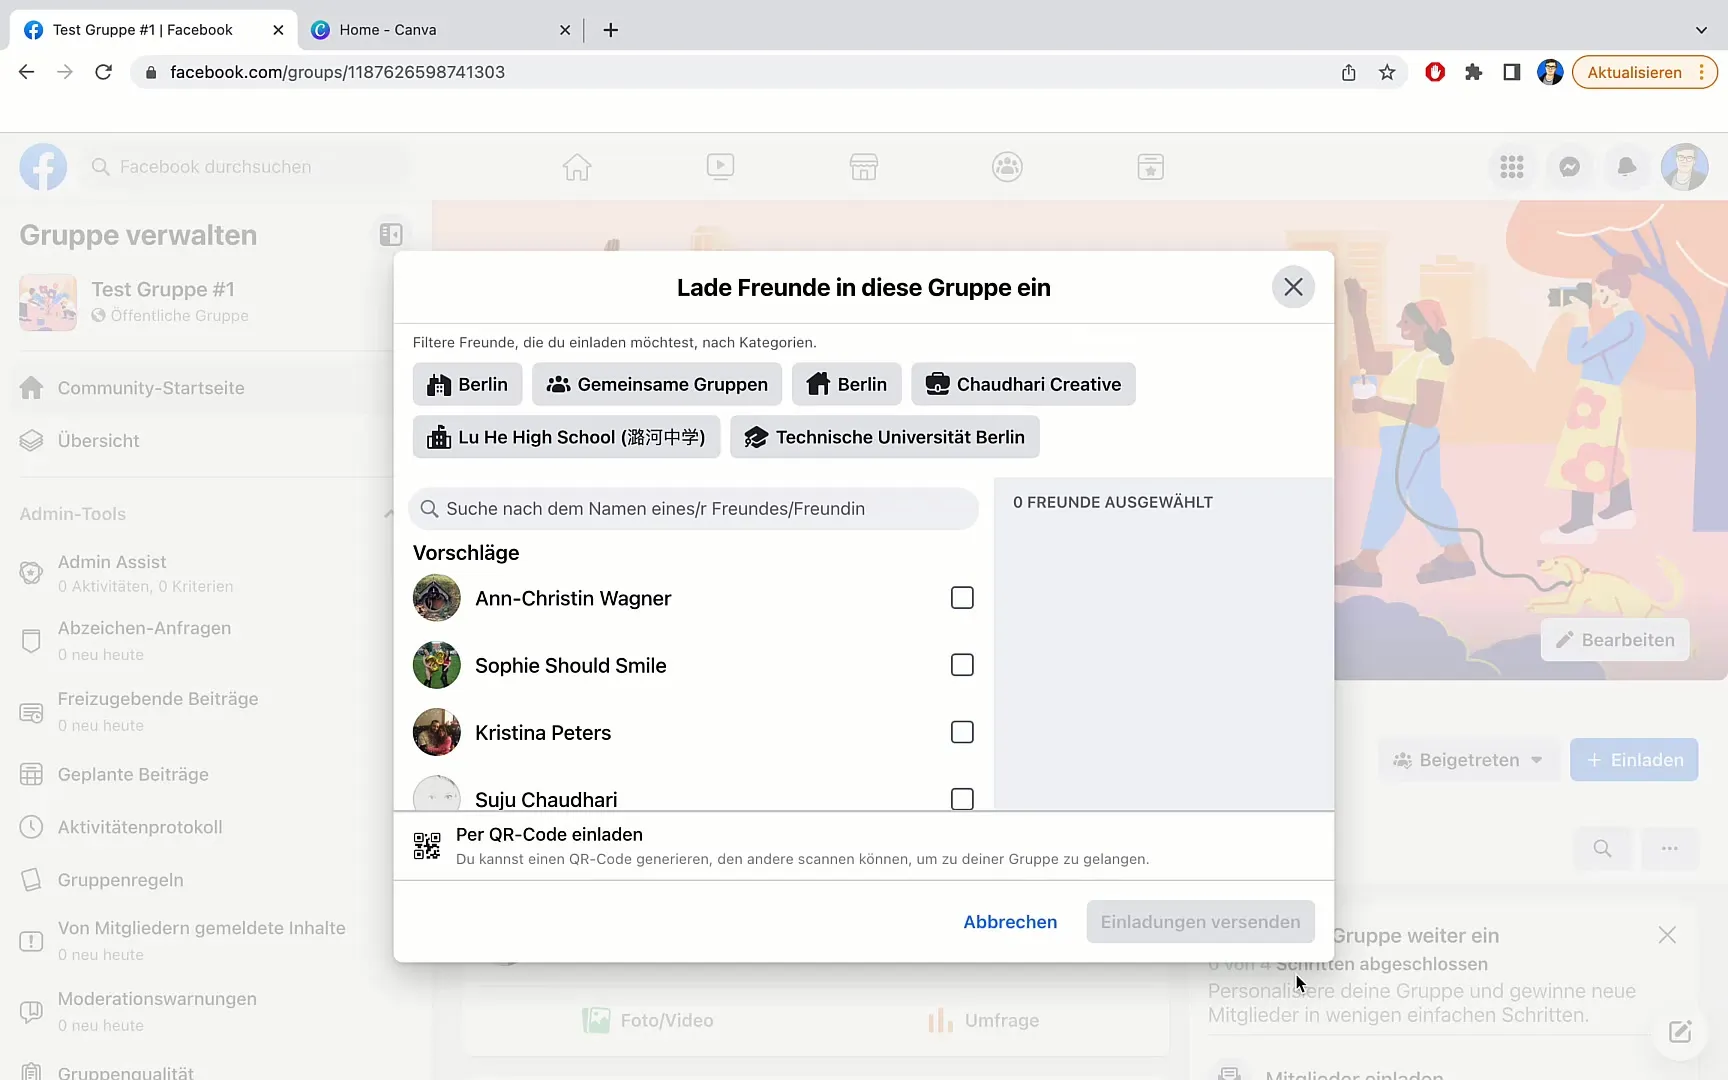
Here you can browse the list of friends and select specific people to join your group. You can even filter by specific locations or groups. Once you have selected all desired people, click on Send Invitation.
Step 4: Generate QR Code
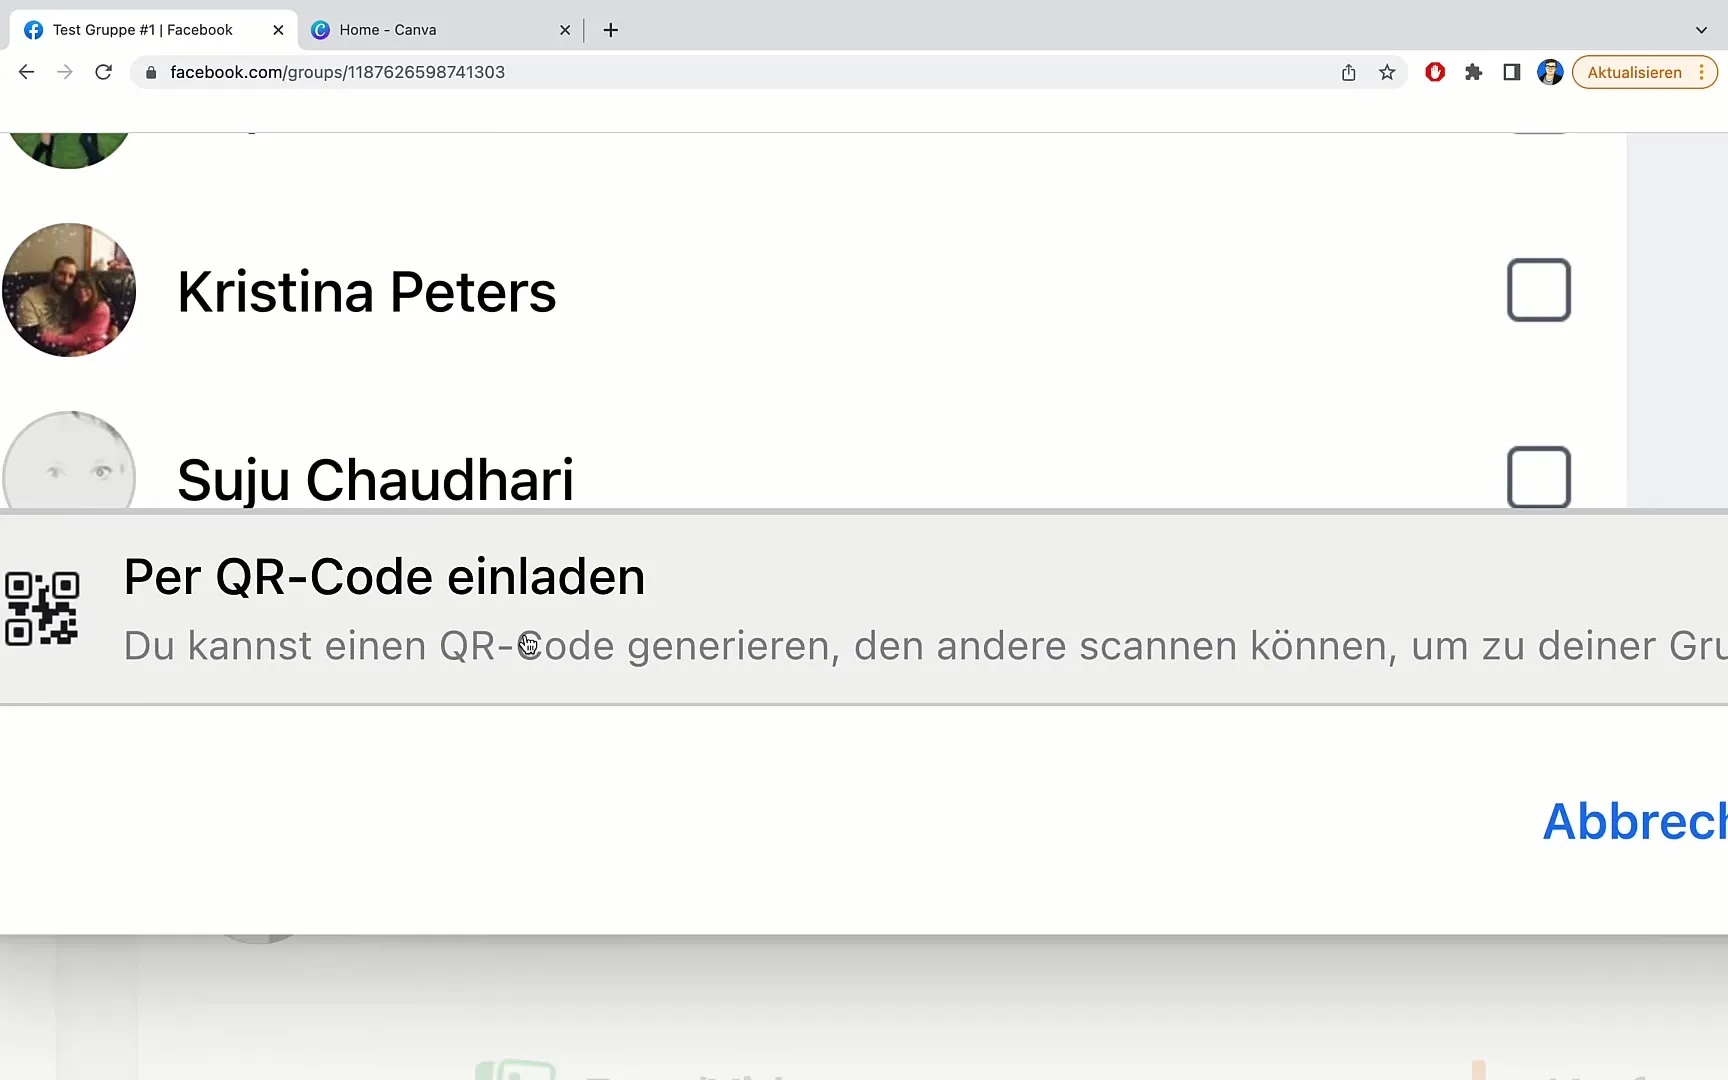
Another effective way to attract new members is by generating a QR code. You can share this with others or even integrate it into various media. Click on the option to generate a QR code for this.
Once the QR code is generated, you will have the option to download or copy it. This QR code can then be integrated into chatbots or shared on social media platforms like Instagram or YouTube.
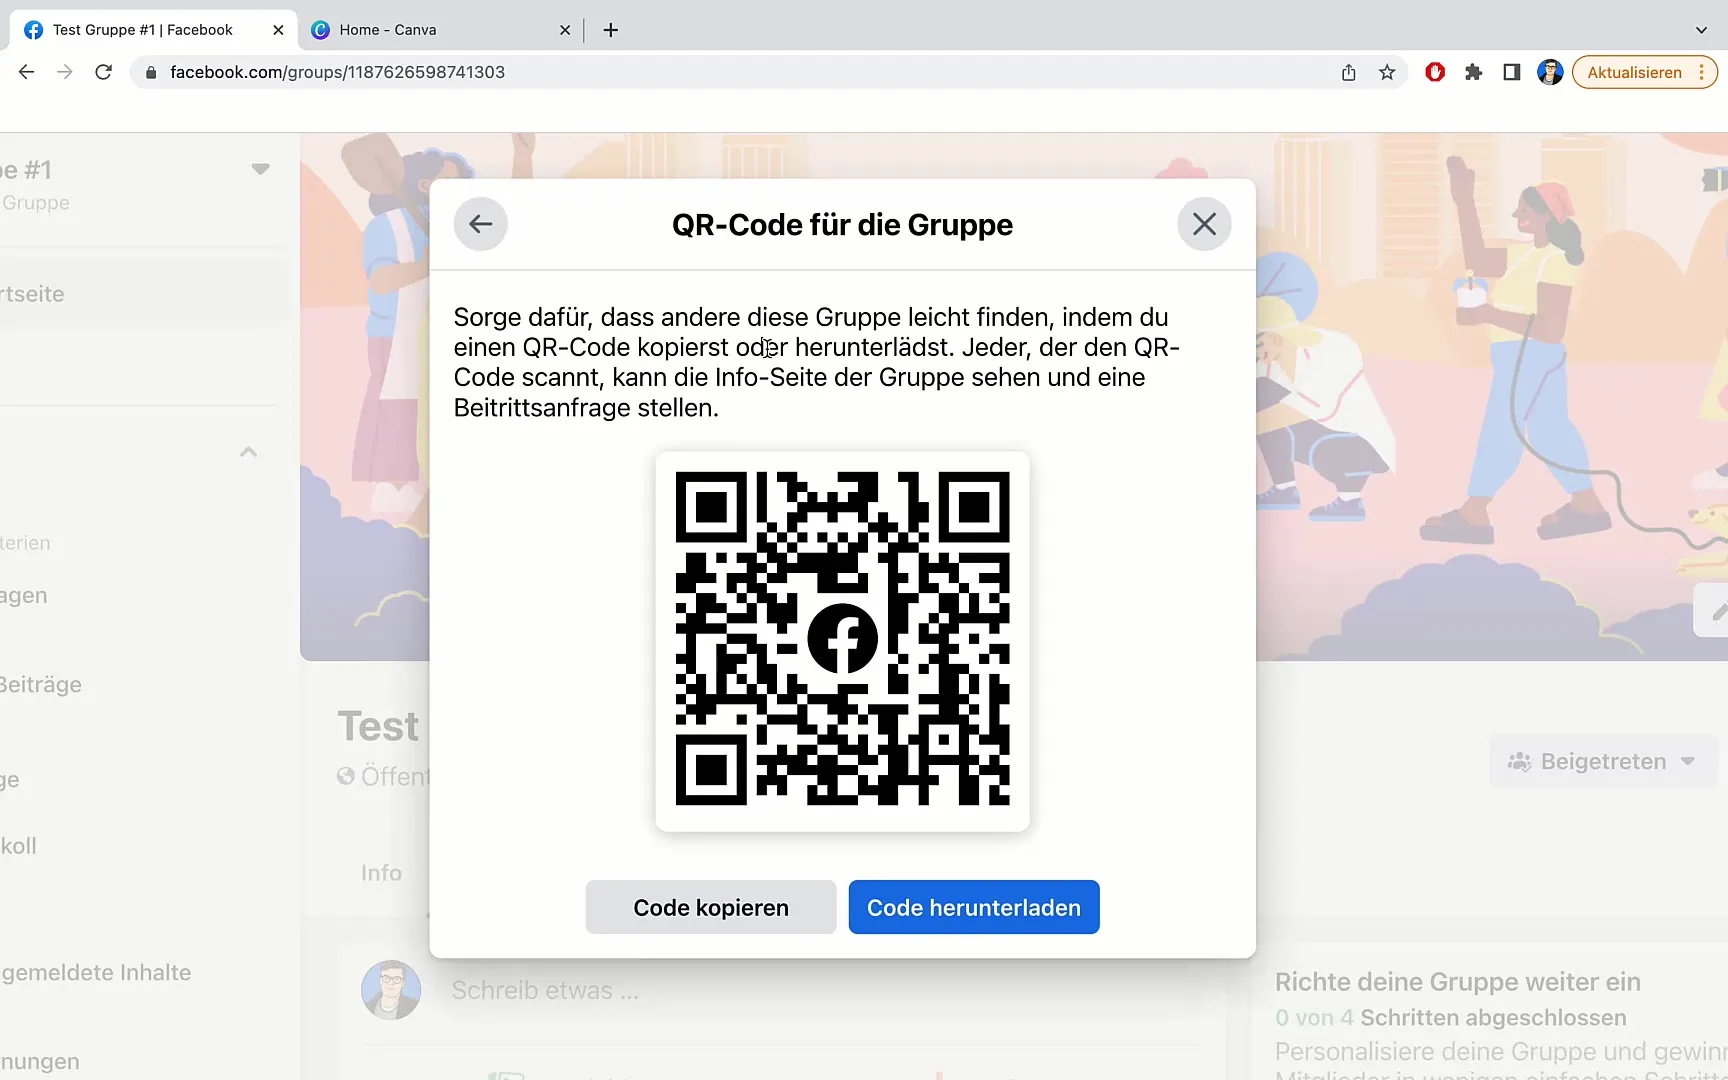
Using a QR code is especially convenient as users simply need to scan to join your group, without having to click on cumbersome links.
Step 5: Send invitations via email
In addition to inviting friends via Facebook, you can also send invitations via email. Go to the option to invite members by email. Here you can enter email addresses and write an inviting message.
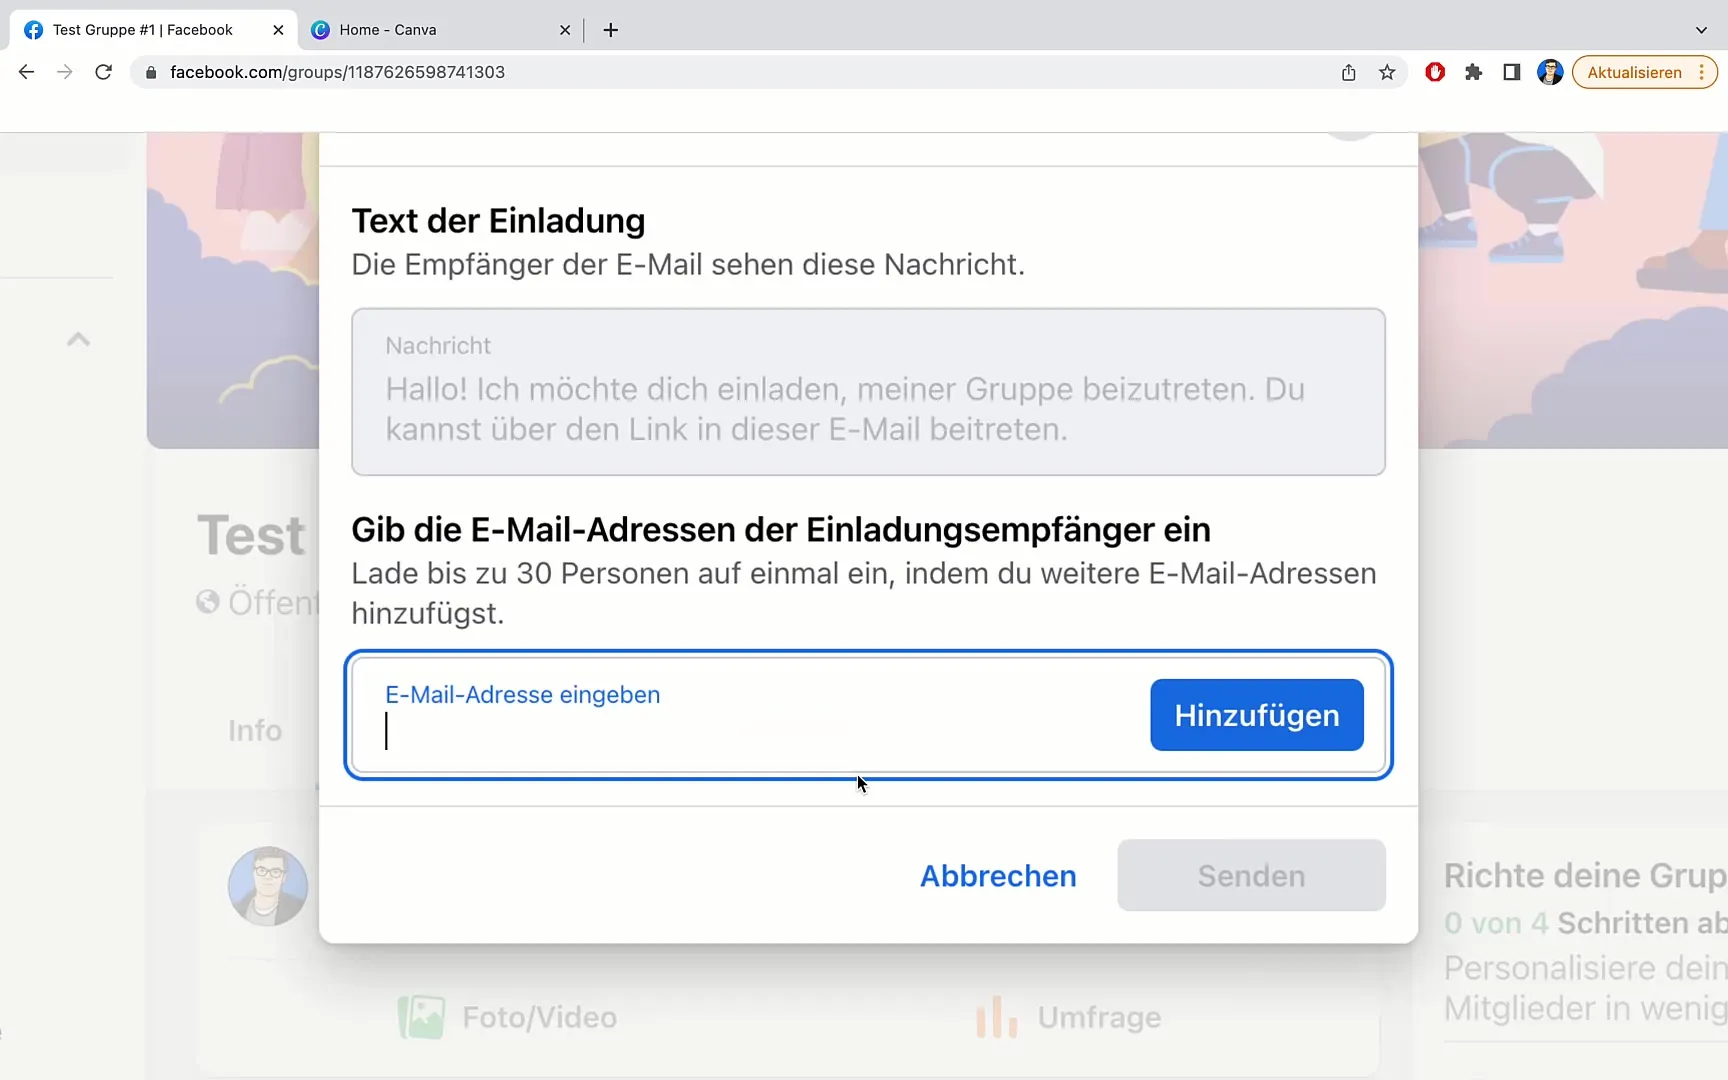
You can invite up to 30 people at once. After adding all email addresses, simply click on Send.
Summary
In this guide, you have learned how to create a Facebook group, set privacy settings, invite friends, create a QR code, and send email invitations. Successful Facebook marketing requires engagement and strategies to increase the reach of your group.
Frequently Asked Questions
How do I create a Facebook group?Log into your Facebook account, go to Groups, and click on Create New Group.
Should my group be public or private?Public groups generally attract more members, while private groups protect the content.
How do I invite friends to my group?Go to your group, click on the Invite button, and select your friends.
What is a QR code and how do I use it?A QR code allows other people to quickly scan and join your group.
Can I also send invitations via email?Yes, you can enter email addresses and automatically send invitations to up to 30 people.
