Facebook enables you to easily plan, promote, and effectively reach the target audience for events. In this guide, you will learn how to connect events with a Facebook page. I will provide you with a detailed step-by-step guide to help you successfully create and promote your events.
Key Takeaways
- Creating events on Facebook is uncomplicated.
- You can choose between online and in-person events.
- Essential details such as date, time, and location should be specified accurately.
- Privacy settings allow you to control the visibility of your event.
- Engaging descriptions and images can increase interest in your event.
Step-by-Step Guide
First, make sure you are logged into your Facebook page. From there, you can create an event.
1. Navigate to the Events section
To create an event, scroll all the way down on your Facebook page and click on the option "Event".
2. Choose the type of event
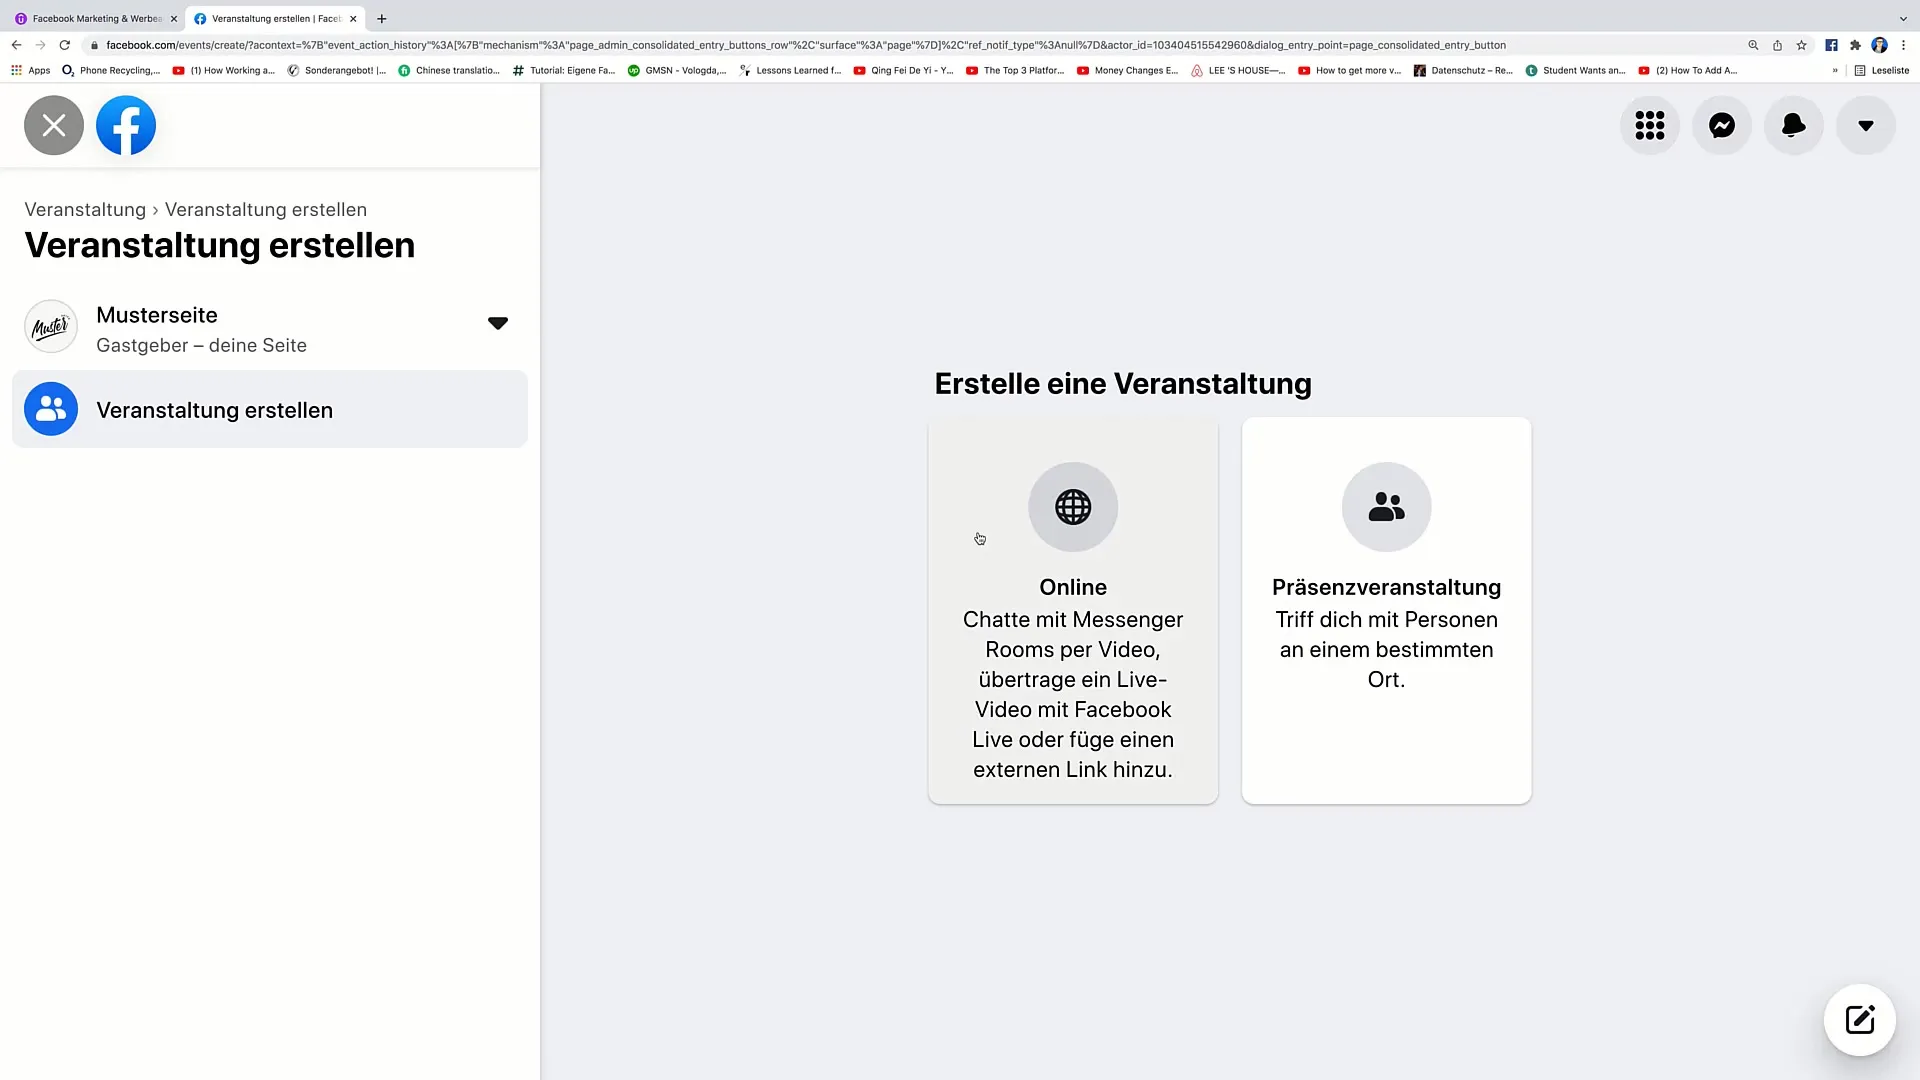
You have the option to choose between an online event and an in-person event. Select the appropriate type. If you are planning an in-person event, click on "In-Person Event".
3. Enter event details
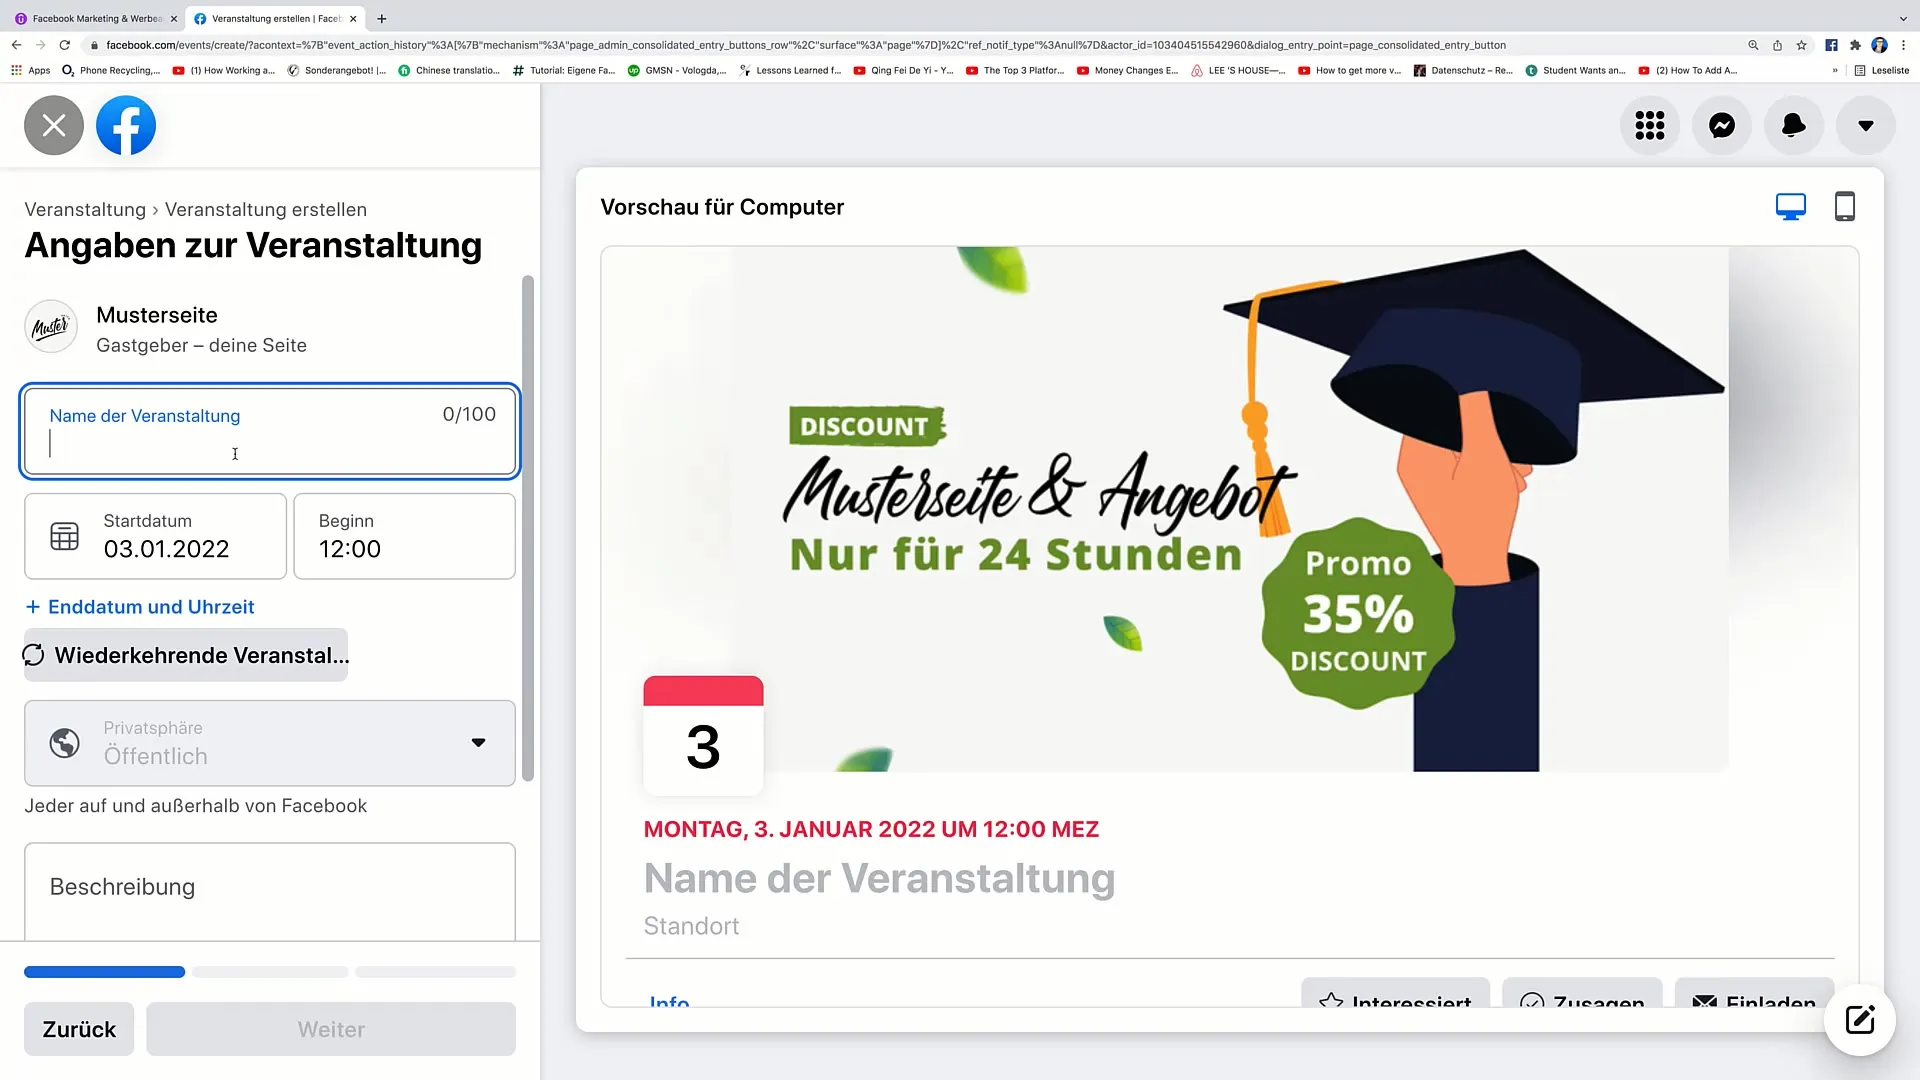
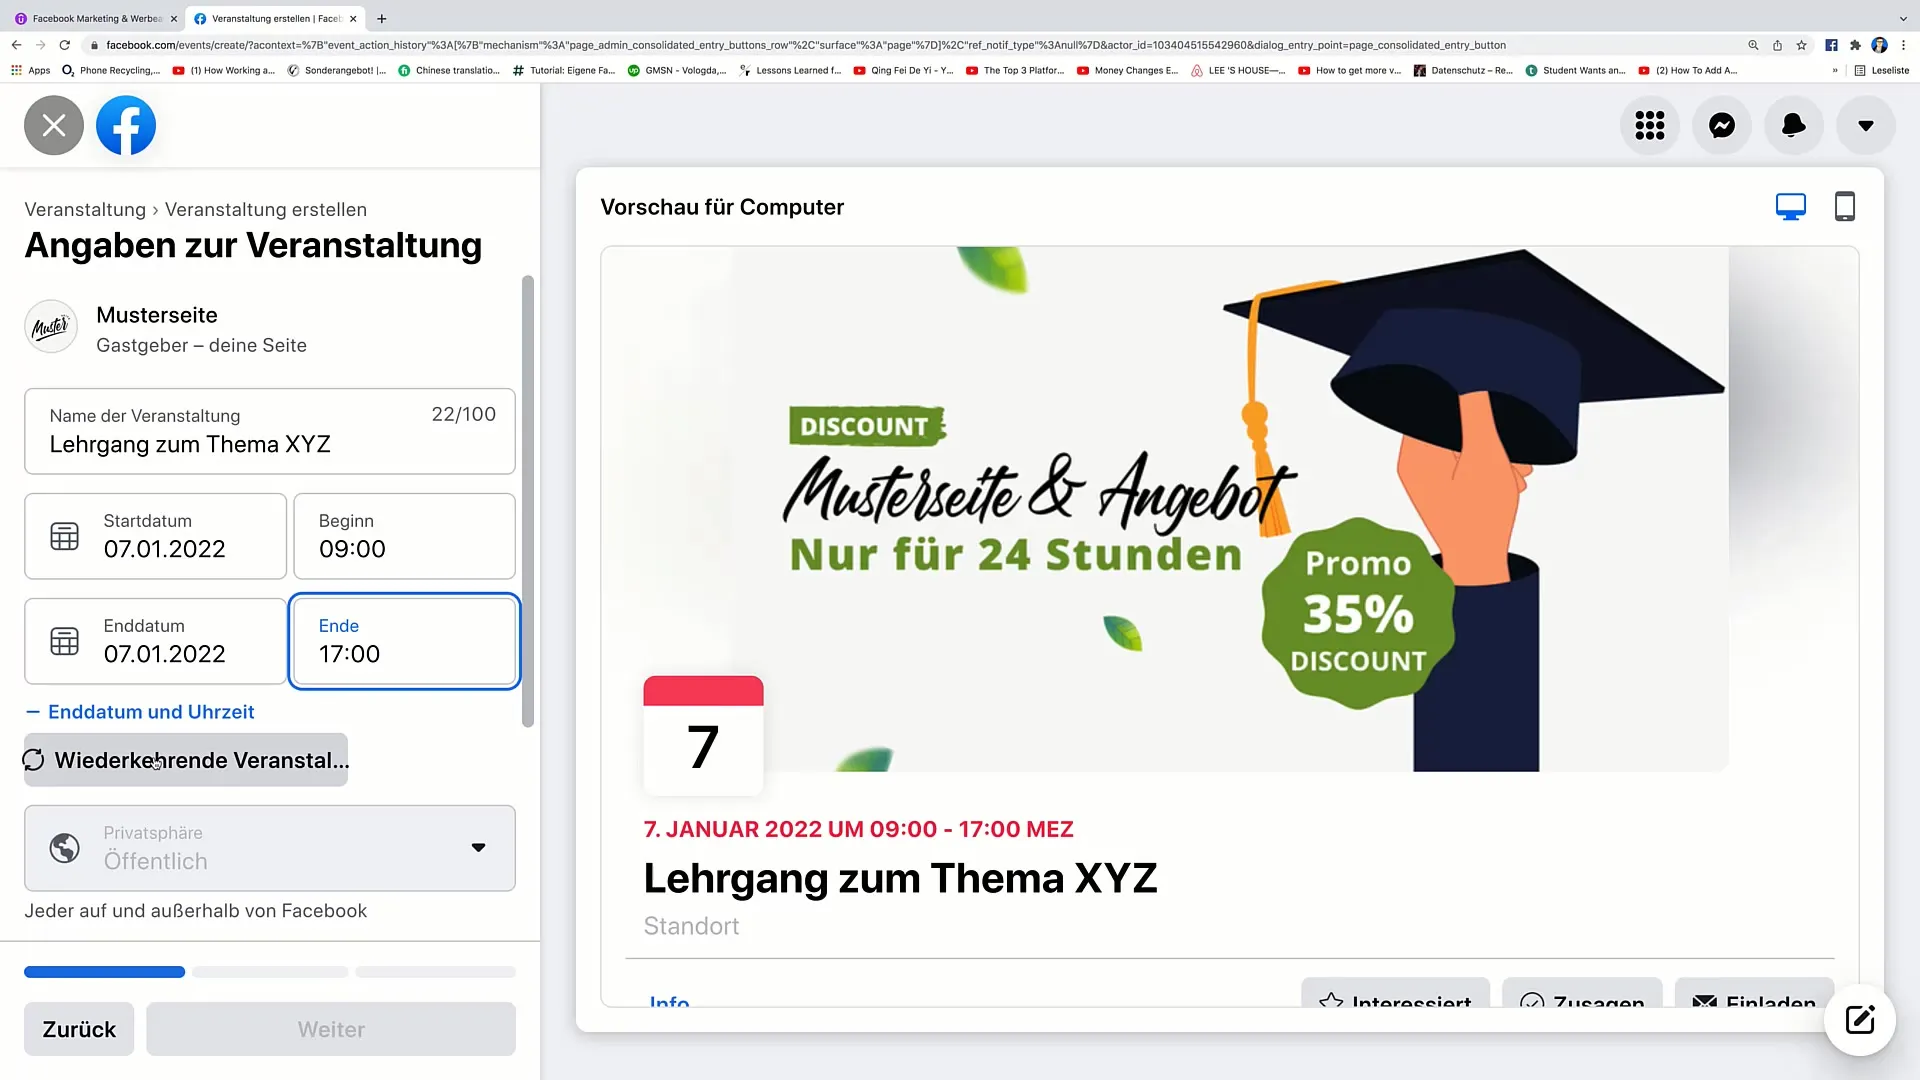
Enter the name of your event. For example, "Workshop on Topic XY". Then, specify a start date and time. For instance, if the event is on January 7, 2022, at 9 AM, set it accordingly.
4. Set end date and duration
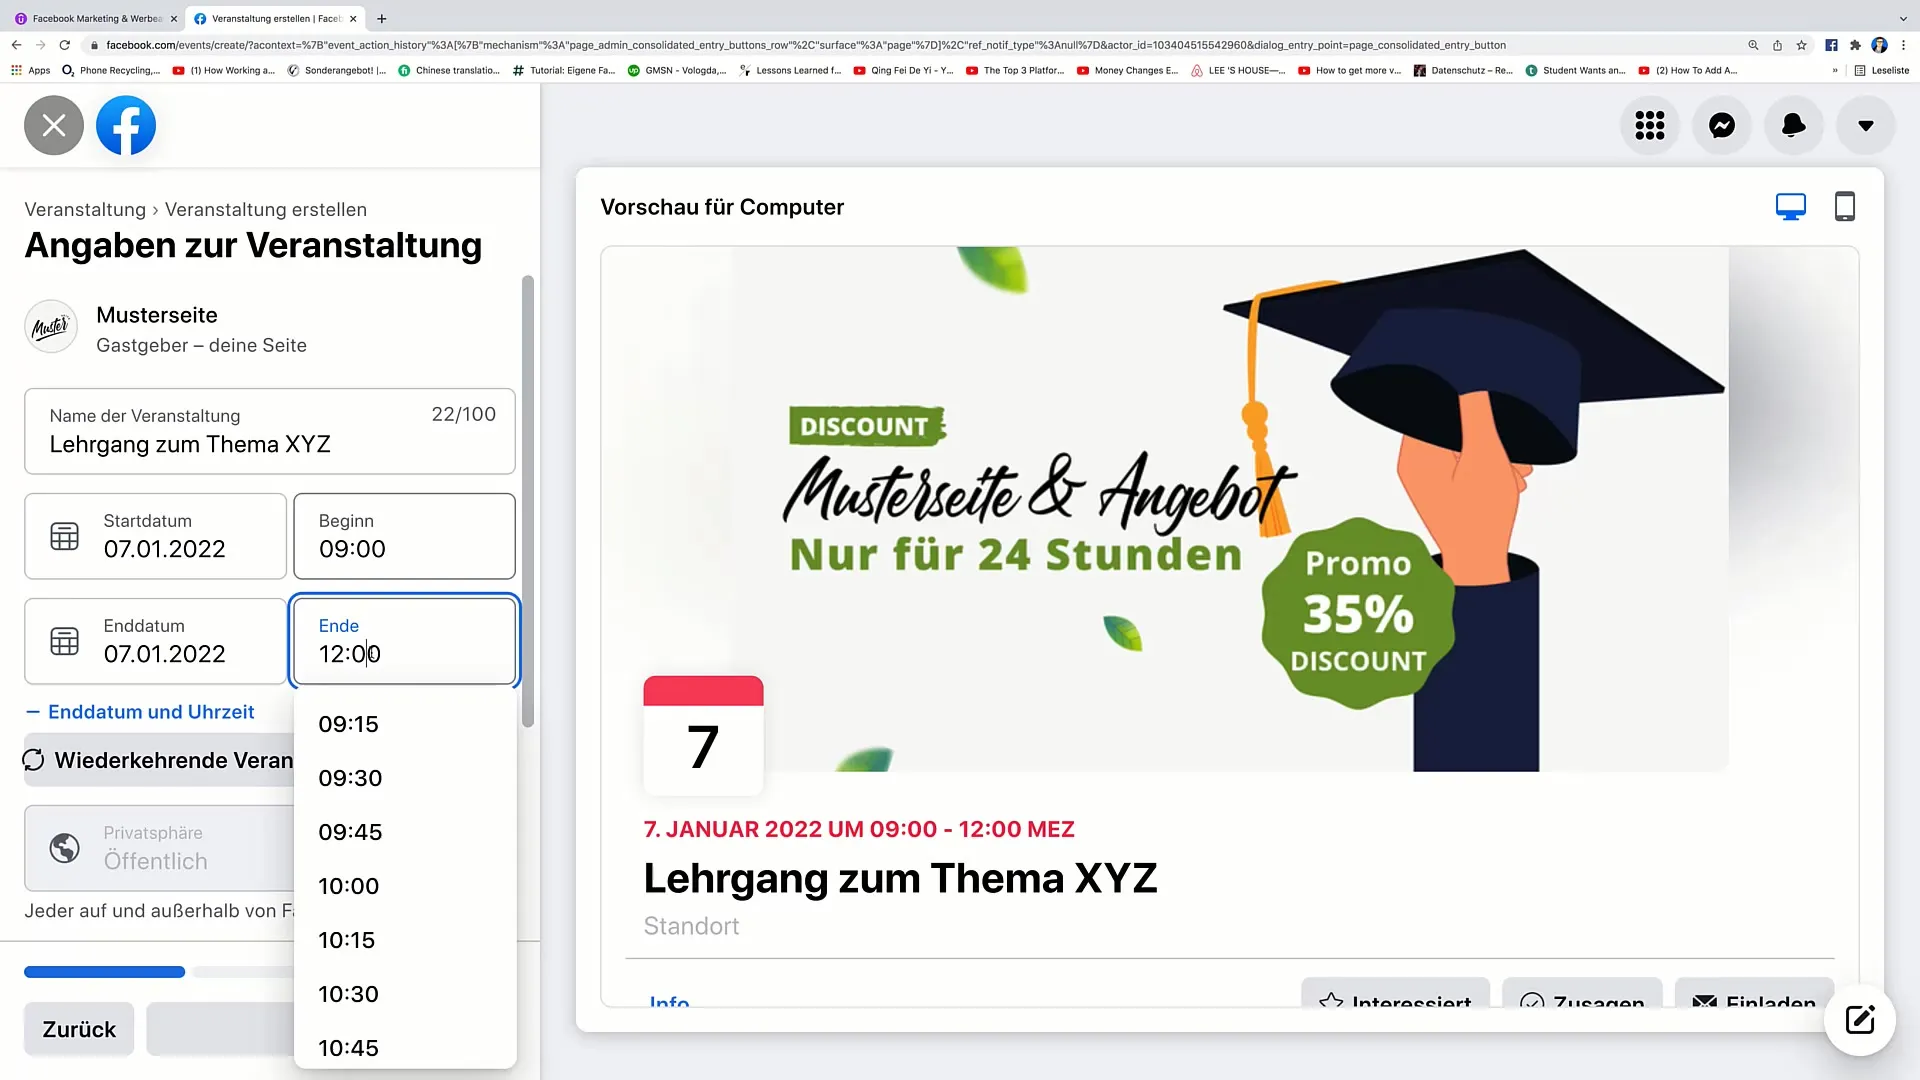
In addition, you can specify an end date and time for your event. If the event ends on the same day at 5 PM, enter it here.
5. Add recurring events
If your event is intended to happen regularly, you can activate the option for recurring events. Set the frequency, whether weekly, daily, or custom.
6. Set privacy settings
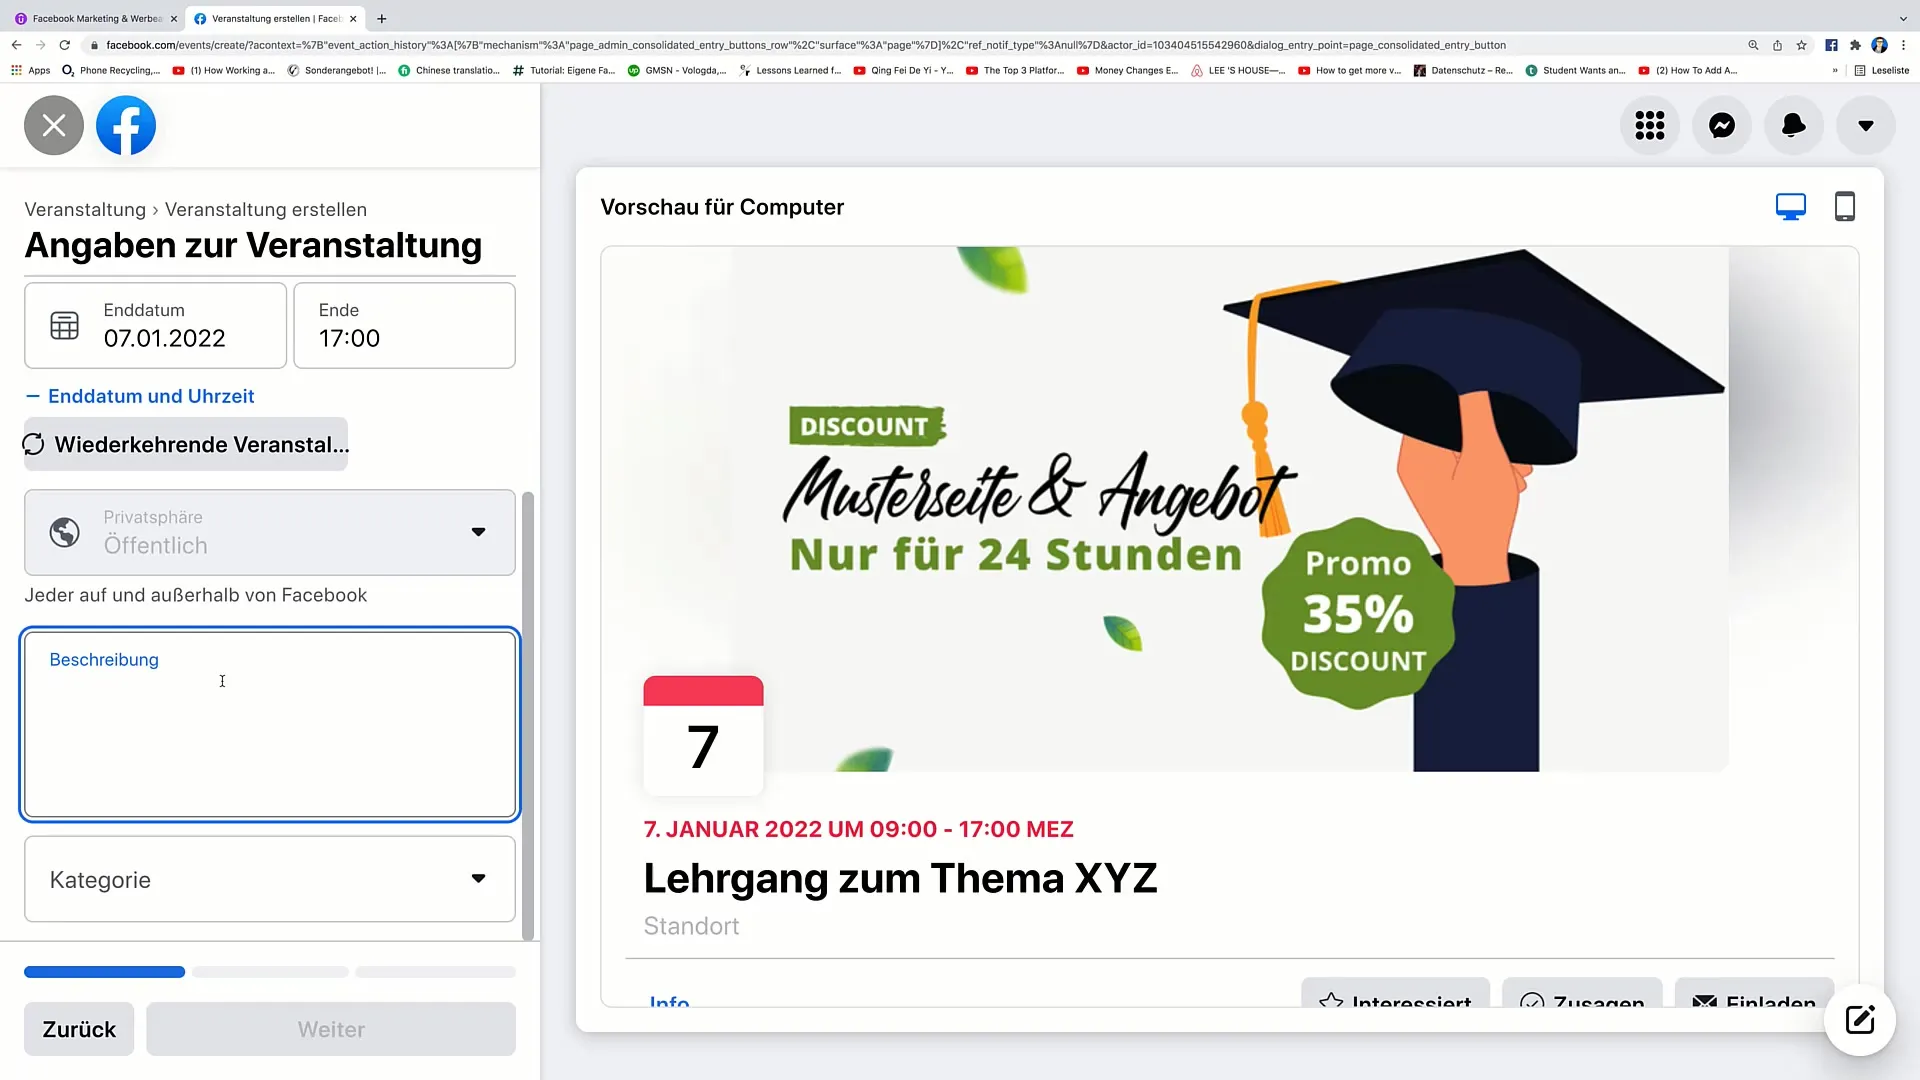
Decide whether your event should be public. Public events can be seen by anyone, while private events are visible only to invited guests.
7. Add event description
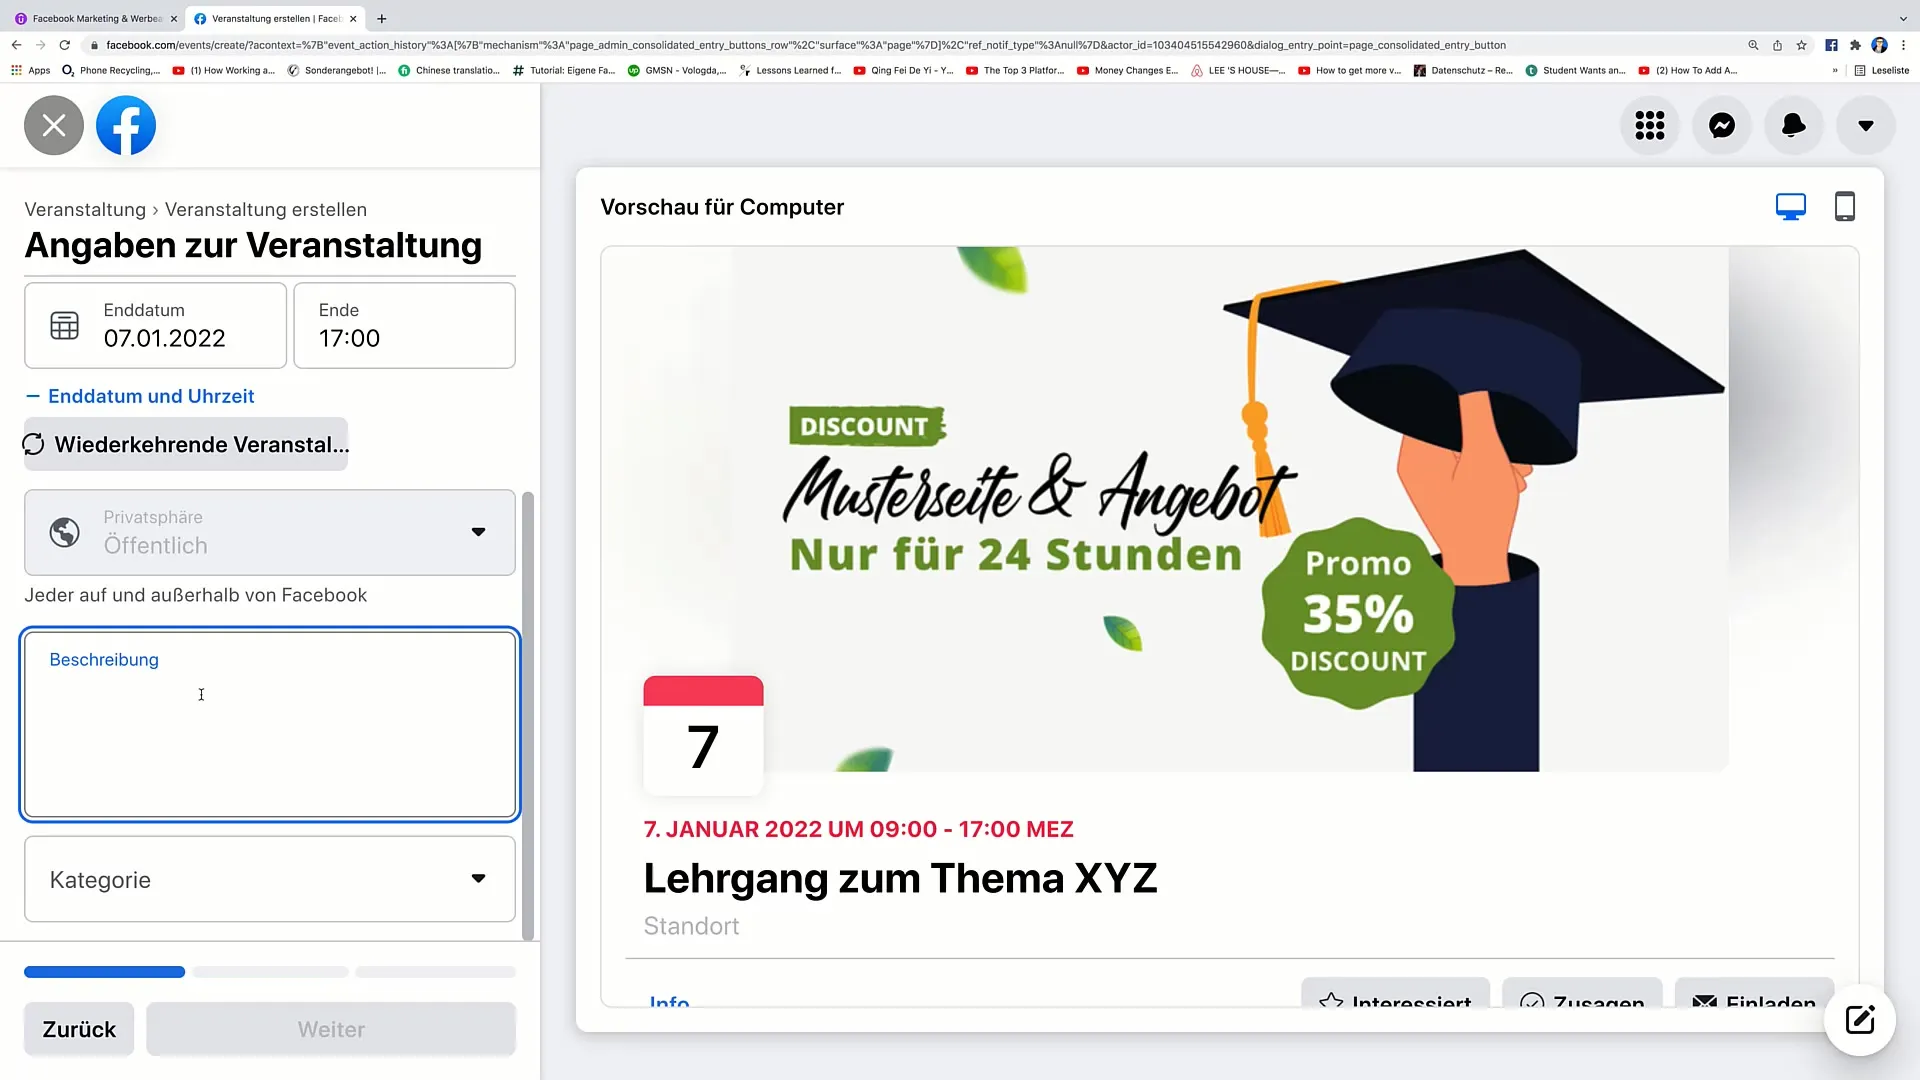
Provide a detailed description for your event. For example, "This event is a workshop where you will learn how to implement XY". Make sure to include important information like required materials or catering.
8. Select category
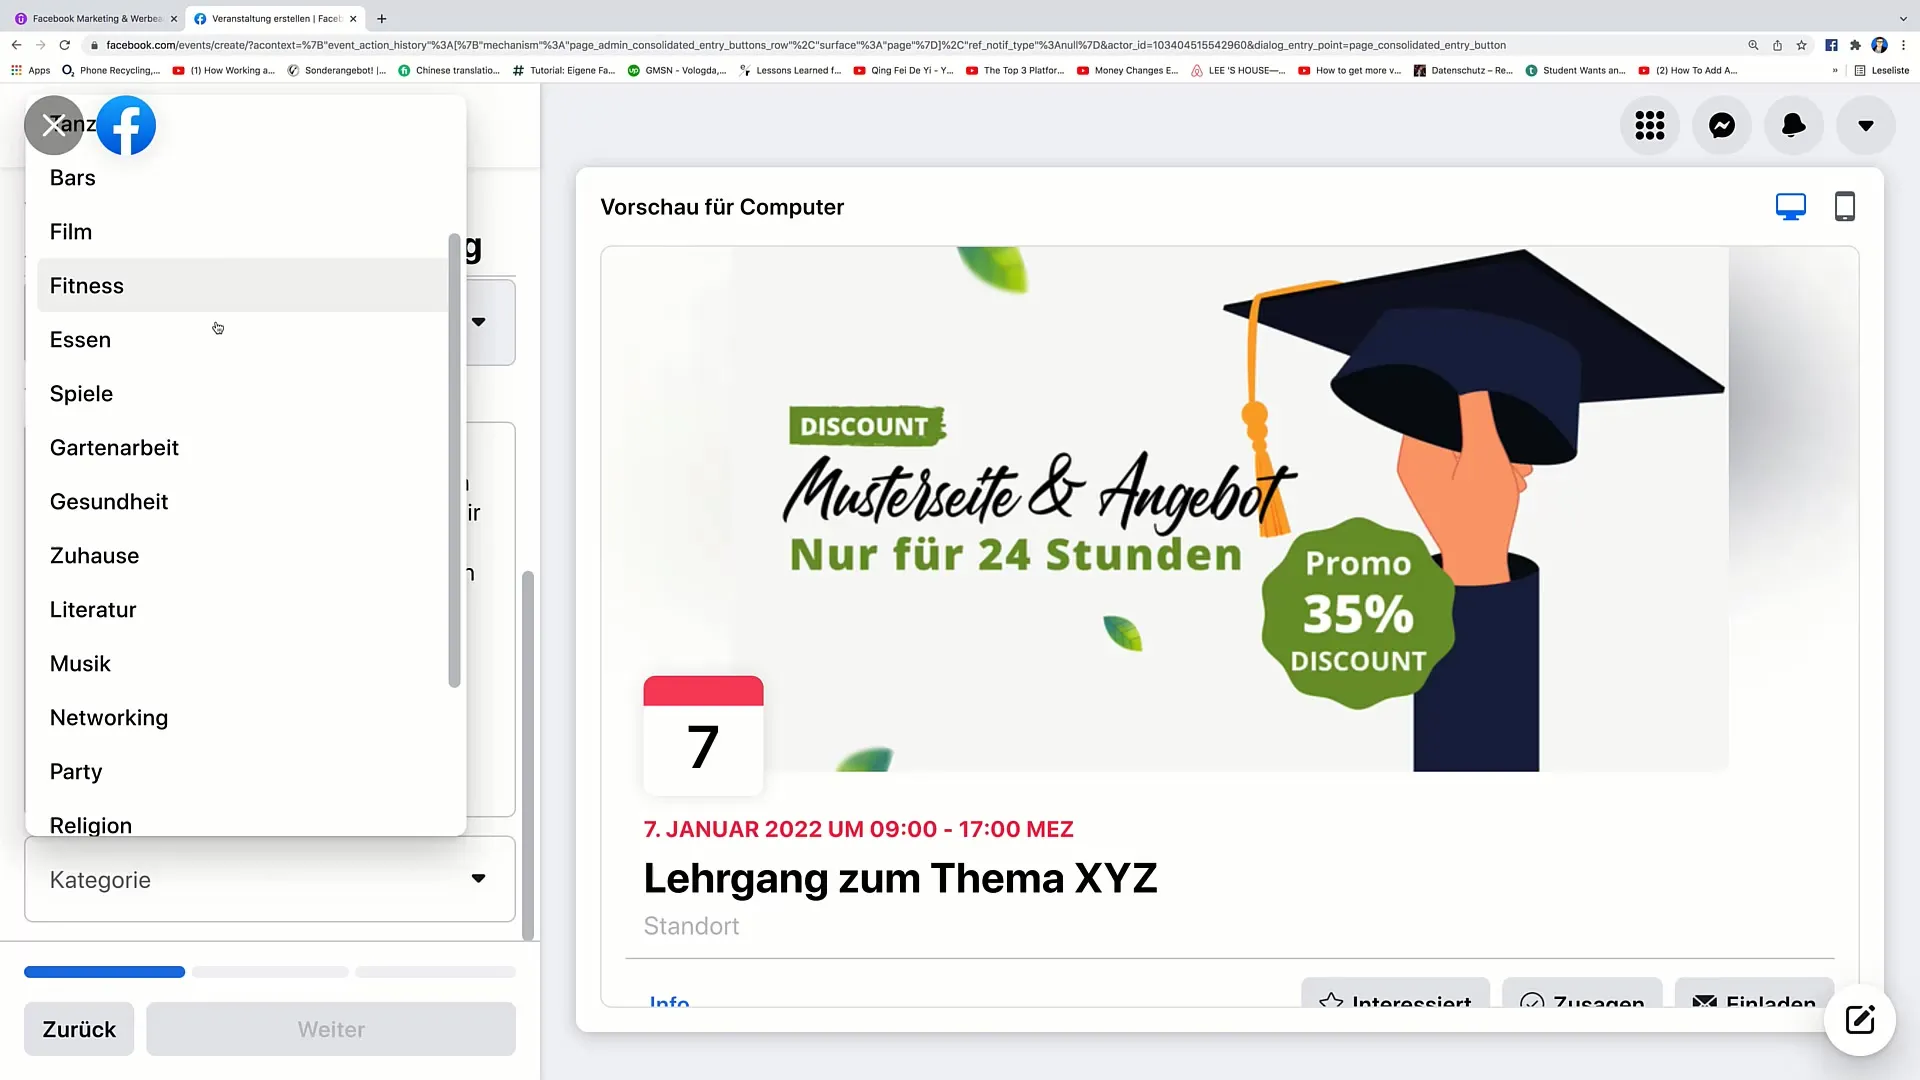
Choose the appropriate category for your event. This could be "Education" or "Networking," depending on the nature of your event.
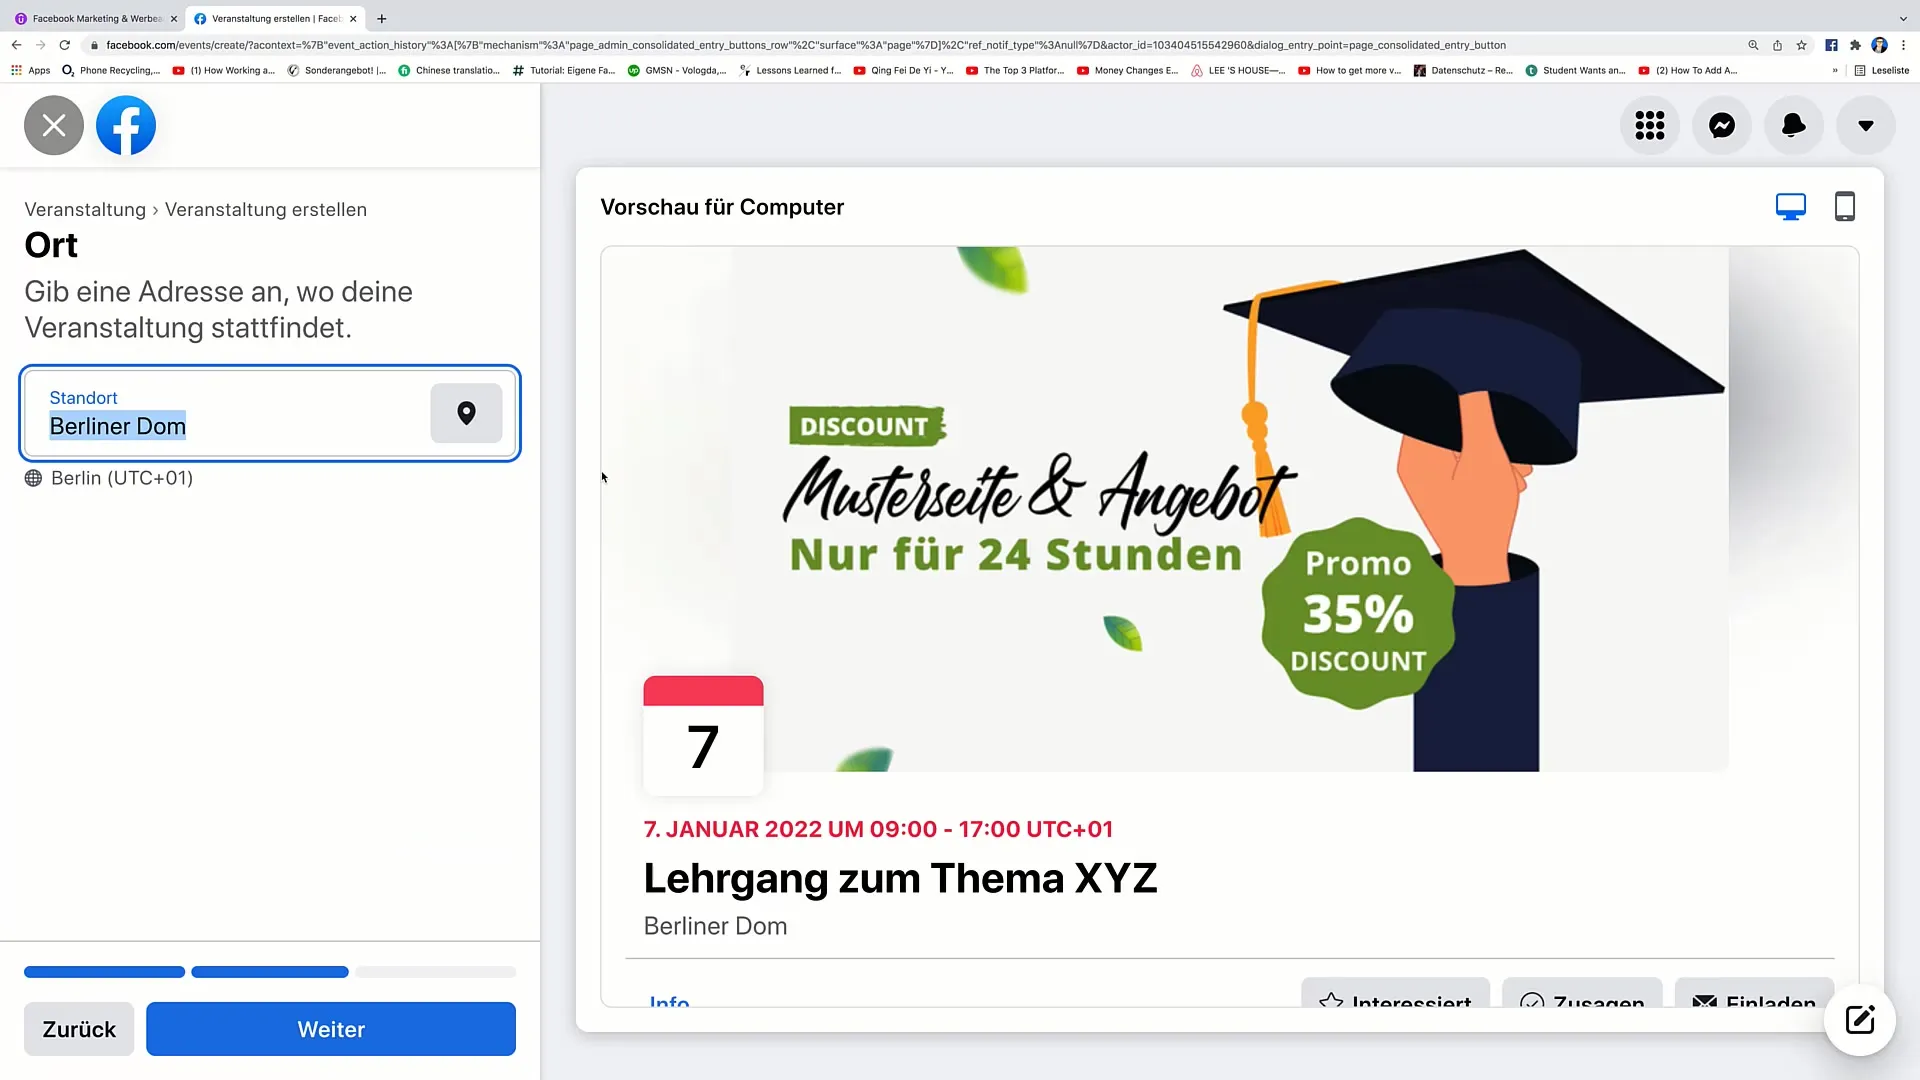
9. Enter event location Enter the location of your event. For example, if you specify a theoretical location like "Berlin Cathedral," enter it here.
10. Review event details
Before publishing, review all entered information. Ensure that everything is correct and complete.
11. Add event image
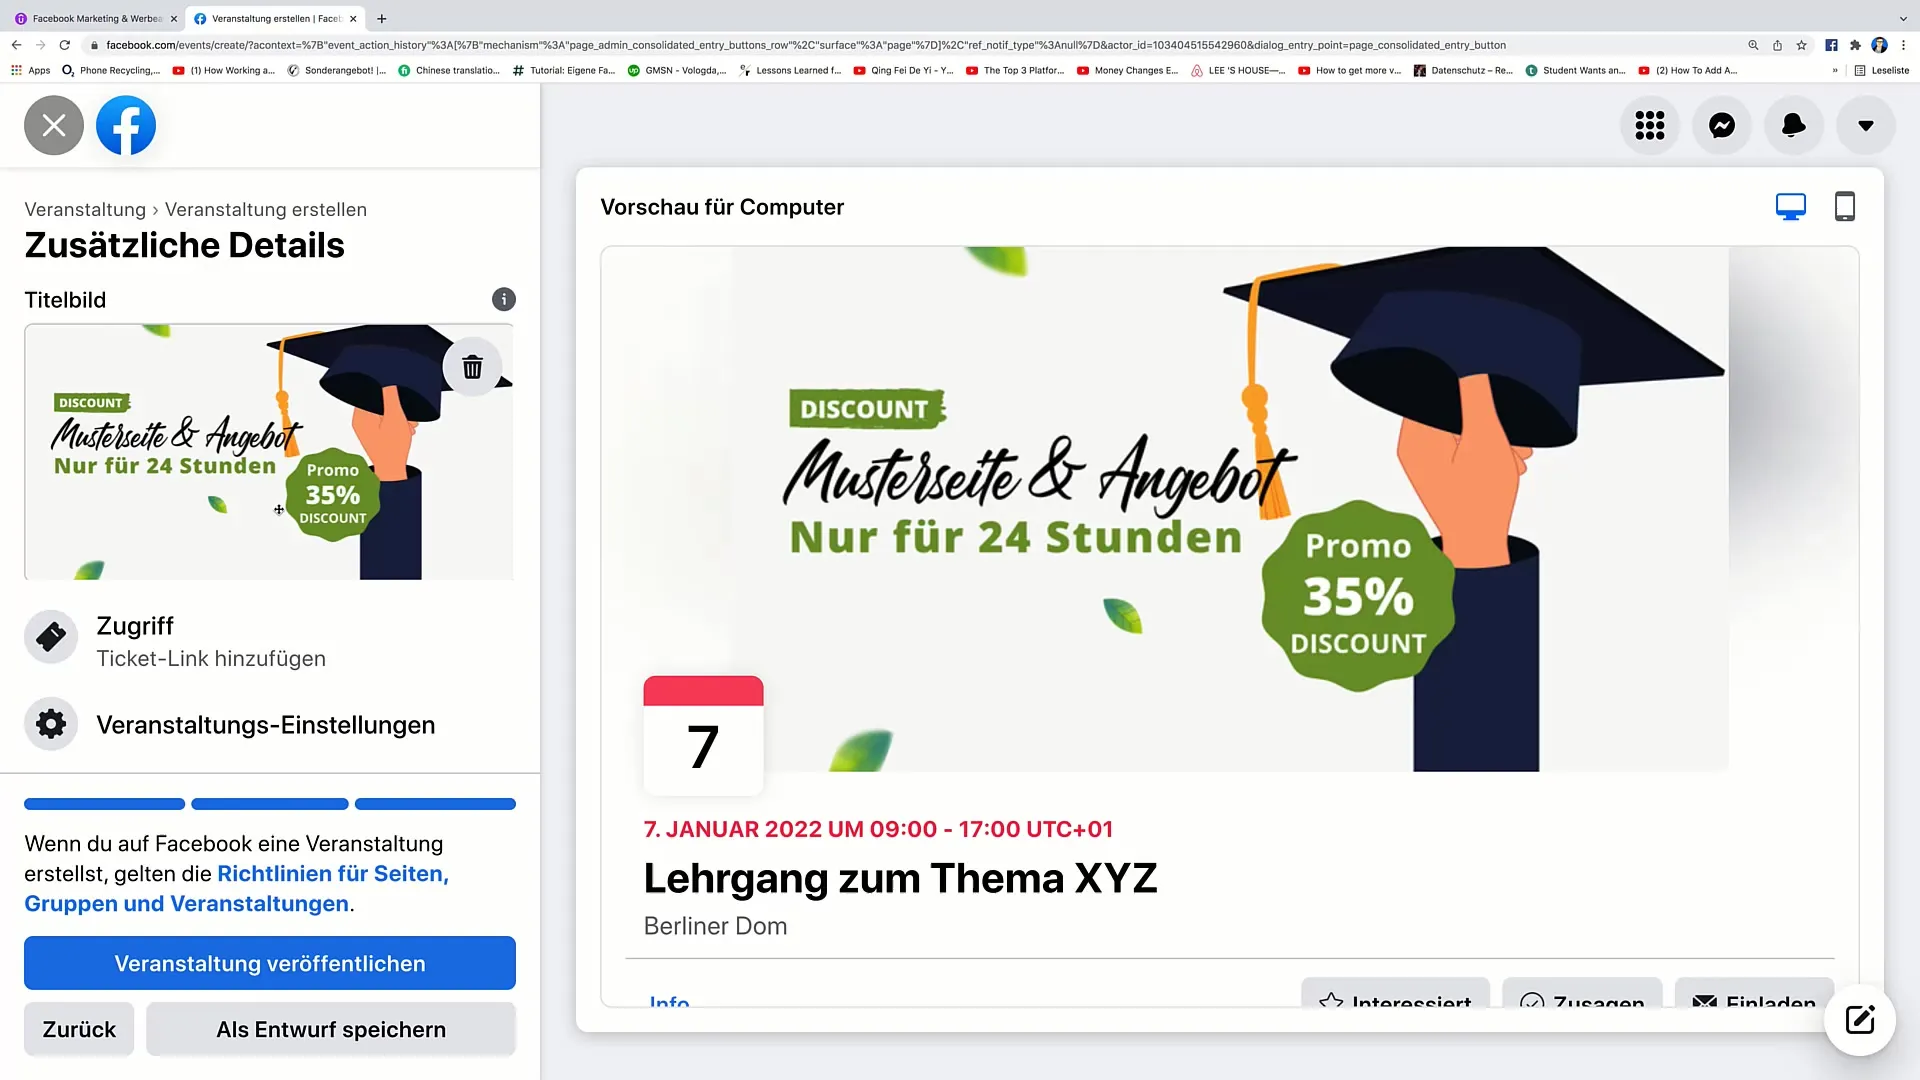
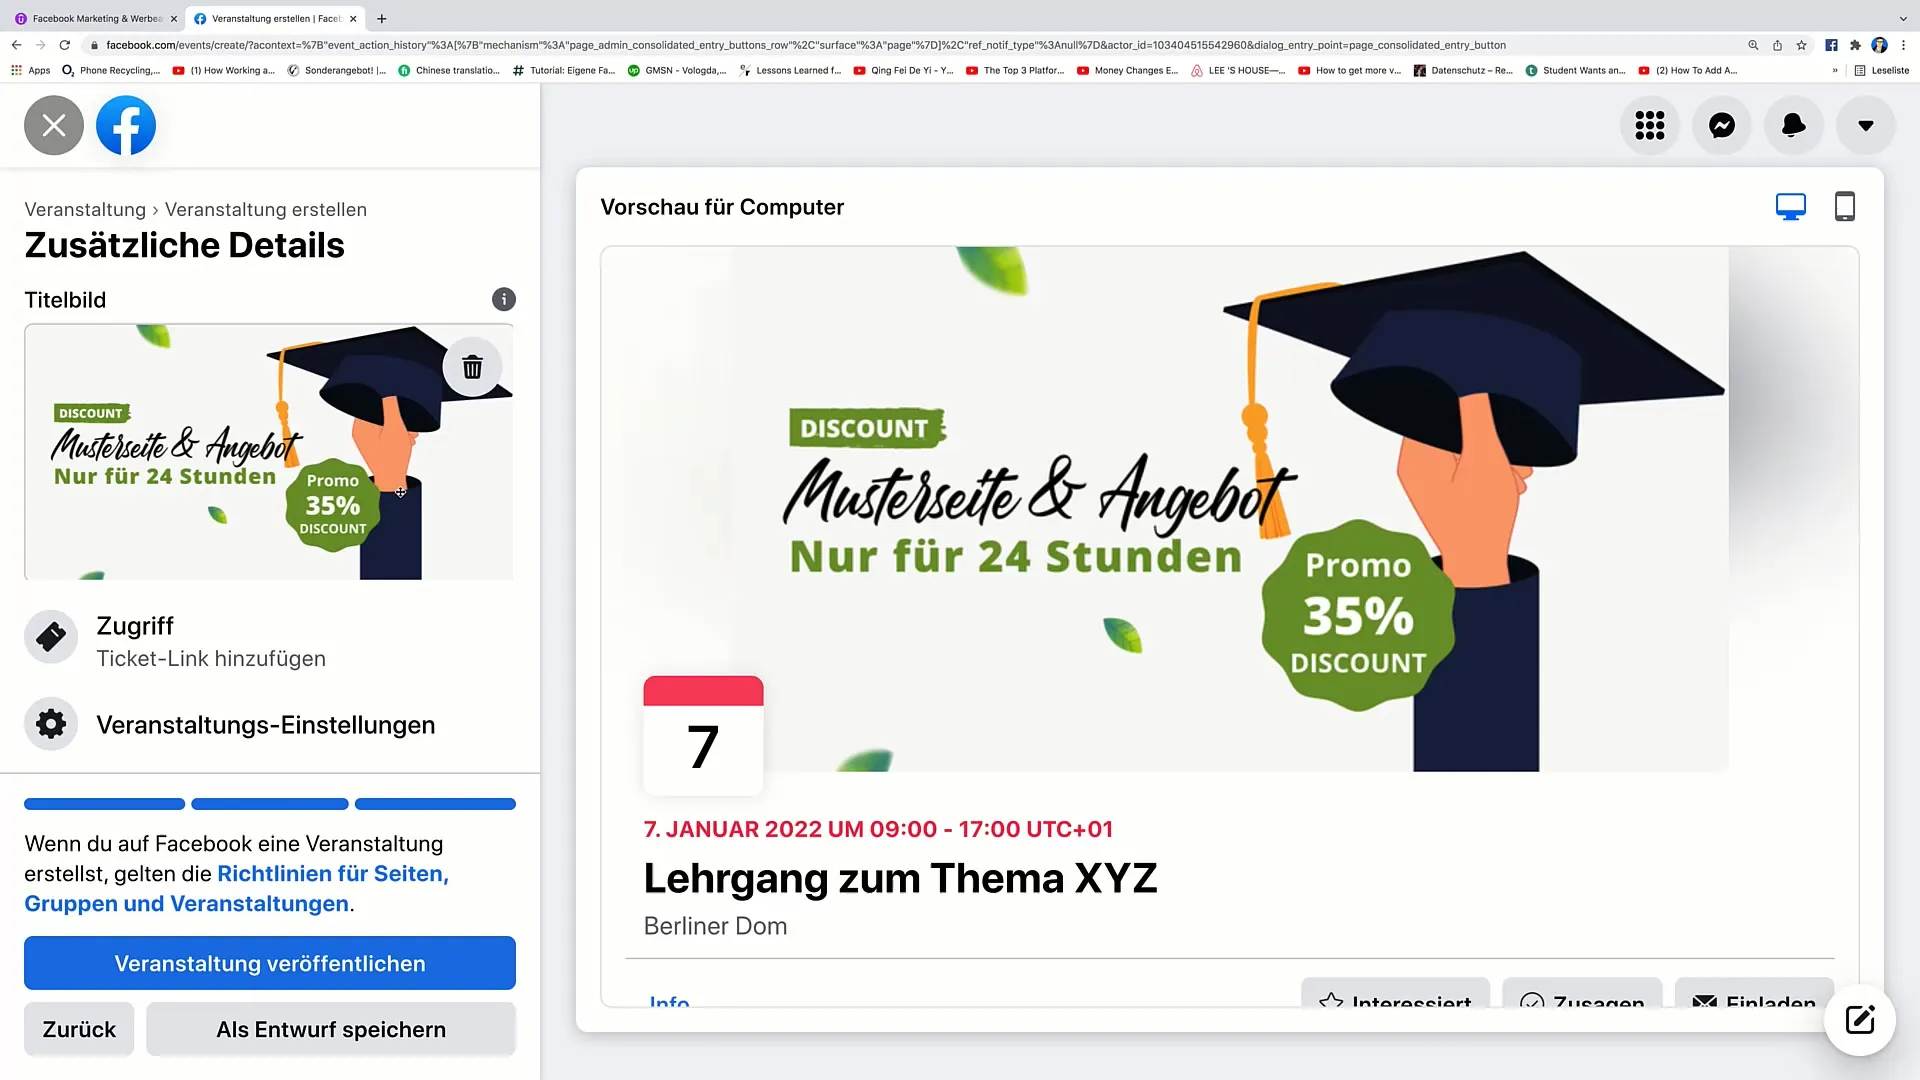
You can upload an image for your event. If you don't have one, you can create a suitable image using graphic design tools like Canva.
12. Add ticket link
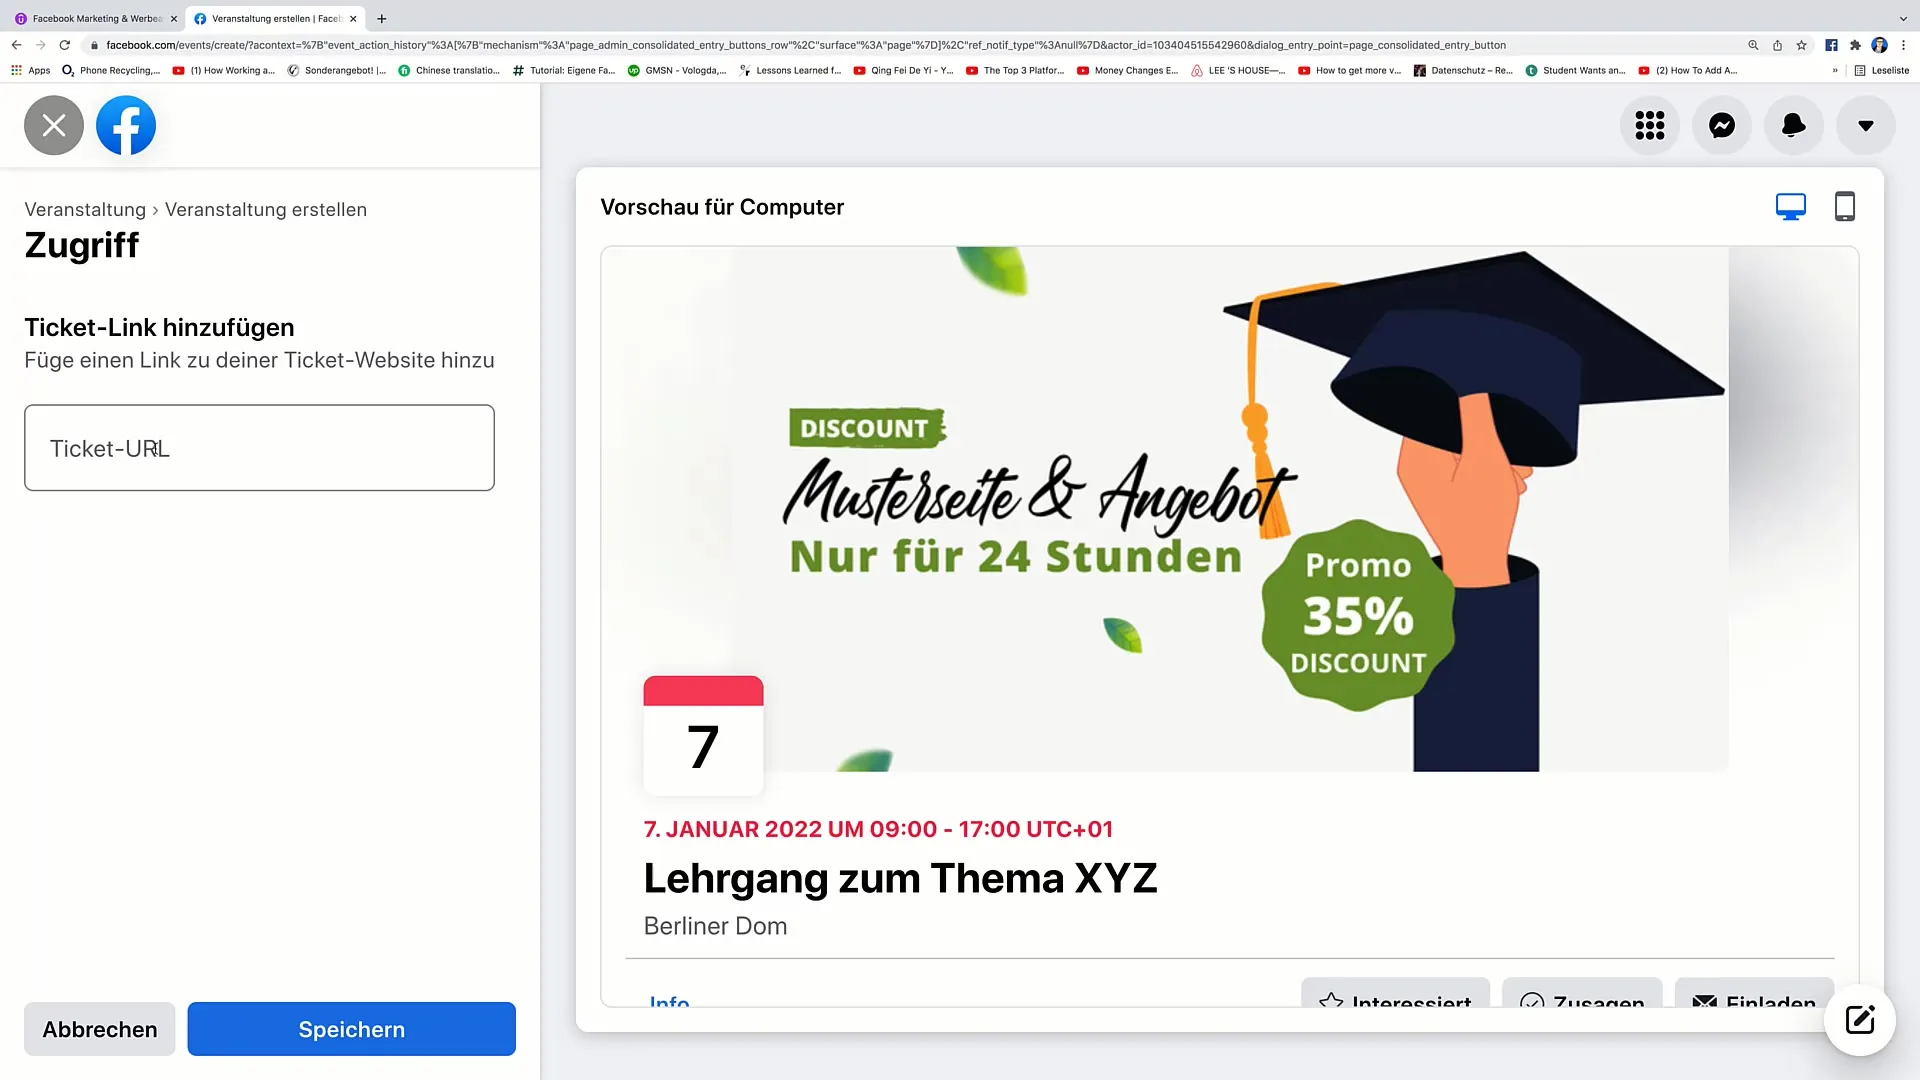
If you want to sell tickets for your event, you can enter the corresponding ticket link here. Software like Eventbrite is a popular choice for ticket sales.
13. Add co-organizers
If there are other people involved in the organization, you can add their names.
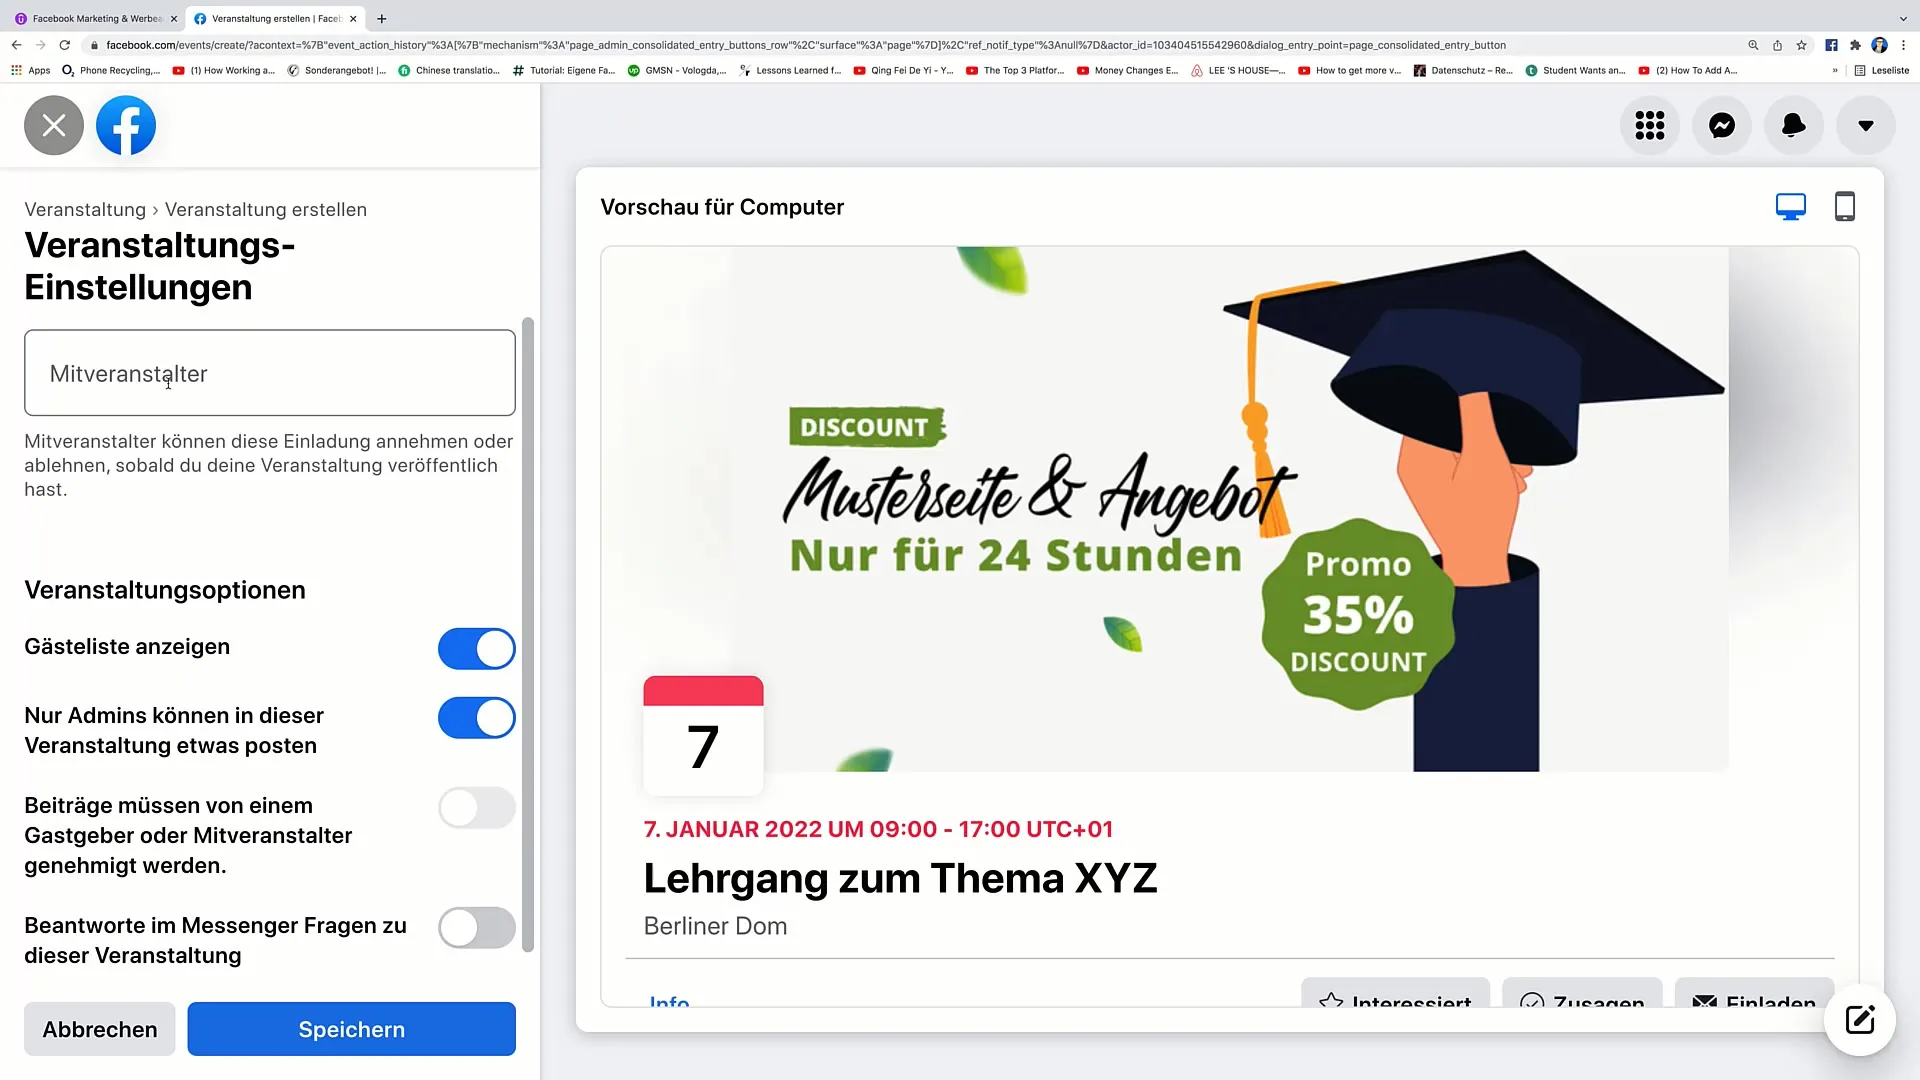
14. Manage guest list and approvals
You can choose to display the guest list and whether posts need approval. This gives you control over the interaction at your event.
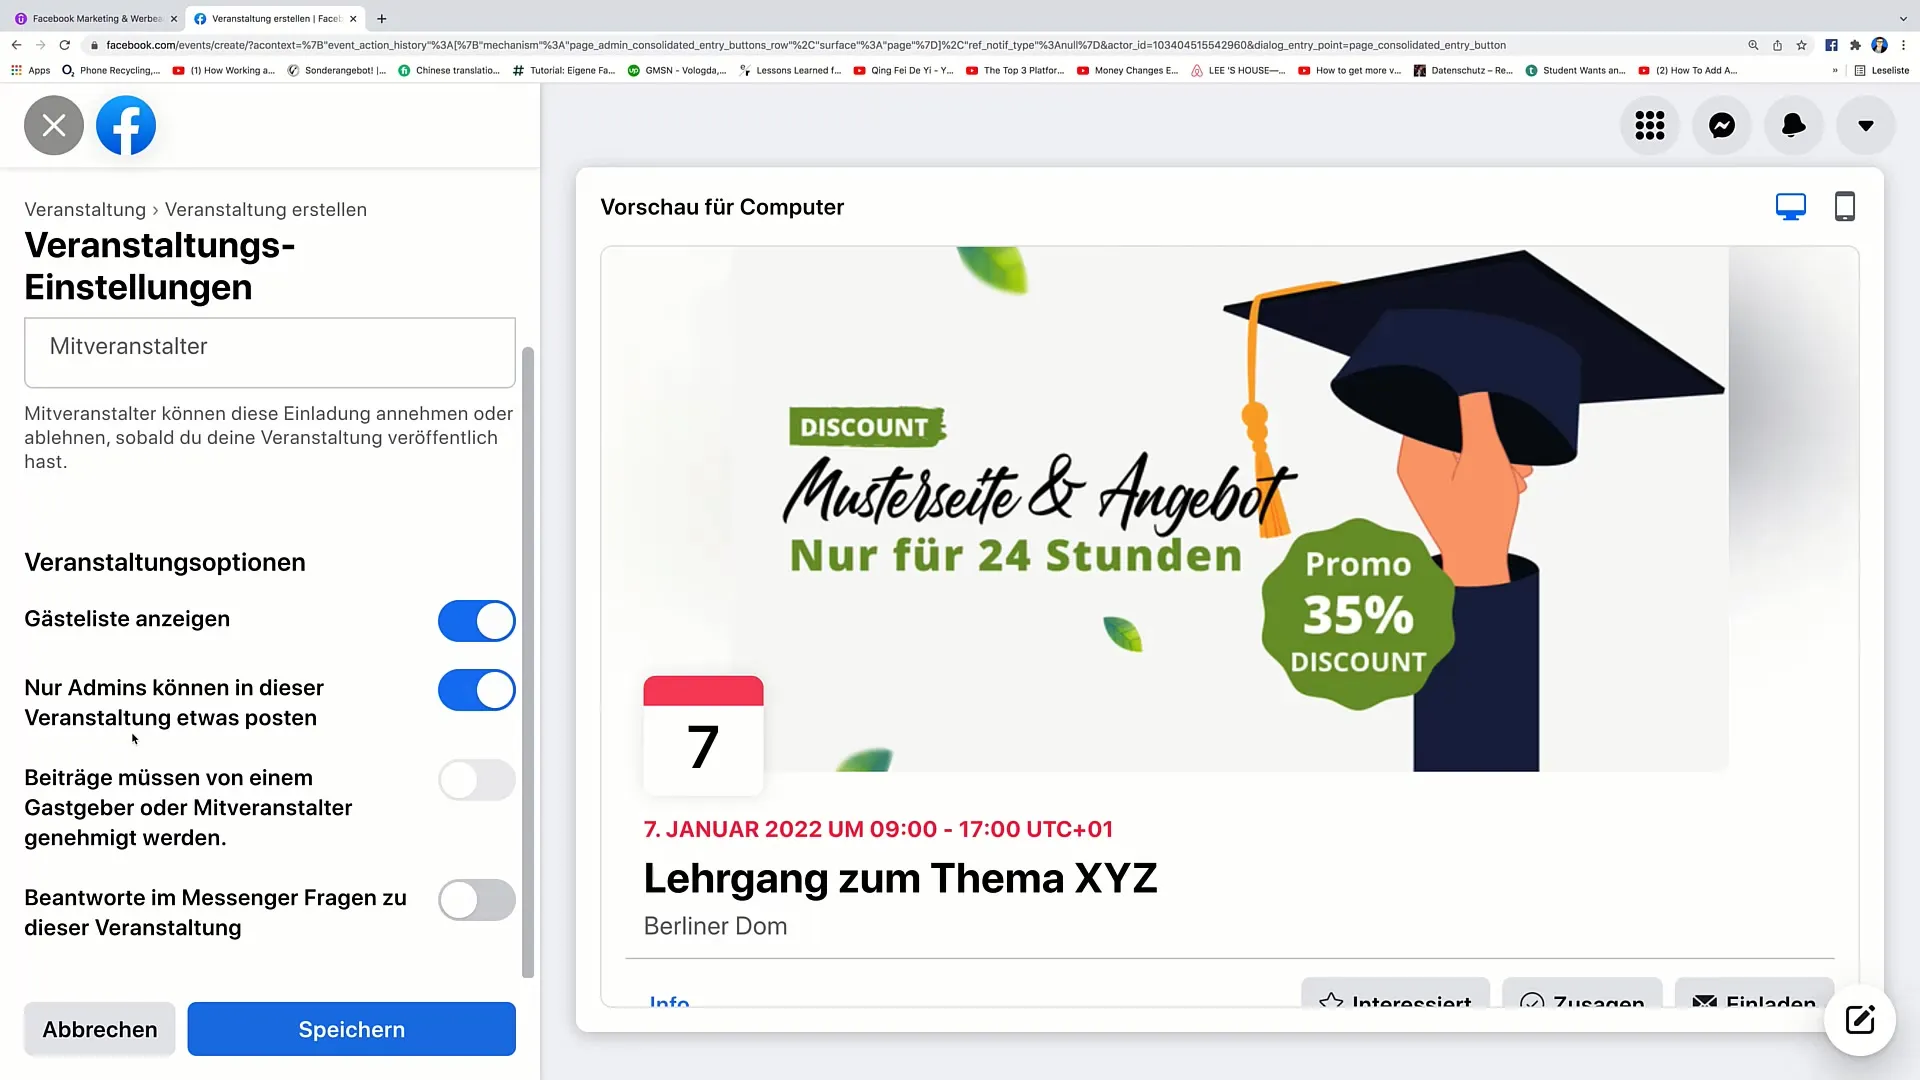
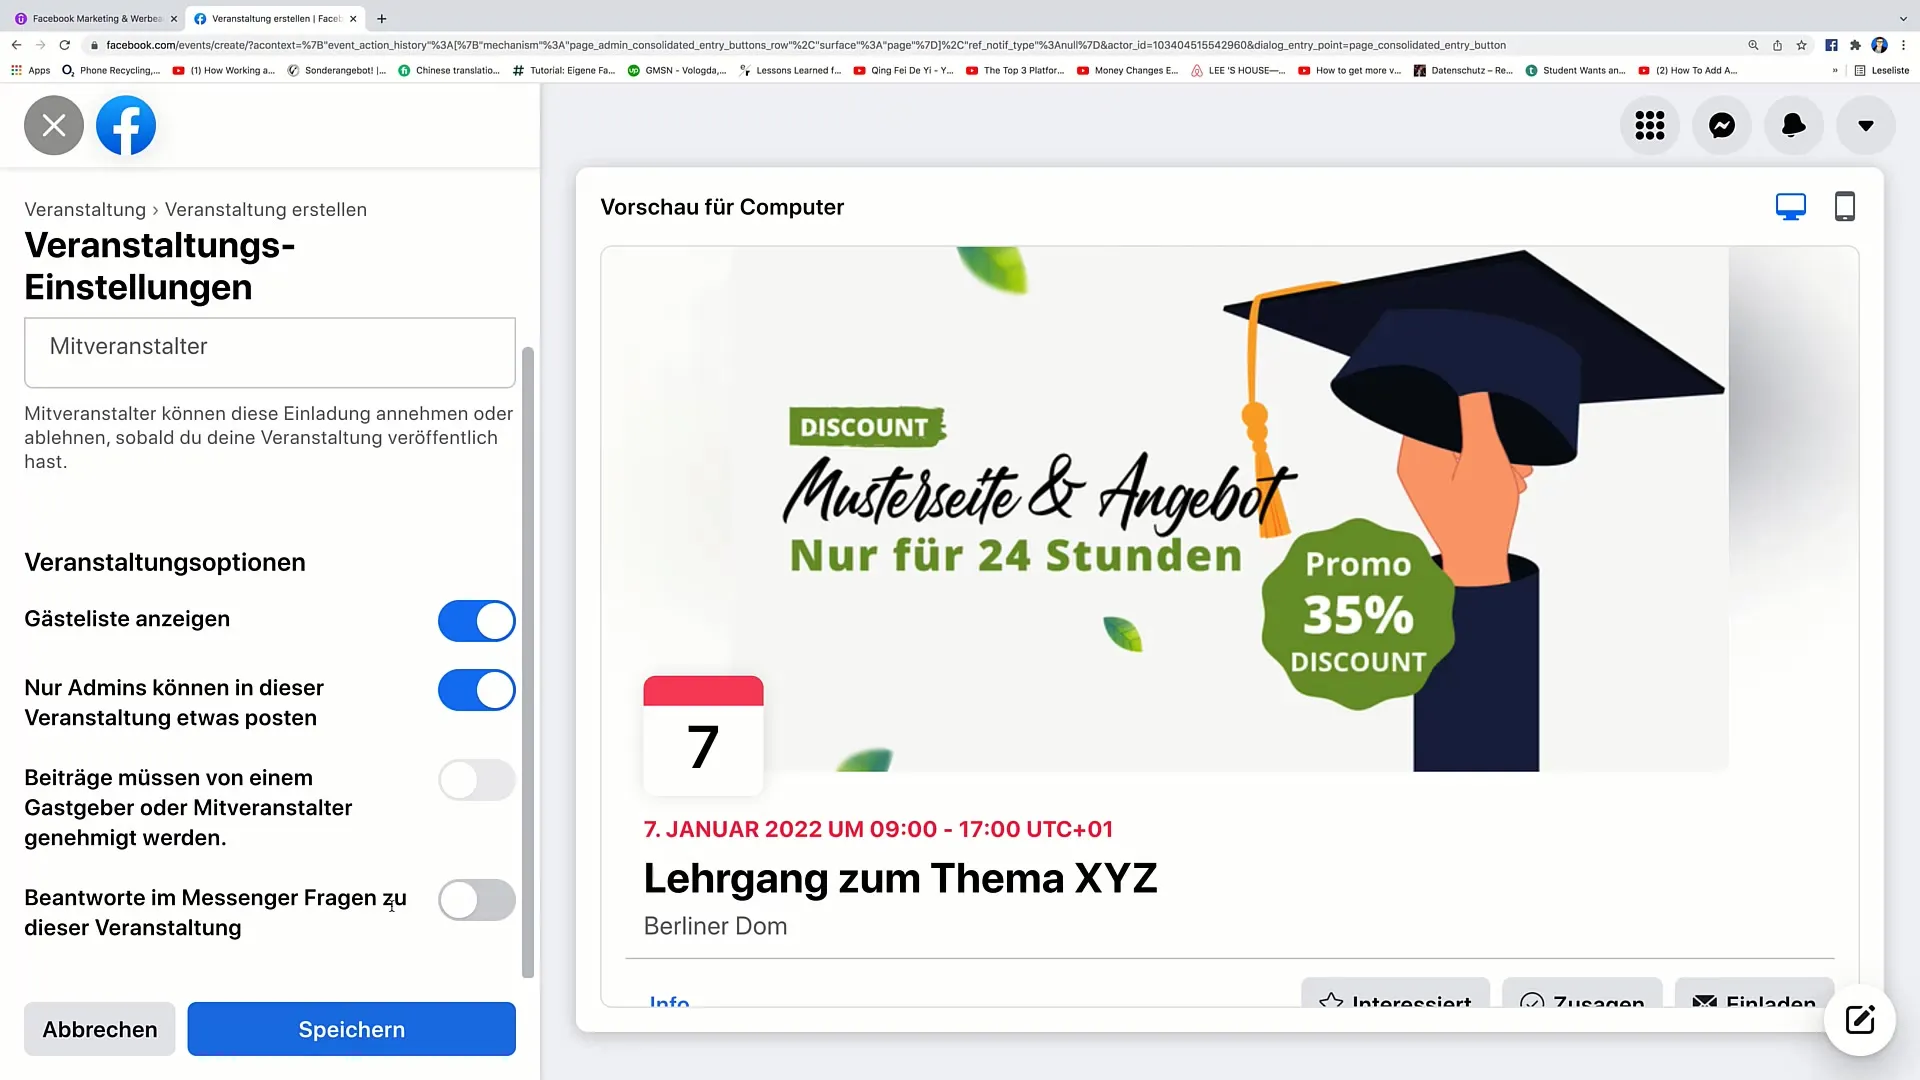
15. Activate Messenger questions
If you want to answer questions about your event on Messenger, activate this option.
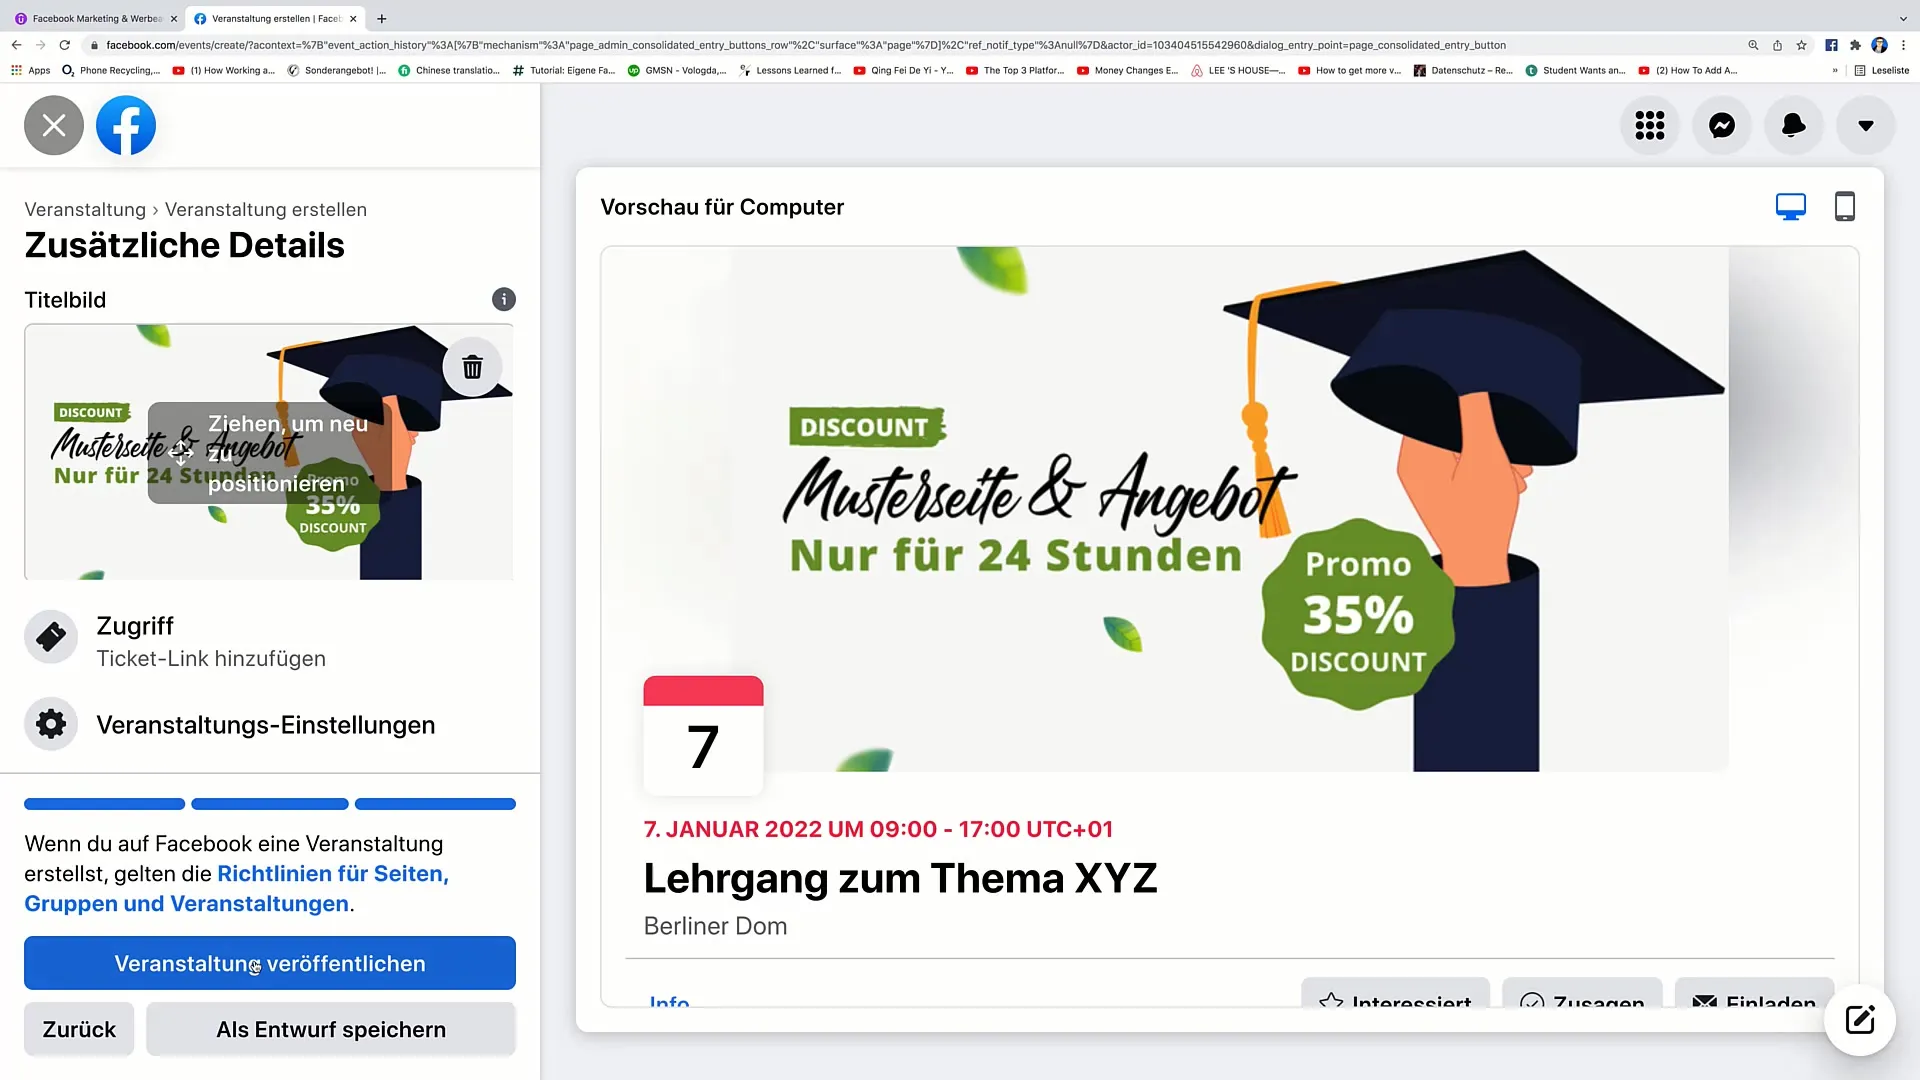
16. Publish event
Once you are satisfied with all the details, click on "Publish Event". Your event will then be linked to your Facebook page and visible to the public.
Summary
By following the steps described, you can easily and effectively plan and create an event on Facebook. It is important to provide all relevant information and consider the privacy settings to reach your audience optimally. With proper planning and engaging content, your event will surely be well received.
Frequently Asked Questions
How do I create an event on Facebook?You navigate to the "Event" option on your Facebook page, fill in the necessary details, and publish it.
Can I create an online event?Yes, you can choose between an online and an in-person event when creating the event.
How do I add a ticket link?In the final step, you can enter a ticket link, for example, from Eventbrite.
Can I customize the privacy of my event?Yes, you can decide whether your event is public or private.
How can I add a picture for my event?You can upload a picture or create a new image using graphic design tools.
