In this guide, you will learn step by step how to create your own personalized avatar using Microsoft Designer. Microsoft Designer is a fantastic tool that allows you to create creative designs using AI templates. Whether you need an avatar for social media, games, or other applications, this guide will help you achieve exactly that. Let's get started right away!
Main Insights
- Microsoft Designer is free and can be used with an existing Microsoft account.
- There is a daily limit of 15 boosts for editing images.
- Additional boosts can be obtained through a paid subscription.
- The user interface of Microsoft Designer is intuitive and user-friendly.
- You can use templates or create your own prompts to achieve the desired design.
Step-by-Step Guide
1. Sign in and Open Microsoft Designer
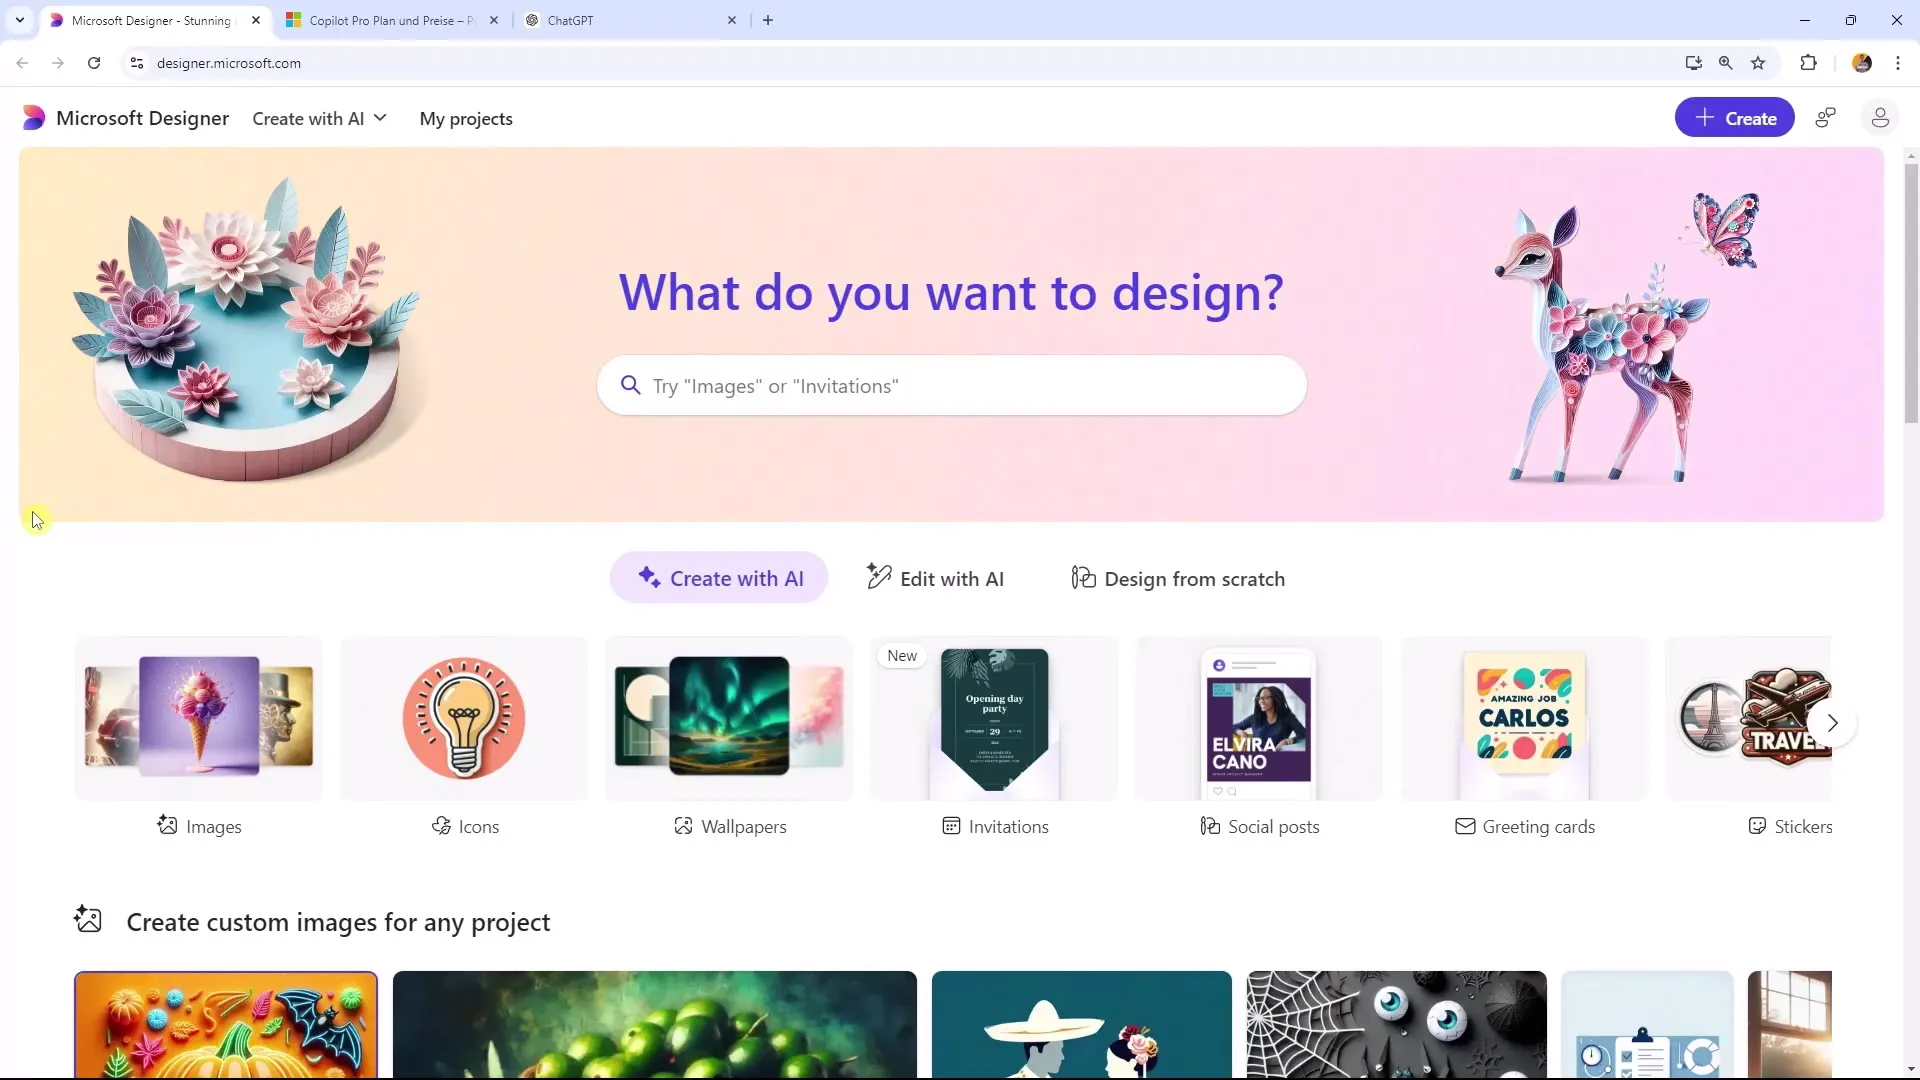
To get started, sign in to Microsoft Designer with your Microsoft account. Access is completely free. Once logged in, the tool's user interface will open.
2. Explore the User Interface
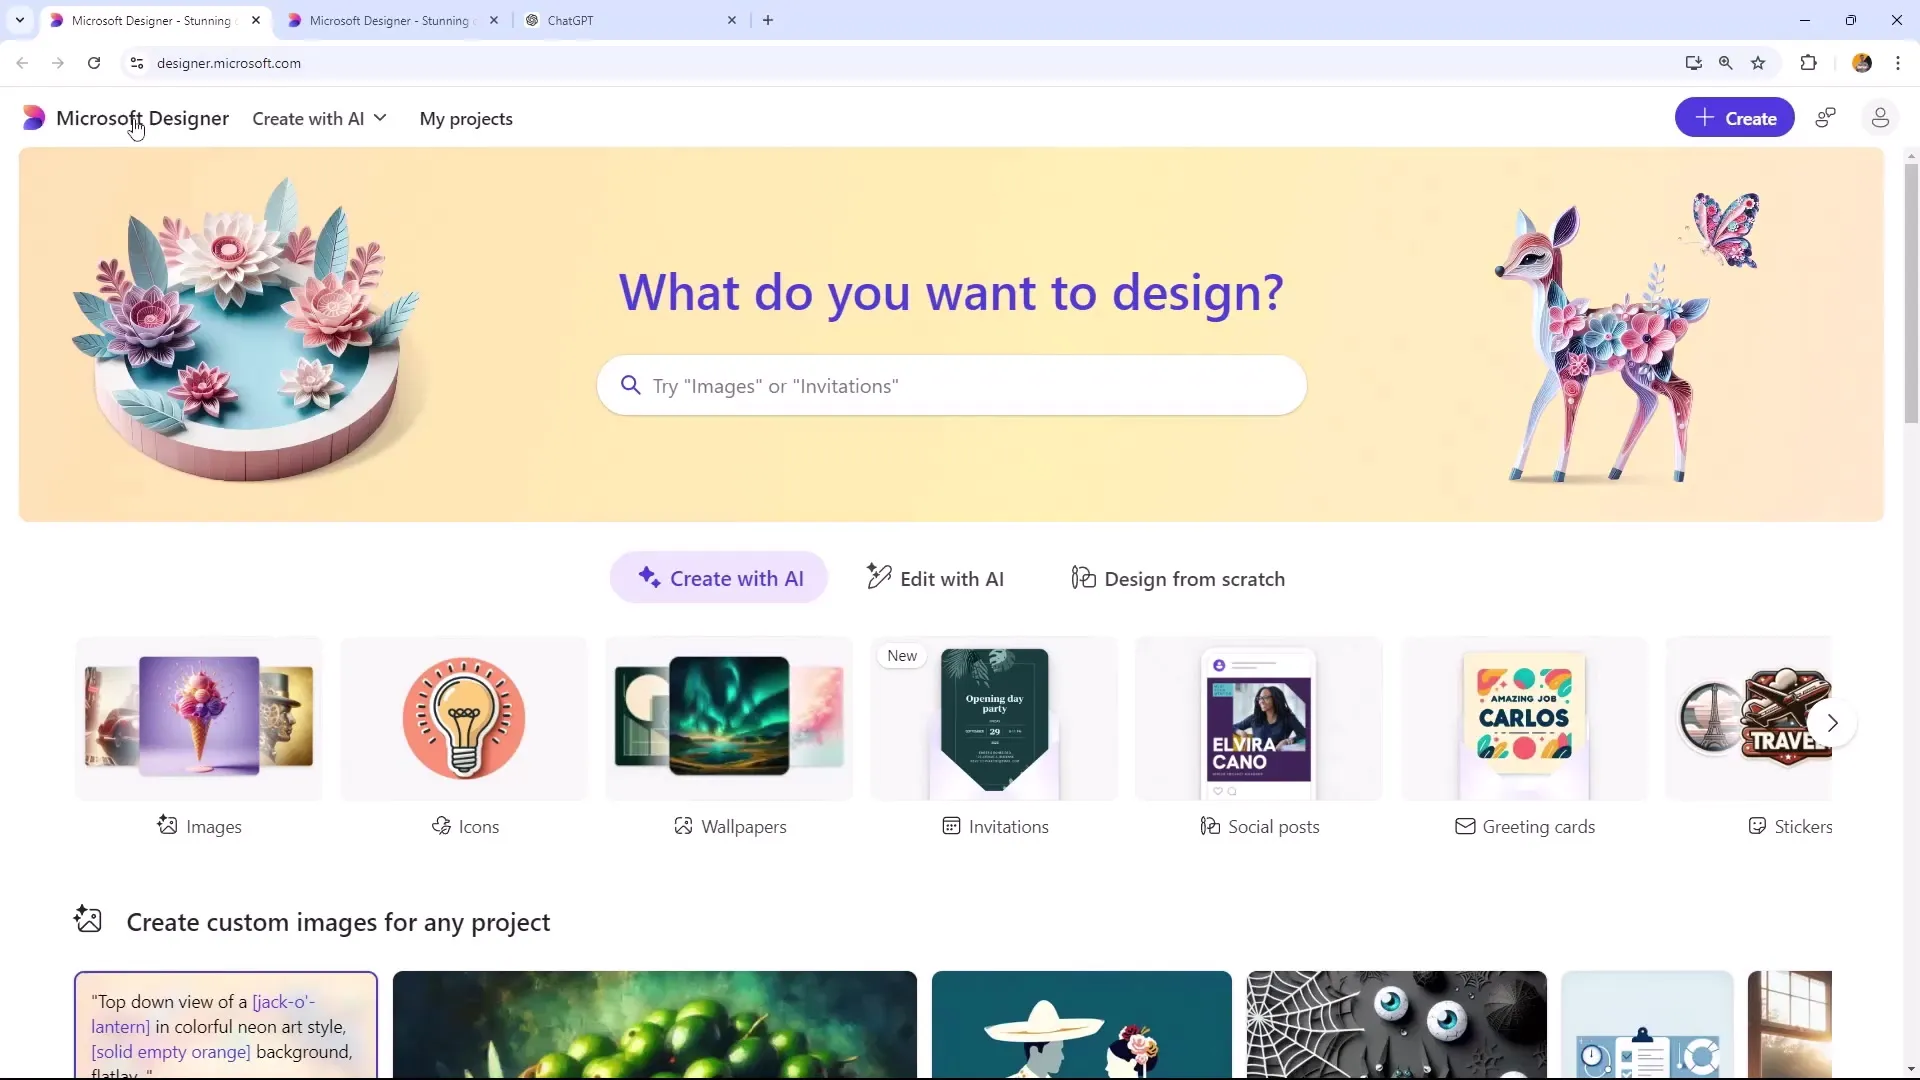
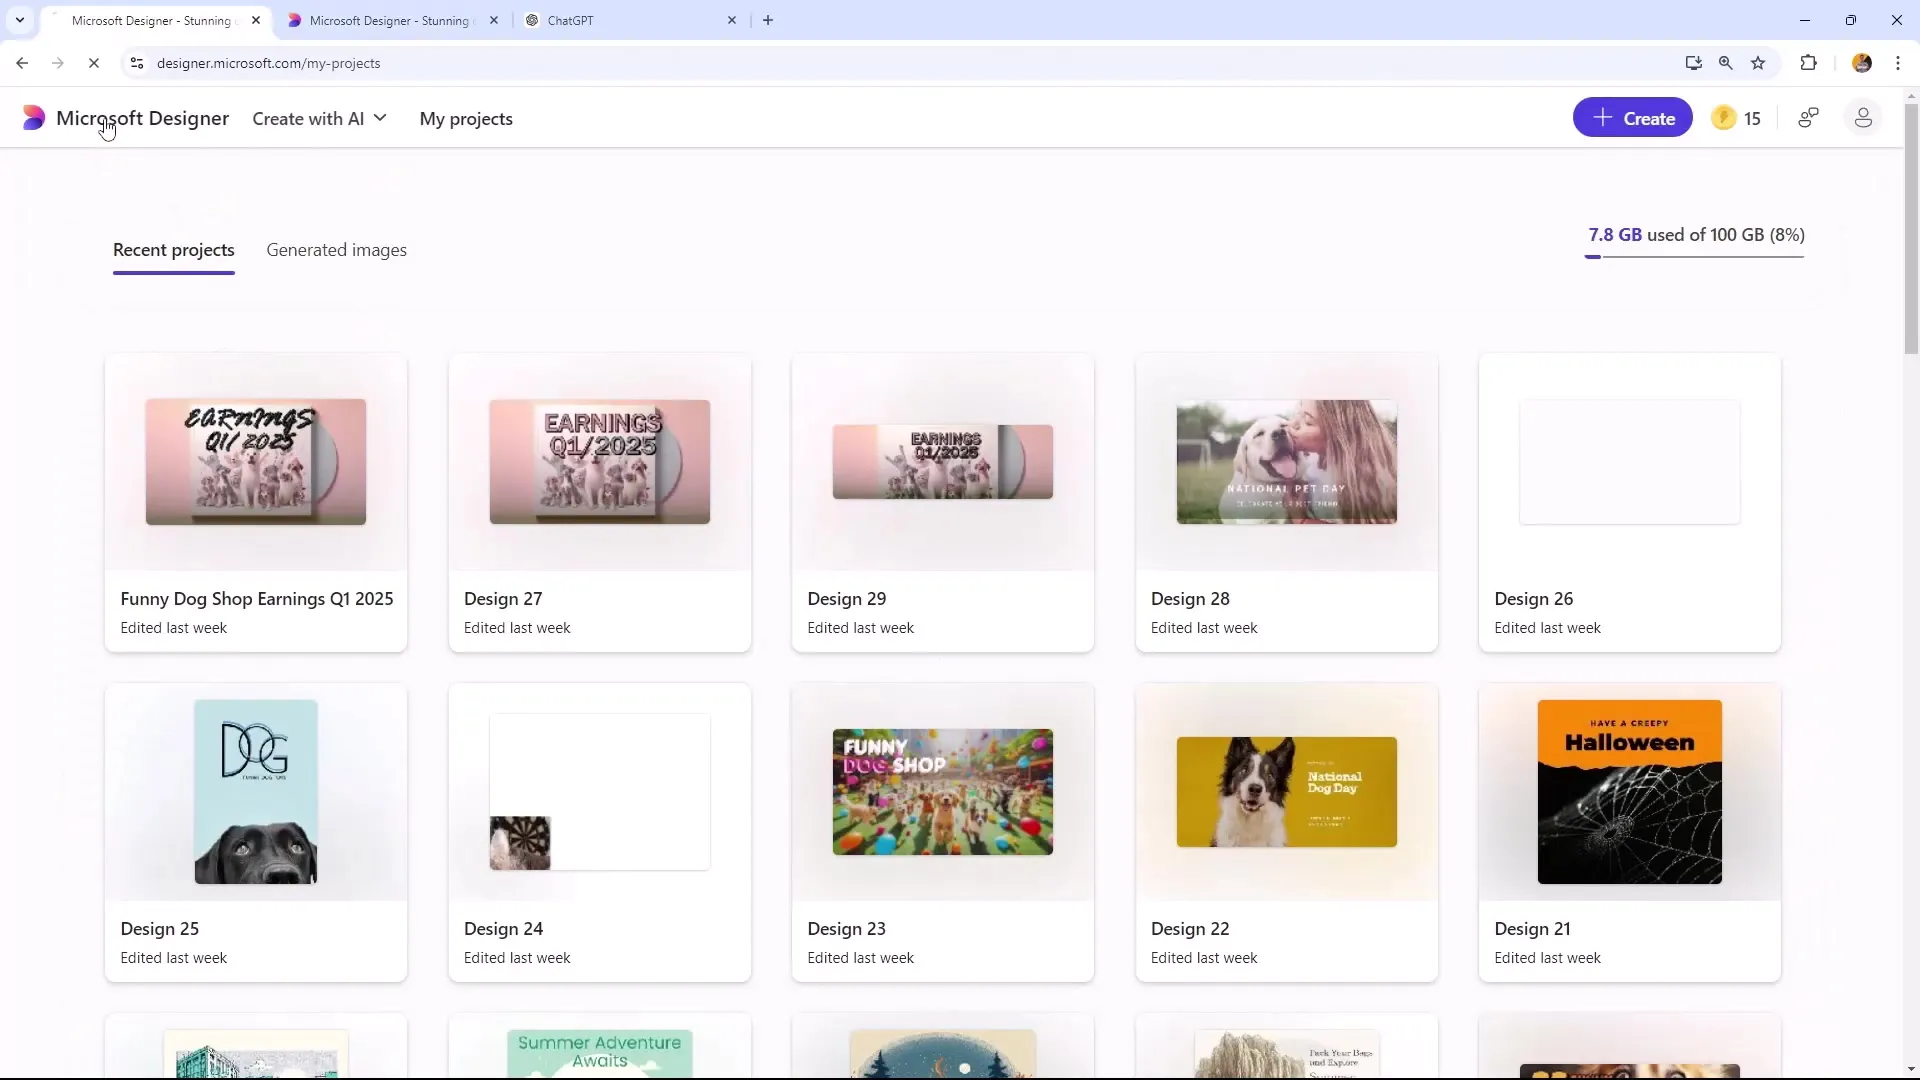
Take a look at the different tabs at the top: Clicking on the Microsoft Designer logo will take you to the homepage. Next to this tab, you will find the "Create with AI" function, which offers a variety of shortcuts to quickly create designs, including avatars, backgrounds, and emojis.
3. Getting Started with the Design
Click on the "Images" option or choose a pre-made prompt to start designing directly. Here you can choose the graphic style that you like. You have the option to browse through various templates to find the design that matches your vision.
4. Customizing the Prompt
If you are not completely satisfied with the template you selected, you can customize the prompt. Click on "Edit Entire Prompt" to edit the text. You can also specify a specific style you would like to use here.
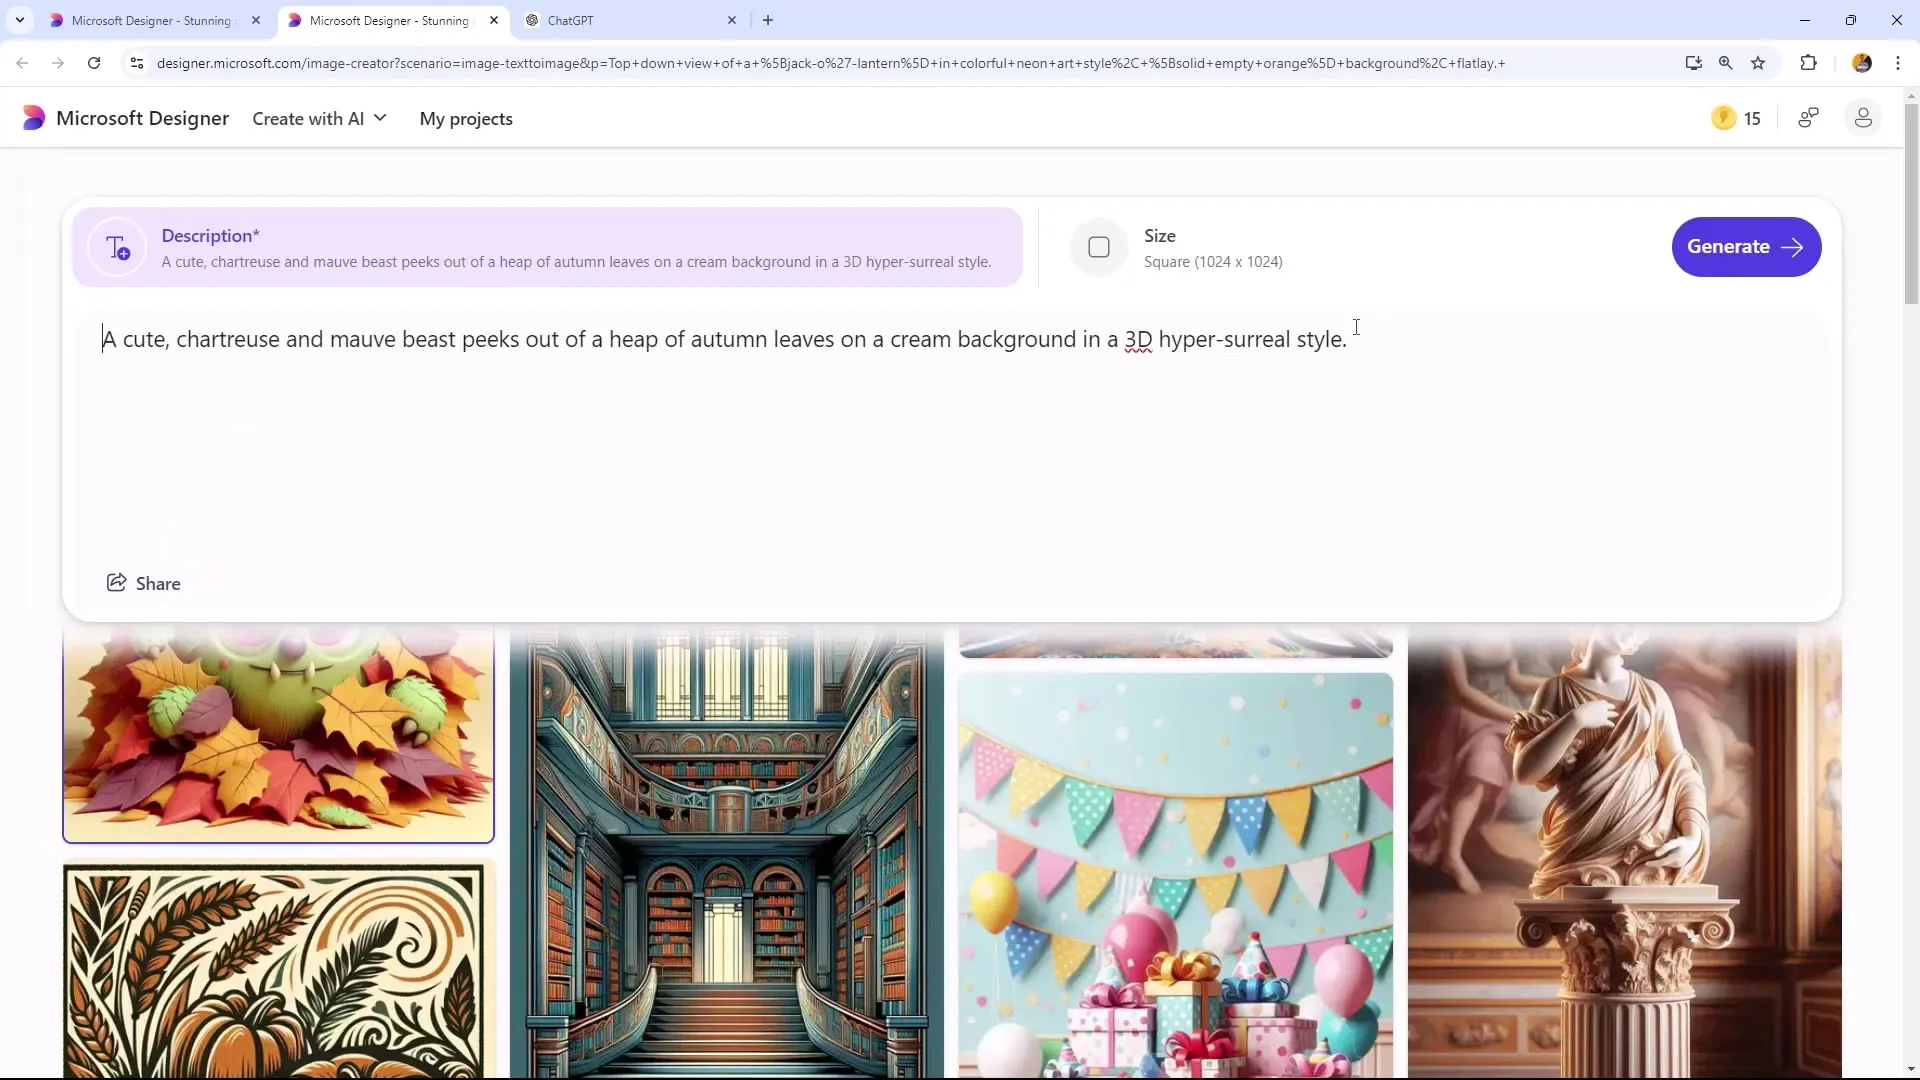
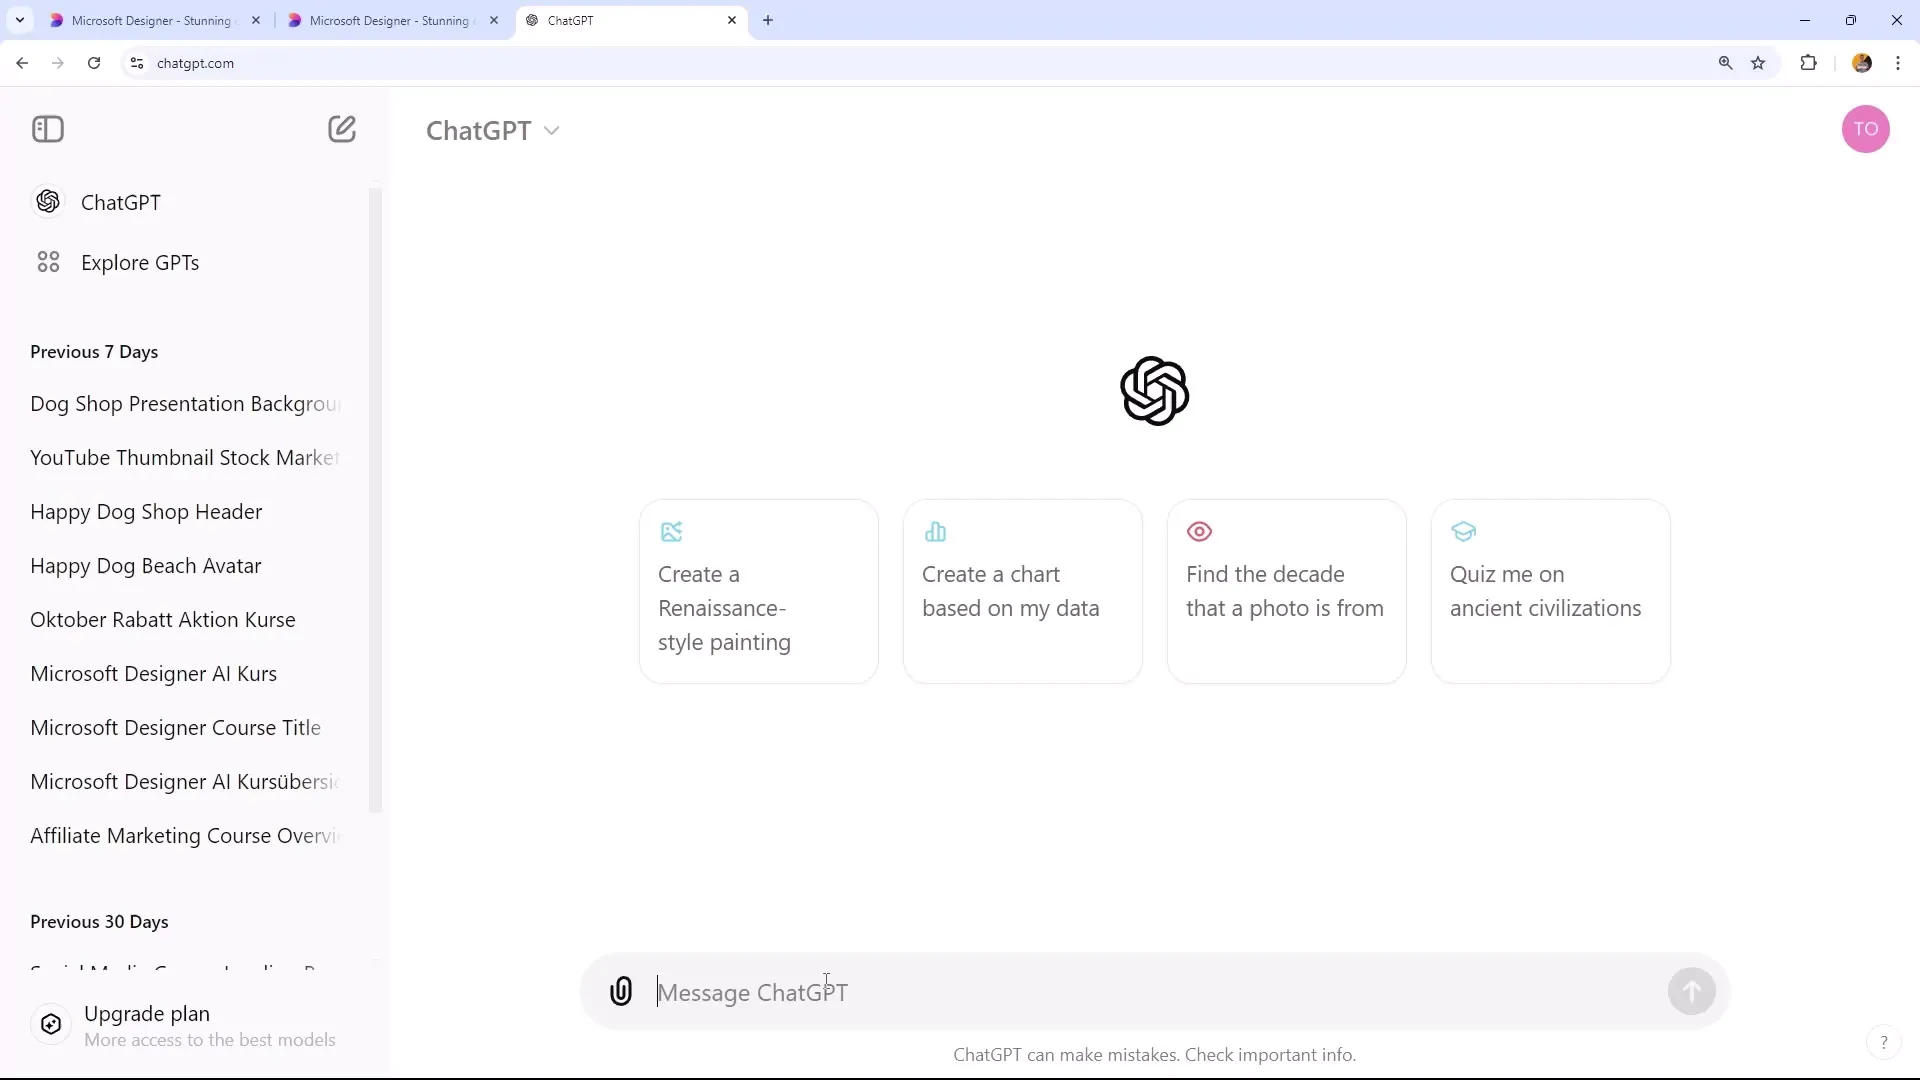
5. Adding Creative Input
If you are struggling with writing the prompt, you can use AI tools like ChatGPT. Simply ask for a suitable prompt for your desired image. Formulate your request clearly so that you get exactly what you are looking for.
6. Enter the Final Prompt
Once you have worked out your prompt, enter it into the input field. Remember to write the prompt in English as Microsoft Designer primarily requires English input. Keep the instructions short and concise to achieve the best results.
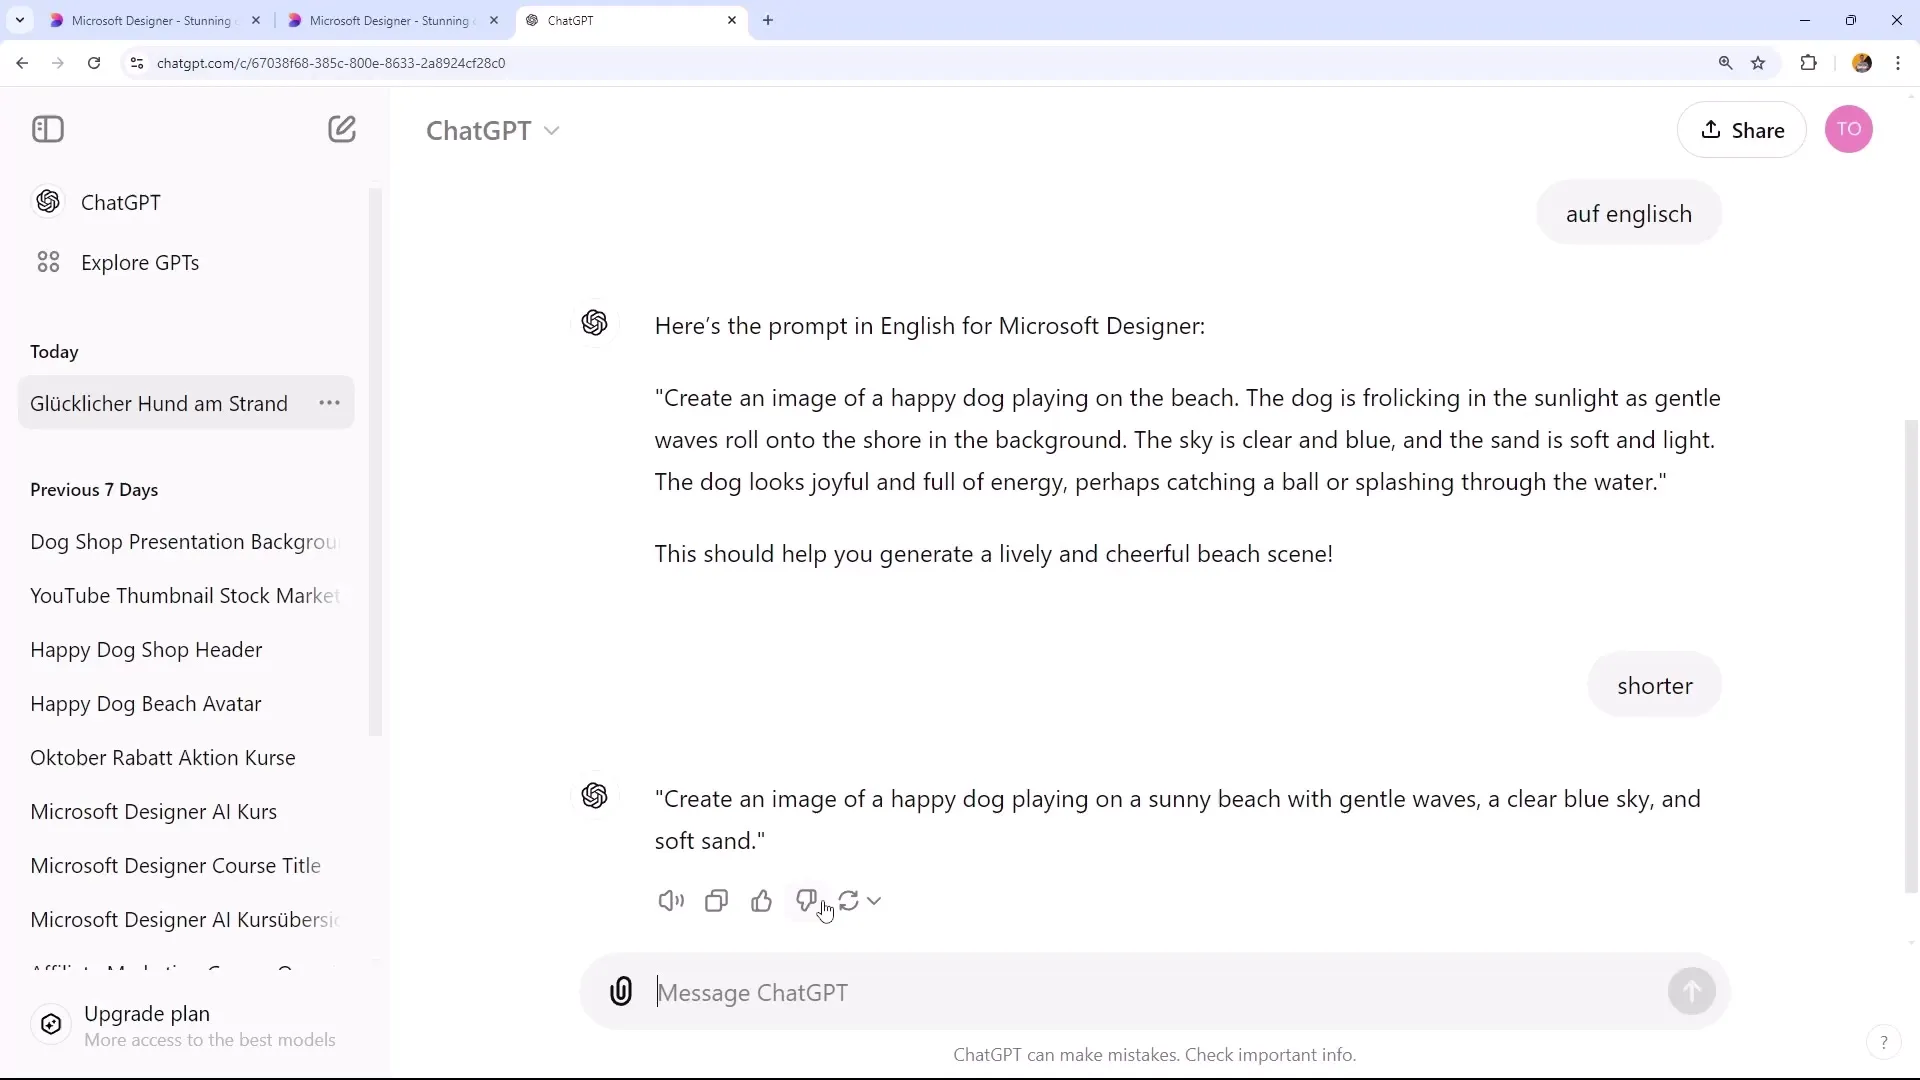
7. Generate the Image
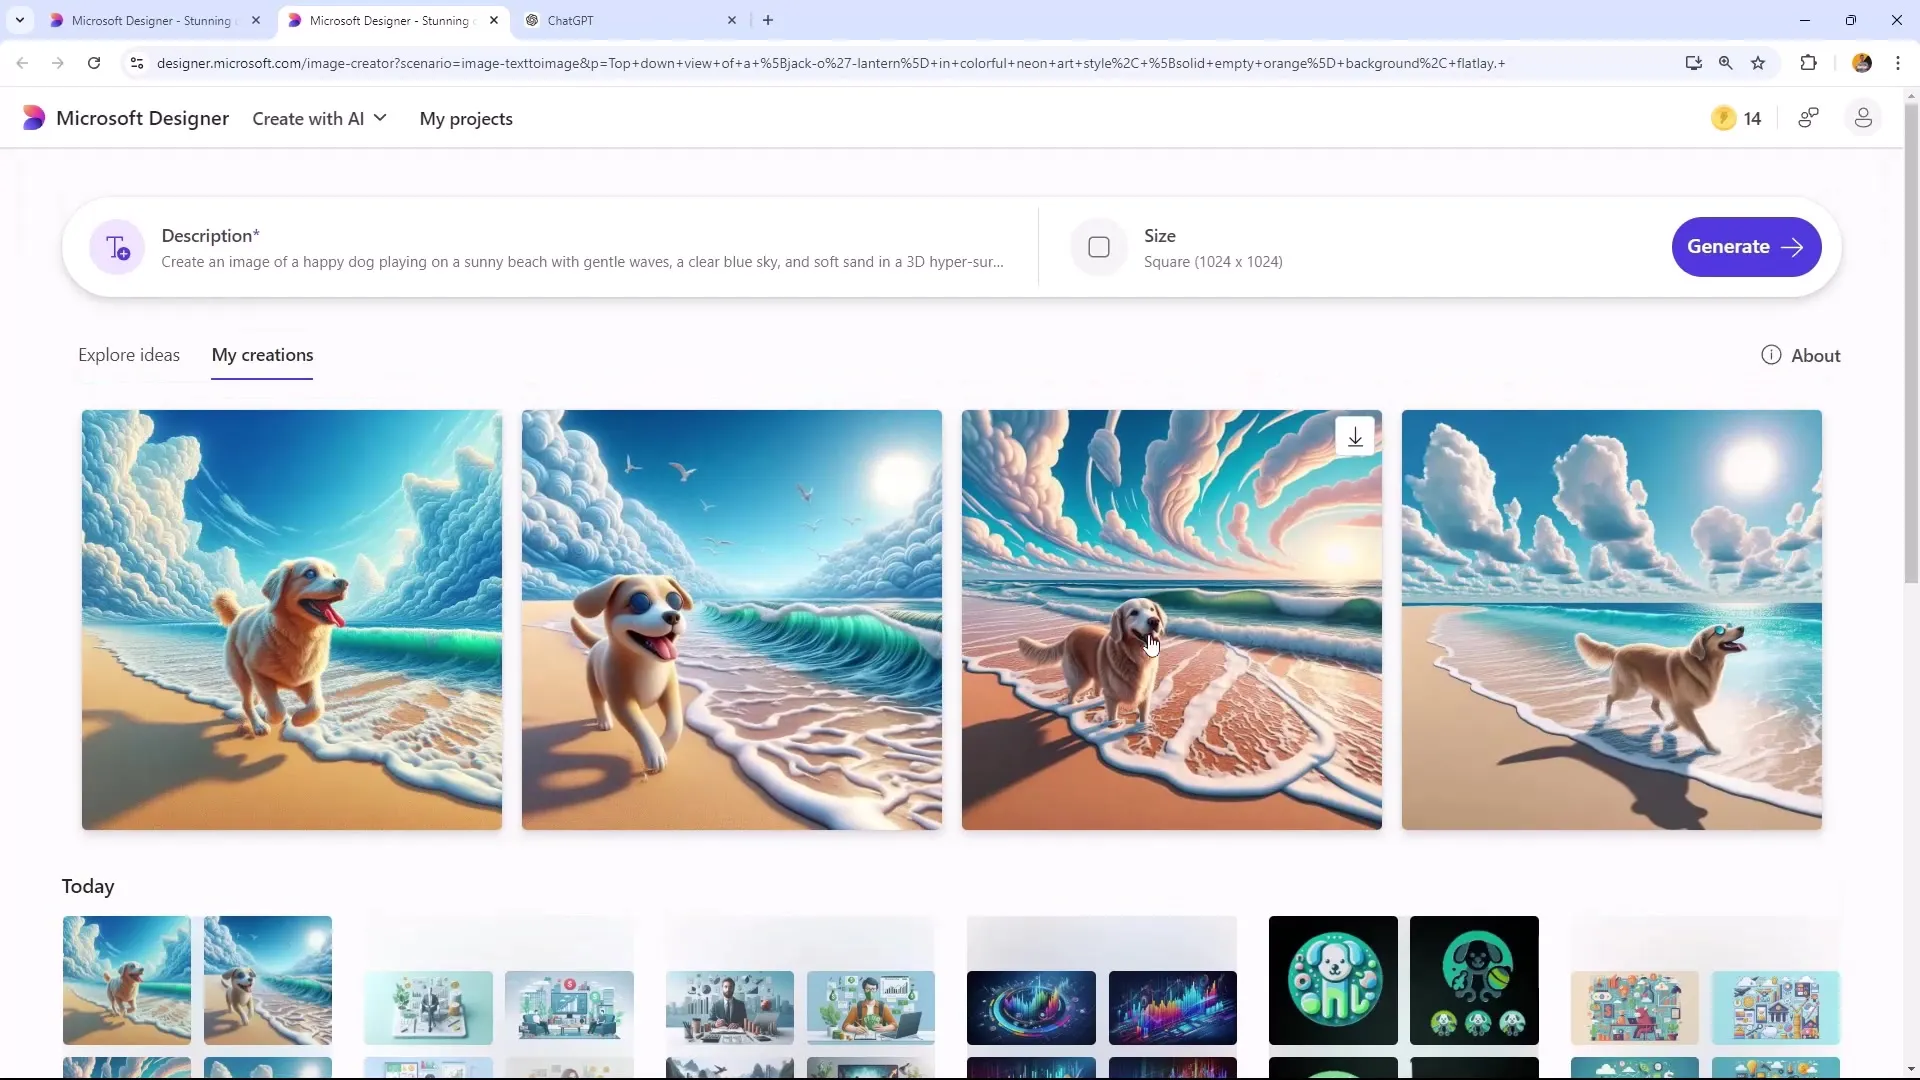
Now it's time to generate your image. Click on "Generate". This step consumes one of the 15 boosts available to you daily. Be patient while the different design options are displayed.
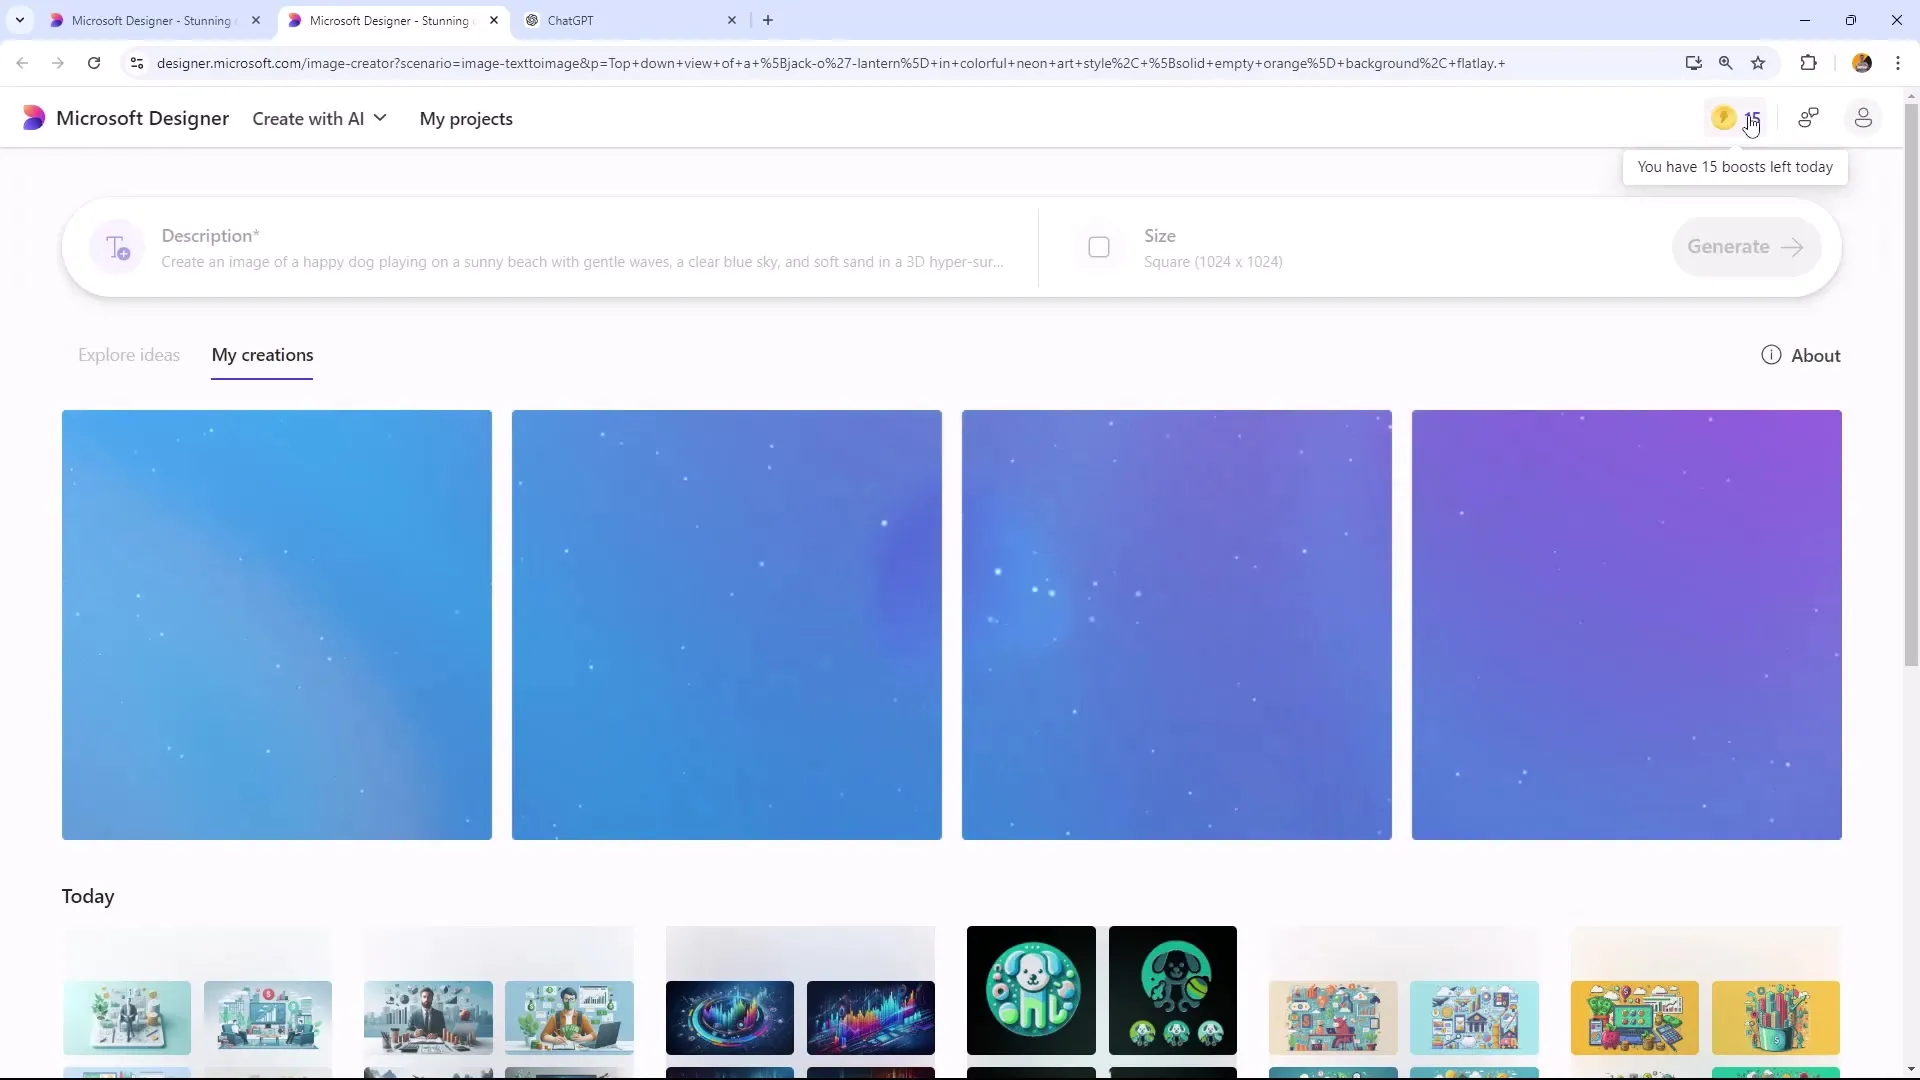
8. Review and Select Designs
After generating four different designs, you can review each one and select the one you like best. The design may vary, so don't be surprised if the results look different.
9. Download and Further Processing
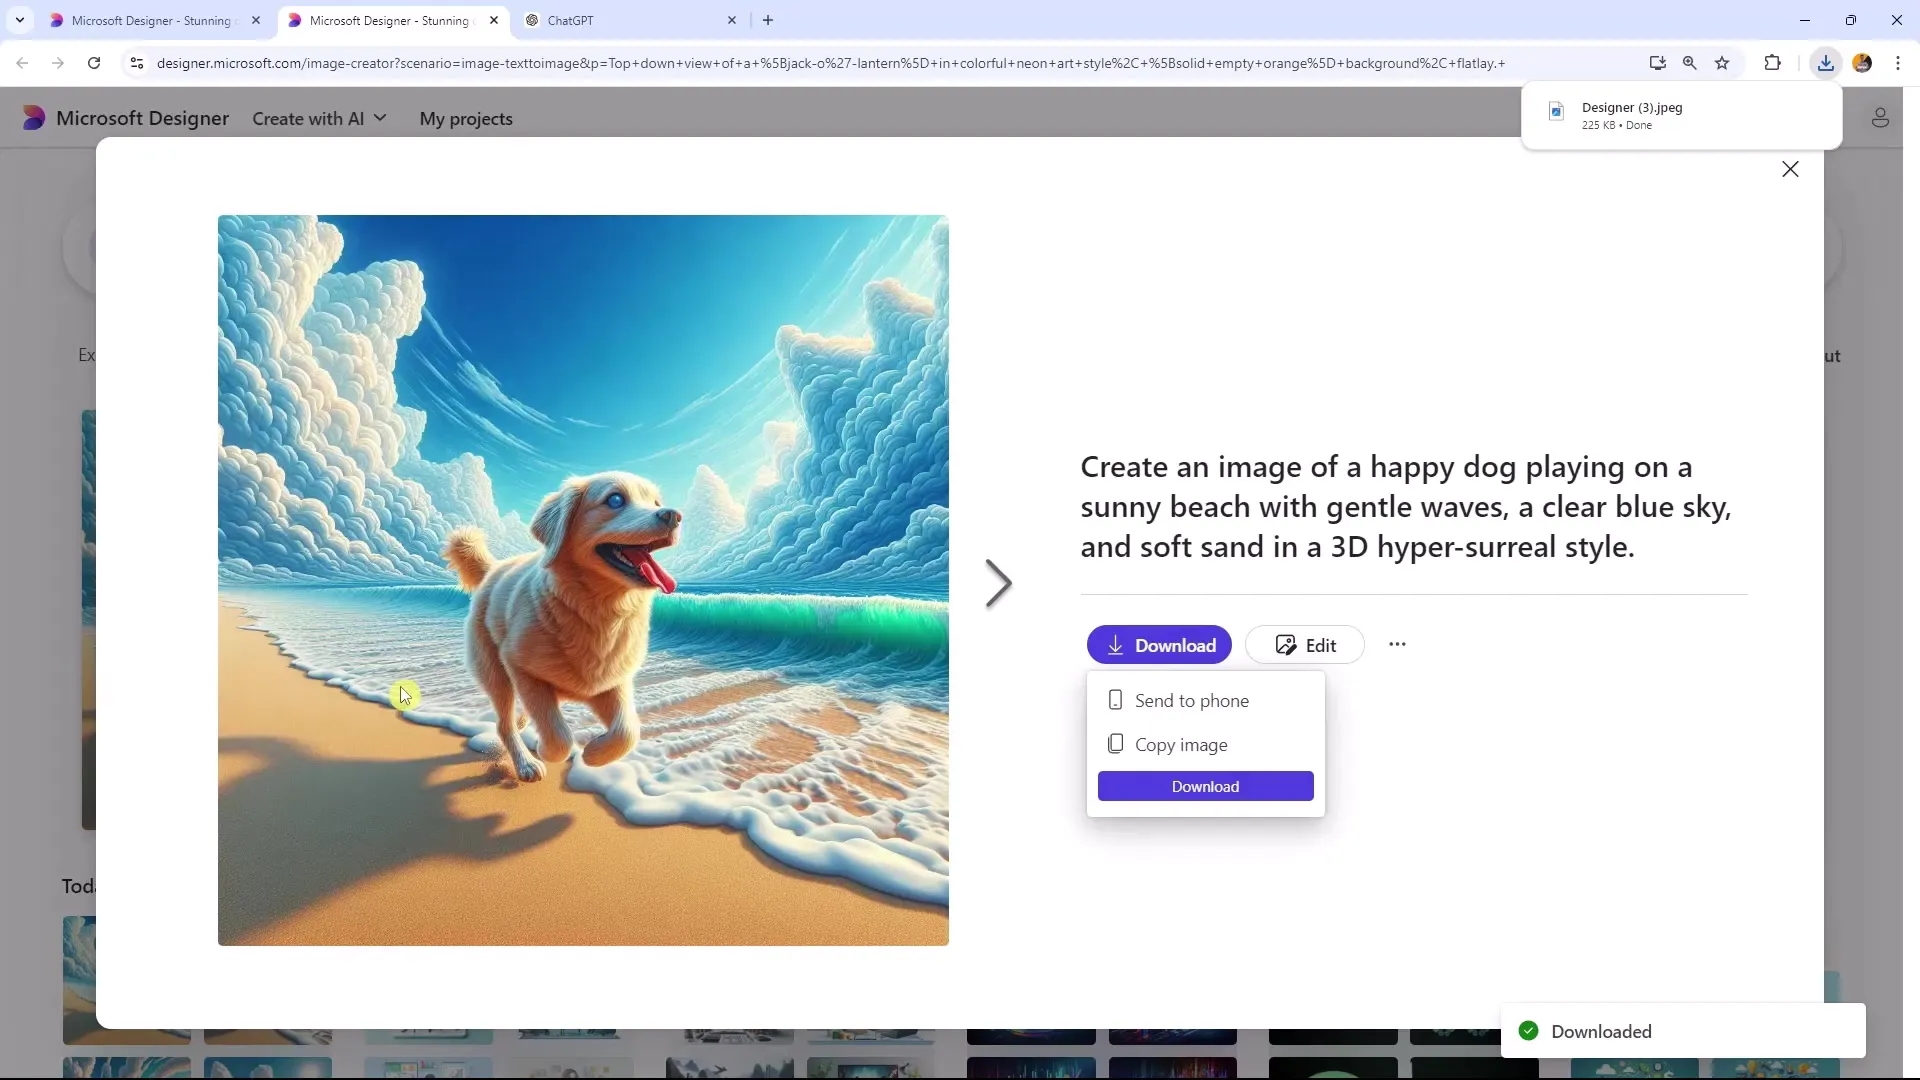
Once you have chosen the design you like, you can download it by clicking on the "Download" button. You will then have the option to save it in your desired format.
10. Make changes and fine-tune
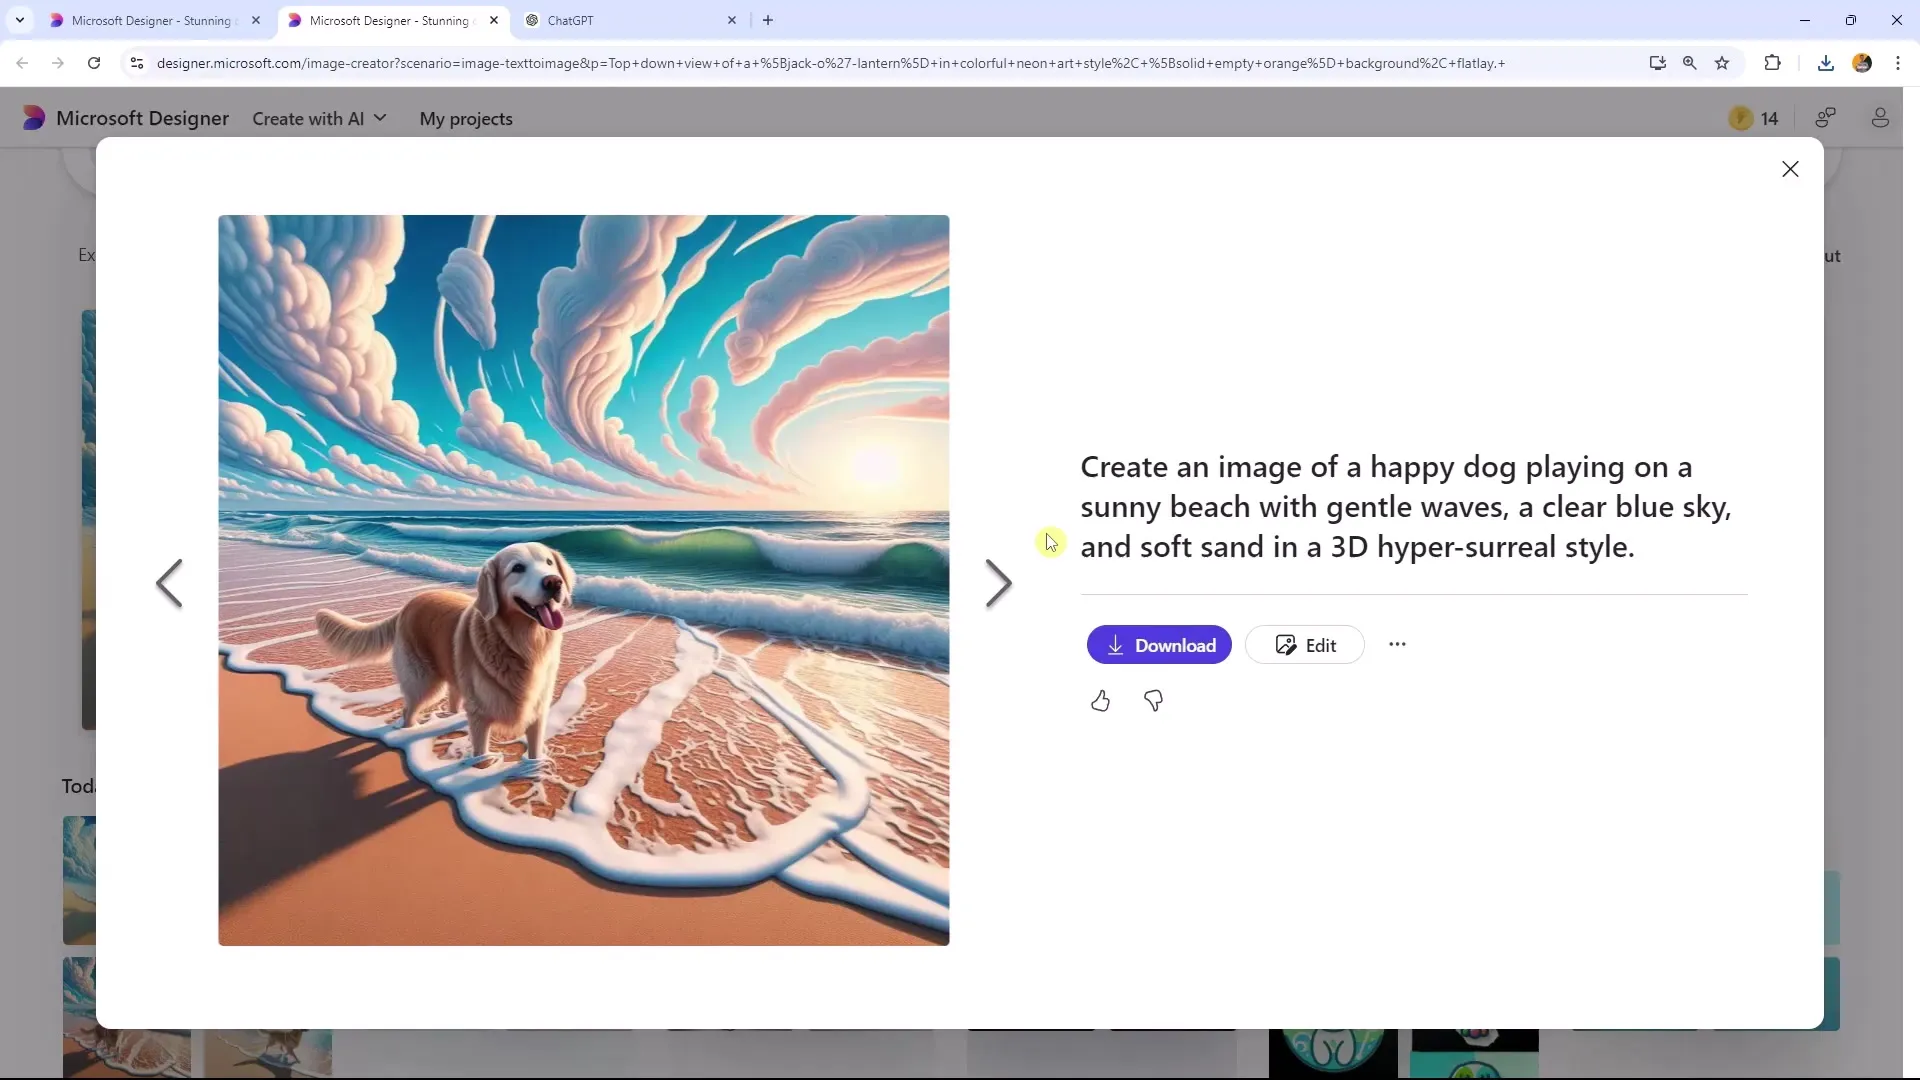
After downloading the image, you can further refine it in your preferred image editing software. Add text, optimize the background, or adjust other elements to tailor the image to your preferences.
Summary
In this guide, you have learned how to create a personalized avatar using Microsoft Designer. You have explored the user interface, created your own prompts, and customized your designs. Experiment with the various options and create the perfect design for your needs!
Frequently Asked Questions
How much does Microsoft Designer cost?Microsoft Designer is free to use, but there is also a paid subscription with additional features.
How many boosts can I use per day?You have 15 boosts available daily to use for creating or modifying designs.
Can I use my own templates?Yes, you can work with your own prompts and customize your designs individually.
Is there a desktop version of Microsoft Designer?Yes, you can download the desktop version if you have the Pro subscription.
What format can I choose for the download?You can save the design in various formats according to your needs.
