In this guide, you will learn how to easily remove backgrounds from images using Microsoft Designer. The powerful AI tools offer you numerous possibilities to edit your images and replace or remove the background. Whether you want to create a profile picture or prepare an image for a presentation, using the AI tools is uncomplicated and effective.
Key Insights: The main functions of Microsoft Designer include removing backgrounds, restyling images, and adding frames. These AI-powered features make image editing quick and easy, without requiring in-depth technical knowledge.
Step-by-Step Guide
Step 1: Access Microsoft Designer and Upload Image
Open Microsoft Designer and go to the "Edit with AI" tab to start editing the image. Here, you can upload a new image or select an existing one to remove the background. To upload an image, simply click on the corresponding button.
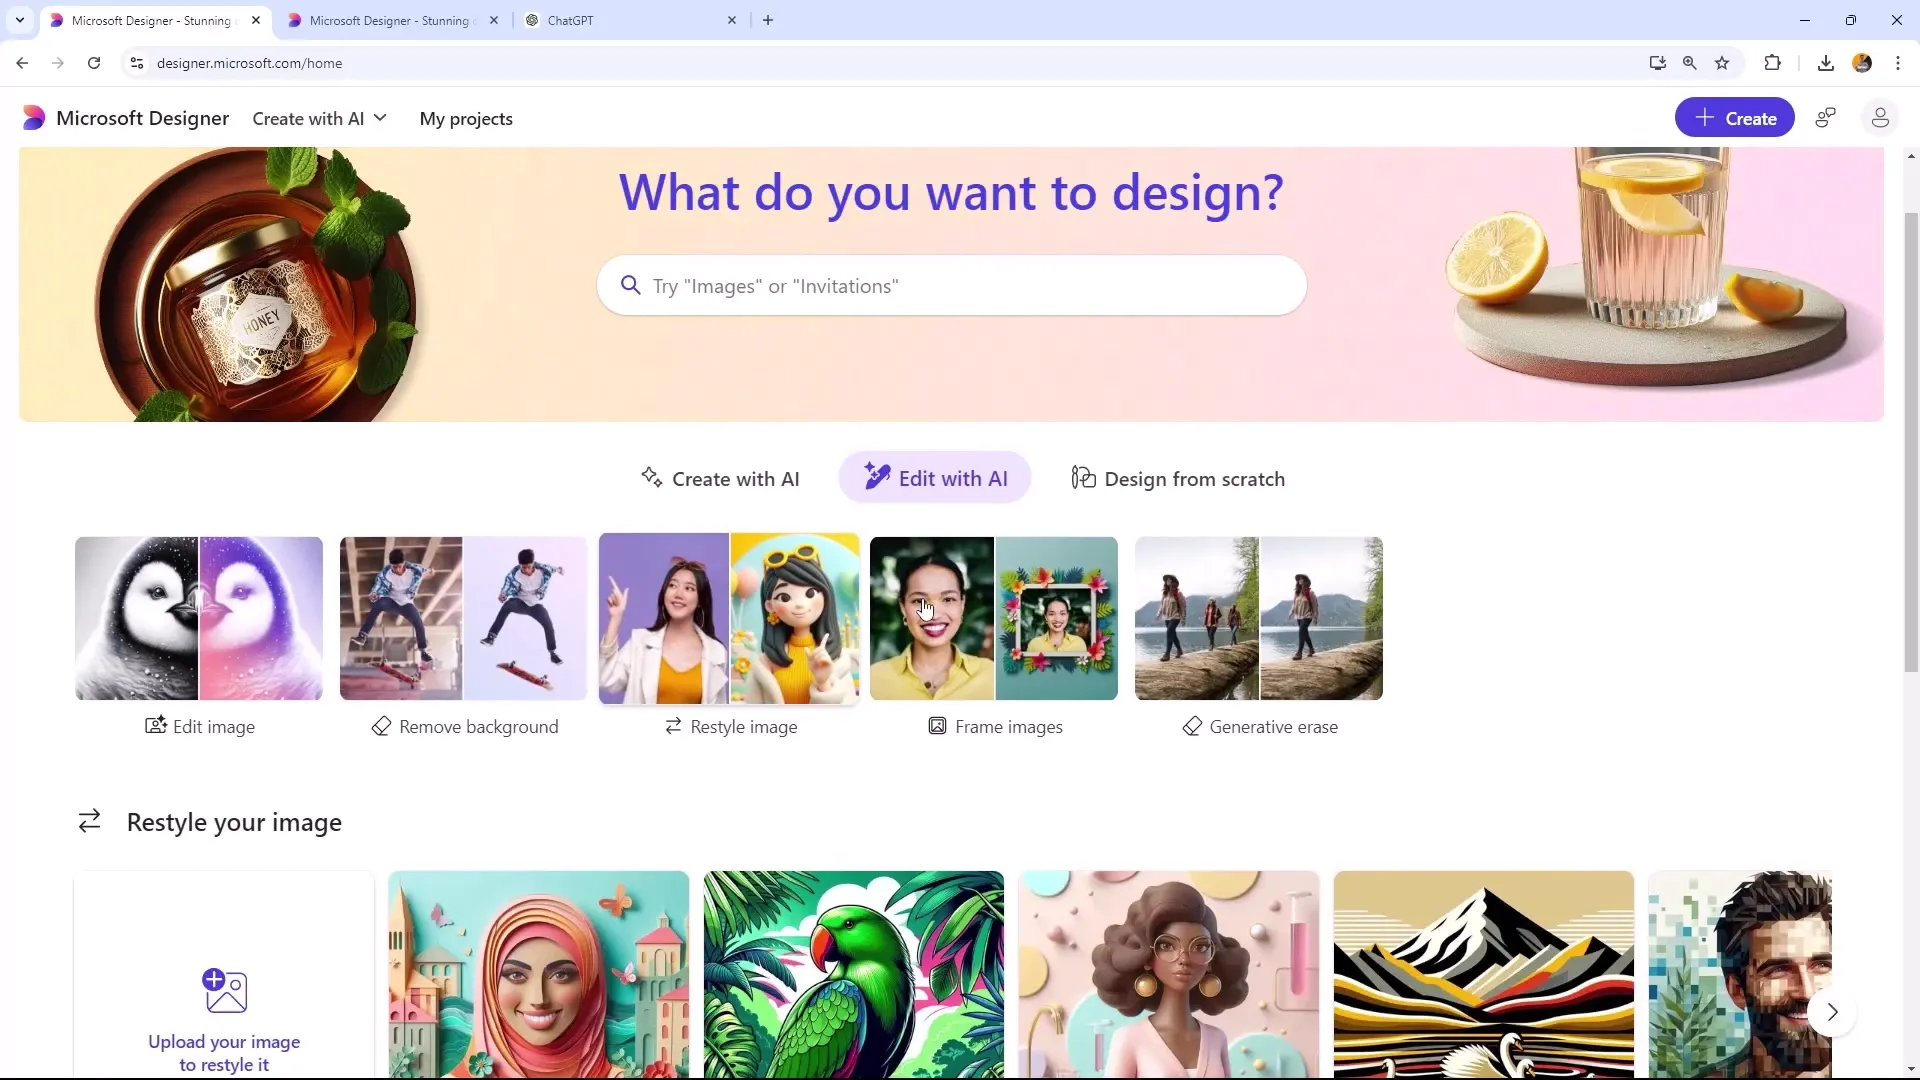
Step 2: Create a New Image
For our practice purposes, you can create a new image. Choose the "Images" option and select an appealing template that matches your desired aesthetic. Given the current autumnal themes, you can choose an image that fits this theme.
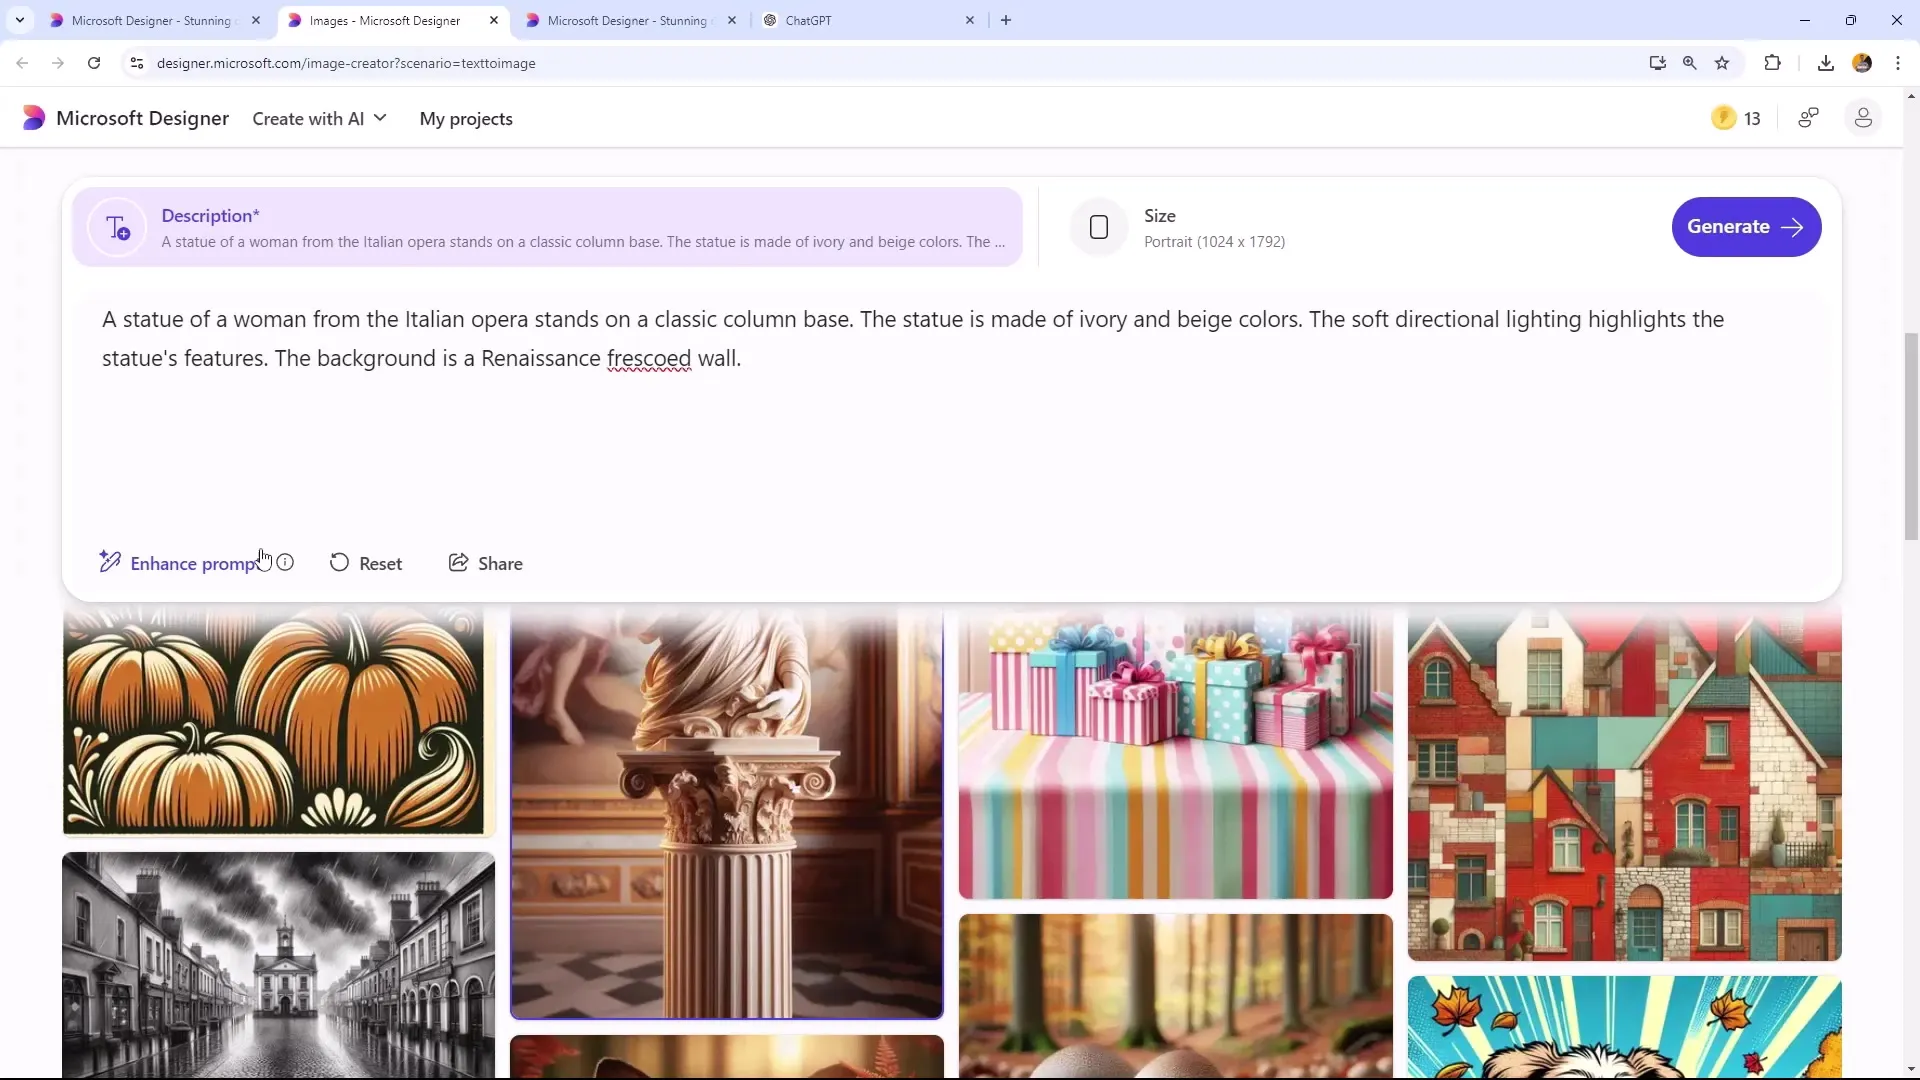
Step 3: Adjust the Image Content
Edit the image using the input fields. You can set the description to "no text" or make other adjustments to ensure that the background is suitable for removal. The AI Designer uses your inputs to optimize the image.
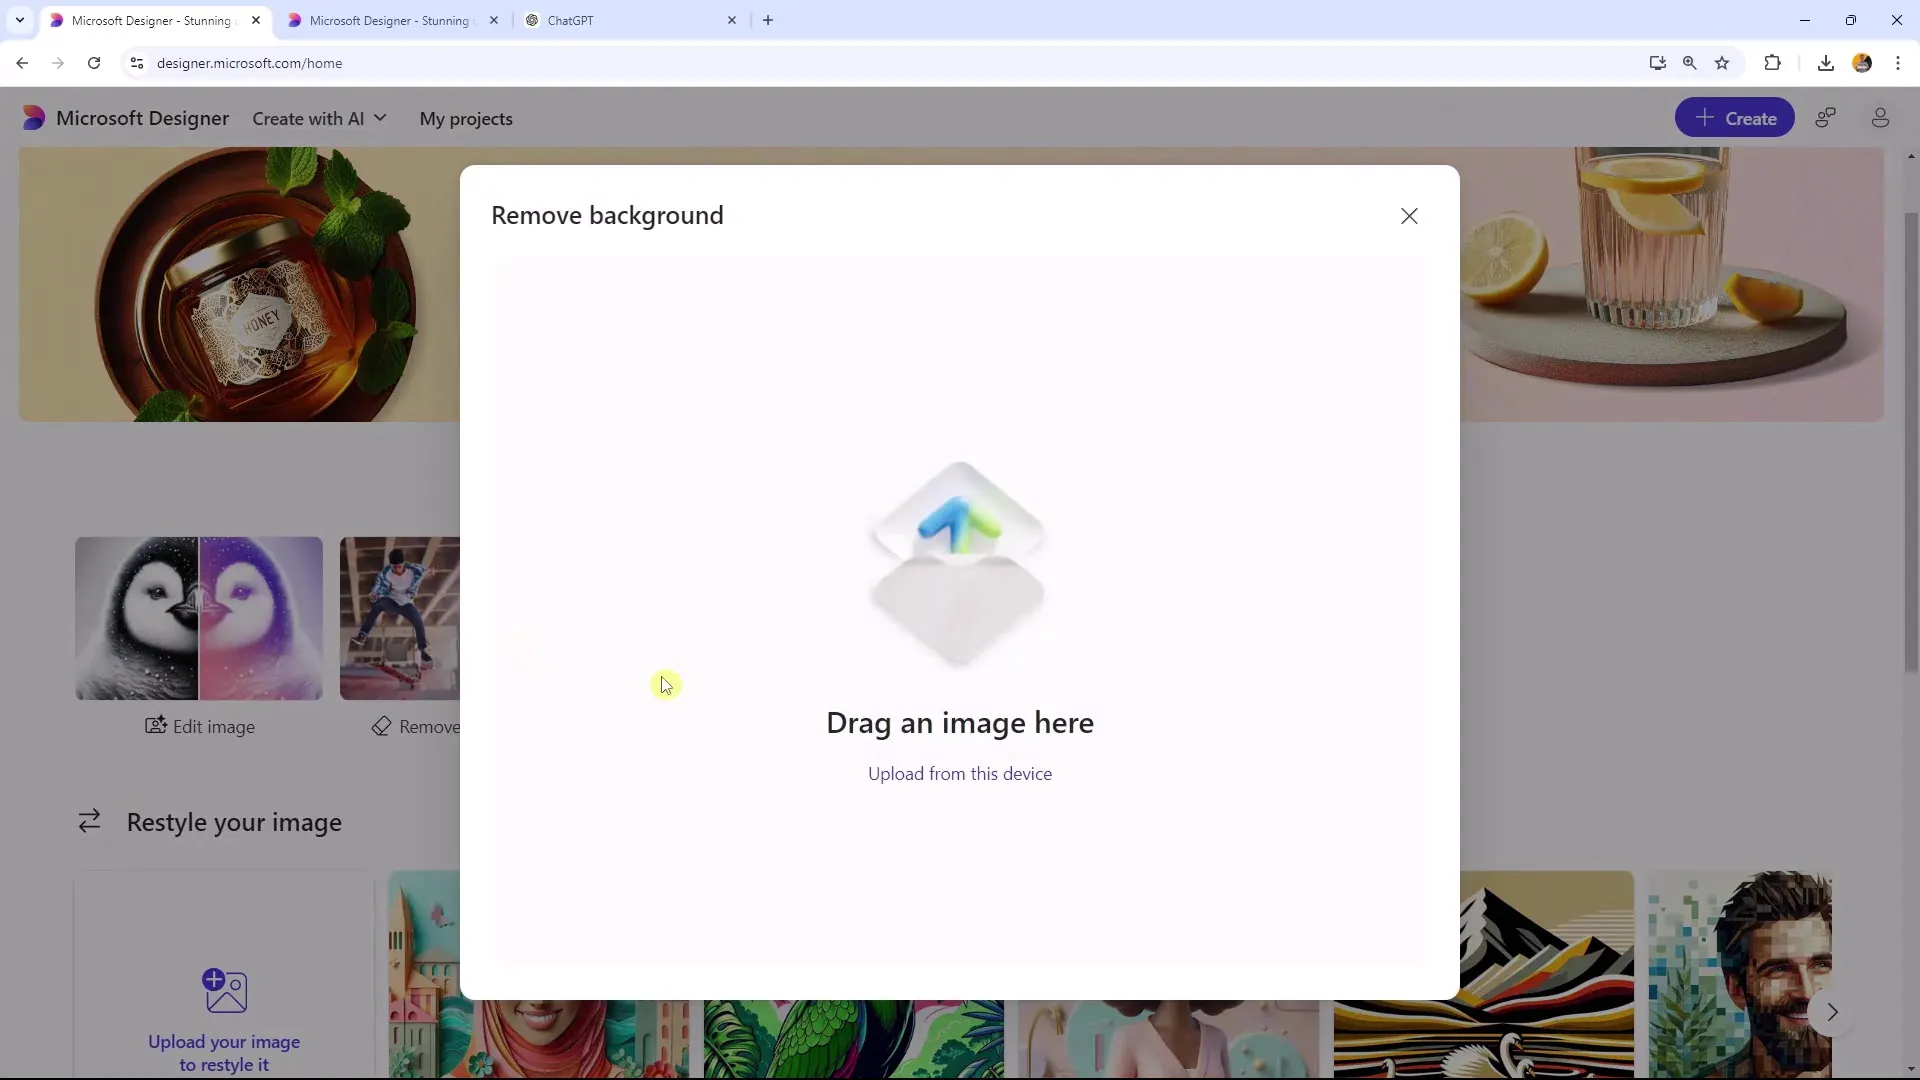
Step 4: Initiate Background Removal
Once the image is created, select the "Remove Background" option. This is a simple click on the button to automatically remove the background. Alternatively, you can also manually select the elements or components of the image.
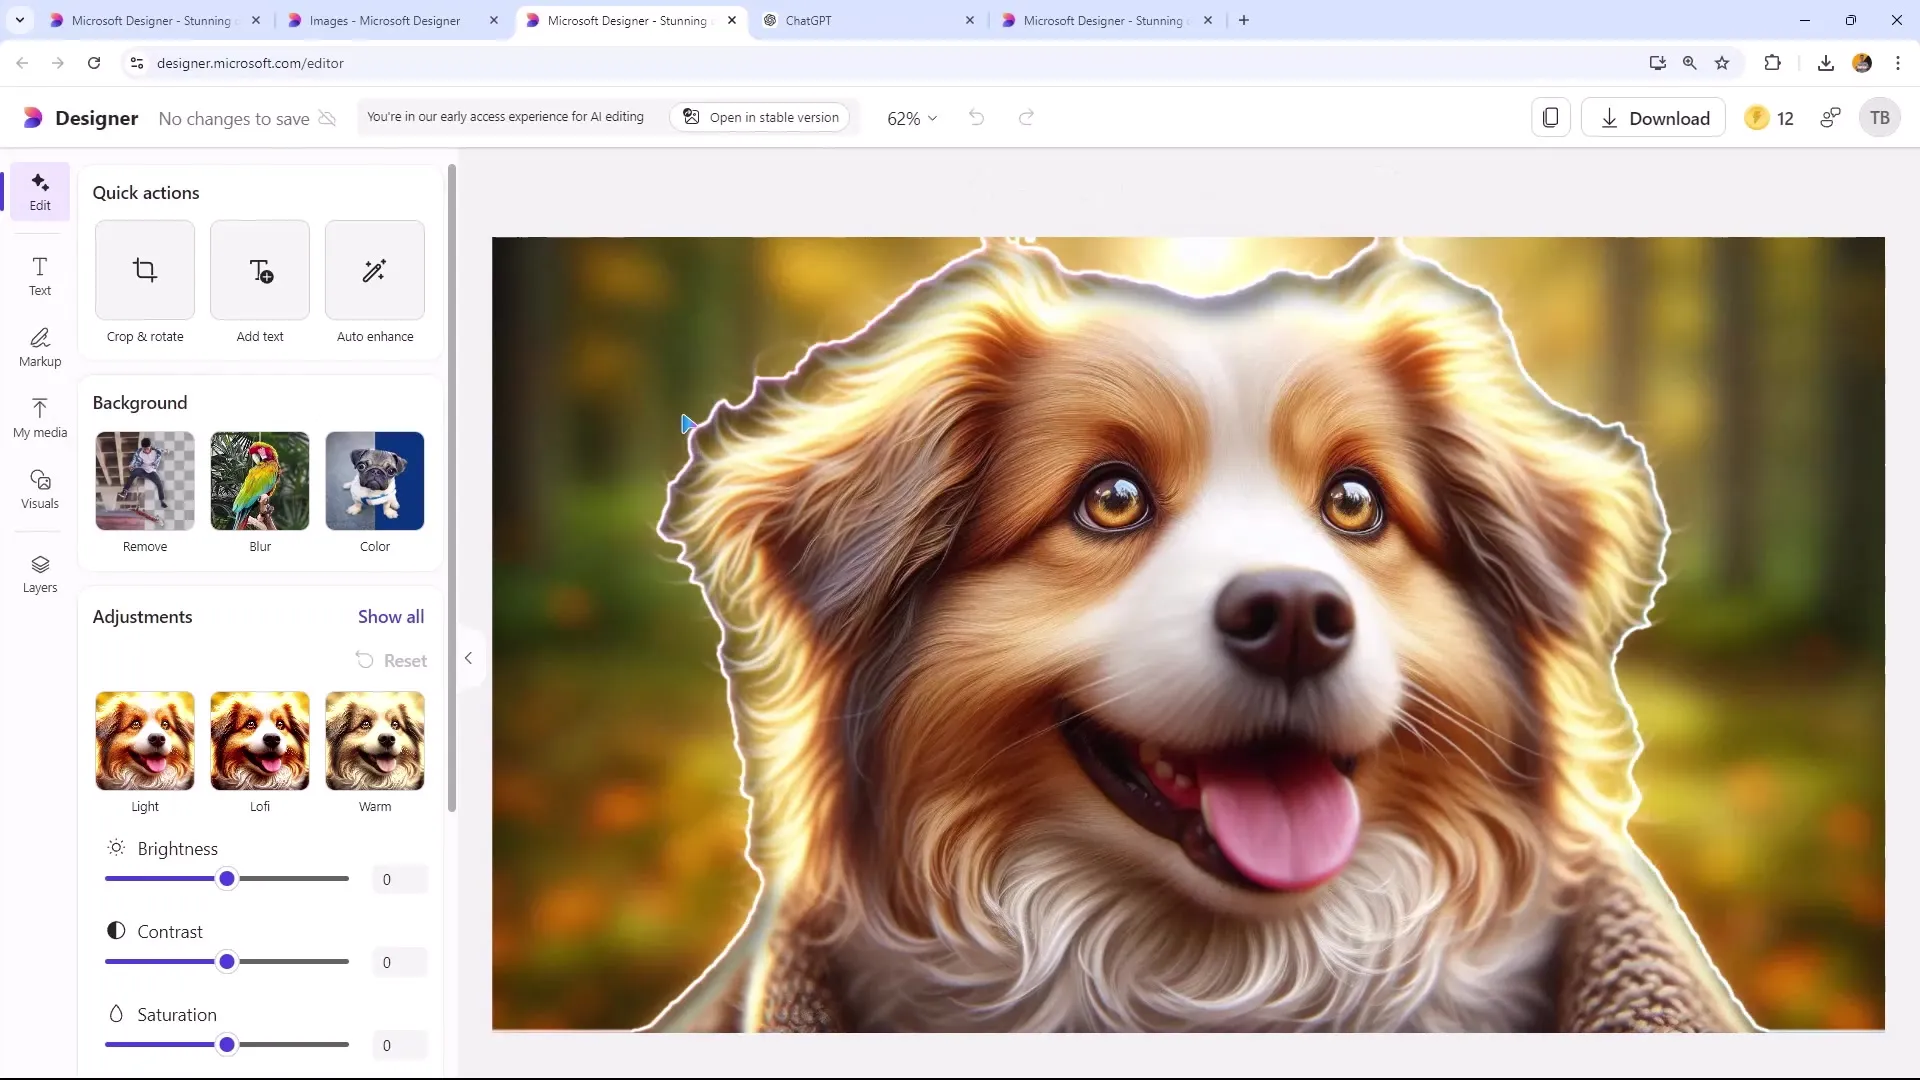
Step 5: Download the Edited Images
After removing the background, you can download your image. Make sure to download the image in the correct format – choose PNG for high-quality images or JPG for efficient web use. Click on "Download" and select the desired format.
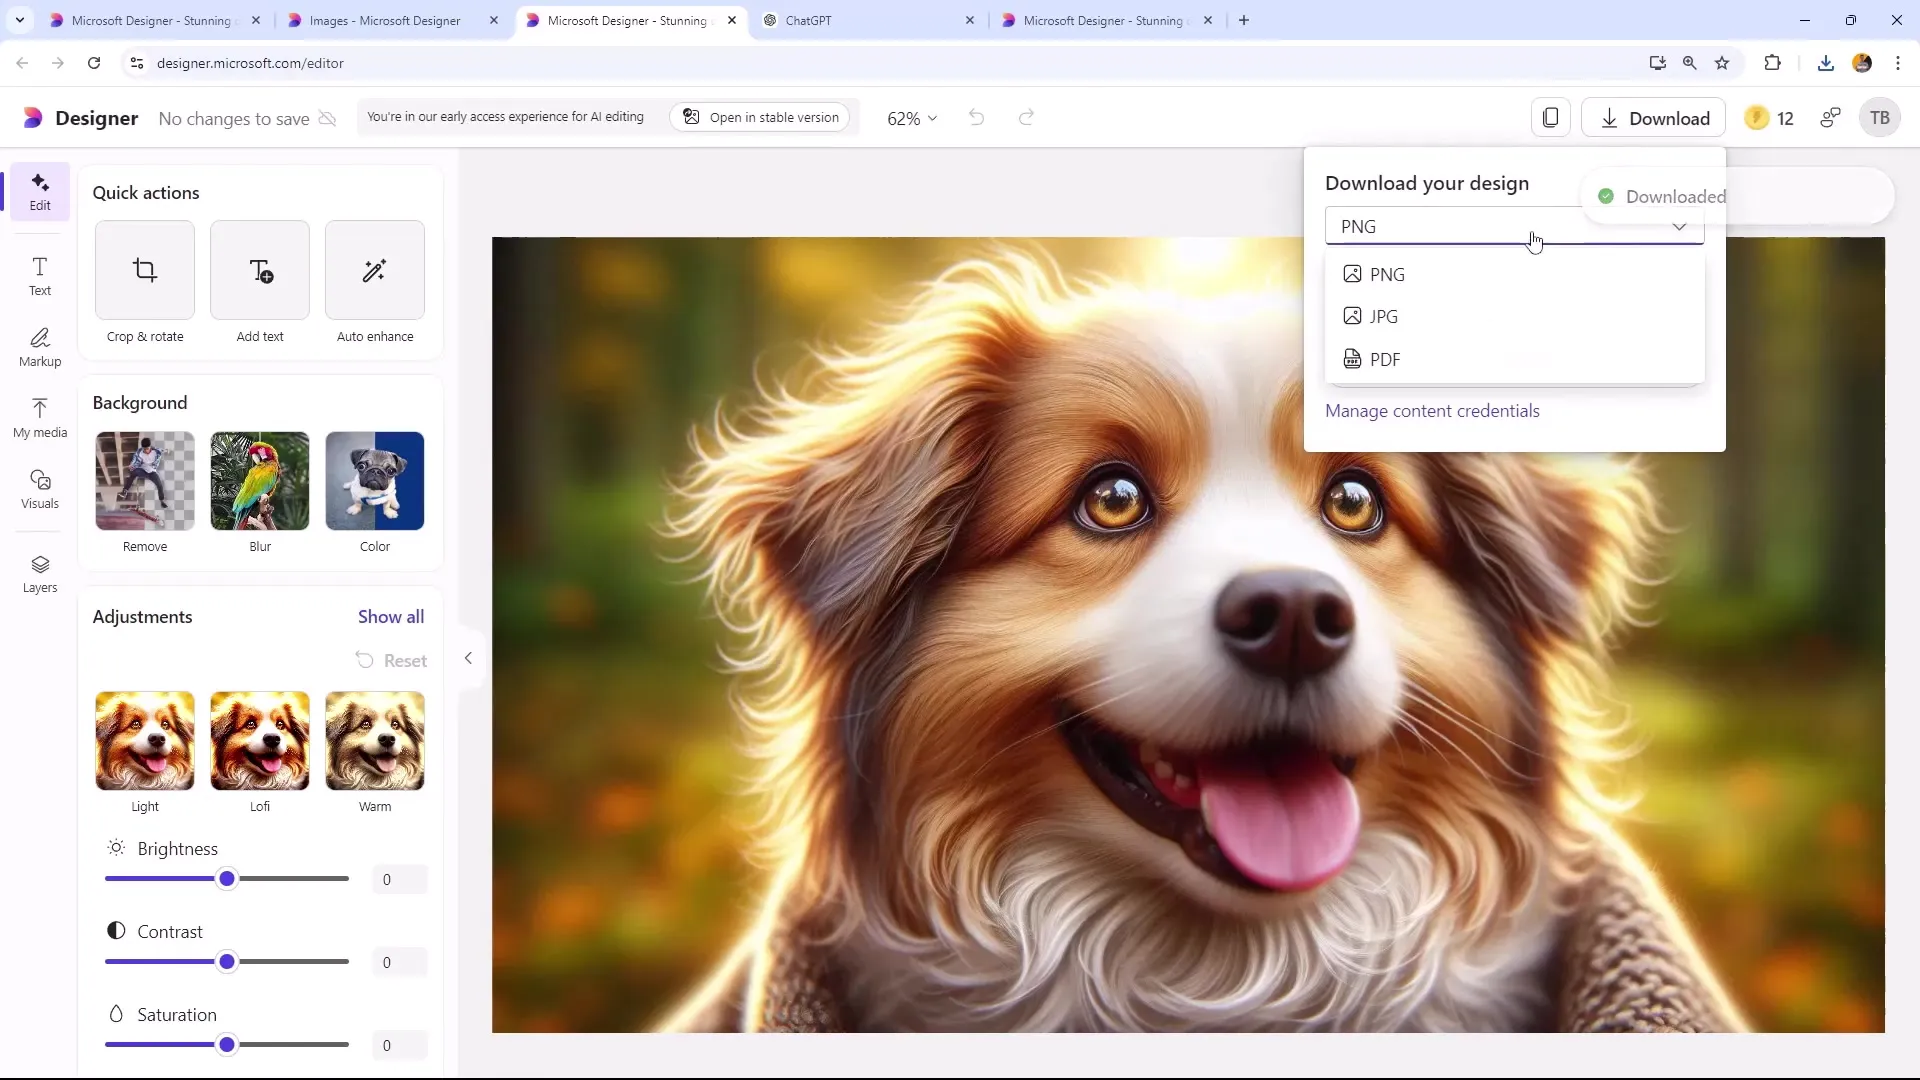
Step 6: Add a New Background to the Image
If you want to combine the image with a new background, you can also do this in the editor. Add a new background or choose a solid color background. This allows you to see how your image looks in the new context.
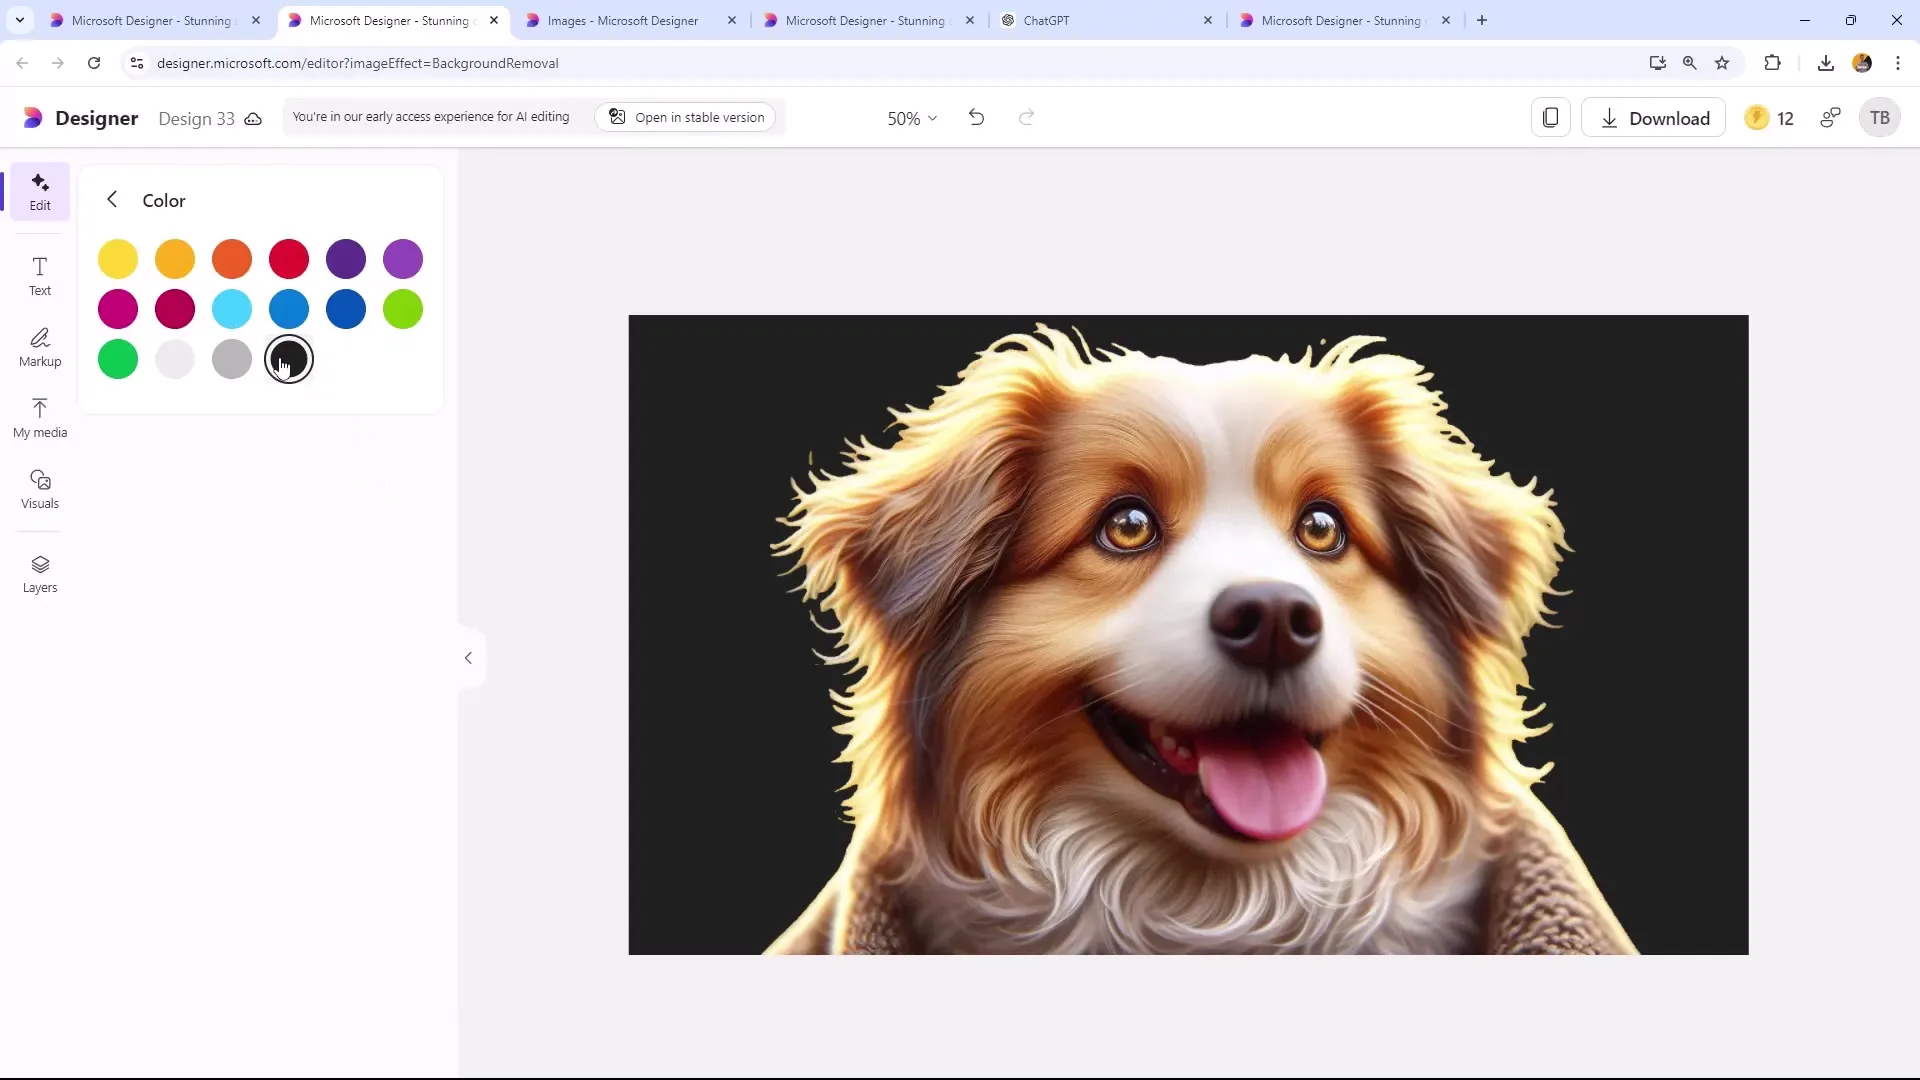
Step 7: Adjustments and Finishing Touches
If you're not completely satisfied with the result, you can make further adjustments. You may want to delete details from the image or make other changes. Use the toolbar for various editing options.
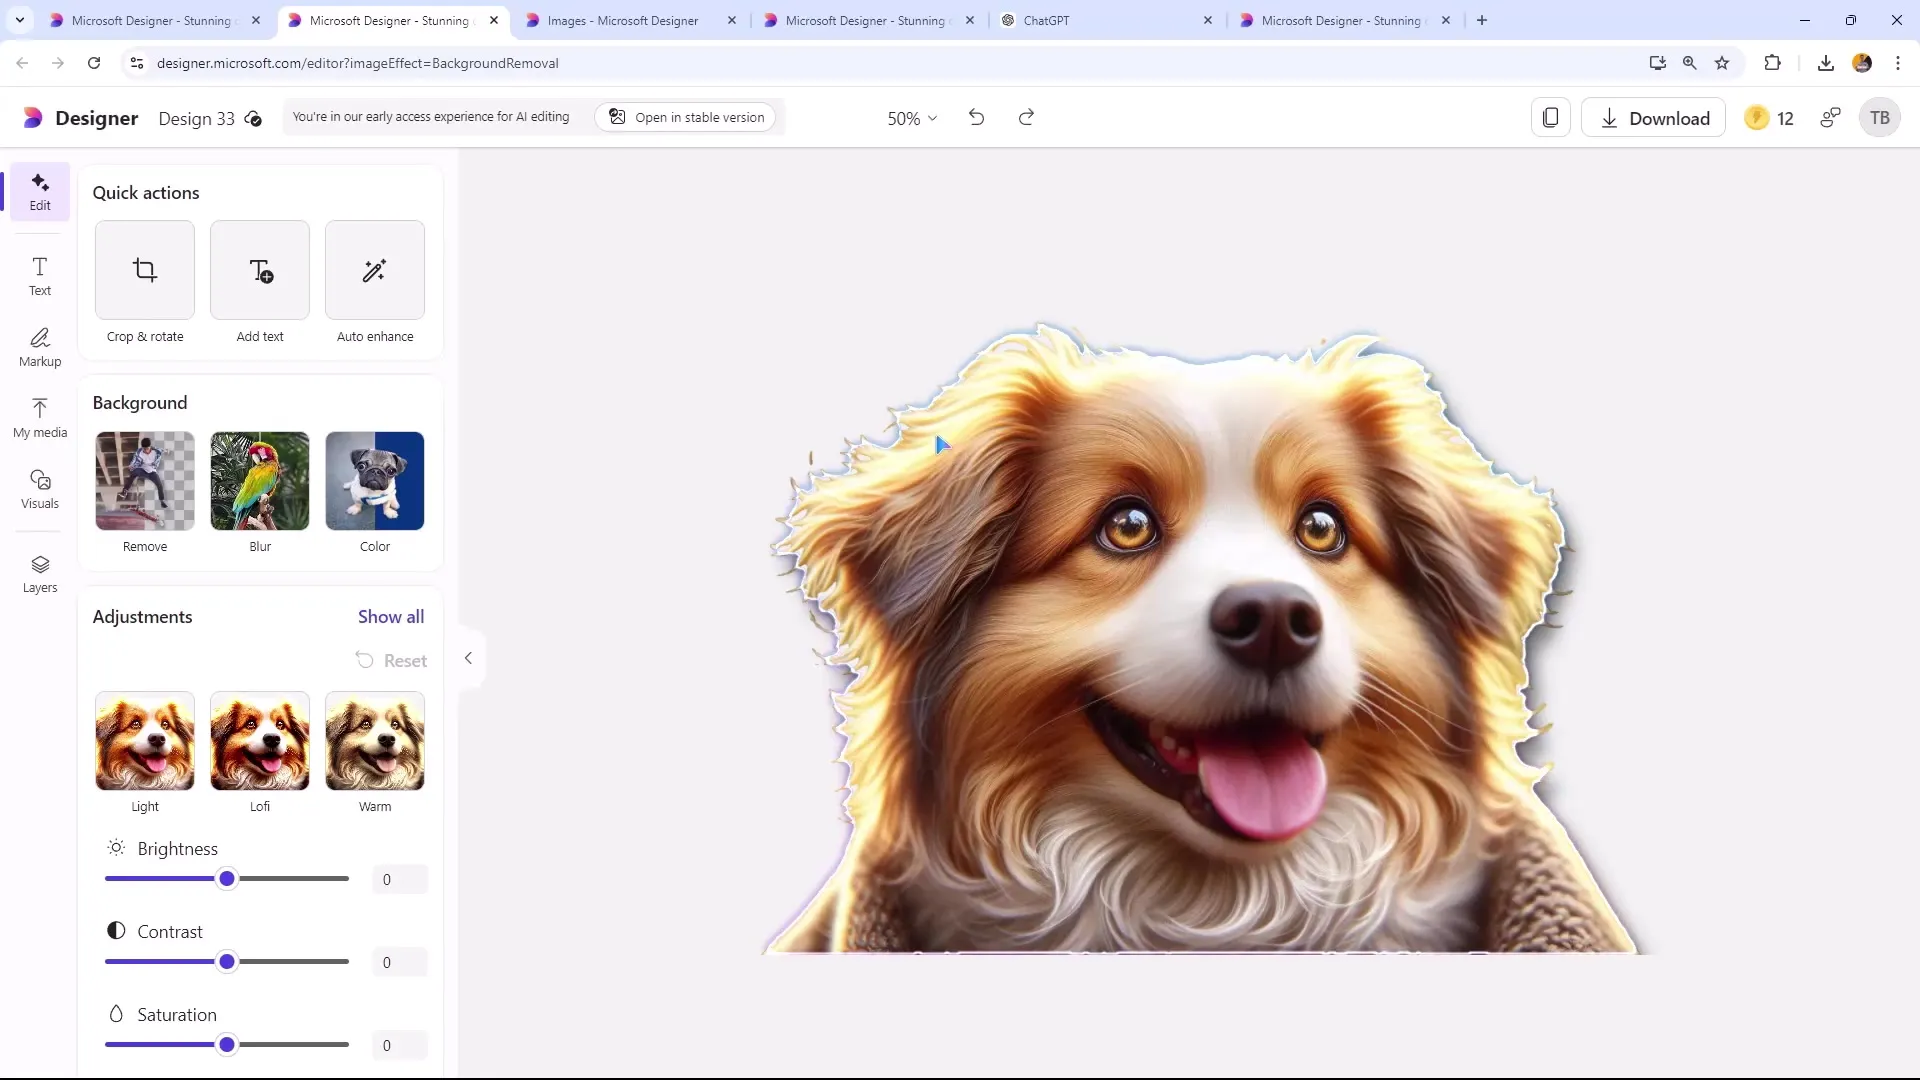
Step 8: Using the "Open in Stable Version" Feature
If you want to access more editing options, click on "Open in Stable Version". This opens an advanced editing interface where you can use additional features to refine the image editing process.
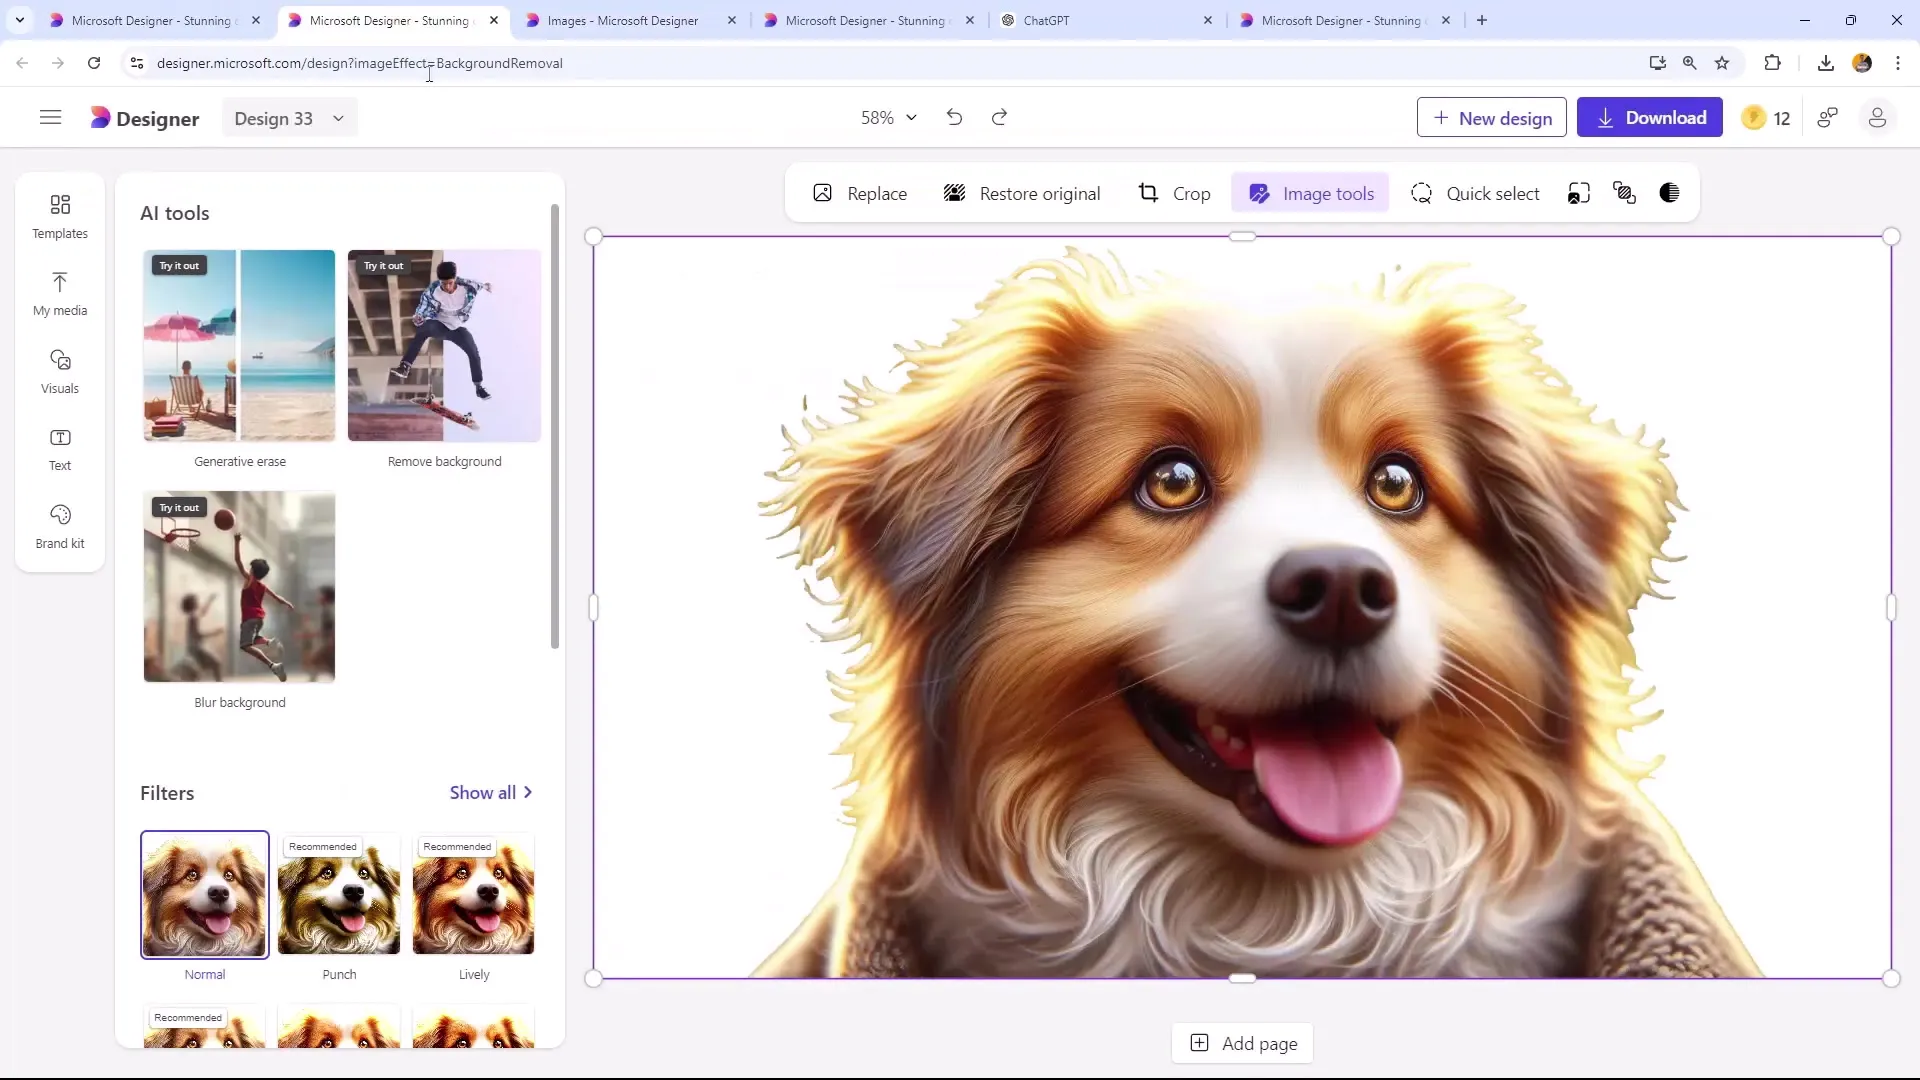
Summary
In this guide, you have learned how to easily remove backgrounds from images and make edits with Microsoft Designer. The AI tools make it easy for you to create outstanding images for any occasion without requiring extensive technical knowledge.
Frequently Asked Questions
How can I remove the background of an image in Microsoft Designer? You can remove the background by selecting the "Remove Background" option in the "Edit with AI" tab.
What happens if the background is complex? If the background is complex, it may be more difficult to remove it precisely. In such cases, it is recommended to make manual adjustments.
What file format should I use for websites? For websites, the JPG format is suitable due to the smaller file size, which allows for faster loading times.
