In this tutorial, you will learn how to creatively frame images with Microsoft Designer. Framing images not only gives them an appealing look but also helps to highlight them better in context. I will show you, using concrete steps and simple instructions, how you can create and customize individual frames and styles for your images through the use of Artificial Intelligence.
Main Takeaways
- Adding frames can enhance the visual impact of your images.
- With Microsoft Designer, you can easily apply different styles and layouts.
- Artificial Intelligence supports the creative process and simplifies image editing.
Step-by-Step Guide
First, you should open Microsoft Designer and navigate the interface. Here, you will have the option to upload images and then frame them.

To add a frame to your image, click on the "Frame" button. Here, you can select your uploaded images and decide how you want to frame them.
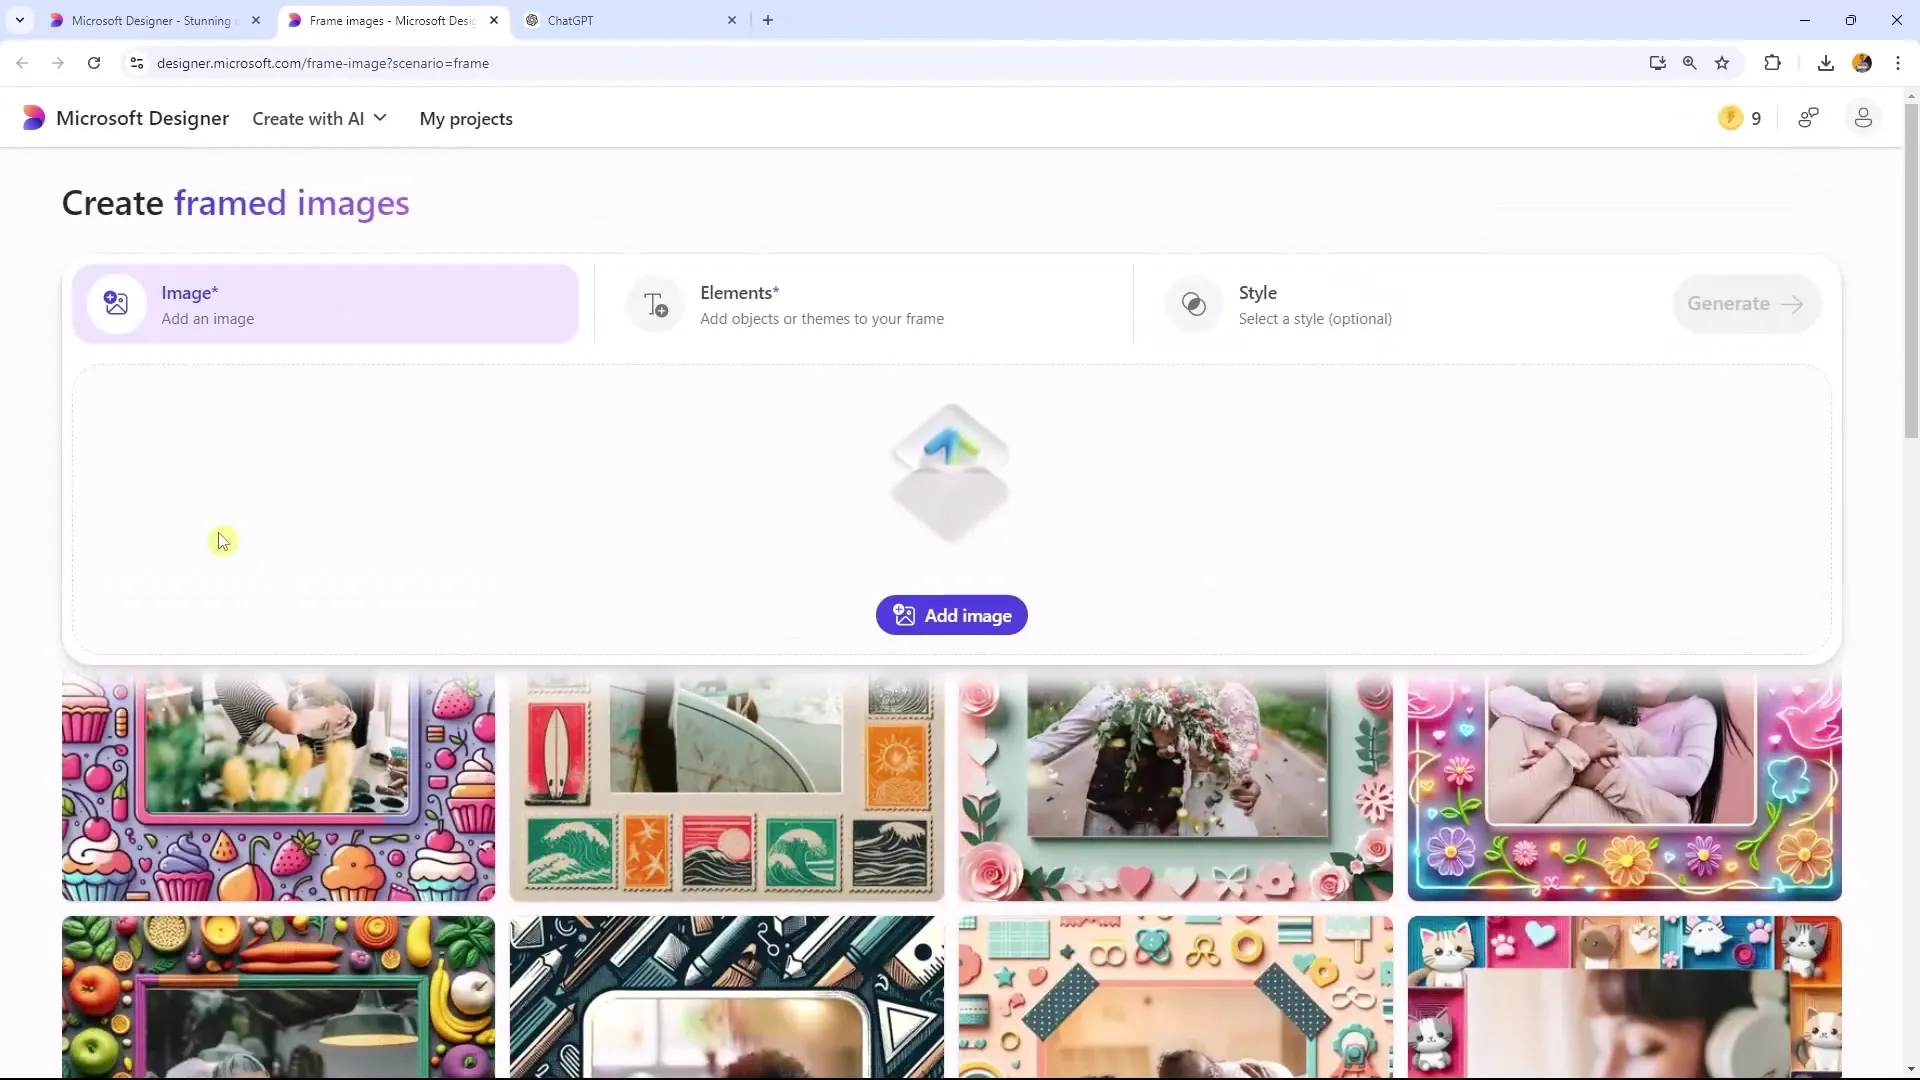
Select an image that you want to frame. Note that you can upload only one image at a time. However, you can easily change the selection later.
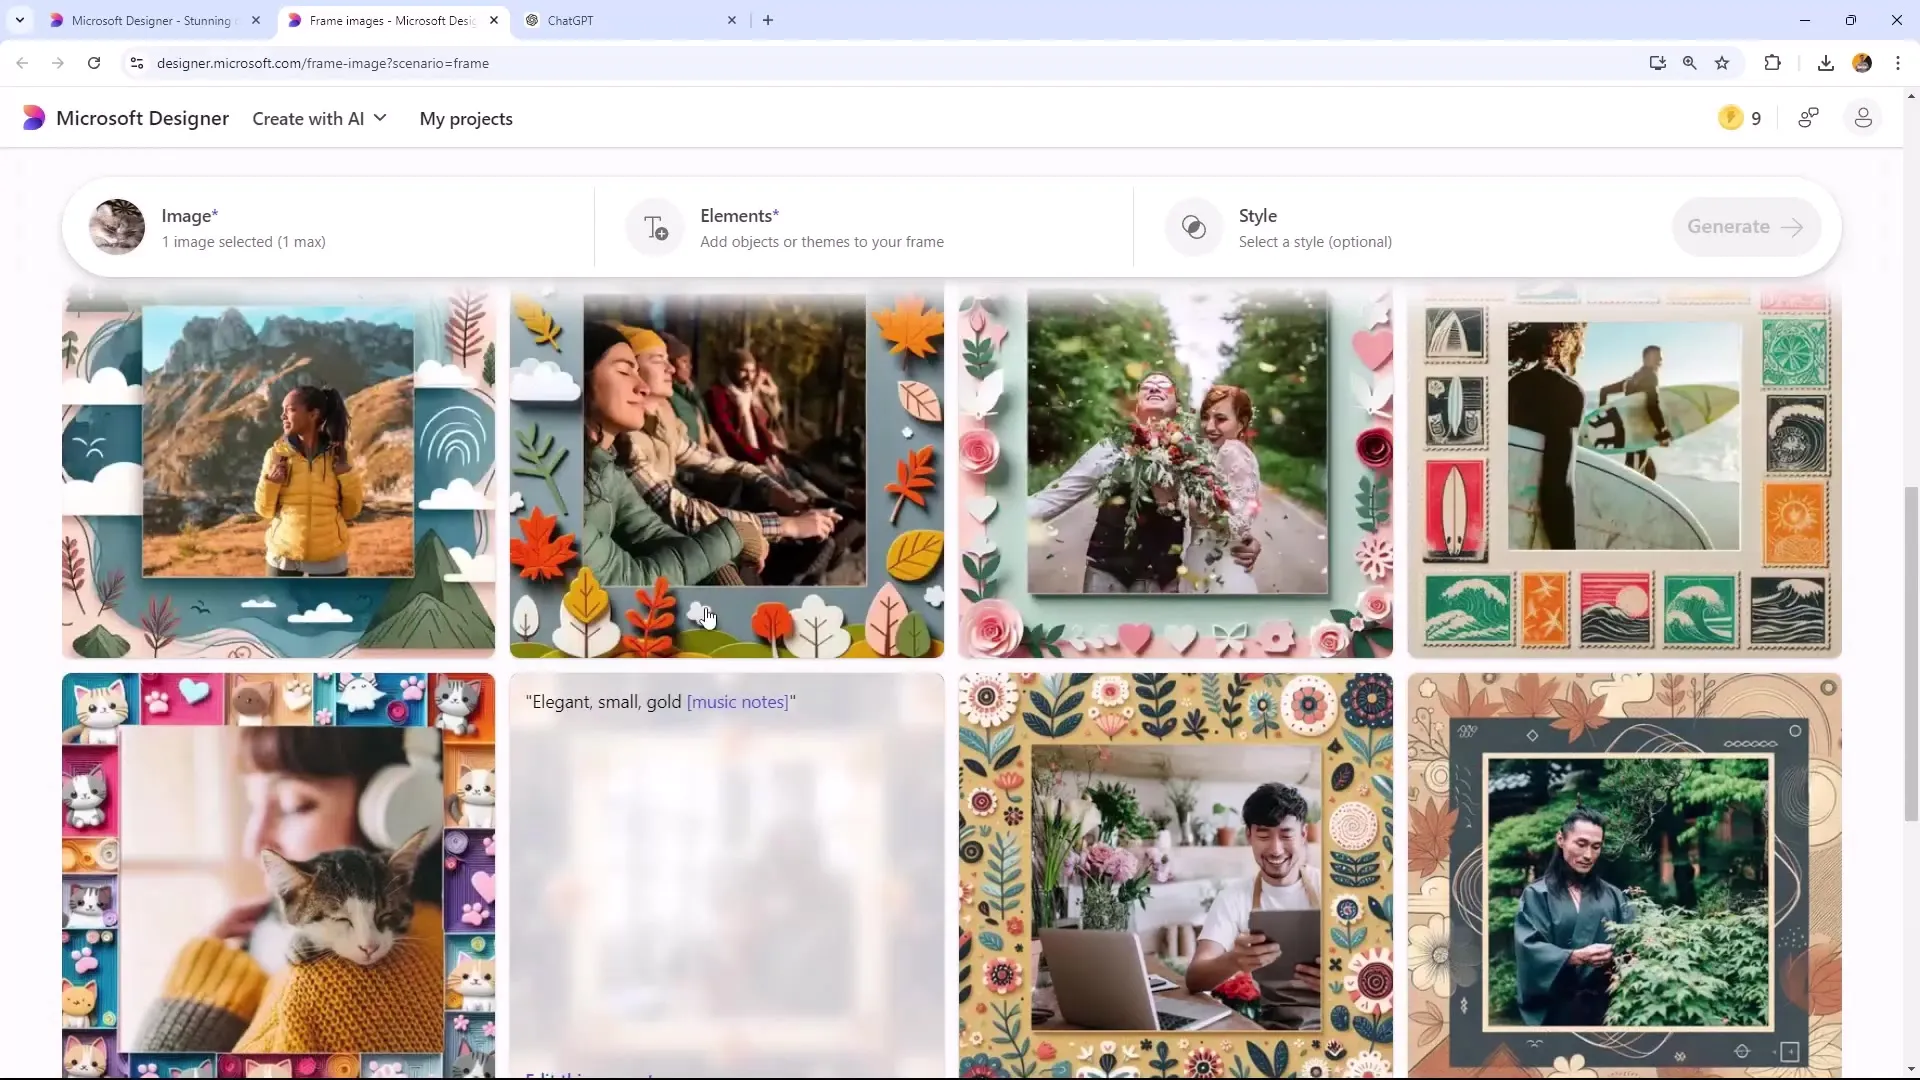
After uploading your image, you will see various featured frame options. These range from festive designs to artistic representations that suit specific occasions. I will show you some examples, such as a frame with cupcakes or one for a baby theme.
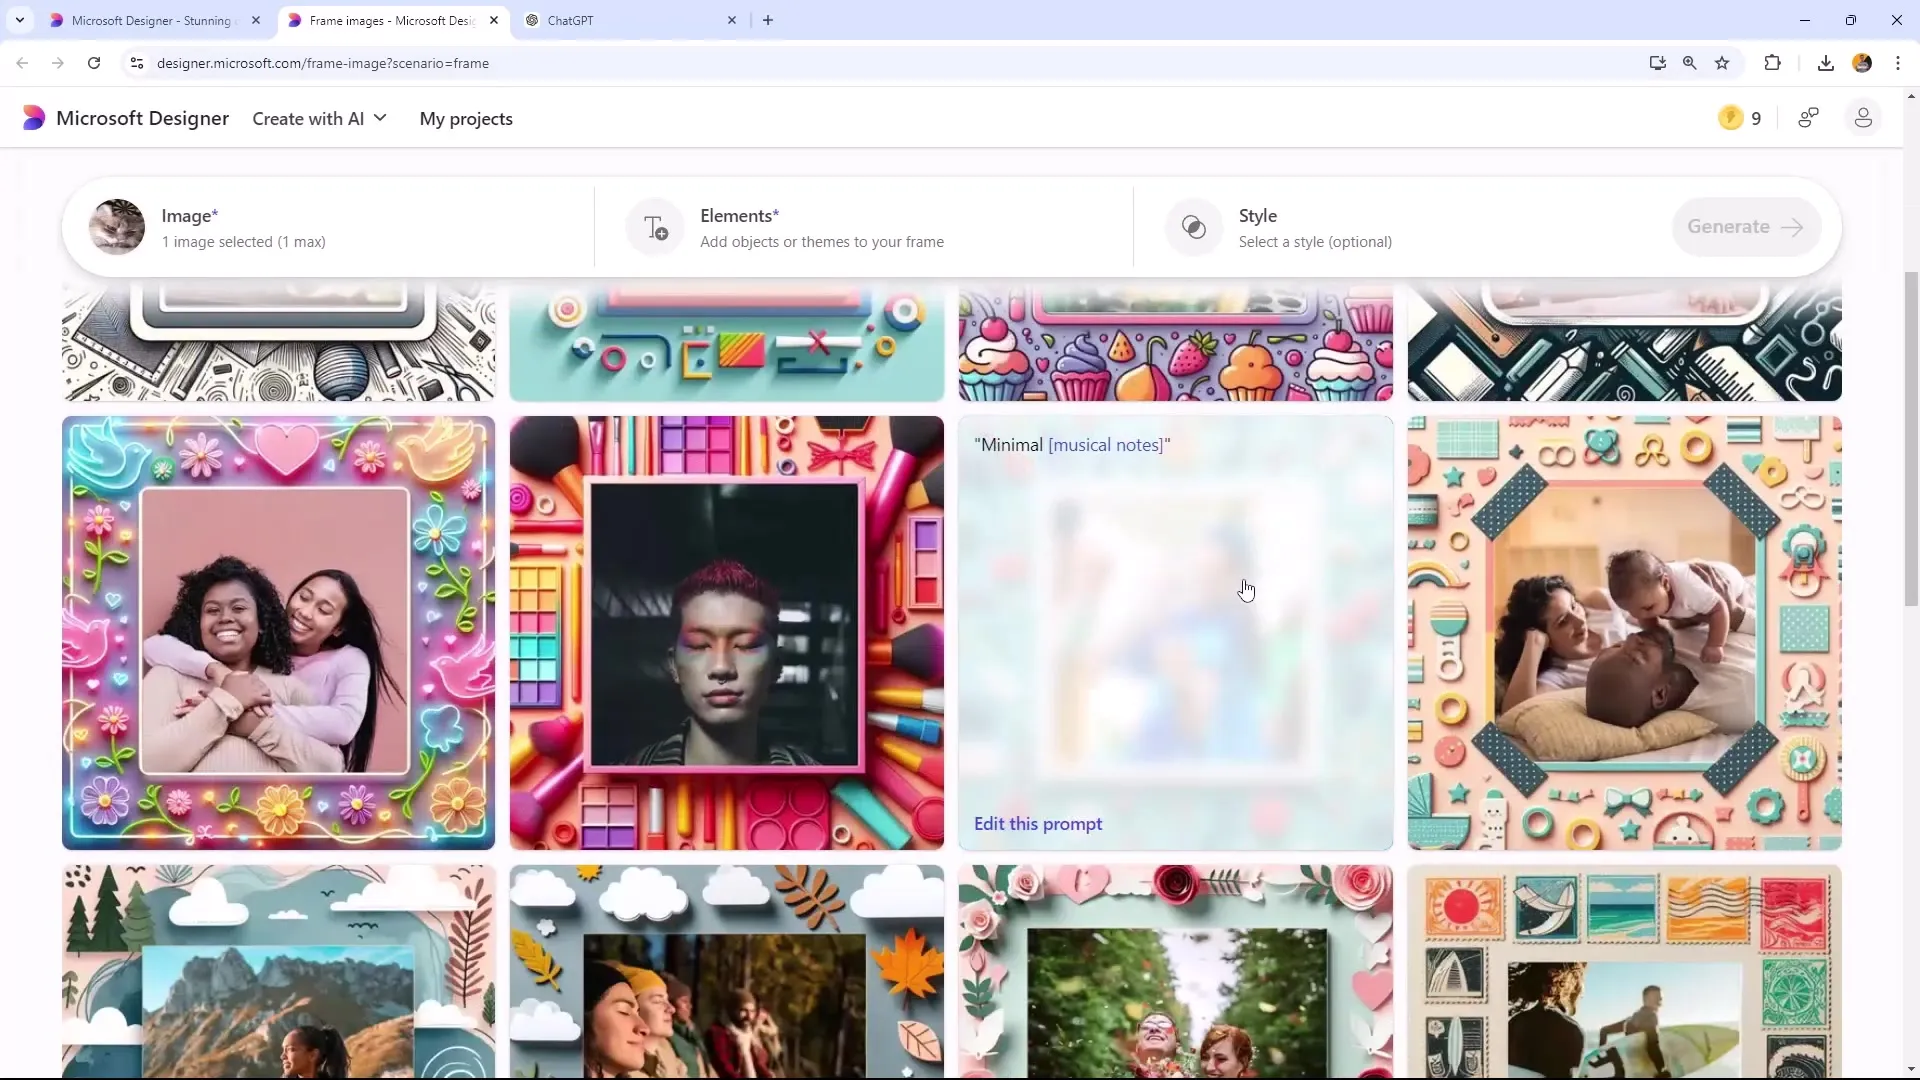
If you are looking for more specific styles, you can also use terms like "Makeup brushes and pets" or "bright colors" to create your desired look. You also have the option to choose autumnal styles.
If you want more control over the design, you can revert to the original view and select the frame type as "blank." This way, you can upload your image without previous elements.
An important step is defining the styles for the frames. Choose from various options like Color Block, Papercraft, or Watercolors.
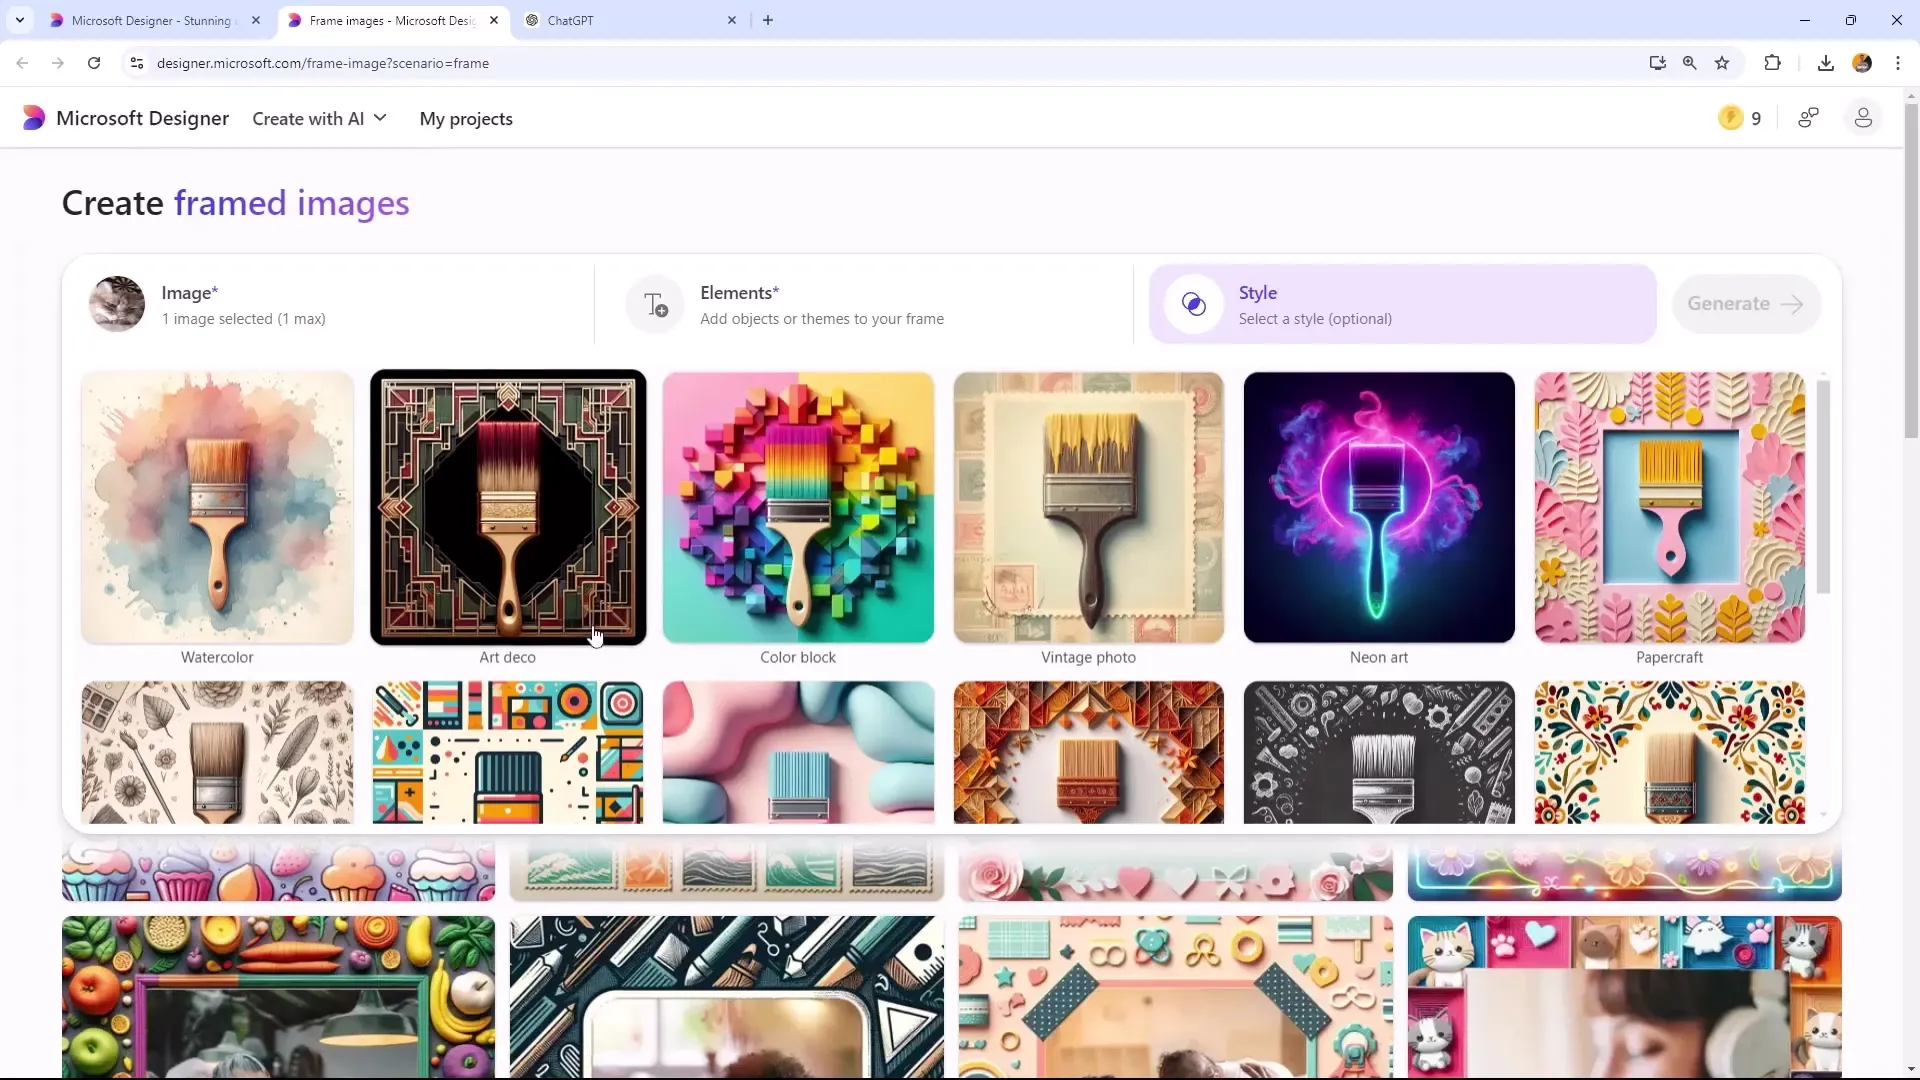
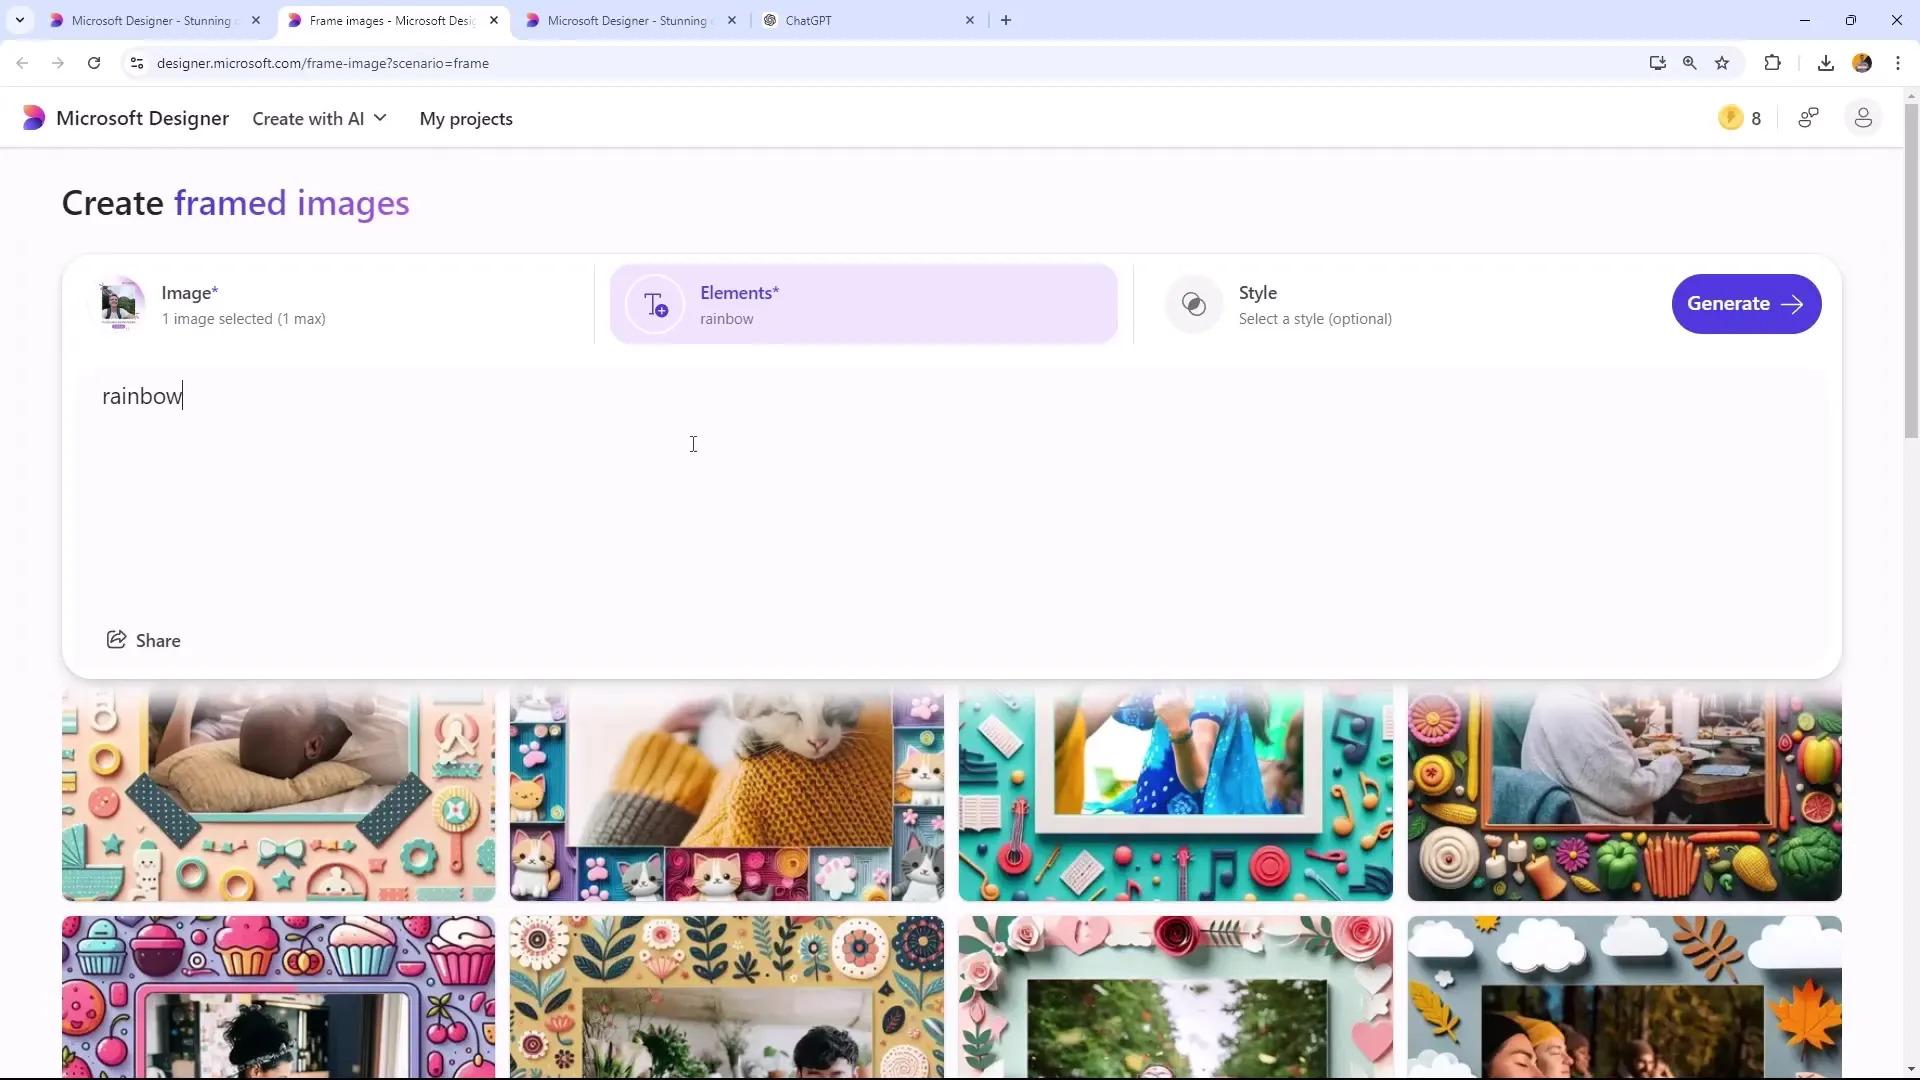
Once you have selected the desired style, click on "generate" to make the transformation of your image. This process may take some time, especially for uploaded images.
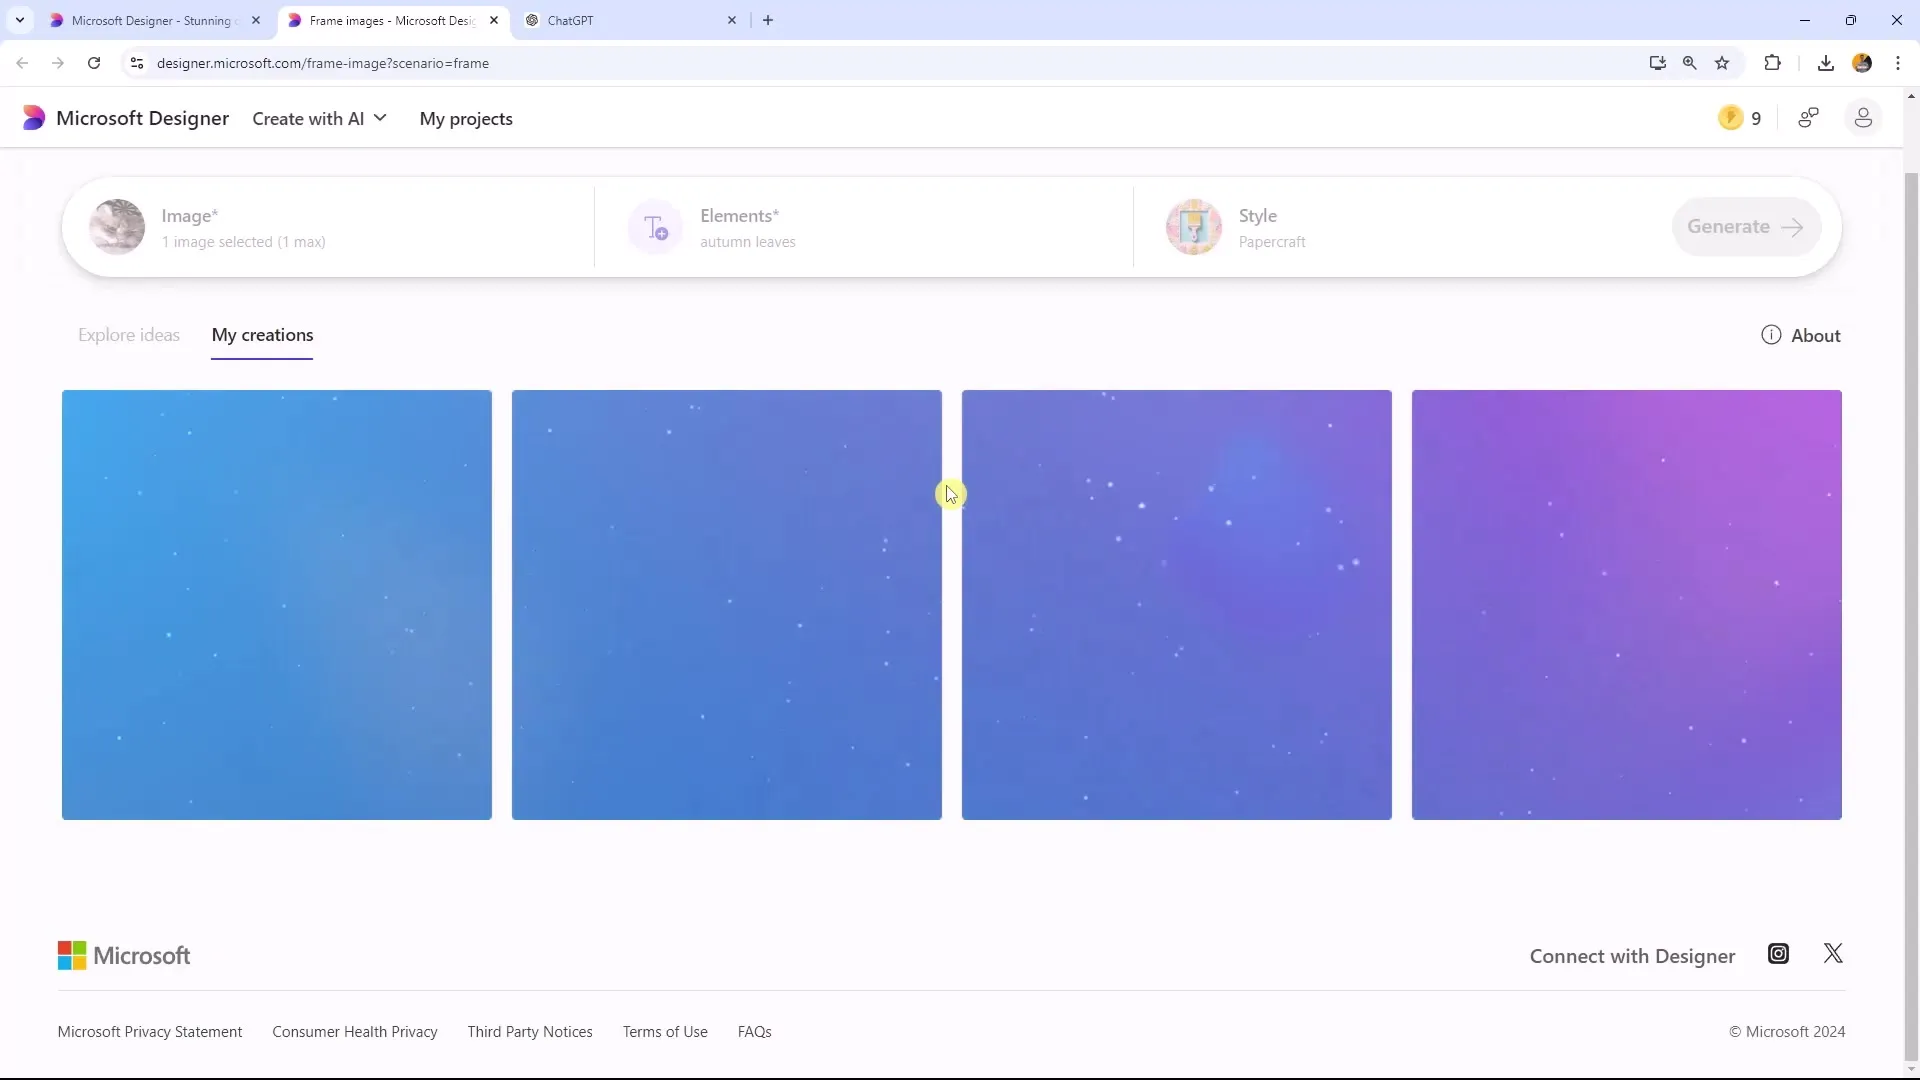
After the transformation is complete, you will have various style options to choose from. You can customize these individually by clicking on "edit."
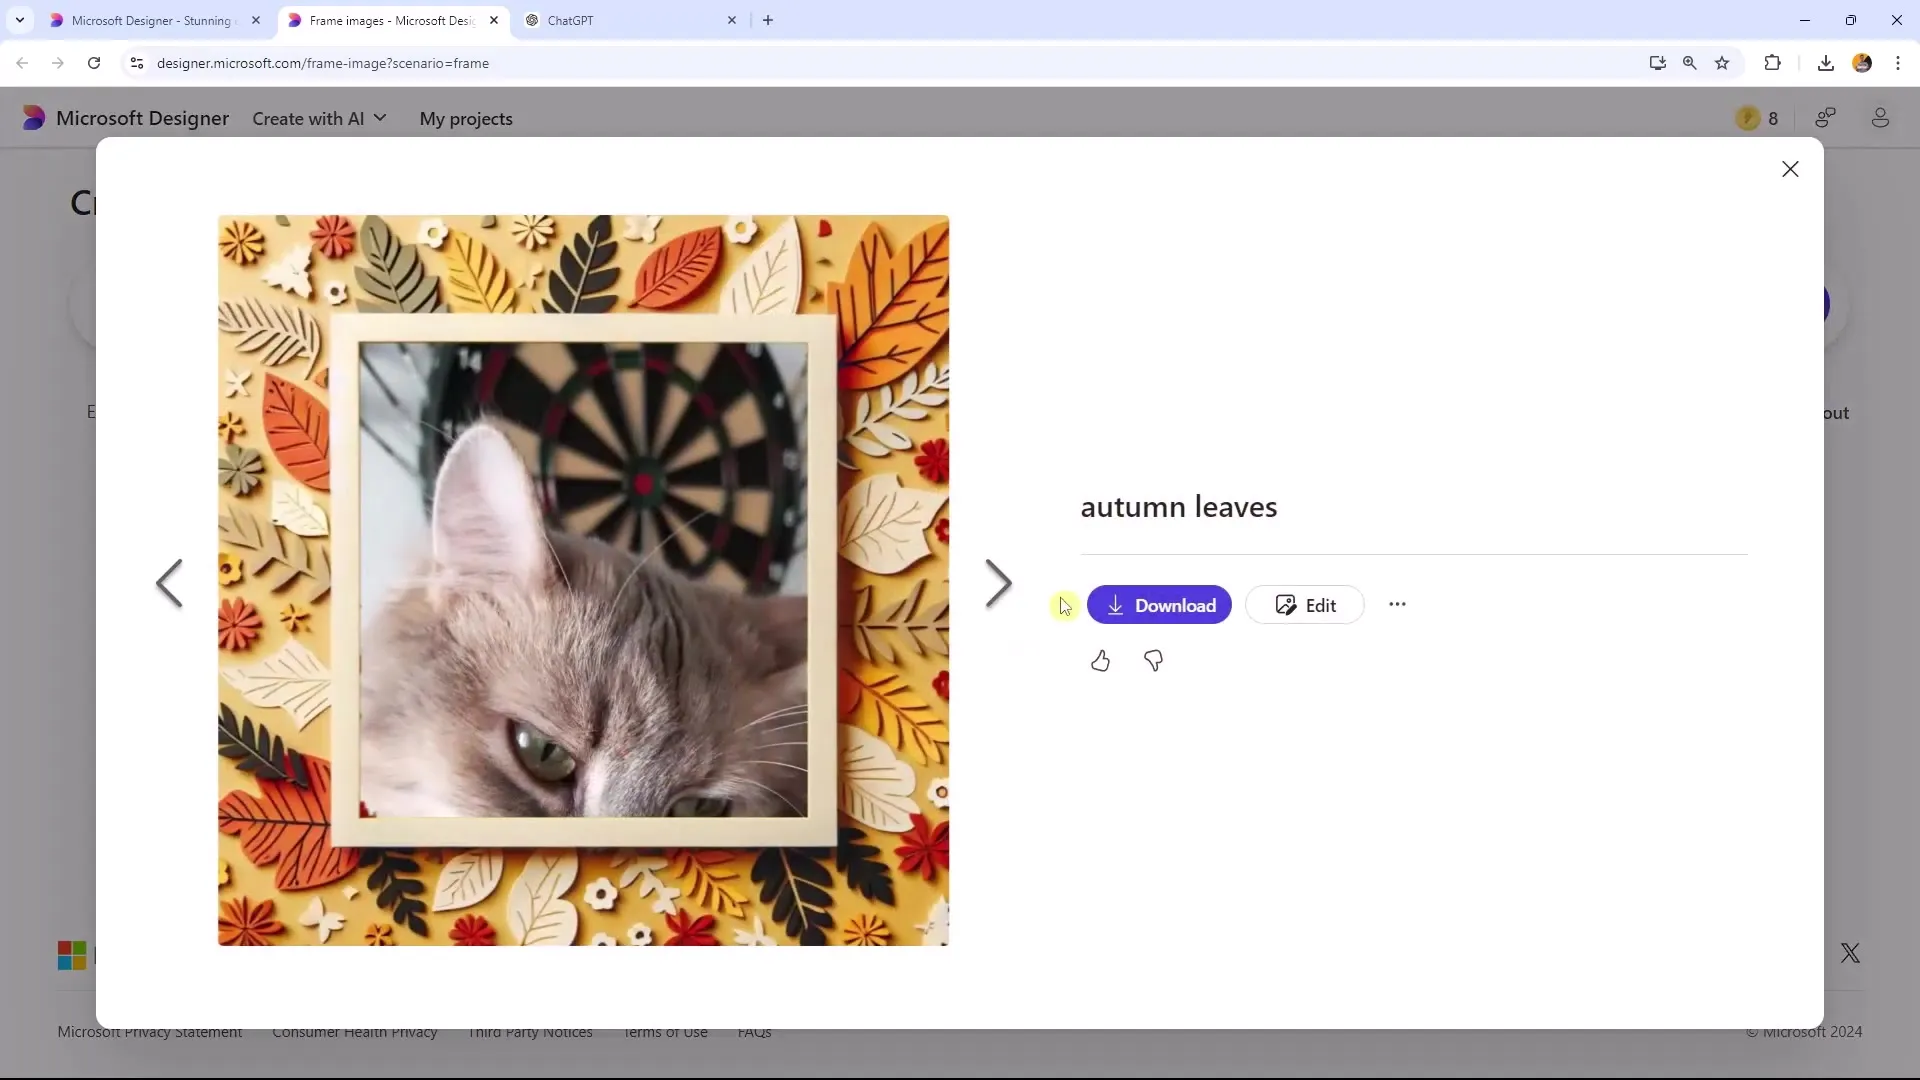
To place the image optimally, open the so-called "stable Tab." Here, you can adjust the size of your image and drag it to the desired position.
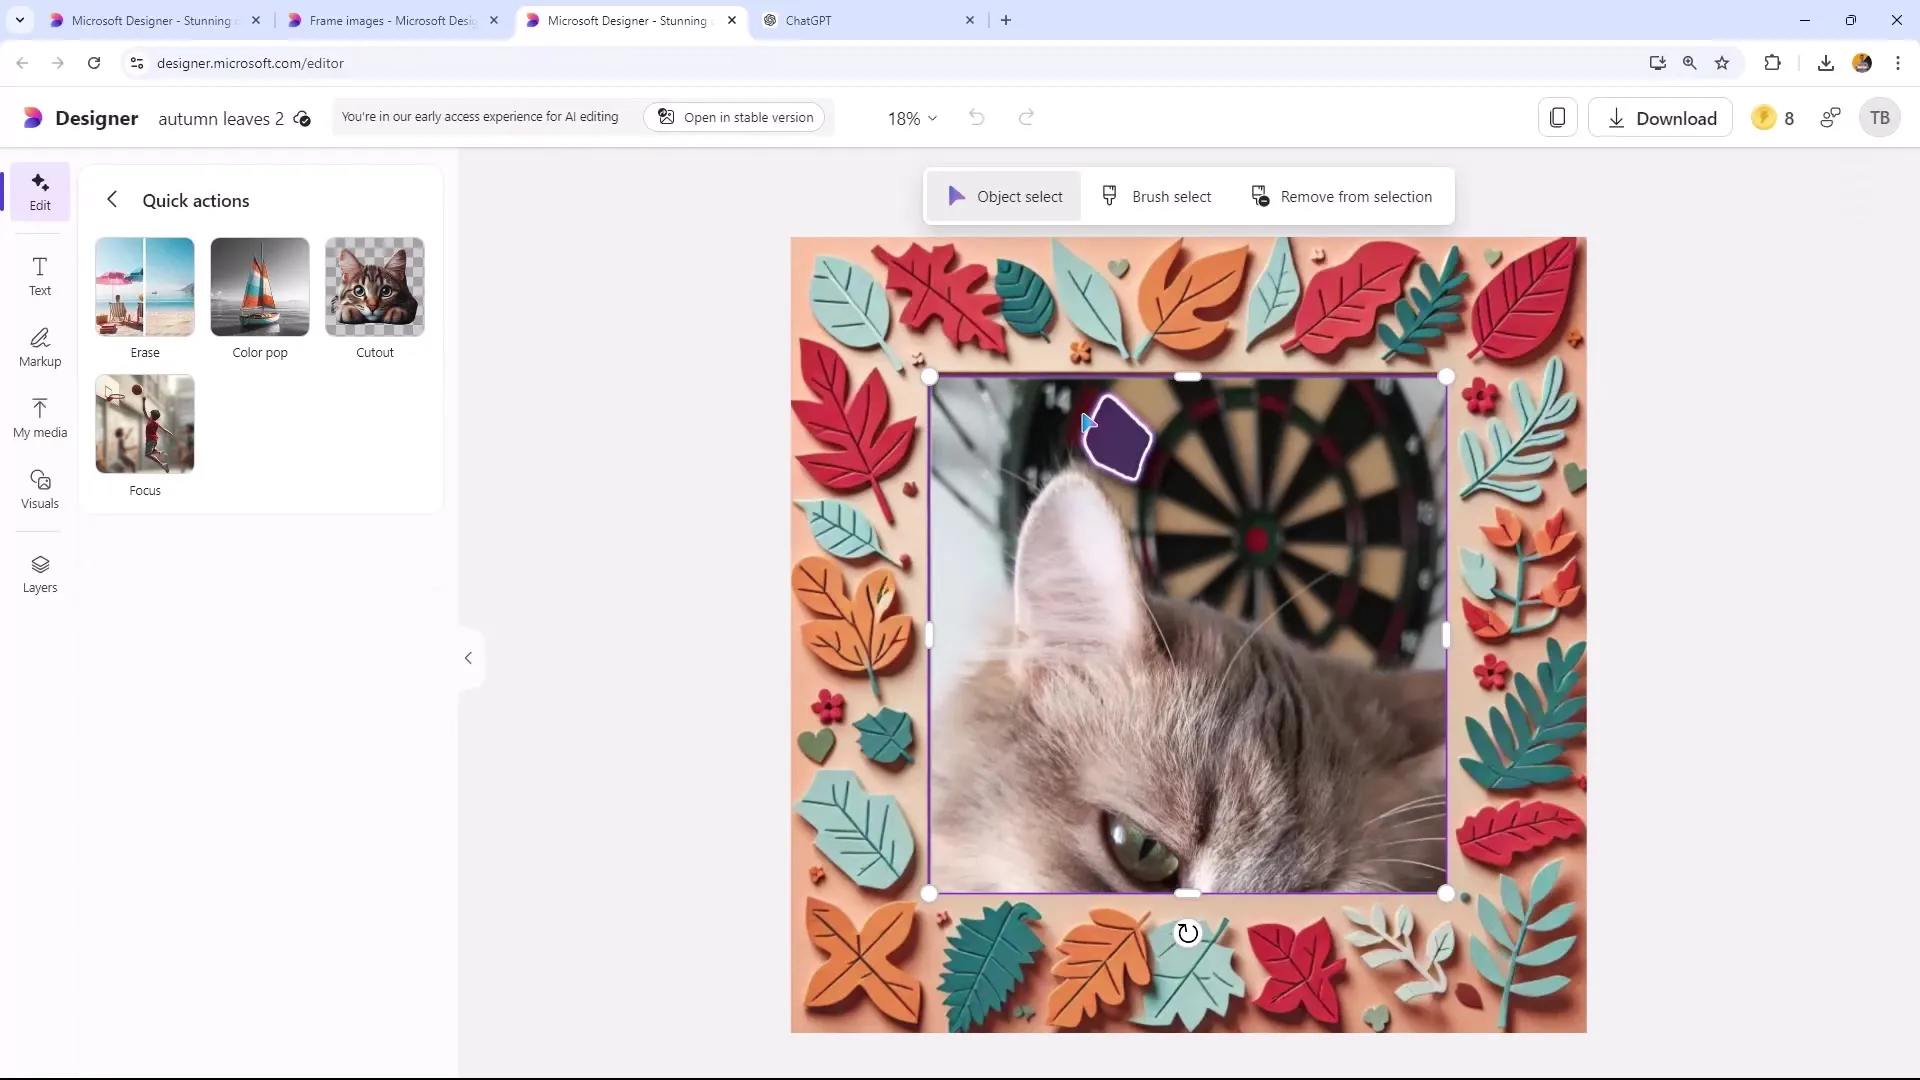
It is vital to use this function as it allows you to edit the image precisely. Use the Quick Selection or the Markup Tools to edit your image.
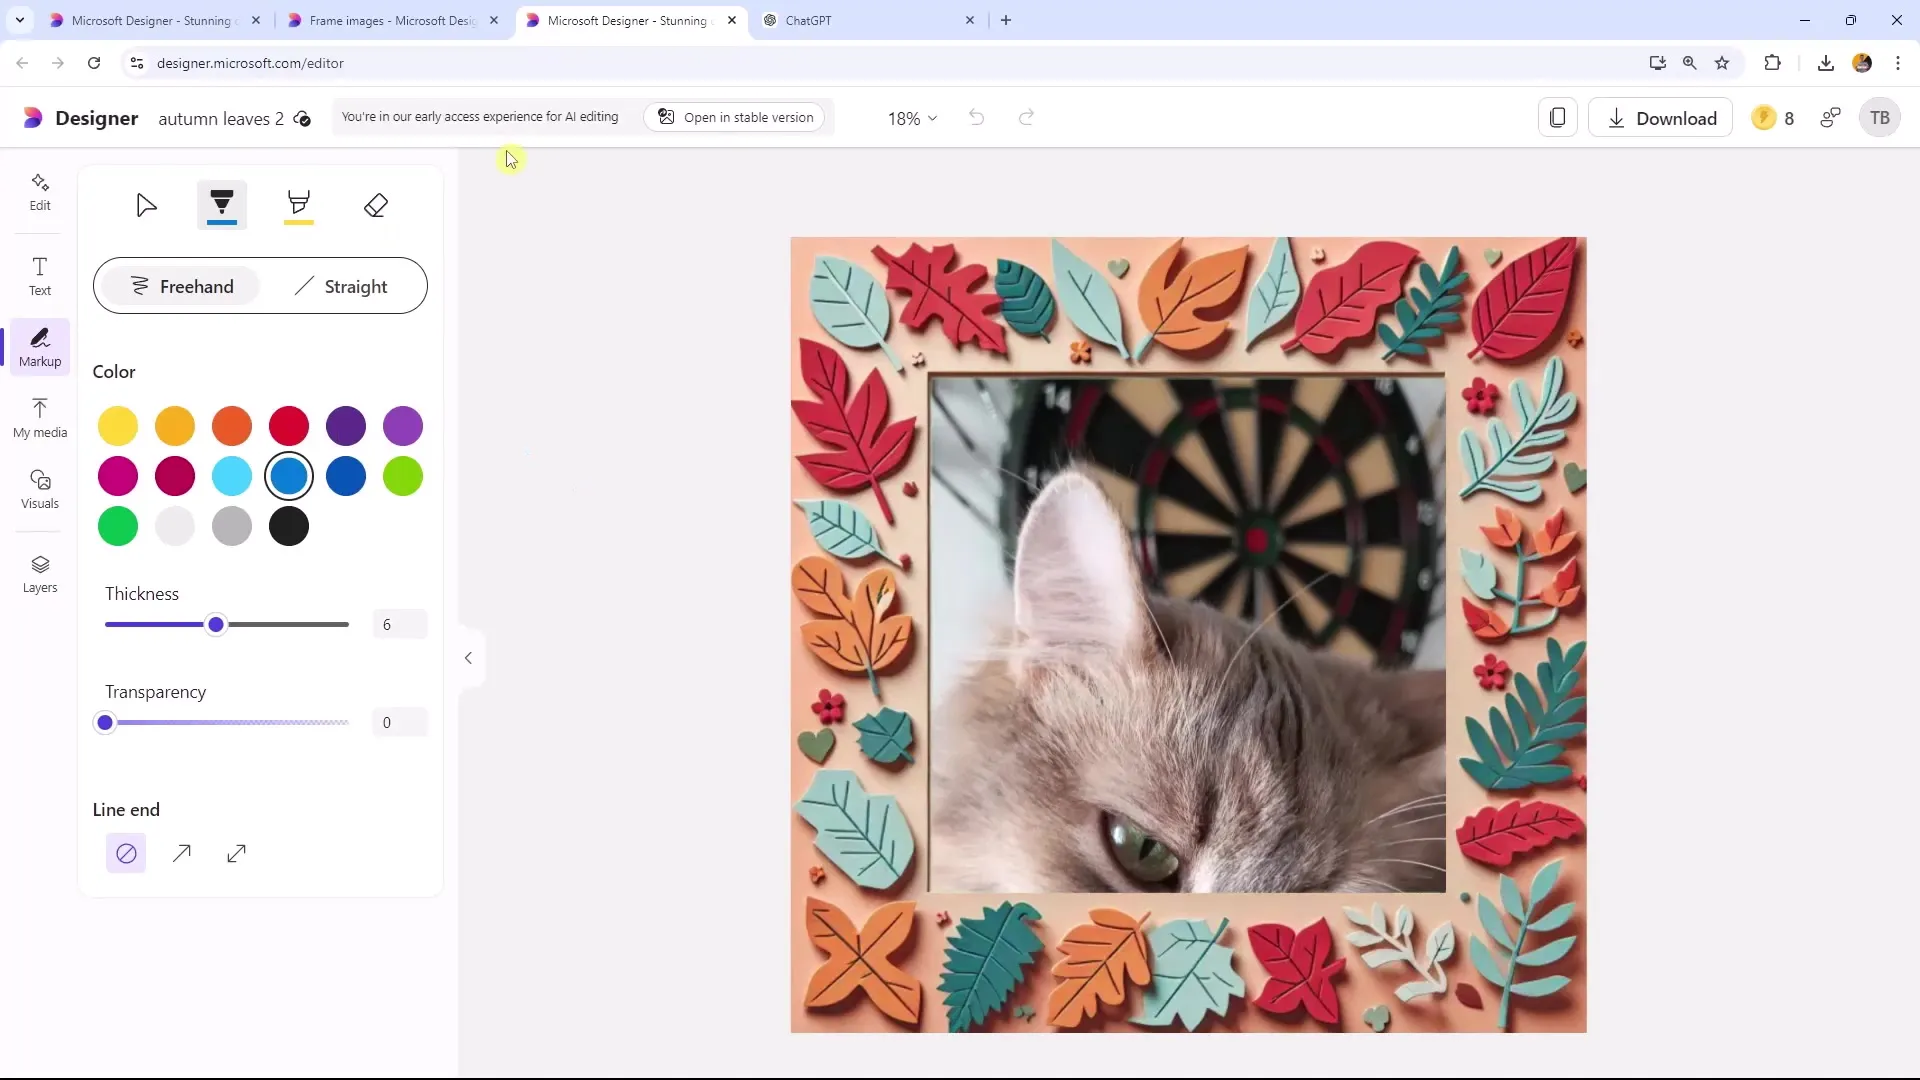
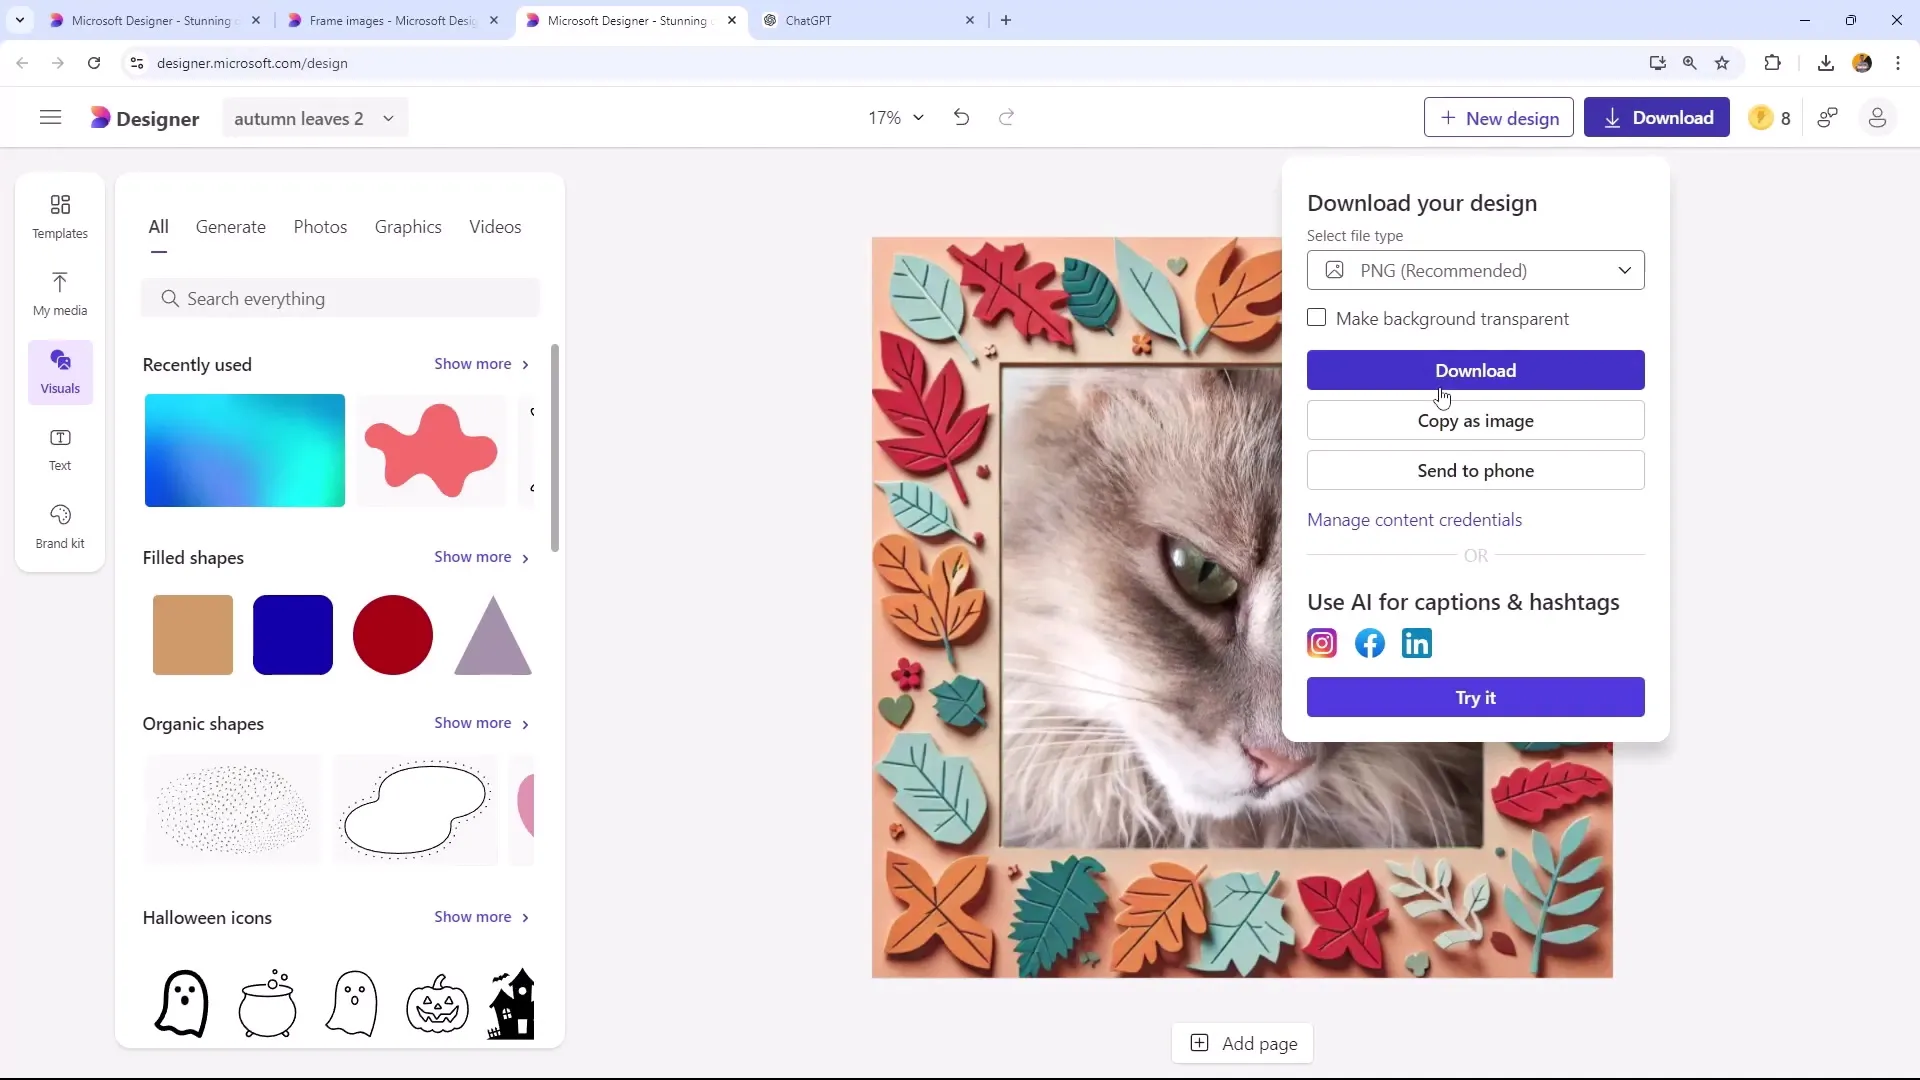
After making the adjustments, you can immediately download the image or send it directly to your phone.
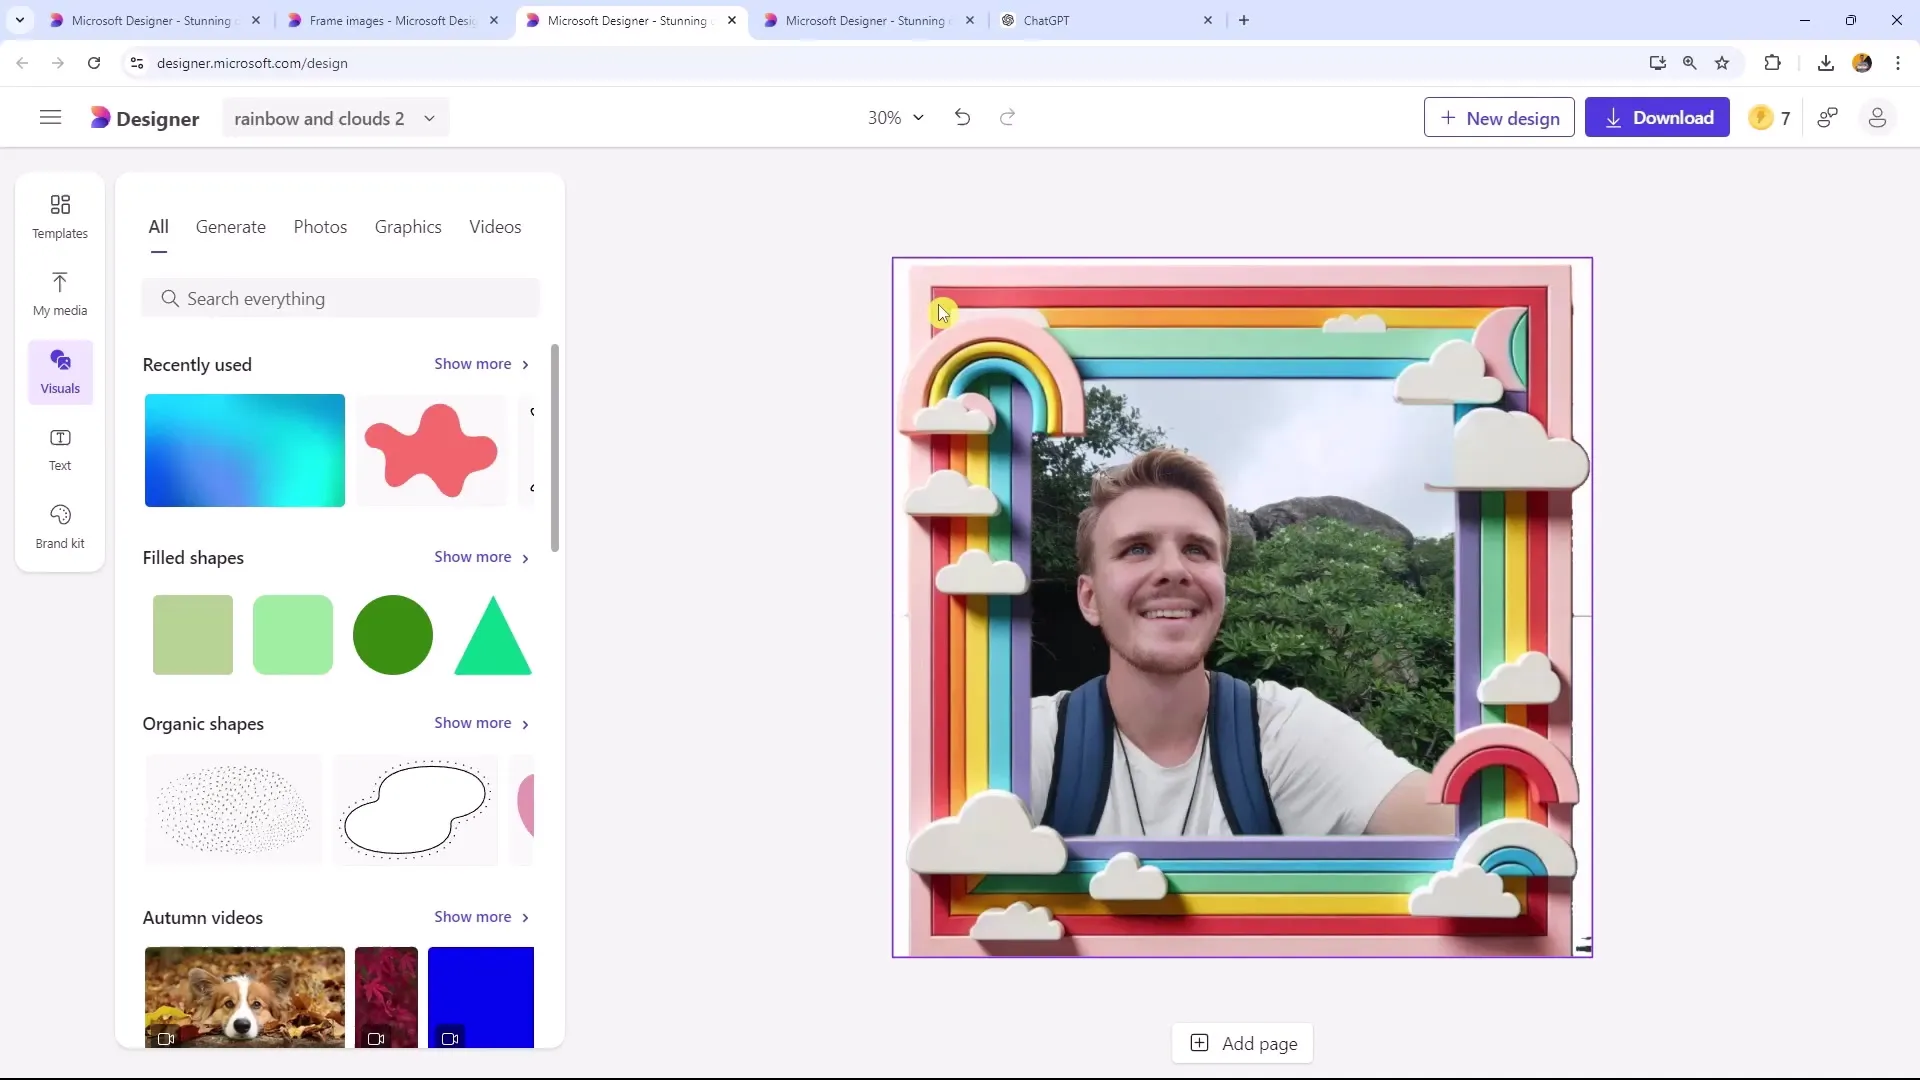
To create a second image, upload another image and choose a new background, such as "Rainbow and clouds." Here, too, you can select the desired style.
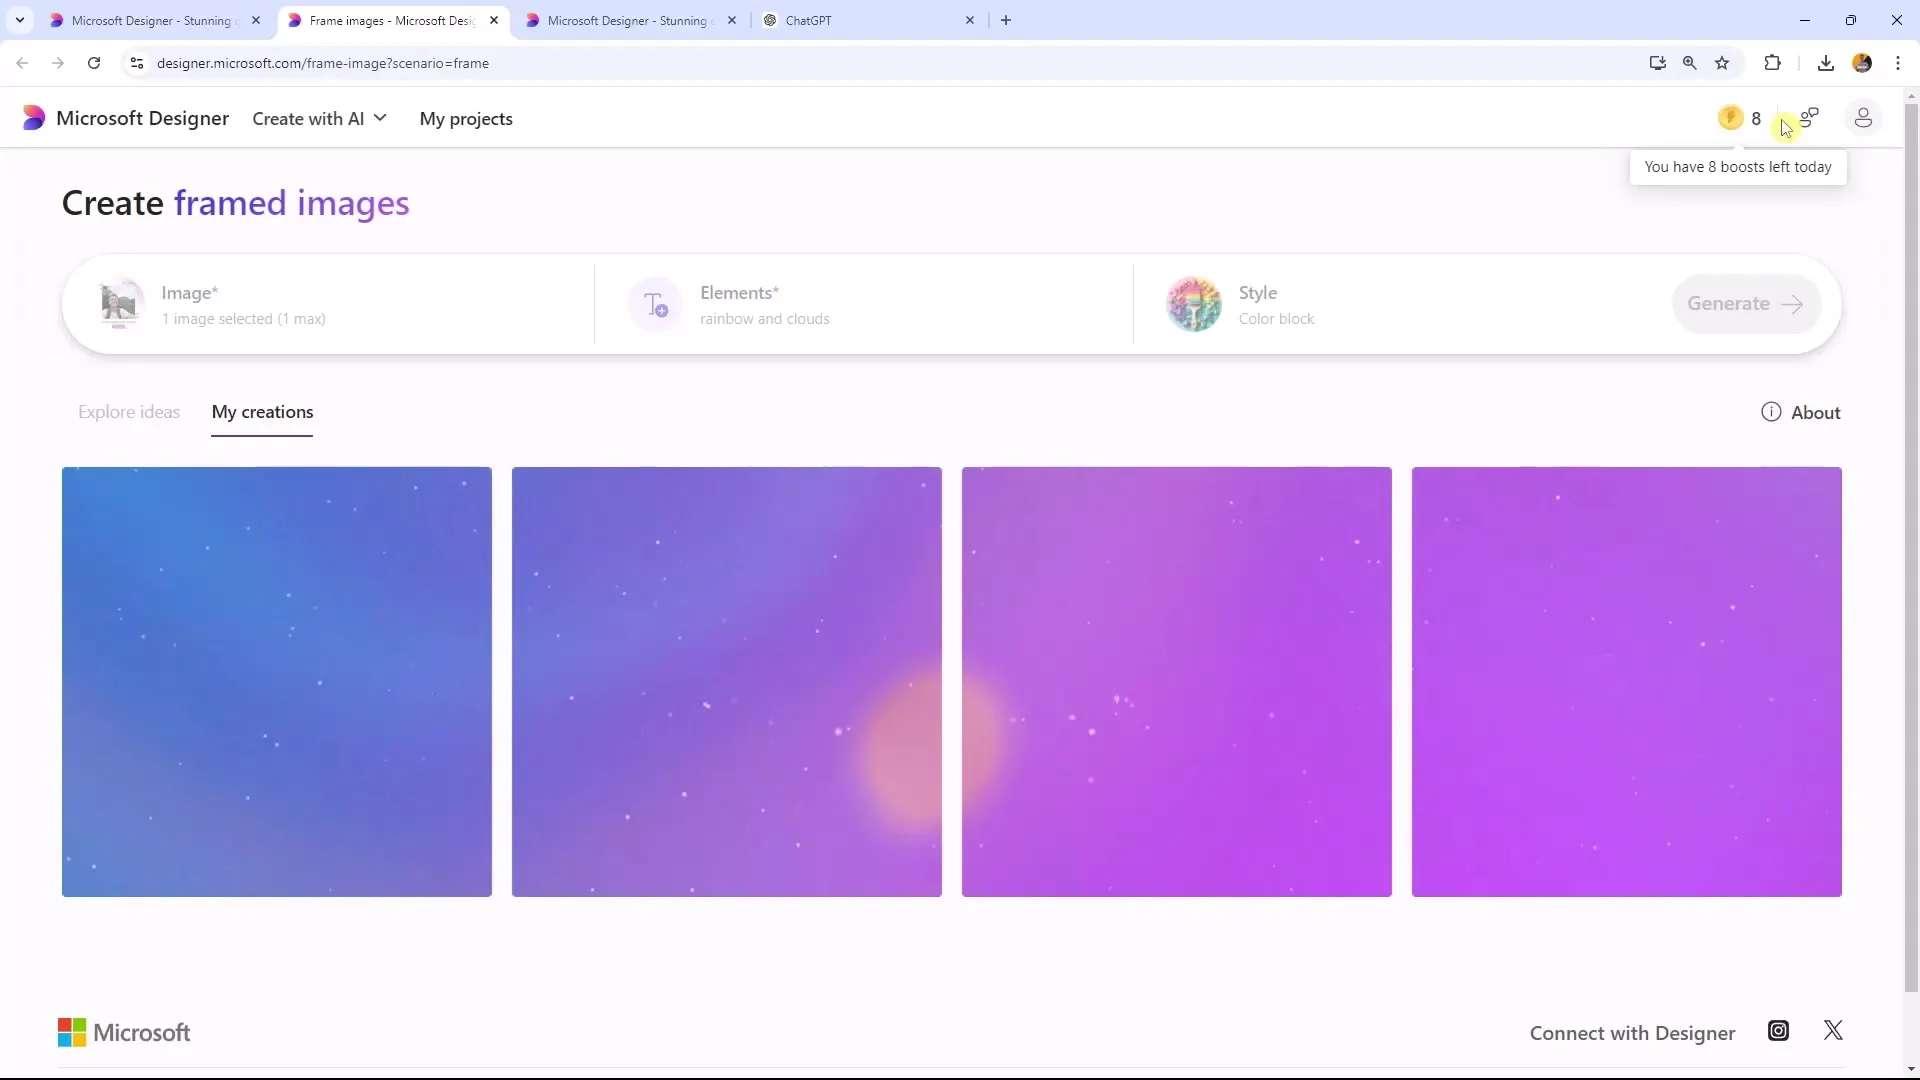
If you have used up too many boosts while editing your image, make sure to use them more sparingly, as you have only a limited number available per day.
After creating the frames, it is important to optimize the background. Make sure that the background matches your image.
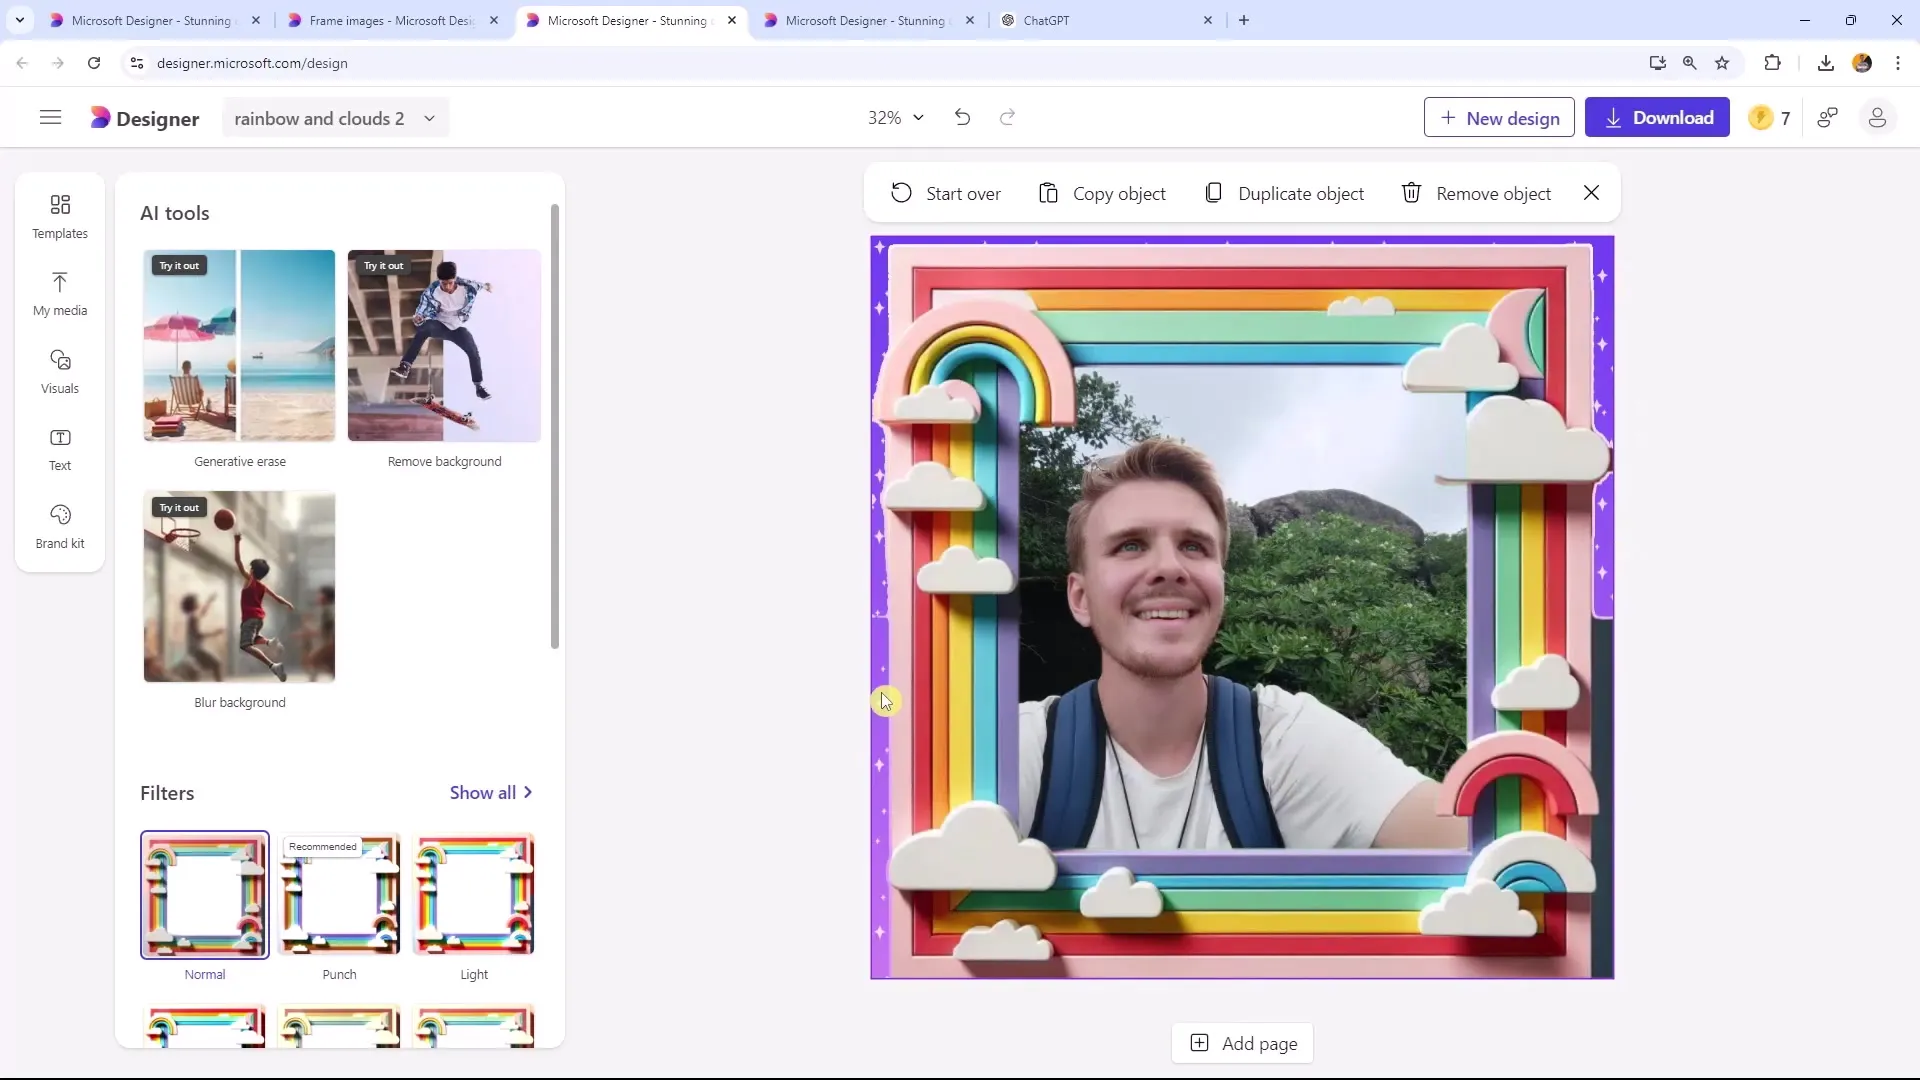
Use the Quick Selection tool to select and remove unwanted parts of the frame. Make sure to keep only the elements that are truly necessary.
Remember that the new frame is especially useful for profile pictures, which are often displayed in round shapes, especially on social media platforms.
Summary
In this tutorial, you have learned how to frame and design images with Microsoft Designer. The use of artificial intelligence greatly expands the possibilities for creative designs.
Frequently Asked Questions
How do I upload an image in Microsoft Designer?Click on the "Frame" button and select the desired image.
Which styles can I choose for my frame?You can choose from different styles such as Color Block, Papercraft, and Watercolors.
How many boosts do I have per day?You can use 15 boosts per day, so be cautious in their usage.
Can I adjust the size of my image?Yes, in the stable Tab you can adjust the size of your image and move it as you like.
How can I save my edited image?After making the adjustments, you can simply download your image or send it to your phone.
