In this guide, you will learn how to remove unwanted objects from images using the generative erasing function in Microsoft Designer. Generative erasing, also known as "Generative Erase," provides a powerful way to remove specific elements from your photos without filling in the background. It utilizes Artificial Intelligence to use contextual information and reconstruct the background as realistically as possible. This guide will walk you through the steps to effectively utilize generative erasing.
Key Insights
- Generative erasing works best with clearly defined objects in focus.
- Smaller objects are easier to remove than larger ones.
- It is important to have enough information around the object to be erased so that the AI can appropriately reconstruct the background.
Step-by-Step Guide
1. Upload Image
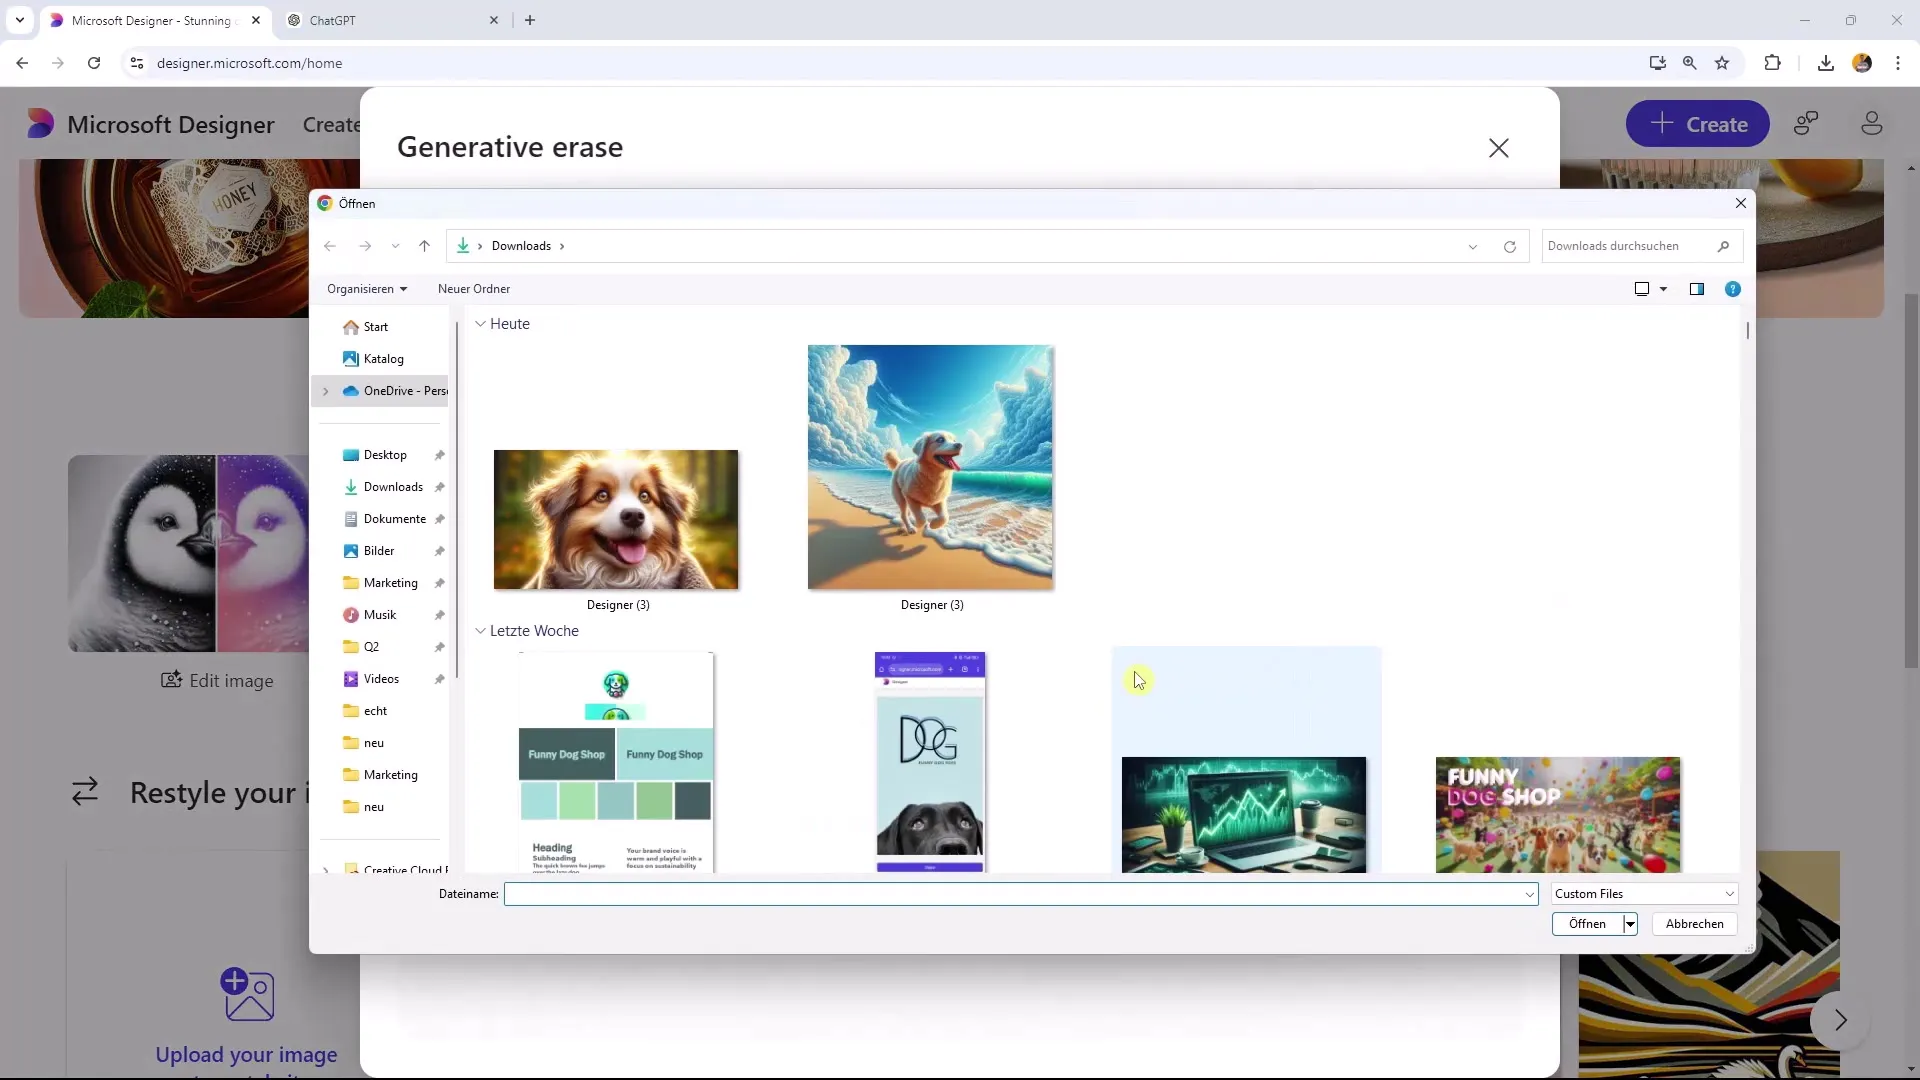
To start with generative erasing, you first need to upload an image. Click on the relevant area in Microsoft Designer where you can select and upload your image. Choose an image that contains one or more objects you want to remove.

2. Activate Generative Erasing
Once your image is uploaded, you will find the "Generative Erasing" function in the toolbar or tab. You can activate the function via this tab or directly on the image by using the respective options in the menu.
3. Select Object
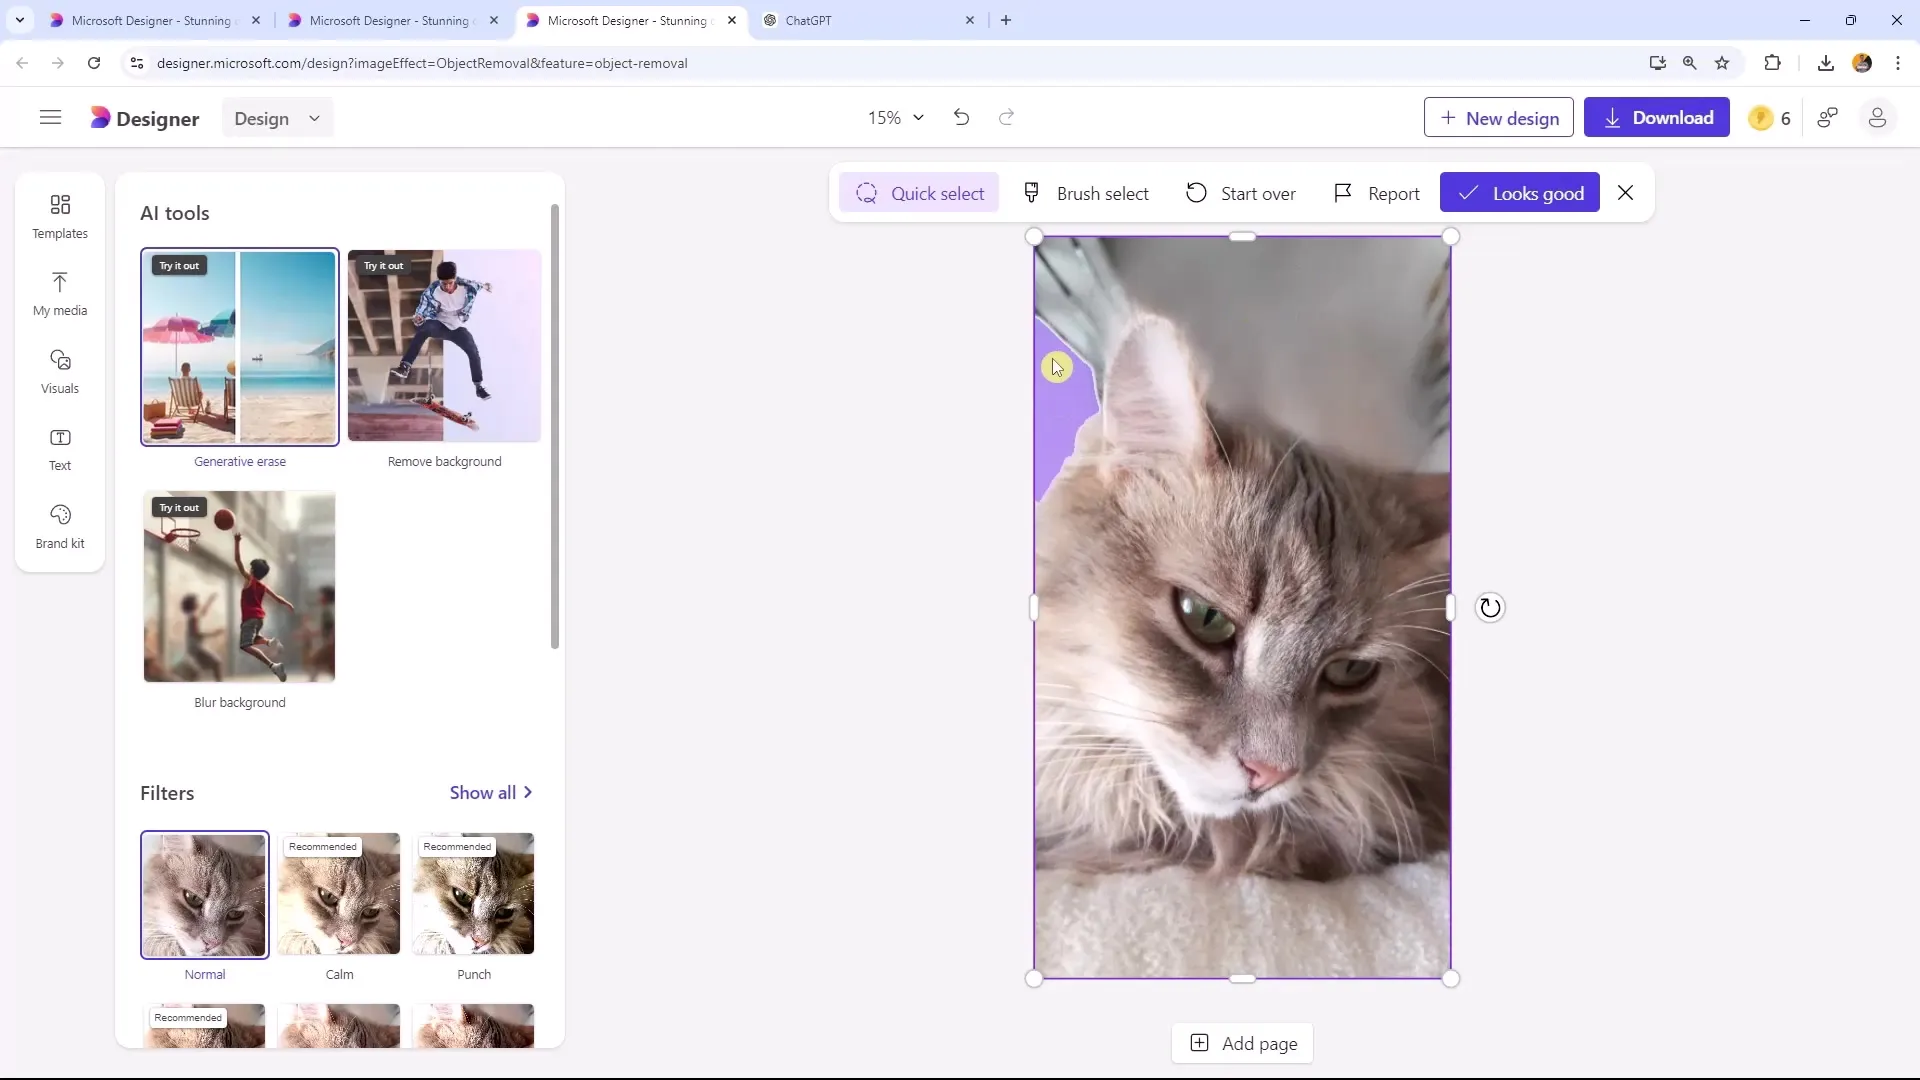
Now it's time to select the object you want to erase. Click on the desired object in the image to select it. It can be helpful to start with a smaller selection to achieve the best results. For example, you could select a person or a small object that is in focus in the image.
4. Start Erasing Process
Once you have selected the object, click on "Erase." The process will take a short moment as the AI tries to remove the selected element and restore the background. Keep an eye on the changes to ensure the result meets your expectations.

5. Review and Adjust
After the erasing process is complete, carefully examine the result. Often, the background is automatically reconstructed, but it's worthwhile to take a closer look. If necessary, you can make adjustments or try multiple times to achieve the desired outcome.

6. Experiment with Different Objects
Experiment with generative erasing using different objects. Start with smaller elements such as a banknote or a cup to get a feel for the function's capabilities. Depending on the complexity of the image, the result may vary.

7. Understand How It Works
It is important to understand the limitations of the technology. Generative erasing works best with clearly focused objects and a simple background. Erasing complex or large objects can be more challenging and may not always lead to a satisfactory result.

8. Save Final Image
If you are satisfied with your erasures and your image looks as you desire, you can save it. Use the "Save" function to secure your changes and download your edited image.
Summary
In this guide, you have learned how to remove unwanted objects from your images using the generative erasing function of Microsoft Designer. This process can help you enhance your images and eliminate undesirable elements to achieve a clearer, more appealing end result.
Frequently Asked Questions
How does generative erasing work?Generative erasing selectively removes objects from images and reconstructs the background using AI.
Can I erase large objects?Erasing large objects is more challenging as there is less contextual information available.
What should I consider when erasing?Make sure the object is in focus and there is enough background information to achieve a realistic result.


