In this tutorial, you will learn how to effectively use the Quick Selection function in Microsoft Designer. This function allows you to quickly select areas of an image to edit or remove. We will go through the settings and application possibilities in detail so that you can make the most of this function for your projects.
Main Findings
- The Quick Selection function allows you to quickly select specific objects in your image.
- By using the Brush Tool, you can selectively delete or focus on areas.
- The combination of both tools leads to a clean and precise image editing process.
Step-by-step Guide
First, open your desired image in Microsoft Designer. Simply click on the file and open it in the app. Now we are in the basic editing mode.
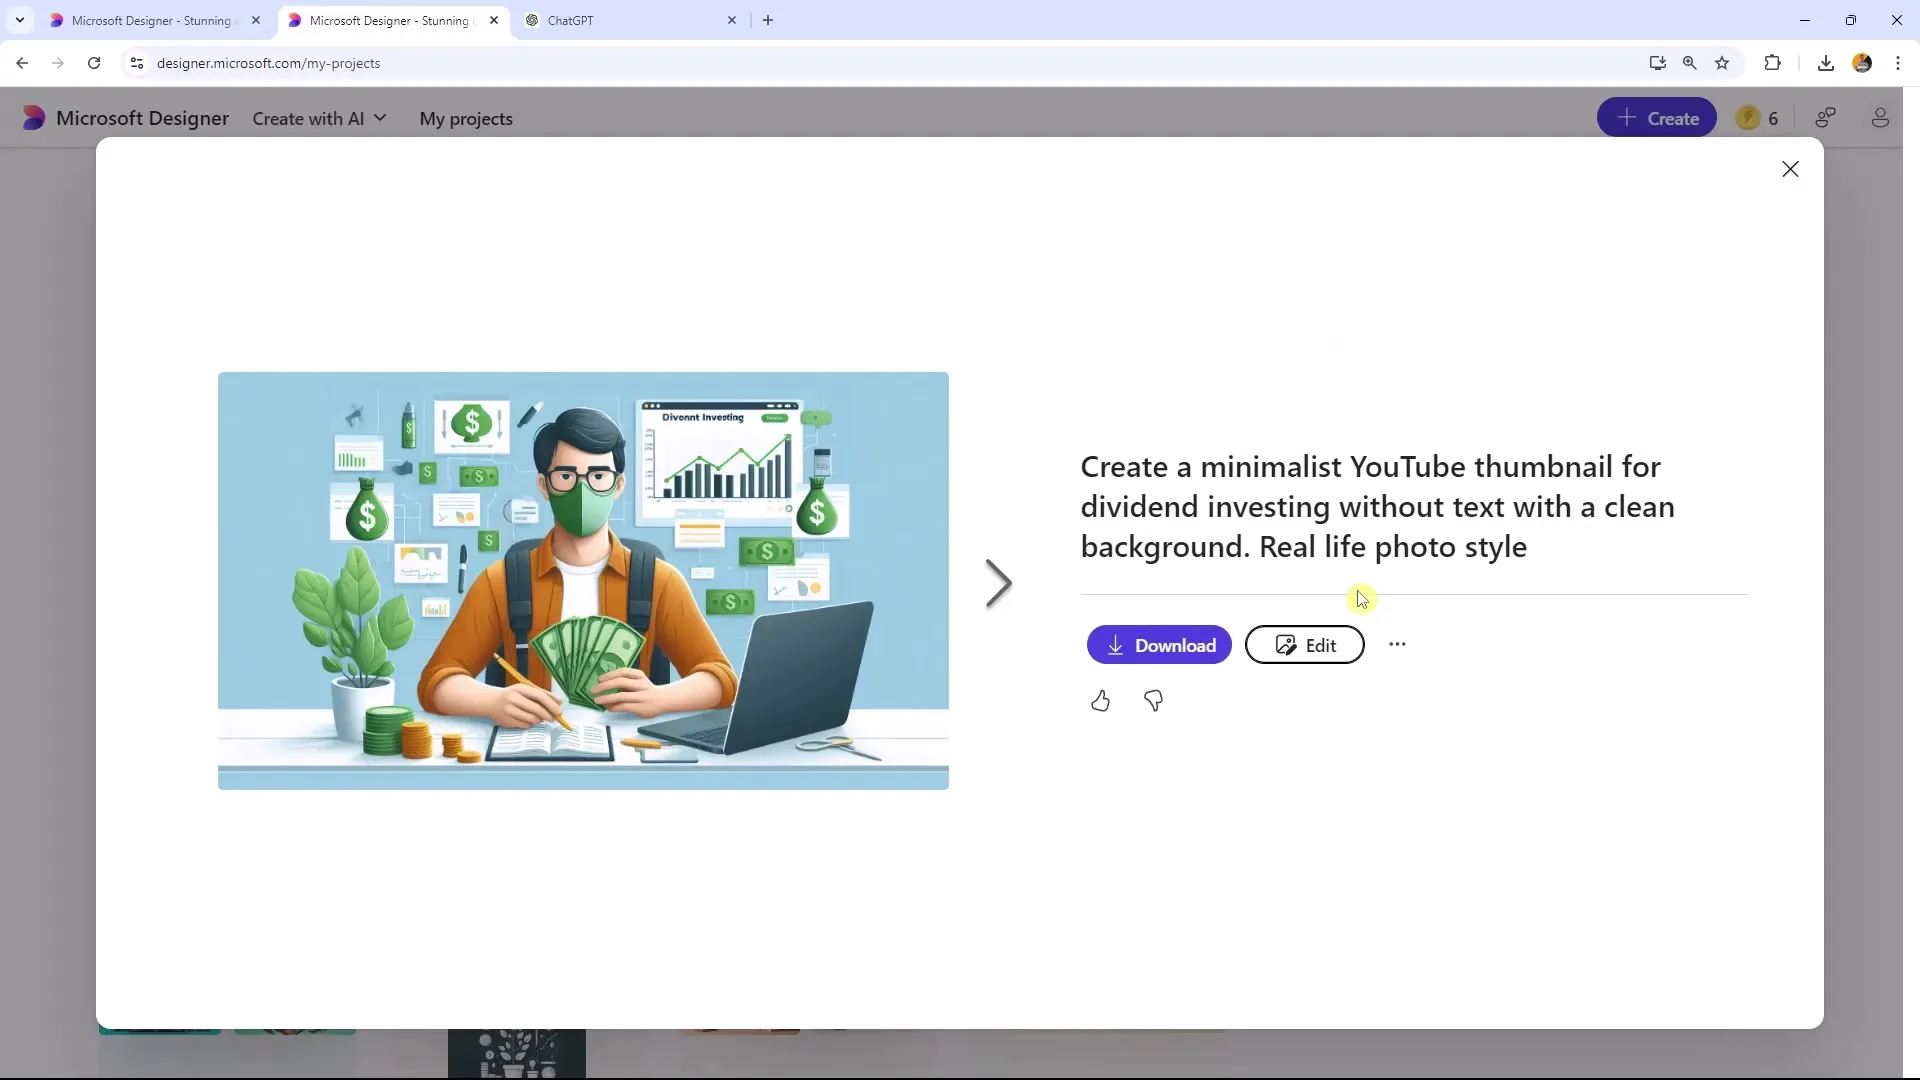
When editing your image, make sure you have not switched to the stable version, as the new version offers advanced selection options. In this unstable version, you have access to features that greatly facilitate editing.

An important aspect to consider is the use of Layers. In this image we have just opened, you can see that we have different layers, including text and image. You can adjust the position of these layers and even lock them to prevent unwanted changes to other elements while editing.
Now let's focus on the Quick Selection function. You can select an area in your image by simply clicking or dragging over the desired area. For example, if you click on a single leaf in your image, it will be marked, and you can then easily remove or edit it.

The Brush Tool offers an advanced selection option. You can select the Brush Tool, increase the brush size, and then carefully move over the area you want to delete or focus on. This way, you can precisely determine which parts of the image should be removed, instead of working only with the Quick Select function.

In addition to deleting, you also have the option to focus on objects. For example, if you have selected a leaf and activate focus mode, it will be highlighted while the background fades. This allows you to give your image a professional touch.

When working in the stable tab, you will notice that the performance is much smoother, making editing easier. Simply choose the desired selection and then blur the background to highlight the main object.
Here's how it works: Select the desired object and activate the background blur. You also have the option to blur only the selected object. This works particularly well when you have multiple objects in the image that also need to be focused.
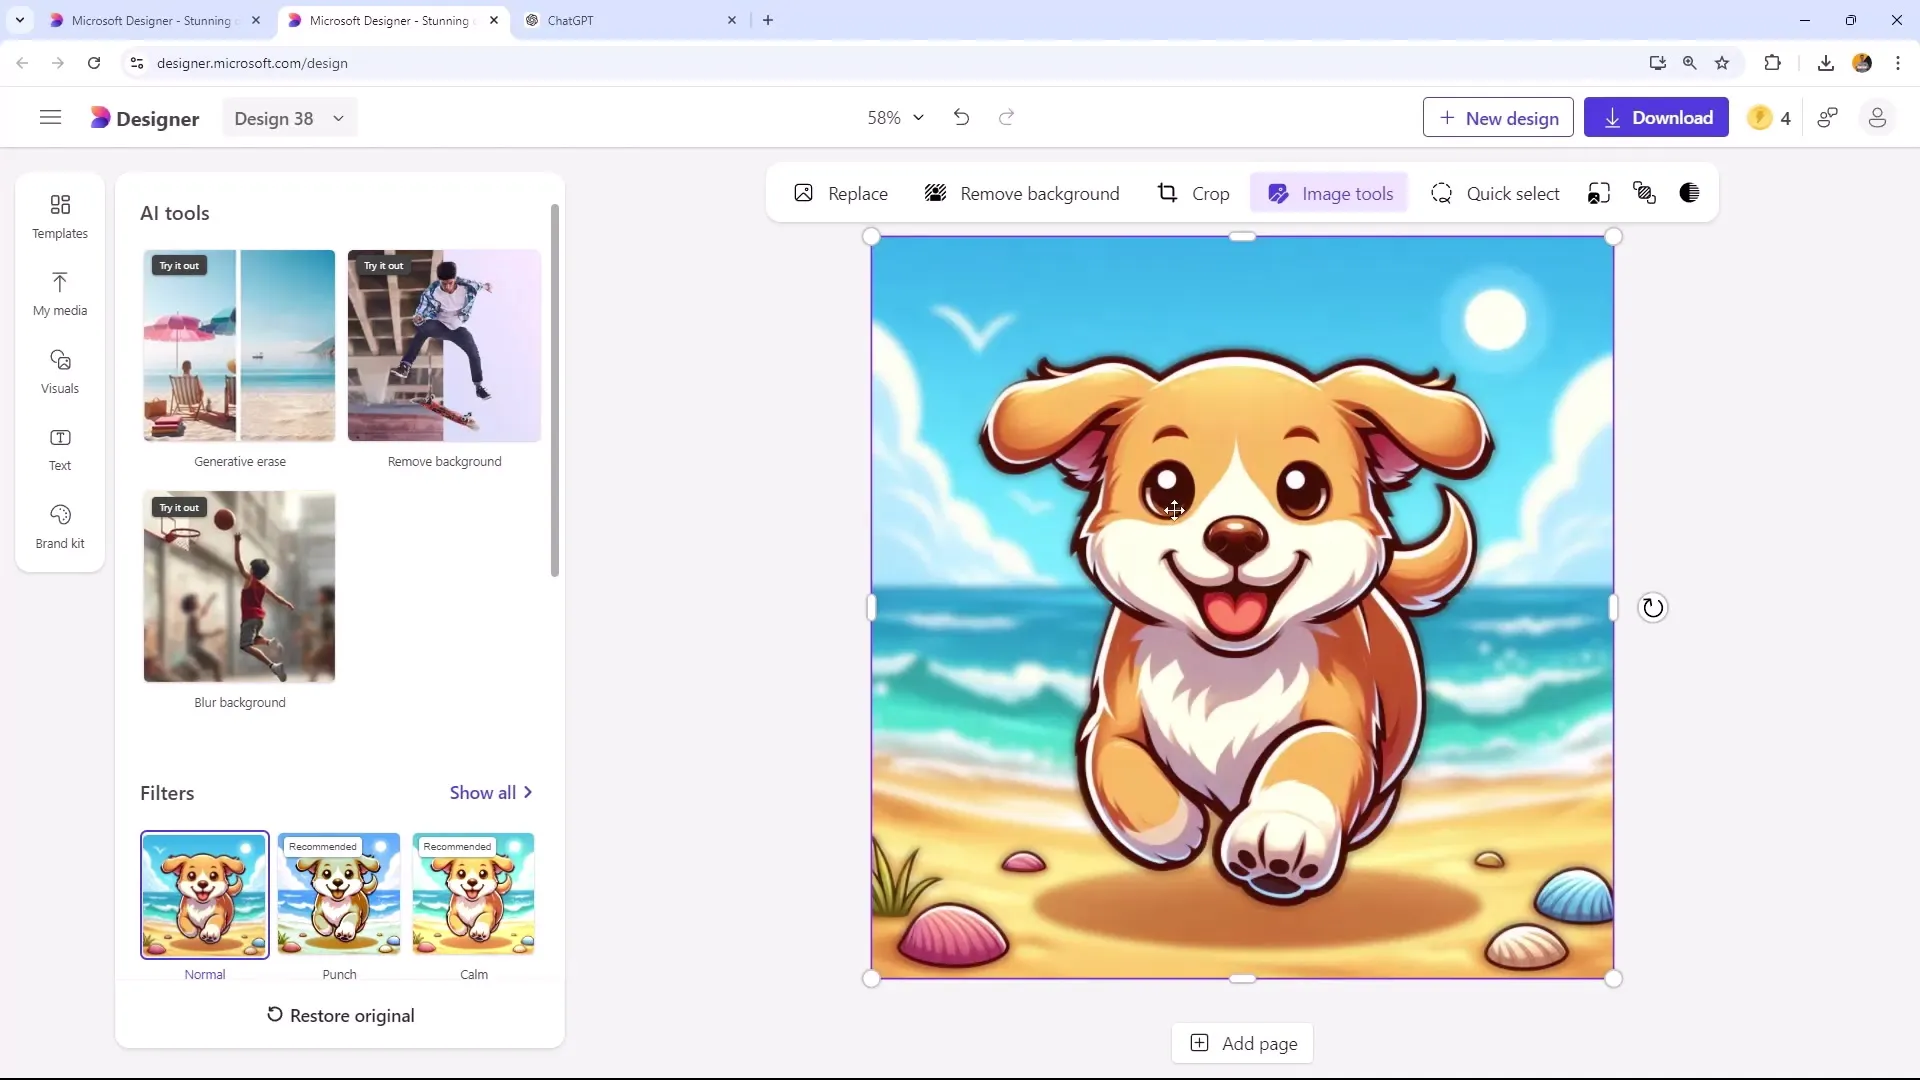
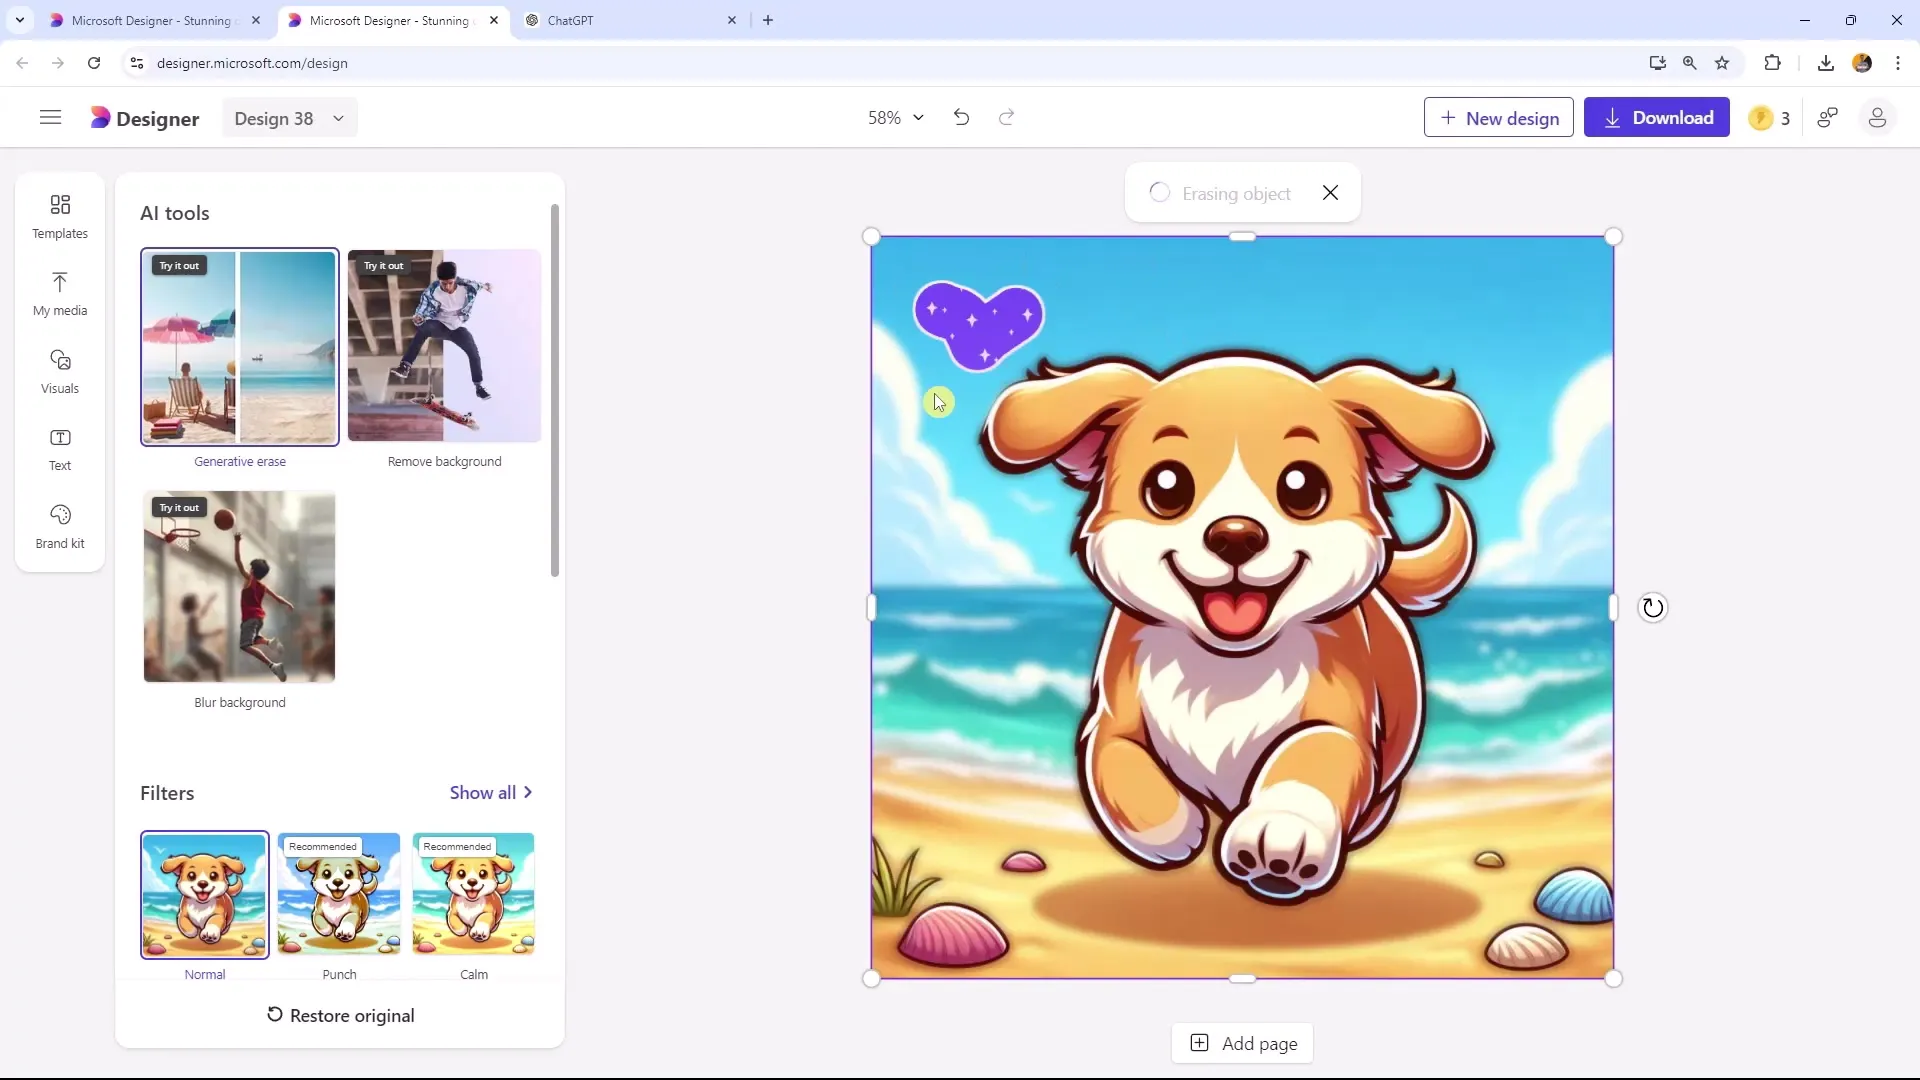
Another useful feature is the "Generative Erase" option. Here, you decide which areas should be removed. Simply select an area you want to delete. The system then adjusts the background so that the image remains harmonious.
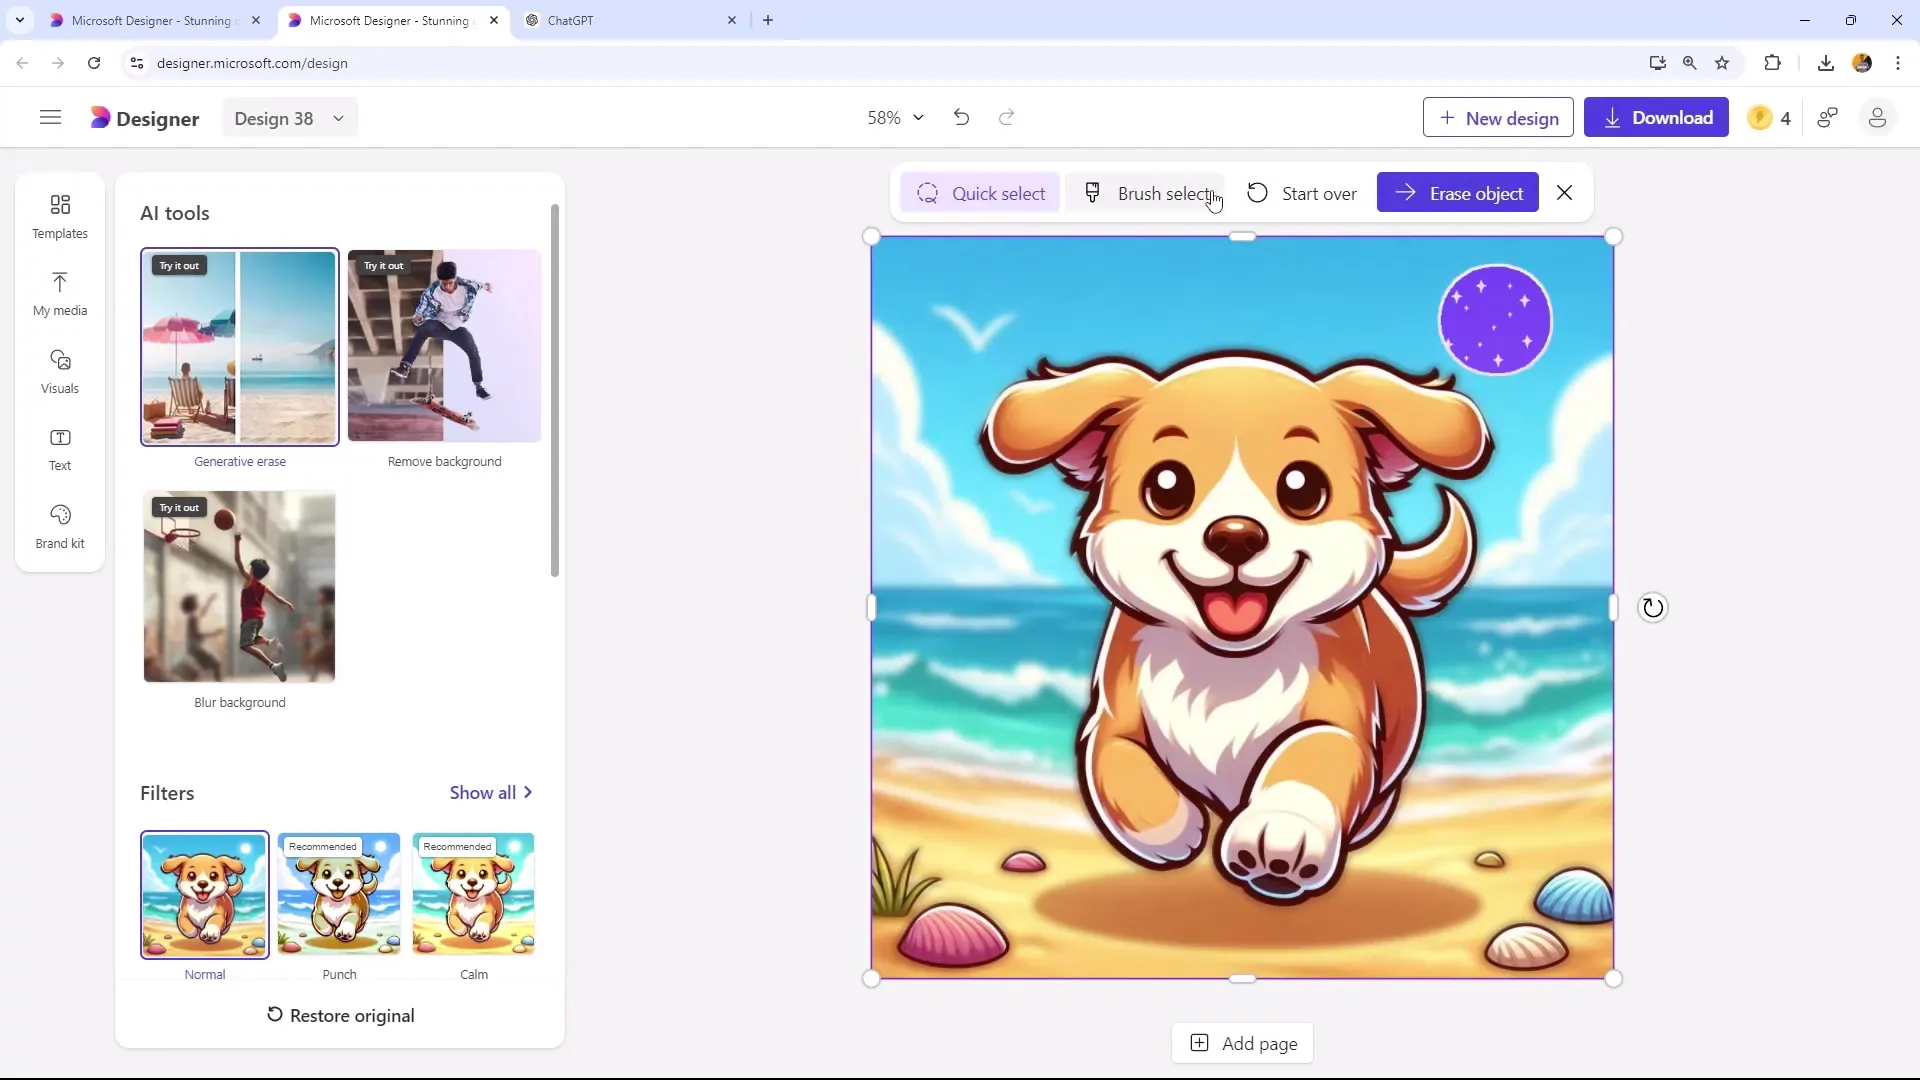
If you want to delete a specific object, like the sun in your image, you can also use the Brush Tool to work precisely. Simply drag over the area you want to remove – and voilà, it's gone in an instant!
Keep in mind that when working with the Quick Selection function in the unstable version, there may be some issues, which can be overcome by using the additional Brush Tool. This flexible use of the tools ensures a smoother and more precise editing process.
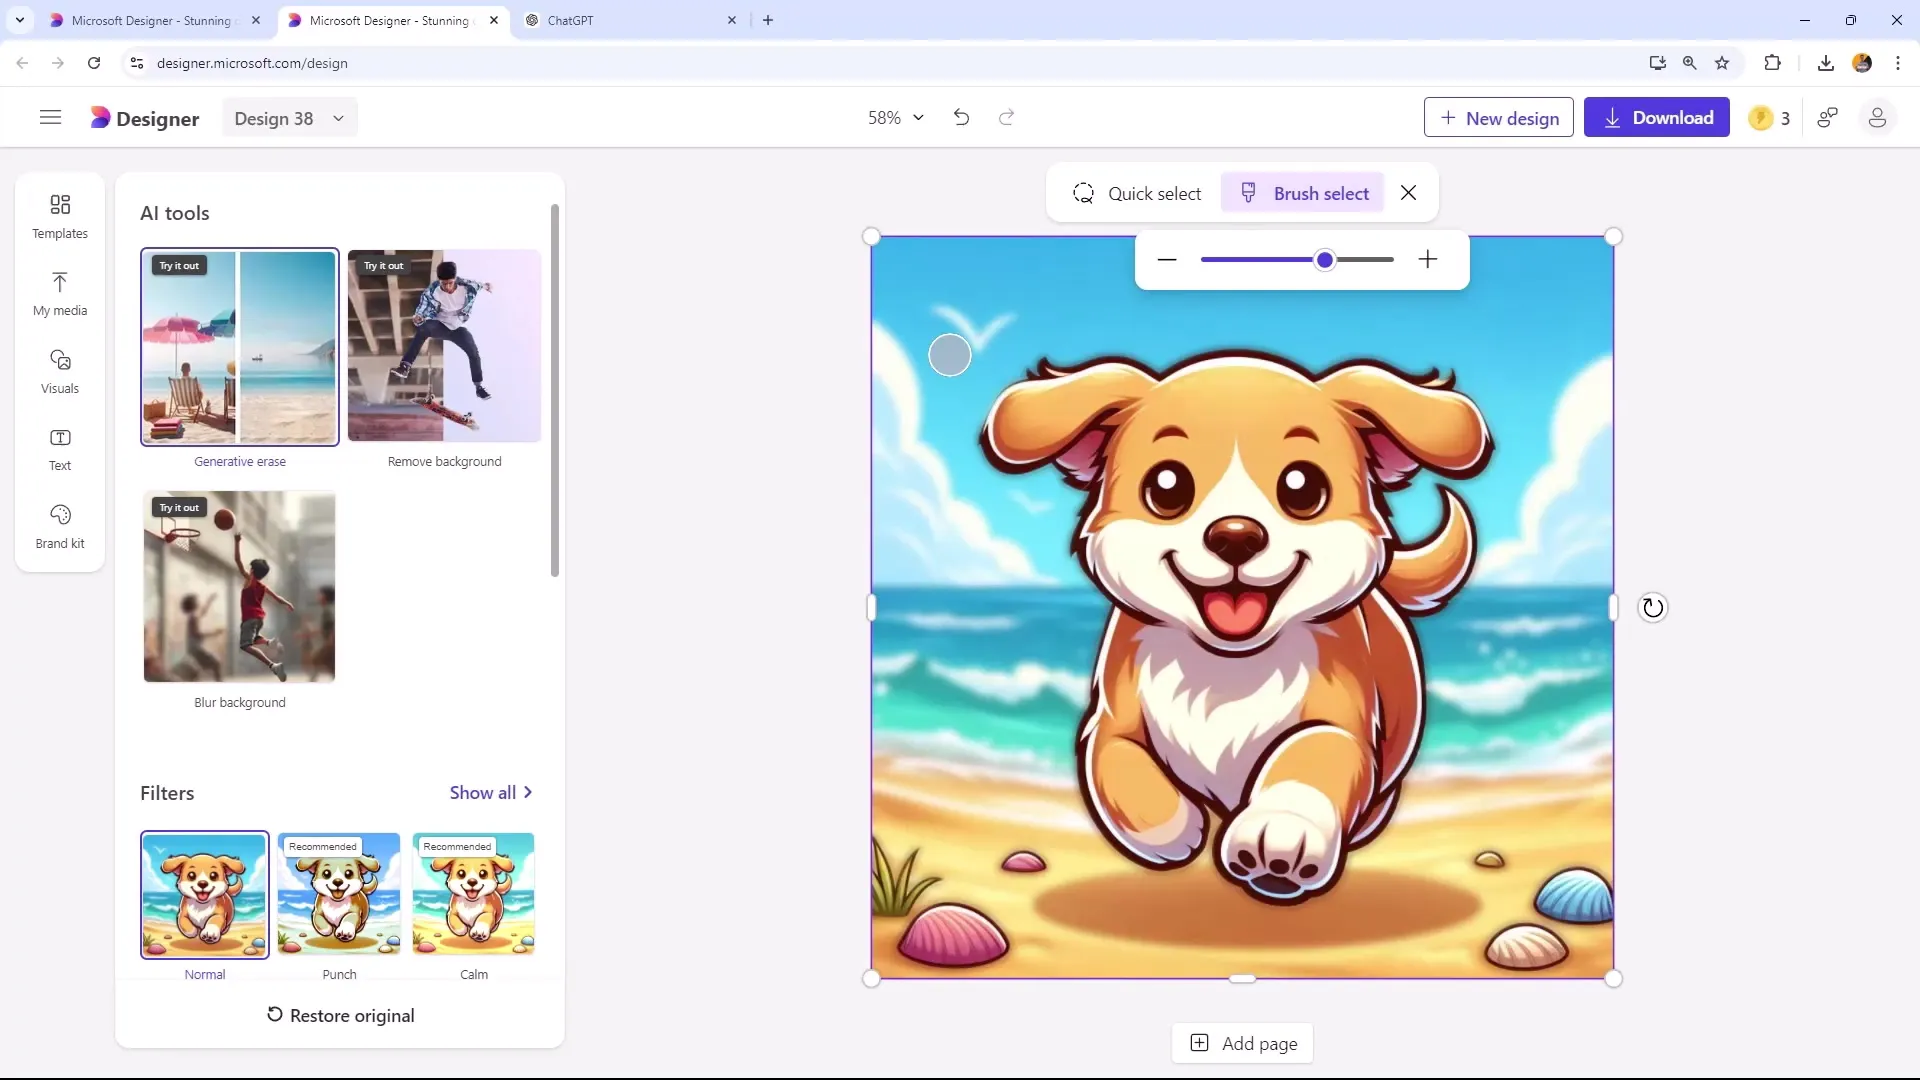
Here's another example: If you have a bird in the background that you also want to remove, select it again and let the software recreate the background accordingly.
Summary
In this tutorial, you have learned how to effectively use the Quick Selection function and the Brush Tool in Microsoft Designer. You have discovered how to utilize targeted selection options to edit and enhance images precisely. With these tools, you can not only remove objects but also focus on specific parts of the image to achieve an appealing composition.
Frequently Asked Questions
How can I select an object?To select an object, simply click on the desired area of the image or drag the mouse over it.
What is the difference between Quick Selection and the Brush Tool?Quick Selection automatically selects areas, while the Brush Tool allows you to manually paint over specific areas.
Can I also blur the background?Yes, you can blur the background to focus on the main object.
Can I edit multiple layers at the same time?Yes, you can select multiple layers and adjust their positions, as long as they are not locked.
How can I ensure that no unintended changes occur?You can lock layers to ensure they are not moved or altered during editing.


