In this guide, I will show you how to create an appealing Social Media Post with Microsoft Designer, especially for Instagram. I will guide you through the process step by step, from selecting the right template to finalizing the editing of your design. Let's get started right away!
Key Insights
- Microsoft Designer offers a variety of templates for different social media platforms.
- You can use AI to generate creative content.
- Editing and customizing your designs is easy and user-friendly.
Step-by-Step Guide
Step 1: Template Selection
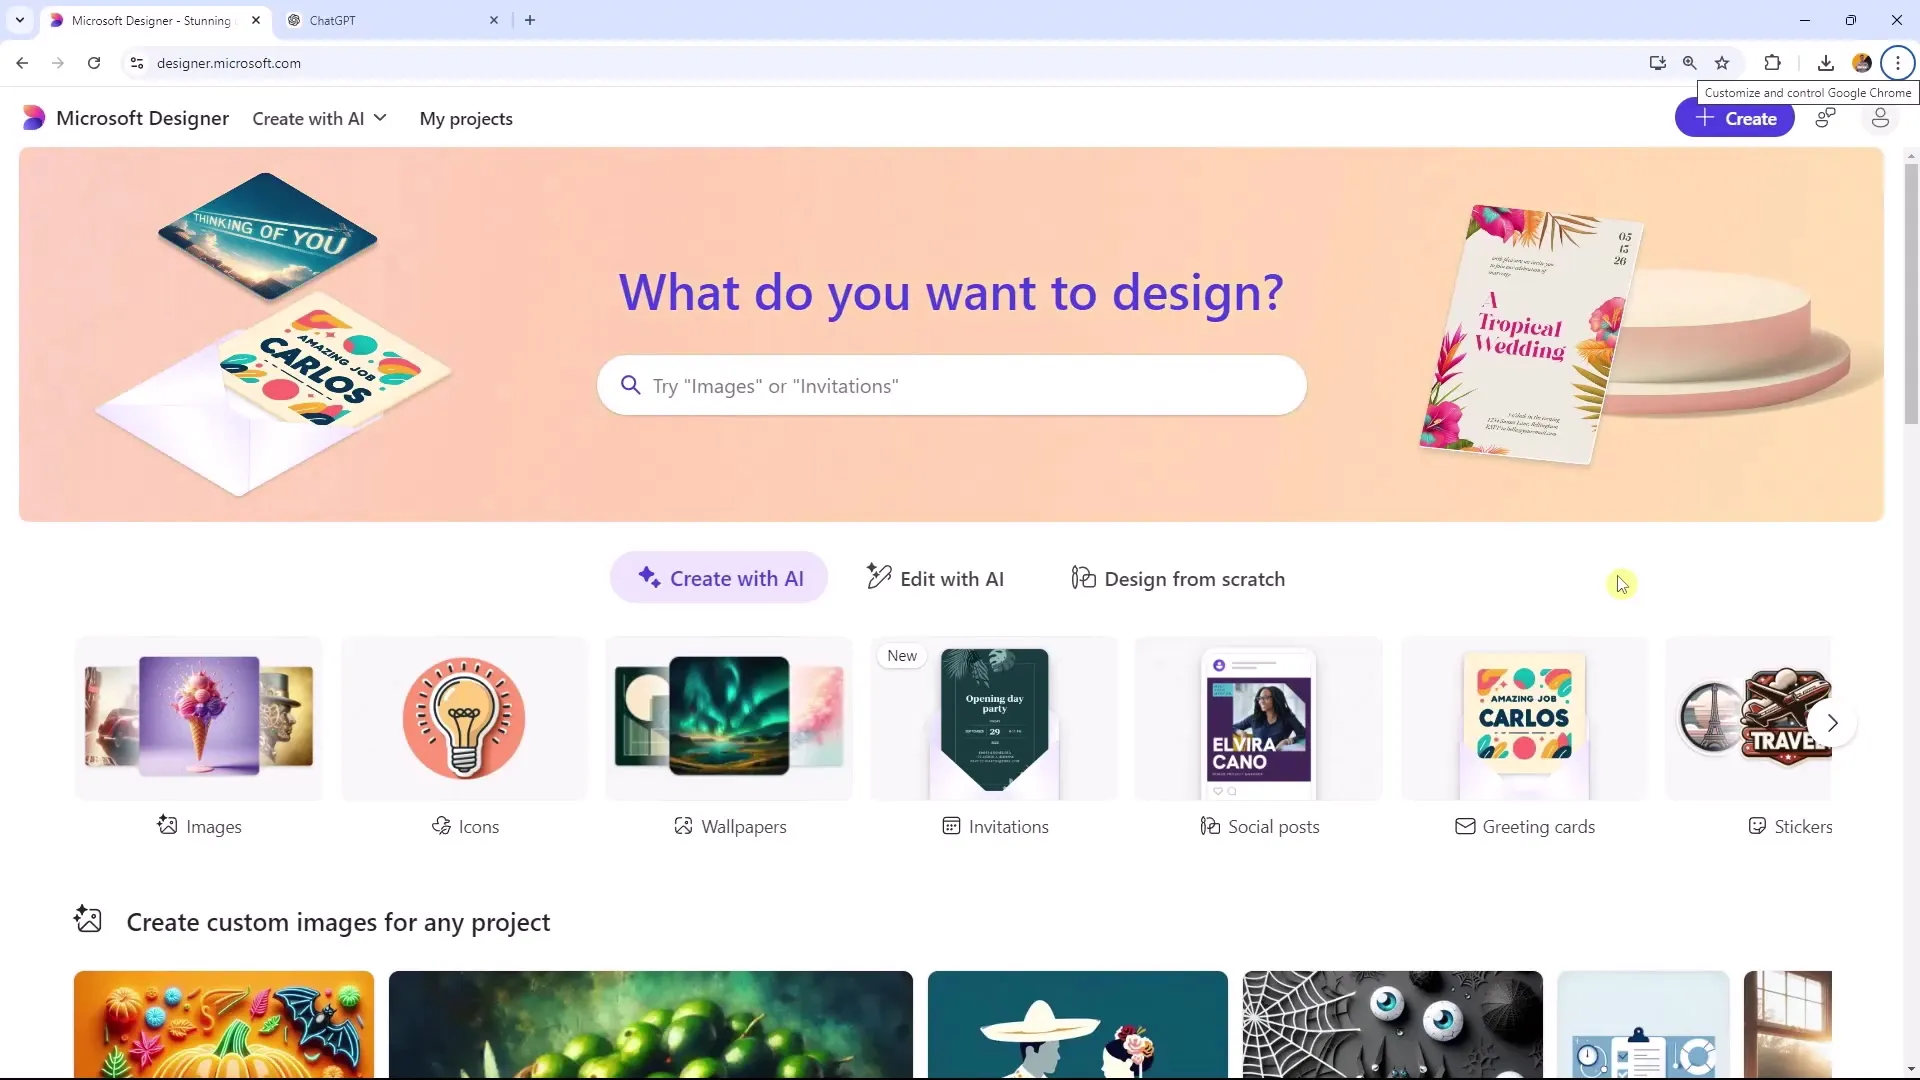
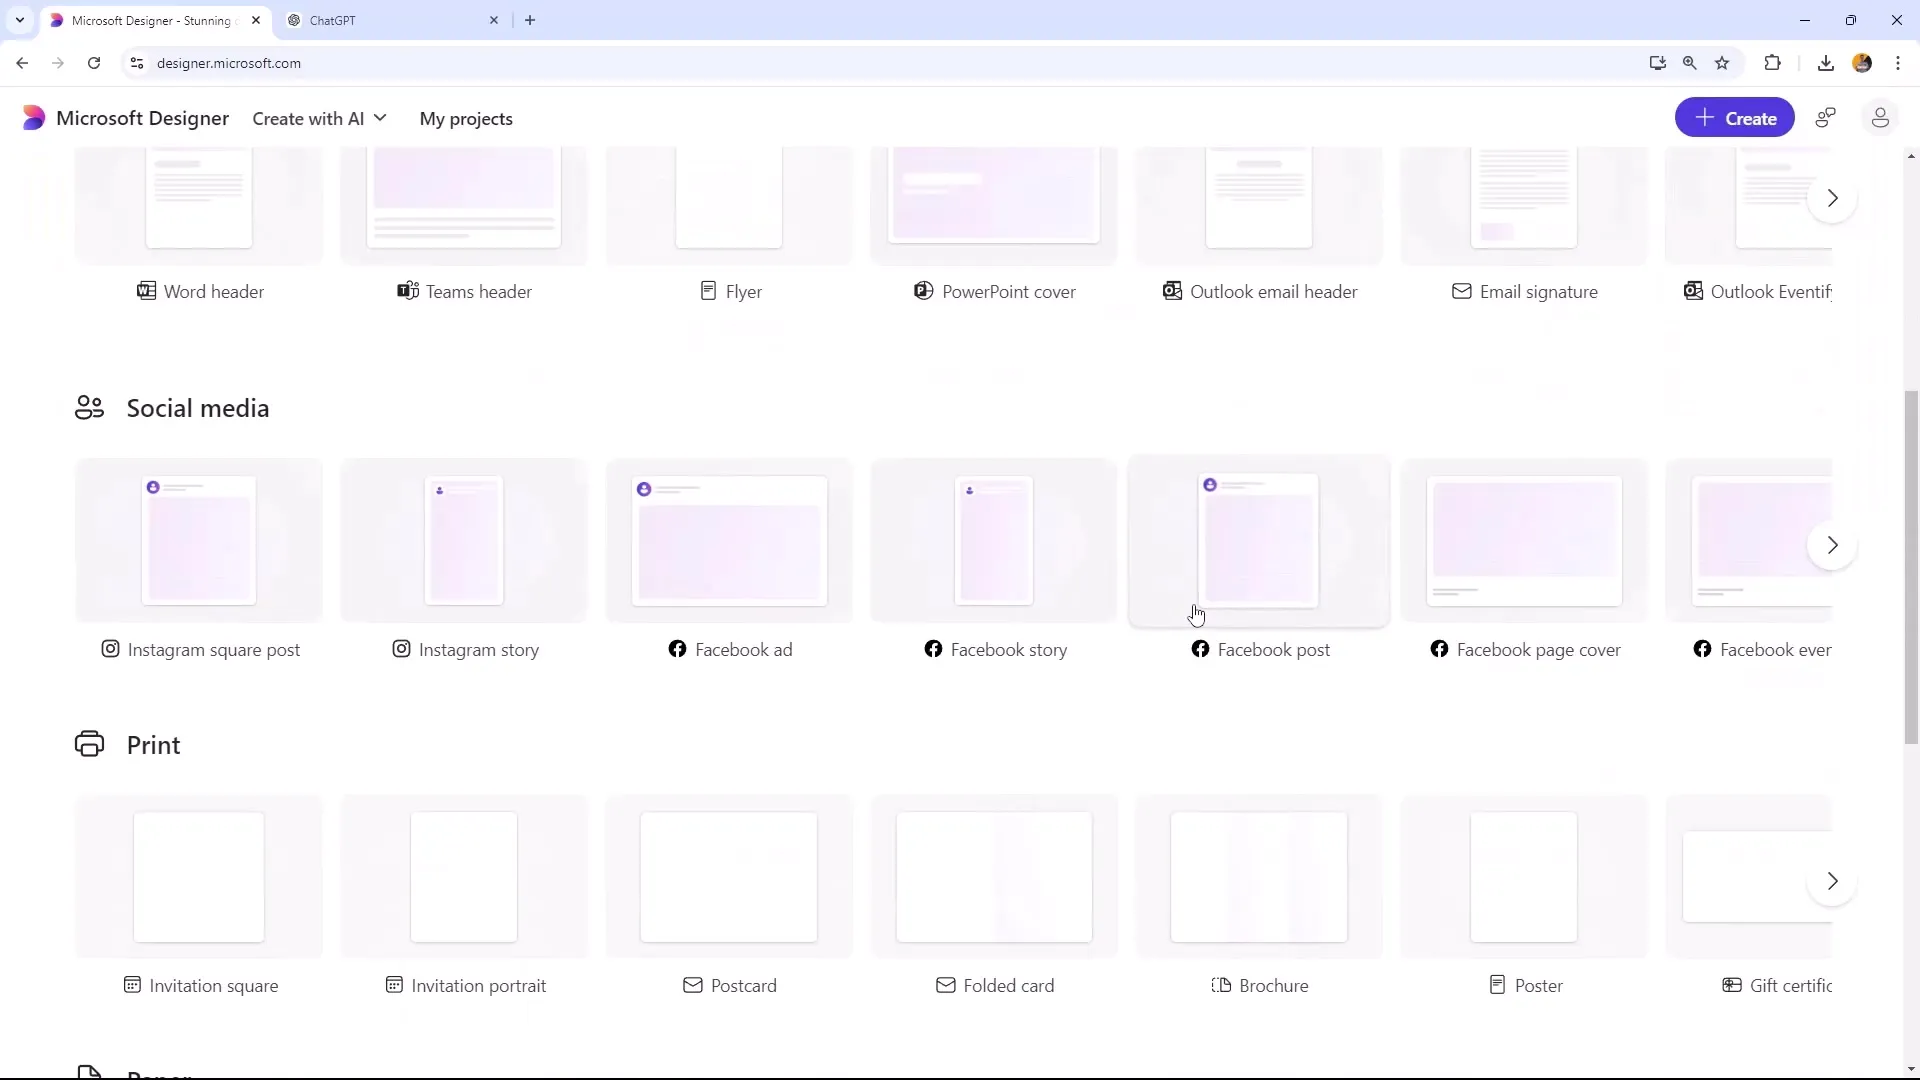
Open Microsoft Designer and select the "Design from scratch" option. Here you will find various templates that you can use, including formats like Instagram Square Post, Facebook Ads, and Twitter posts. To create an Instagram post, click on "Instagram Square Post." This will give you direct access to multiple templates that can serve as your starting point.
Step 2: Using Templates and Media
After selecting the template, you will see a list of available templates. You have the option to upload your own media or work with the existing templates. Additionally, you can choose the "create with AI" option to integrate AI-generated images. Simply drag and drop the desired image onto your template.
Step 3: Creating an AI-Generated Image
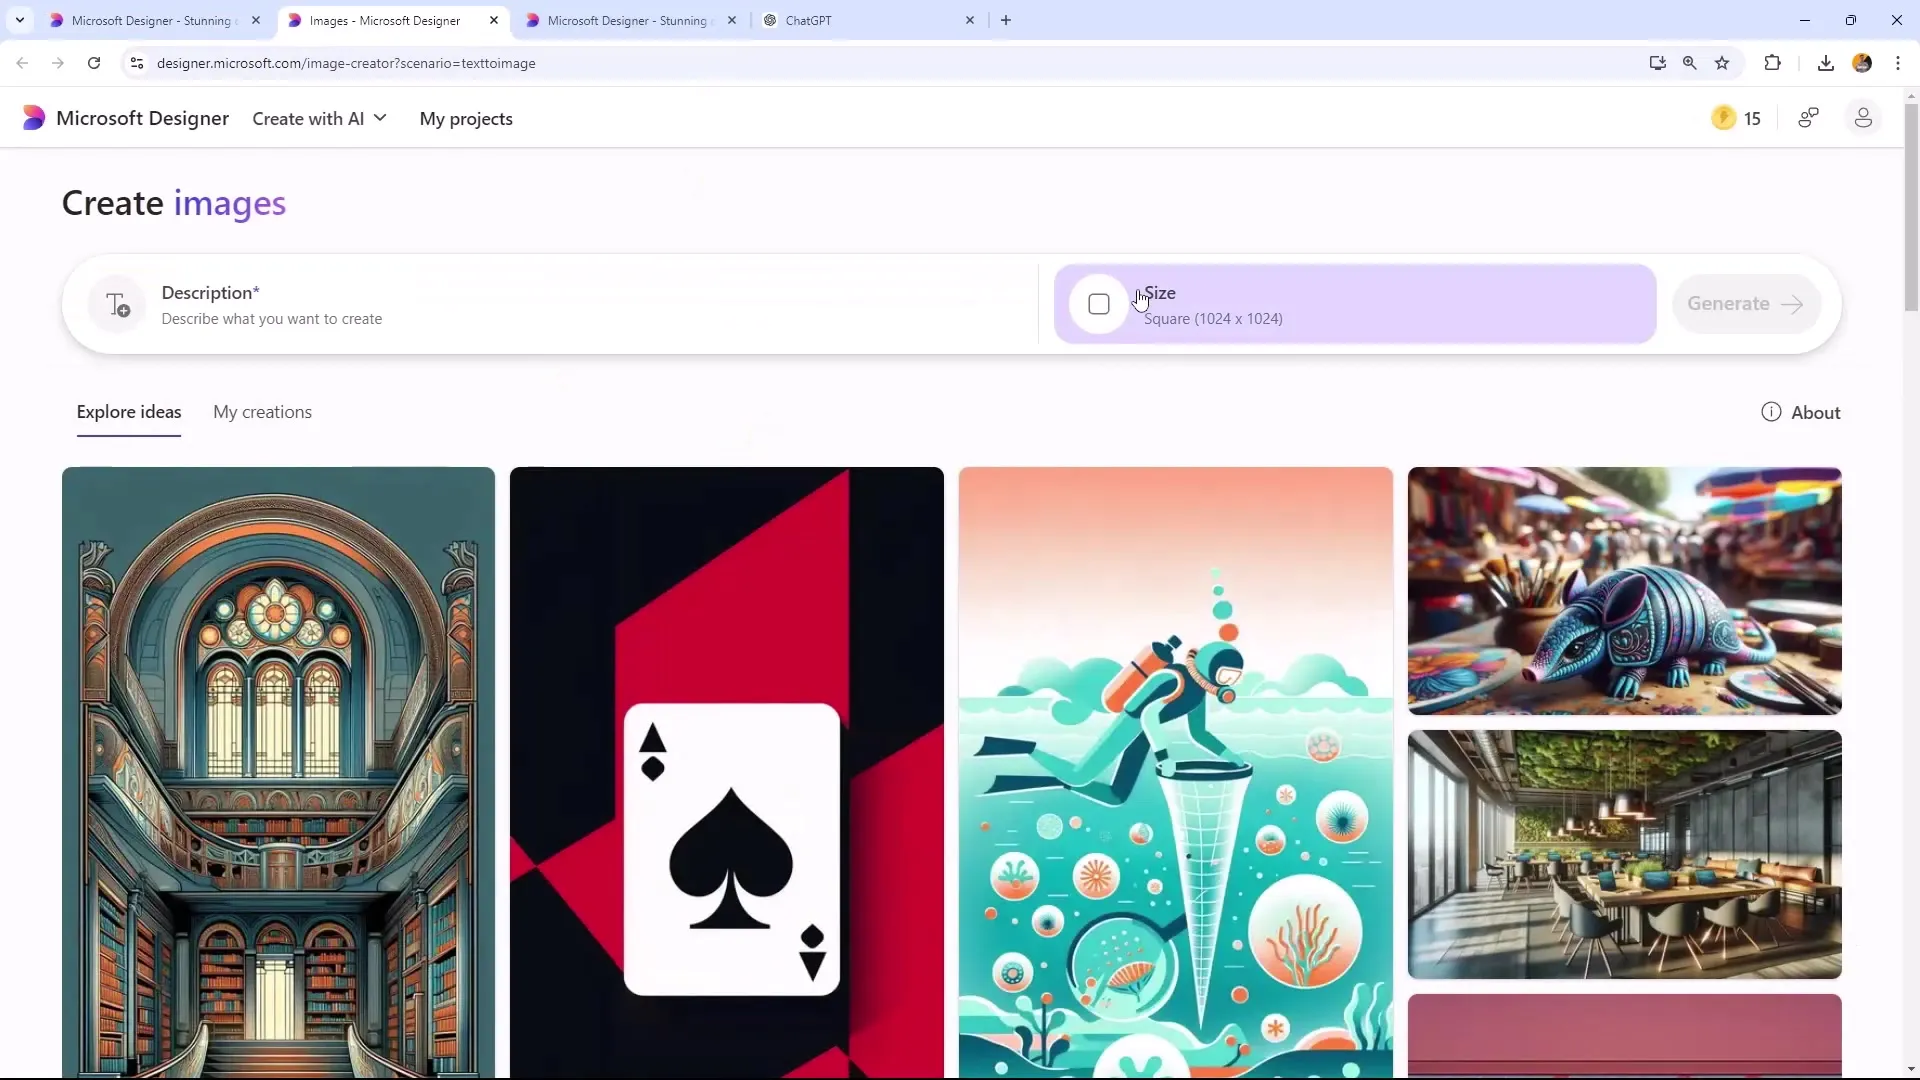
If you want to create an image using AI, enter your desired prompt, such as "female hiker in the mountains." Microsoft Designer will then generate an image accordingly. You can choose whether you want the image in square format and then add it to your design.
Step 4: Adding New Pages
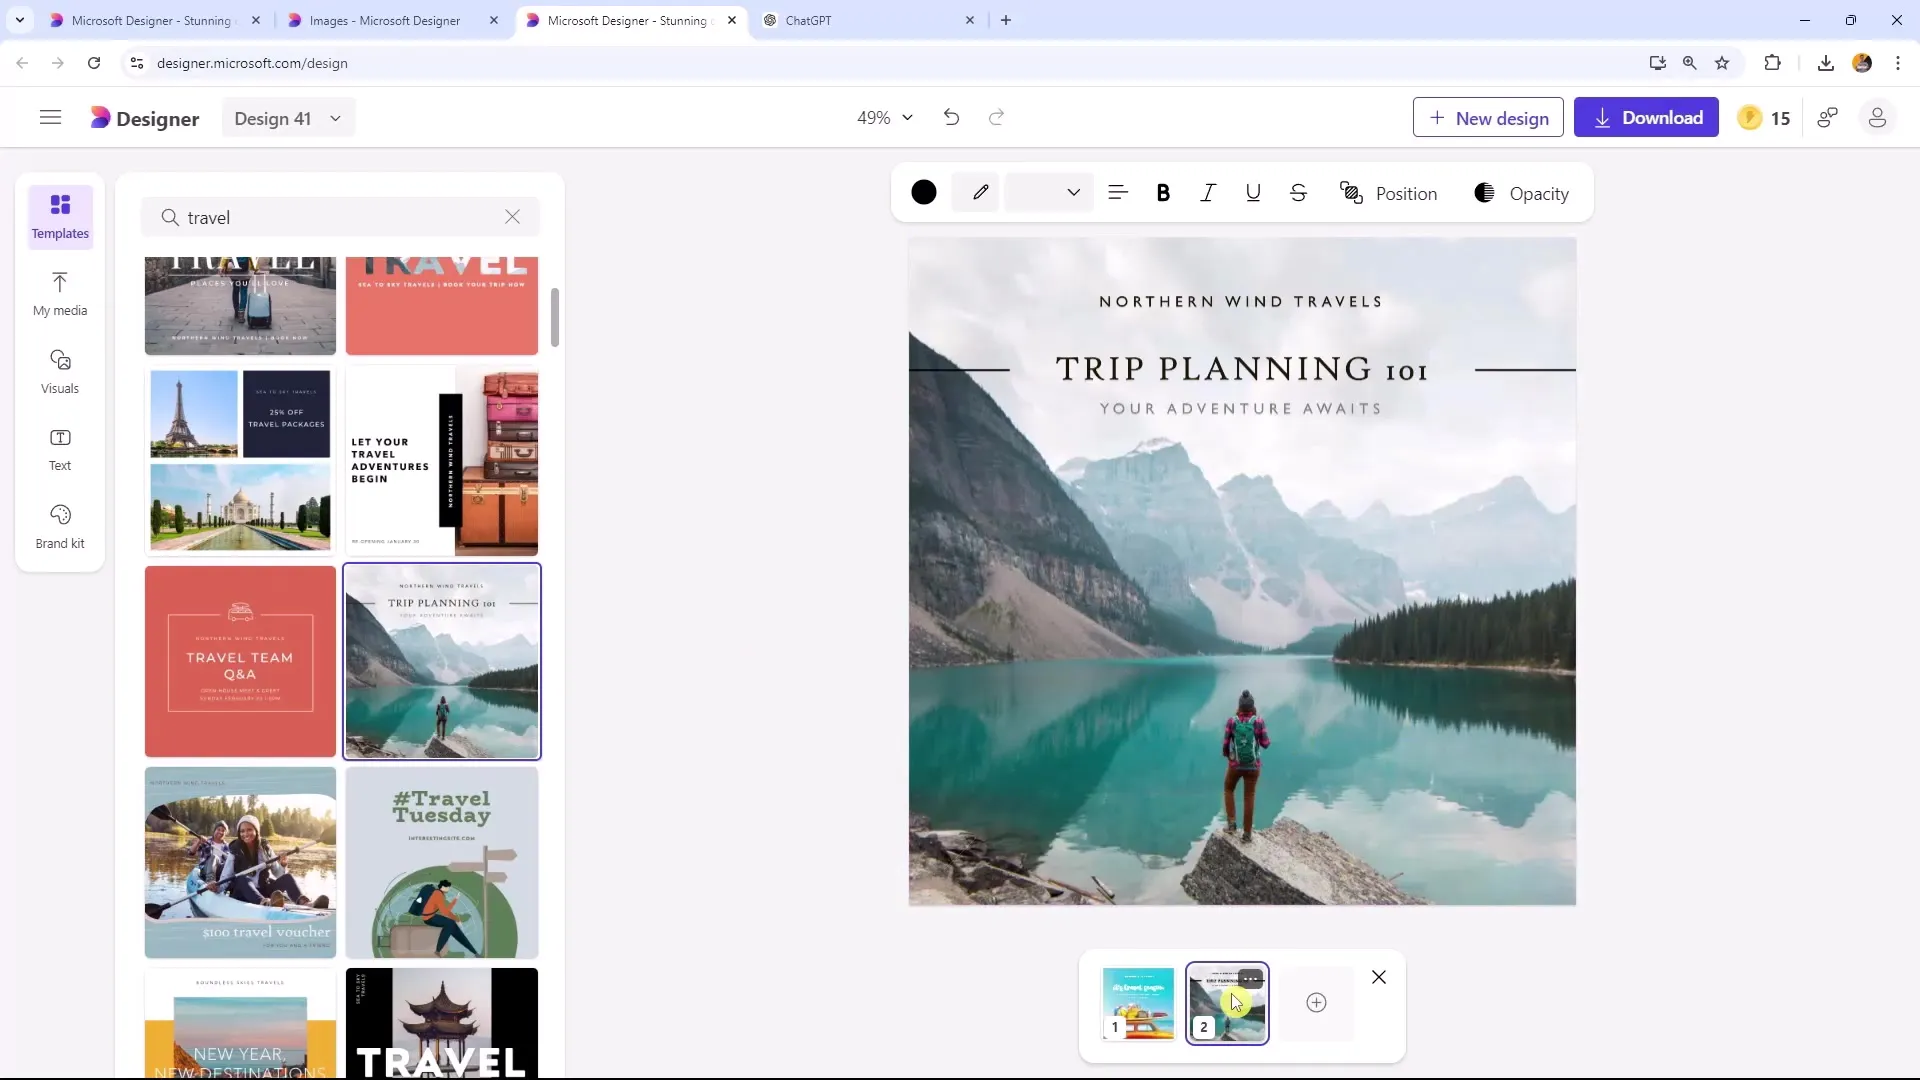
If you need an additional page for your design, you can click on "Add page" to create a copy of the existing page. This allows you to create multiple variations of your design.
Step 5: Adjusting the Elements
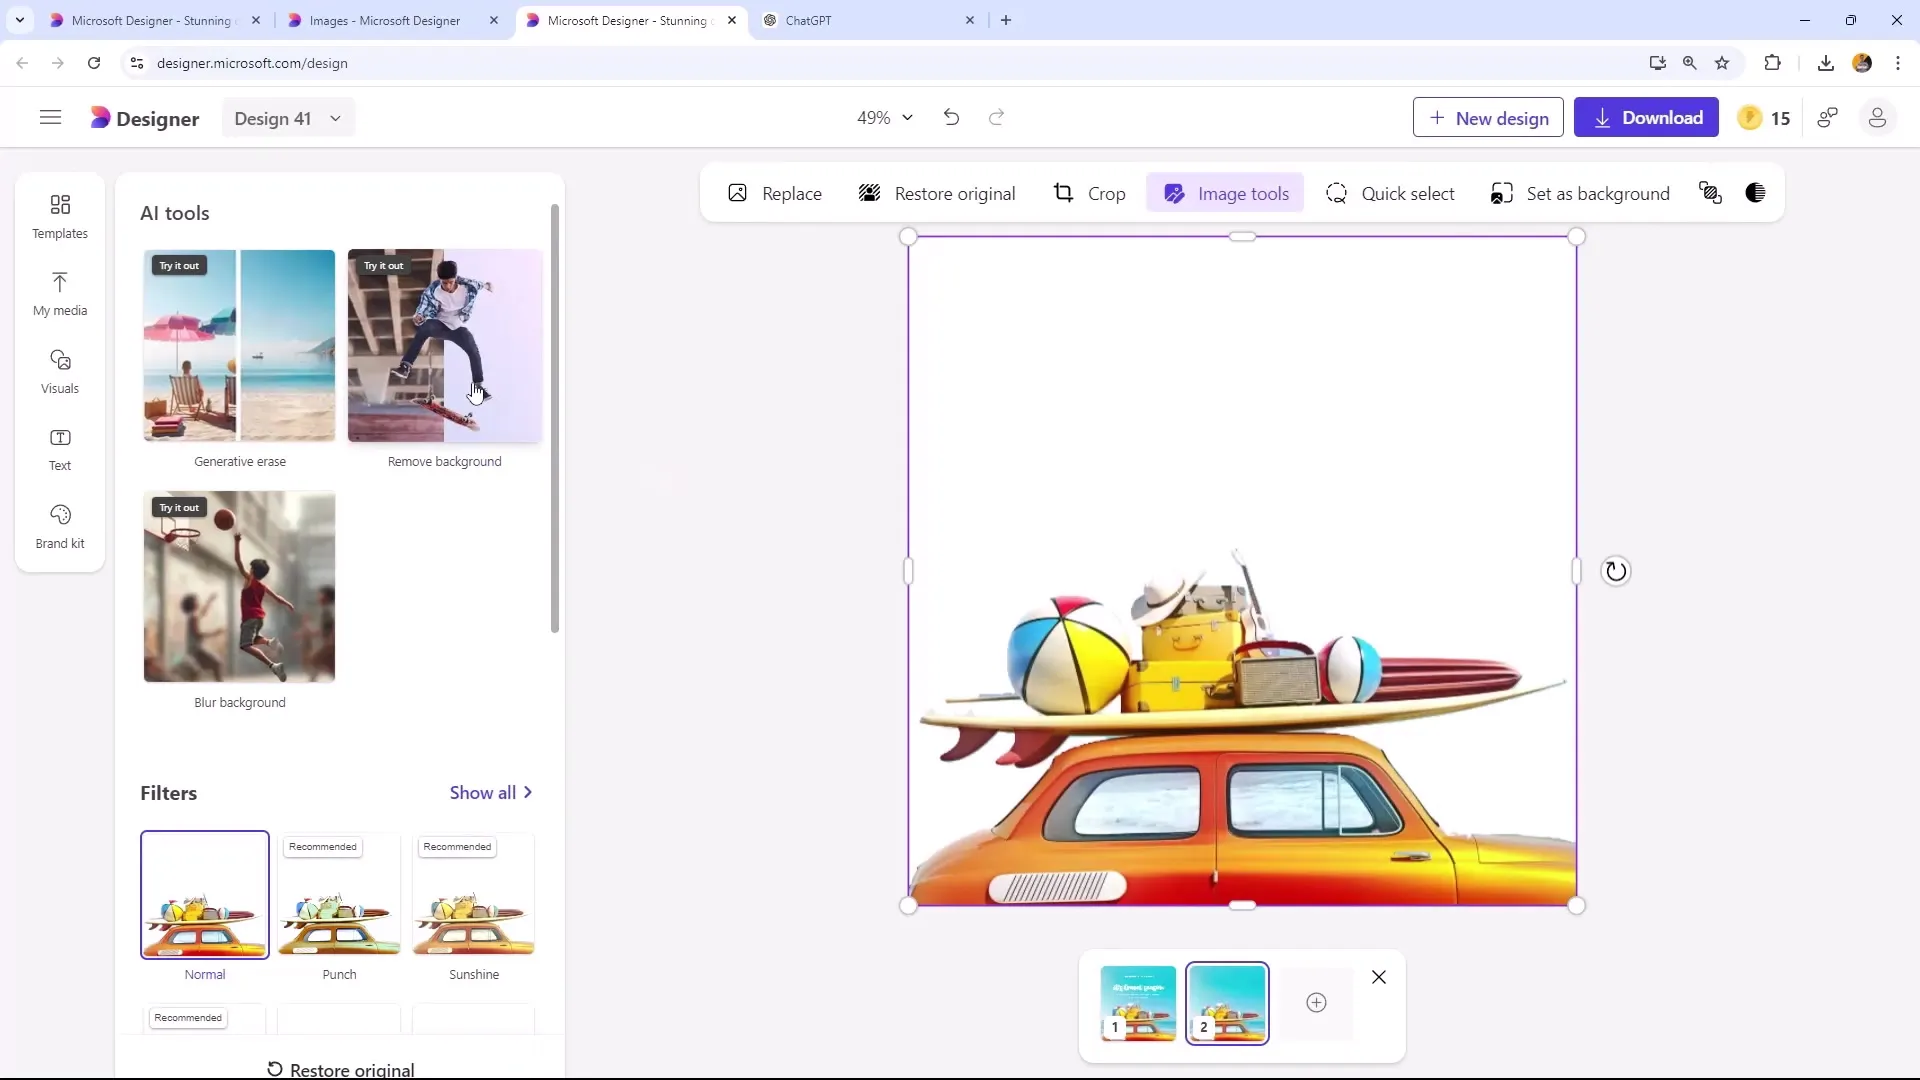
Select the image or template you want to edit. Here, you can remove the background and customize your design. You can combine different images by placing the background-free image on your first page. This creates a more visually appealing result.
Step 6: Adding and Formatting Text
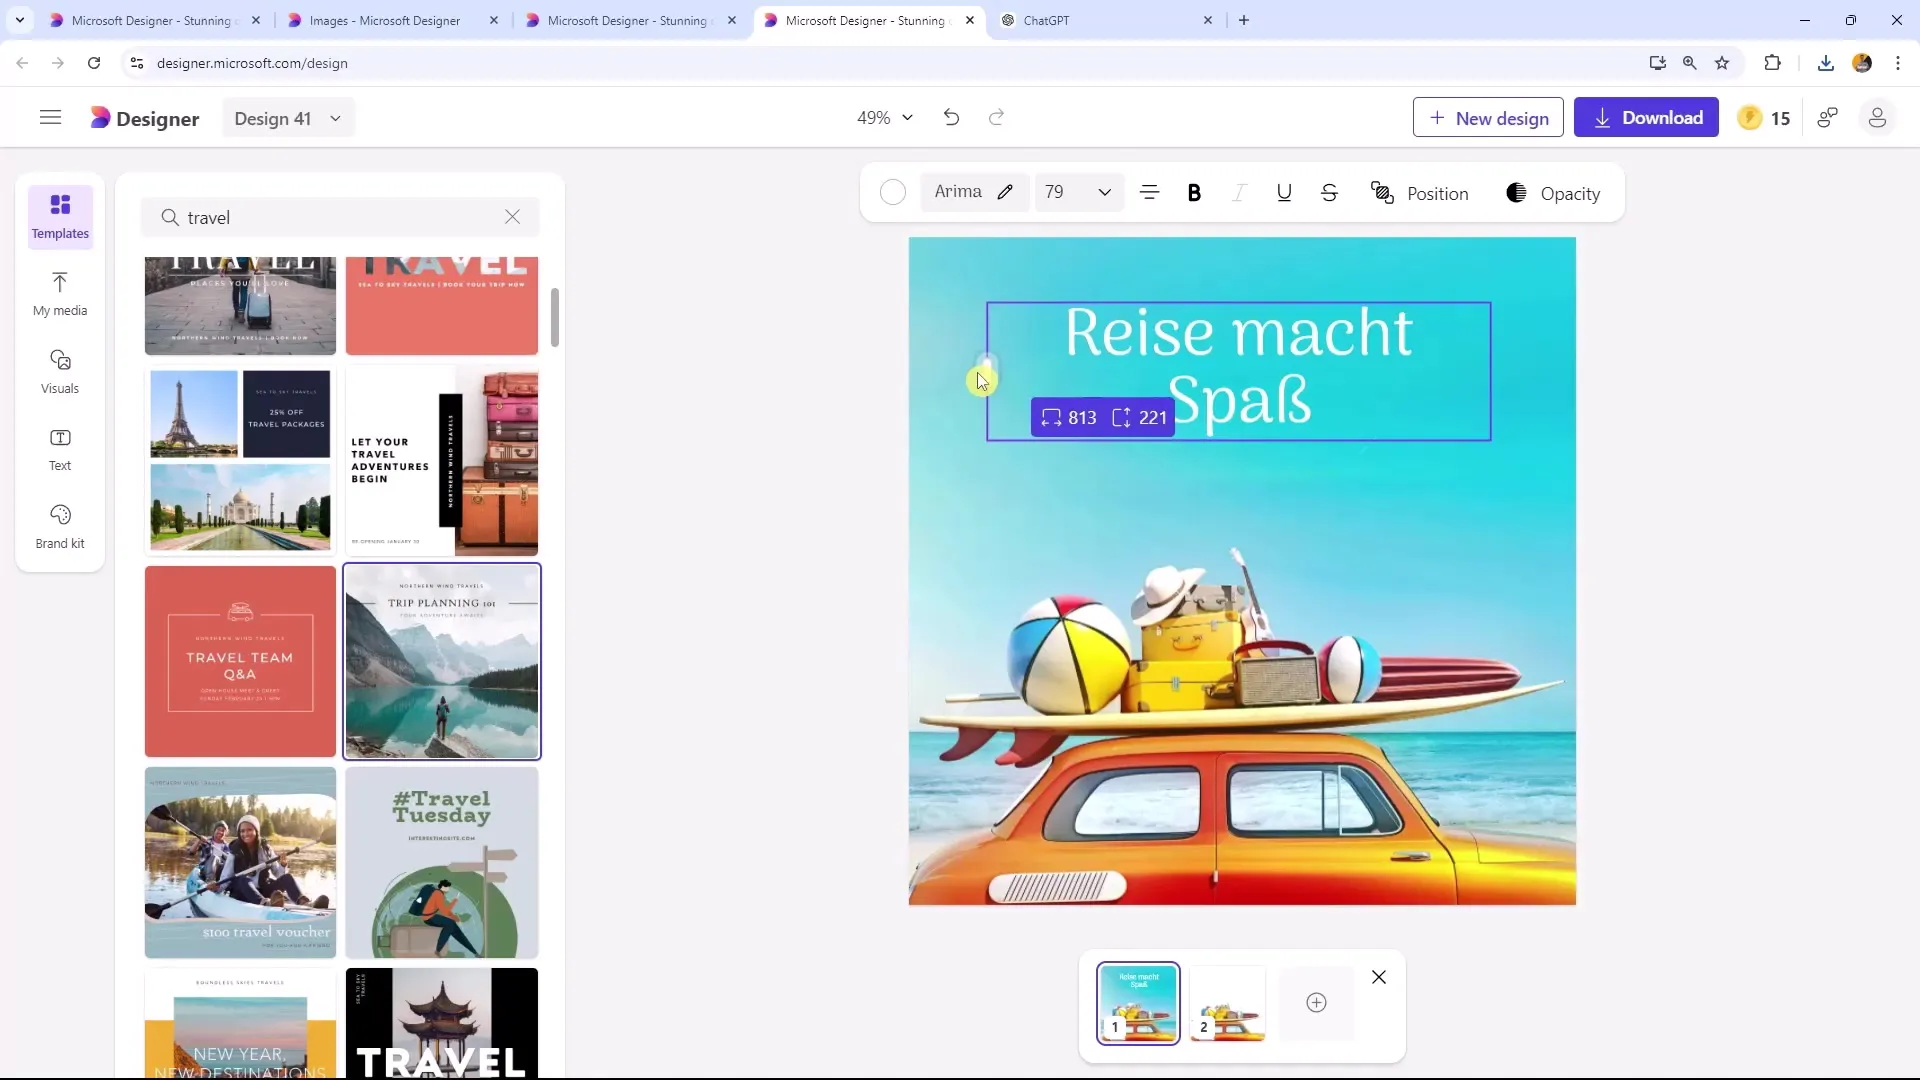
Now you can add text to your design. Use a font you like and format the text to be easily readable. For example, you could write "Traveling is Fun." Position the text above your image, making sure it's visible but not obstructing the image.
Step 7: Creating 3D Effects
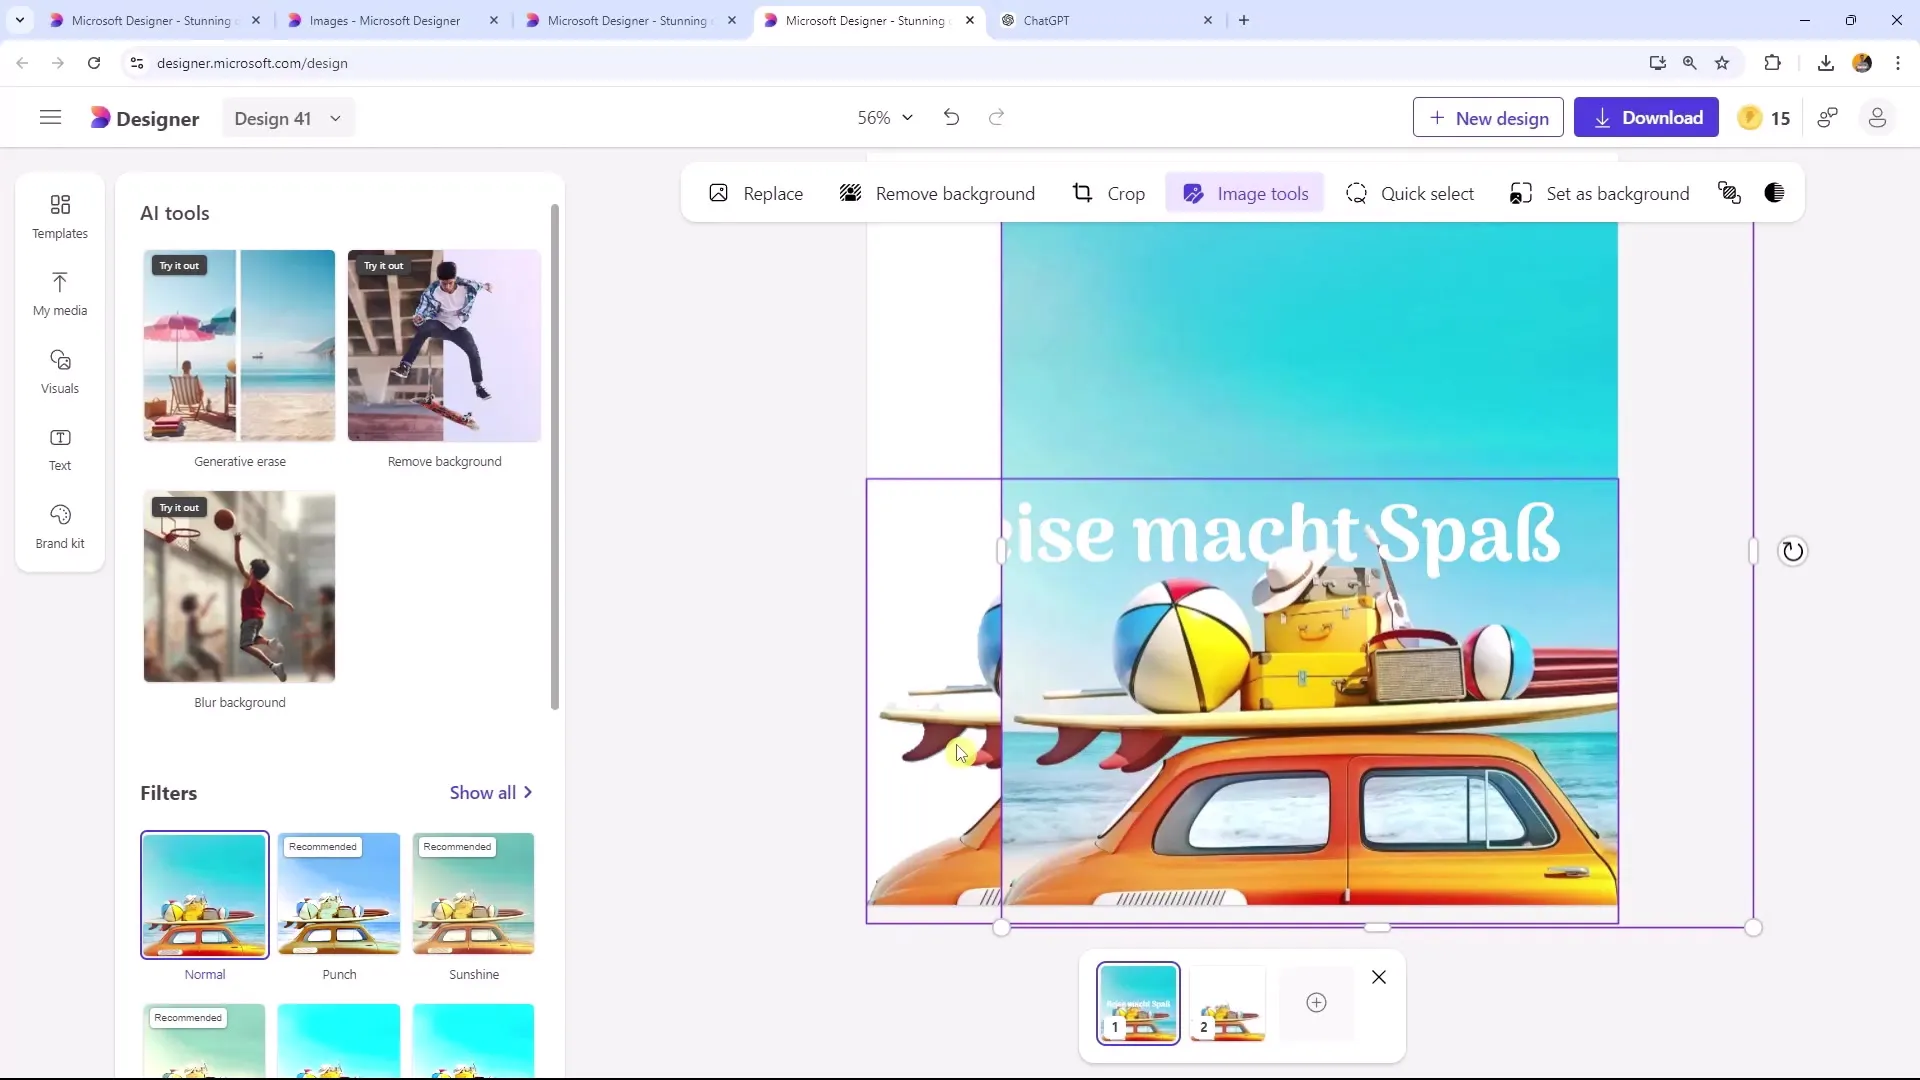
To achieve an interesting 3D effect, make sure your text is positioned between the background image and your main image. This way, it will appear as if the text is slightly disappearing behind the image, enhancing the visual depth of your design.
Step 8: Finalizing Design and Download
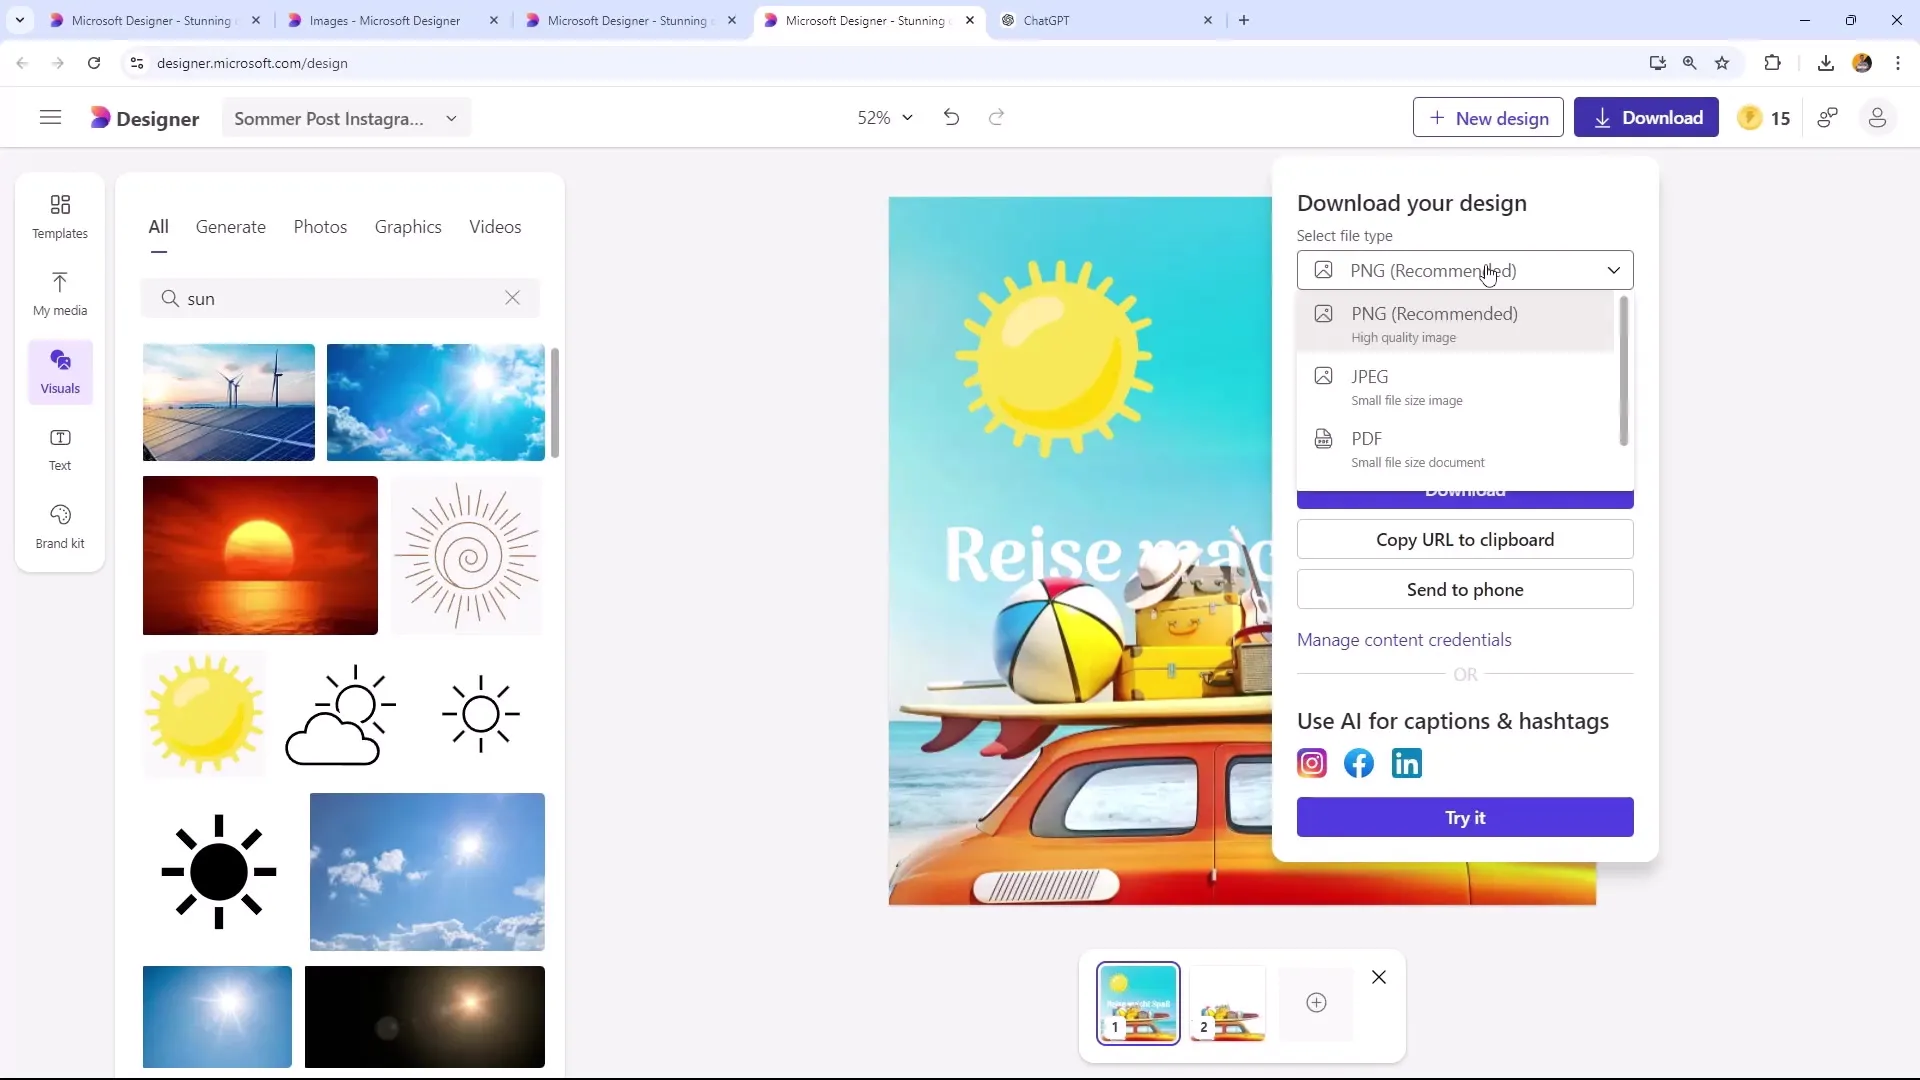
Once you are satisfied with your design, give it a name and choose the download option. Make sure to download in PNG format to ensure the best quality. You can also select the current page to save only the completed page.
Summary
In this tutorial, you have learned how to create an attractive Instagram post with Microsoft Designer. From selecting the template to using AI-generated images to adjusting your texts and layout – you are now able to develop creative and appealing designs.
Frequently Asked Questions
How can I customize texts in my design?You can change the font, size, and color in the text editor of Microsoft Designer.
Can I add multiple pages to my design?Yes, you can add multiple pages by clicking on "Add page".
Which format is best suited for Instagram?For Instagram, the PNG format is best suited as it provides high image quality.
