Microsoft Designer offers you a user-friendly platform to create engaging LinkedIn posts that support both organic and paid content. In this guide, I'll show you how to create appealing designs for LinkedIn in just a few steps using Microsoft Designer. Whether you want to create a simple image or a complex layout, these steps will help you bring your ideas to life effectively.
Key Insights
With Microsoft Designer, you can use various templates for LinkedIn posts, differentiate between organic and sponsored content, and enhance your designs through AI-powered features to make them look more professional.
Step-by-Step Guide
Step 1: Create a Design from Scratch
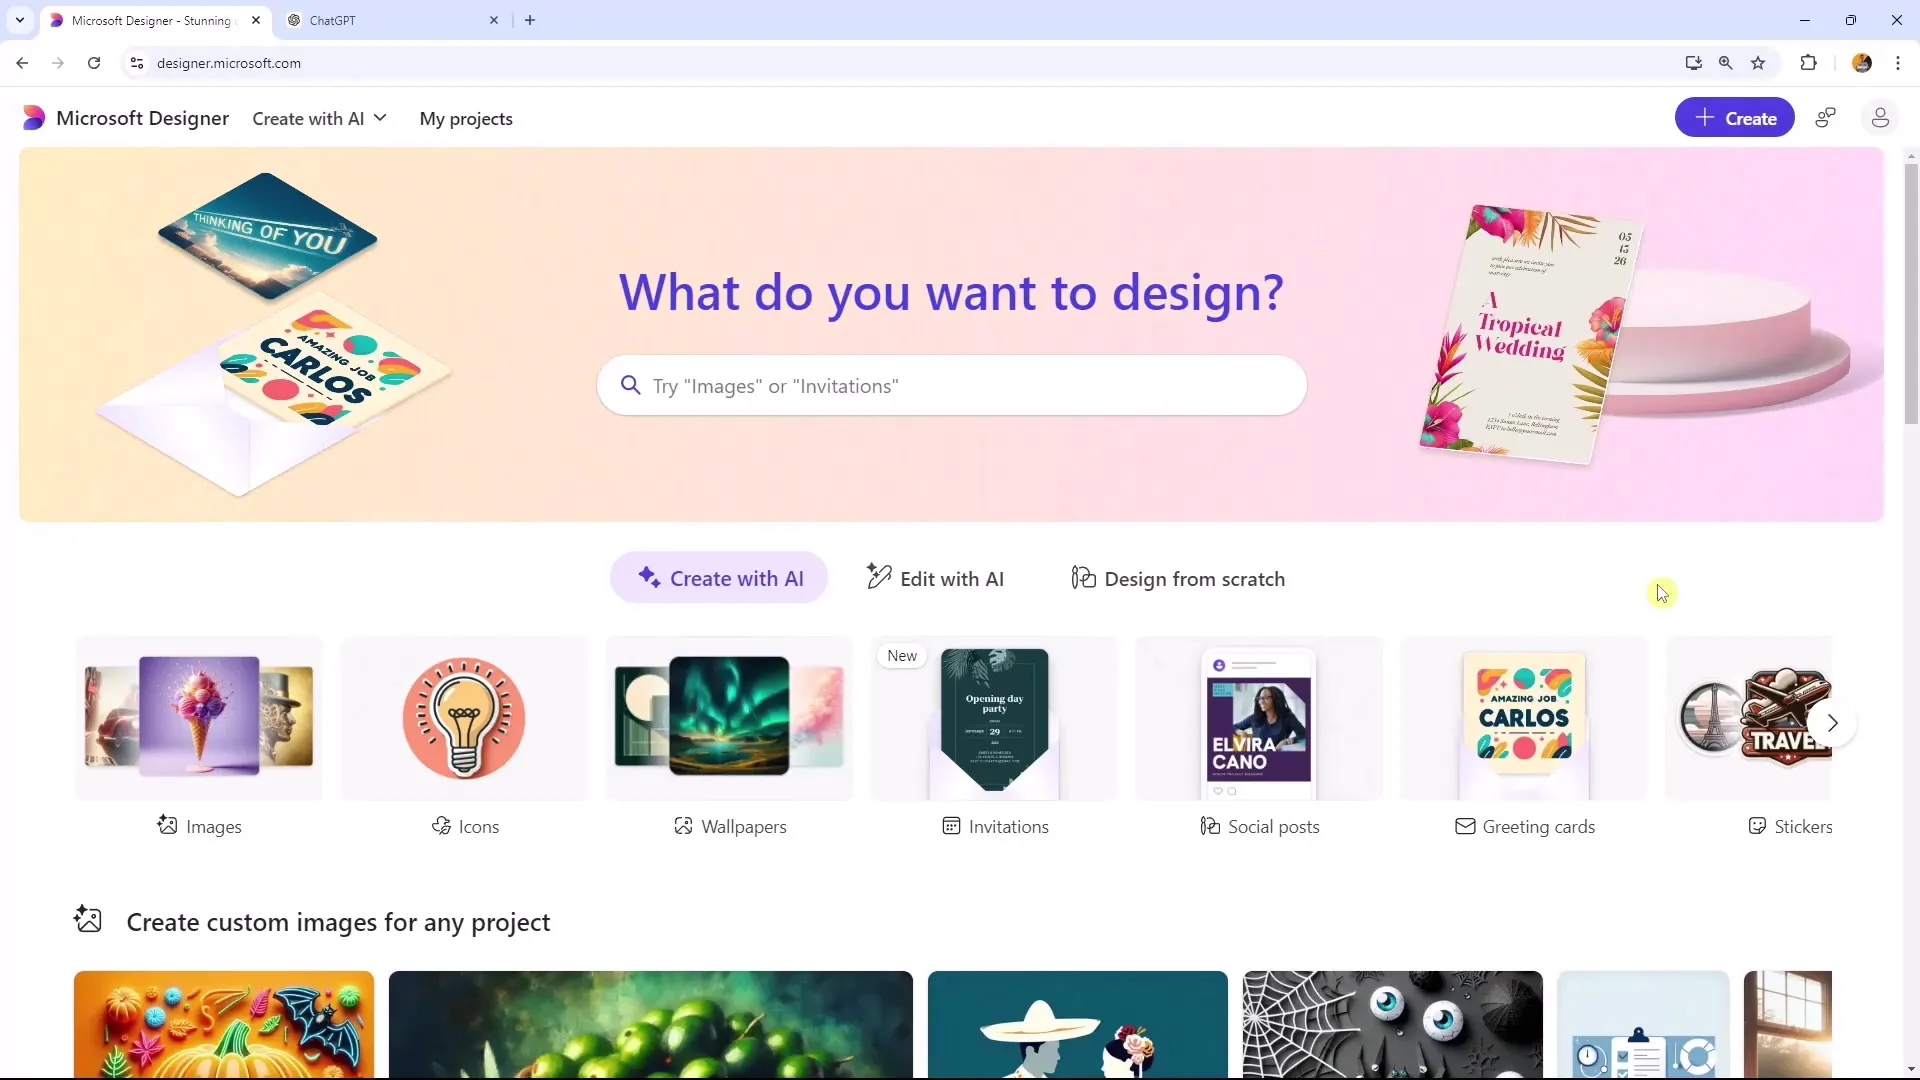
To create a new LinkedIn post, start by opening Microsoft Designer. From the main menu, select the "Design from scratch" option. Then, navigate to the templates for LinkedIn posts. You have a choice of various formats such as portrait for stories, landscape for regular posts, and square formats.
Step 2: Choose a Template
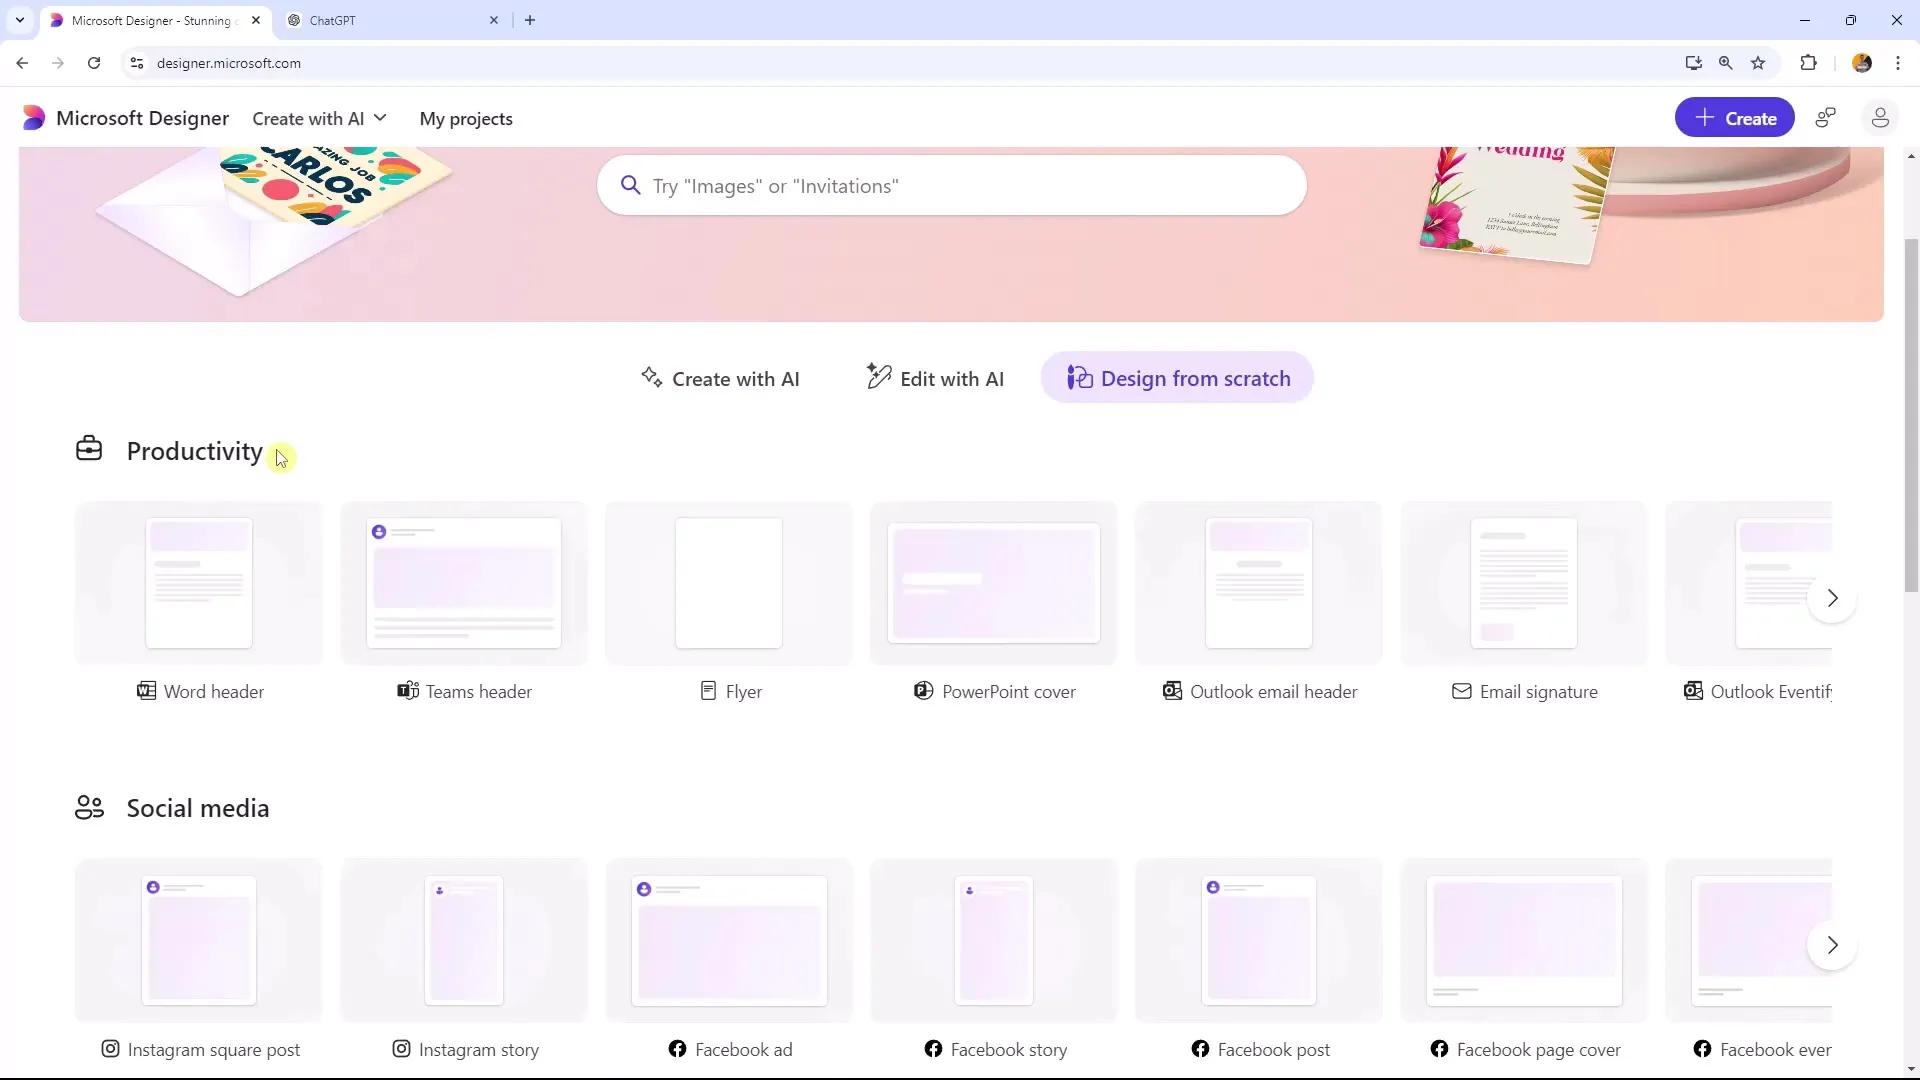
Once you've selected the LinkedIn Post category, you can browse through the different templates. To start with, I recommend choosing a minimalism template. You'll notice that the layout is clear and engaging, making it ideal for LinkedIn users.
Step 3: Customize Content
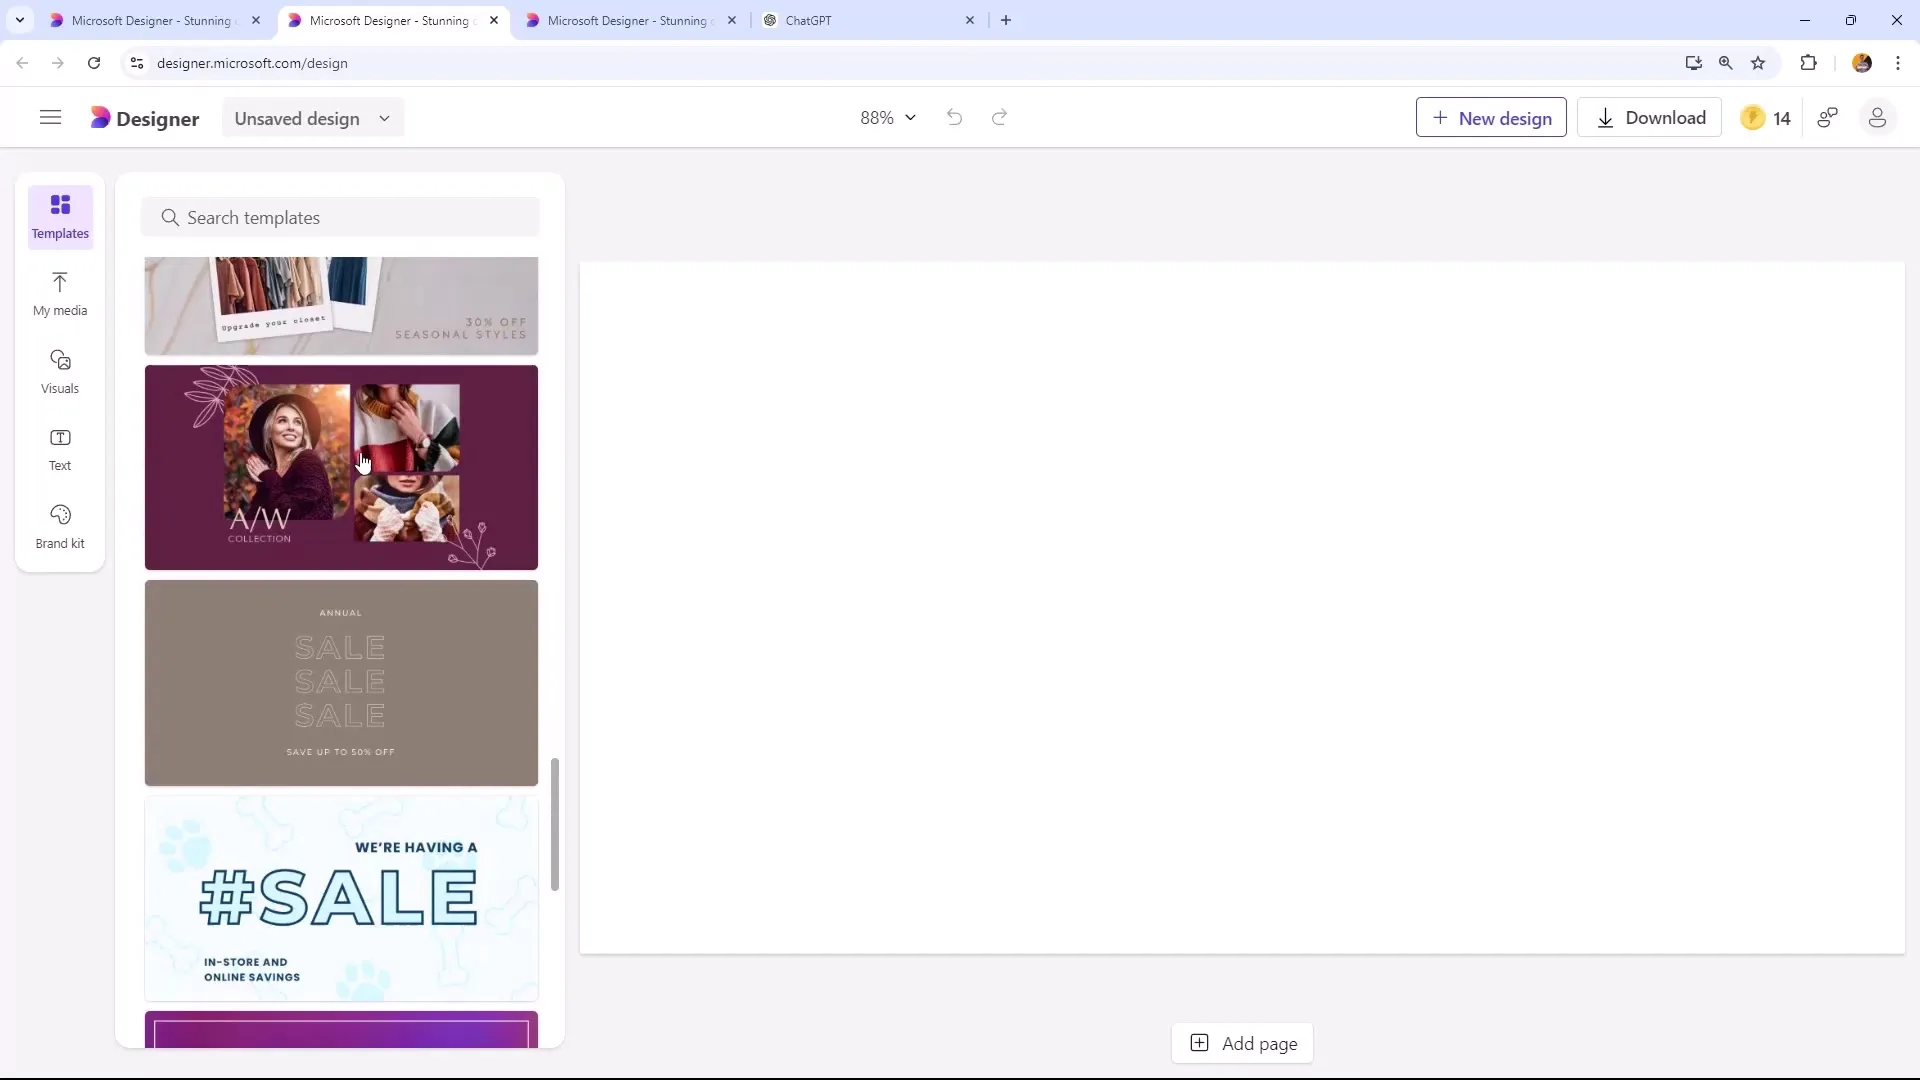
Now you can customize your content. For example, if you want to use an image of clothing items, but they don't match your message, you can alternatively click on "Create with AI Images" and search for realistic images or upload your own.
Step 4: Upload and Style Image
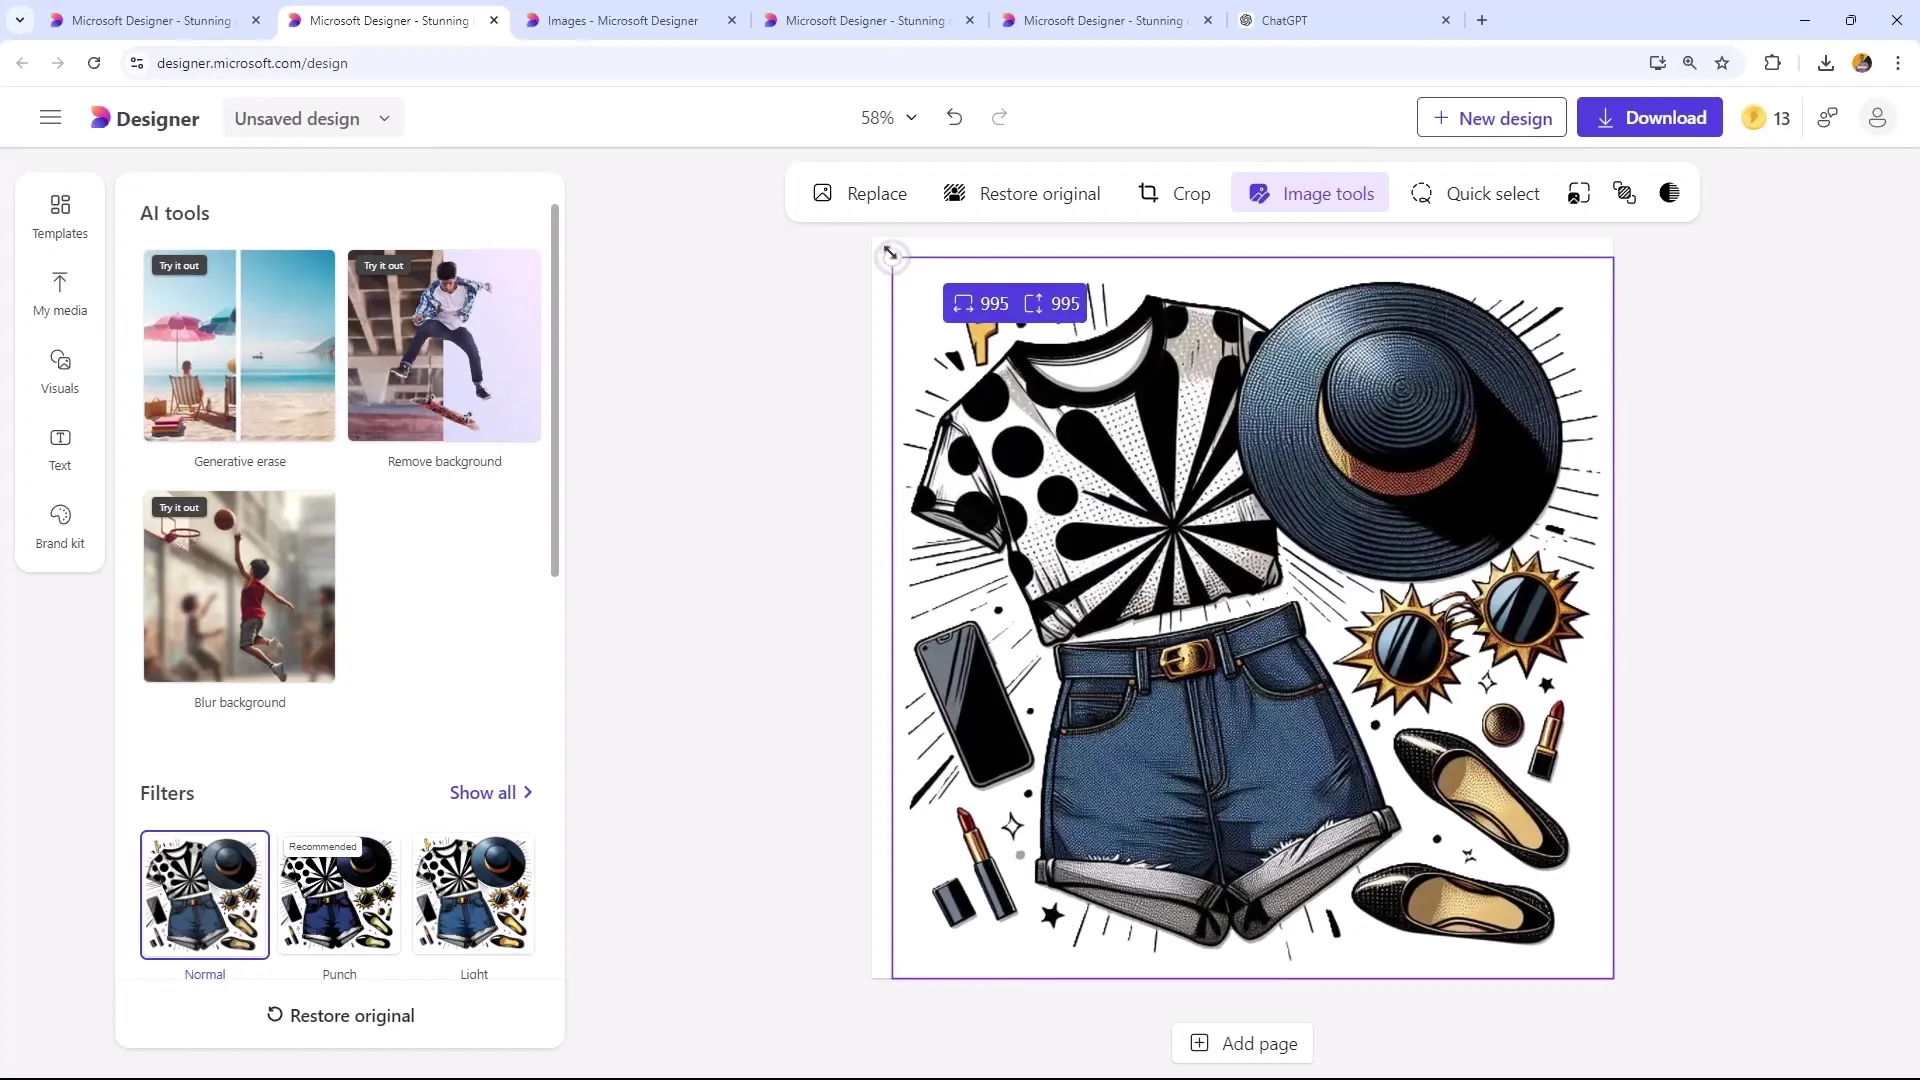
Once you've chosen the image you want to use, upload it. In image editing, you can adjust the style. Click on "Restyle" and choose a style you like, such as the pop art style. Note that you can customize the background elements to achieve the desired effect.
Step 5: Remove Background
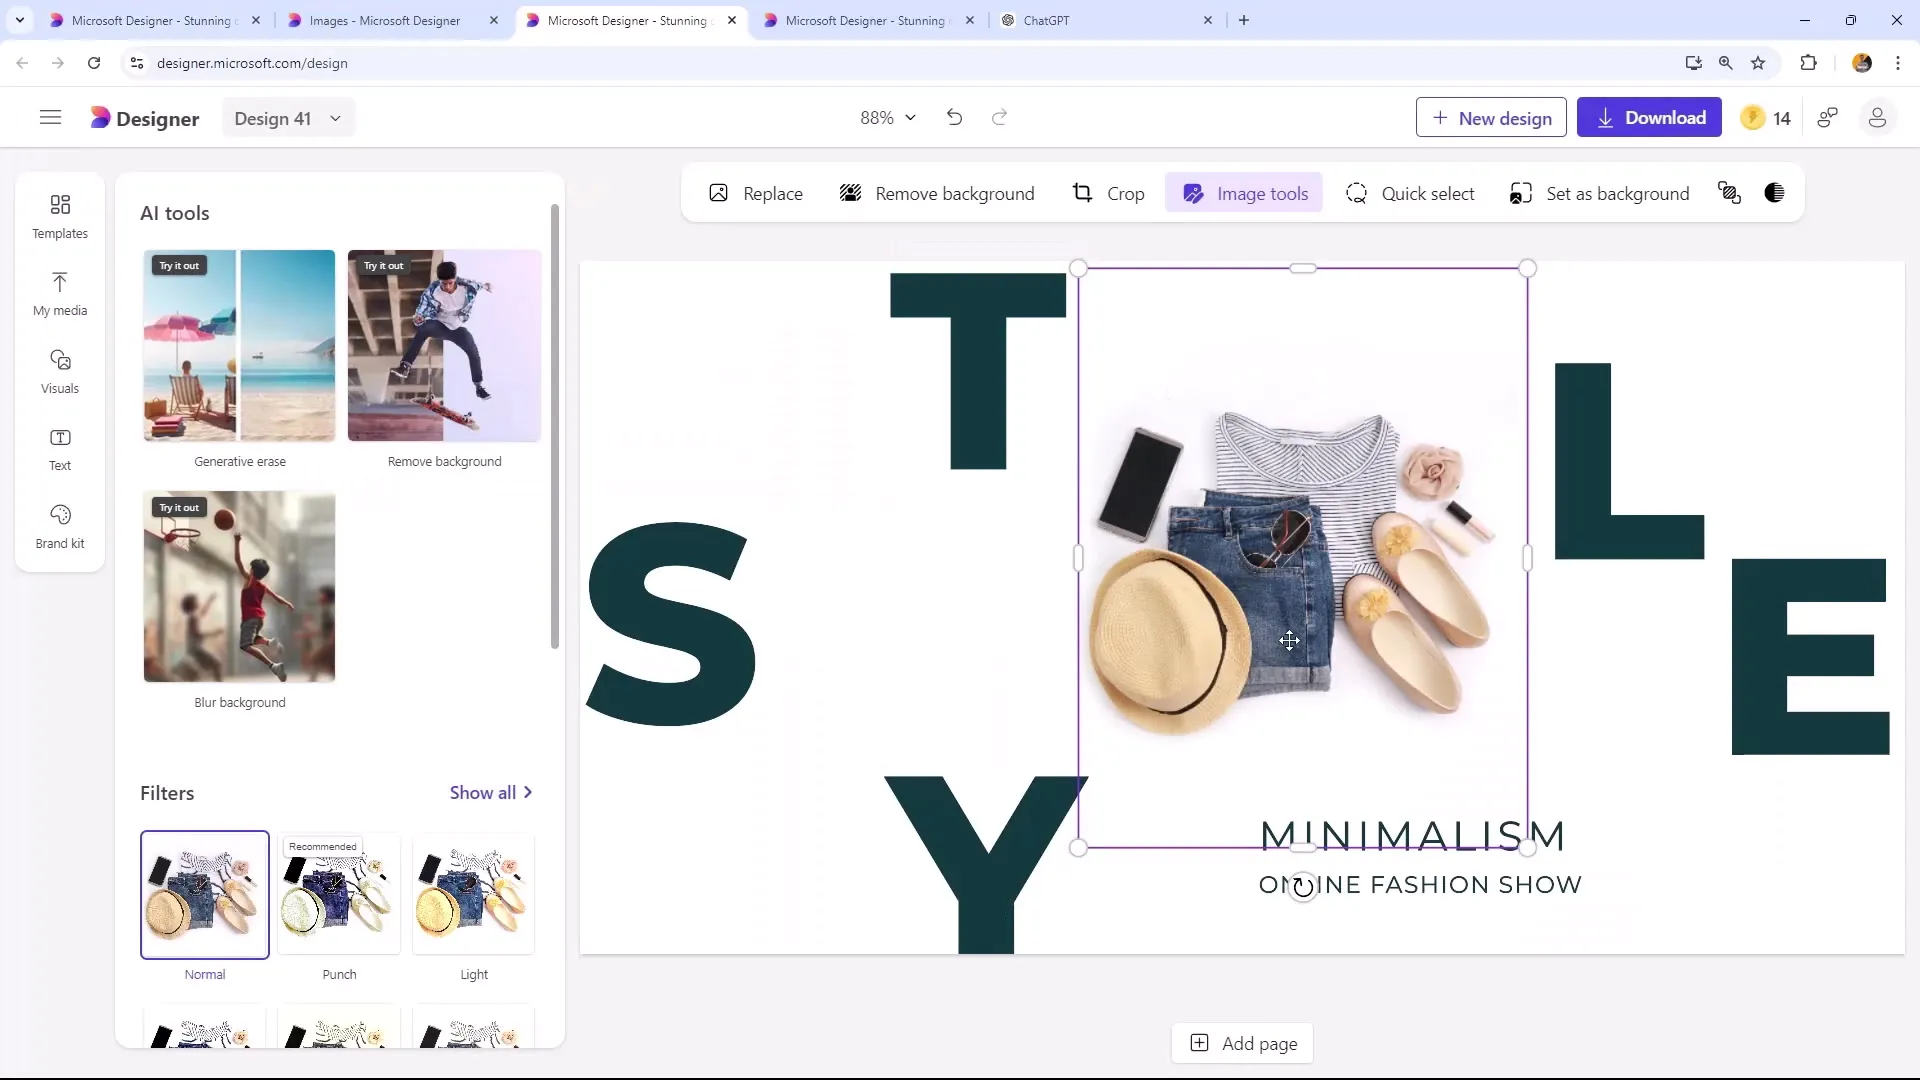
To make the image more appealing, go to the "Image Tools" and select the "Remove Background" function. This function is useful for highlighting your main image. If that doesn't work, you can manually select and remove the desired background.
Step 6: Combine Image and Text Elements
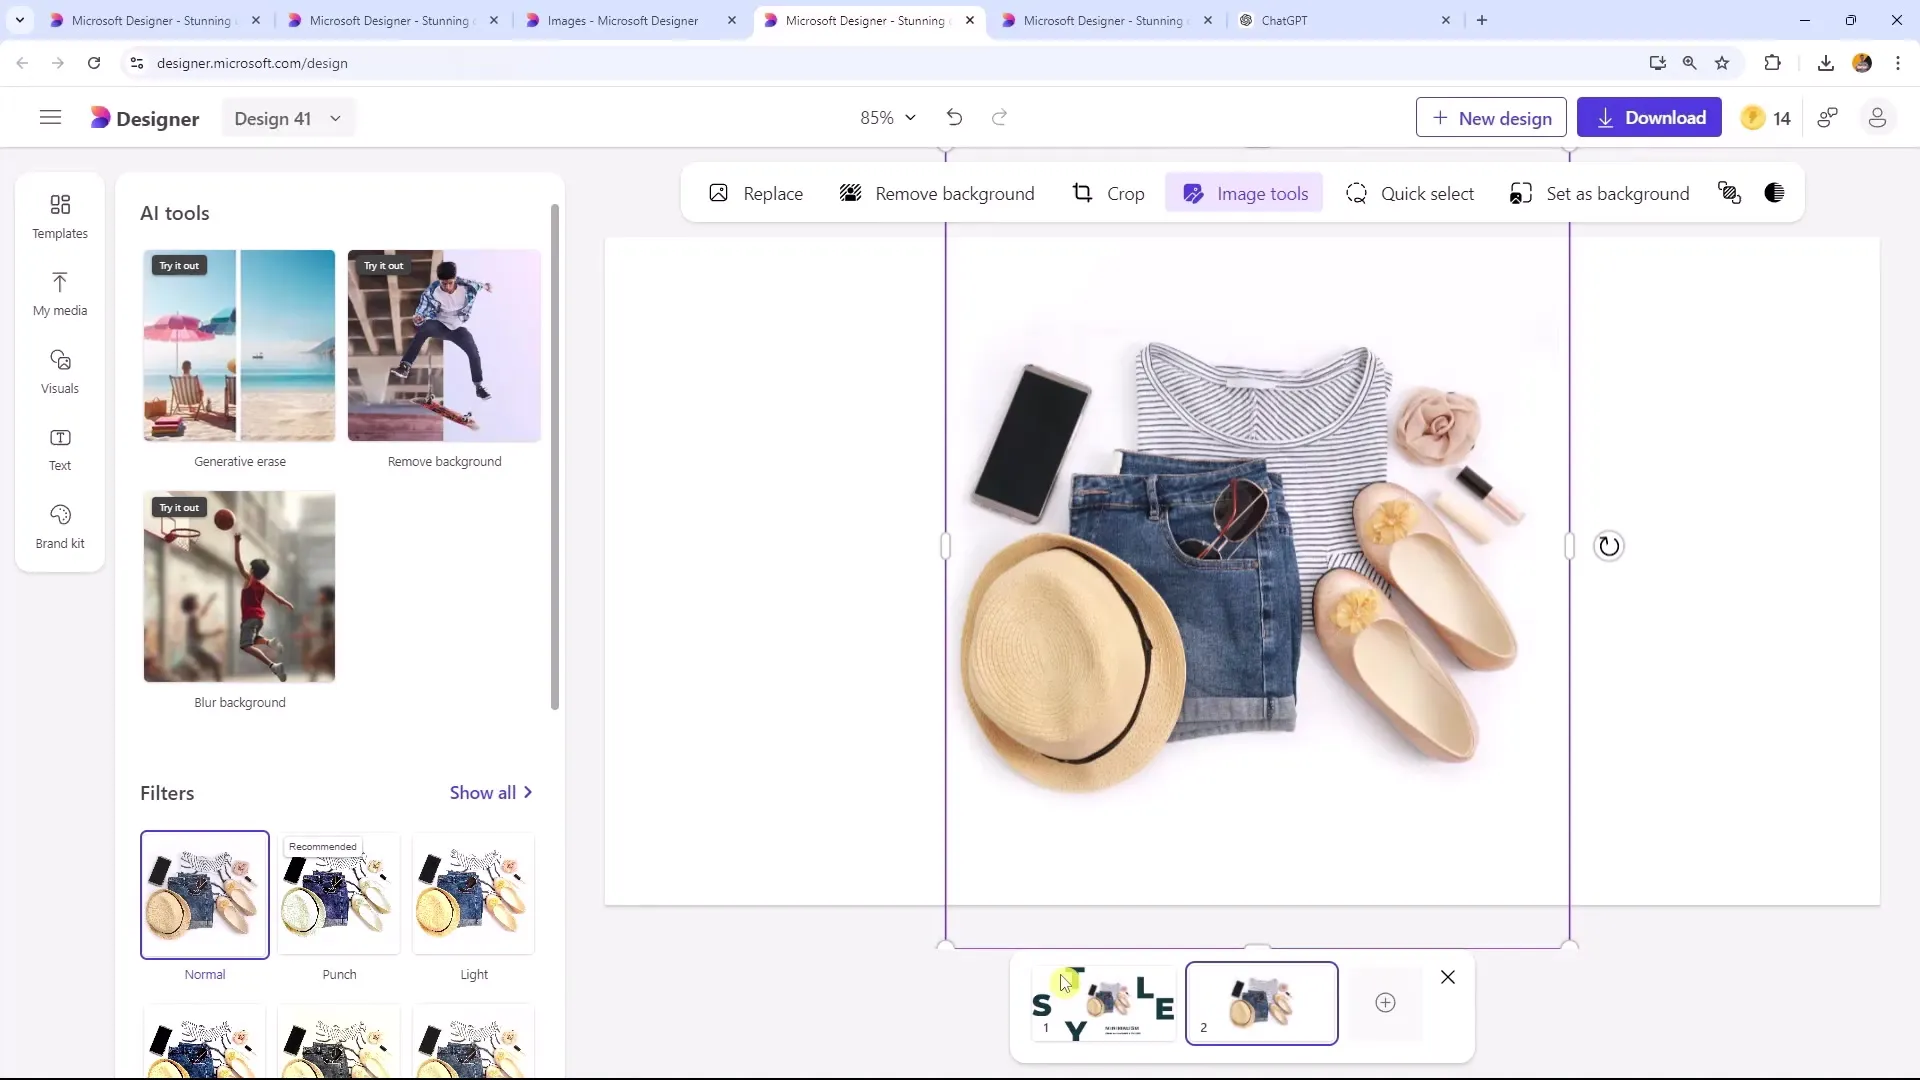
Once you're satisfied with the background, copy your edited image and paste it into your template. Now it's time to add your text elements. Make sure the text is clear and concise to effectively engage the readers.
Step 7: Adjust Colors
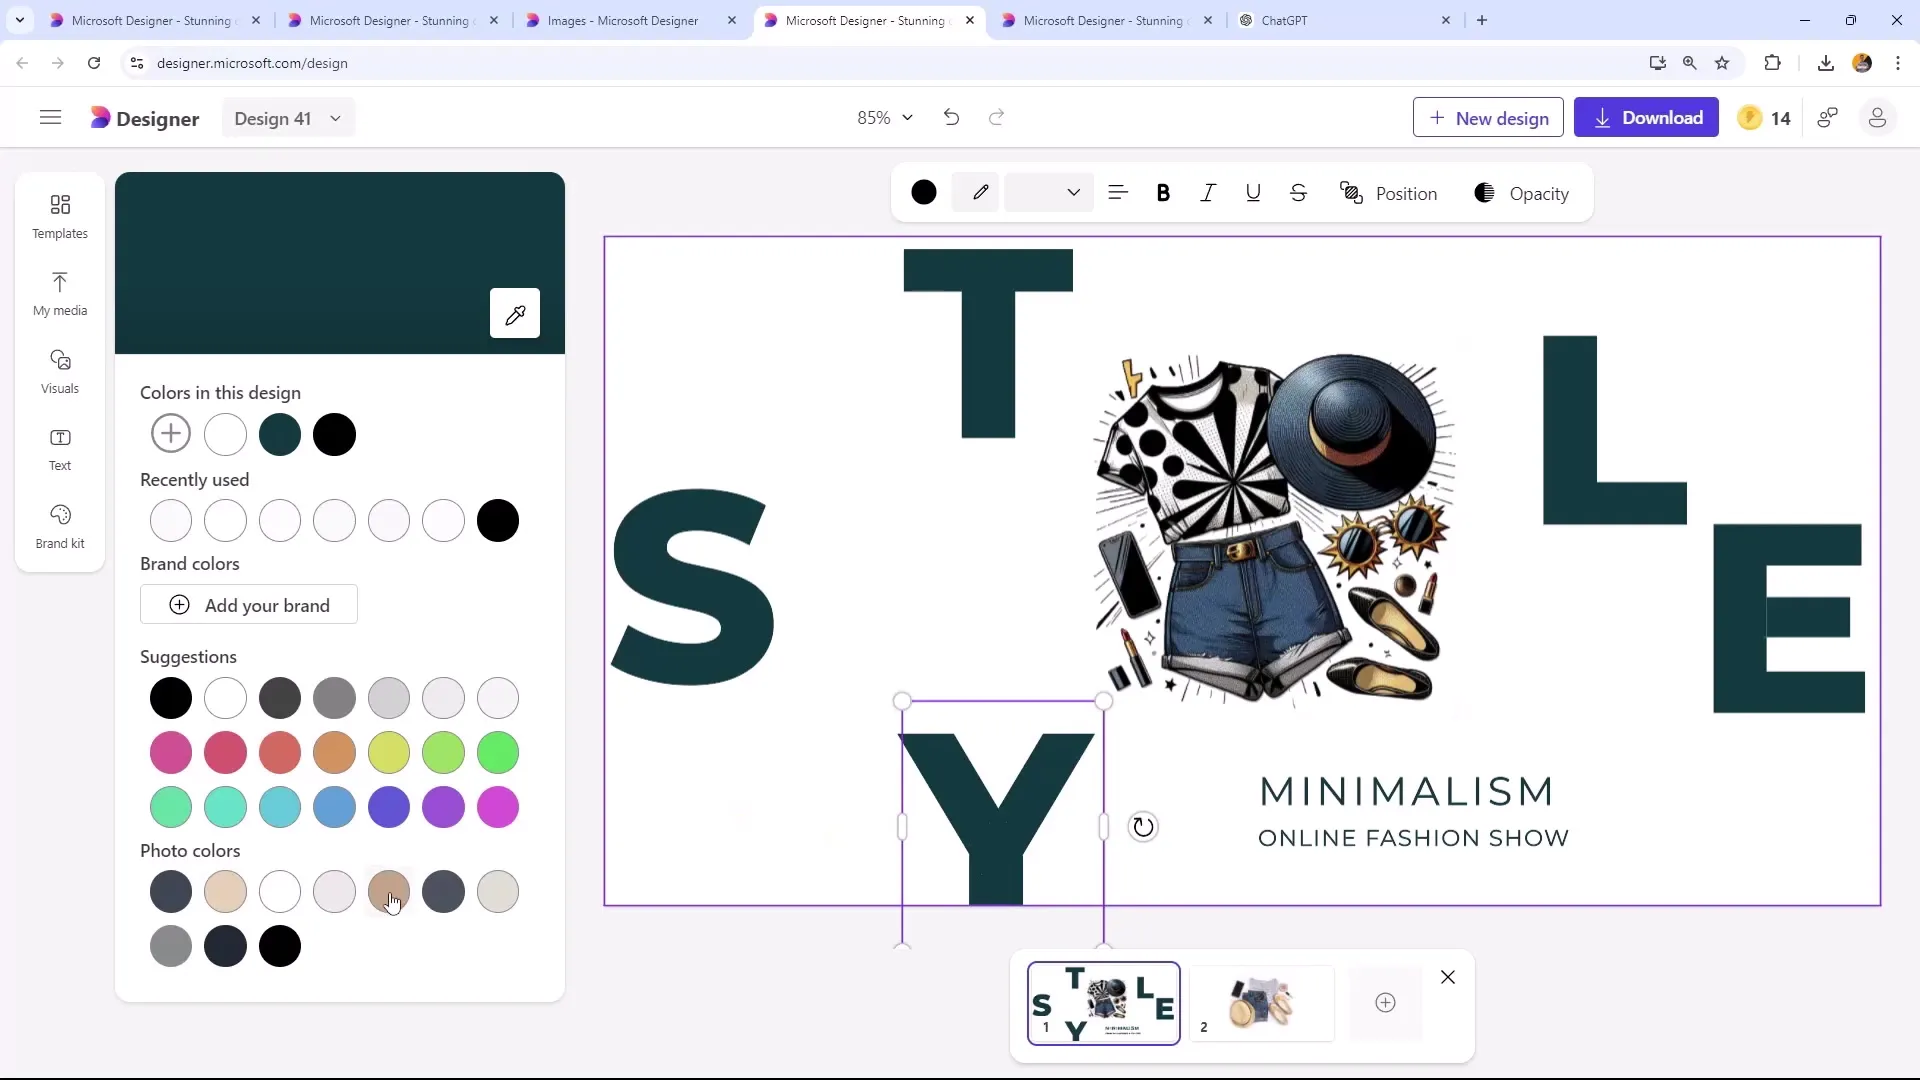
Use the color palettes derived from your image to color the text elements for more coherence and visual appeal. You can change the texts or use new fonts to achieve different styles.
Step 8: Download Design
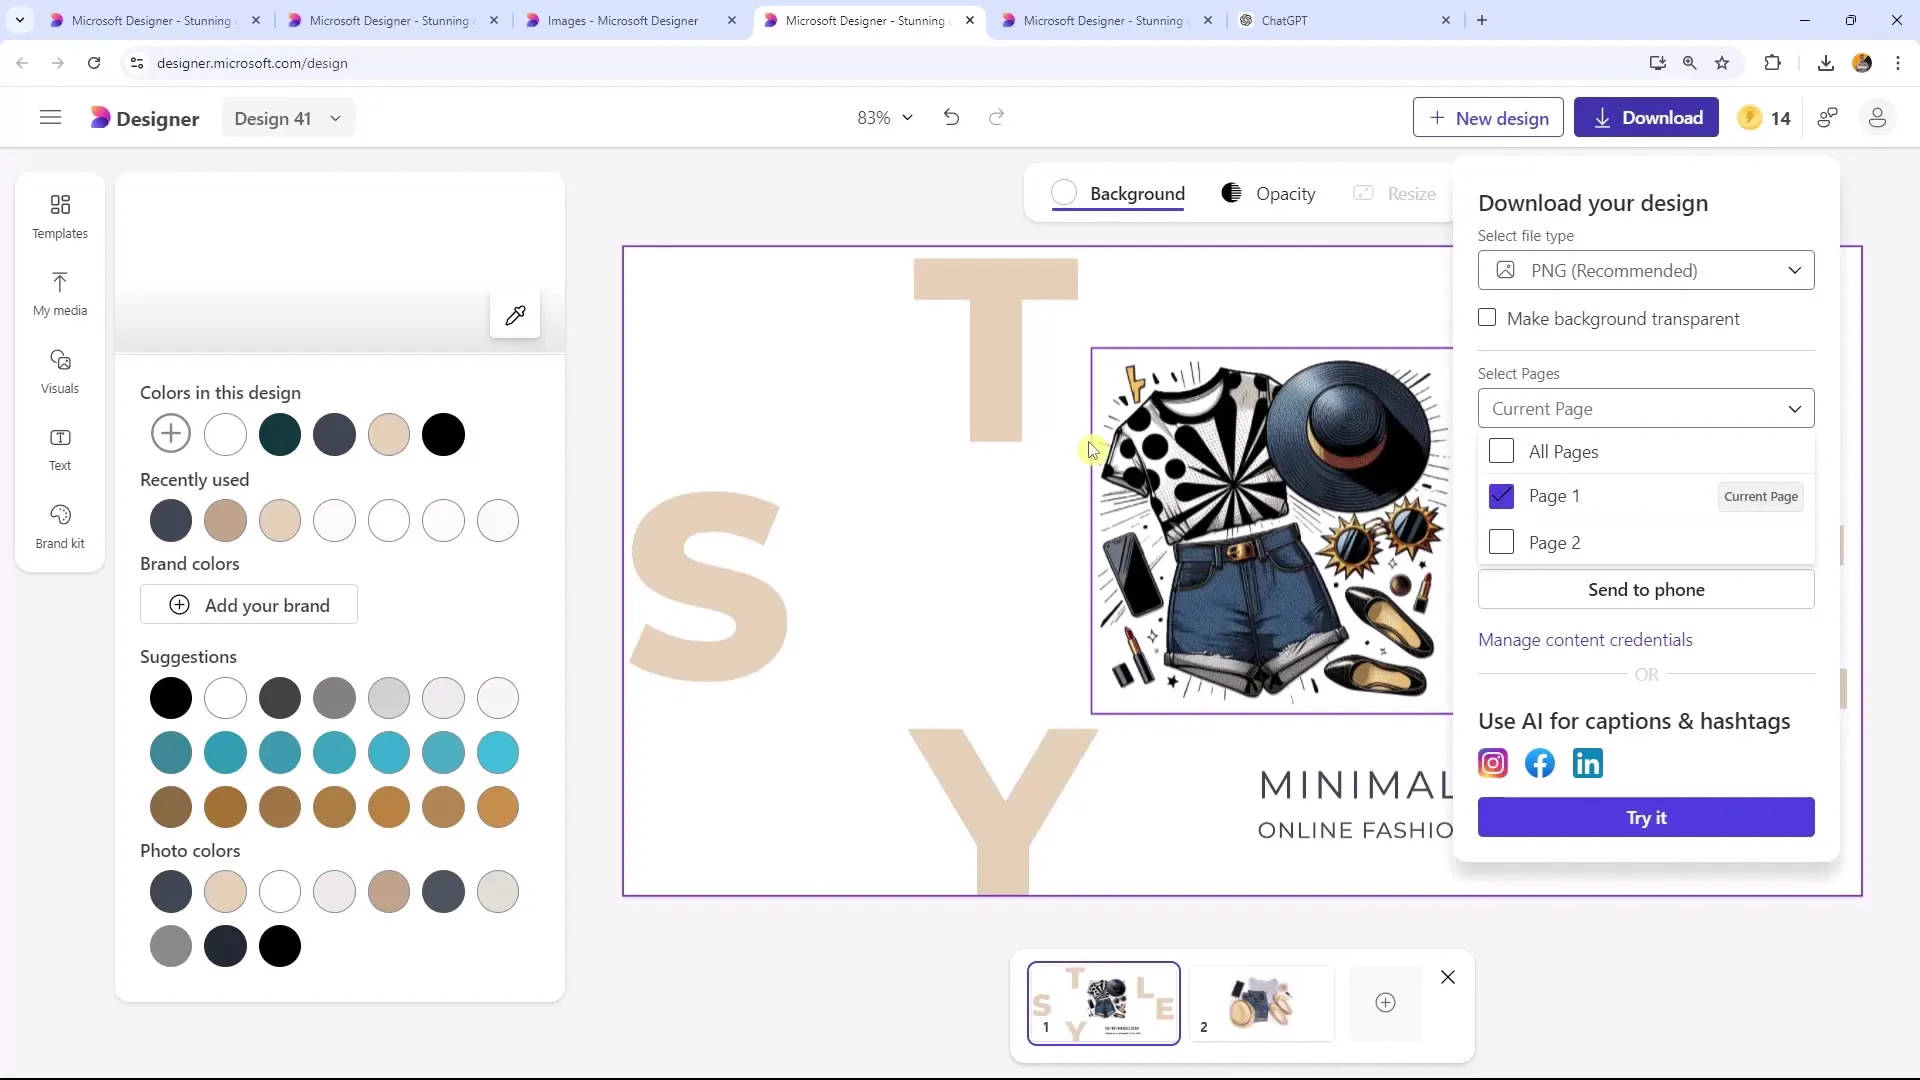
Finally, when you're satisfied with your design, download it. Choose the format that best suits your LinkedIn profile, such as PNG. Make sure to download only the necessary page to keep the post concise.
Step 9: Adding Hashtags and Captions
To increase the reach of your posts, don't forget to add relevant hashtags. Microsoft Designer offers helpful suggestions under "AI for Captions" to further enhance your posts. You can add hashtags that best fit your content.
Summary
In this guide, you have learned how to create engaging LinkedIn posts with Microsoft Designer. From choosing the template to customizing content to downloading the design – with these steps, you can elevate your LinkedIn presence and professionally showcase your content.
Frequently Asked Questions
How do I choose the right template for a LinkedIn post?Look for templates that match your desired style and consider the recommended format for posts or stories.
Can I upload my own images in Microsoft Designer?Yes, you can upload your own images and customize them with the design tools.
How do I remove the background of an image in Microsoft Designer?Use the “Remove Background” feature under the “Image Tools” or manually select and erase the background.
Can I adjust the colors of my text?Yes, you can adjust the text colors based on the colors of your image to achieve more coherence.
How do I download the completed design?Select the download option and the desired format, such as PNG, and download only the necessary page.
