In this guide, you will learn how to optimize and customize thumbnails in Microsoft Designer to enhance their visibility and attractiveness. We will walk you through the process of thumbnail creation and customization step by step, showing you how to make creative adjustments to make the most out of your thumbnail.
Key Takeaways
- Thumbnails can be enhanced with various filters and text templates.
- By removing backgrounds, you can create professional and appealing designs.
- Adjusting text and colors is crucial for the readability and aesthetics of your thumbnail.
Step-by-Step Guide
To enhance your thumbnail, start by duplicating your current page. This gives you a base to make various adjustments without losing the original. Click on "Add Page" and select the duplicated page.
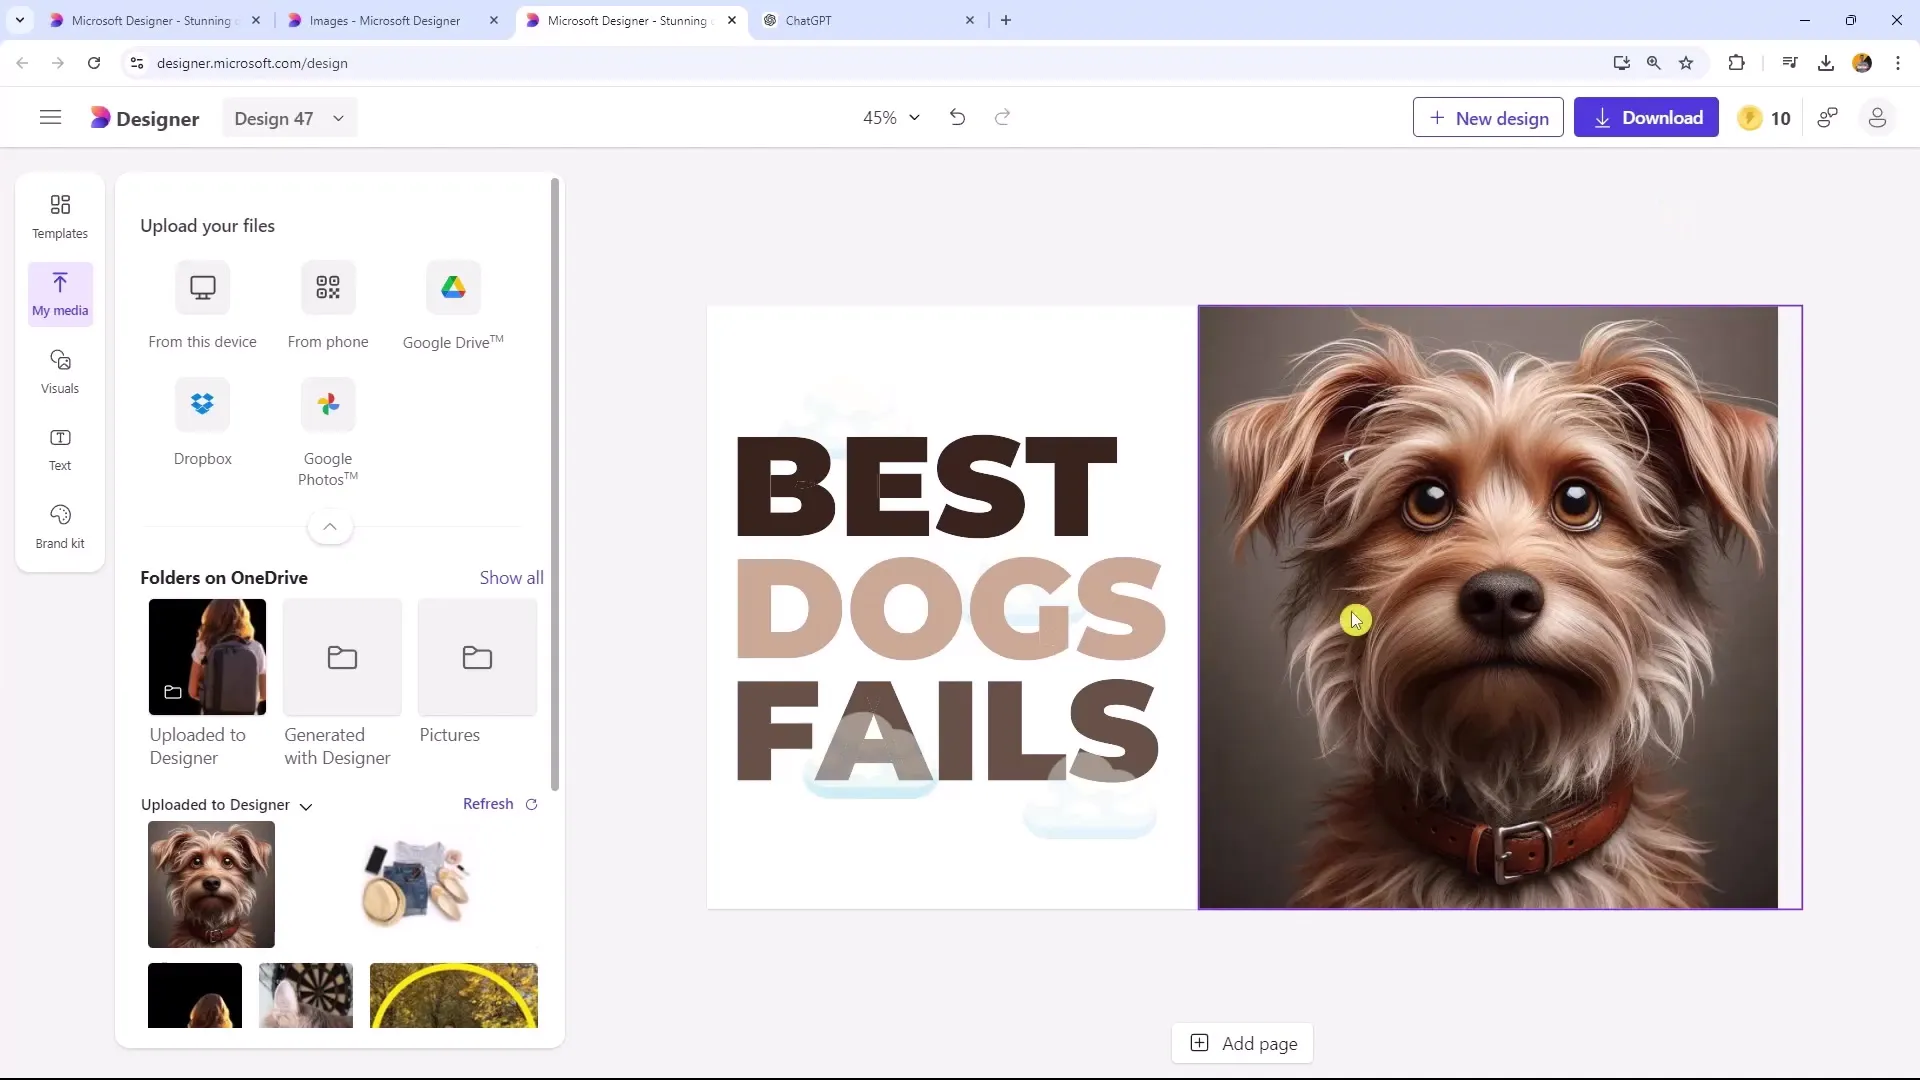
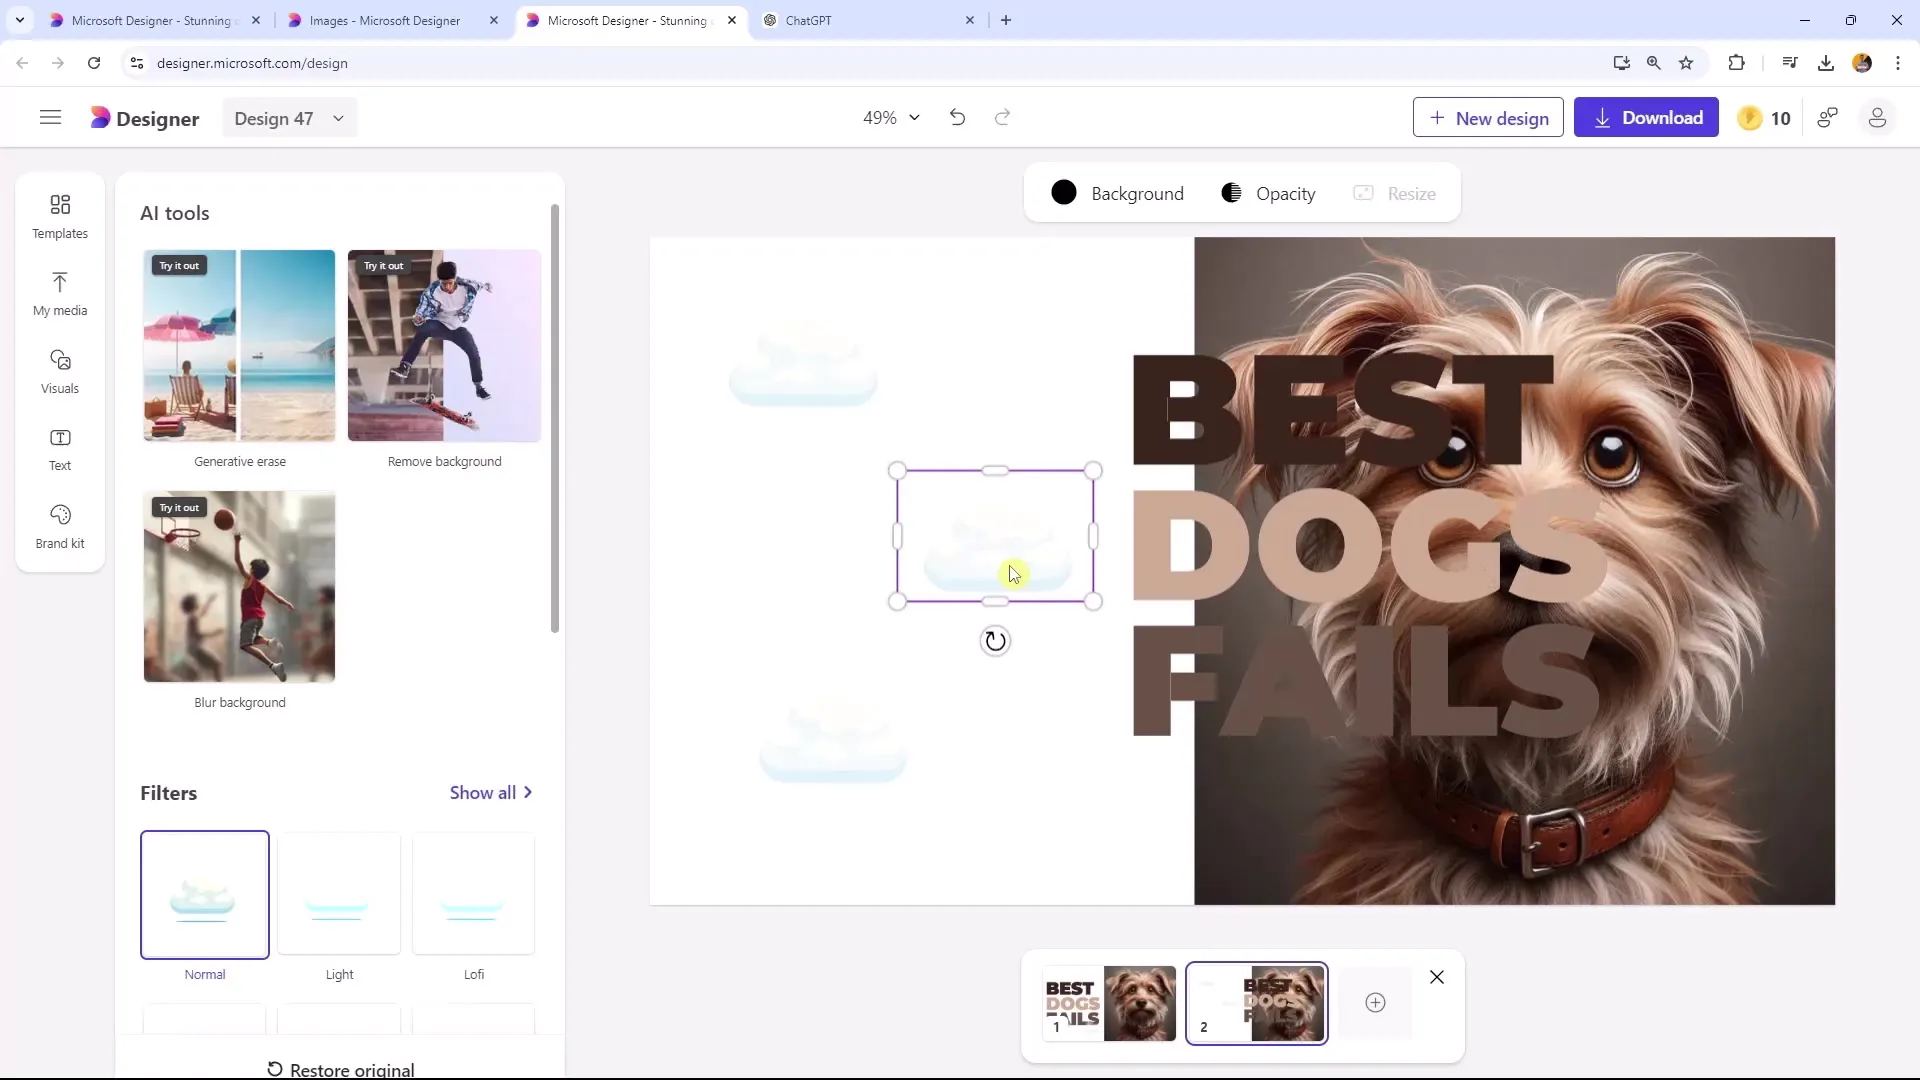
After the new page is created, remove elements that are no longer relevant. In this case, we are looking at the cloud elements. While they may look nice, they do not fit our new design. Simply drag the cloud images away from the canvas.
Next, we want to adjust the image we are going to use. Stretch the image to better fit the new formatting and achieve the desired aesthetics. Click on the image and drag the corners to enlarge or shrink it.
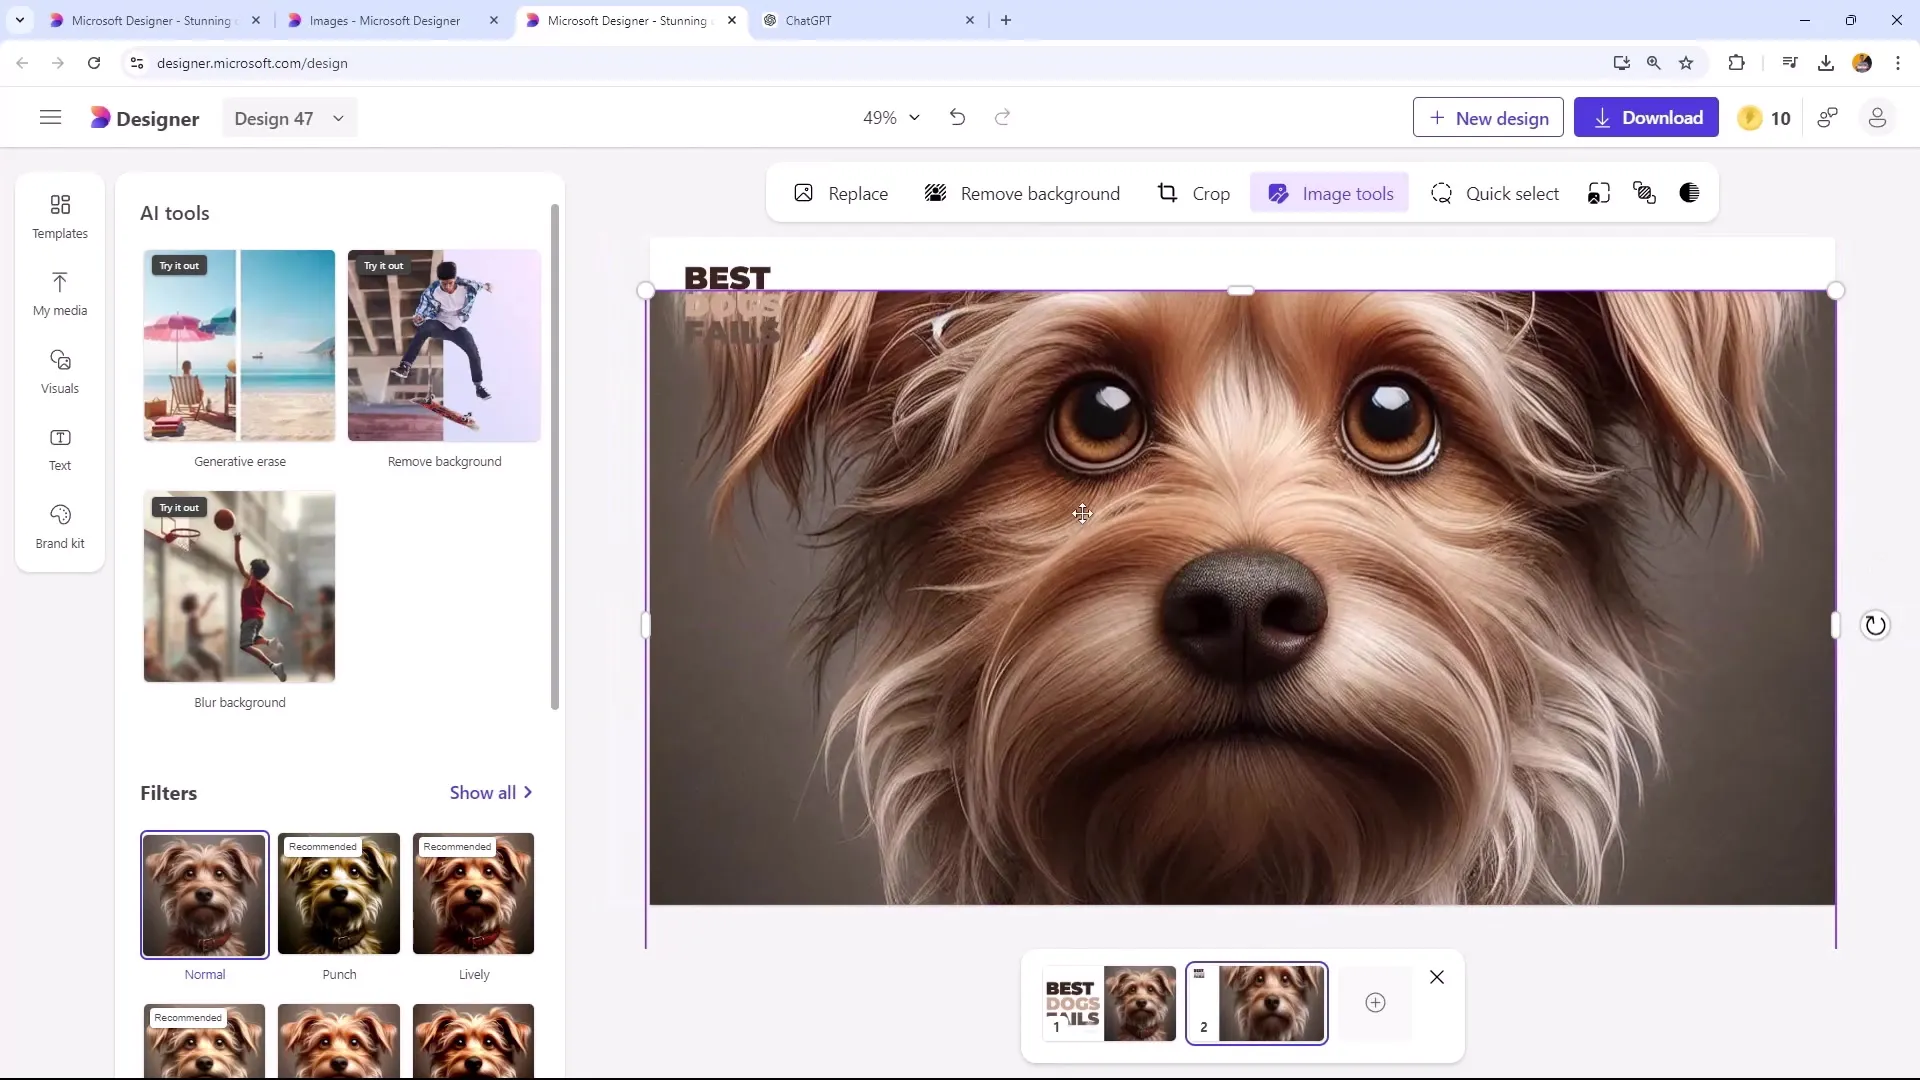
After stretching the image, you can apply various filters to achieve a unique look. In this example, we are using a subtle filter that we find appealing to highlight the image and attract viewers' attention.
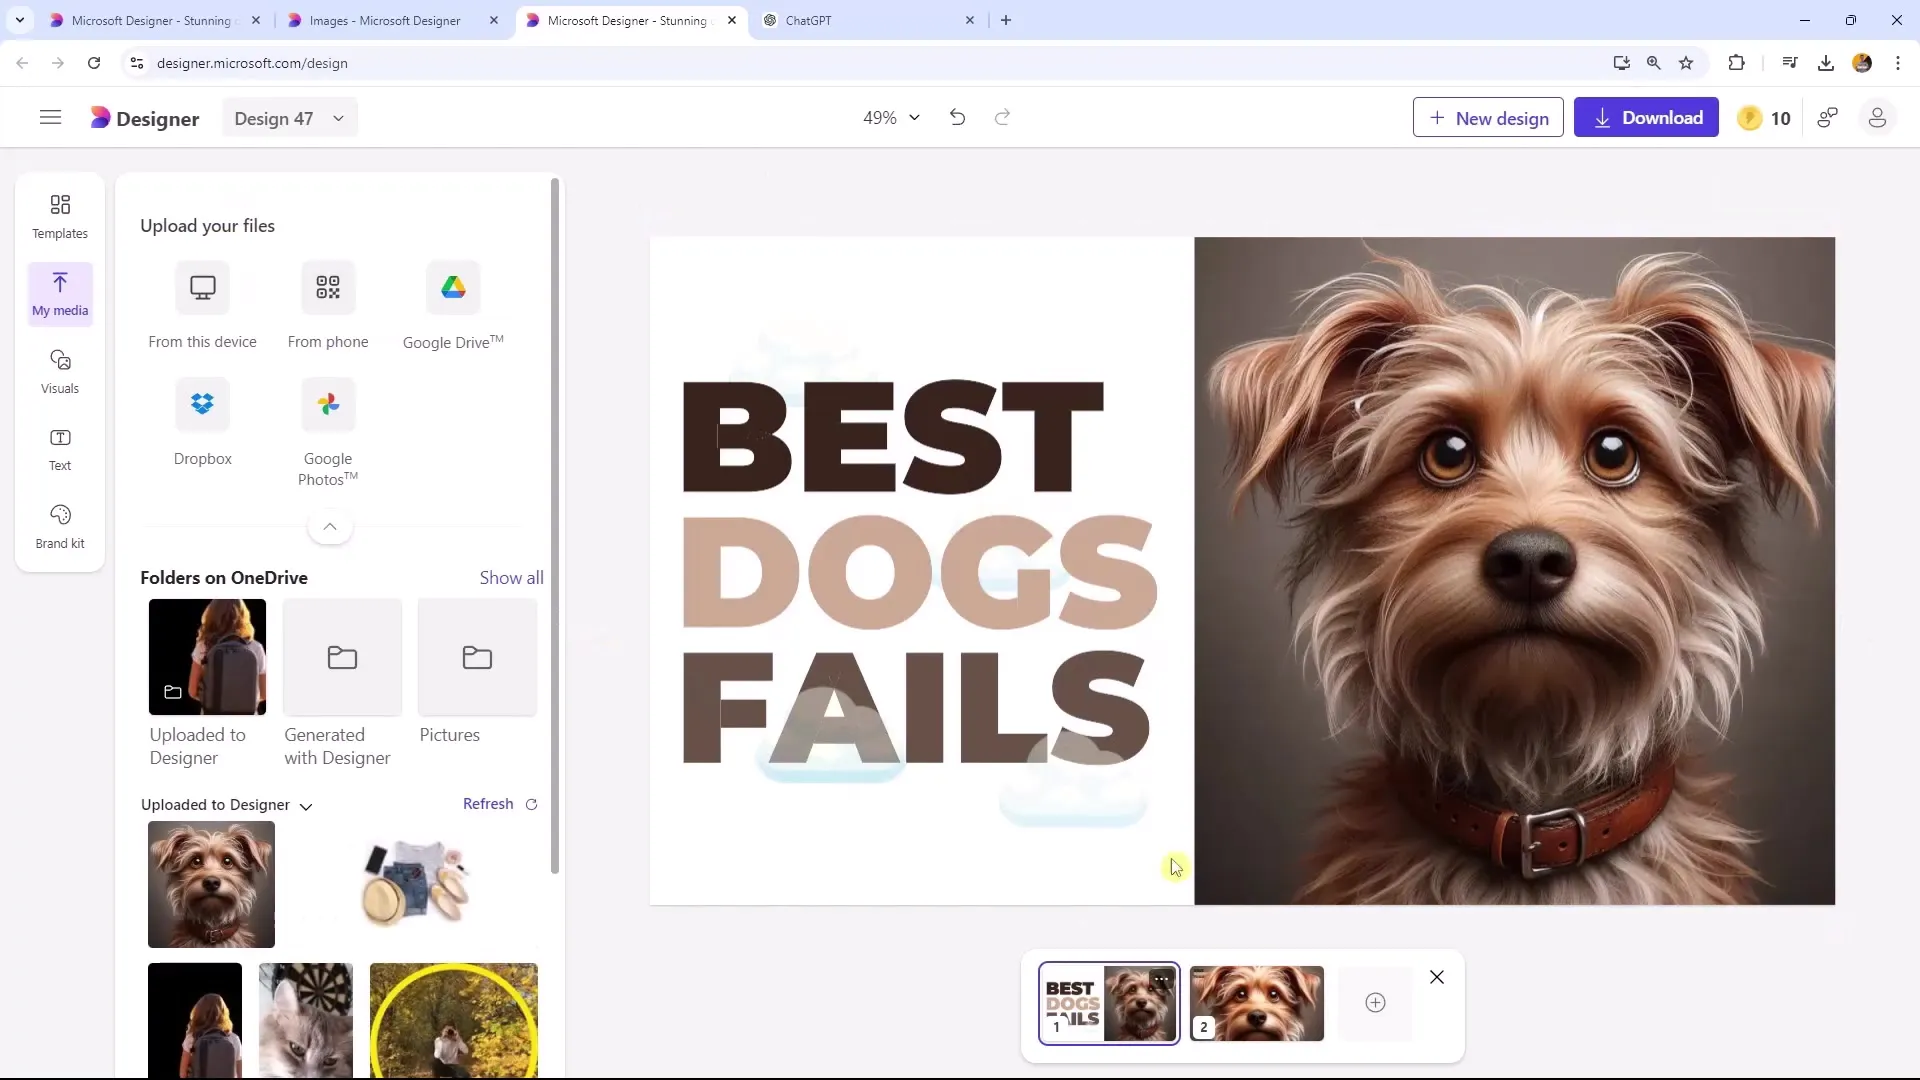
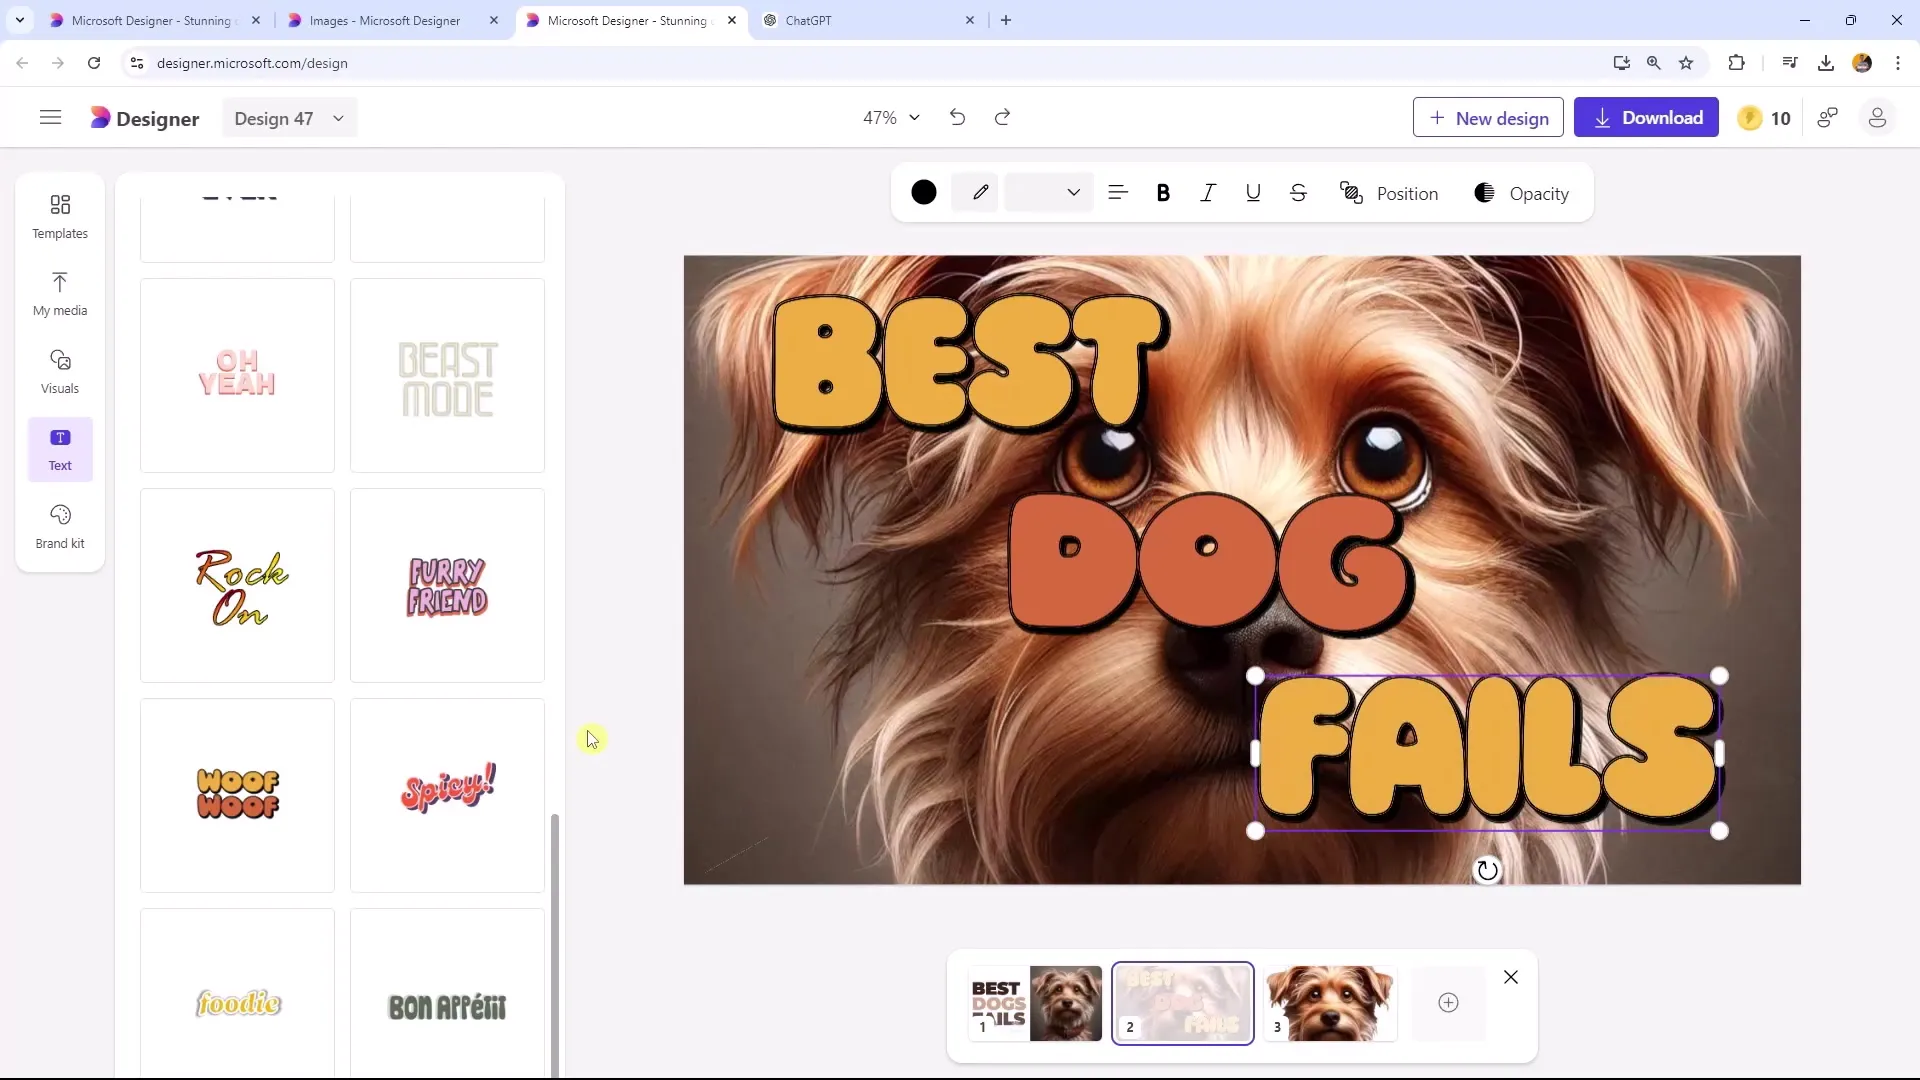
Now, the question is how to style the text on the thumbnail. A good approach is to use the provided text template that complements your image. Drag the relevant text template onto your canvas and position it over the image.
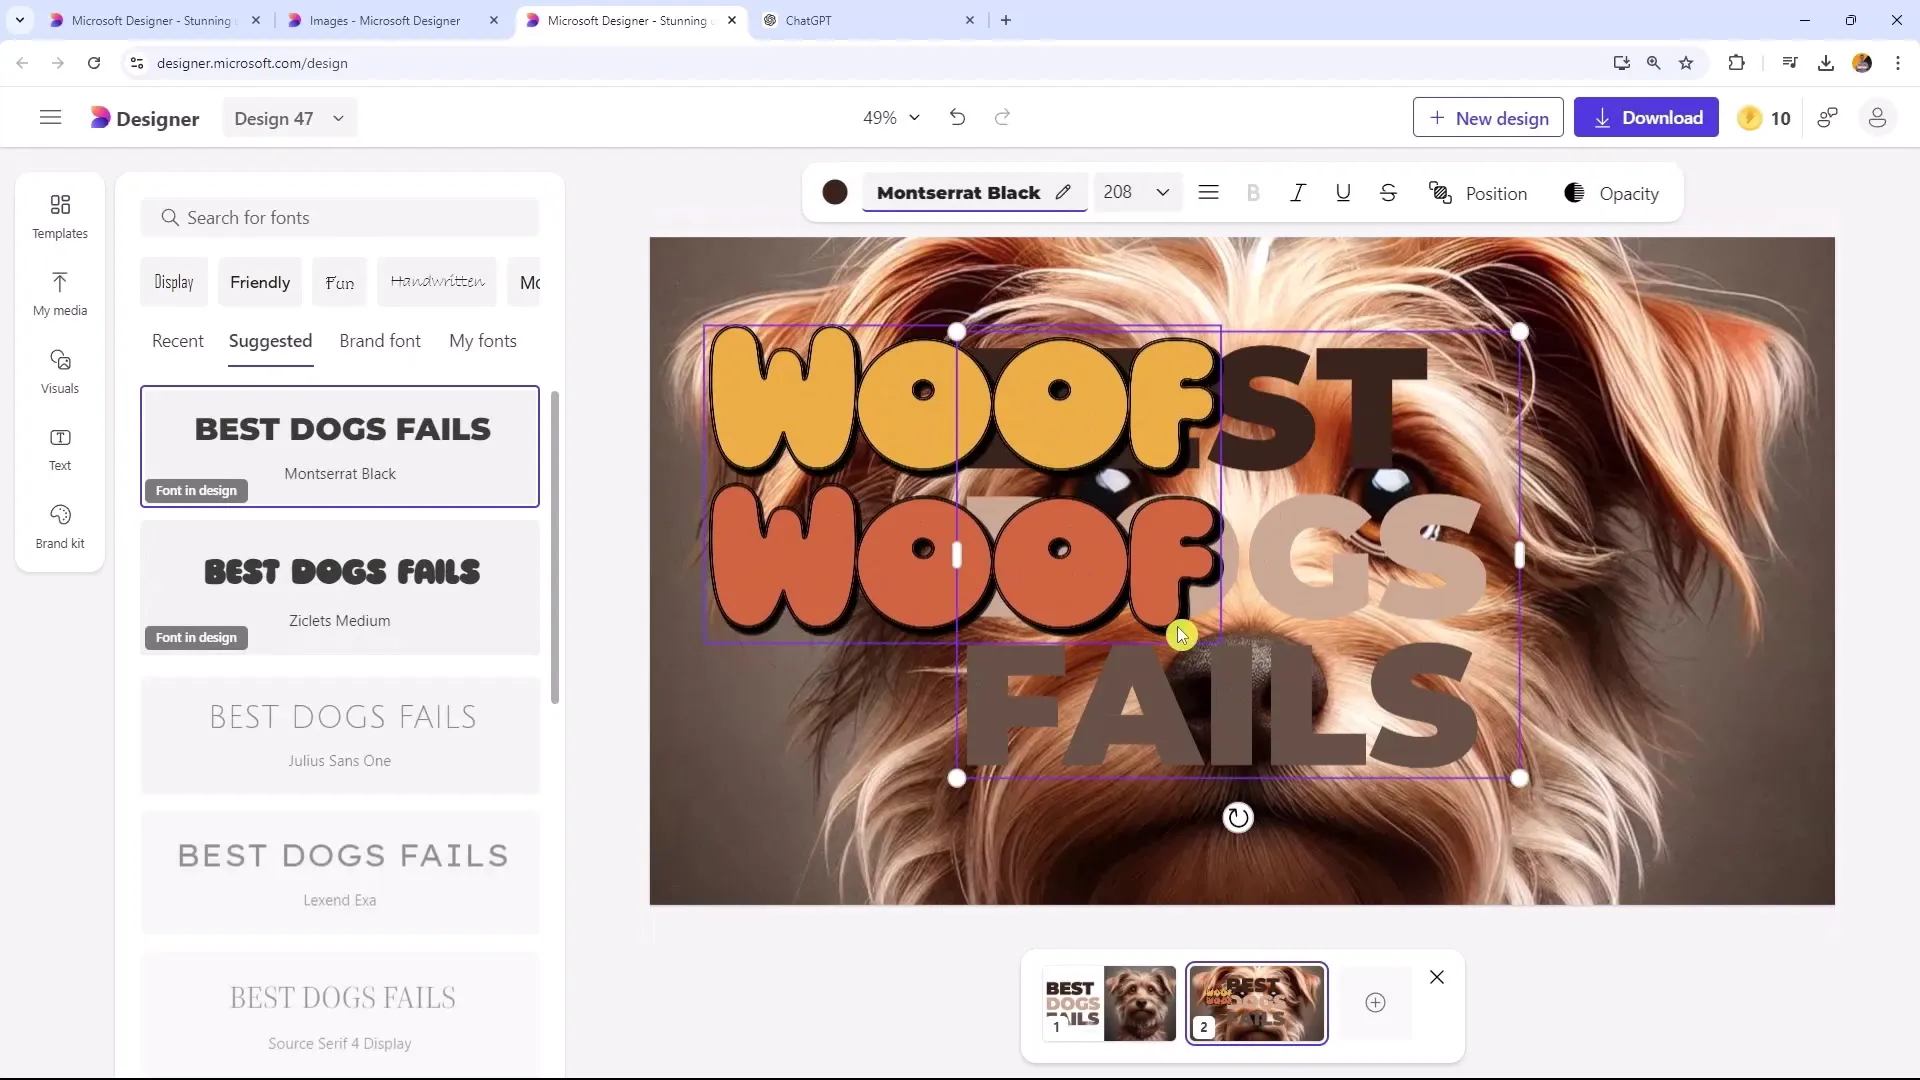
Review the text content and customize it to suit your needs. In our example, we are changing the red text to "best dog fails." Here again, we utilize the existing structure to ensure readability.
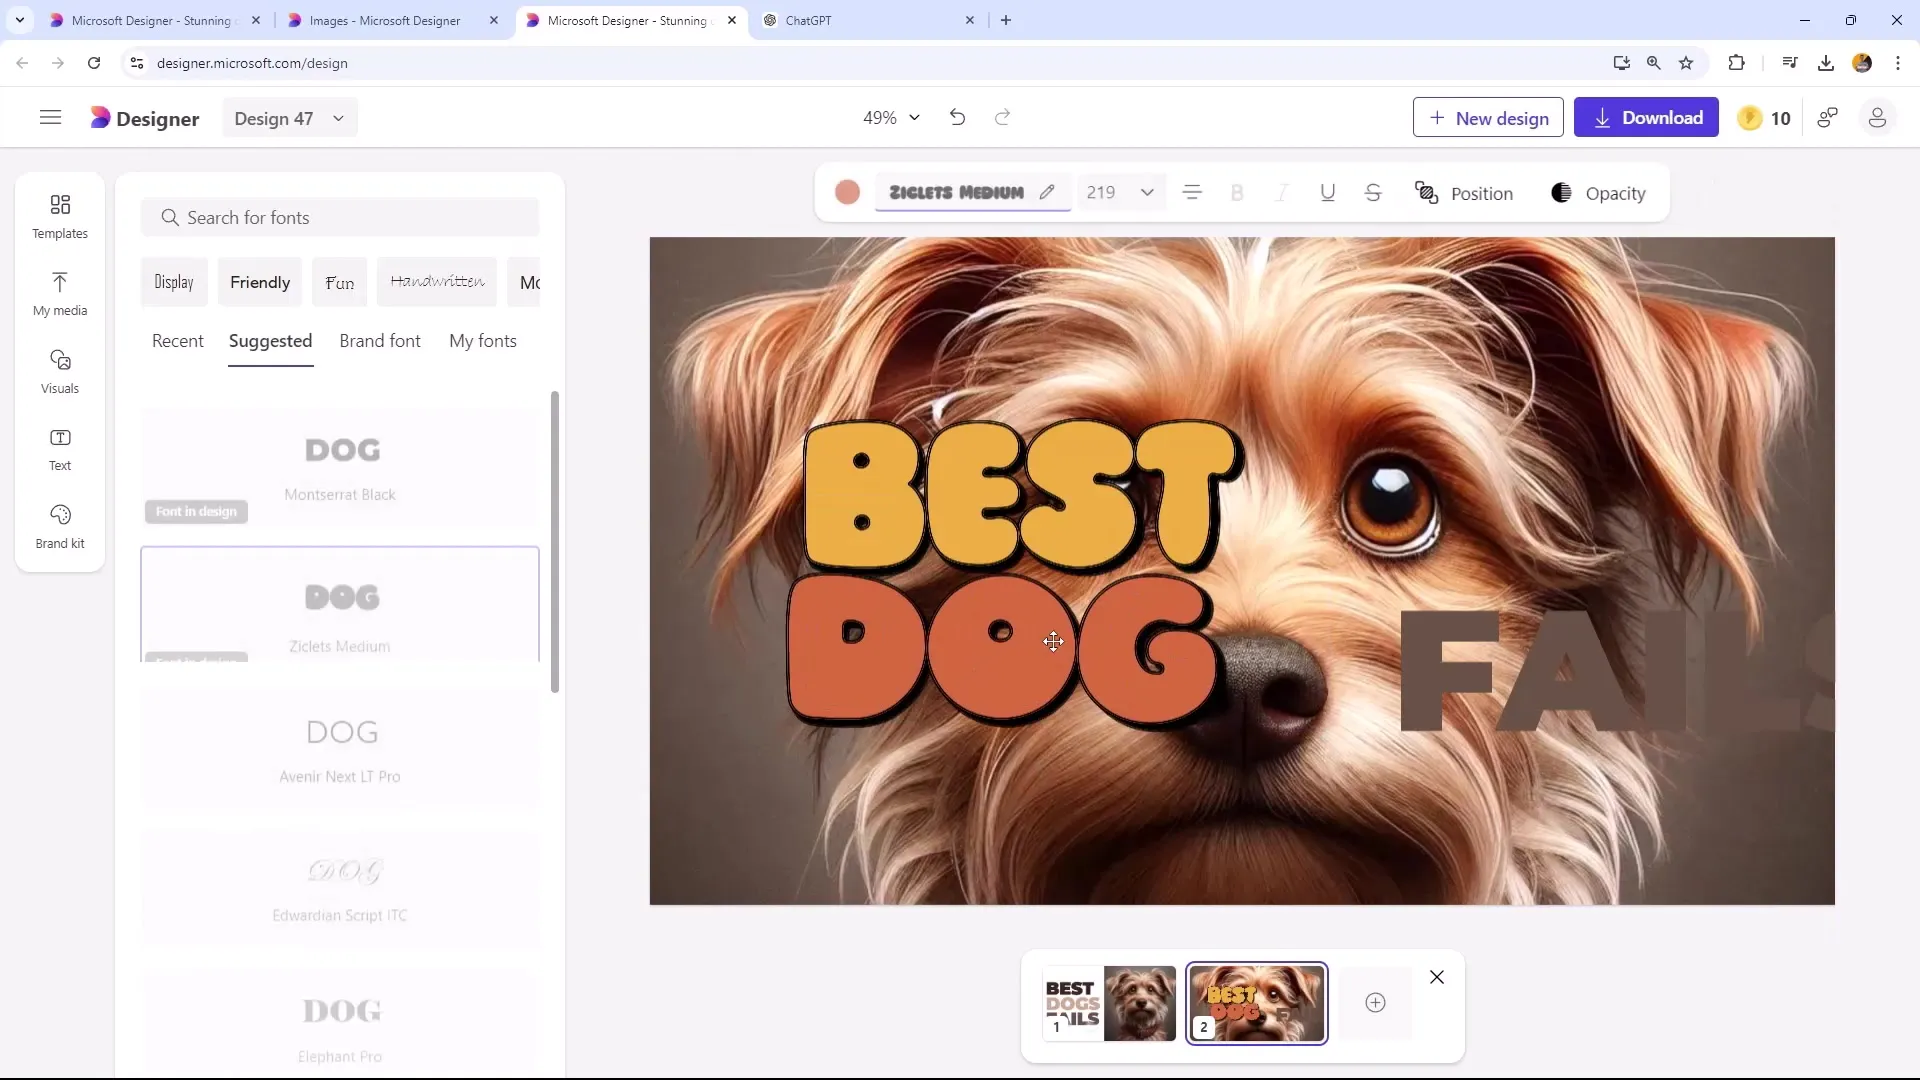
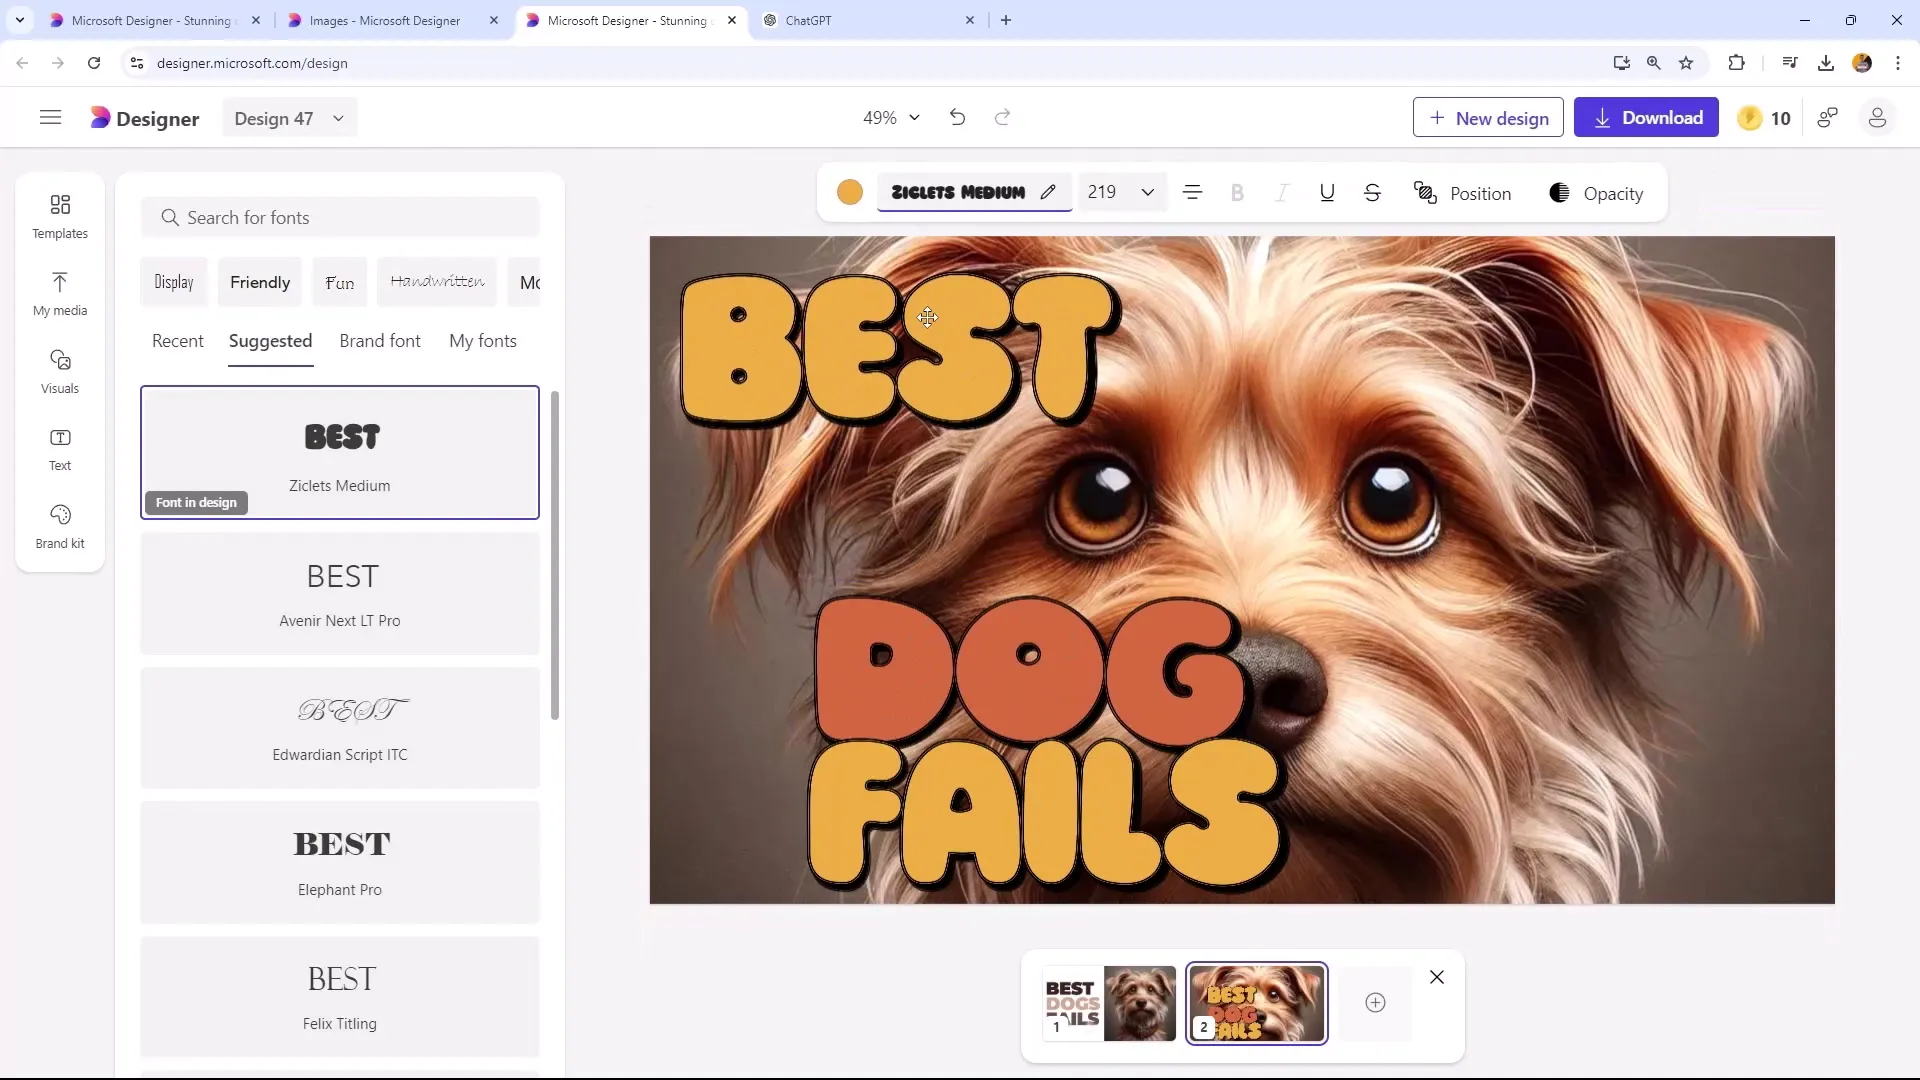
Now we have three different text elements that we can freely arrange within the thumbnail. You can adjust the texts to be visually appealing and easy to read. Simply move the elements to the desired position and customize them as needed.
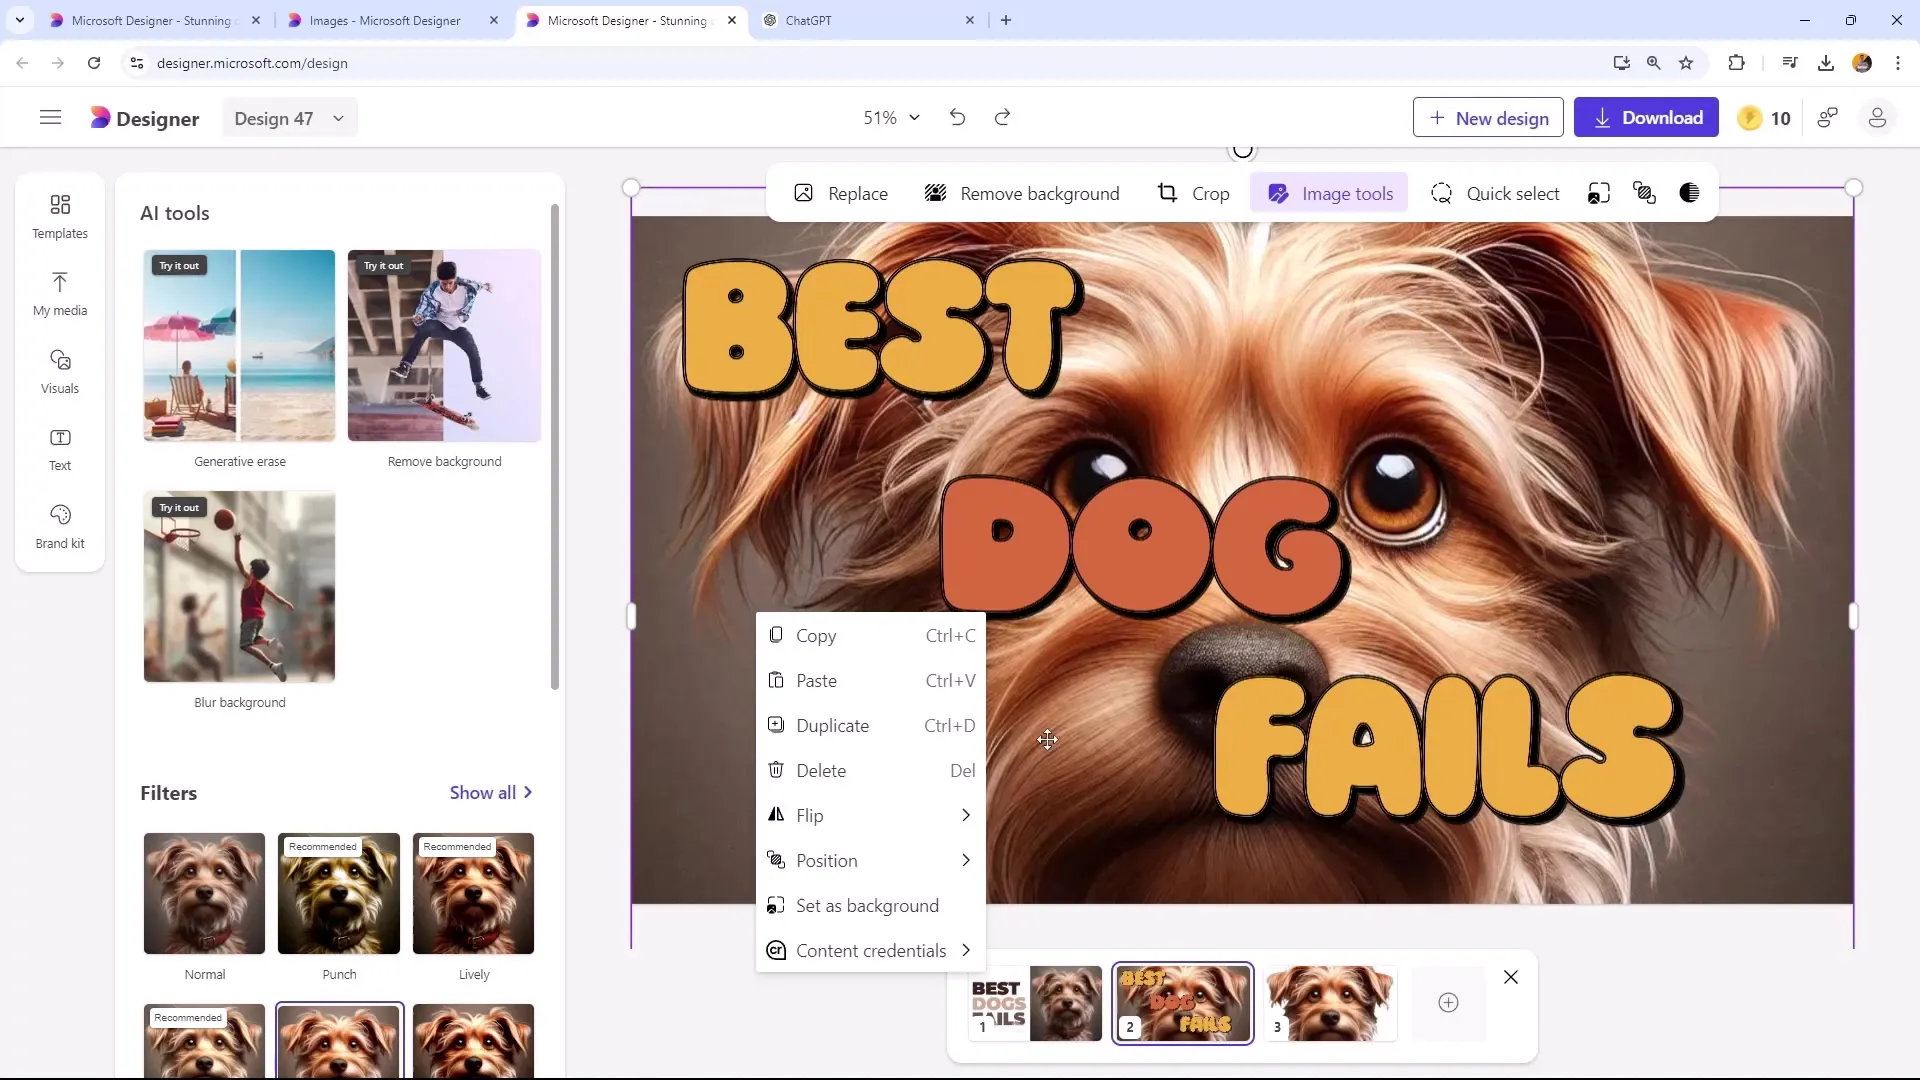
Next, you can select one of the images, in this case the dog, and try to remove the background. Make sure the dog stands out prominently. Sometimes removing the background may not work perfectly, but do your best nonetheless.
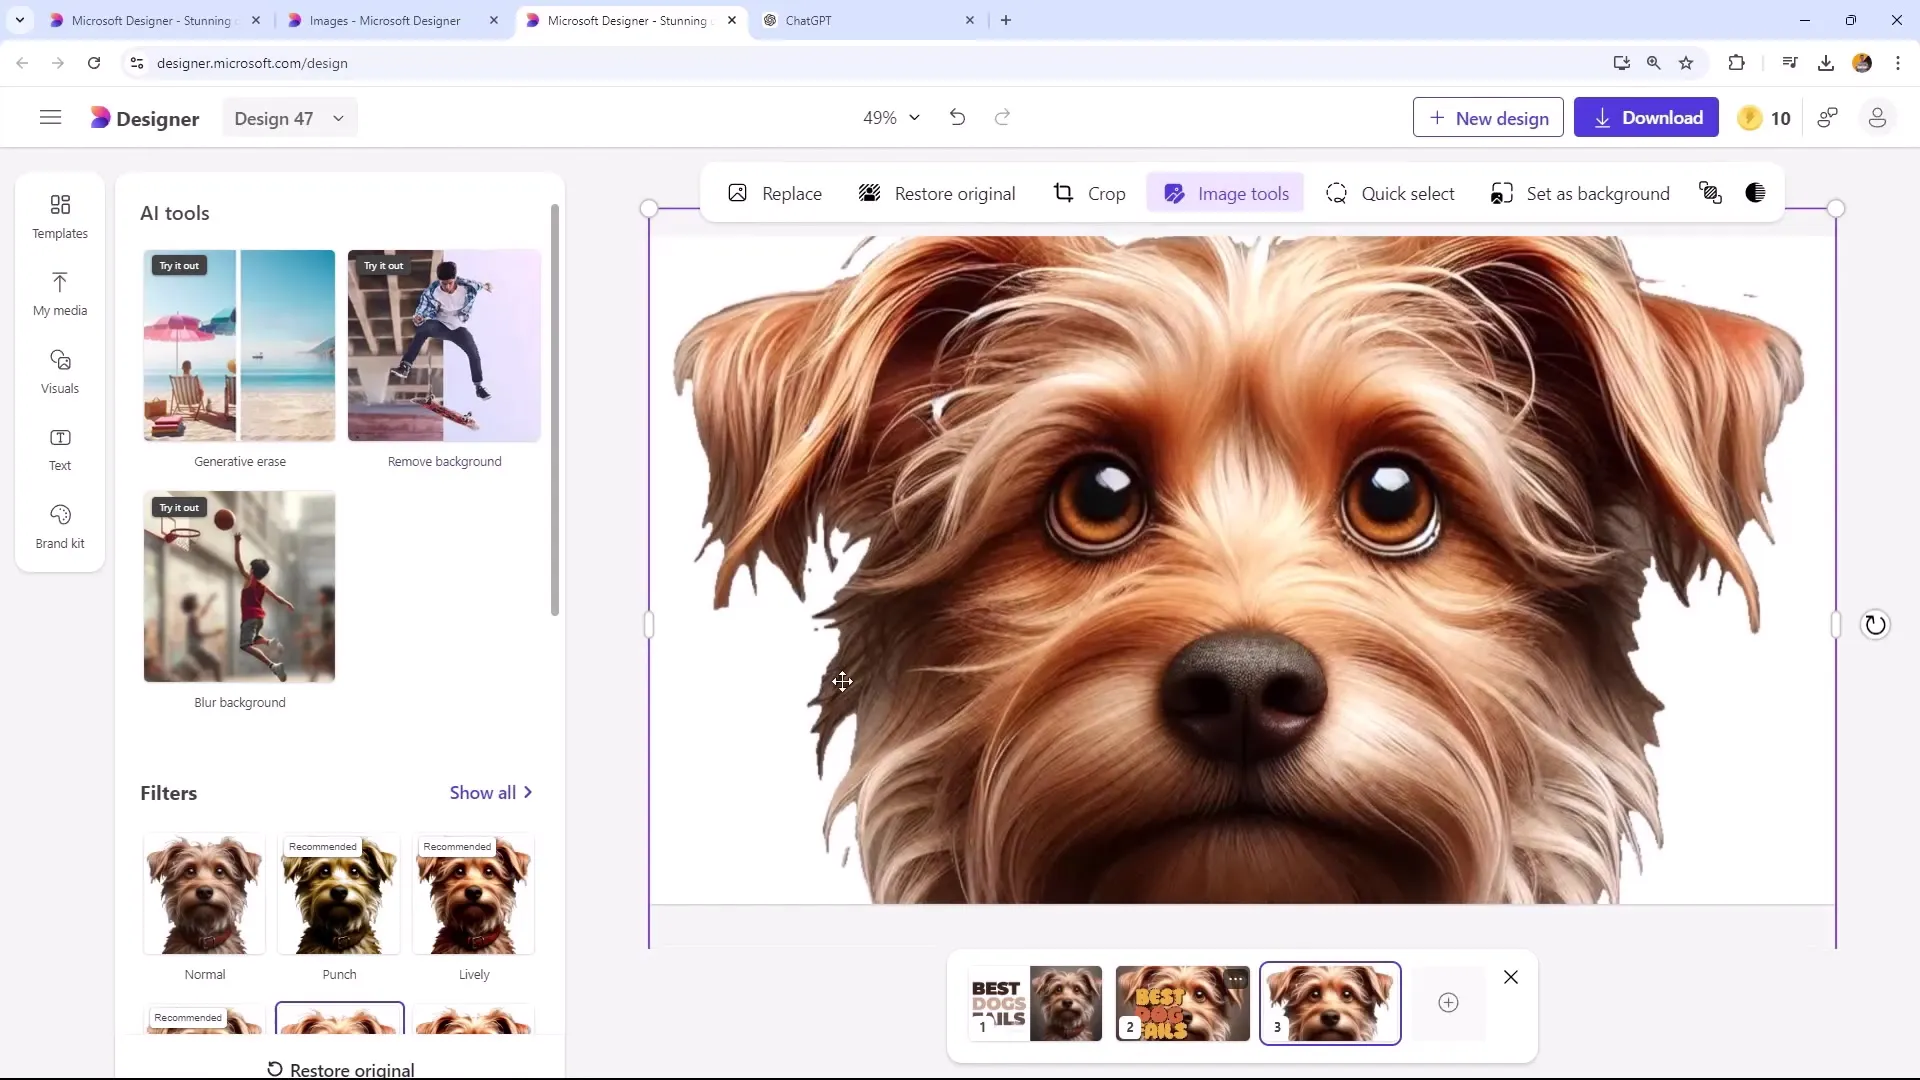
If the removal is successful, place the text in a way that is easy to read and harmonizes with the overall image. Ensure that the text does not compete with the image elements but complements them instead.
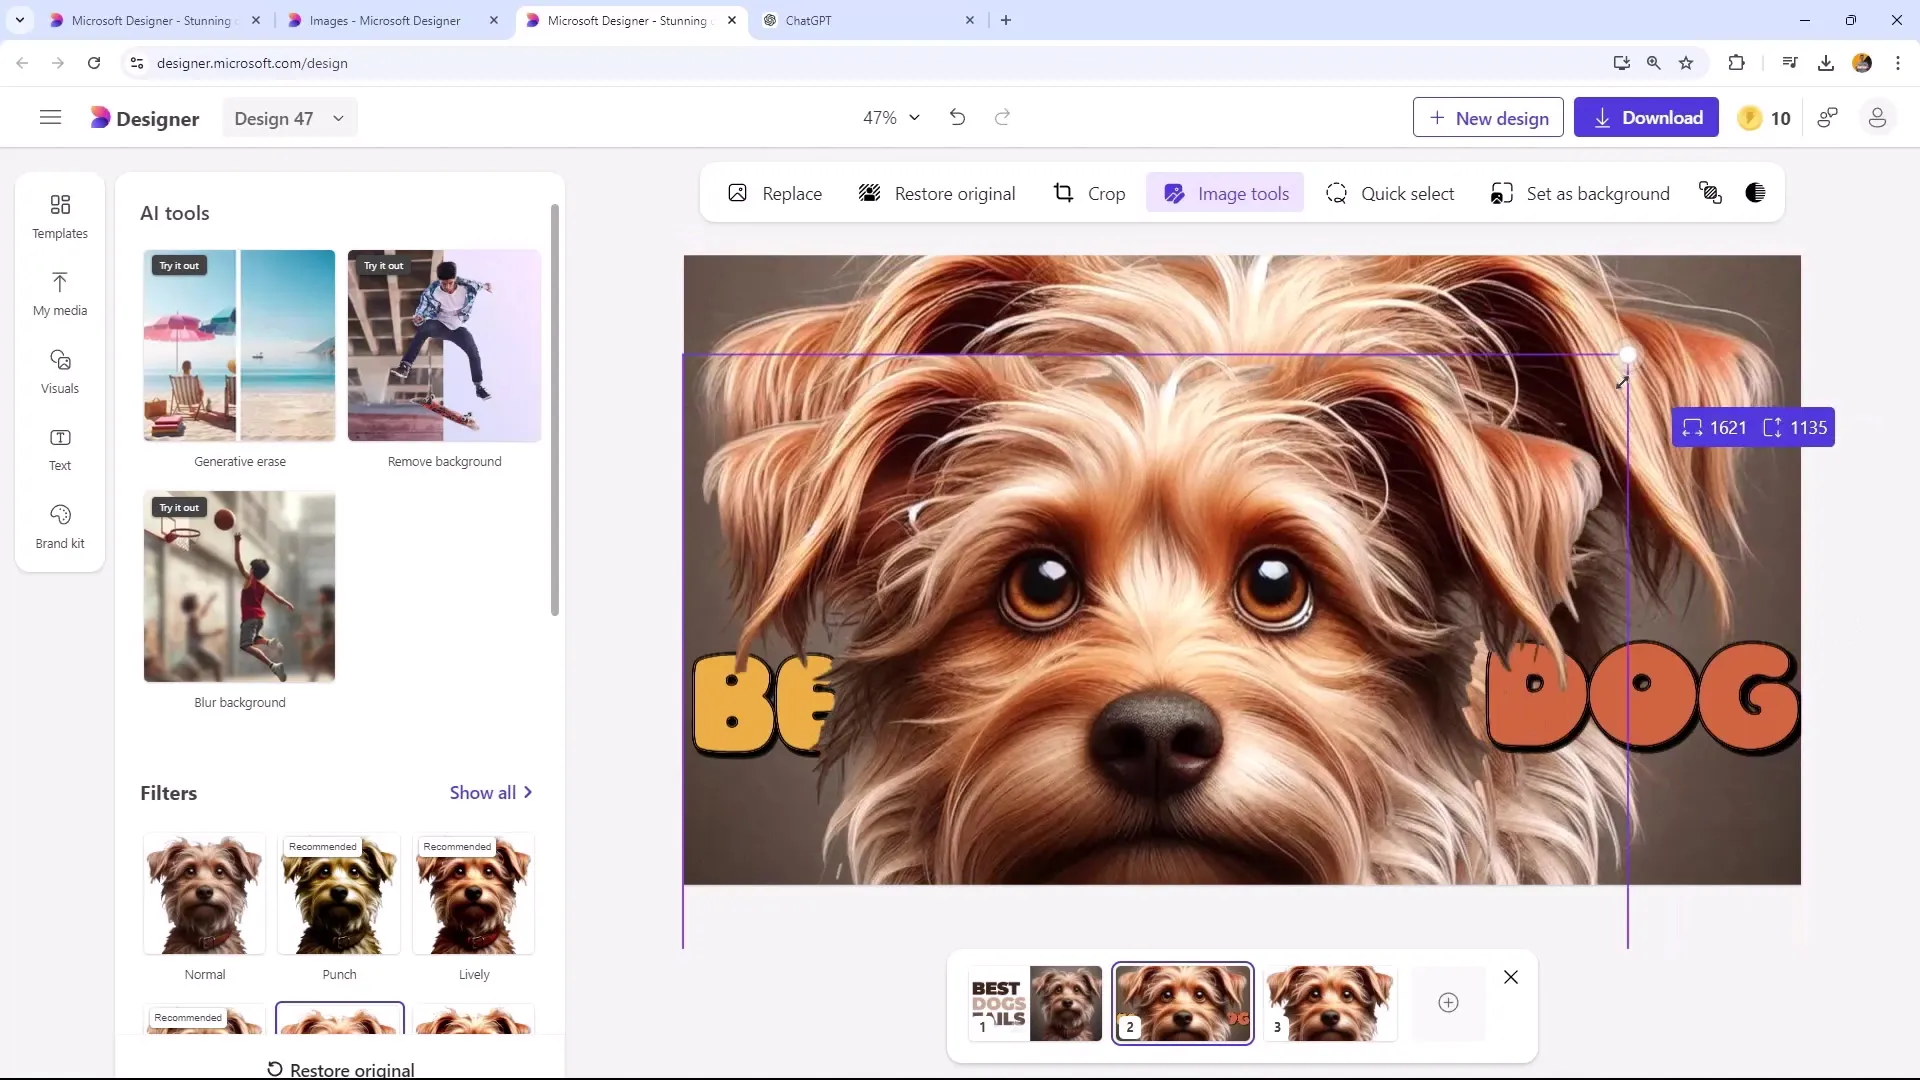
If the text still feels a bit off, don't give up! You can adjust the sizes of the texts to ensure they fit within the image. Experiment with different variations until you are satisfied with the result.
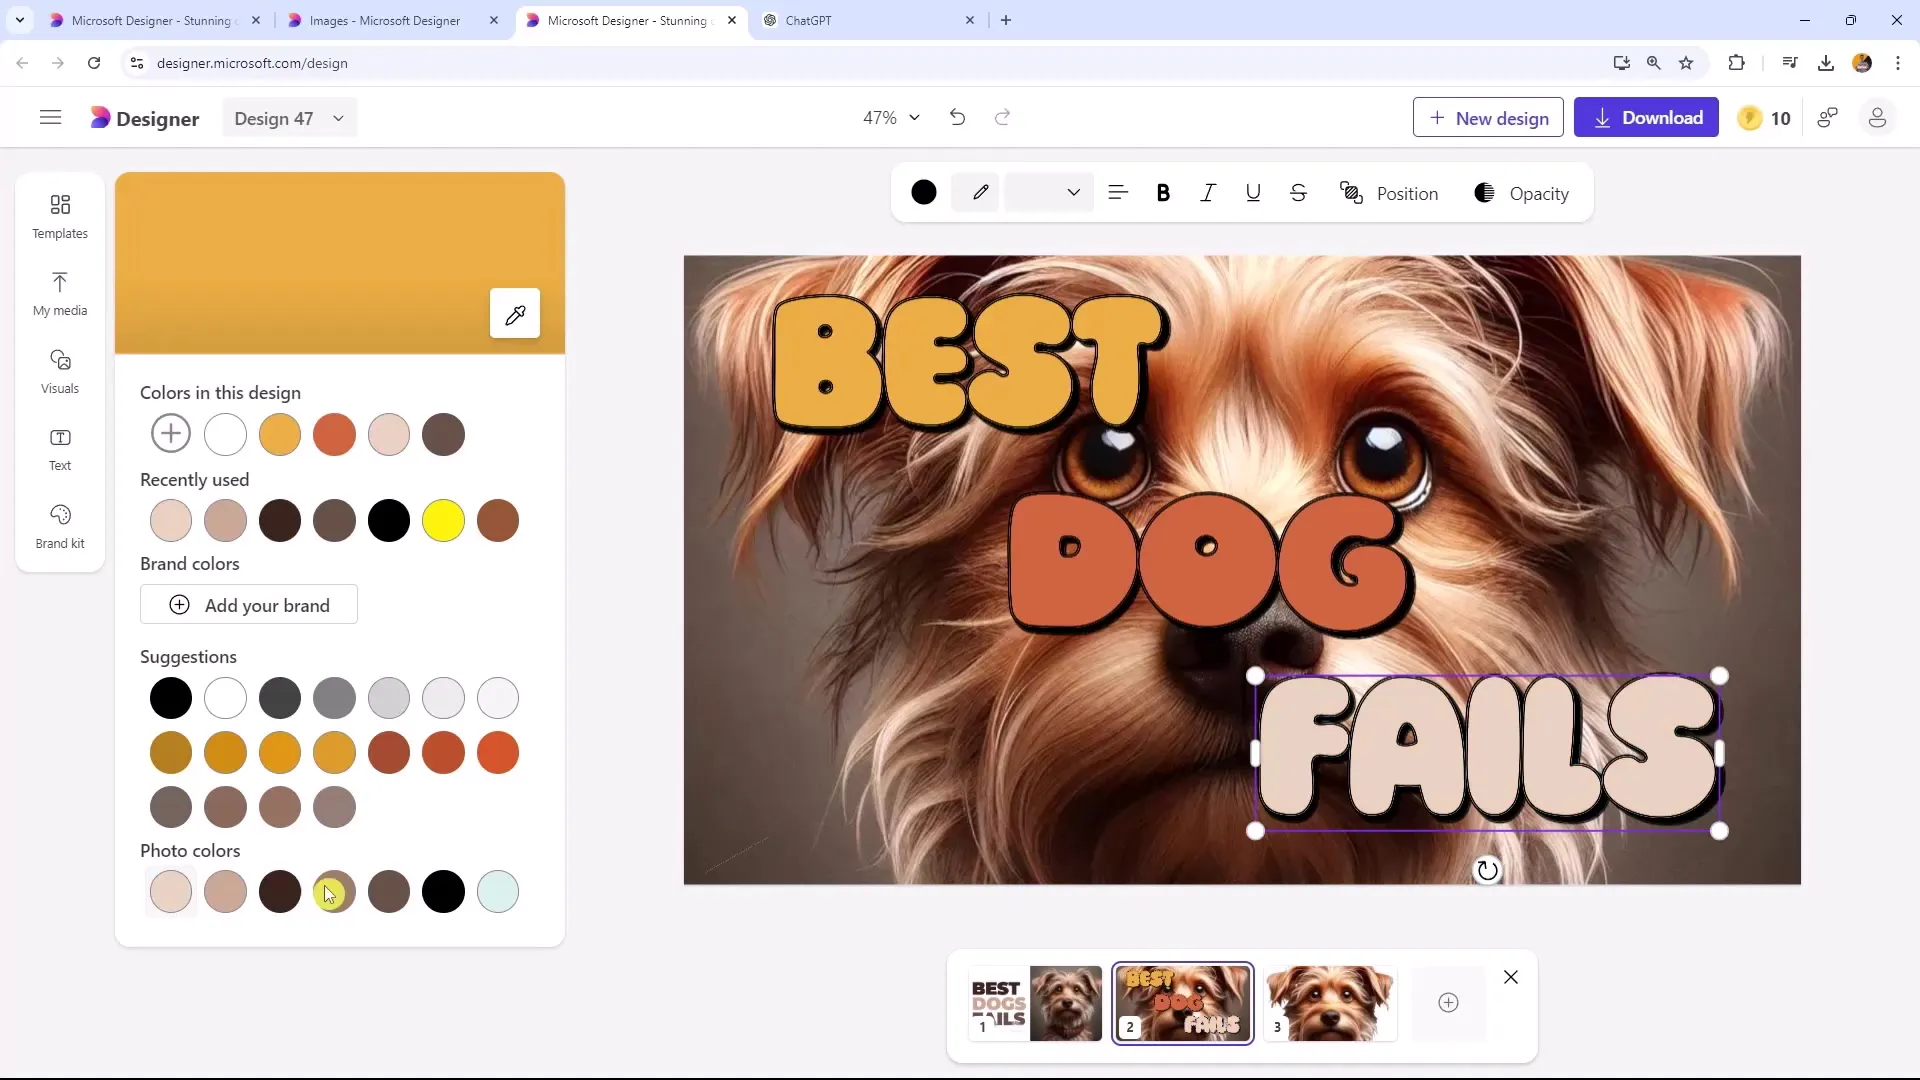
Now it's time to customize the colors according to your preferences. By clicking on the texts and images, you can make thematic color adjustments. Remember that the colors on your thumbnail not only need to be visually appealing but should also support readability.
Finally, you can download your thumbnail as a PNG file to use it in your projects as needed. Make sure to choose the highest quality so that the thumbnail looks good on various media.
Summary
In this tutorial, you have learned how to customize and design thumbnails in Microsoft Designer. You have learned techniques for removing backgrounds, applying filters and text templates, and ensuring that the readability of your text is always maintained.
Frequently Asked Questions
How do I add a new image in Microsoft Designer?Click on "Add Image" and select the file from your computer.
How do I remove a background from an image?Select the image and use the "Remove Background" function in the menu.
Can I customize the colors of text and images?Yes, you can change the color of text and images by clicking on the respective elements and selecting the desired color.
How do I save my thumbnail in high quality?Go to "Download" and select the PNG format to use the best quality.
Is Microsoft Designer suitable for beginners?Yes, the user interface is intuitively designed, allowing beginners to quickly get started.
