In this tutorial, I will show you how to create appealing and theme-related images for your blogs and websites using Microsoft Designer. The use of AI technologies allows you to quickly generate and edit creative content. Whether you are writing a blog post or managing a website, the right visualization can be crucial to the success of your content. Let's dive directly into the steps to create impressive blog images.
Key Insights
- Microsoft Designer offers a variety of image formats that are specifically suitable for different platforms.
- With AI, you can generate images in different styles that attract the attention of your readers.
- The file formats (JPEG vs. PNG) have different effects on the loading speed and image quality of your website.
Step-by-Step Guide
1. Introduction to Image Selection
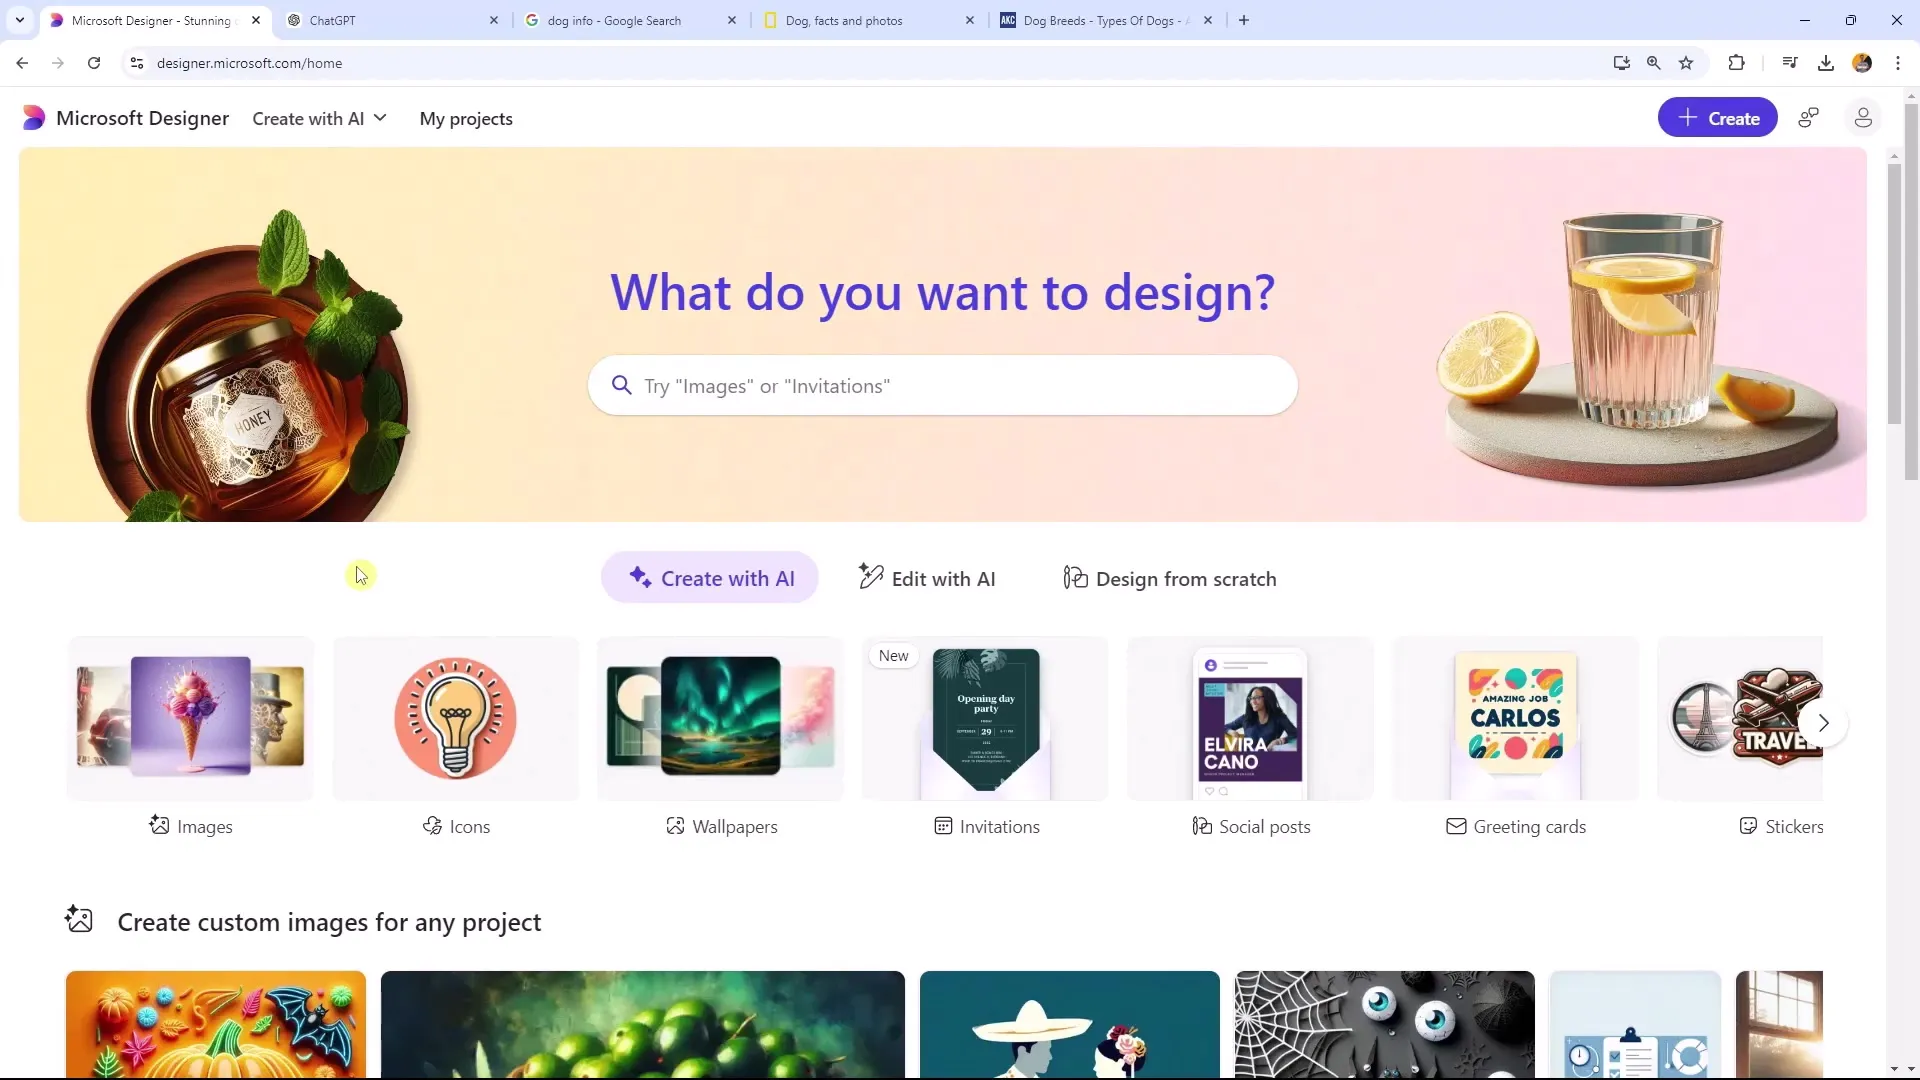
When creating web content for a website or blog, visual design is essential. Microsoft Designer offers a wide selection of images suitable for various content. You will discover that there are many formats, such as horizontal header images or round images for profile pictures.
2. Selecting Image Sizes and Formats
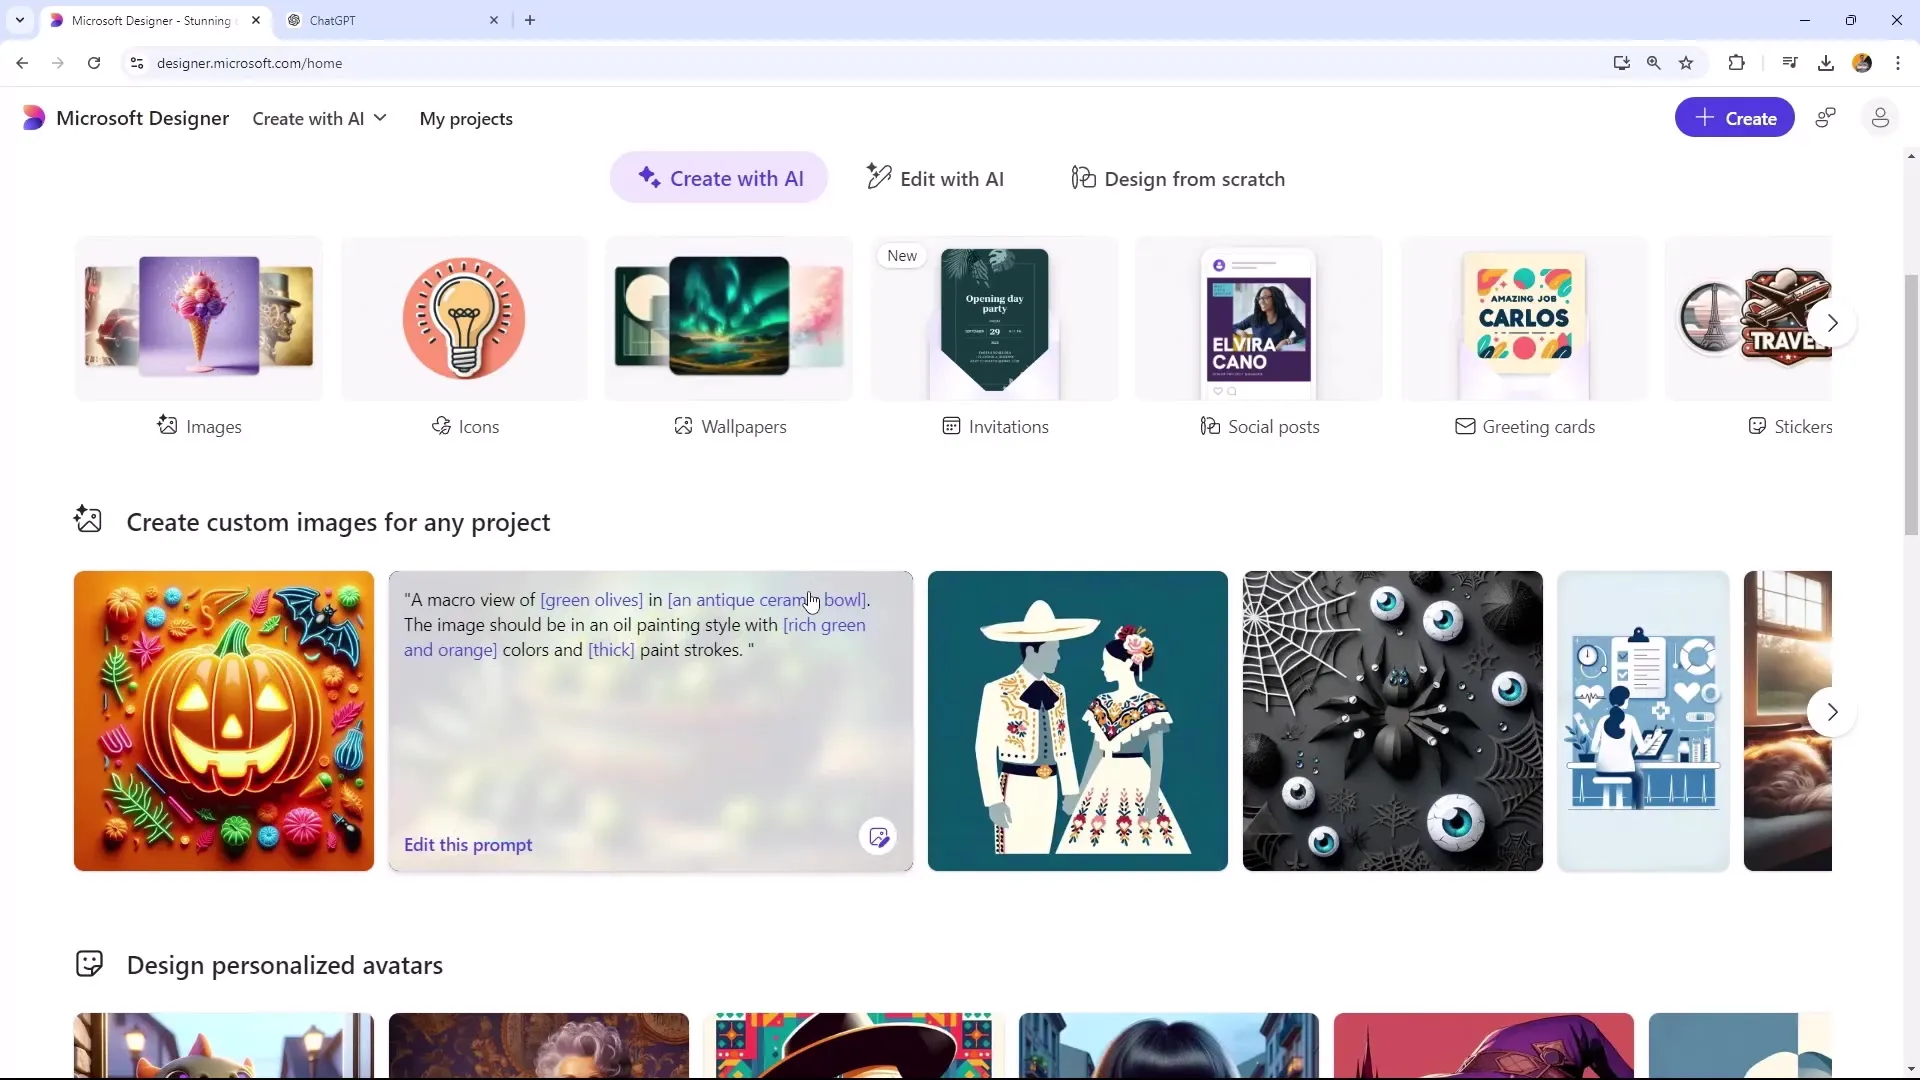
To choose the right image sizes, it is important to consider the appropriate requirements depending on the purpose. Narrow formats, for example, work well for header images on websites, while portrait images are better suited for posts. Make sure the formats you choose align with the theme of your blog.
3. AI-Driven Image Generation
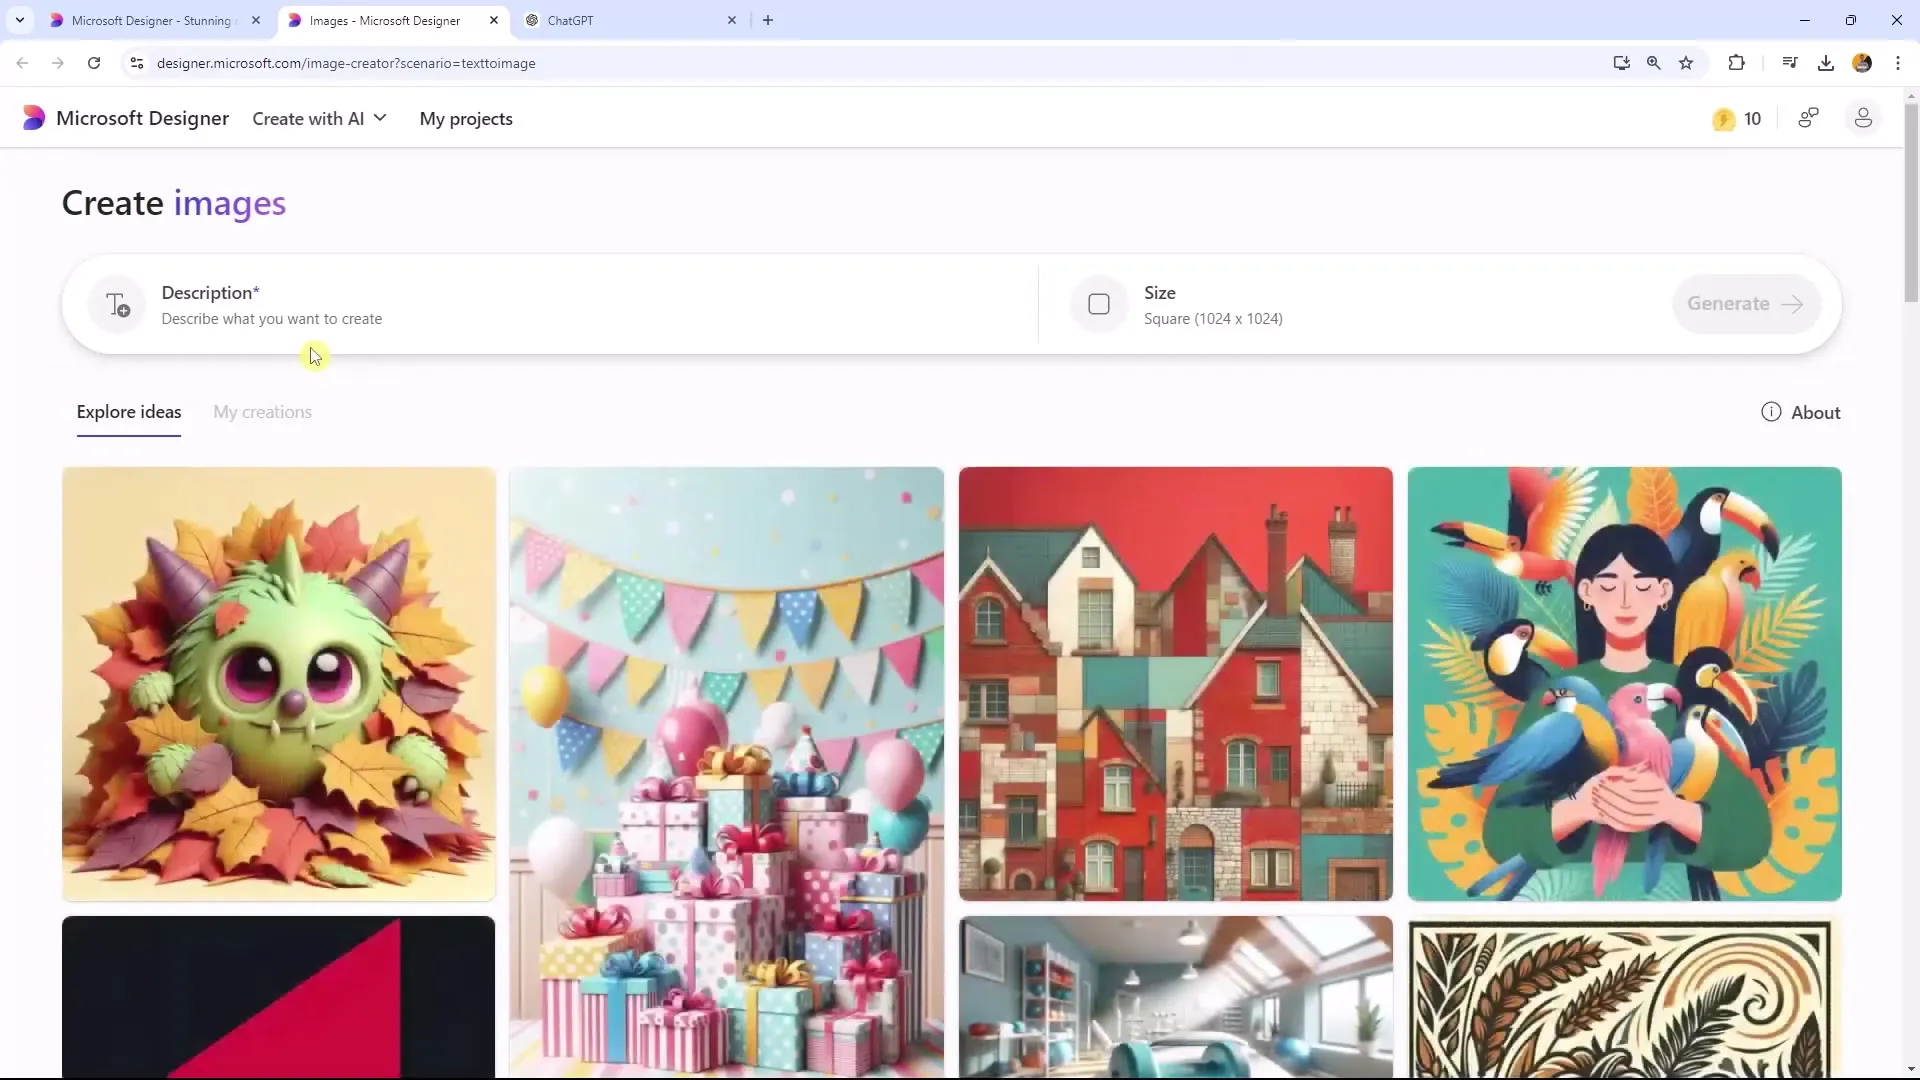
Go to Microsoft Designer and click on "Create with AI." Here you can easily have a new image generated. First, choose the size you need, for example, for your website content. In our example, it could be beneficial to select a format that aligns with your blog.
4. Customizing Image Styles
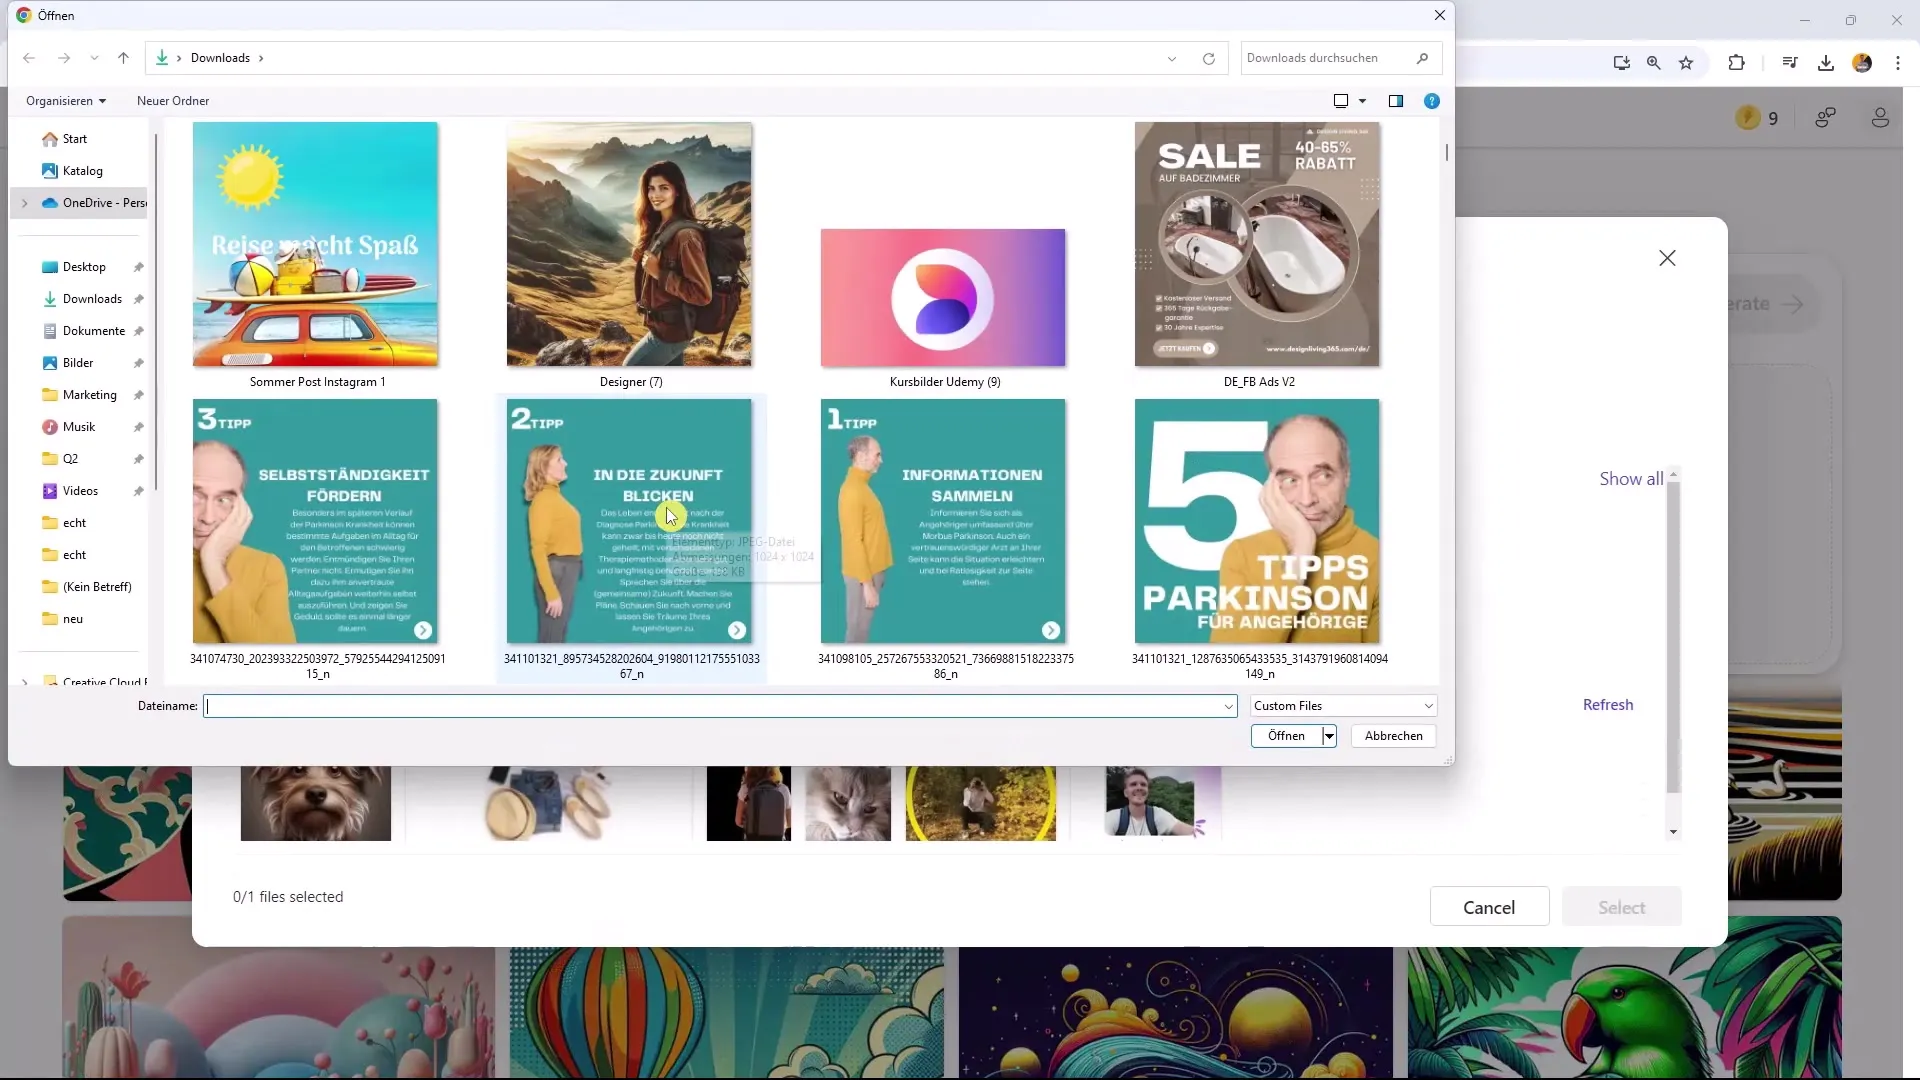
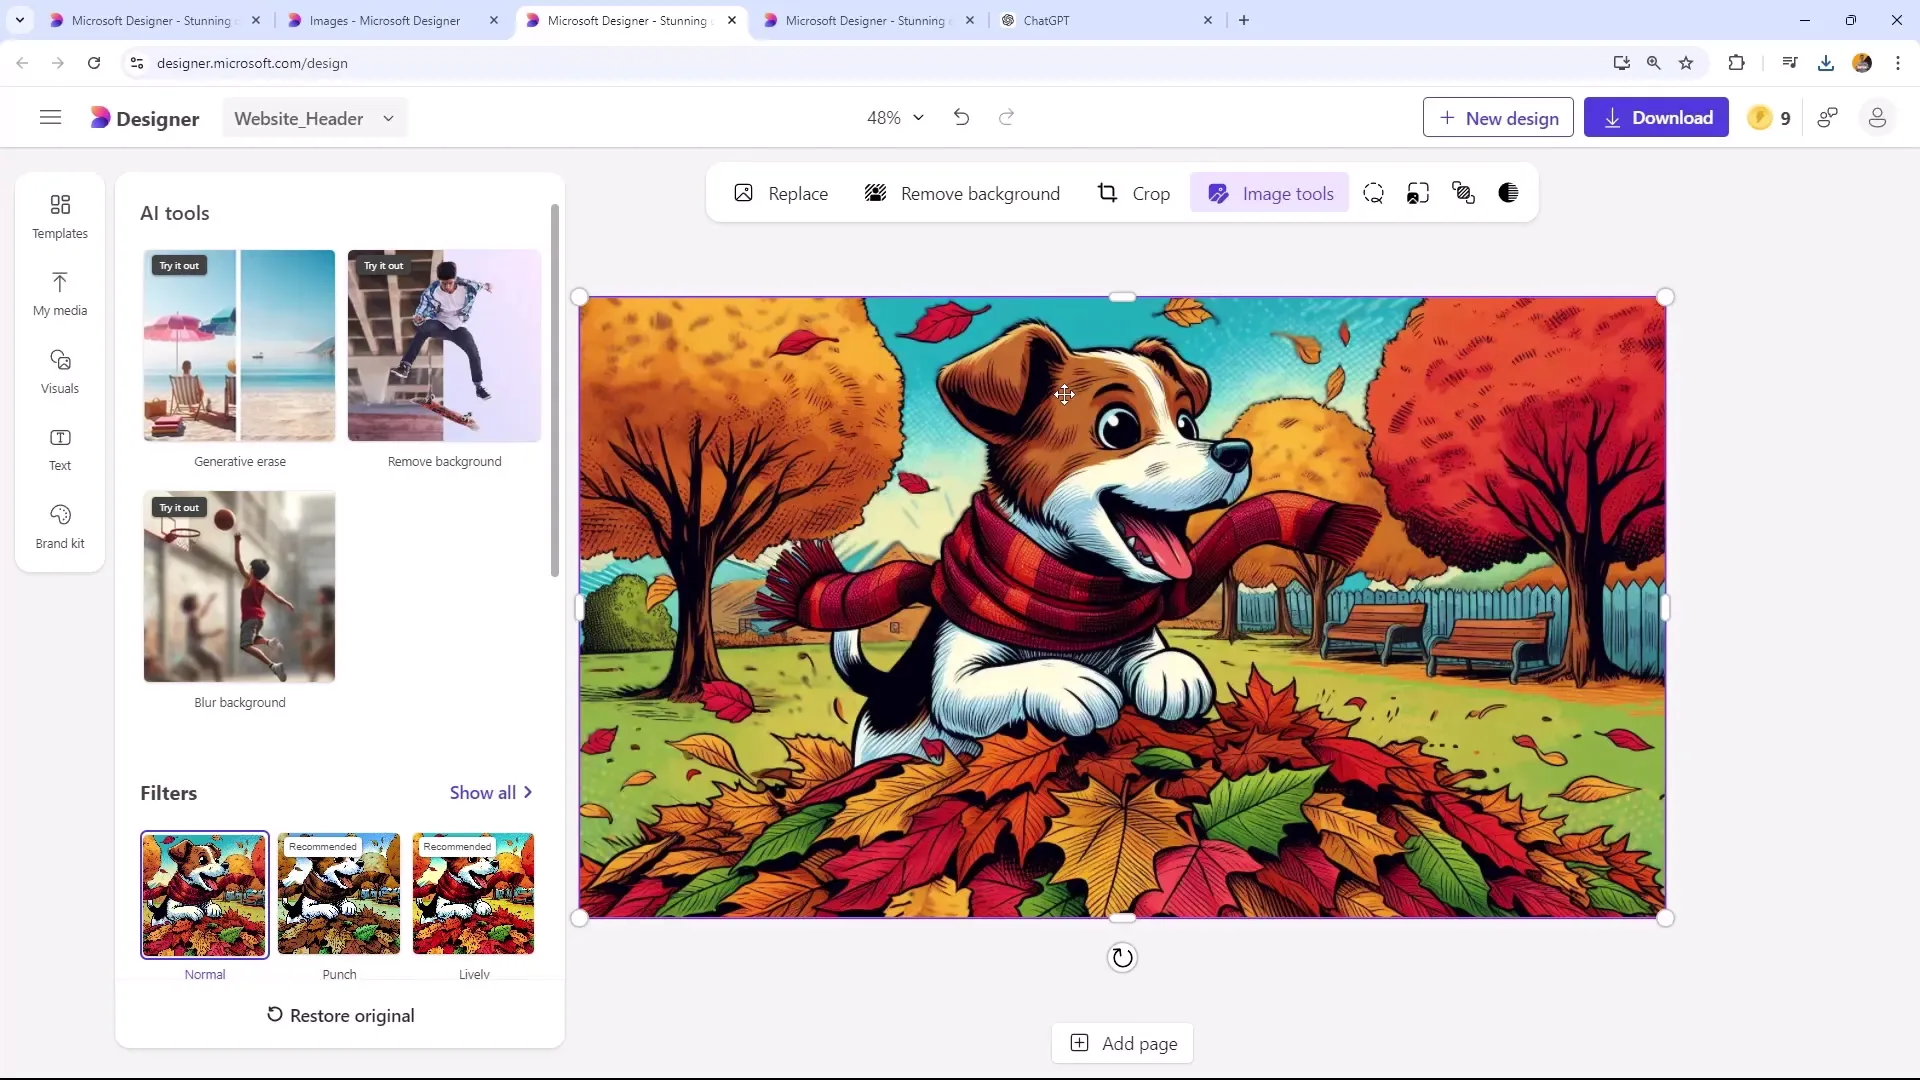
Once you have generated an image, you can further customize it or upload one of your own images. You can also experiment with different styles, such as modern cartoons or pop art. This way, you will get an image that perfectly matches your brand.
5. Adding Background Effects
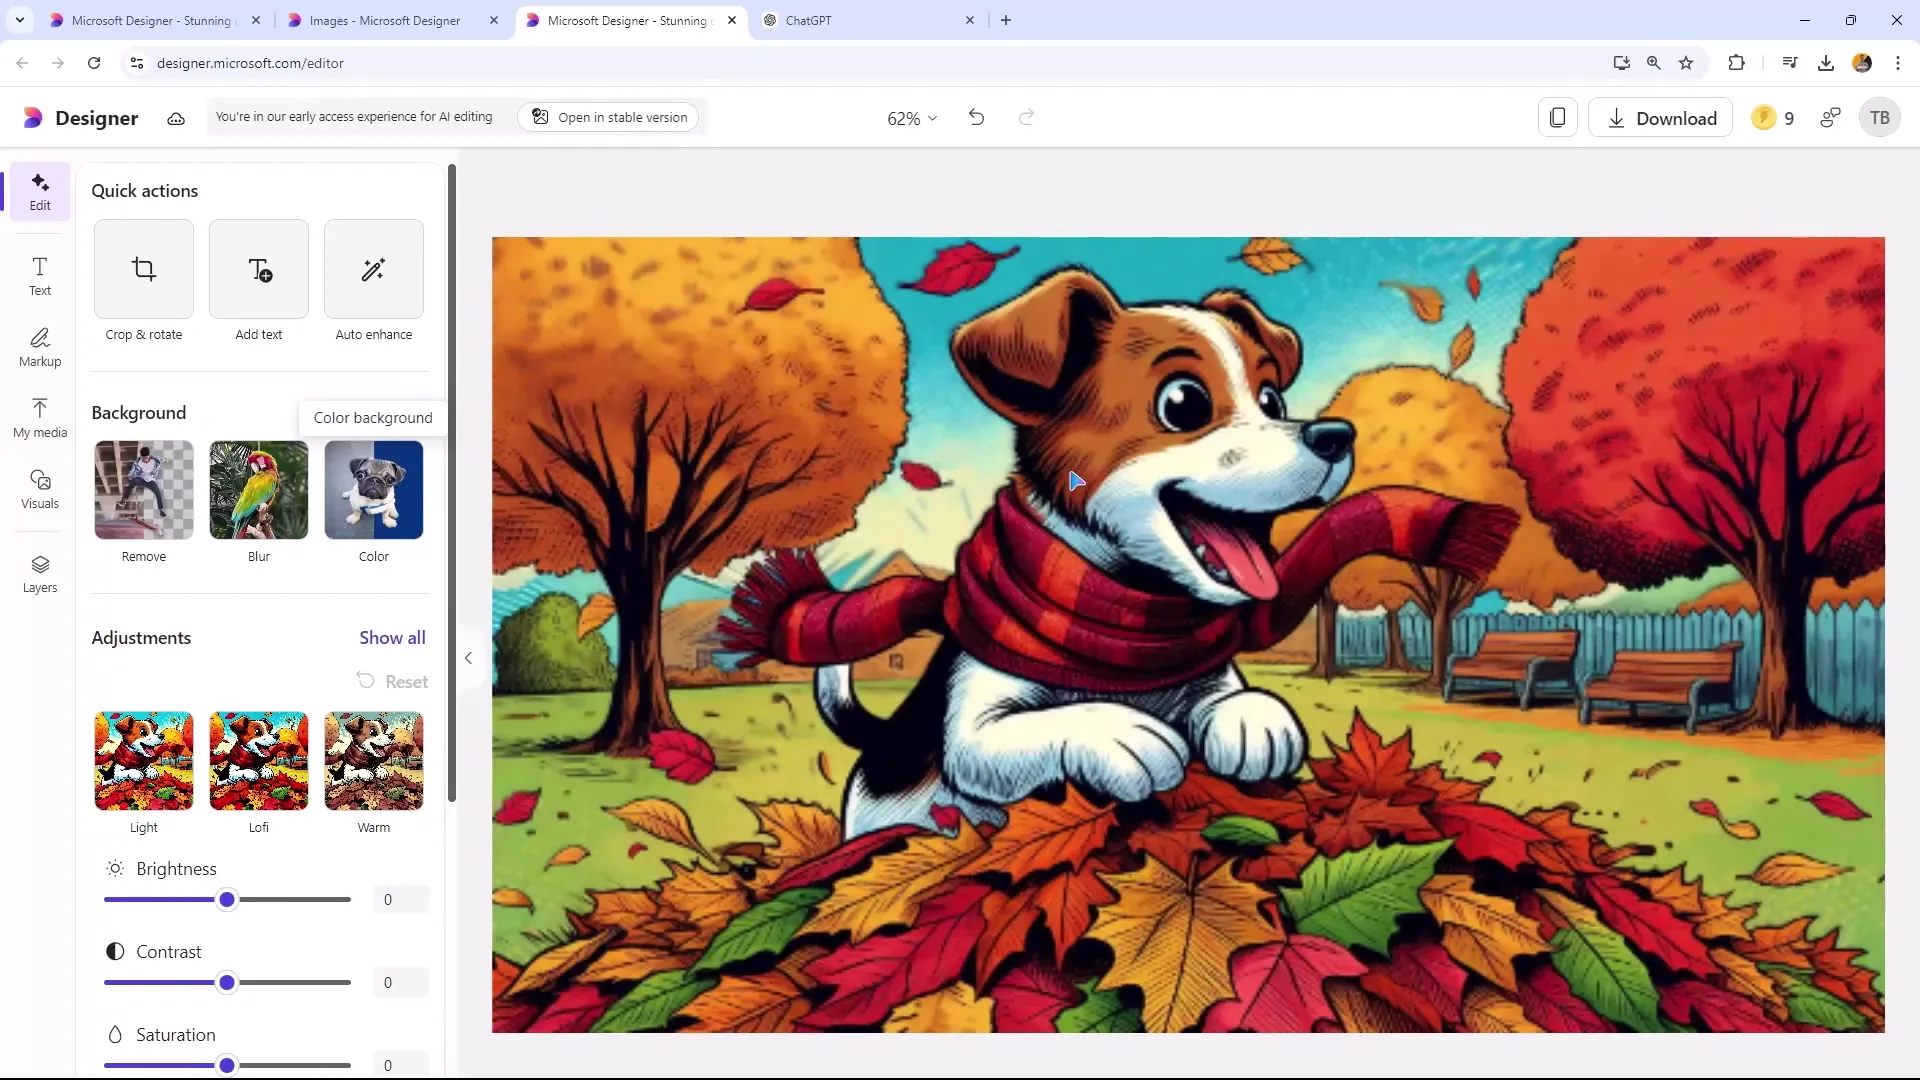
To further personalize the image, you can add effects such as a blurred background. This can highlight your main content and provide a relaxed aesthetic for your banner images. Apply this effect with a simple click.
6. Improving Image Quality
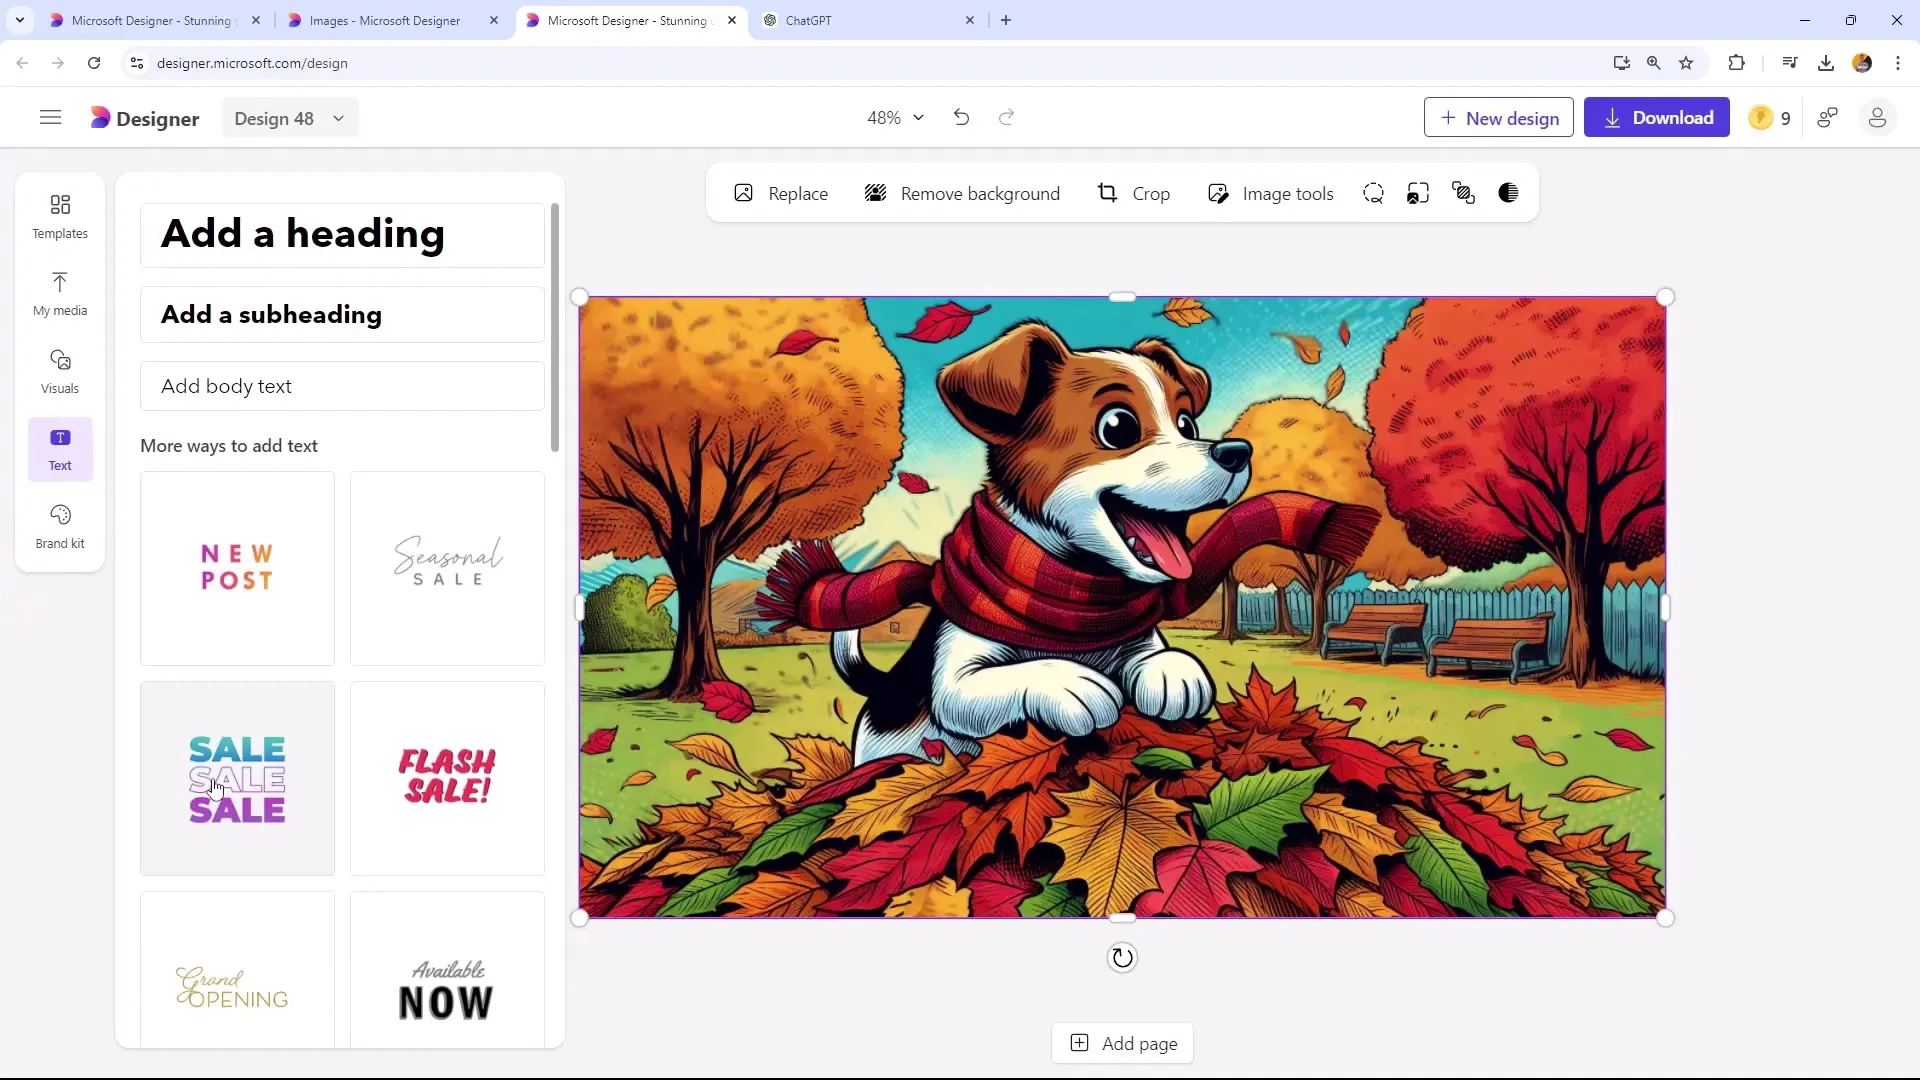
Ensure that you edit the resolution and other characteristics of the image. You can also adjust the contrast or overlay text on the image. A logo can be added in a corner to support your branding strategy.
7. Crop or Resize the Image
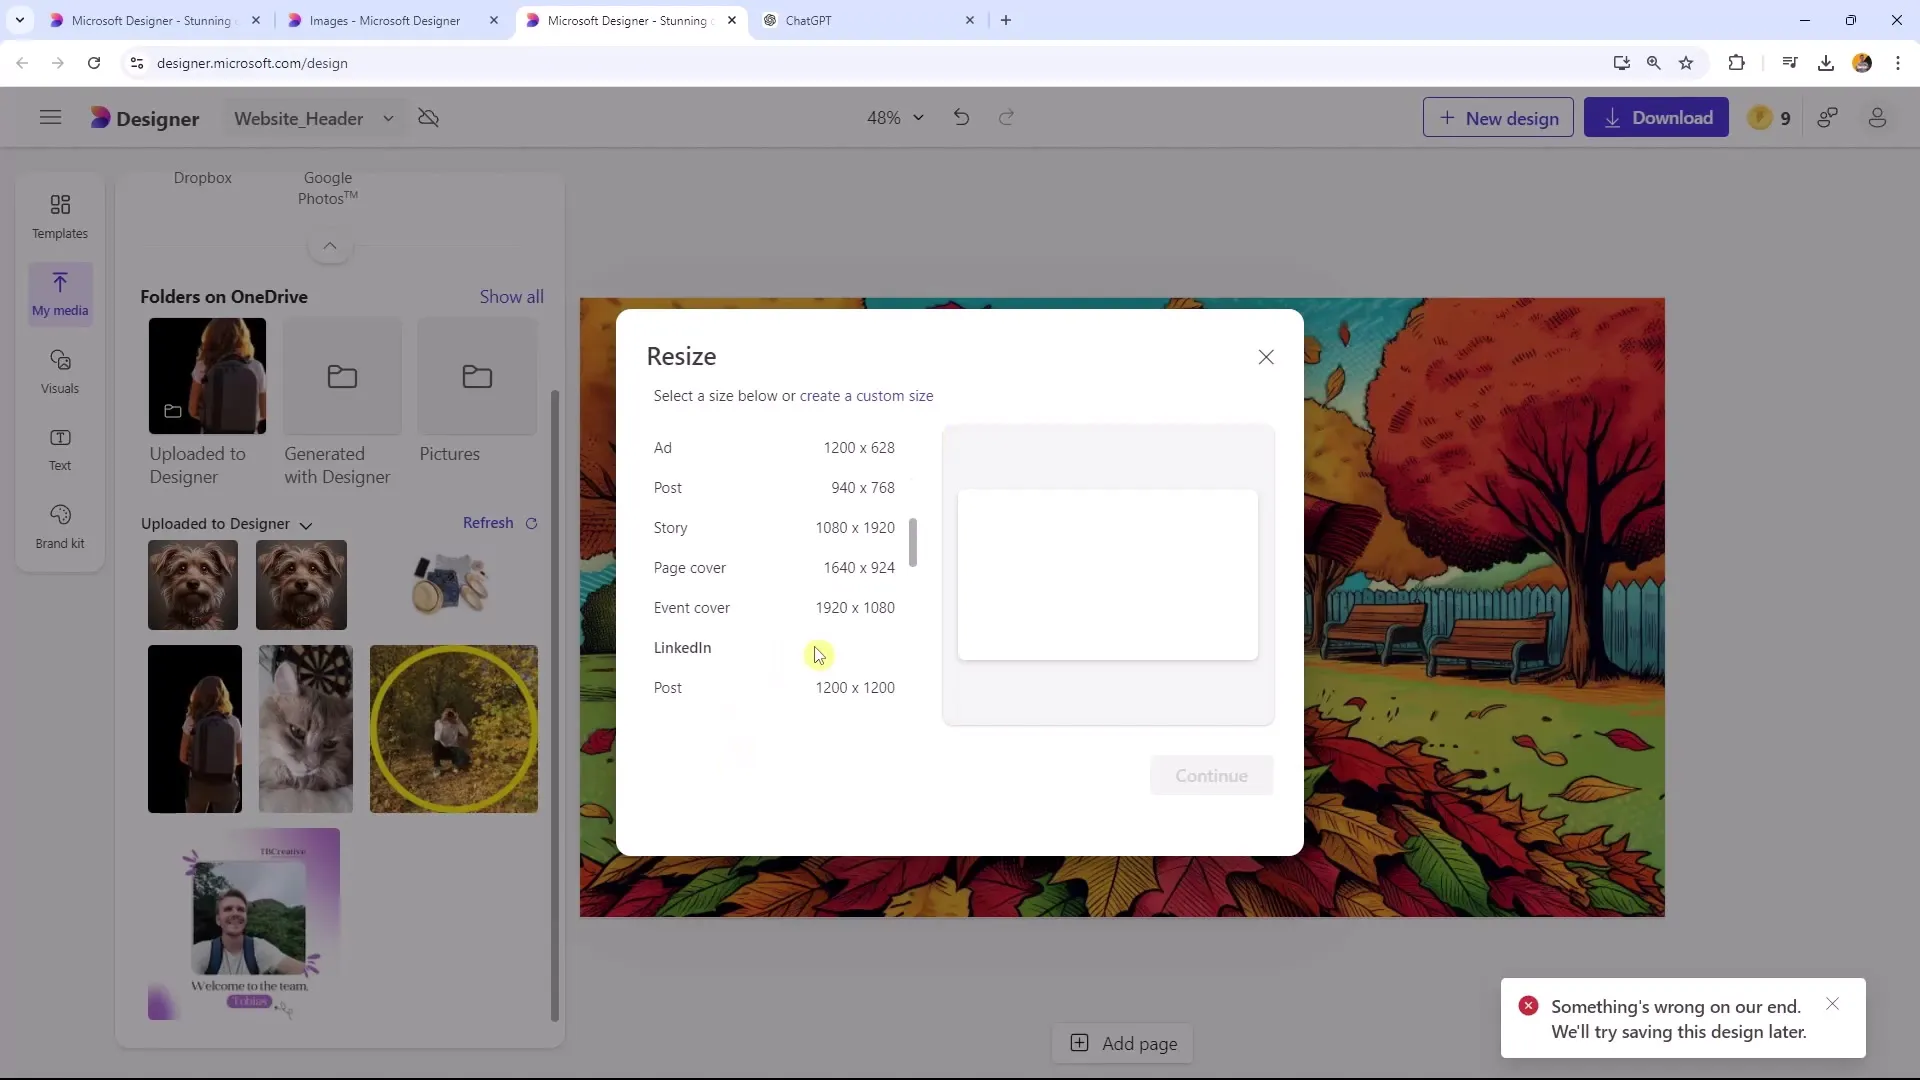
In Microsoft Designer, you can make size adjustments so that the image fits the format you need, for example, for Twitter or LinkedIn. Ensure that the proportions are maintained to prevent distortion.
8. Download Images in the Appropriate Formats
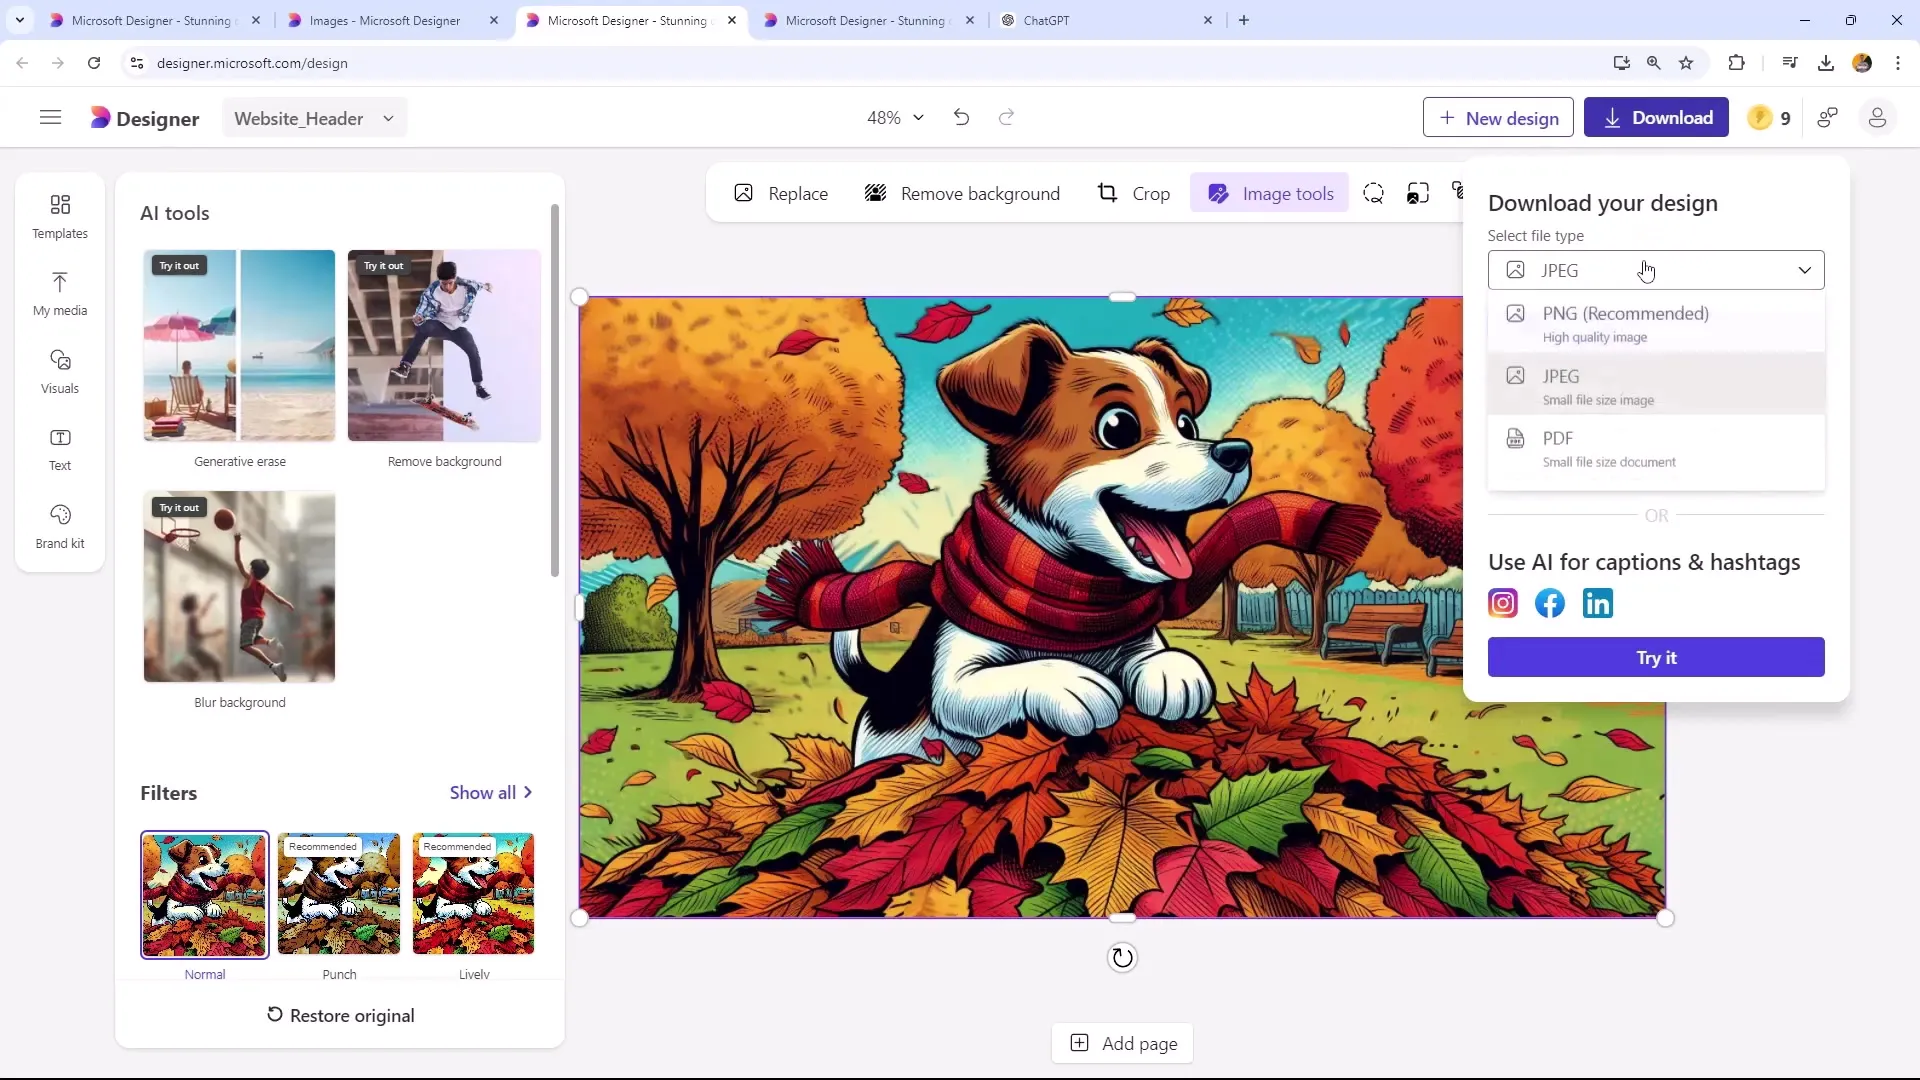
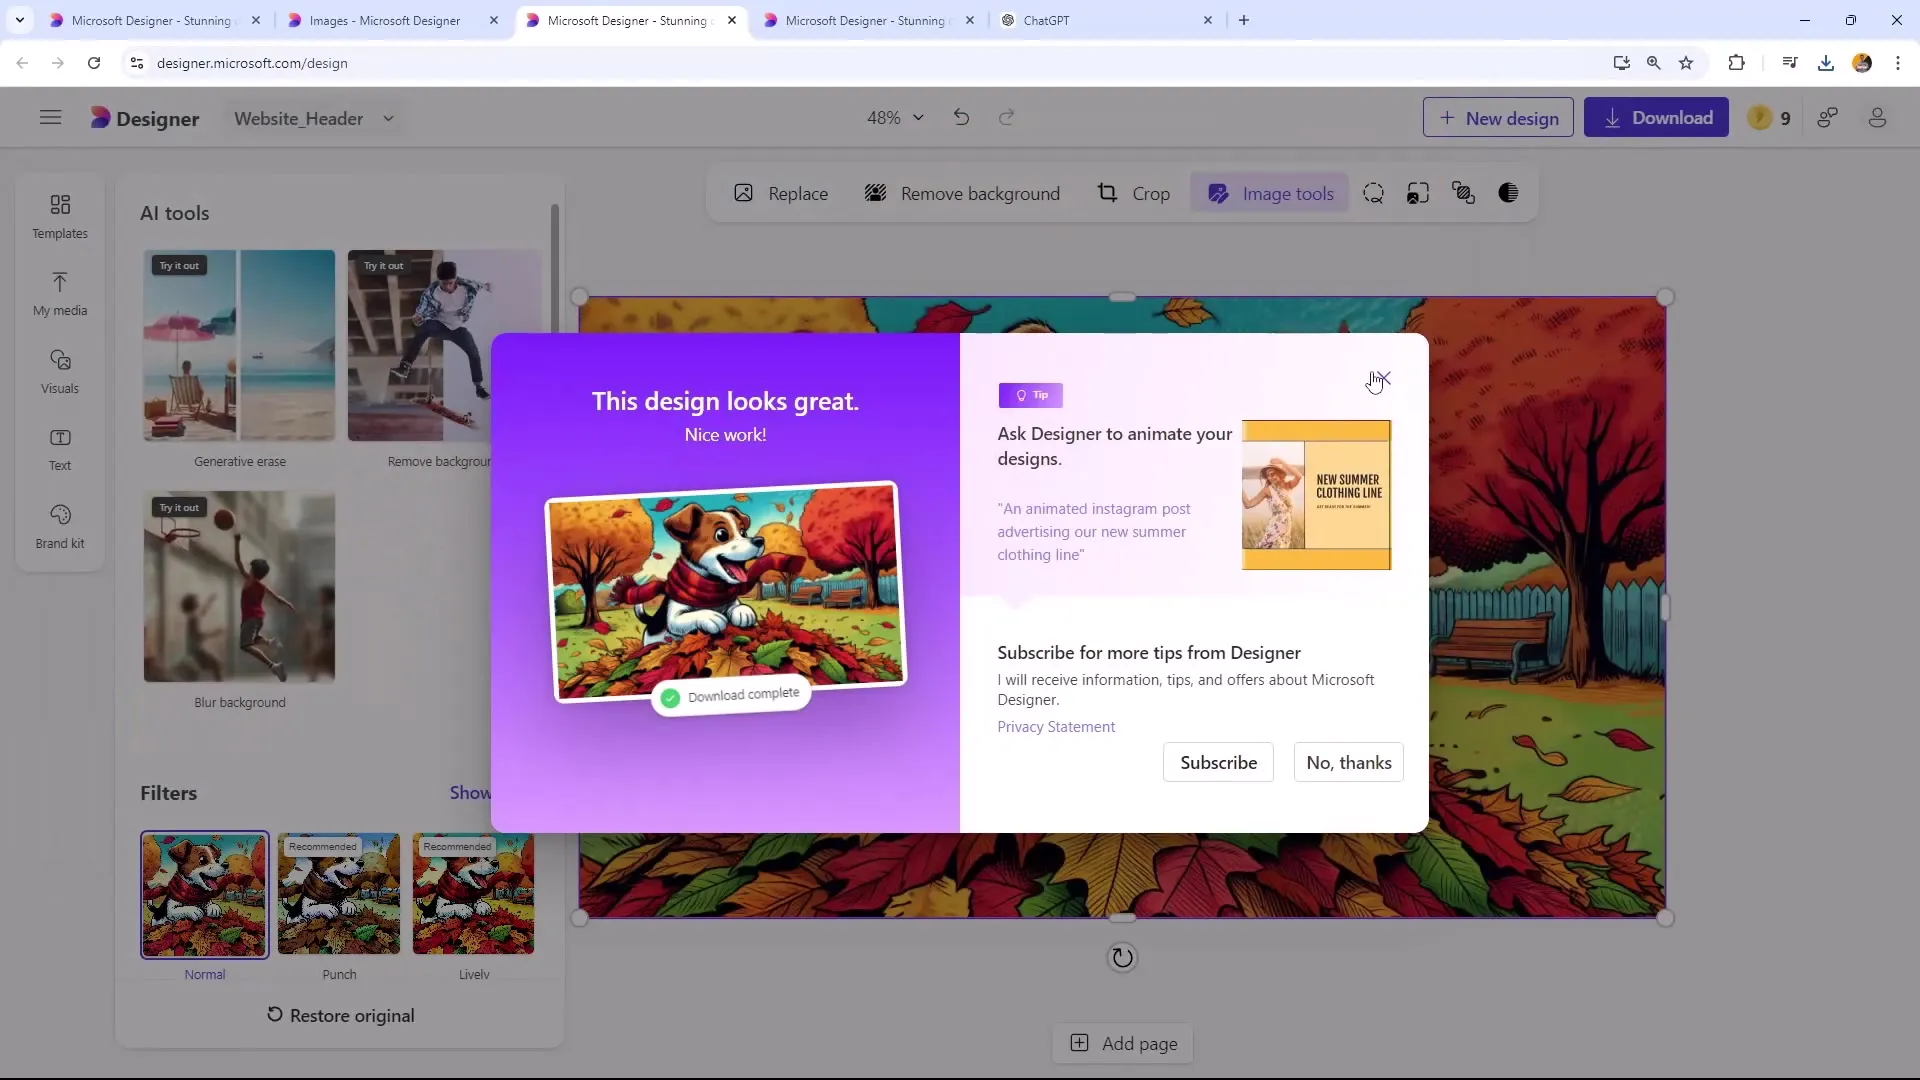
The choice of file format is crucial. When downloading your image for a website, it is advisable to save it as JPEG. JPEGs have a smaller file size, improving the loading speed of your website, whereas PNGs offer higher image quality but are larger in size.
9. Comparison of File Formats
Download both the JPEG and PNG versions of the image and compare them. You will notice that JPEGs load faster and require less storage space, which is particularly important when you use many images on your website.
10. Final Review and Adjustments
Before publishing your image, check the quality and make sure it looks good when zoomed in. It is important that your use of images is both functional and appealing.
Summary
In this tutorial, you were able to learn how to create appealing blog images using Microsoft Designer. Choosing the image format, using AI for image generation, and selecting the appropriate file format are crucial steps to optimize the visual content of your website or blog.
Frequently Asked Questions
What is Microsoft Designer?Microsoft Designer is a graphic design tool that uses AI to create and edit images.
How do I choose the right image formats?Choose the image format based on the application, e.g., landscape header images or round profile pictures.
Why should I use JPEG instead of PNG?JPEG has a smaller file size, which improves the website's loading speed, while PNG offers higher image quality.
How can I blur the background of an image?You can do this by applying the corresponding effect in Microsoft Designer with a click.
What should I consider when downloading my images?Consider the format in which you need the images to optimize the loading speed and quality on your website.
