In this tutorial, you will learn how to create professional flyers with Microsoft Designer that are perfect for digital and print formats. Using AI templates significantly simplifies the design process and provides creative ways to bring your ideas to life. Whether you want to design an invitation for a dog show or create an internal memo for your office, this guide will show you step by step how to get the most out of Microsoft Designer.
Key Insights You can use Microsoft Designer to create engaging flyers that can be sent digitally or printed. It is important to pay attention to layout and design to ensure everything looks professional. Additionally, you can create visual elements with templates and AI features to make your flyers more appealing.
Step-by-Step Guide
To create your flyer, follow the steps below:
1. Choose Flyer and Set Data Format
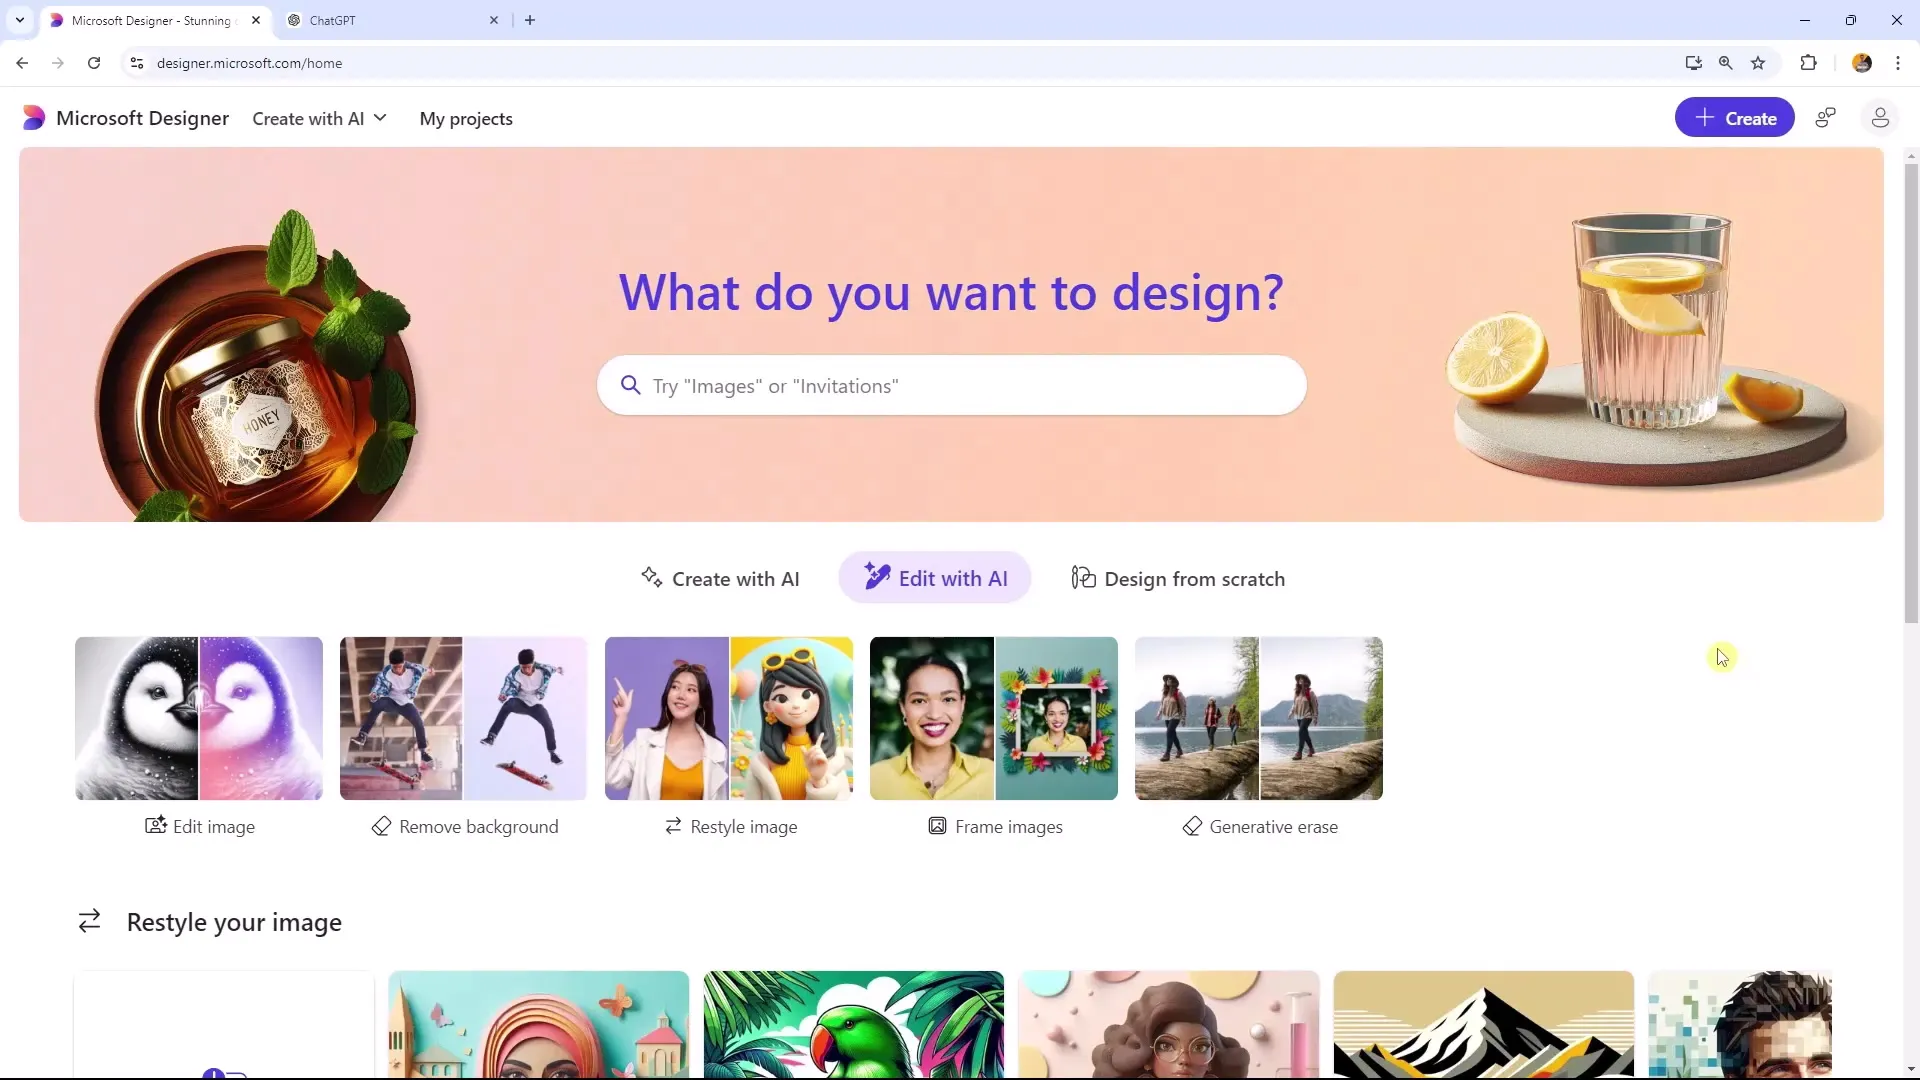
First, open Microsoft Designer and choose the option to create a flyer in the print area. Make sure to select the correct size for your flyer, which in this case is 2550 x 3300 pixels.
2. Browse and Select Templates
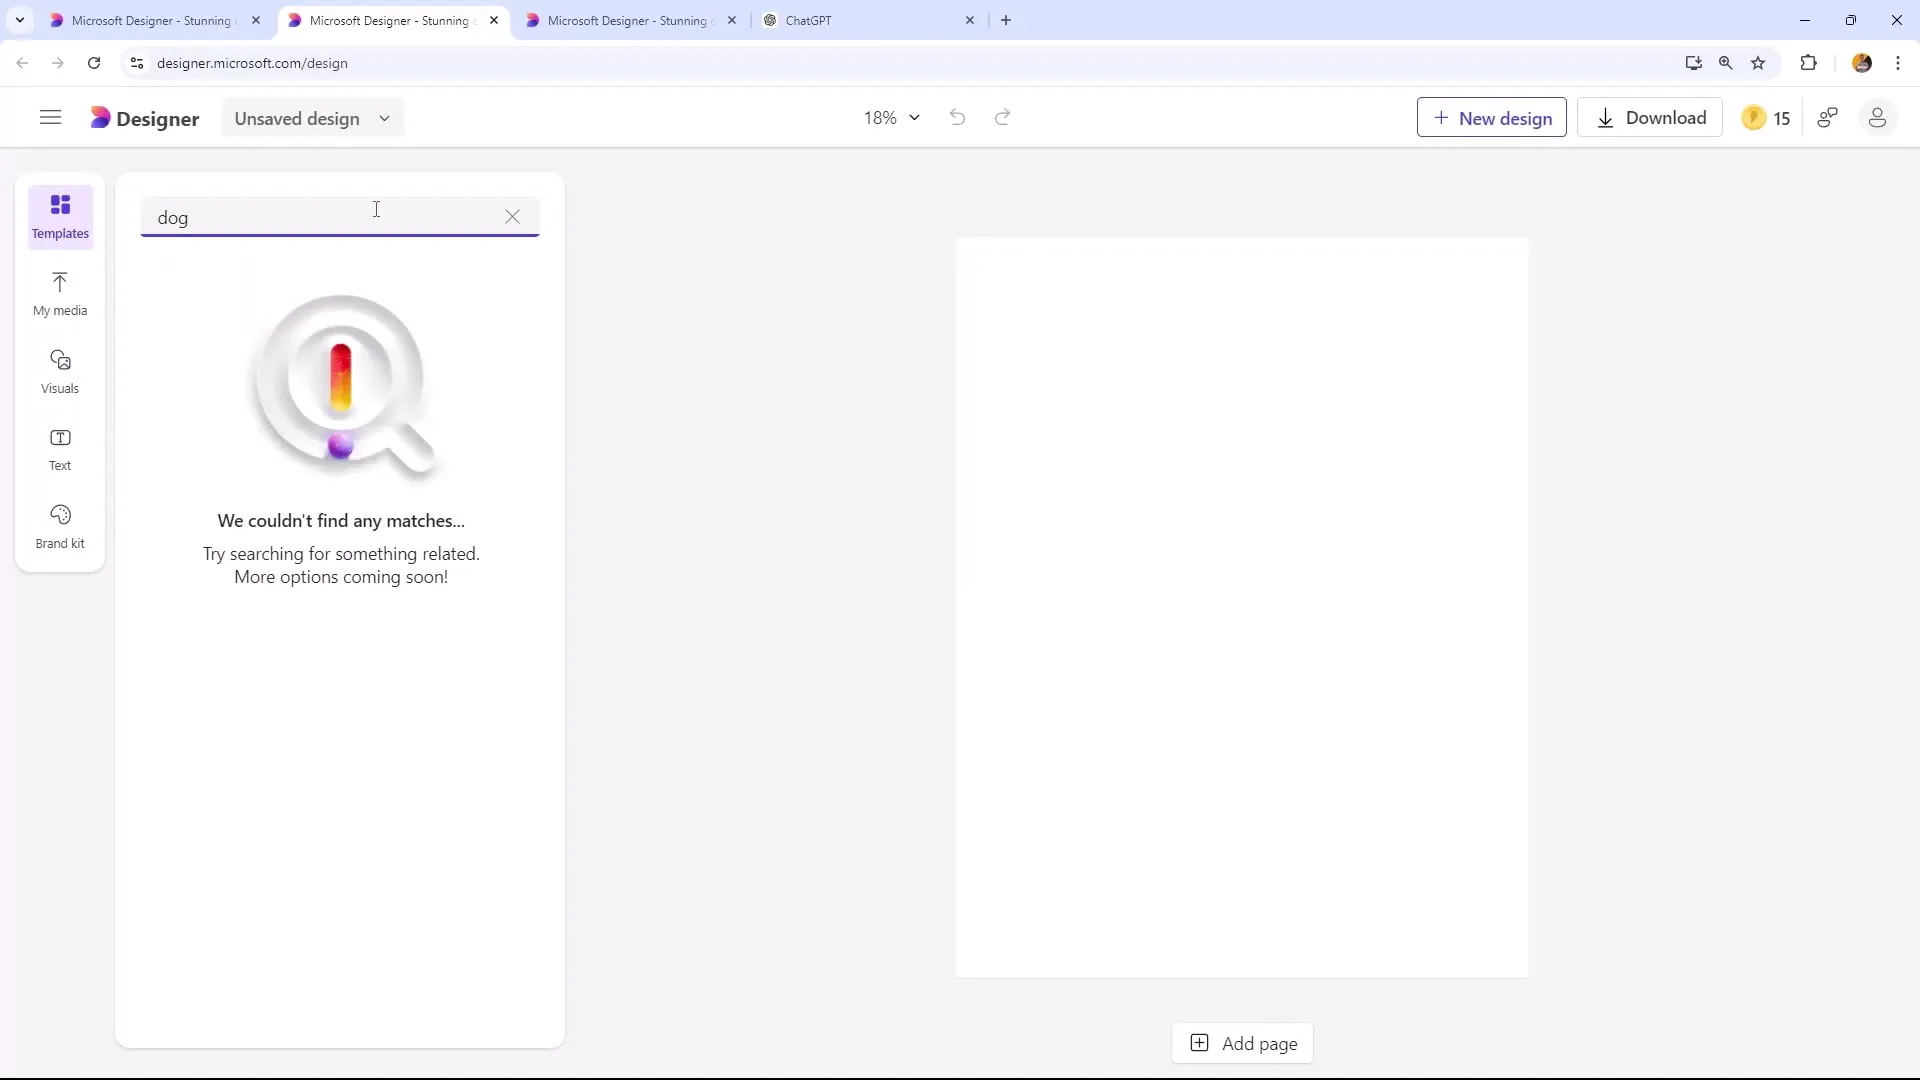
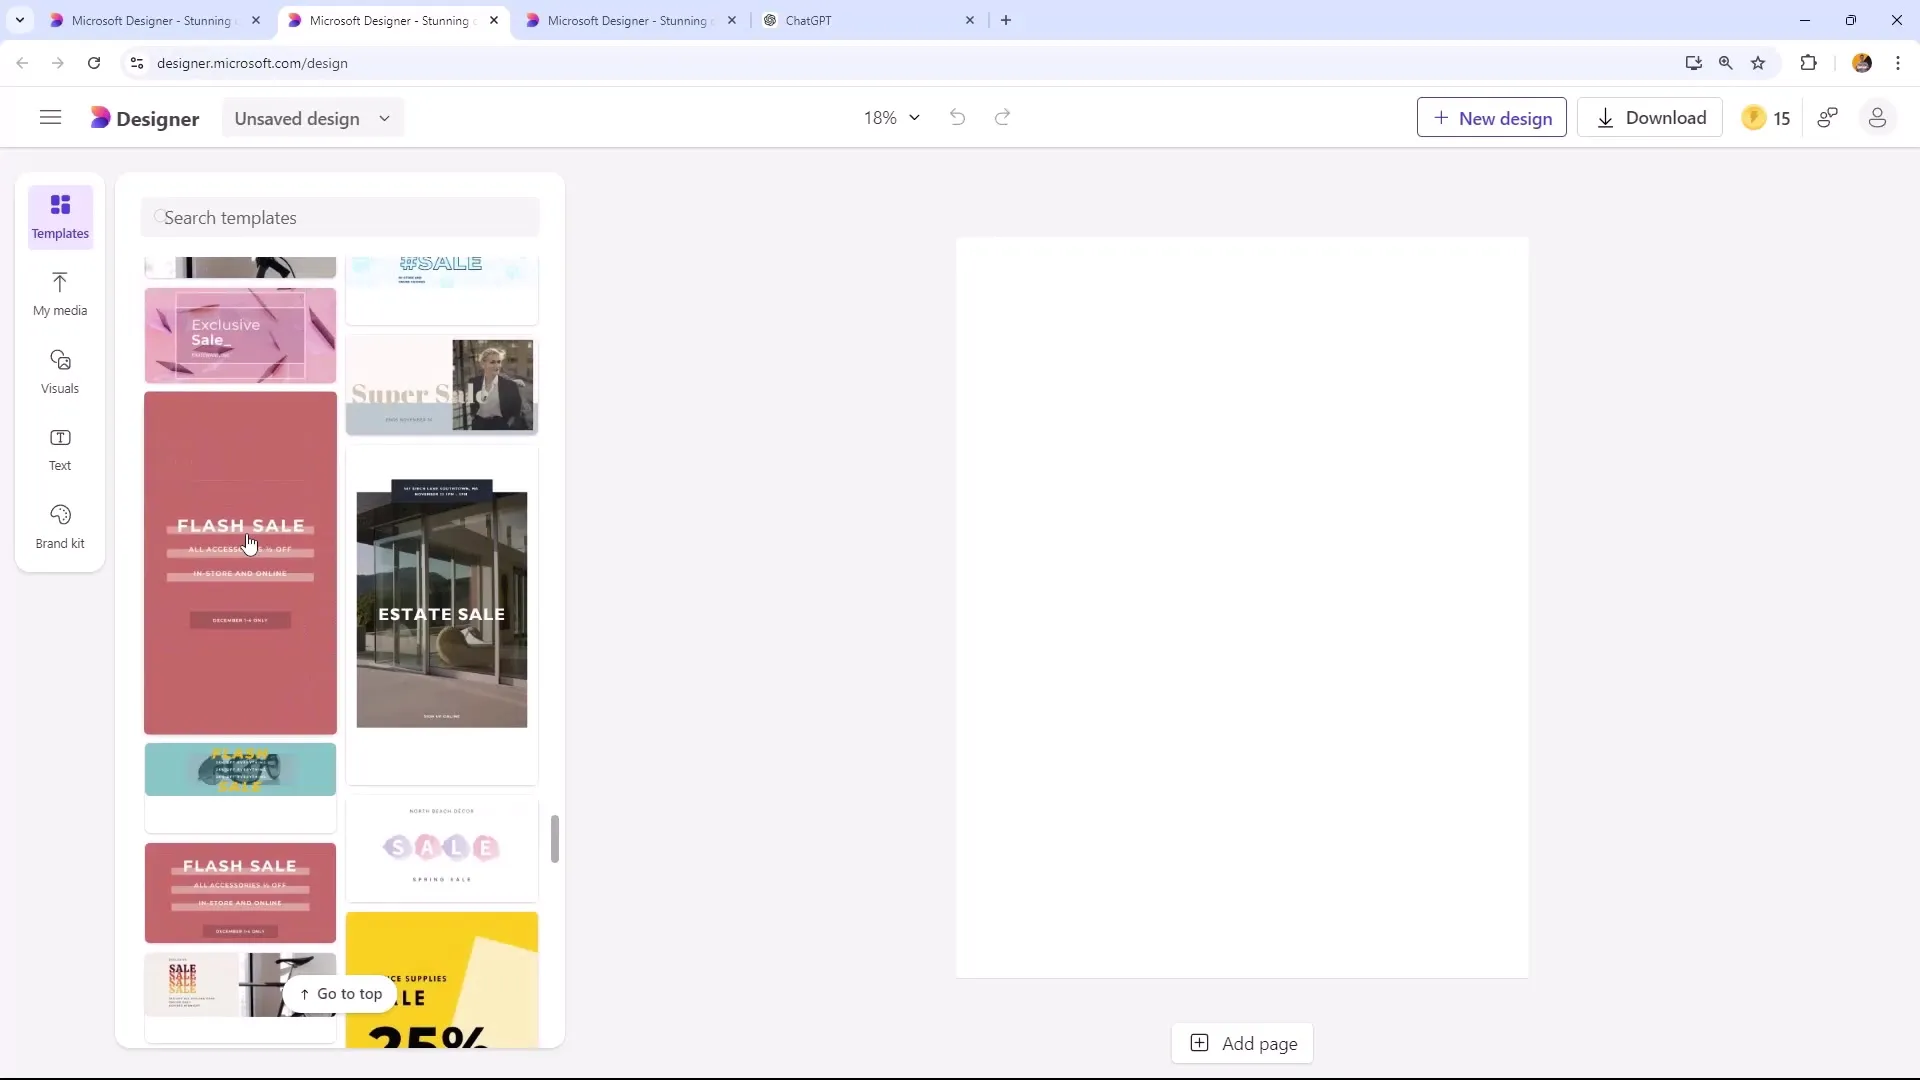
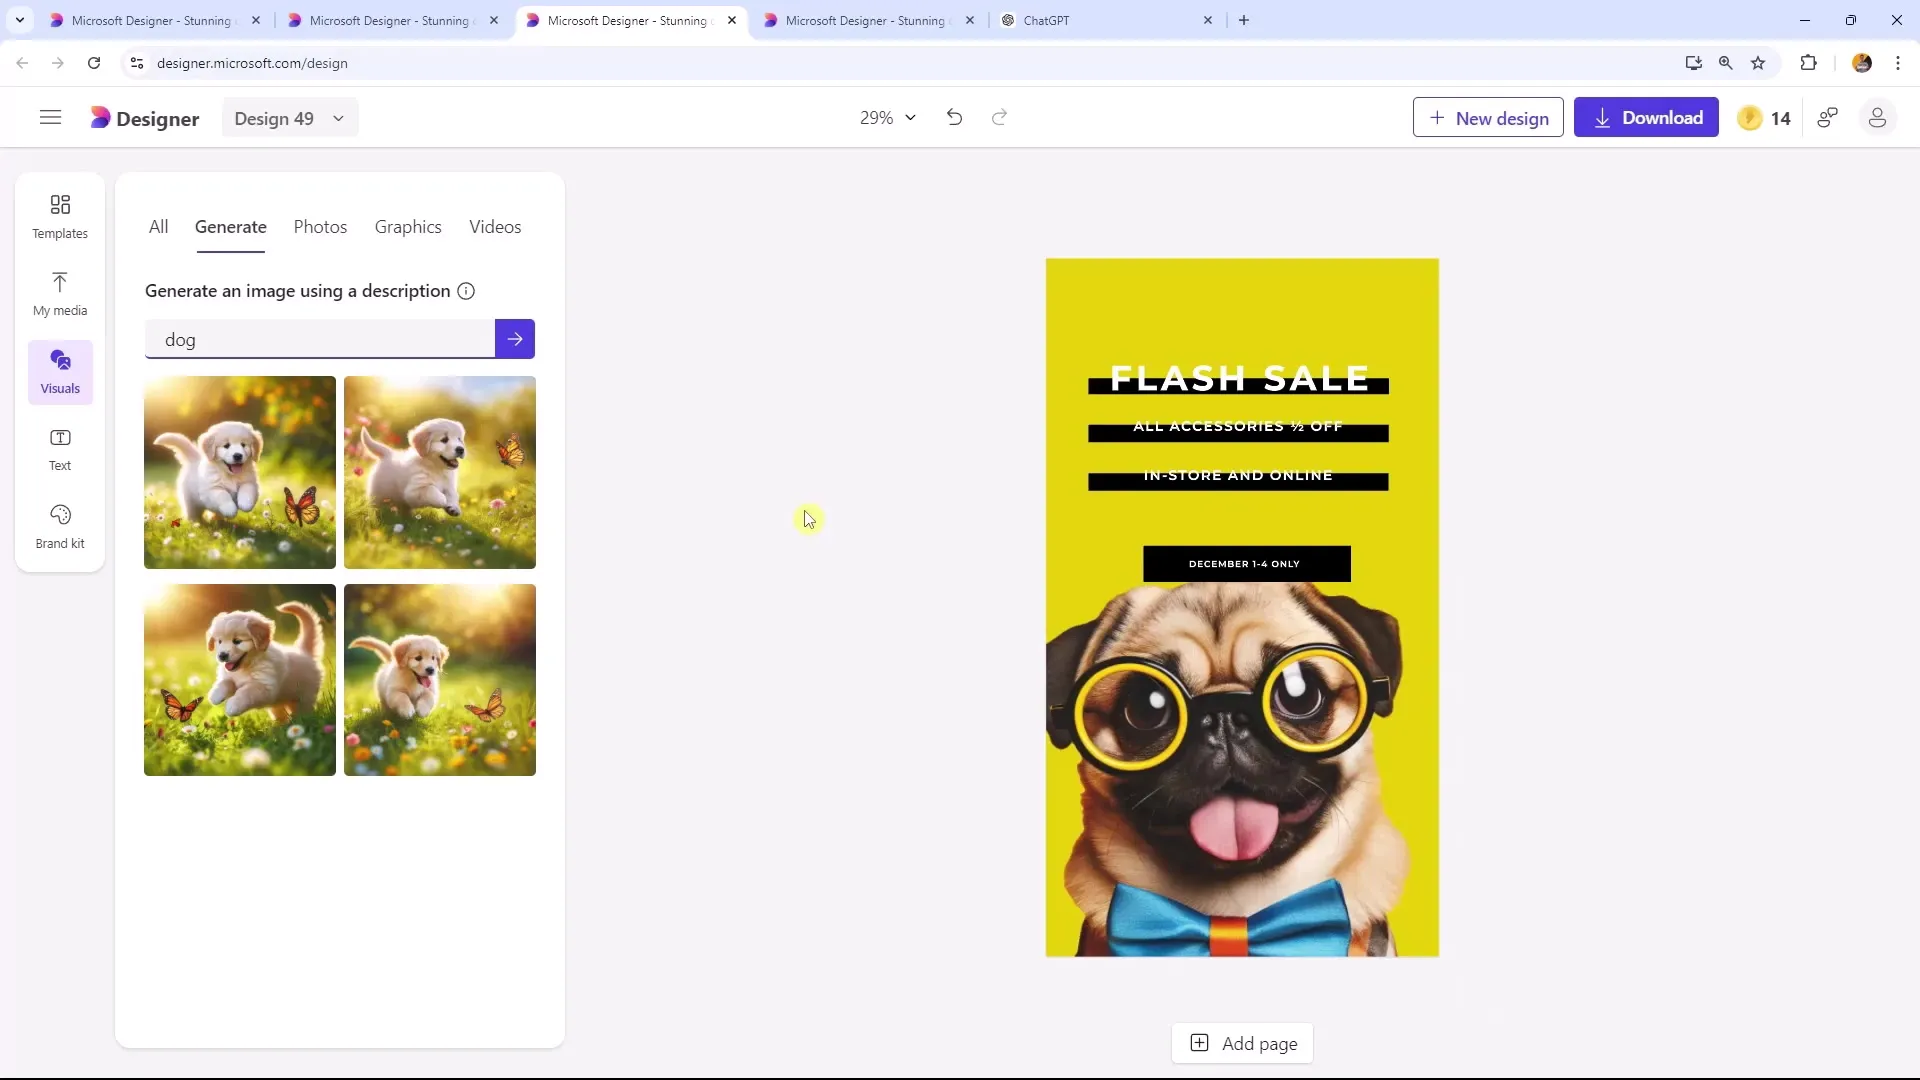
Click on "Templates" and use the search function to look for specific templates. In this example, you can search for "Dog" to find a suitable template. However, if no effective results are displayed, you can also browse through the general templates and choose one that you like.
3. Customize Background and Visual Elements
To create your flyer, you now want to customize the background and visual elements. You can choose a background that matches your event, or insert creative graphics that fit your theme.
4. Utilize AI-Driven Images and Graphics
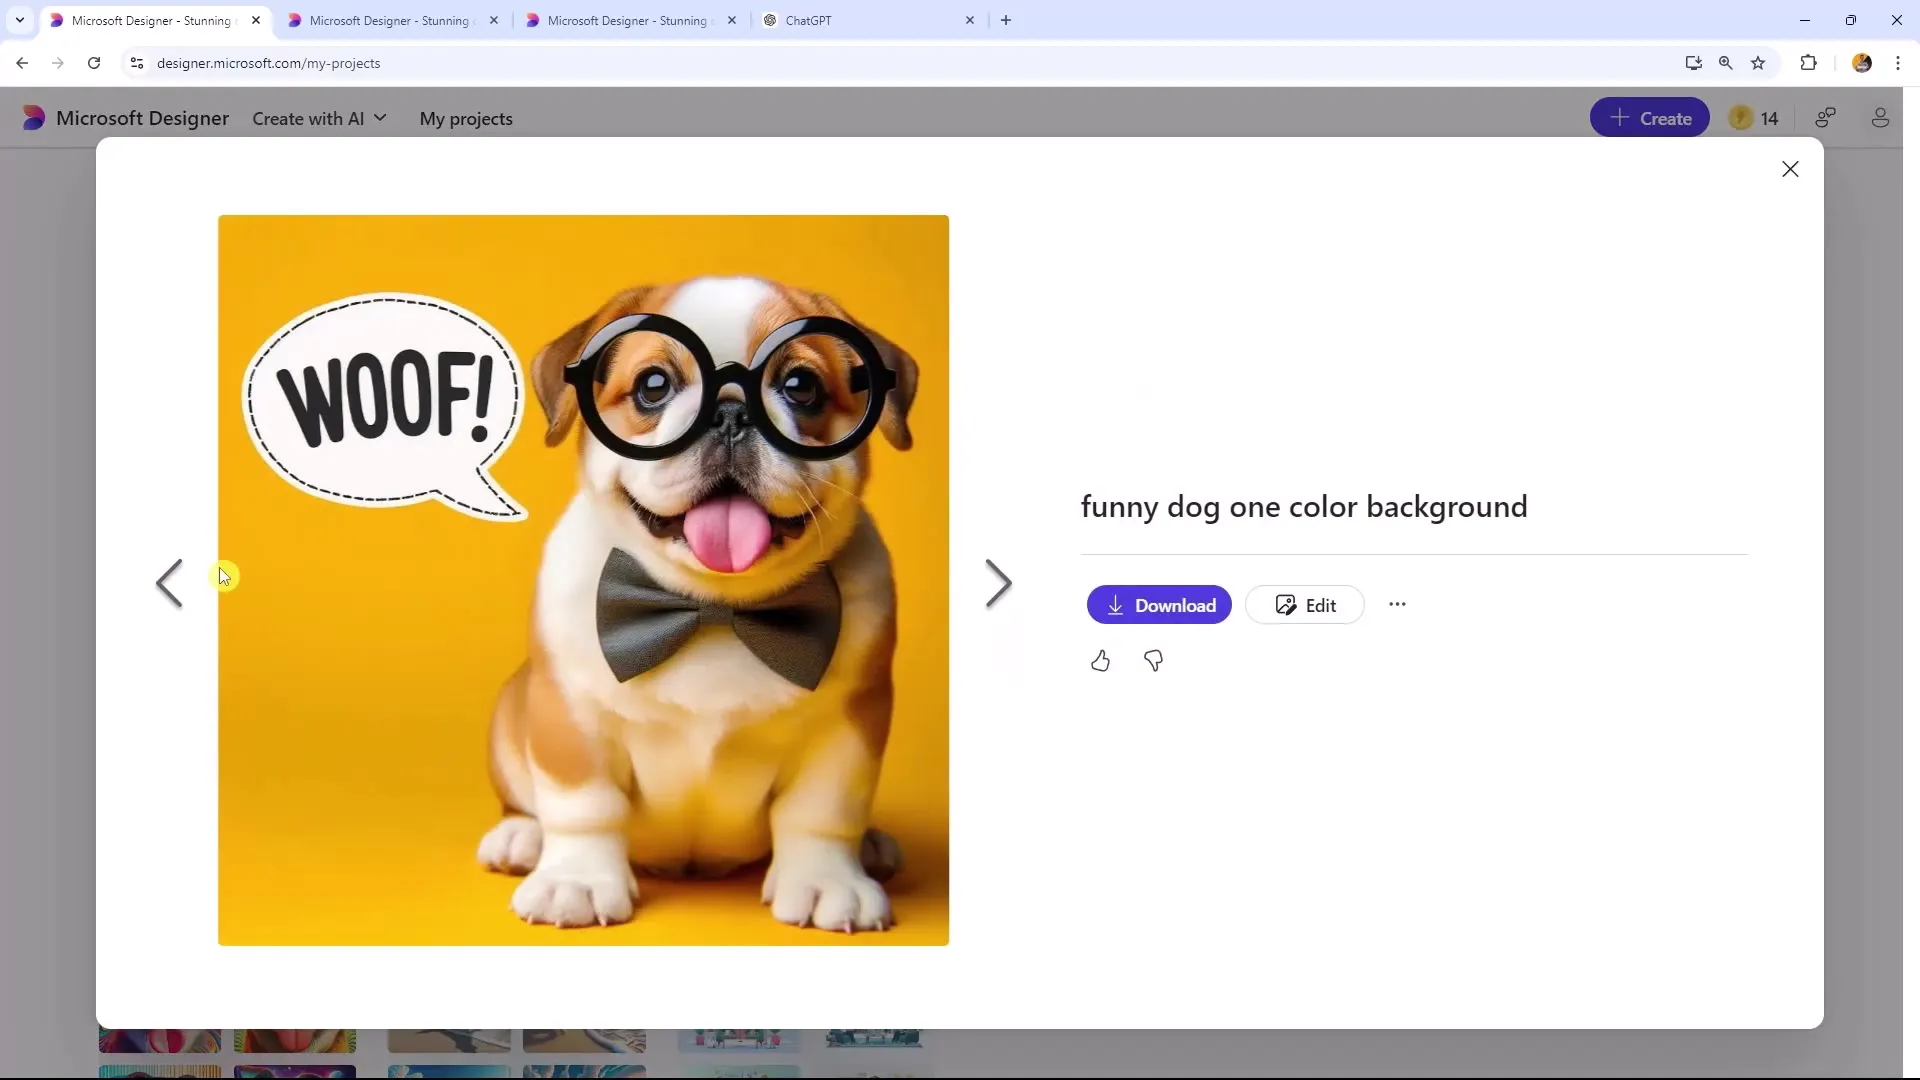
To make your designs more unique, you can use AI-driven images. Make sure you already have images or graphics that you want to incorporate into your project. For example, you can select a dog from your collection and remove the background to seamlessly integrate the image into your flyer.
5. Format Design Elements
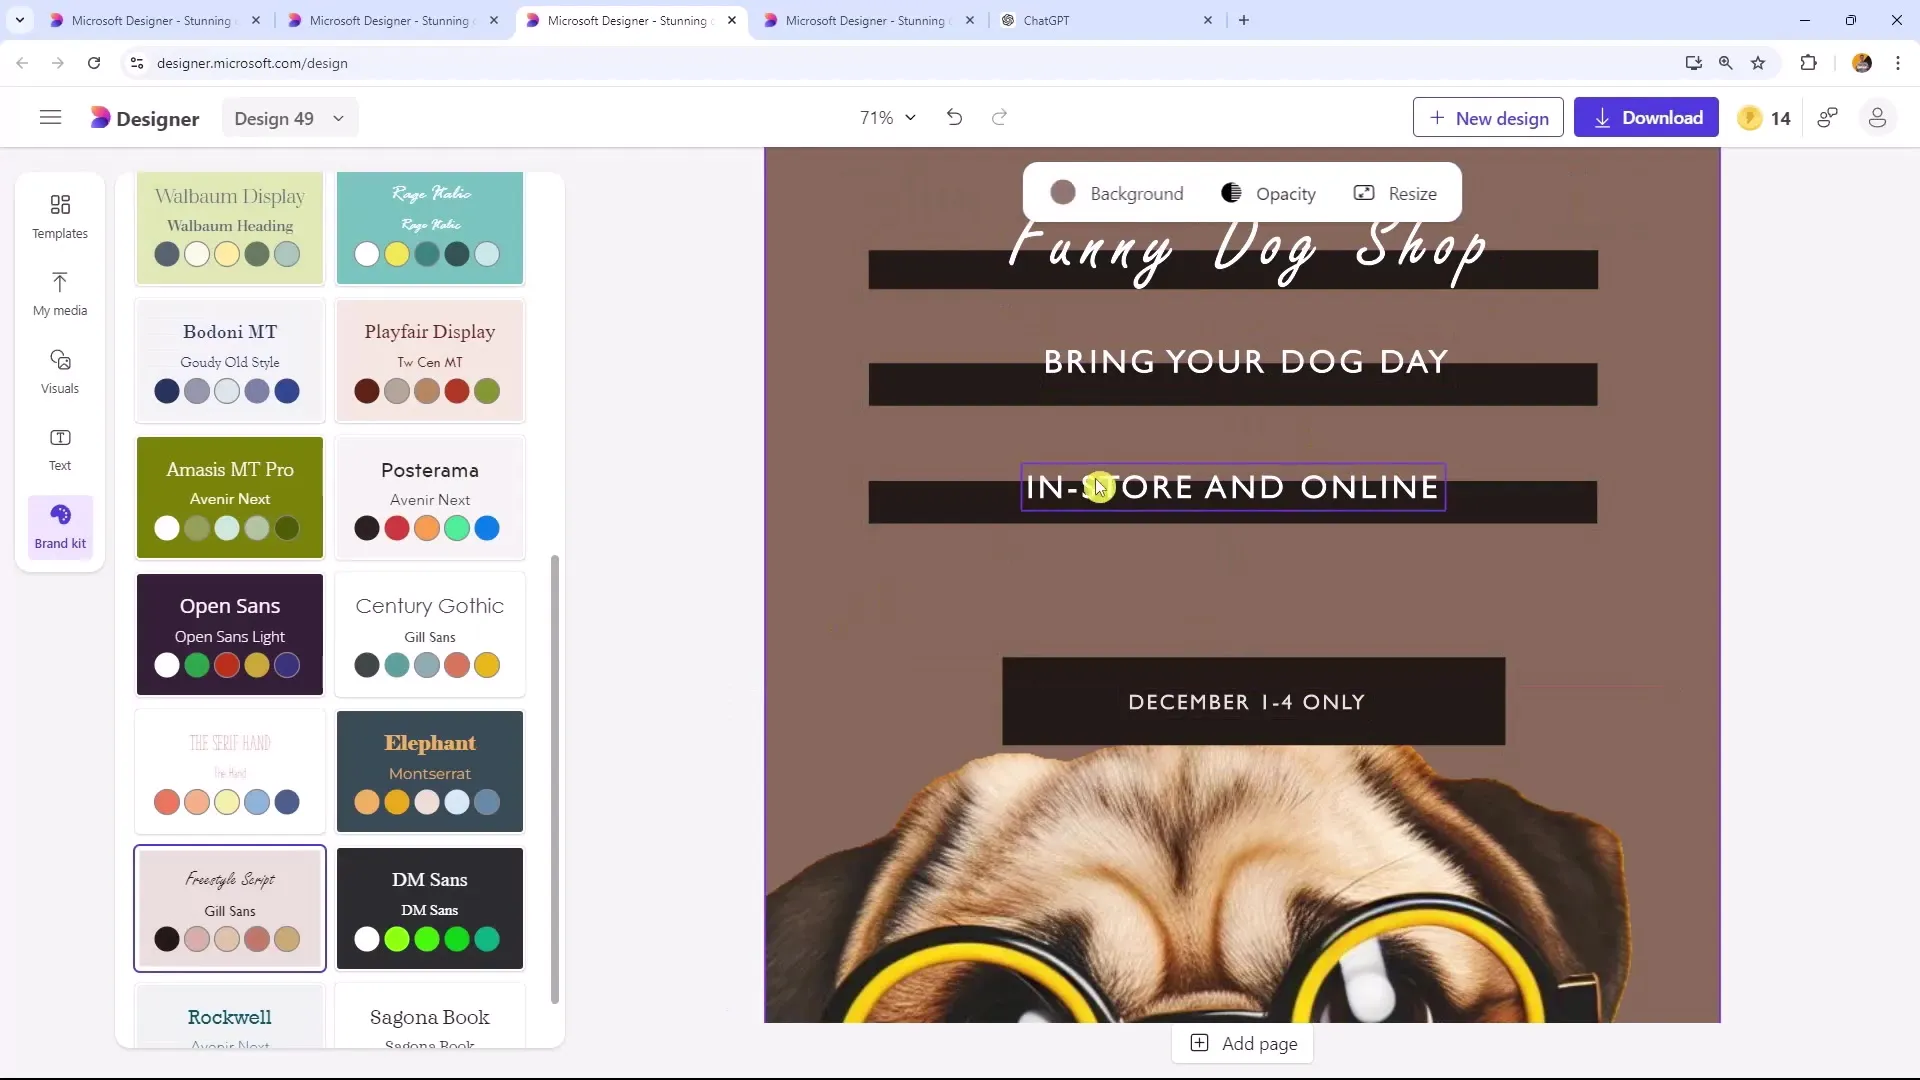
Once you have added the graphics, it's time to adjust the colors and formats. You have the opportunity to experiment with colors on the photos and texts. Pay particular attention to ensuring everything goes well together and readability is maintained. You can also match the colors to your brand colors.
6. Add and Style Text
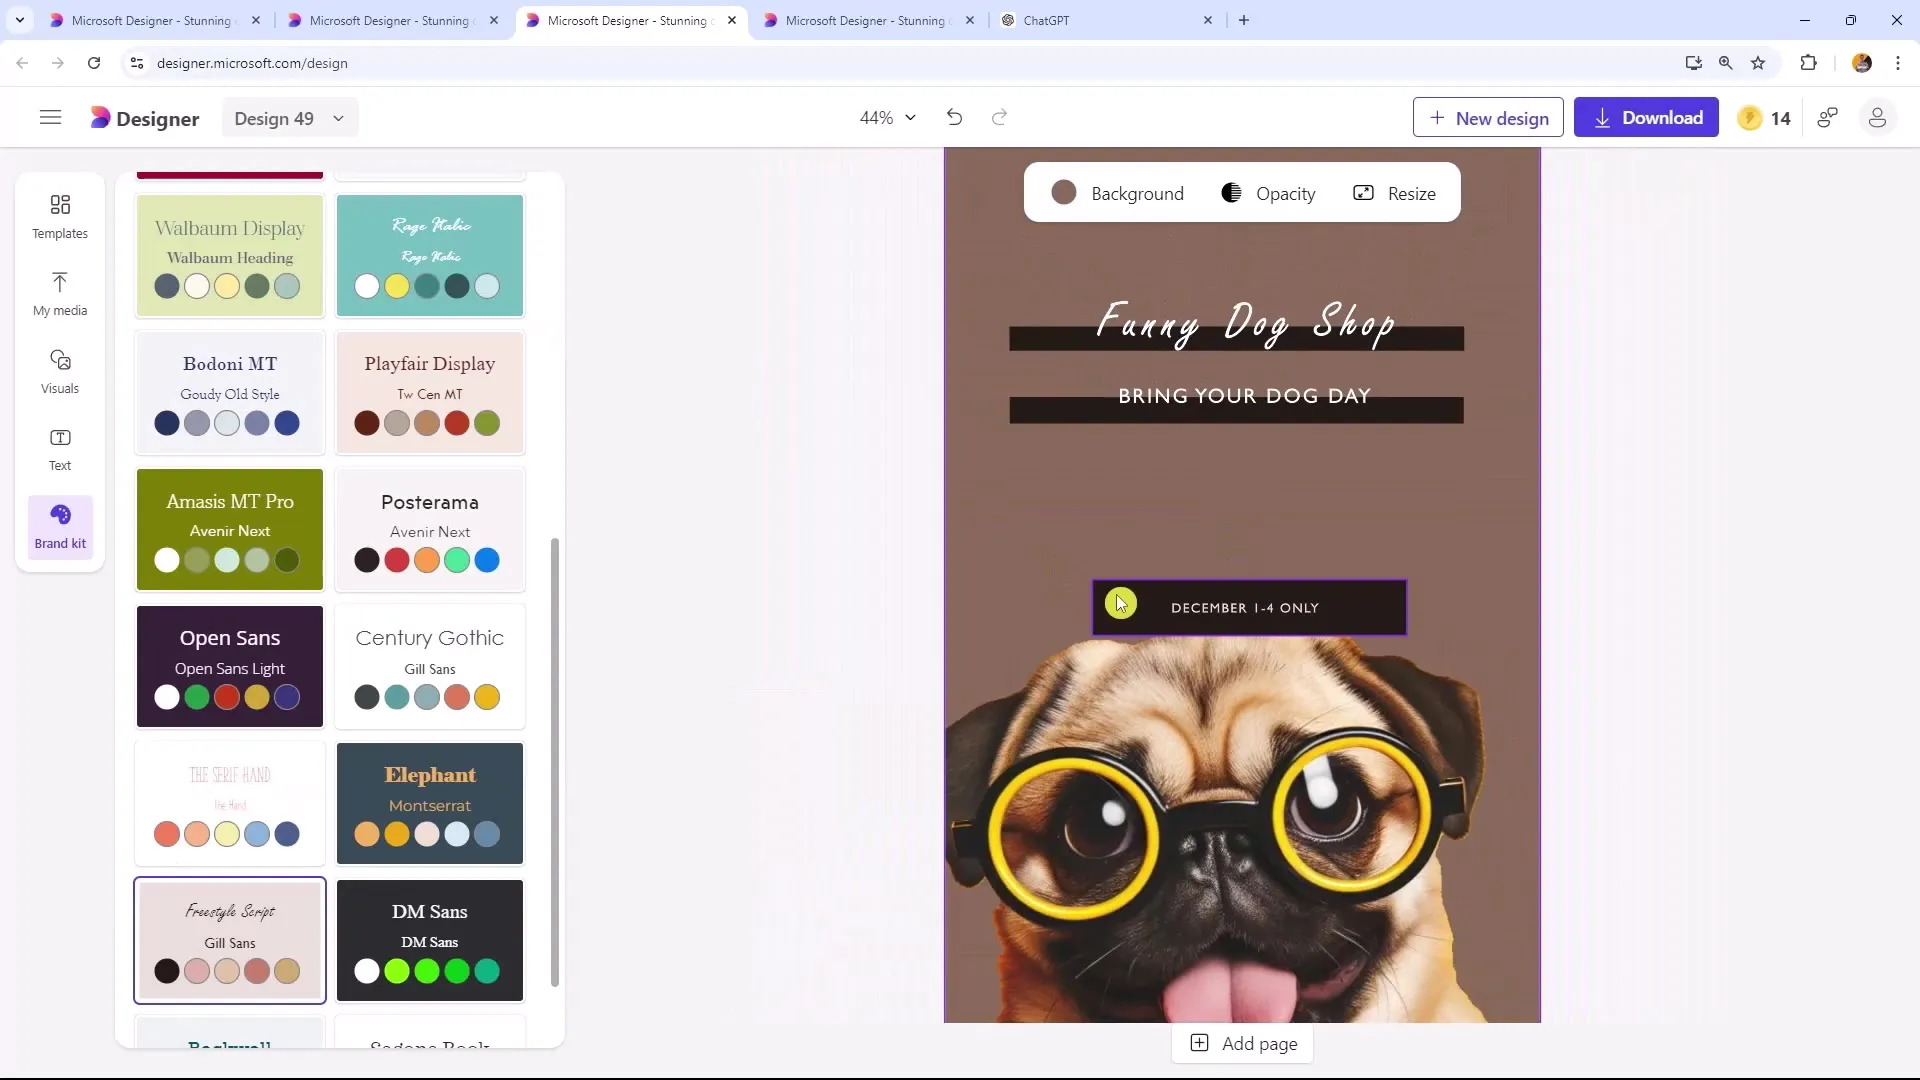
Now you can enter the text for your flyer. Make sure the text is clear and engaging. In this example, you can provide the name of your event and the date. Place the text strategically to create an appealing layout.
7. Final Adjustments and Review
Once you have added all elements, review the entire design. Check alignments, texts, and overlapping elements that may need editing. The goal is to achieve a clean and professional look.
8. Download and Send Flyer
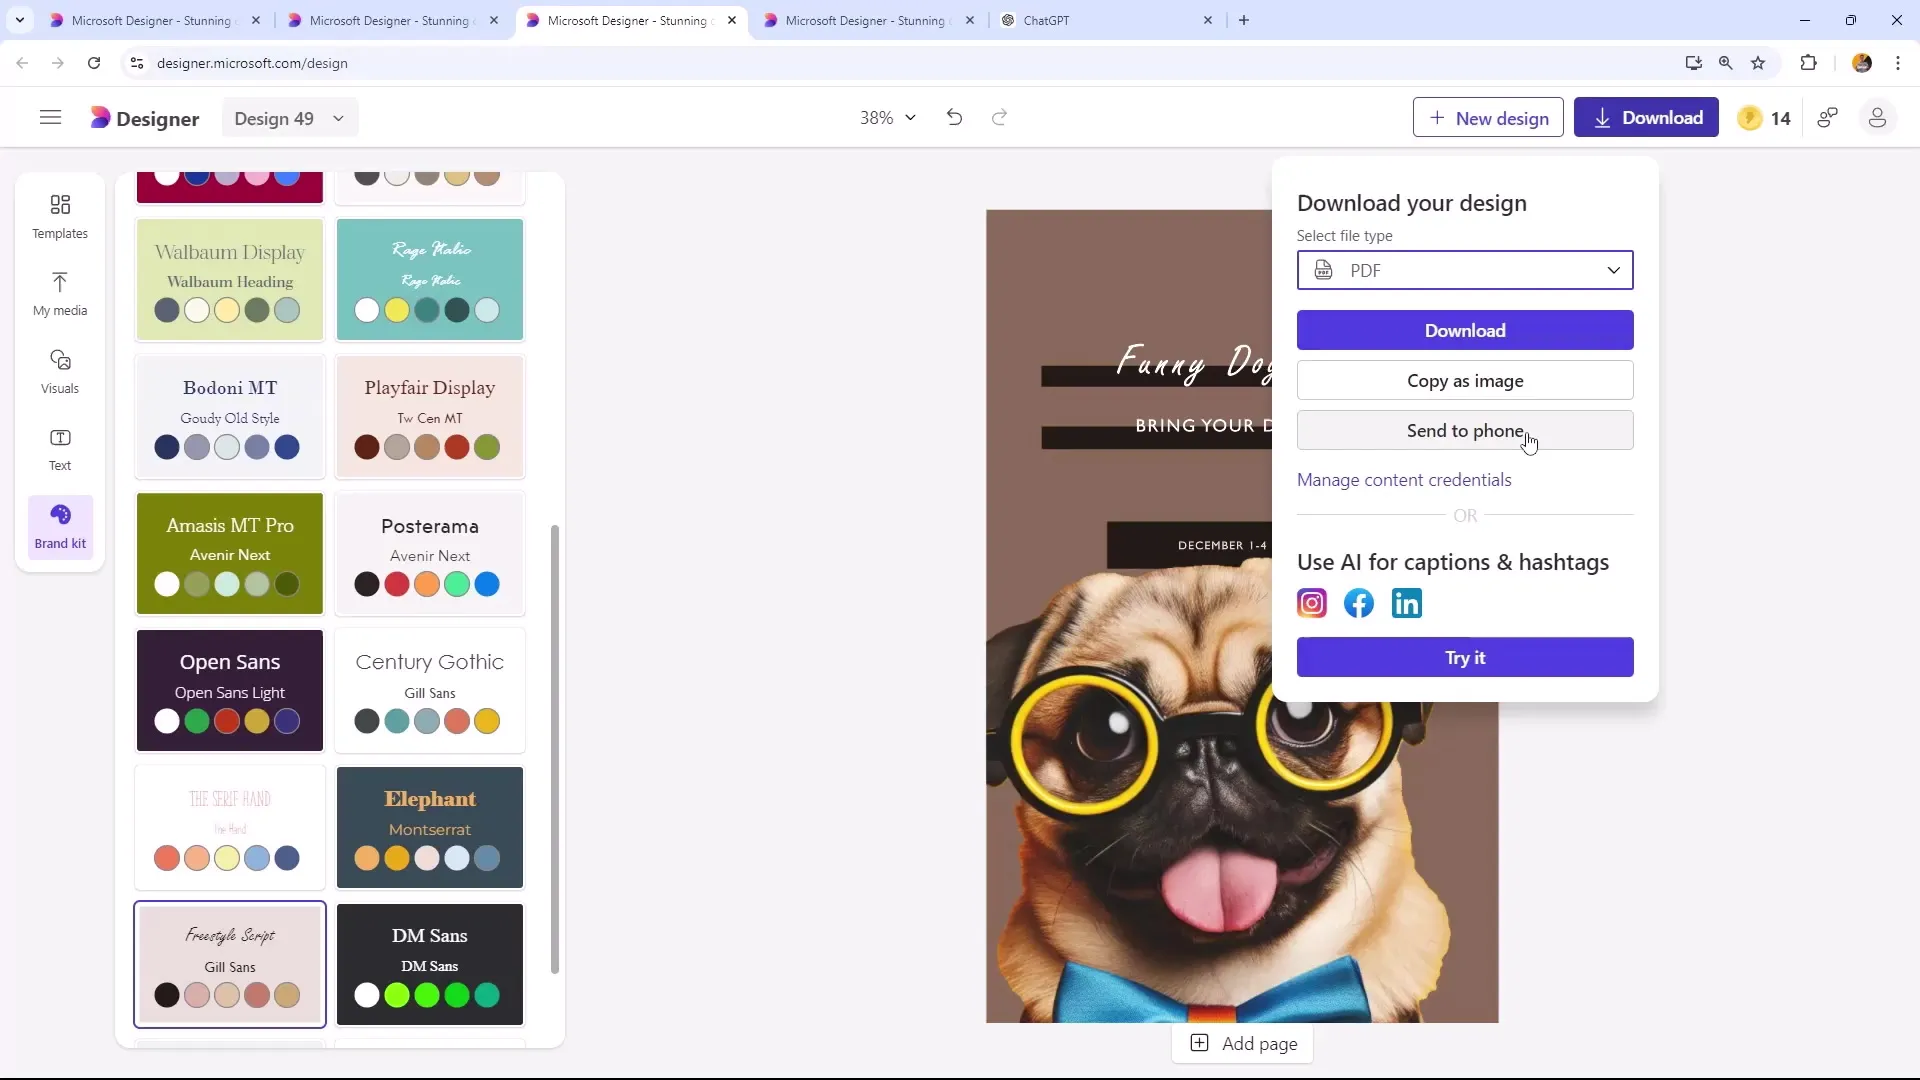
Once your design is ready, you can download it. Microsoft Designer provides you with the option to save the image in various formats, including JPEG and PDF. For digital delivery options, you can send the flyer directly to your phone or integrate it as a download link in a newsletter.
Summary
In this tutorial, you have learned how to create professional flyers with Microsoft Designer that are suitable for digital and printed formats. You have discovered the importance of paying attention to the layout, selecting creative templates, and utilizing AI features to personalize your designs. Remember that clear and appealing text is crucial to capture the attention of your target audience.
Frequently Asked Questions
How do I download my flyer as a PDF?Simply select the "Download PDF" option after reviewing your design.
Can I create multiple flyers with different designs?Yes, you can create as many flyers as you want, using different templates and graphics for each design.
What should I consider when I want to print my flyer?Make sure to use the correct dimensions and high printing resolution to make the flyer look professional.
