This is what our layout looks like so far.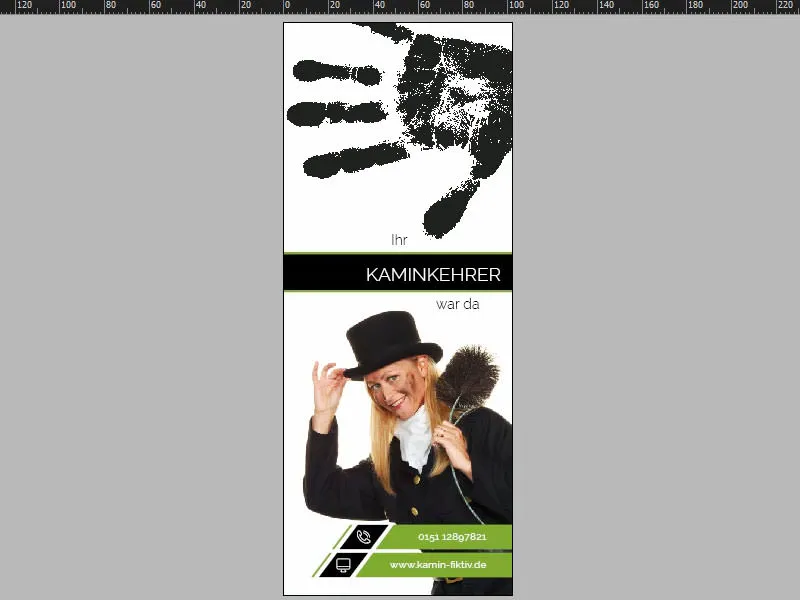
The basic layout
We don't need to create a new page, because if we simply scroll down, we can see that the page has already been created. If we also Blender the punching outline (1), we can see that the whole thing is mirrored, which means that we can't work identically to page one, but have to optimize our design a little differently on page two. But no problem - let's get started smoothly.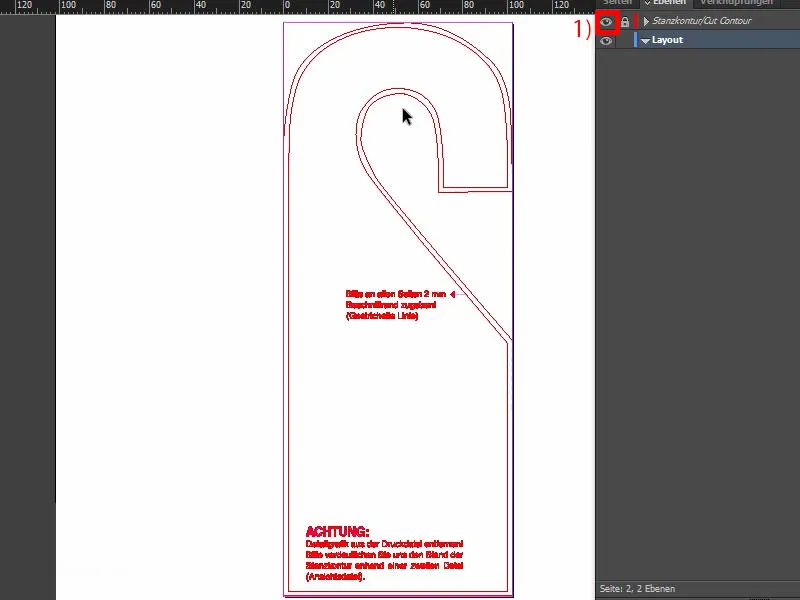
Create a background with a rounded gradient
To do this, simply draw a huge rectangle (1). Color black (2).
And now comes another tool that is incredibly interesting. You can find it here, the so-called Convert direction point tool(3). I don't know how this name came about. It almost sounds like "potato peeling tool" - it's supposed to mean "potato peeler". But let's just click on the top here (4). Now I move the mouse and make a curve out of this corner (5).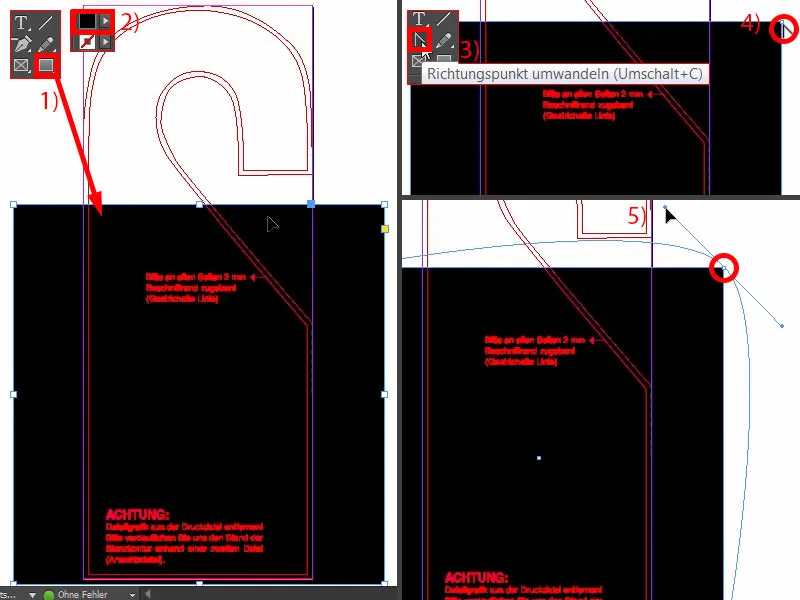
At the same time, I press the space bar. This allows me to move the whole object (1). The further you move out with the mouse, the rounder this section becomes (2). Then I can release it like this (3).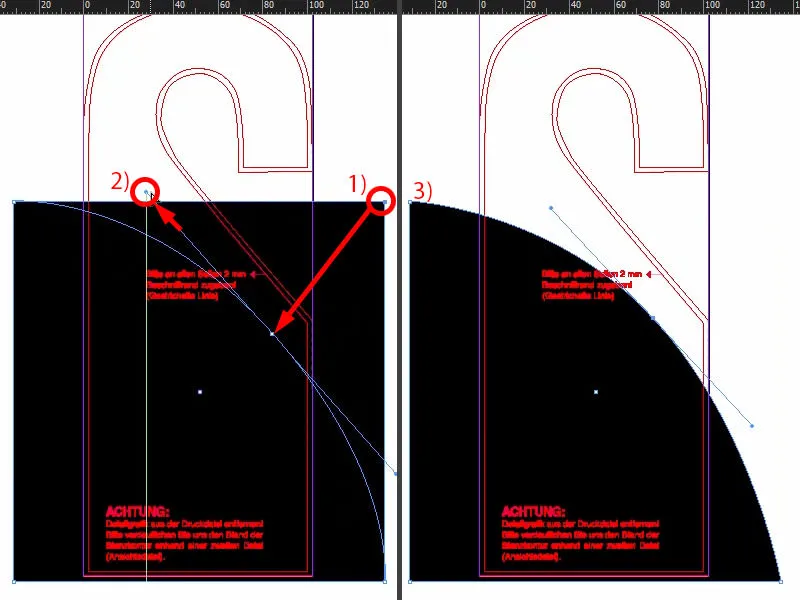
Then we have to move the whole thing upwards, approximately to that point (1), then enlarge it down there (2).
Now we can compare how it looked in our original (3).
Let's also look for an auxiliary line. Here we are at approx. 74 mm (4) and here at 177 mm (5).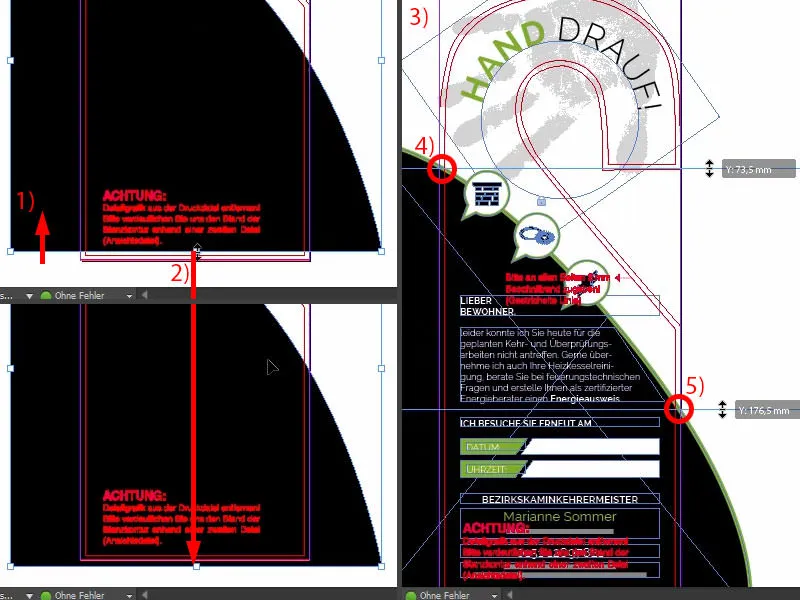
So let's pull out the guide lines in our document (1 and 2). And now we can pull the whole thing a little higher and have the right reference. Then we move it a little to the left (as in 1 and 2).
Then we give the whole thing an outline with 5 pt in green (3 and 4).
Three icons are placed on this line for better visualization. Take a look at what that looks like (5). You could just copy them, but I'd like to show you how they were created.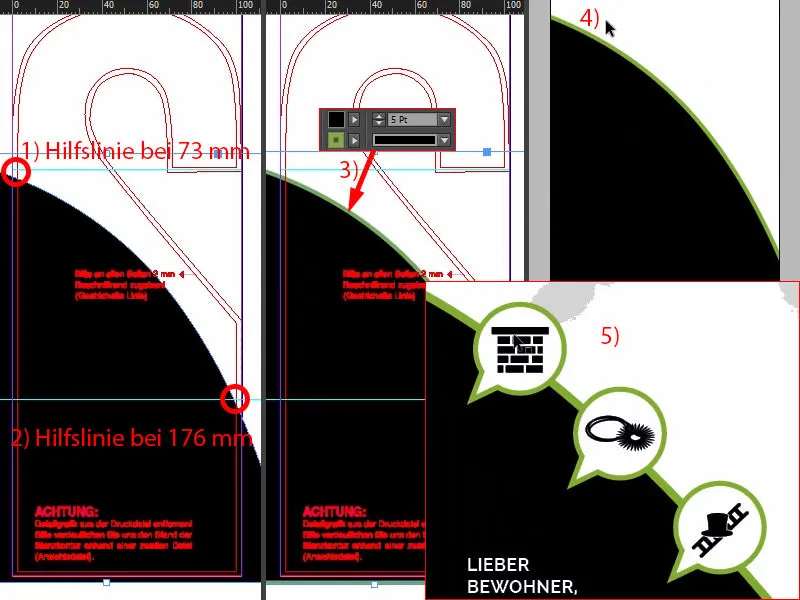
Creating icons in the style of speech bubbles
Let's go to the assembly area. Select the ellipse frame. Hold down the Shift keyand draw a circle (1). Fill it with black (2).
Then I'll draw a triangle with the polygon tool (3), rotate it once and change the color to black as well (4).
But then we might have to make it even more pointed. Of course, it can't be as big as in (3), so let's make the whole thing smaller. I'll move it down there manually (5).
And now I can add both shapes together using the Pathfinder (select both and 6) and give the whole thing an outline, 3 pt, the color will be white (7). Looks wonderful already (8).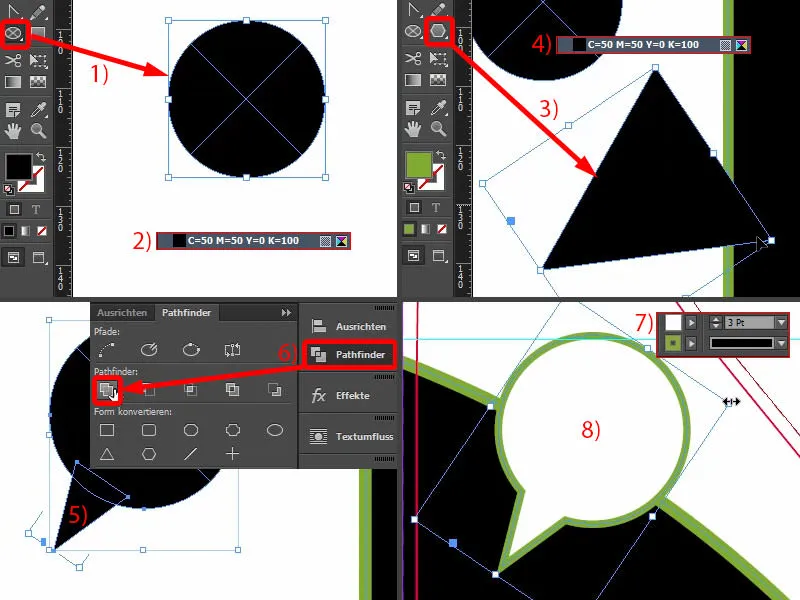
It needs to be a little smaller. That's no problem, as these are vector graphics that can be resized as required. Just be careful, if you reduce the size proportionally, the outline (1) will also be reduced automatically. This means that we now look for the size that suits us best. And now we can set the outline back to 3 pt (2). Then I create copies of it and position them (3). I lock the background via Right-click>Lock, because then we can make markings and click on things very easily and conveniently with the mouse without constantly catching the distracting background. That's annoying.
From a bird's eye view, I can see (4) that I still have to slide the whole thing together a little.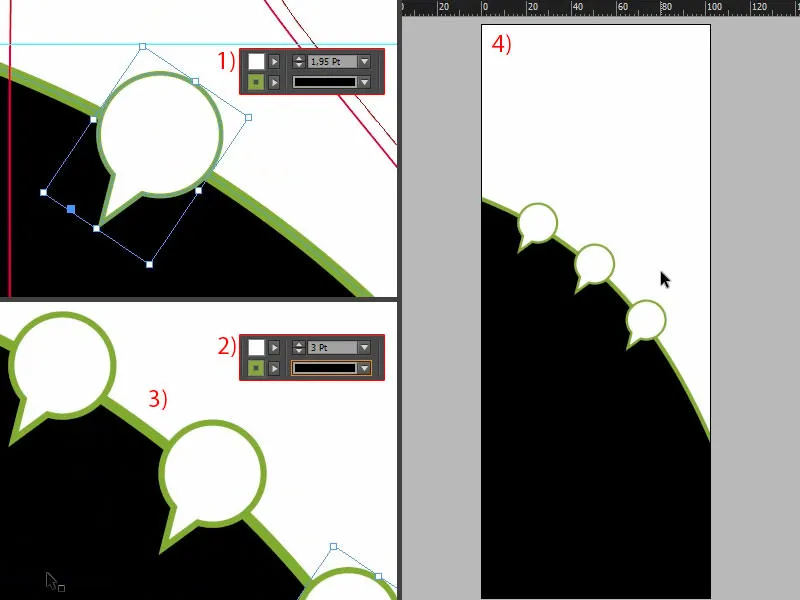
This is a bit of alignment work, it takes a little time, but you just take your time.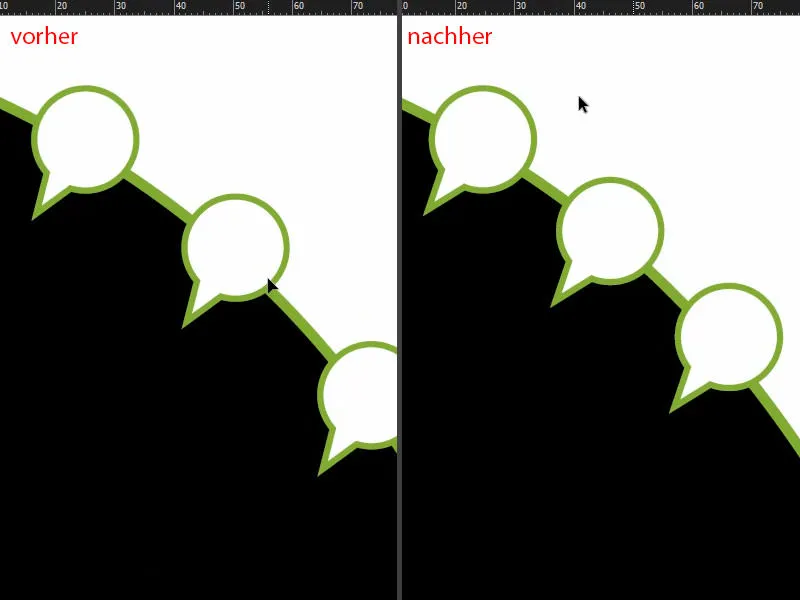
Now we fill it with the corresponding icons (1). I move the fireplace out and make it smaller. I use the chain icon to set it to 10 mm in width (2), then I align it optically in the middle. Unfortunately, the alignment paneldoesn't work here either, because this corner outside is also part of the shape. Then comes the next element. I also reduce this to 10 mm. I do the same for the last element (1 and 2).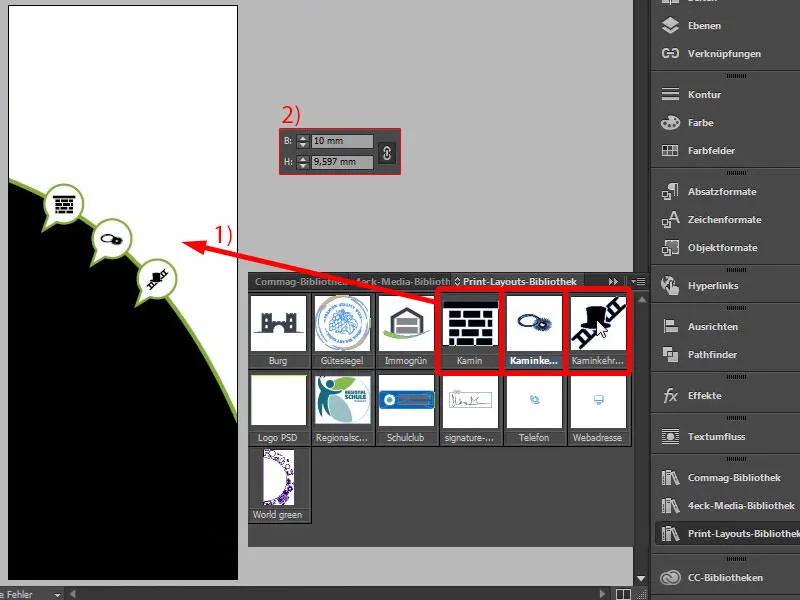
Insert text - text with sloping text field edge
Let's move on to the text. Let's take another look at this in the template (1). Here we have different text fields. No witchcraft. You simply take the text tool, draw a text field accordingly and then start filling the text as you wish so that it meets your requirements. I now copy exactly this text once (select and copy three text fields at 1) and paste it at the original position (above 2) in the current layout (3).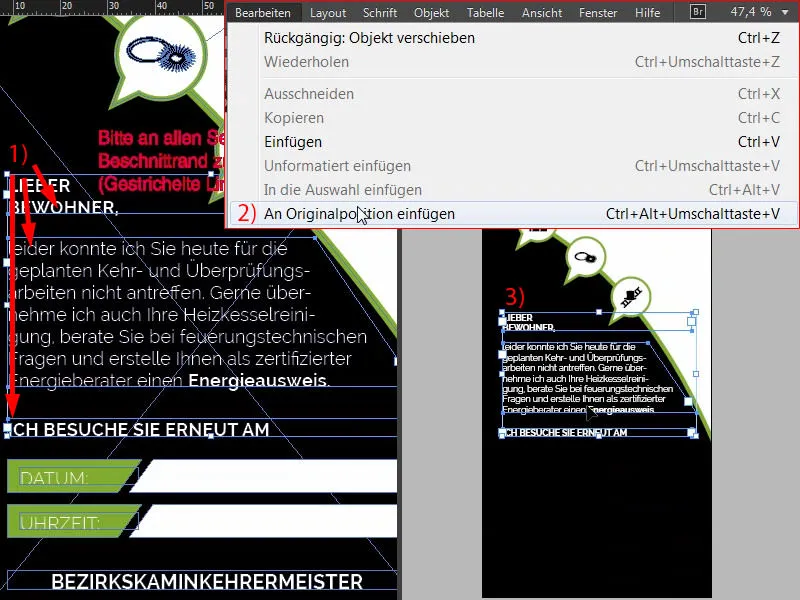
If you want to know how this came about (1) - I'll be happy to show you. A sloping edge like this is very simple: Draw a new text field, Font>Fill with placeholder text (2). And if you now want the sloping edge, use the Convert direction point toolagain (3), click in (4), hold down the space bar and change the point to the left, for example (5). You will then have exactly the same effect as you can see here on the left (1).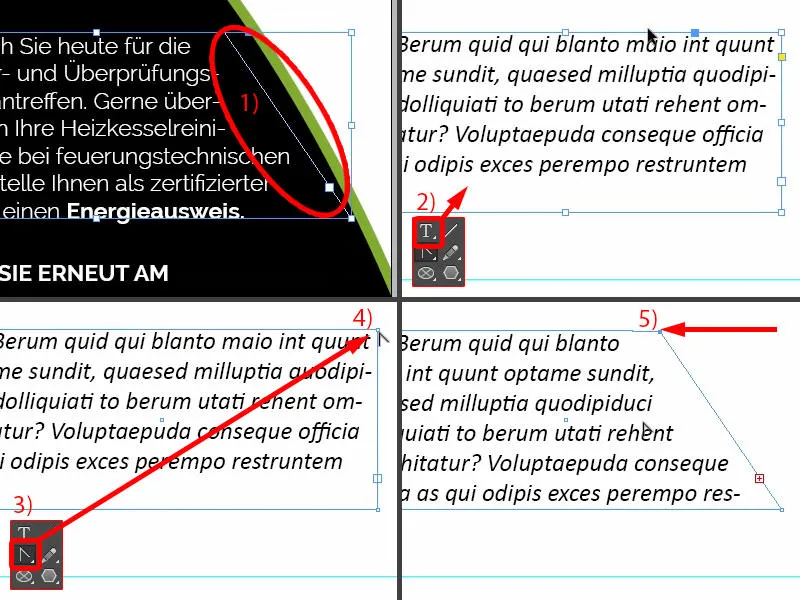
What else is important? You can also see symmetrical spacing here (1). If I select this text field in the middle with the quantity text (2) and now hold down the Shift keyand the up arrow key, then we always jump in steps of two. That means we have the distance here twice (3). And you can definitely use this as a guide.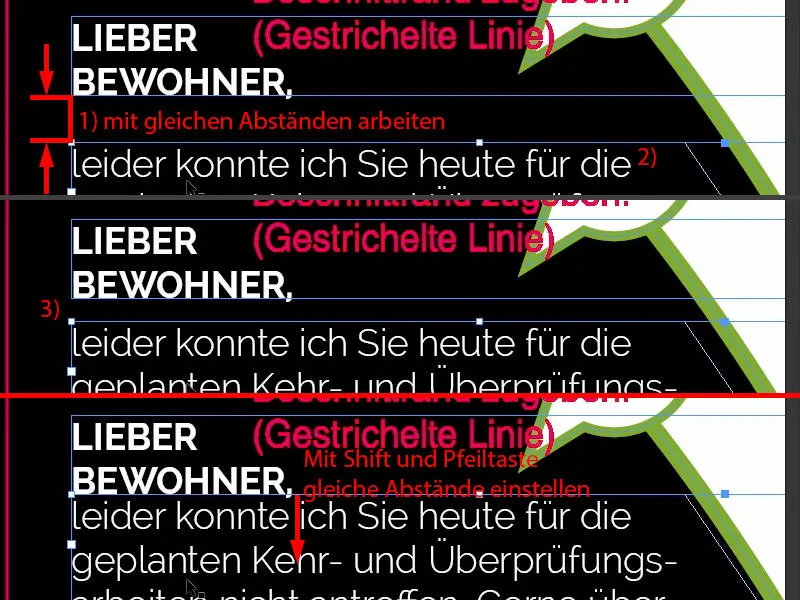
Creating colored boxes with a sloping edge
Here we would like to have these boxes in which the date and time are entered. We'll build that together now. So I'll draw another rectangle with a height of 7 mm (1). Align it to the left (2) and adjust the width (3). I create a copy of this (4).
I set the reference point to the left (5), deactivate the chain symbol and set the width to 5 mm (6). Then the same effect occurs as before, we delete this anchor point (7 and 8).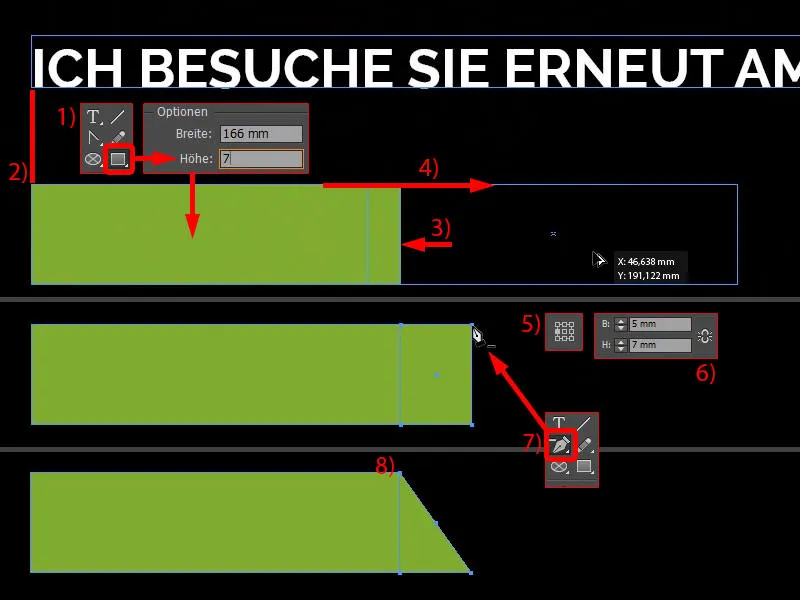
Select both once (1), move a copy down to the edge (2) and insert the spacing with Shift and the down arrow key (3).
Now we can easily make a copy of it, move it over here (4) and thenObject>Transform>Mirror Vertically.
Then:Object>Transform>Mirror horizontally. We have now created the counterpart to this (5).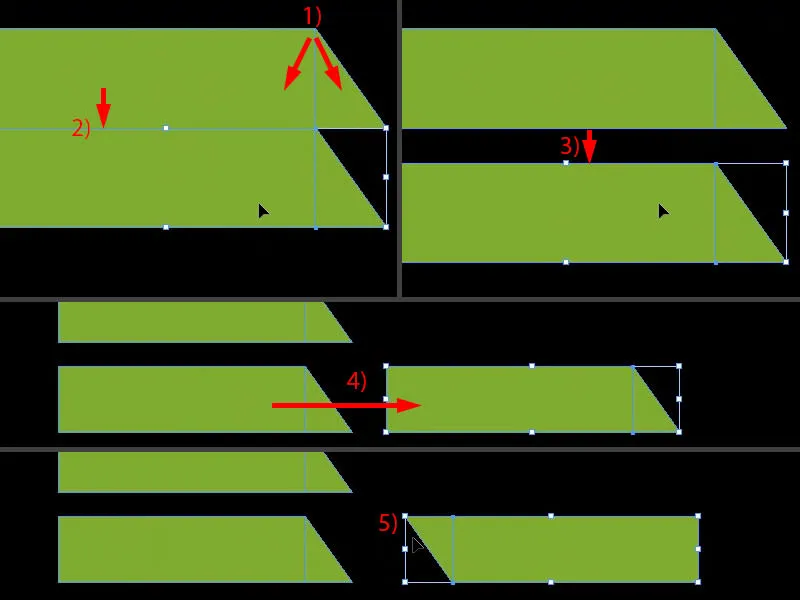
Apply the color white to both. And set the correct distance here, i.e. once exactly towards the edge (1) and once to the right (2).
If you have not yet grouped the two, you can now change the size up to this point (3) so that it is exactly the same size. If you have already merged the elements into one object using the Pathfinder, the problem is that the edges will also be distorted and they will no longer fit together so well.
Create another copy with Alt and Shift and move it upwards (4). The child is already rocked. So super simple, we have already built it on the front.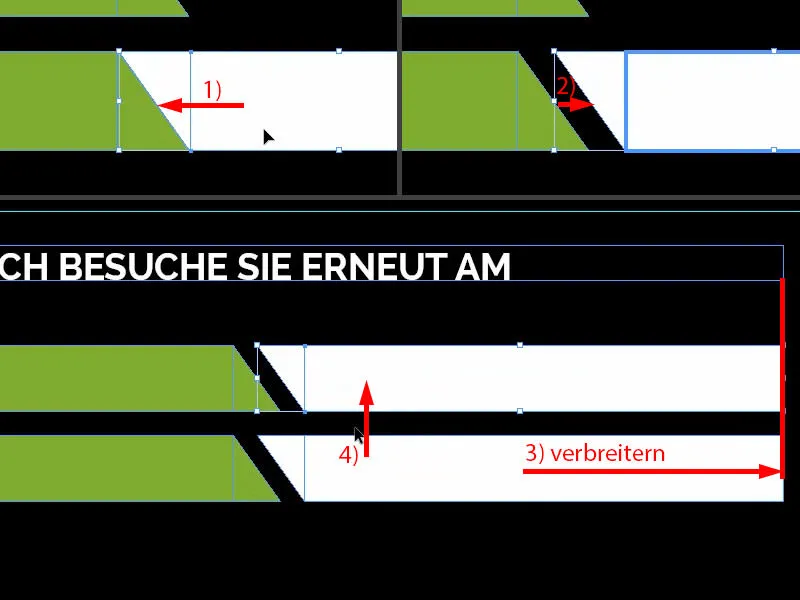
Now we need to add the date and time. So pull up the text field, select the font, the Raleway in Light at 11 pt, in capitals and in white (settings at 1). "Date:" (2) - align it once in the middle by selecting both objects, the one above and the one below (3) - and then simply align it to the vertical center axis using the Align control panel(4). Create a duplicate of this. Here, the guide has already shown us where we need to go (5). And change the text to "Time:" (6).
Here (7) the chimney sweep should enter the relevant data at the end, so it is very important that you pay attention to the type of paper on which this door tag is printed. If the whole thing is finished and protected with UV varnish, for example, then the chimney sweep will find it difficult to write anything on it with an ordinary ballpoint pen. So please be careful. A look at the paper sample book works wonders, because there you can check the feel and texture for yourself.
I'll now put this together (mark the two white areas and join them using 8).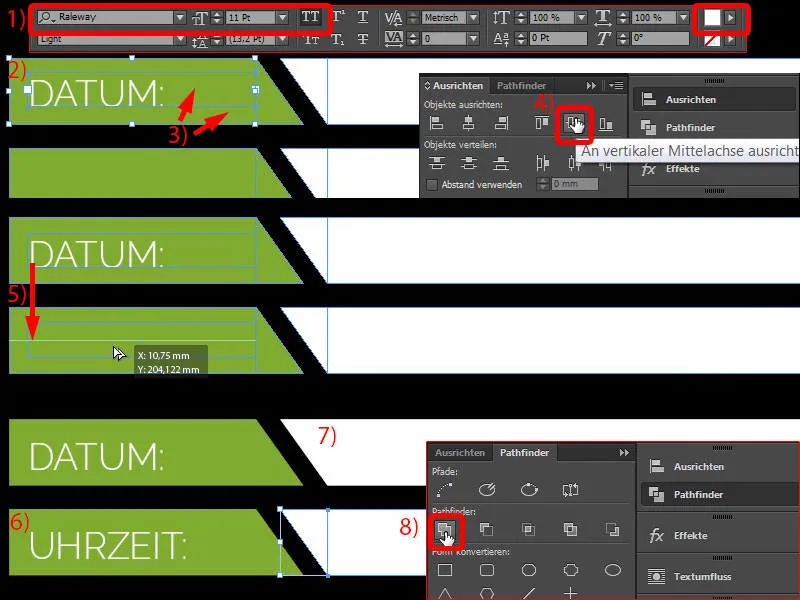
Add contact details
The contact details now appear at the bottom of the base. You can already see these in the template (1). This is nothing more than four different text fields. And now I copy them - Edit>Paste to original position (2). It's really not rocket science, you can easily do it yourself.
Text on path - Write text on circle
It's time to give it a high five, so let's go back to page one and press Ctrl+C to get the hand. Then paste back to the original position (1). Now we reduce the opacity to 20 % on page two (2). Finally, we rotate the whole thing a little so that we have the essential markings again. We can make this a little narrower. Maybe we'll add the little finger, so we'll rotate it a little further and make it a little narrower. So (3).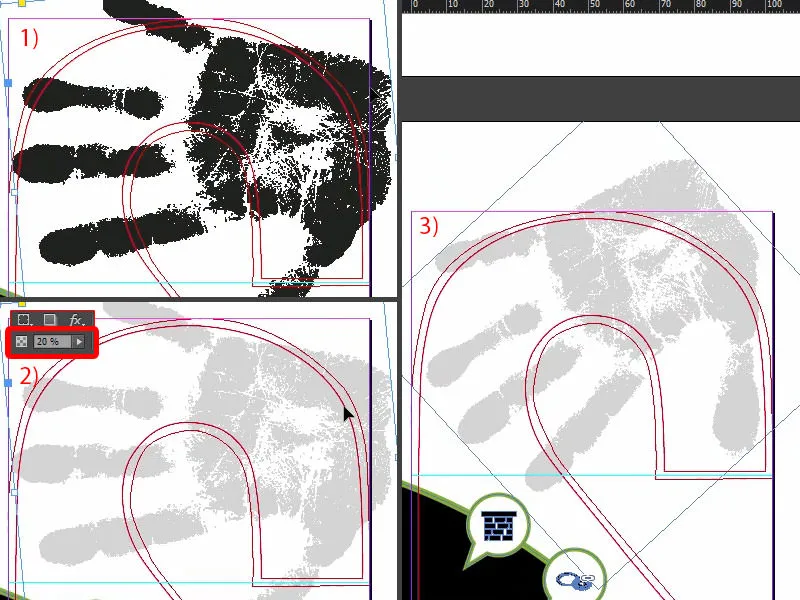
How do you get a round text now? That's actually quite easy, because there's the Text on Path tool, which I'll introduce to you. But first we have to draw a circle for it, i.e. the path on which the text will be placed at the end. With the ellipse frame tool, you simply draw a circle in such a way that you take the curve of the punched outline with you at the top (1). If you make a mistake, no problem - you can still move the whole circle by holding down the space bar. I'll now start at the top left and draw the circle so that it roughly corresponds to this outline. Let's color it in (2). And now I'll make the whole thing smaller when the reference point is in the middle (3) ...
Now find the Text on Path toolin the toolbar on the side, you can also do this with Shift+T (4). If you now place the cursor on the edge here, you can create a text on a path.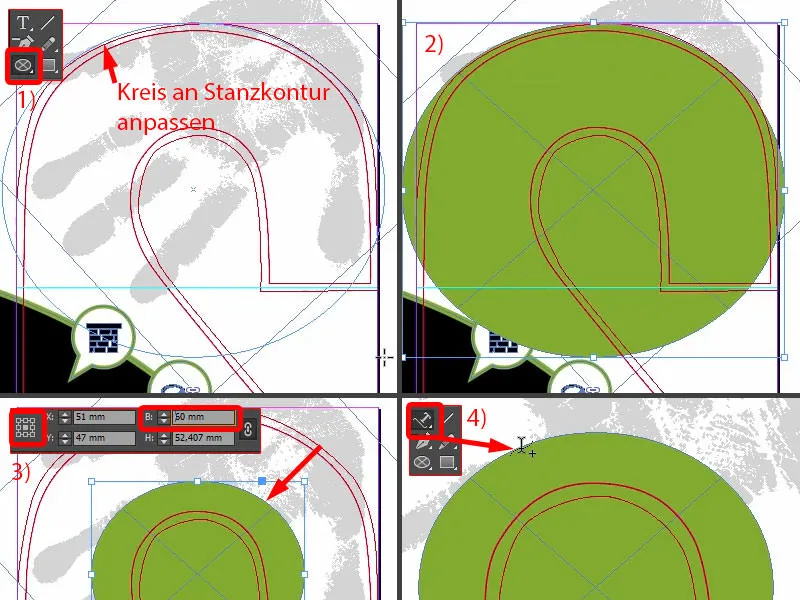
So if I write here, it works perfectly (1). If we center it, then it's at the bottom (2). That means we have to rotate the circle 180° again. Now the text is at the top (3).
Now we can format the text: Raleway, capitals, 40 pt. This is where the text goes: "Hand on it" (4).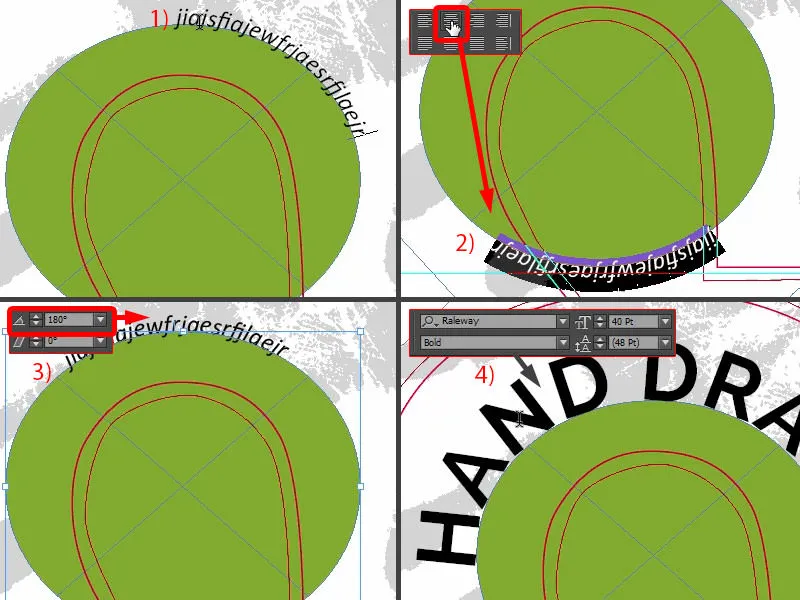
And I'll use "on it" in light (1). I format "Hand" in green (2). I remove the fill color from the circle (3). The whole thing looks like this. Perfect, I would say, with the curves perfectly adapted to the punching contour.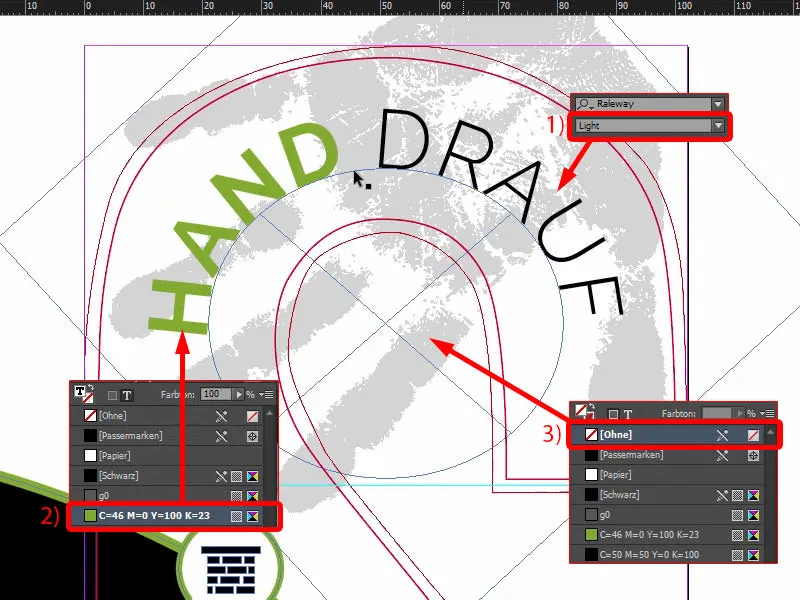
Now we have also created the outside. I save this once with Ctrl+S.
Export design
Via File>Export... we call up the export dialog. Here you select the appropriate preset (1). There is a small warning signal at the bottom (2) - why? "Source profiles were specified in the preset that do not match the current color settings file." (3)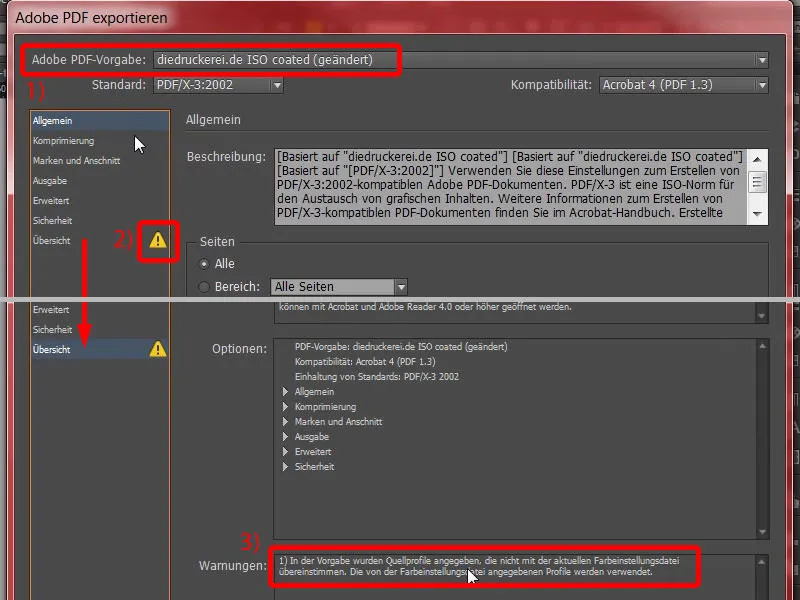
Okay, let's go to the output (1), select the CMYK working color space again (2) and then export (3).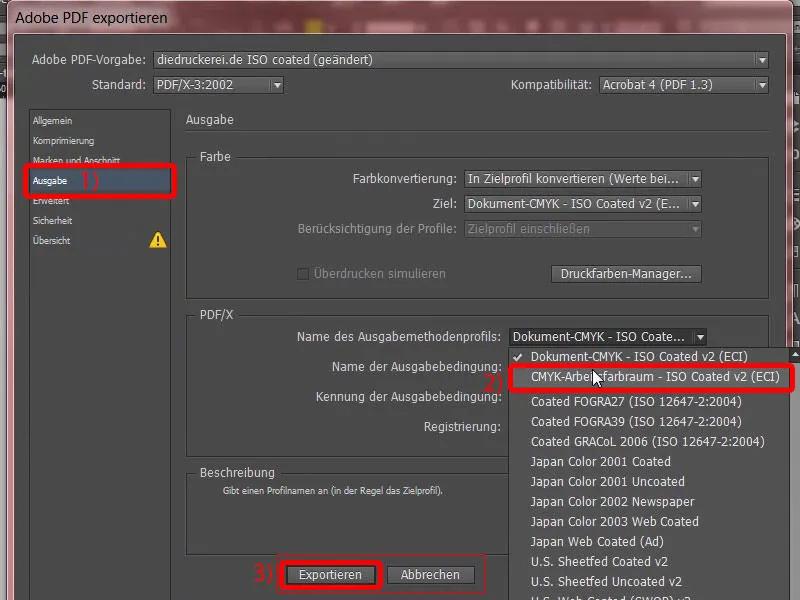
Here is our door tag with a pitch-black handprint on top.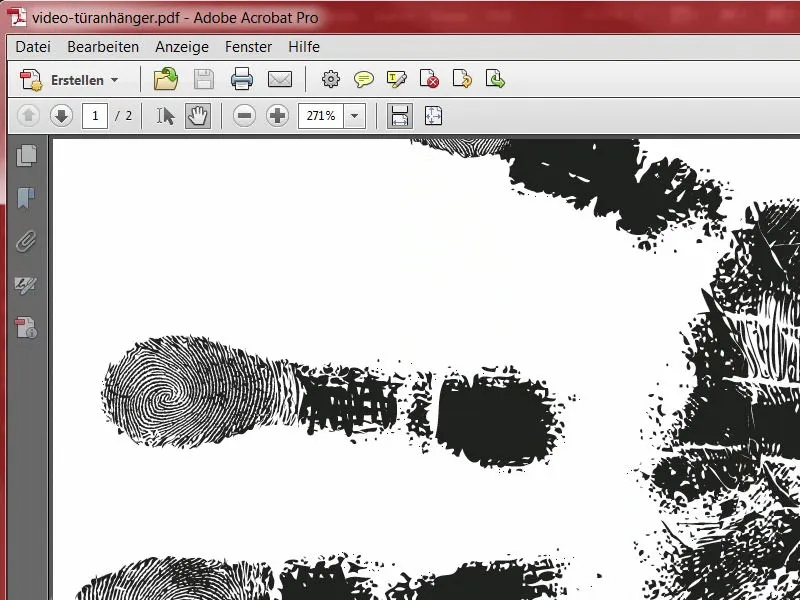
In the next step, I export the door tag again. You'll see why in a moment. I mark the punched outline as Print (1). Now File>Export again... I call this a "view file" (2). Export (3).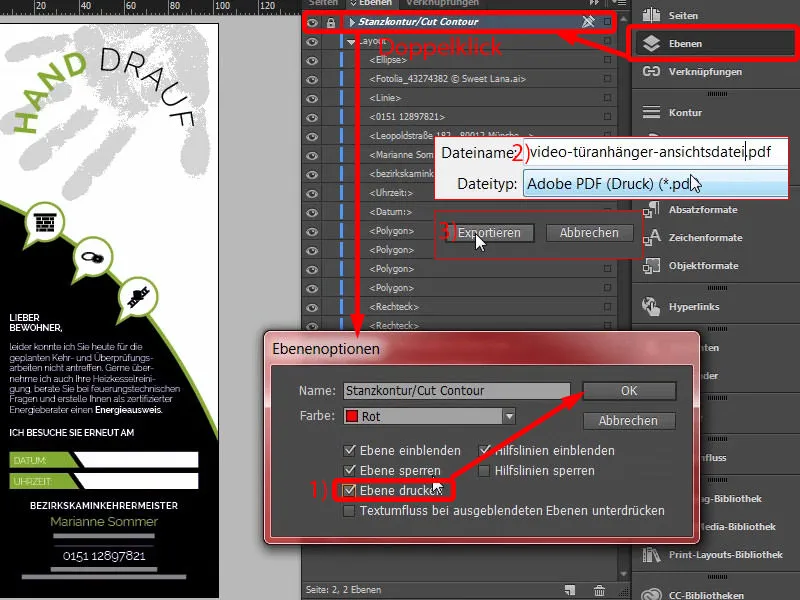
Now we have taken the cut contour with us. Now we have two PDFs. I did this because we are also able to upload two documents to our print shop, one is the print template and the other is a so-called view file, which should simply help to show how the product should look in the end.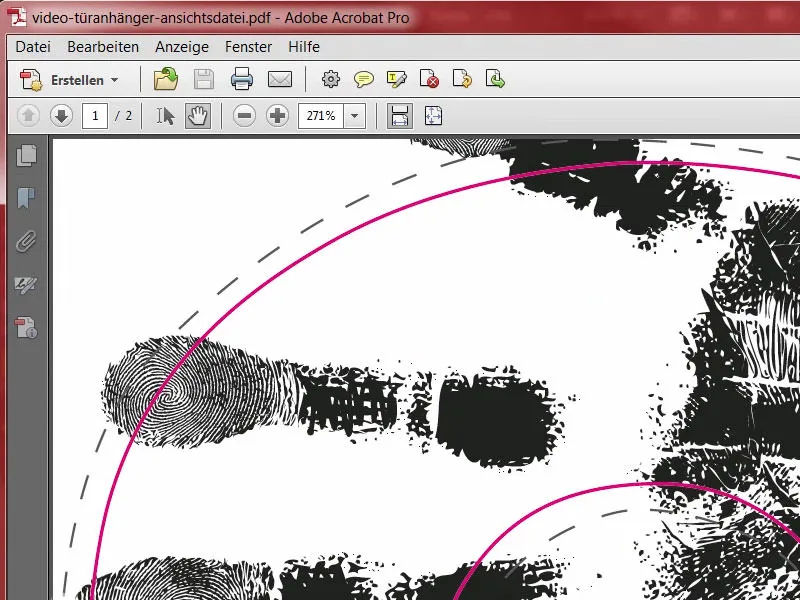
Upload design to print shop
Back in Internet Explorer - we are still at our door hanger. At the bottom we can select the type of paper. There are lots to choose from.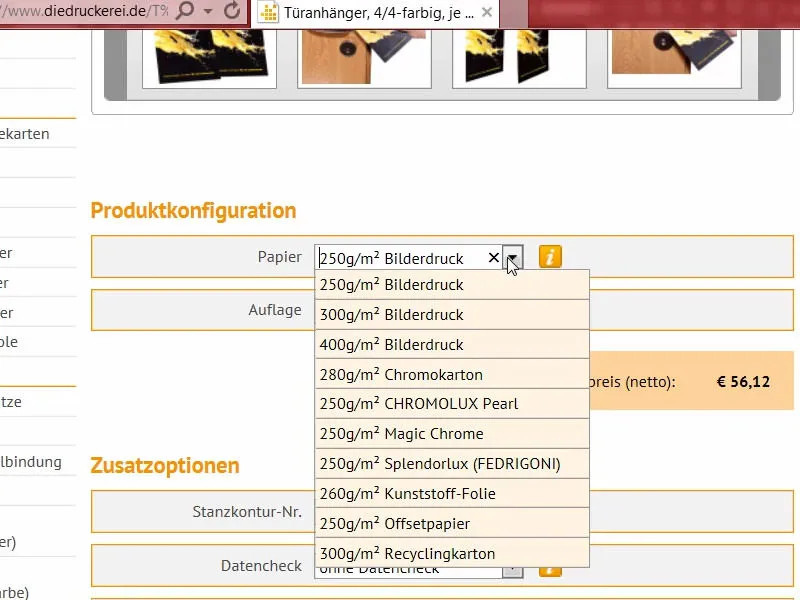
As I've already told you, a look at the paper sample book will help. I've already shown you what it looks like. This is the paper sample book in which all the paper materials offered by diedruckerei.de are made available. You can check the feel, get a better idea of the grammage and see how the finishes really come into their own. We simply choose the right one there.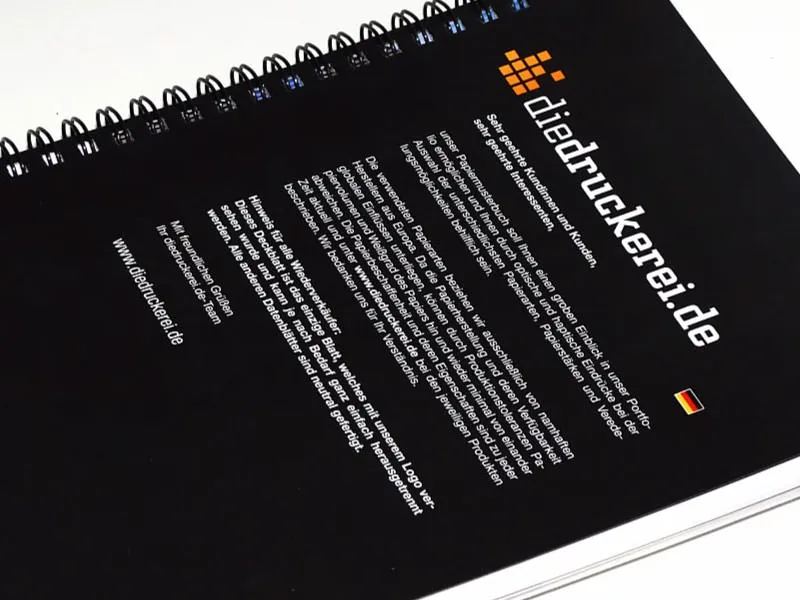
We take 300 g/m² picture printing paper (1). 100 pieces is fine (2). In this case, I opted for the double-sided cellophane finish in matt (3). Make sure you select the die-cut contour number again here. Number 61 was the product we had chosen (4). Of course, we also take the data check with us (5). And now we move on to the order.
I can confirm the summary by clicking Next. The billing address is also correct. I select prepayment as the payment method, Next. Of course we accept the terms and conditions, scroll all the way down, we want to stay up to date and buy the product. "Thank you for your order". I copy the order number once, I might need it again later.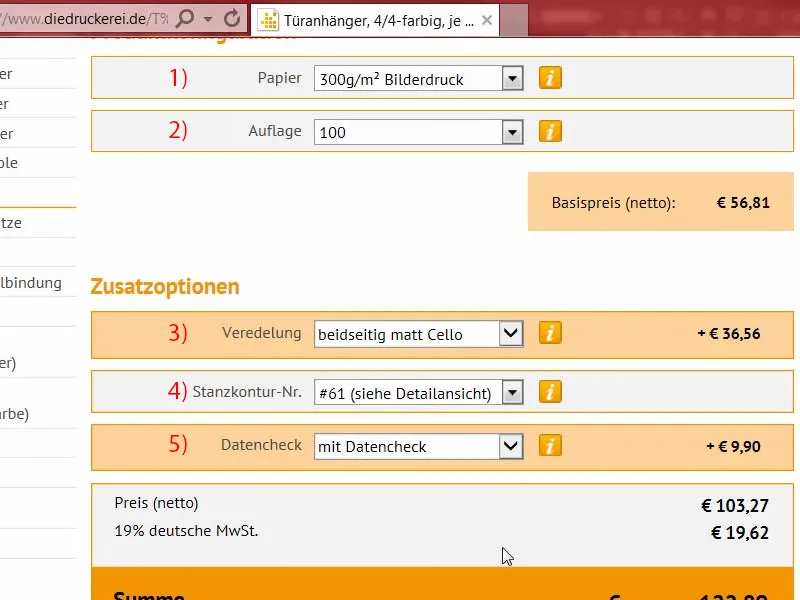
Then I go to the upload manager, where the individual files are uploaded. I can easily upload both files there (1). At the bottom, we output the view file as info/view (2). We set the file with our design to All in one document (3). The preflight tool has now performed a final check and found it to be good (4). We finalize all this data and commission the process (5). I'm curious to see what the door hangers will actually look like ...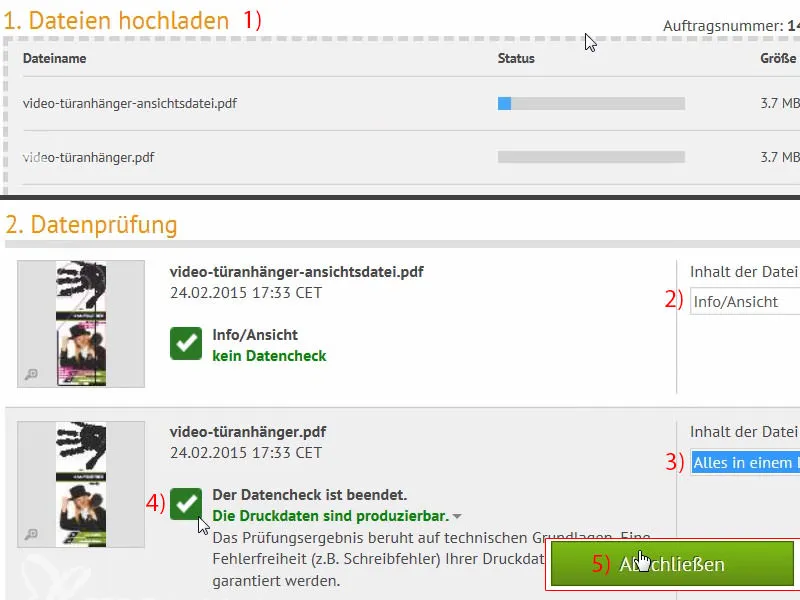
Unboxing: the printed door tag
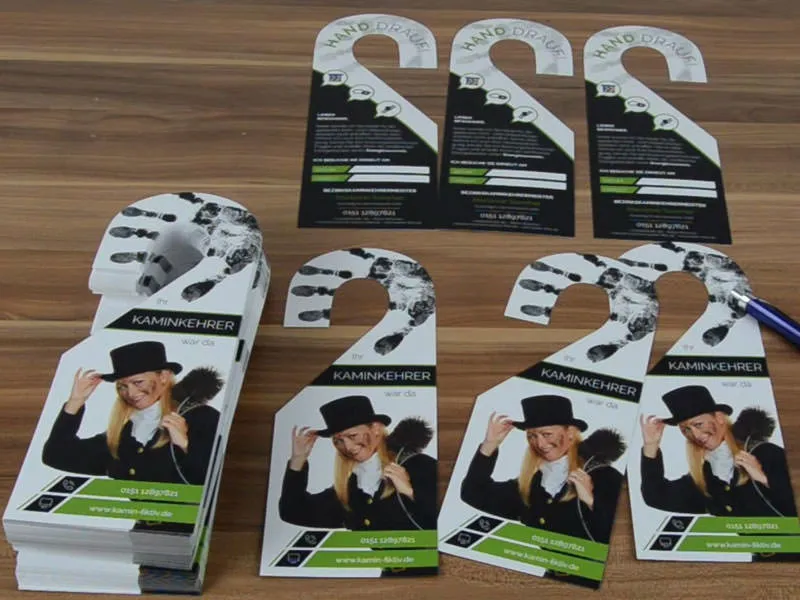
The moment of truth: let's check whether the door tag really fits, just as we imagined it would. Here we already have all the copies, they are fixed with a rubber band. I'll remove that.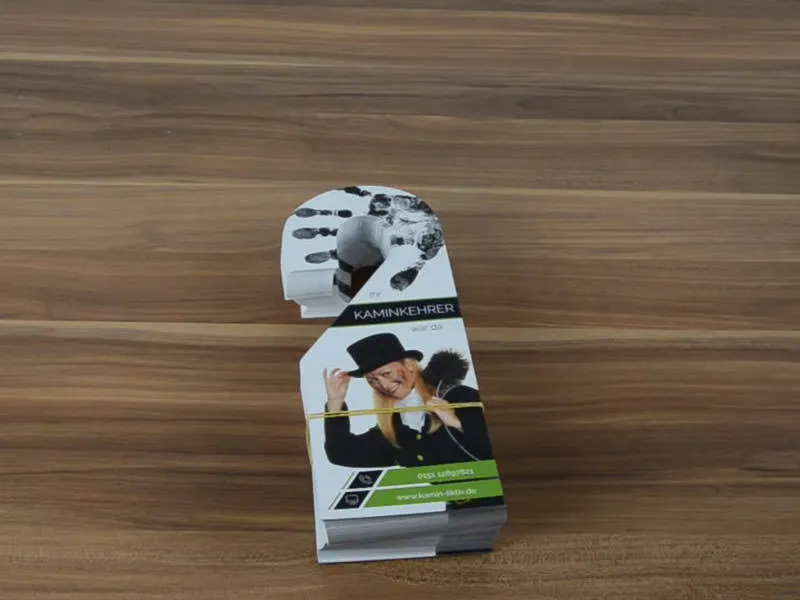
It looks really nice ...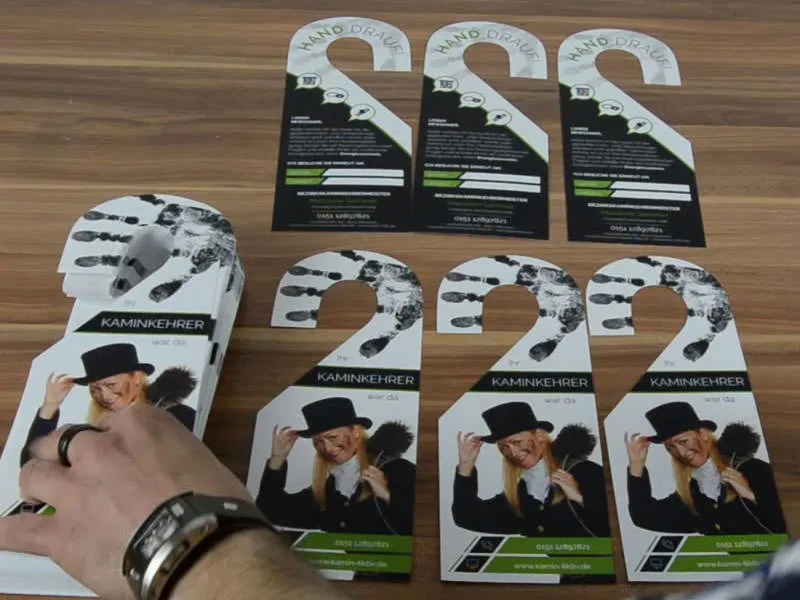
Our chimney sweep door hanger is finished. The cut contour was already predefined in the die-cut format, so we made the whole thing a bit easy for ourselves, which I think is perfectly fine. It looks really nice. It's also easy to read. When I run my fingers over it, the feel of it is really great and it can withstand a lot. If you imagine it hanging on the door, I think it certainly makes an impression. It definitely stands out. I think the handprint is super strong, I really like it.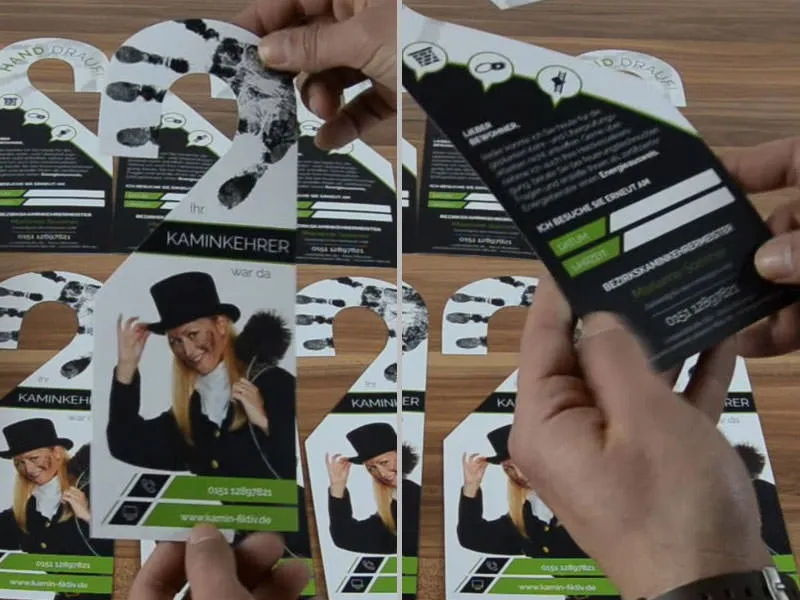
Then we come to the big usability test. We have provided fields in which you can write something. I'm going to do that now, because it should actually be writable ... It works. Great, it can be written in.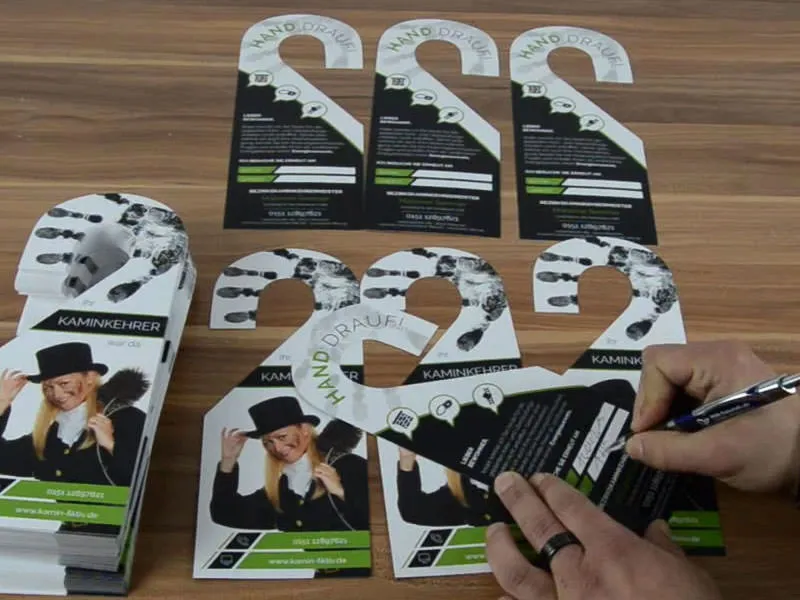
I'm satisfied, and I think it's a really different product, not off the shelf, but one that really makes an impression. I think this unboxing is incredibly helpful to visualize the whole thing again. That's all I have to say about the double-sided door hanger. Yours, Stefan