Nowadays, creating and sharing flyers is of great importance for both businesses and individuals. Microsoft Designer offers a user-friendly platform to create appealing designs. This guide is intended to help you prepare your flyers effectively for printing and digital sharing on various platforms. I will walk you through the essential steps to ensure your designs look professional and can be distributed well.
Key Takeaways
- Downloading a flyer can be easily done via QR code.
- For professional print preparations, exporting in PDF format is recommended.
- Pay attention to trim lines to avoid cutting during printing.
Step-by-Step Guide
To successfully prepare your flyer for printing and digital sharing, follow these steps:
Step 1: Share Flyer Digitally
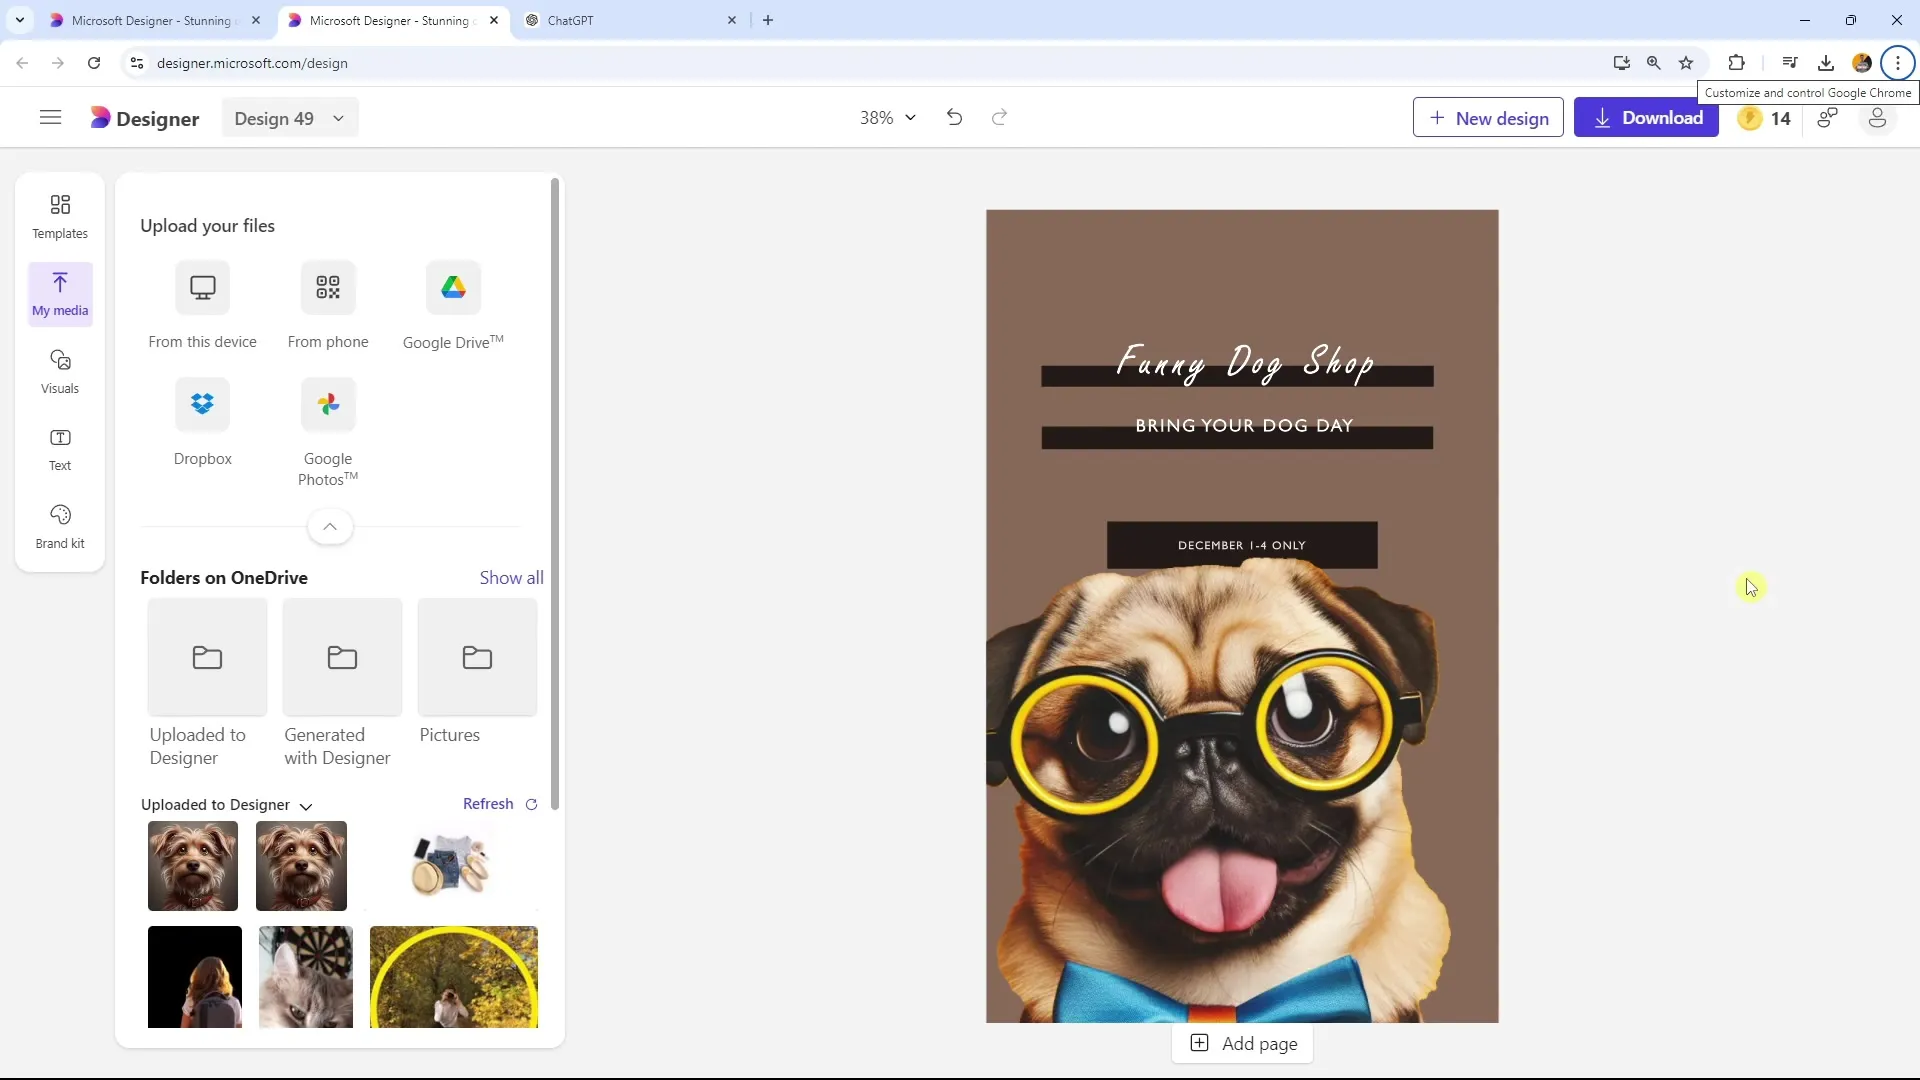
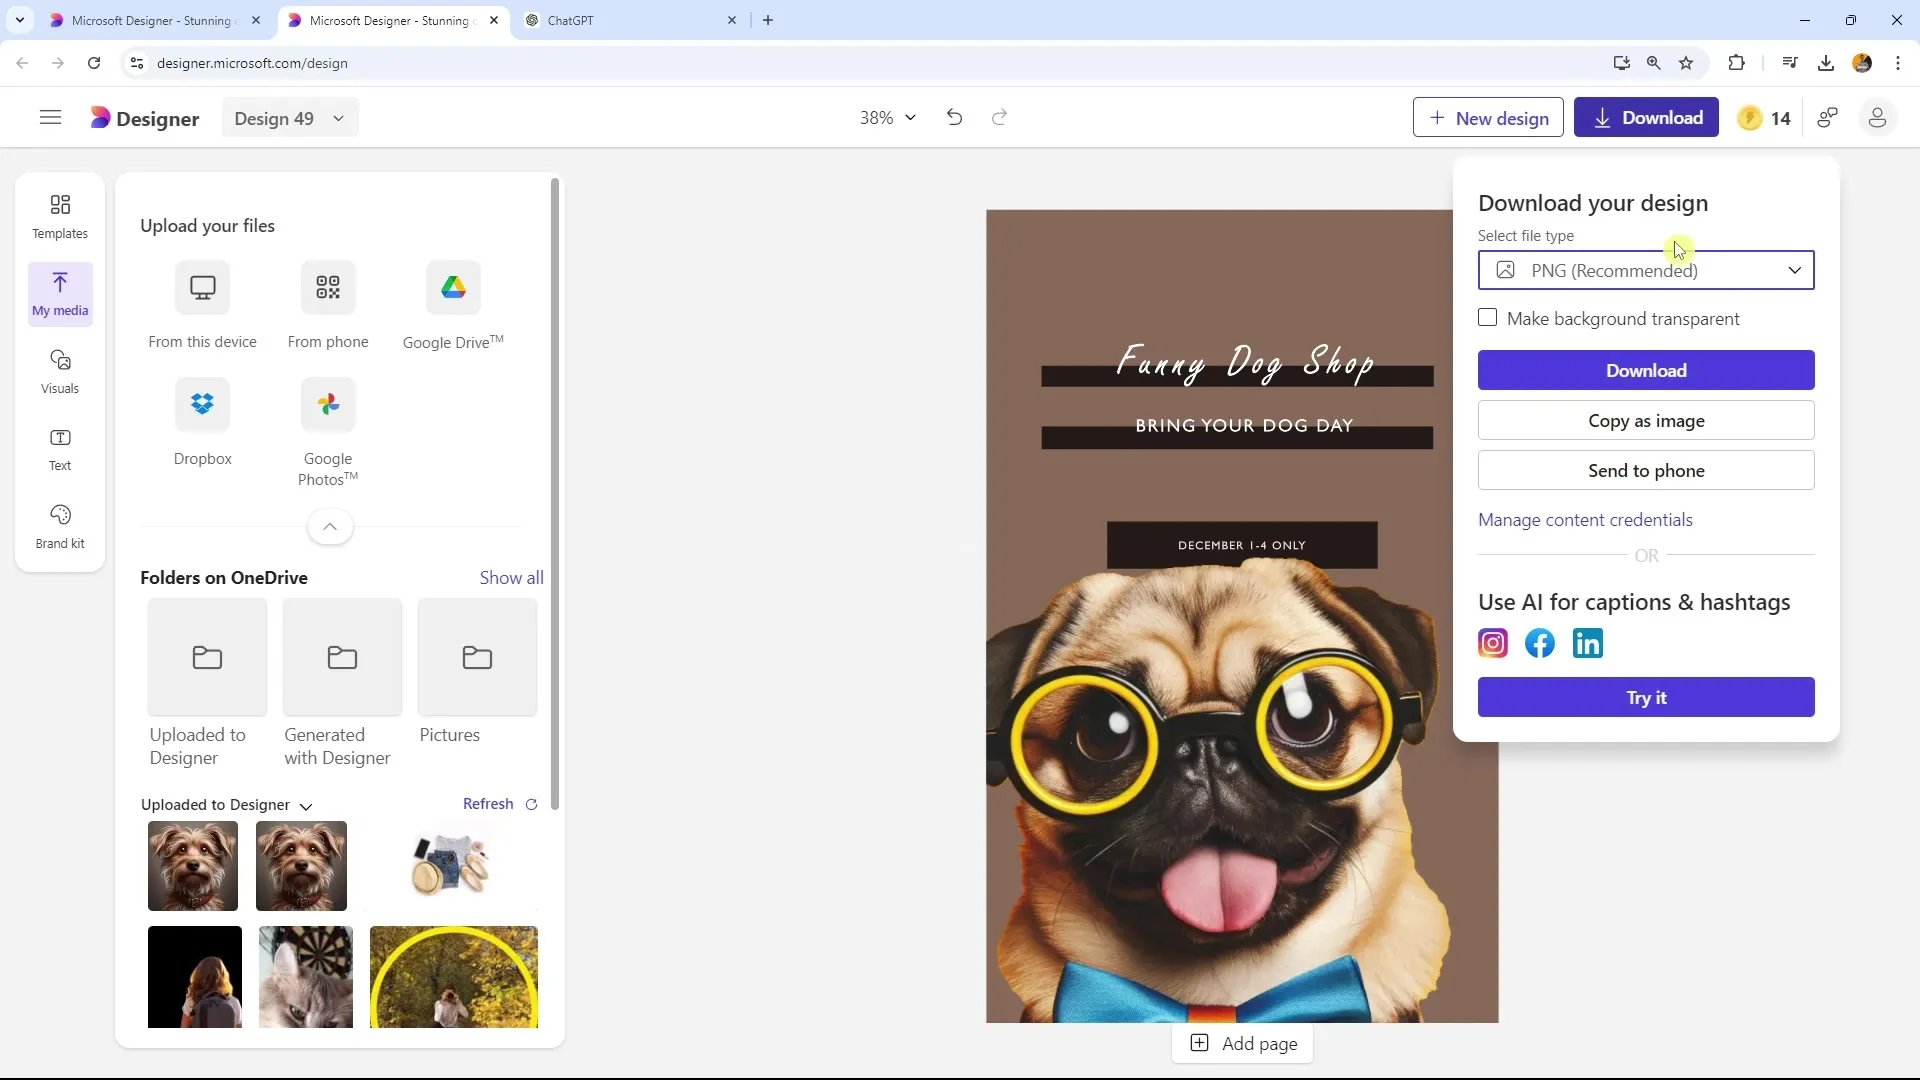
If you want to share your completed flyer digitally, go to the "Download" option in Microsoft Designer. Then click on "Send to phone".
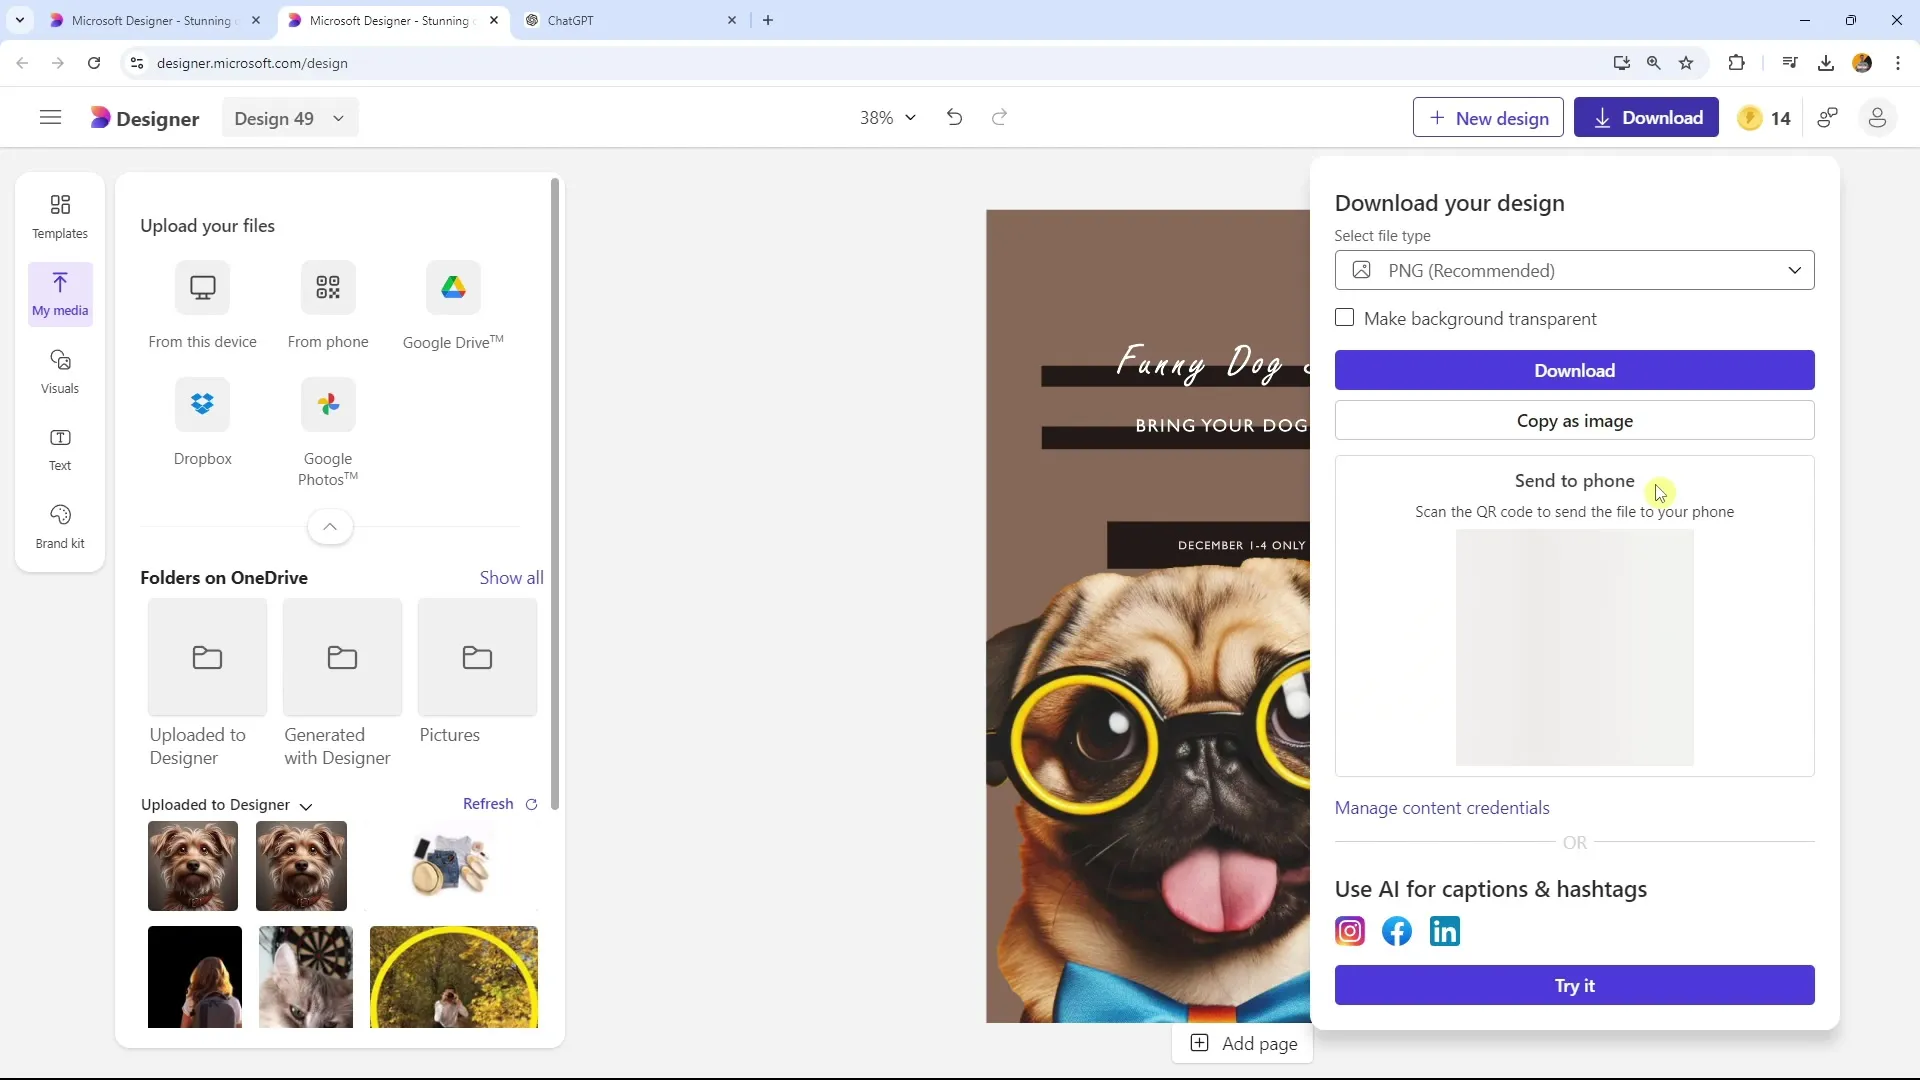
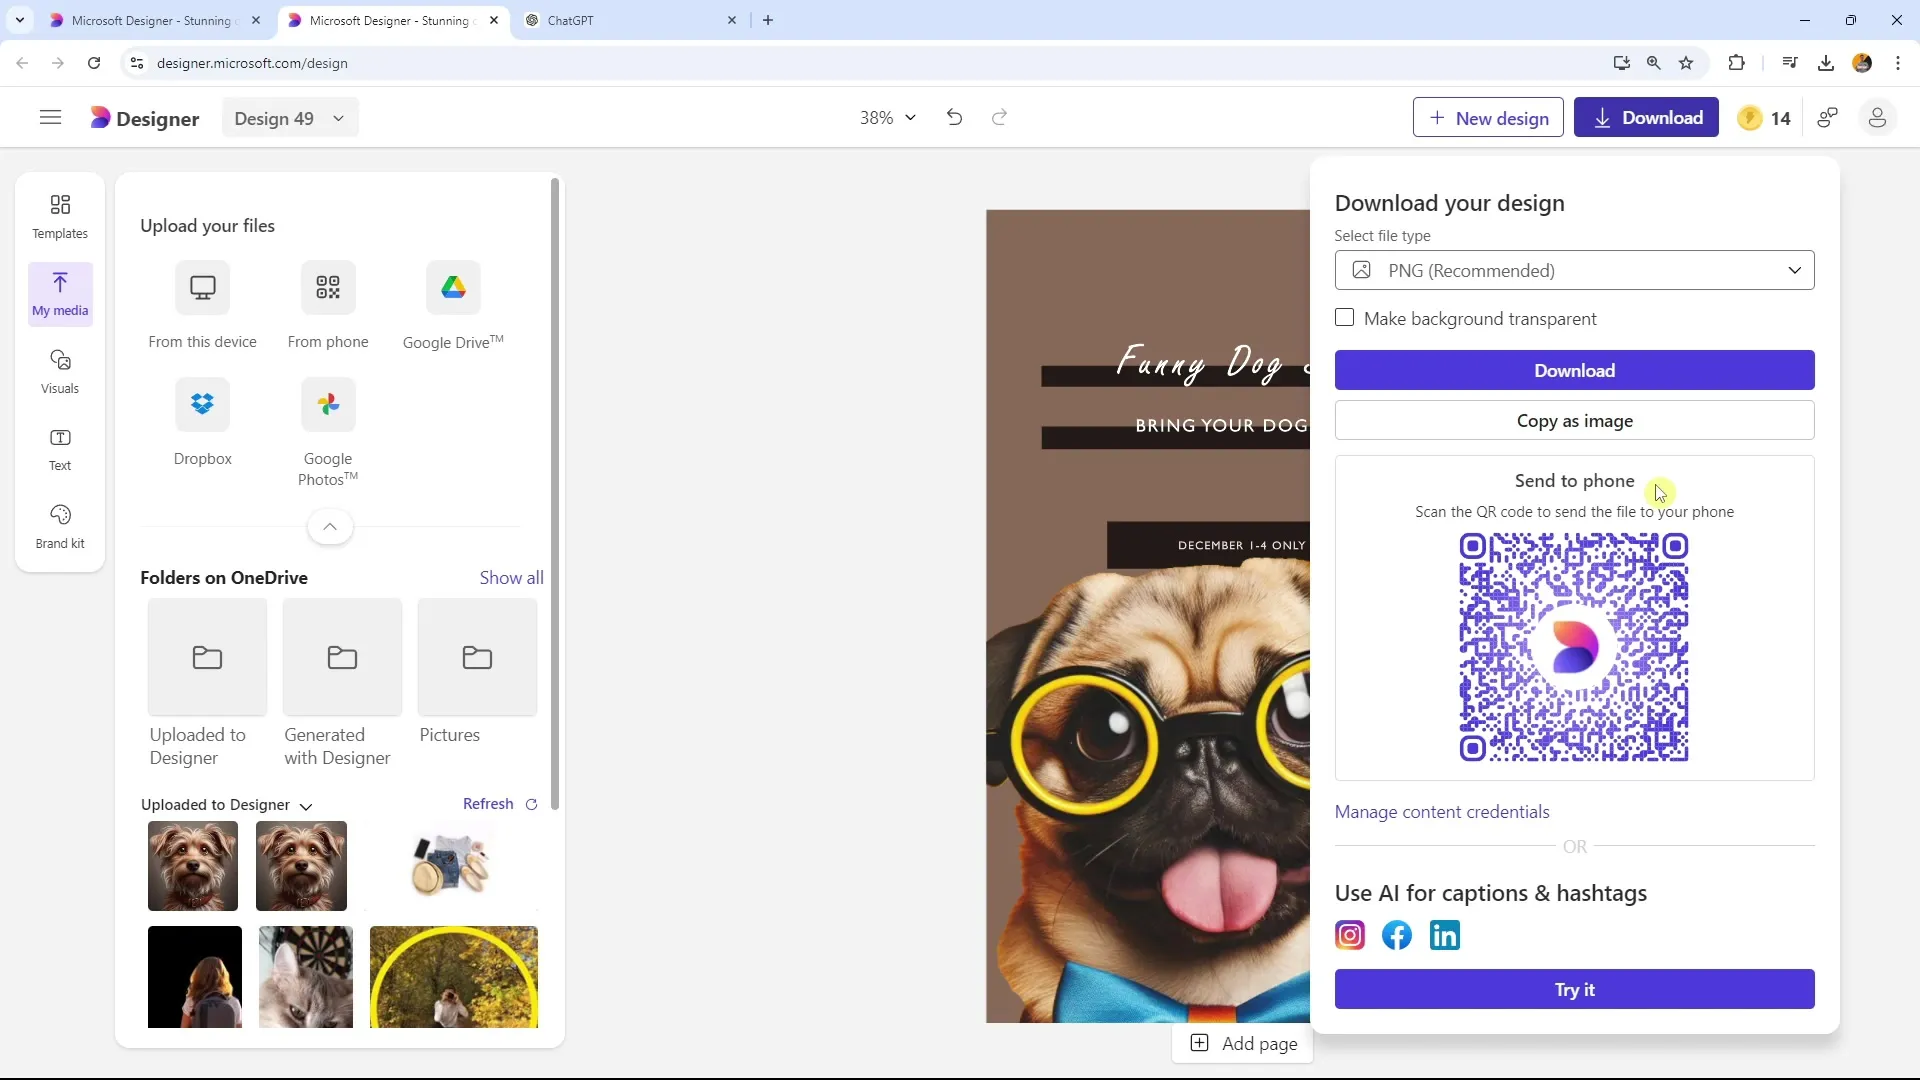
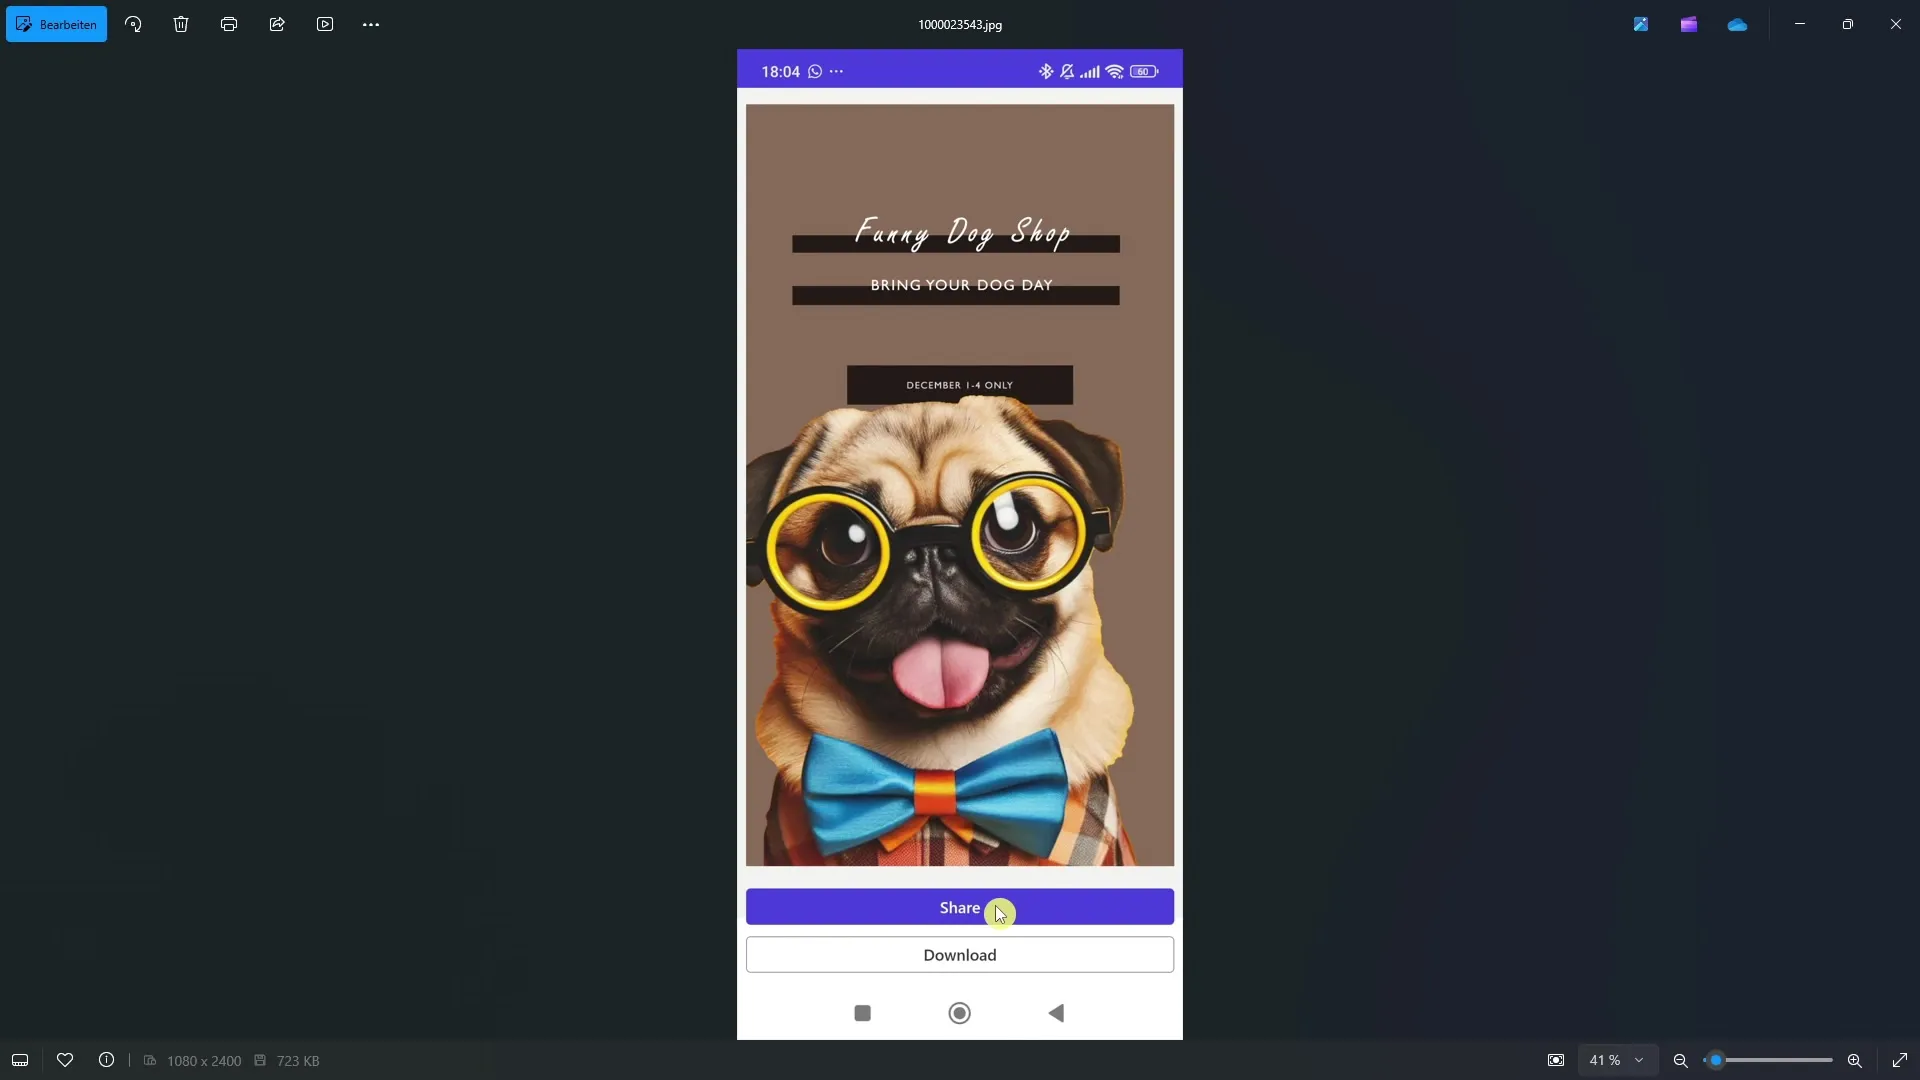
This action generates a QR code. You can easily cut out and forward this QR code. For example, you can share it in a Microsoft Teams group chat or scan it yourself and open it on your smartphone.
Step 2: Use QR Code
Once the QR code has been generated, you can check it. Beneath the code, you will see the options "Share" and "Download". Here, you can copy the link and paste it, for example, in a newsletter.
Additionally, you are free to save the downloaded QR code as a PNG file if you wish to use it later in a different context.
Step 3: Download Flyer for Printing
To download your flyer for printing, make sure to save the file in PDF format. The PDF format allows you to create a file that is specifically optimized for printing processes.
It is important to use this file as it can be read by any printer and is ideal for printing processes.
Step 4: Pay Attention to Trim Lines
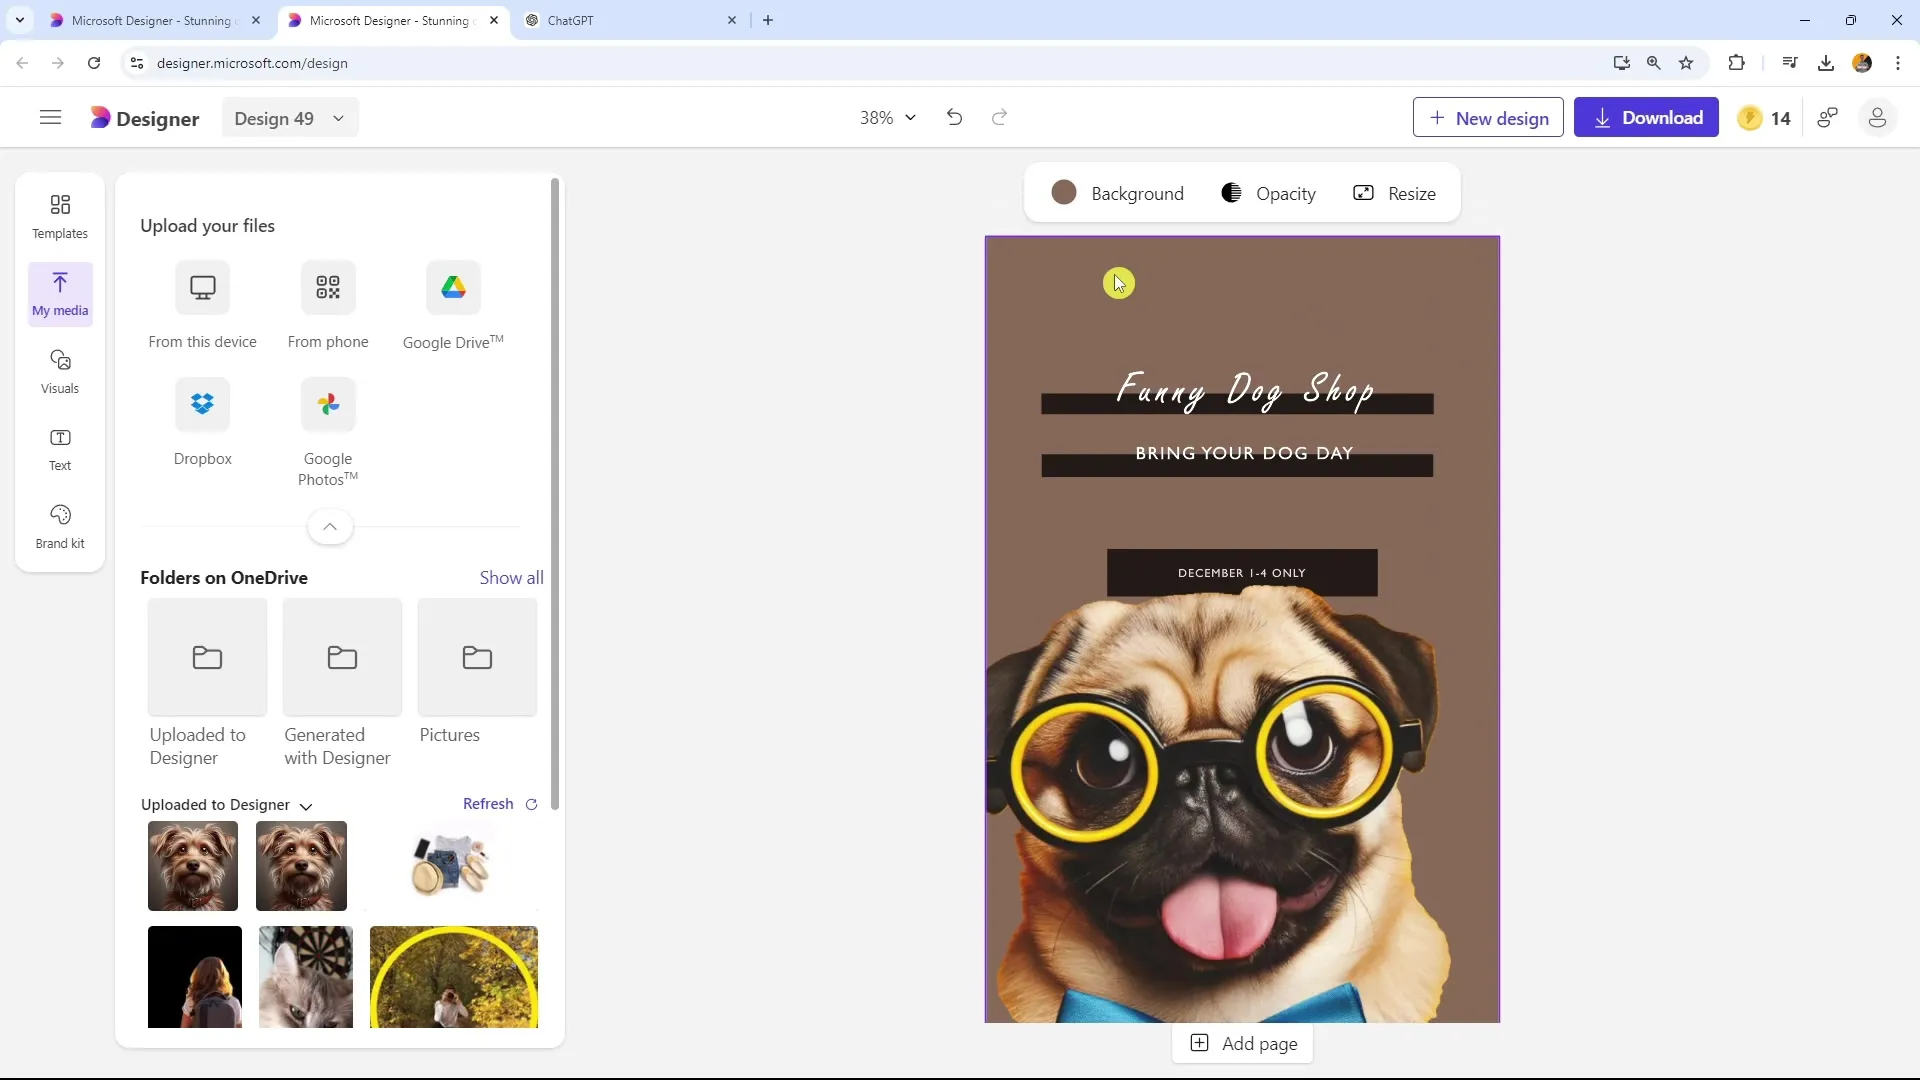
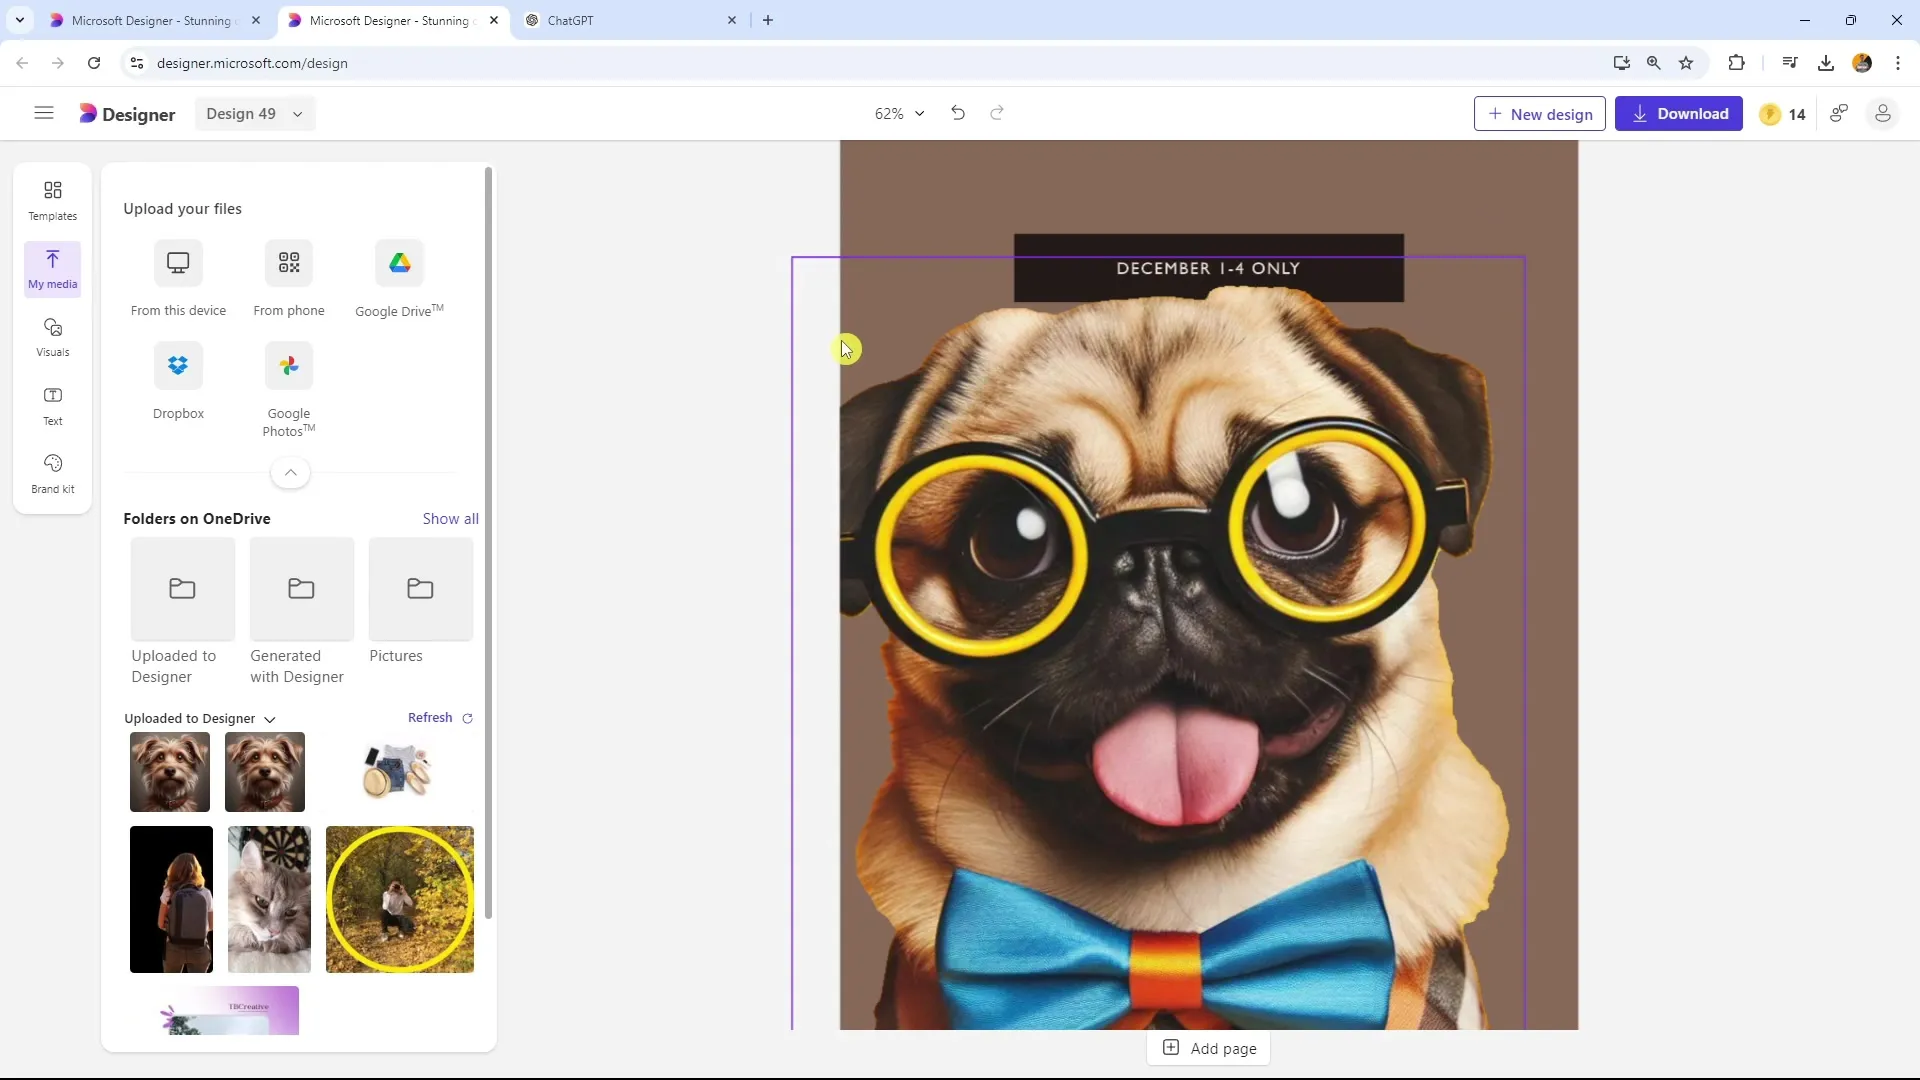
An essential aspect in printing is considering trim lines. Ensure you leave enough margin to avoid losing important information at the edges of the flyer. Typically, 2 to 3 mm is trimmed during printing. Make sure no crucial content is placed in this area.
When preparing your flyer for printing, always remember to export the file as a PDF. This knowledge is based on my many years of experience in a digital agency, where I have managed numerous printing projects.
Summary
In this guide, you have learned how to digitally share your flyer and professionally prepare it for printing. Pay attention to generating a QR code, use the PDF export option, and do not overlook trim lines. Follow these steps to distribute your flyers in the best possible quality.
Frequently Asked Questions
What is the first step to share a flyer digitally?Click on "Download" and then on "Send to phone" to generate a QR code.
Which file format is best for printing?The PDF format is best suited to ensure that the file is professionally printed.
How much margin should I plan for trim lines?Plan at least 2 to 3 mm of margin to avoid losing important information during printing.
