In this tutorial, I will show you how you can quickly and efficiently create appealing PowerPoint cover slides using the Microsoft Designer and AI technologies. The knowledge you gain here will help you create visually stunning presentations that capture the attention of your audience. Let's dive into the world of design together and explore the possibilities that Microsoft Designer offers you.
Key Insights Microsoft Designer combines various Microsoft tools to offer effective design solutions for presentations. The use of AI enables the generation of images tailored to your specific needs. This results in appealing and professional cover slides for your presentations.
Step-by-Step Guide
Step 1: Switch to Microsoft Designer
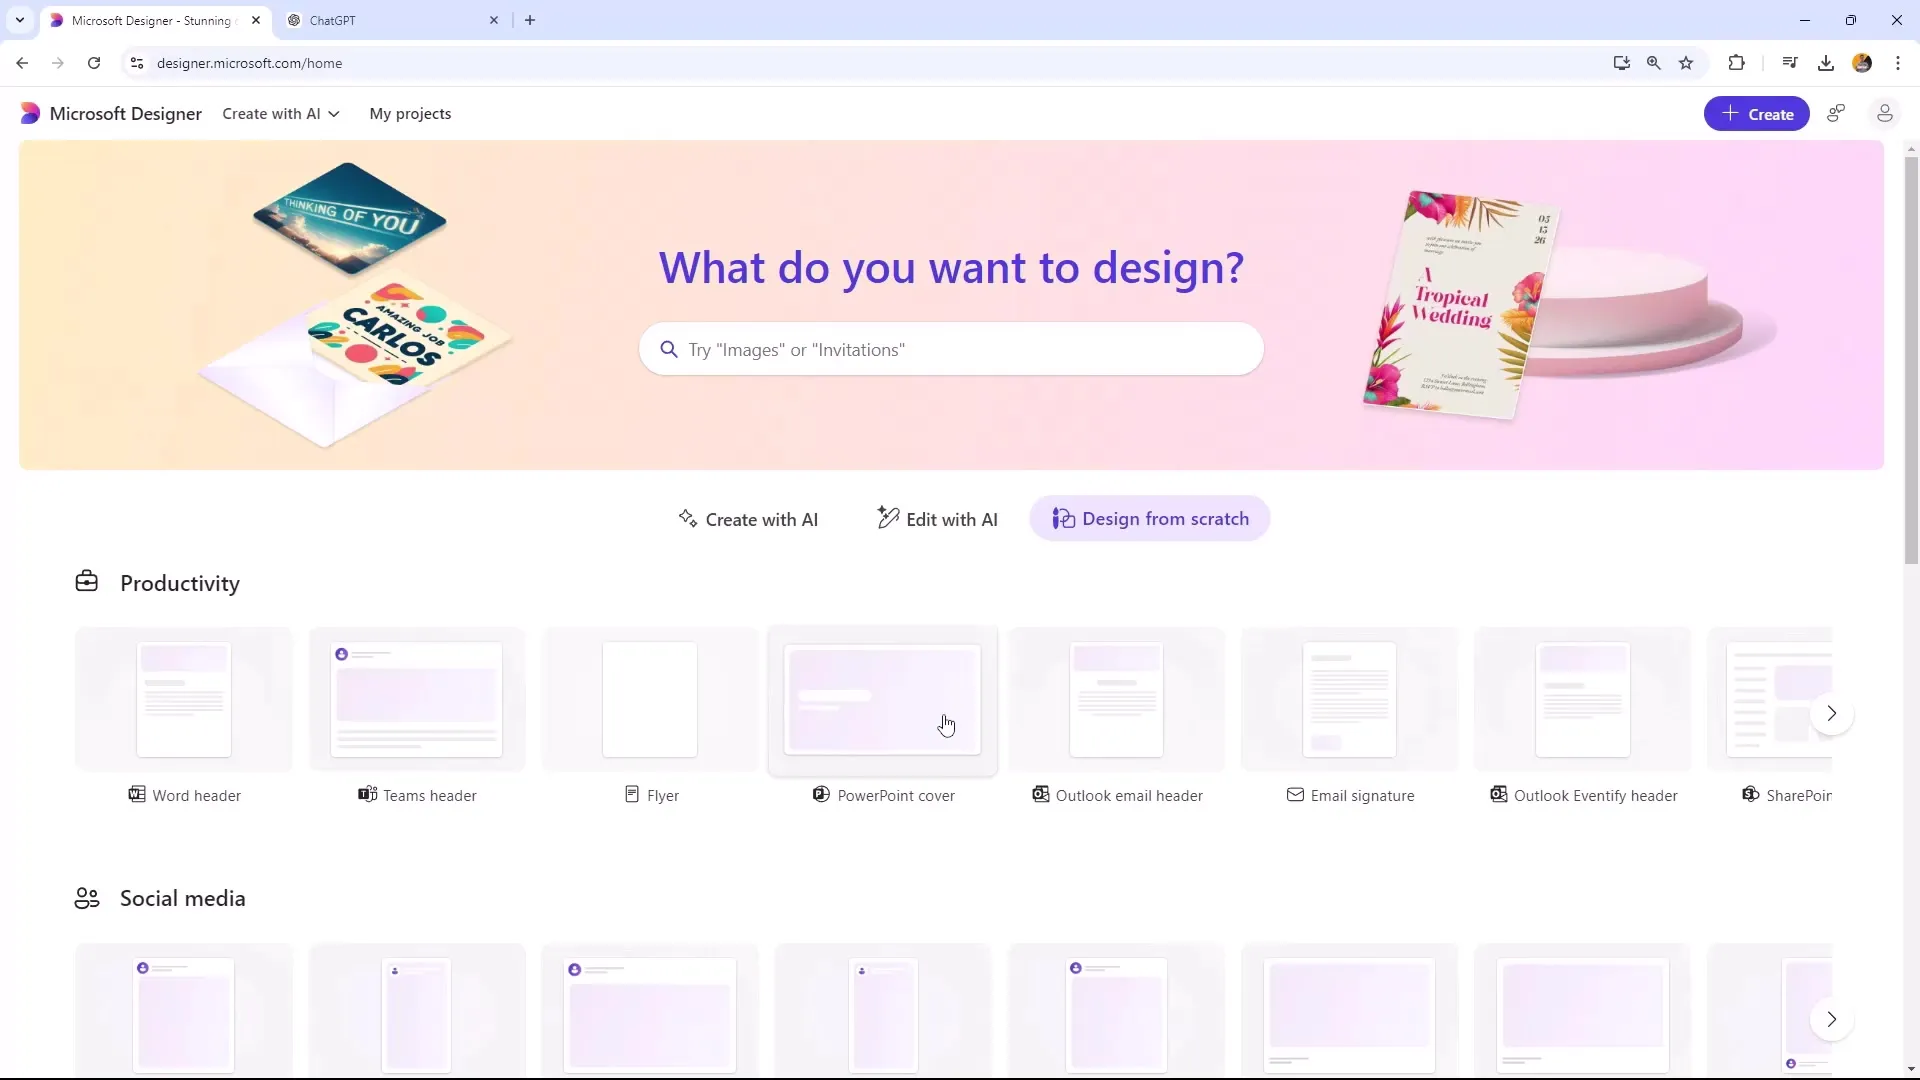
First, open Microsoft Designer and navigate to the "Design from scratch" section. Here, you have the option to combine various tools to create your own cover slide. The user interface will remind you of various Microsoft applications like Word, Teams, and SharePoint.

Step 2: Select the Format
Now it's important to choose the right format for your presentation slide. The standard format is 1920 x 1080, but you can adjust it if you need a different size. To change the format, go to "Create Custom Size" and enter your desired dimensions.
Step 3: Choose a Template
In this step, browse through the available templates. Here, you can search for specific themes, such as "Dog" for dog images. You'll find some great templates that meet your requirements. These templates will give you creative ideas for your cover slide.
Step 4: Integration of AI-Generated Images
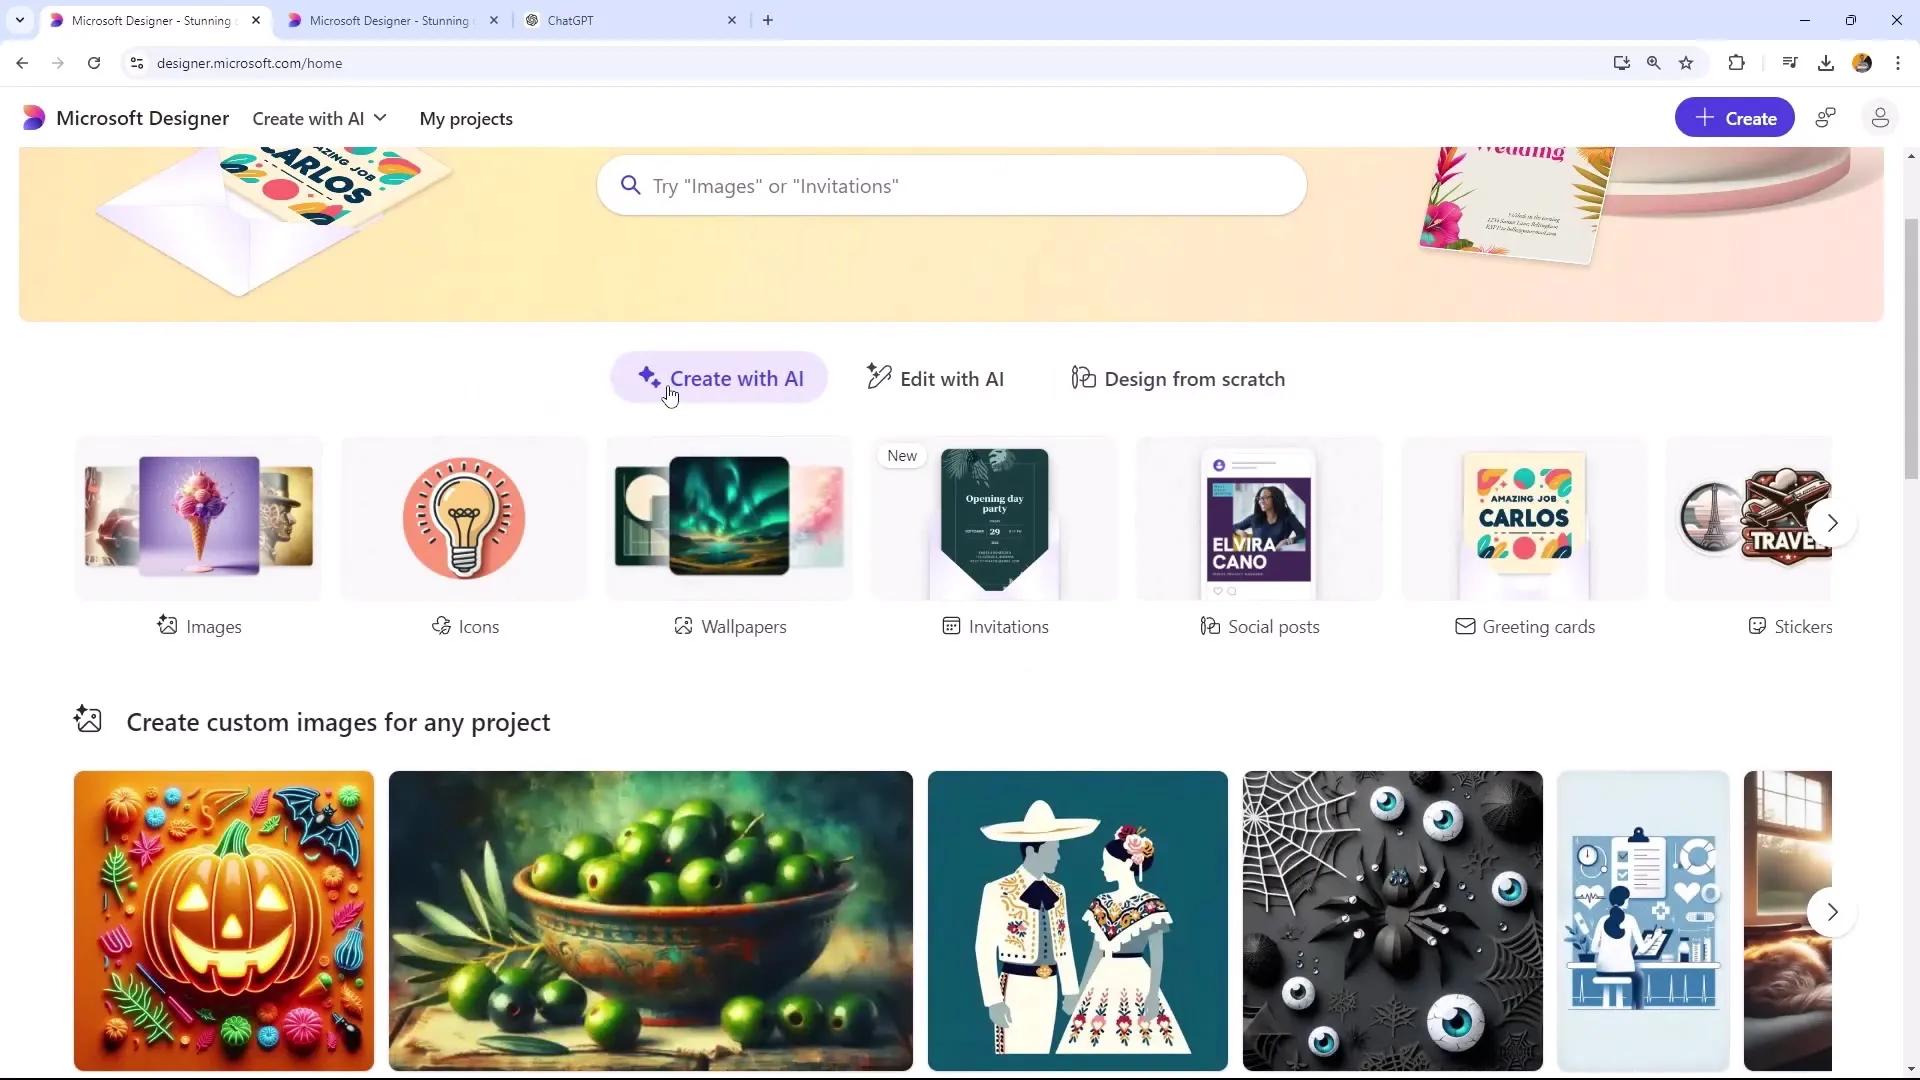
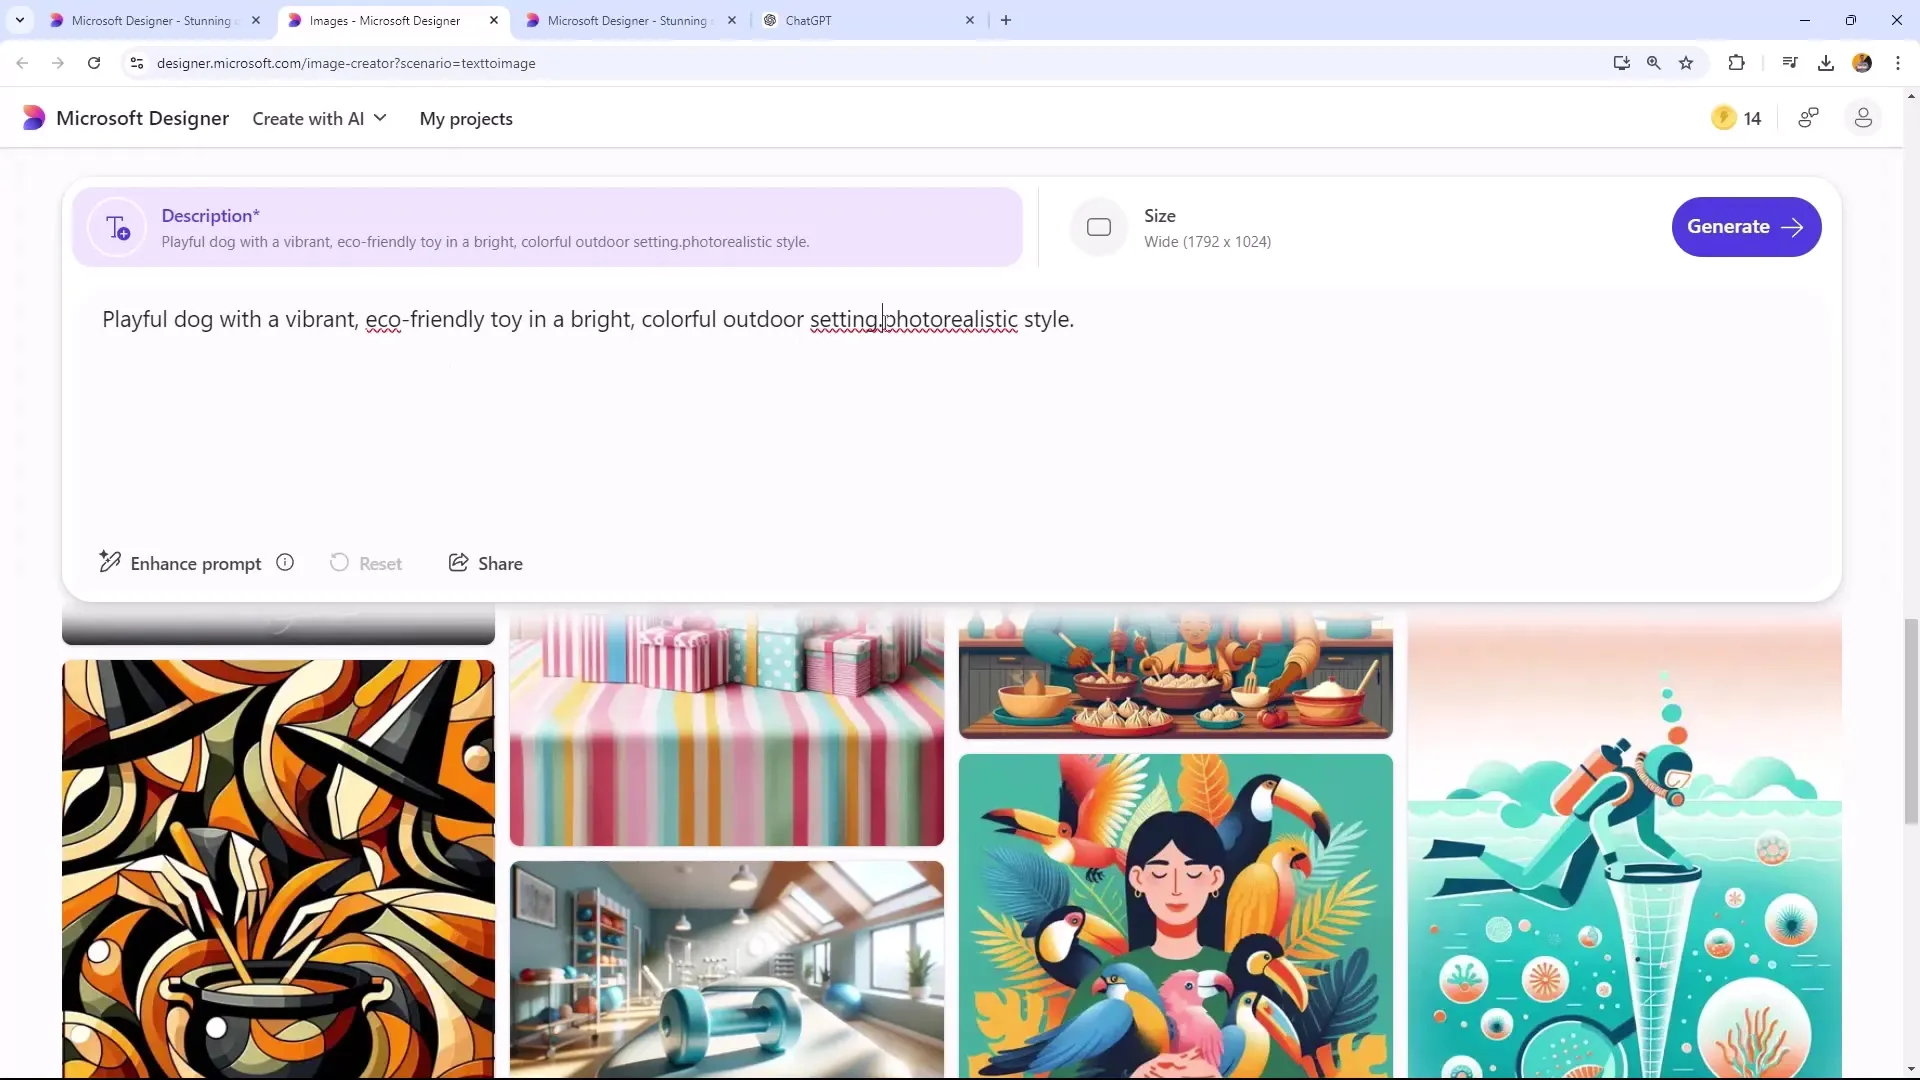
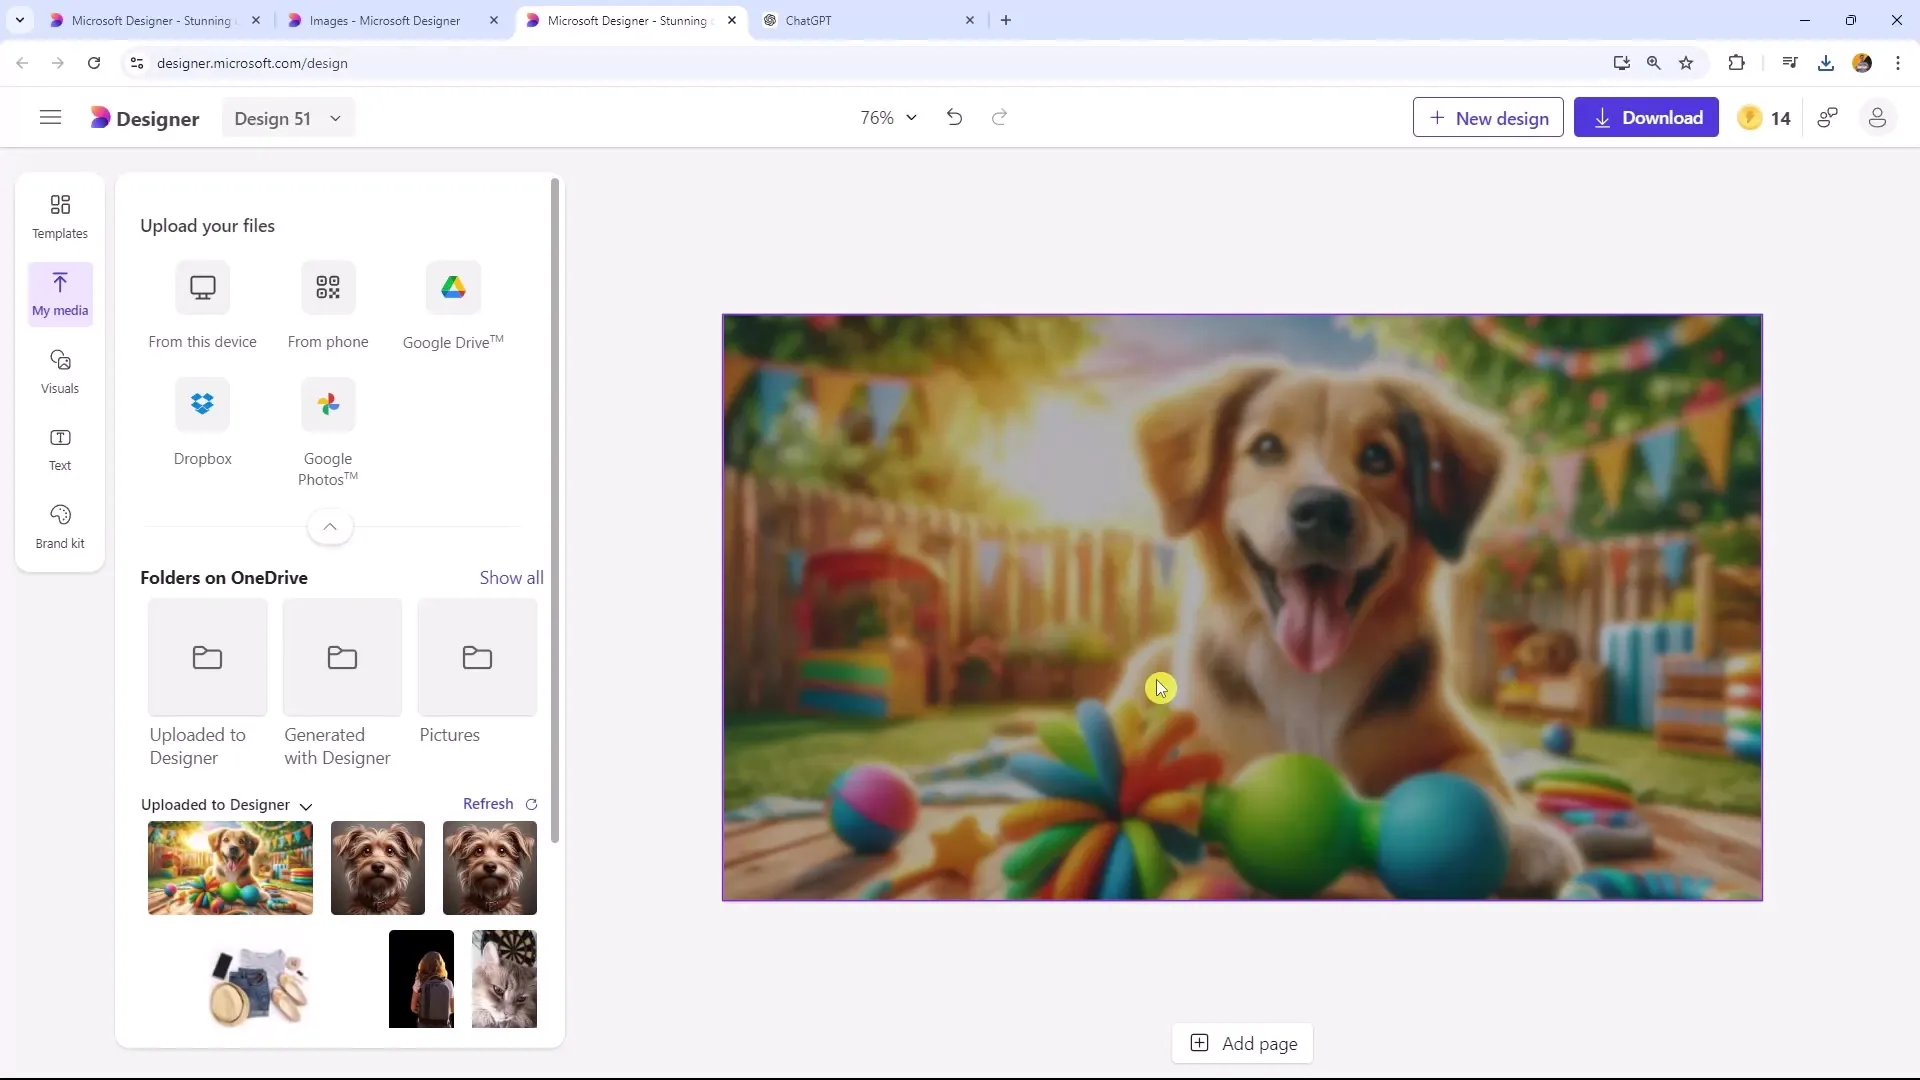
Now you'll create an image with the help of AI. Enter your desired features into the input field, e.g., "dog toys in a vibrant setting." Choose the format of the image to be created and click on "Create with AI" to generate your image.
Step 5: Preview and Customize the Image
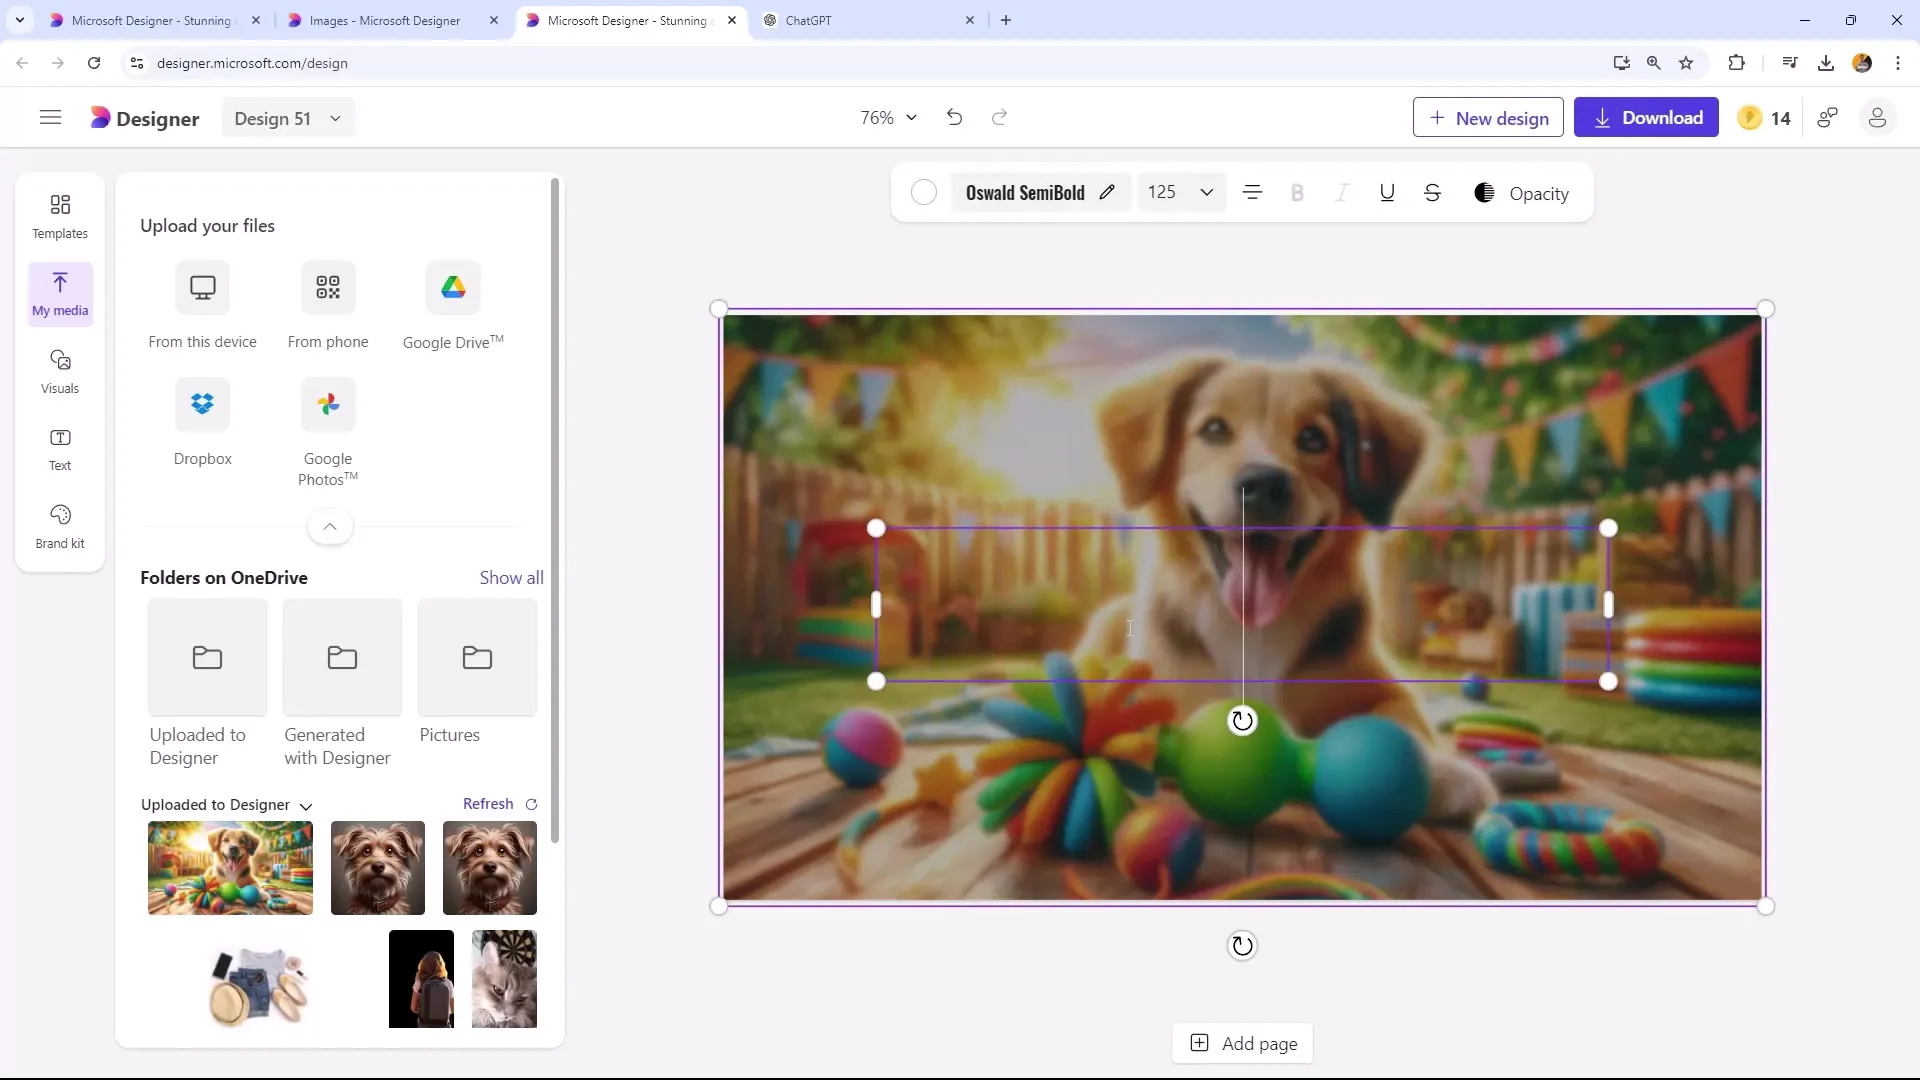
After the image has been generated, you can position it on your slide. Experiment with settings like brightness, contrast, and sharpness. You can also blur the image to ensure the text remains easily readable.
Step 6: Add Text
Now add a title and subtitle. Use an appealing font and adjust the size of the text box to complement the overall design. Experiment with style and font type to achieve a harmonious presentation.
Step 7: Download the Slide
Once you are satisfied with your design, you can download it as a PNG file. This high-quality image file can then be imported into PowerPoint. Alternatively, you can also download the image without text to add the text directly in PowerPoint and edit it as needed.

Step 8: Final Editing in PowerPoint
After importing into PowerPoint, you can make additional adjustments like adding animations or more content. This flexibility allows for an even more creative design of your presentation.
Summary
In this tutorial, you have learned how to efficiently create appealing presentation slides with Microsoft Designer and AI technologies. From selecting the format, to creating and integrating images, to final editing in PowerPoint, you now have the knowledge to create compelling presentations.
Frequently Asked Questions
What is Microsoft Designer?Microsoft Designer is an online tool for creating appealing designs and presentation slides using various Microsoft applications and AI technology.
How can I create images with AI?You can generate images by entering specific features into the input field in Microsoft Designer and selecting the "Create with AI" option.
Which size formats can I use?The standard format is 1920 x 1080. However, you can also choose the Custom Size option to adjust the dimensions according to your needs.
Can I edit text in PowerPoint?Yes, if you download the image without text, you can add and adjust the desired text directly in PowerPoint as needed.
Is Microsoft Designer free?The availability and cost depend on the Microsoft version you are using. It is recommended to check the license terms.
