Whether you are working on a web project or a print project, Microsoft Designer offers you various export options that are easy to understand. In this tutorial, you will learn how to download your designs in different formats to optimize them for different purposes. You will learn about the available formats and how to use them effectively to achieve the best possible results.
Key Insights
- Microsoft Designer enables export in PNG, JPEG, and PDF formats.
- Exporting as PNG allows for transparent backgrounds, while JPEG always has a background.
- Videos can also be exported in MP4 format.
- You can also generate designs as QR codes.
Step-by-Step Guide
To make the most of Microsoft Designer, follow these simple steps:
Step 1: Selecting Export Options
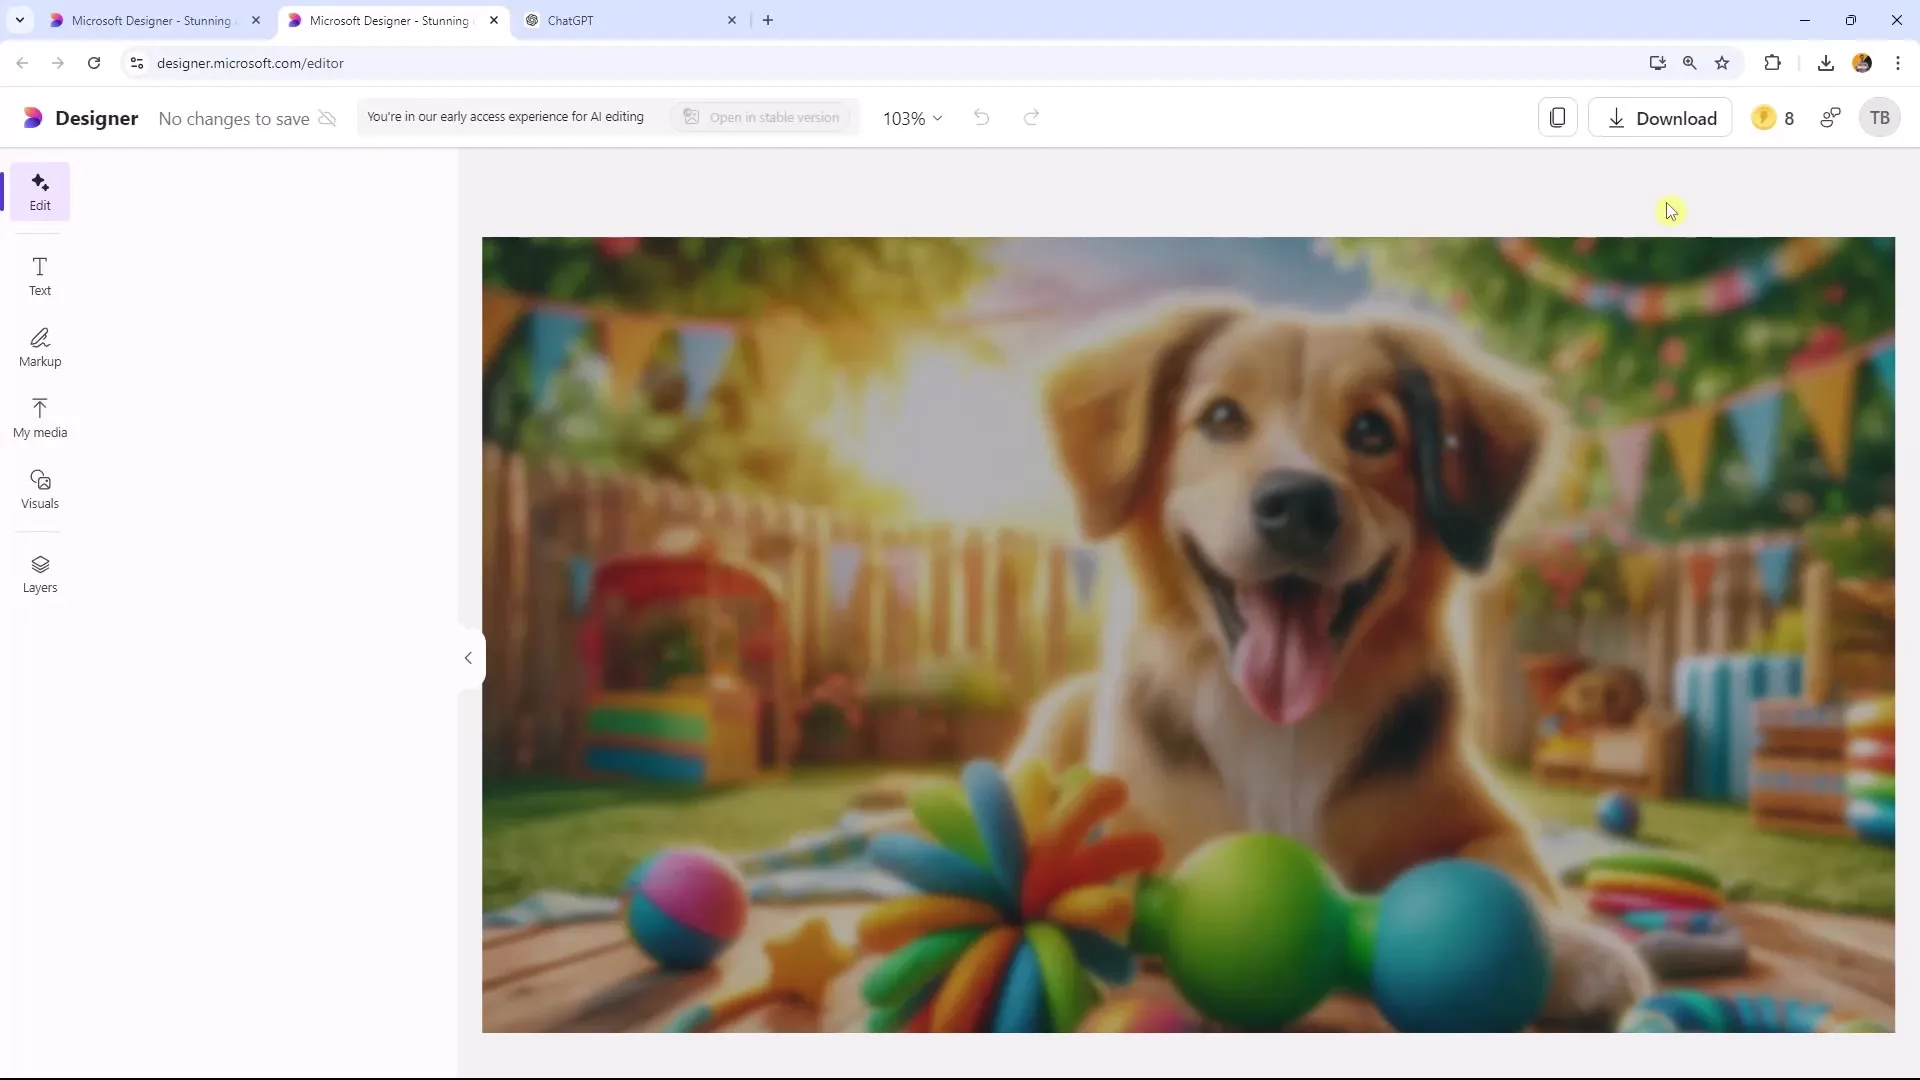
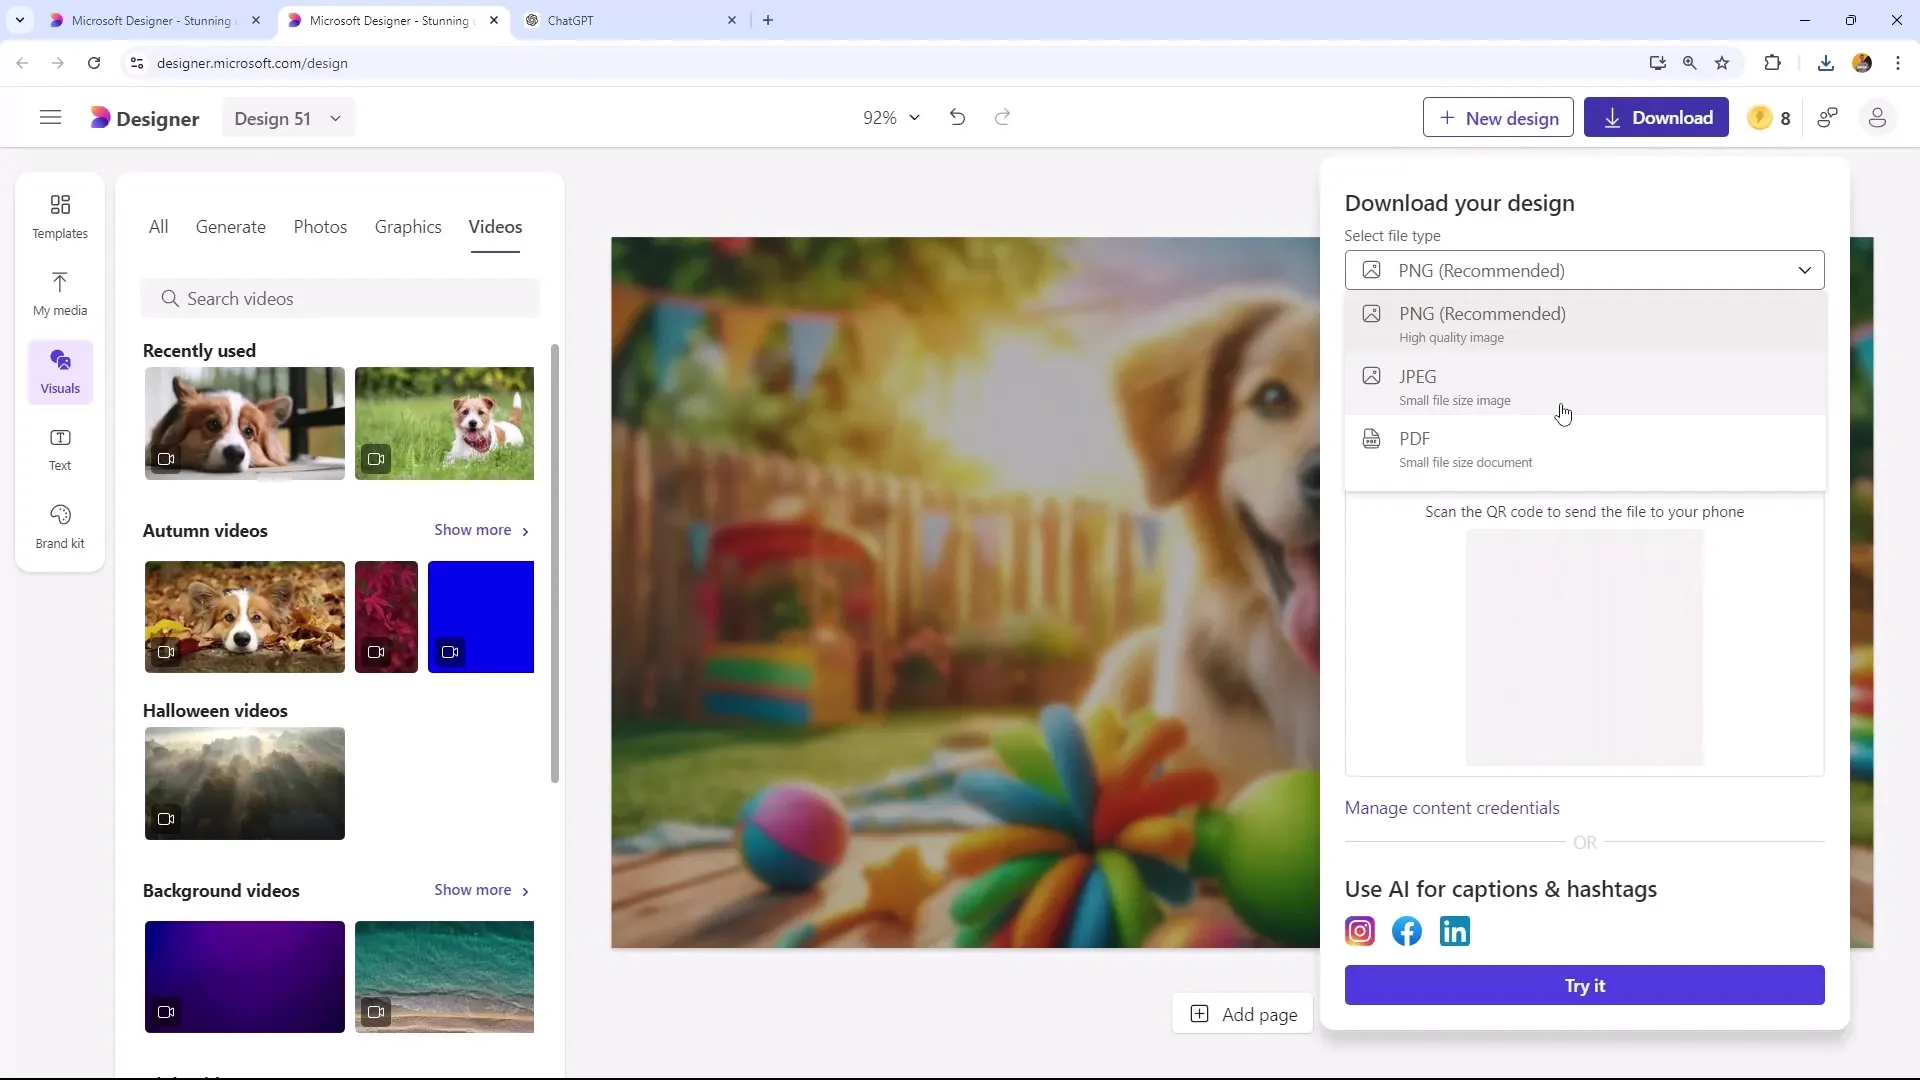
Open Microsoft Designer and load the design you want to export. Click on the download button in the top menu bar. A window will pop up with several options like PNG, JPEG, and PDF.
Step 2: Understanding the Formats
Here is a brief overview of the available formats:
- PNG: Supports transparent backgrounds and provides better image quality.
- JPEG: Always has a white background and is less suitable for designs requiring a transparent background.
- PDF: Offers a smaller file size, useful when storage space is a concern.
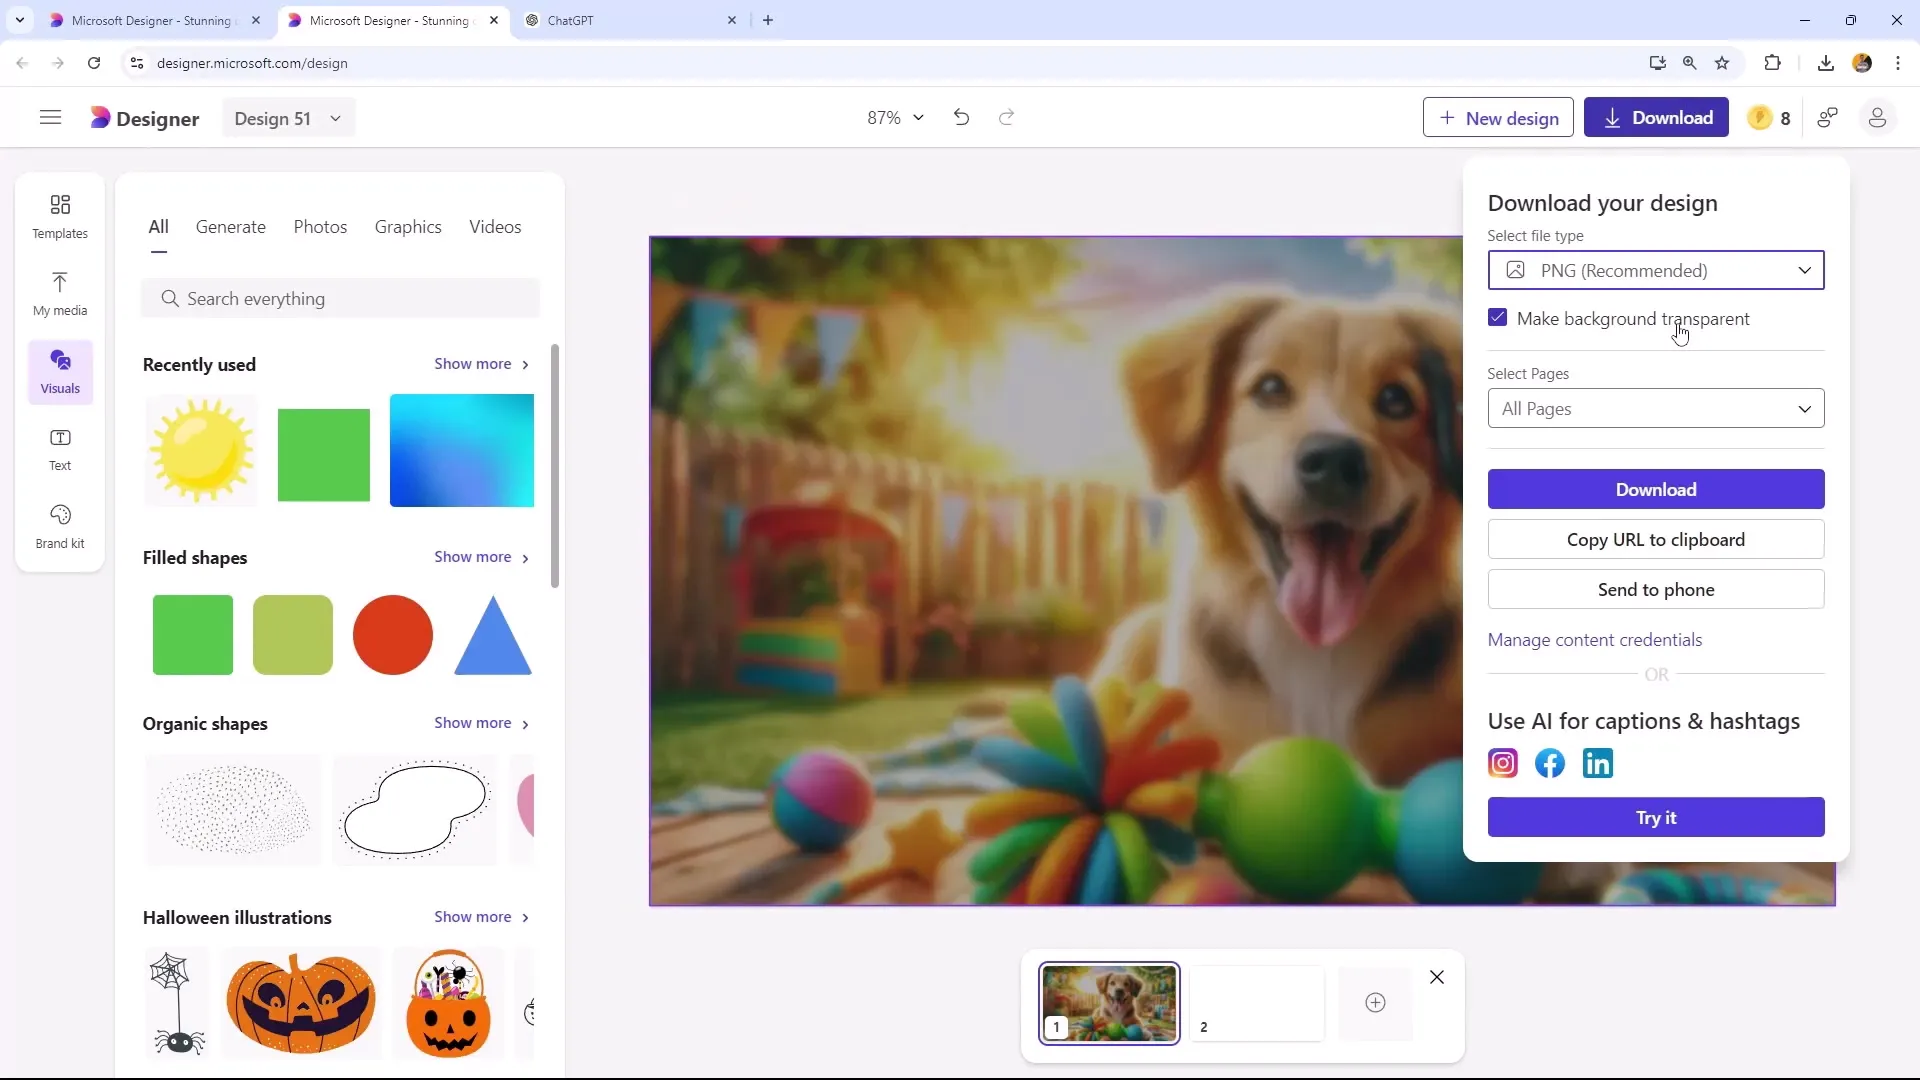
Step 3: Using Transparent Background for PNG
If you want to create an image with a transparent background, choose the PNG format. Microsoft Designer offers the option to automatically remove the background, which is particularly useful when using an image of a person or animal.
Step 4: Uploading and Adjusting the Design
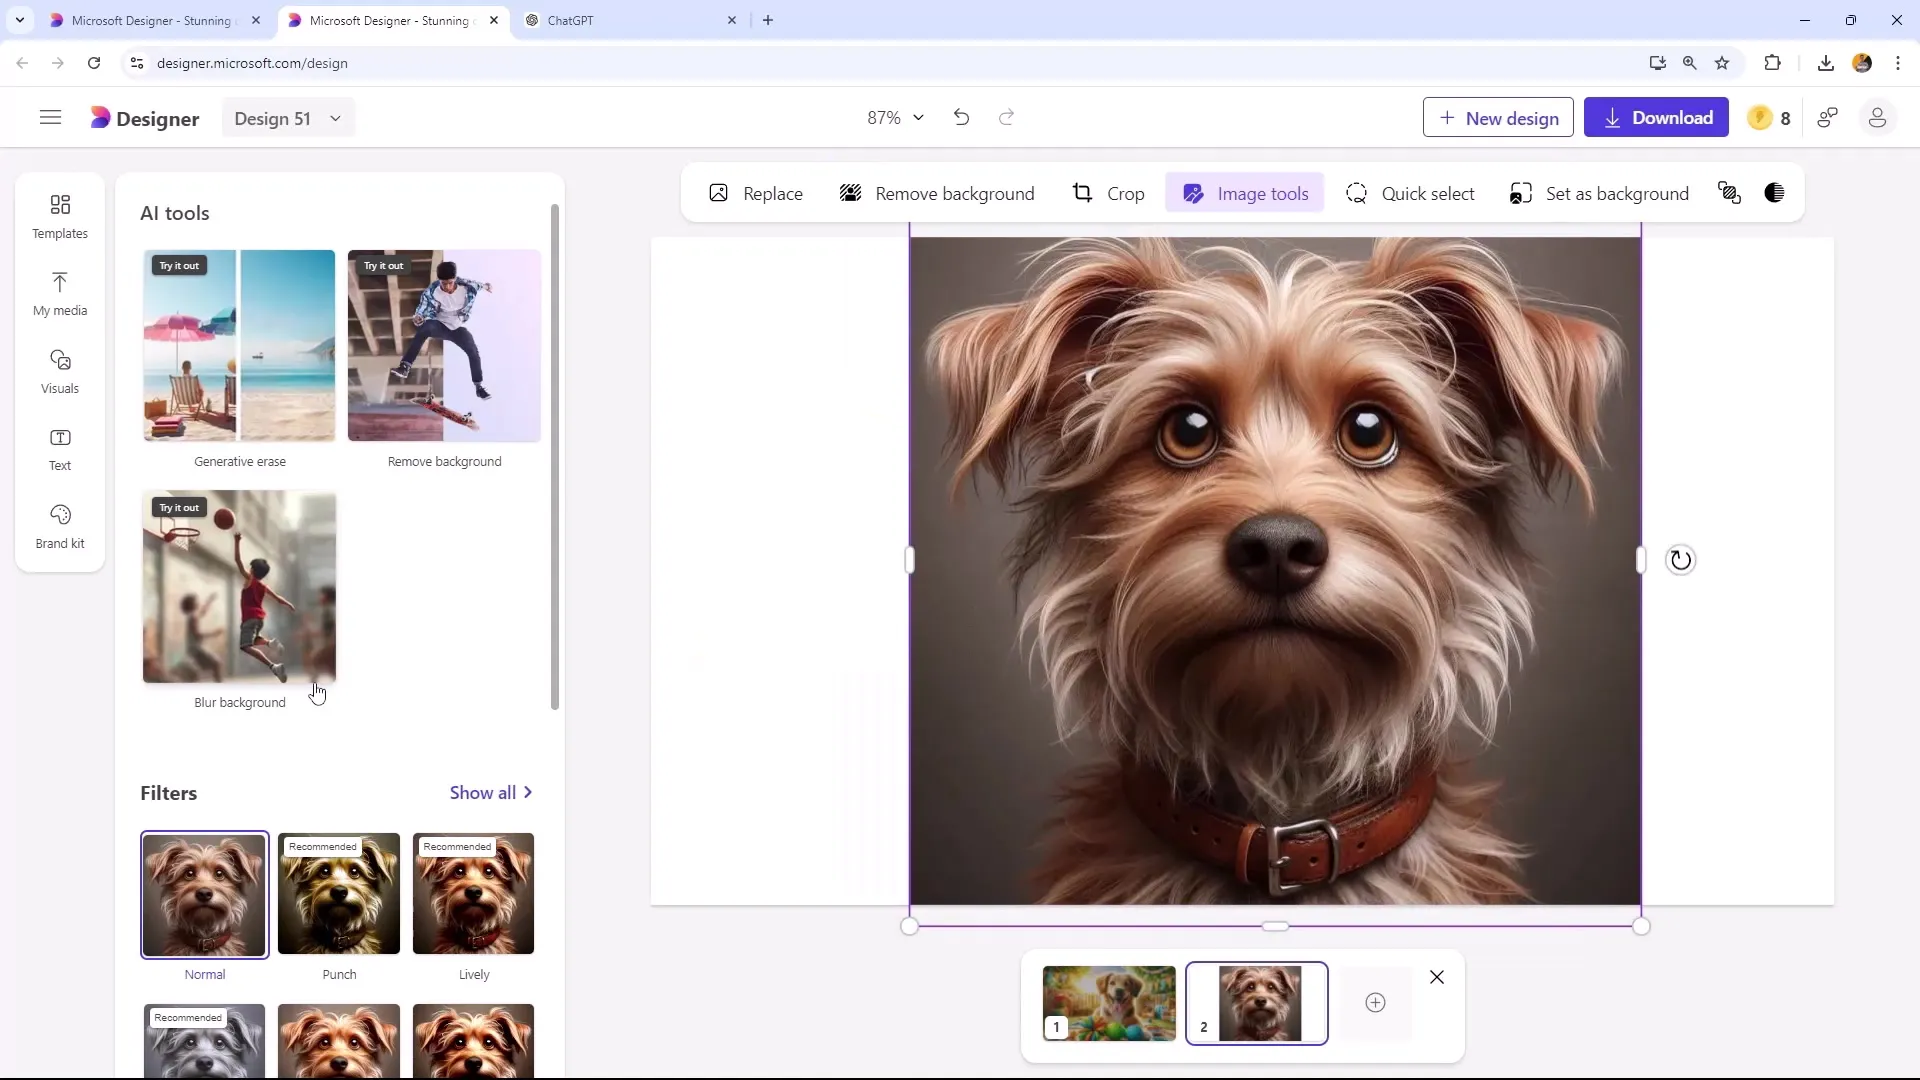
Upload your image by simply dragging it into the work area of Microsoft Designer. You can adjust the image to remove the background. Use the "Background remove" function to get a transparent background.
Step 5: Understanding JPG and PDF
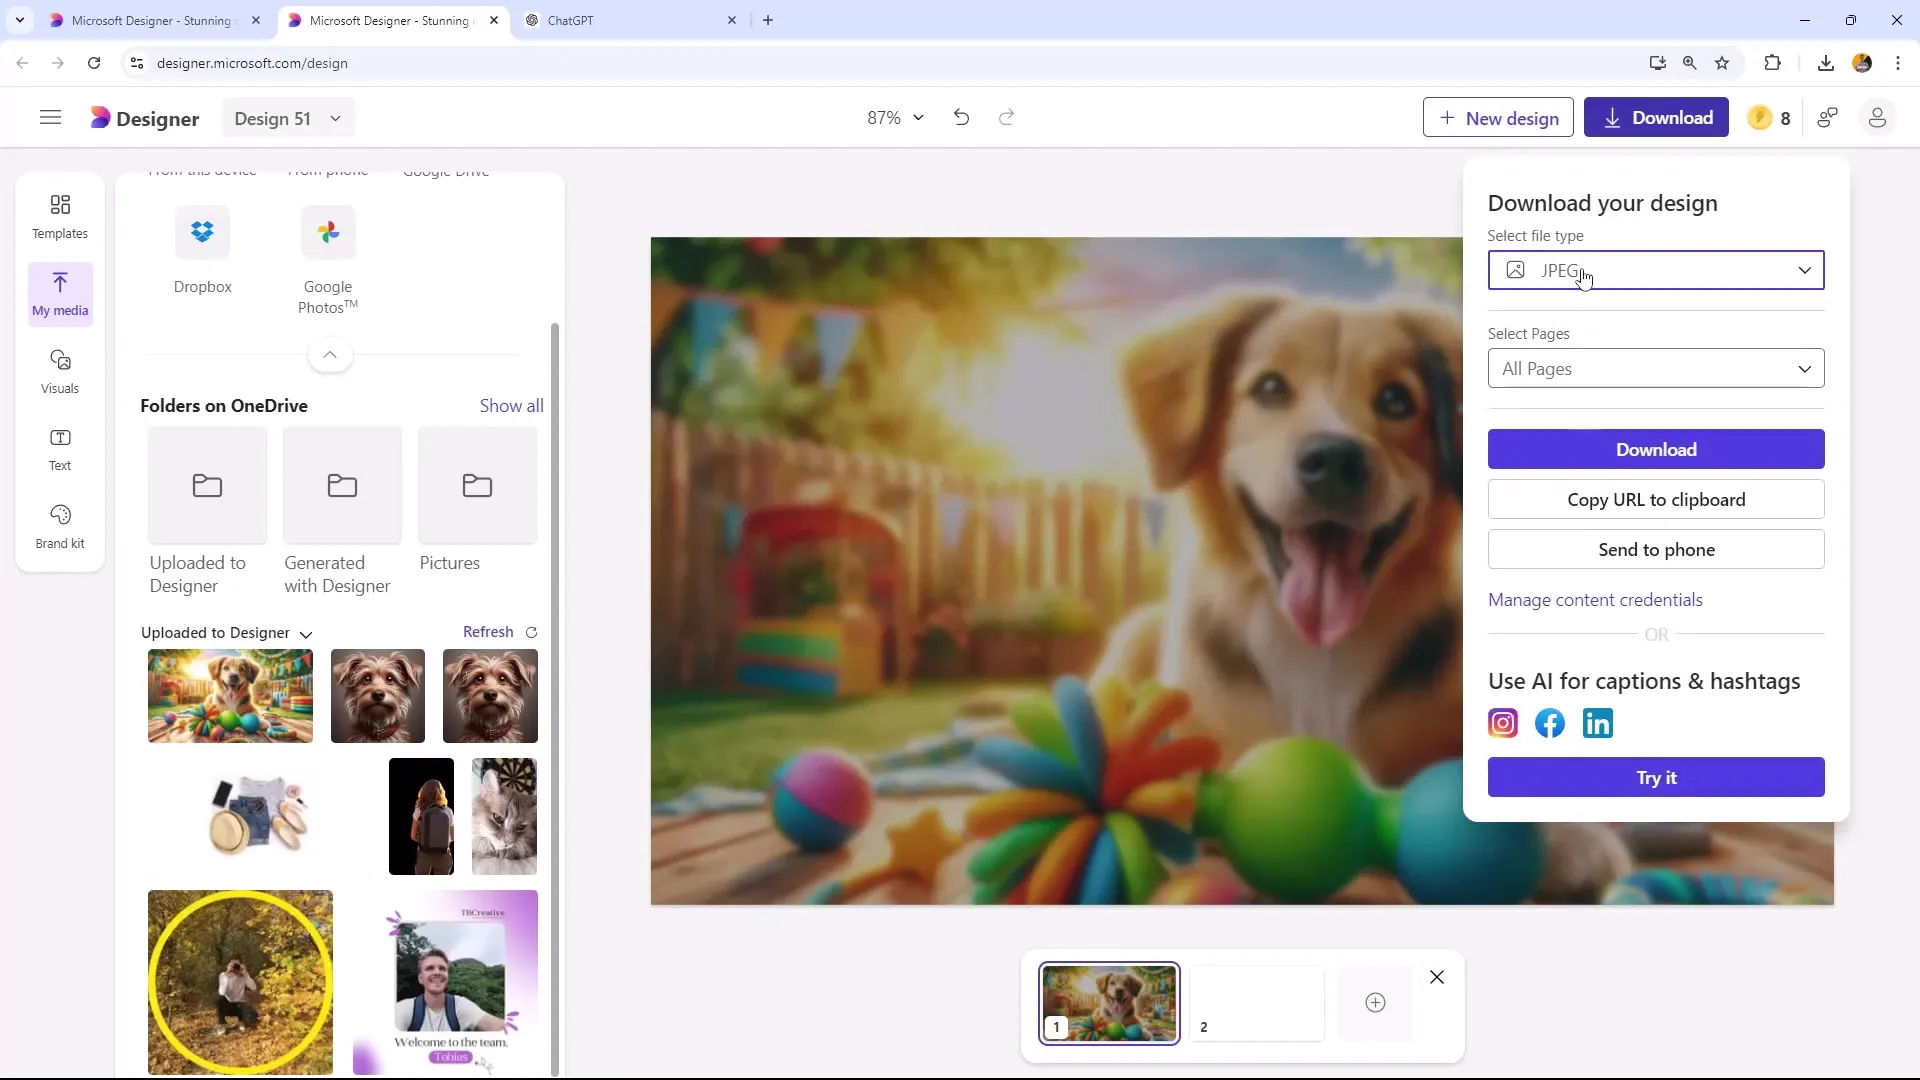
When downloading an image as JPG, you will notice that it always has a background, even if the image itself doesn't. This is an important feature to be aware of. On the other hand, the PDF format has a smaller file size but is not suitable for dynamic designs.
Step 6: Inserting Videos and Exporting as MP4
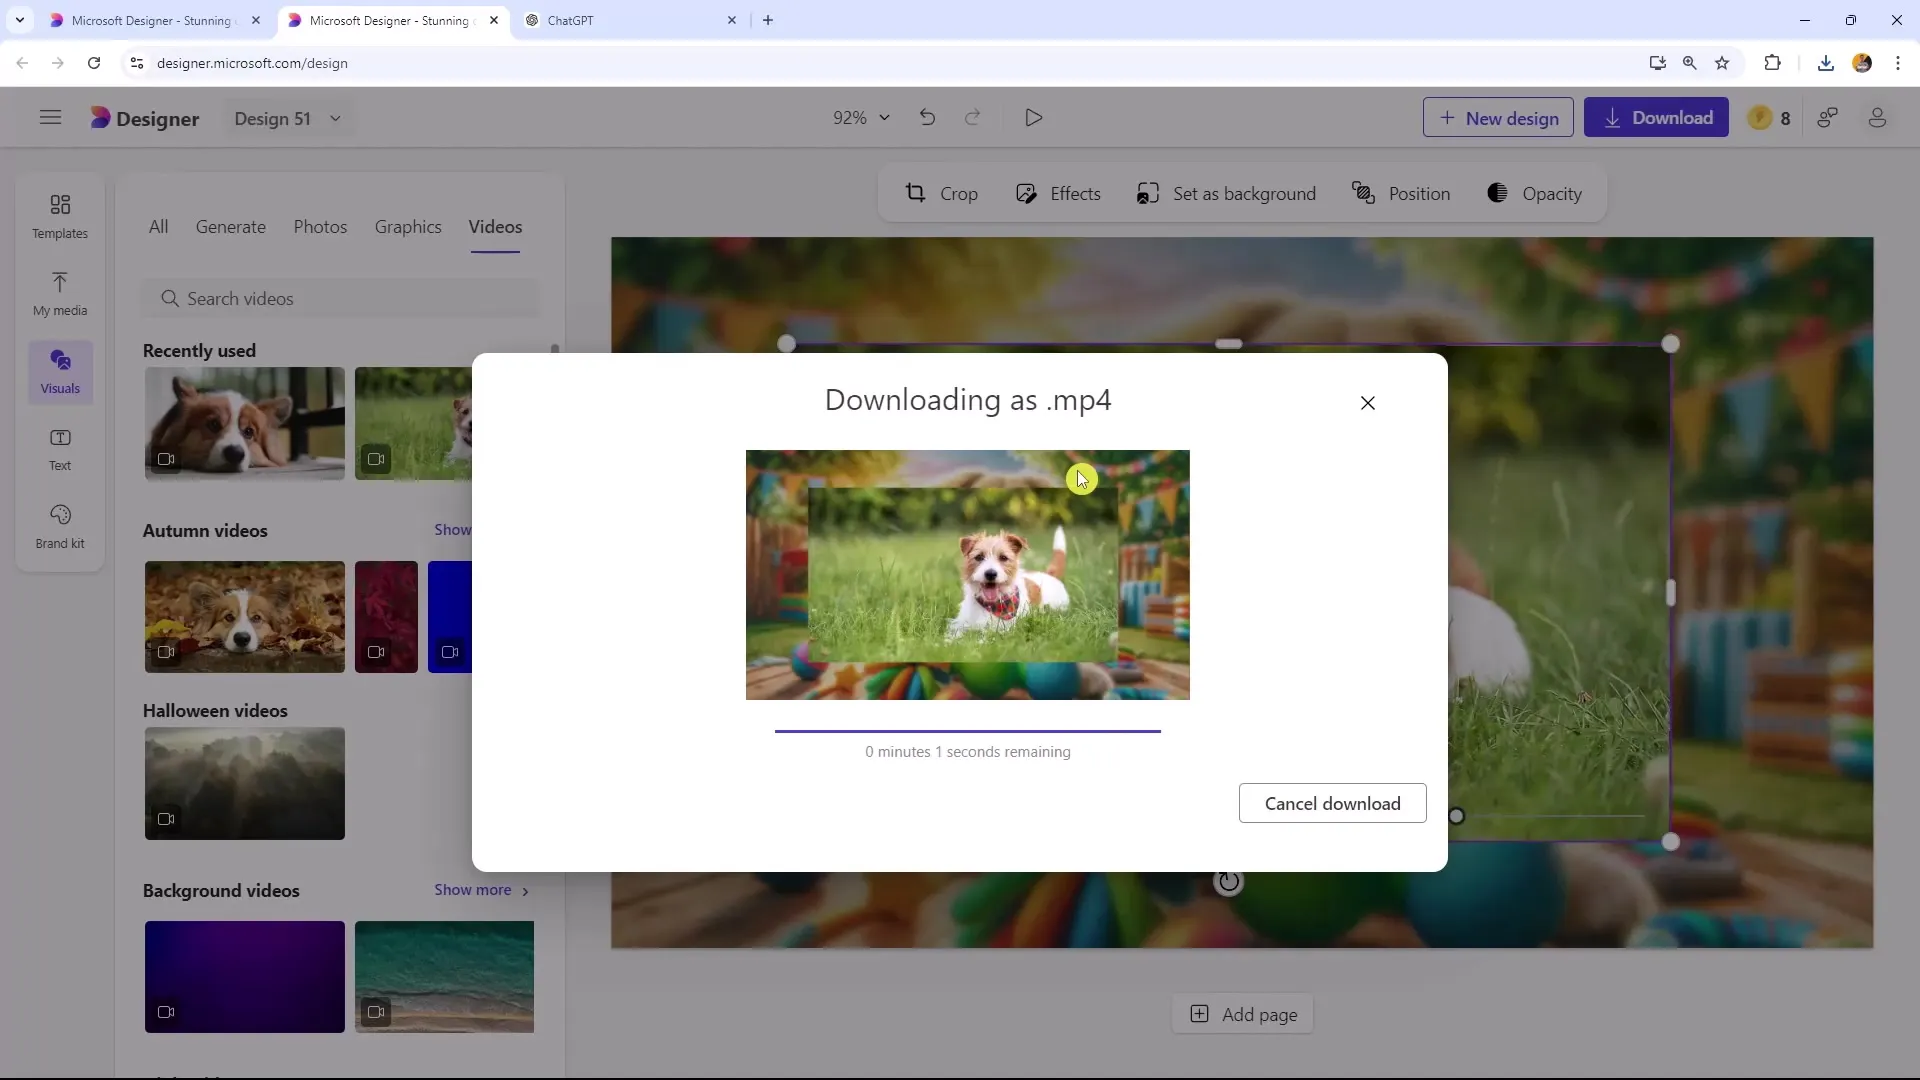
At this point, you also have the option to insert videos into your design. It is important to note that you must export the design as MP4 to play the video.
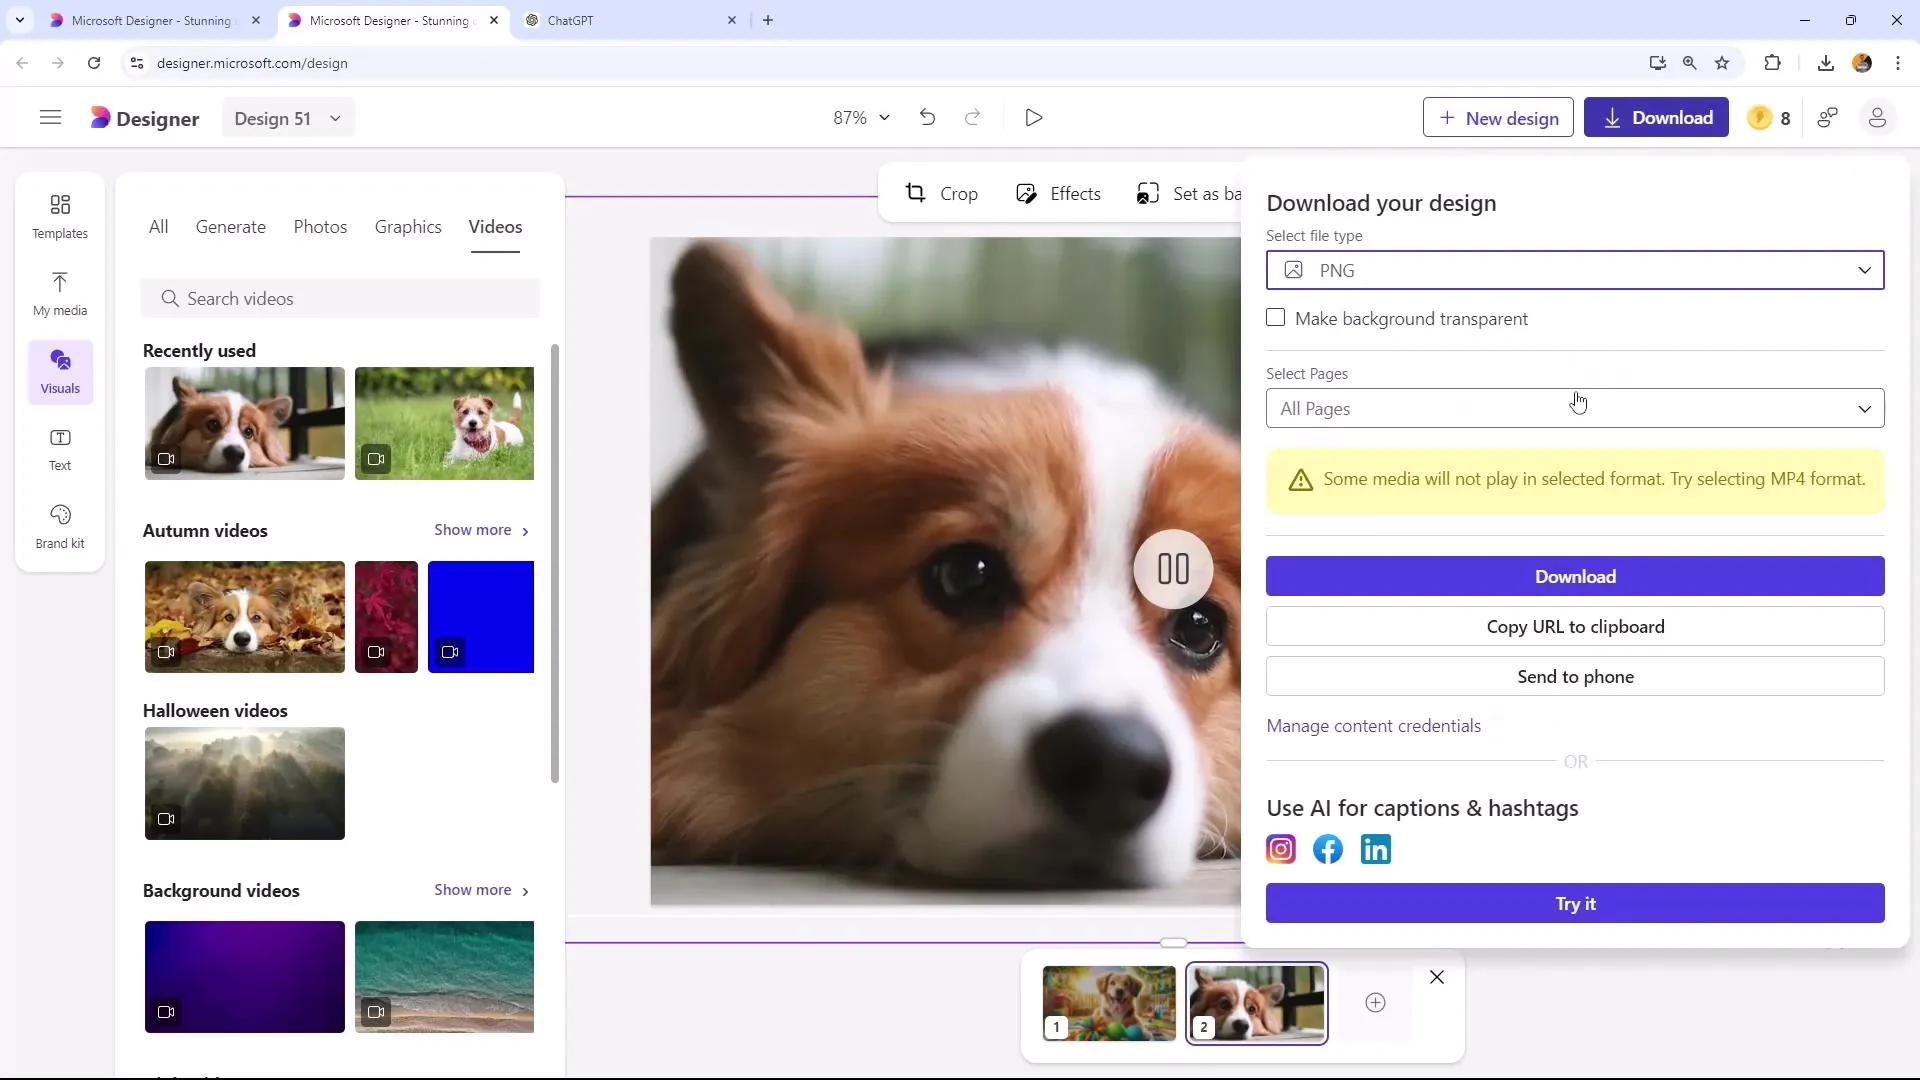
Step 7: Downloading the Design
After making your adjustments, you can download the design. Simply click on the download button and choose the desired format. This can be done for both images and videos.
Step 8: Utilizing Social Media and QR Codes
You can easily upload the exported designs to social media or generate them as QR codes. This allows you to conveniently send your design to your phone, which is particularly useful.
Summary
In this tutorial, you have learned how to export designs in Microsoft Designer in various formats. You have learned the differences between PNG, JPEG, and PDF and discovered how to use transparent backgrounds in PNGs. Furthermore, you have learned the ability to export videos in MP4 format, opening up new creative possibilities. With this knowledge, you are now well-equipped to prepare your designs optimally for various applications.
Frequently Asked Questions
How do I export an image as PNG in Microsoft Designer?Go to the download options and select PNG.
Can I make the background of an image transparent in Microsoft Designer?Yes, use the "Background remove" function to remove the background.
How can I export a video in Microsoft Designer?Upload your video and export it as MP4.
What are the advantages of the PDF format?PDF files have a smaller file size and are ideal for printing purposes.
Can I export designs as QR codes?Yes, you can generate your designs as QR codes and save them on your mobile device.
