I would like to explain the possibilities and limitations of the improved Enhance Edge dialog box in three examples.
Example 1: An image with optimal clipping conditions
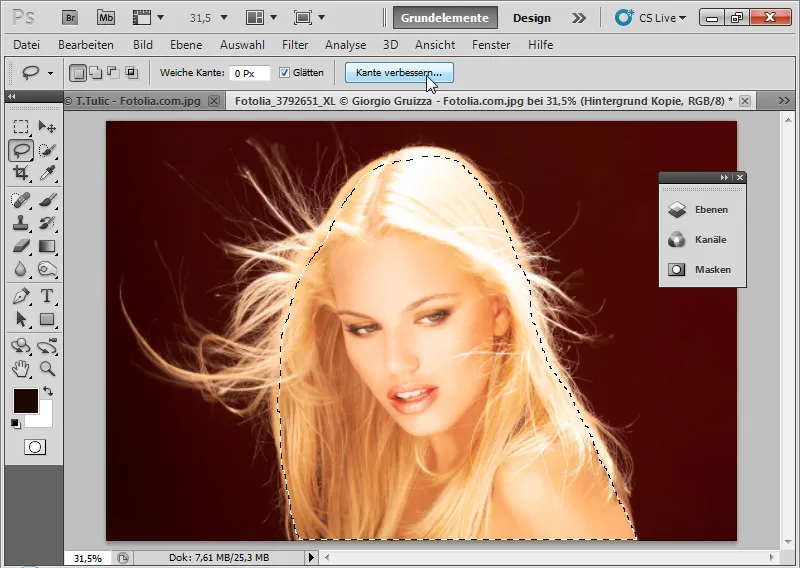
First, I roughly select the inner hair area with the lasso tool (L). Then I call up the Enhance Edge dialog box using the shortcut Ctrl+Alt+R. In the menu bar for a selection tool, there is the Enhance edge button as an alternative to the shortcut.
Image source: © Giorgio Gruizza - Fotolia.de
In view mode, I can initially select the background with which I want to see the clipping.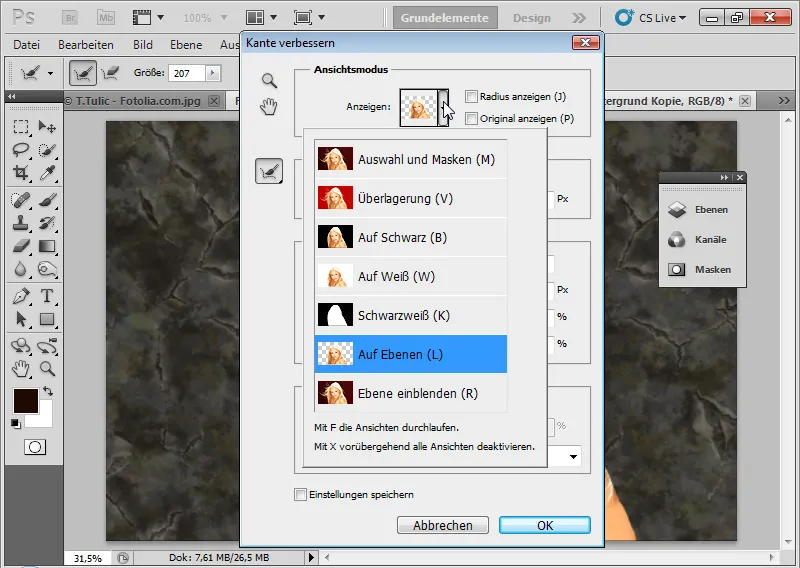
With the shortcut F I can switch to the different view modes and check which view I like best. I choose On Layers (L) because then I always have a live preview of where the result is going. I set a high smart rad ius of approx. 200 pixels. The smart radius now ensures an extension of my edge area and automatic edge detection. The smart radius automatically checks contrasts between the foreground and background and successfully isolates the area to be cropped at the edges of the mask. Transitions are detected precisely and existing structures are successfully isolated for selection.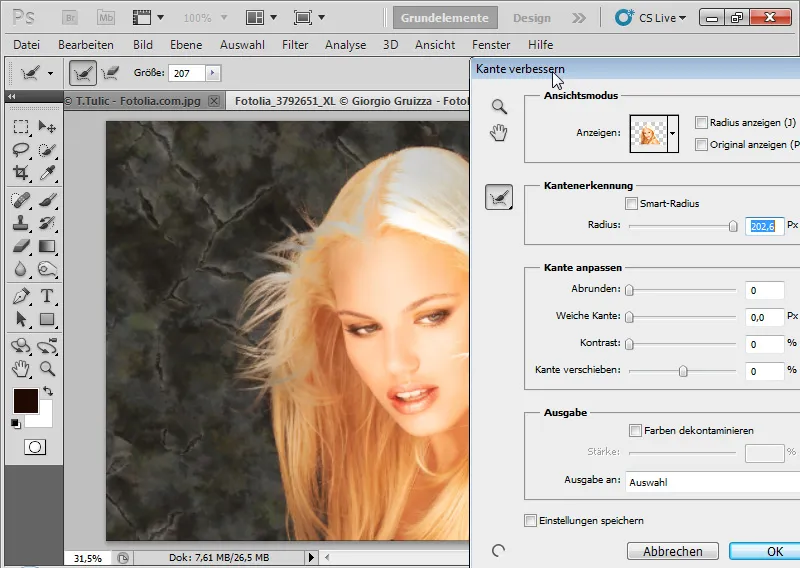
I now select all the hair details with the Radius Enhance tool (E). The area turns green in the normal view Show layer (R) - as known from the Extract filter . In the On Layers view ( L) , I can see the original background of the image.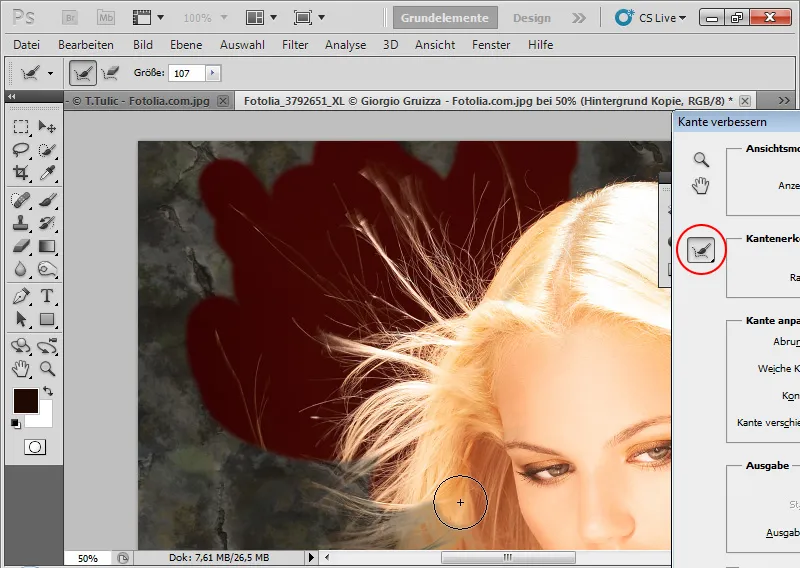
The areas are analyzed by Photoshop and the hairy details are isolated from the background. The result can be easily checked in the different view modes. If the Radius Enhance tool (E) does not achieve the desired effect and has mistakenly added transparency, deleted or isolated an area, I can restore the original edge using the Refine-Delete tool (E) in the submenu for the Radius Enhance tool (E). Further hair details appear after using the Radius Enhance tool (E ).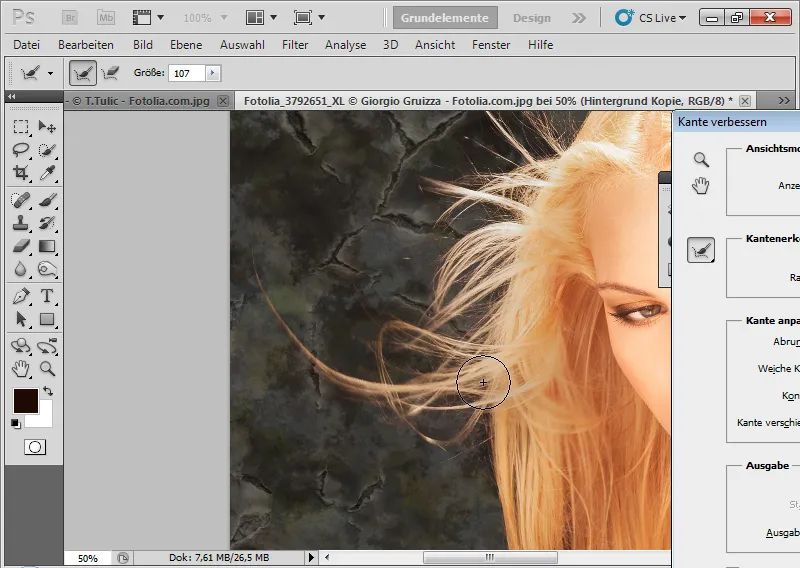
The controls for contrast, soft edge, round off and move edge help to optimize the edge result in detail. Shift edge(extend/reduce selection edge) in particular is very useful in combination with the smart radius.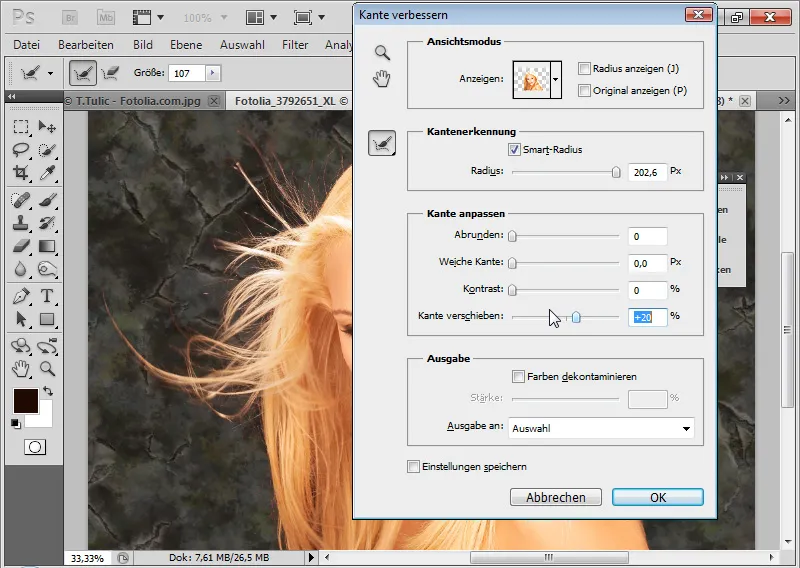
It helps to increase the contrast to a small extent in order to sharpen the edges a little more. Additional details can also be brought into the selection area by expanding the edge. The more I extend the selection, the more details come to light, but the color fringe in the cropped hair also increases.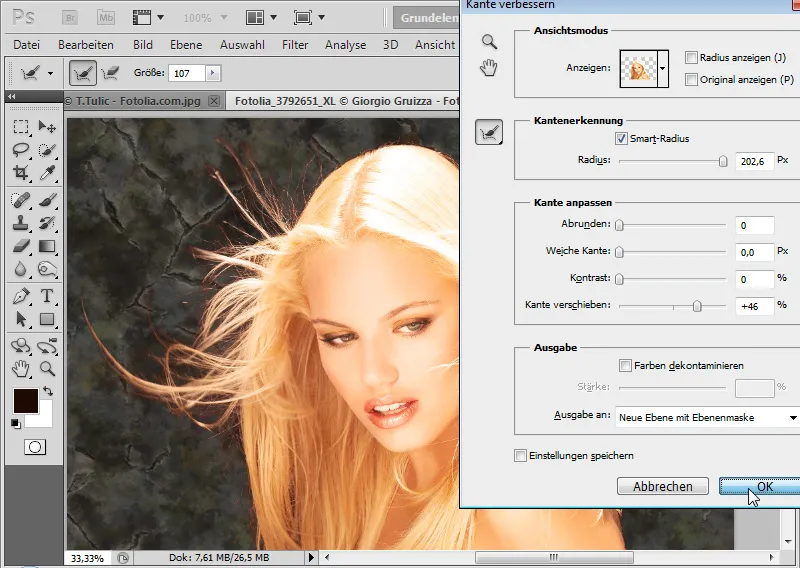
As color fringing very often occurs with selection clipping, the CS5 version has also integrated a useful tool here: Decontaminate colors. This dips the background in the color of the elements to be cropped. The effect can be seen when I subsequently lock the layer mask. The color areas around my clipping are yellowish. The pixels have been changed. The same effect would occur if I had painted the pixels directly with the brush tool (B) in color mode with the hair color tone. The output should always be with a layer mask or New layers with layer mask so that I can edit the mask further - also with the dialog Improve mask (Ctrl+ALT+R). This also keeps the editing non-destructive. As an alternative to color decontamination , I can set a Hue-Saturation adjustment layer as a clipping mask(Ctrl+Alt+G) for the red color areas. I reduce the saturation and change the color range to yellow so that the color fringe turns yellowish.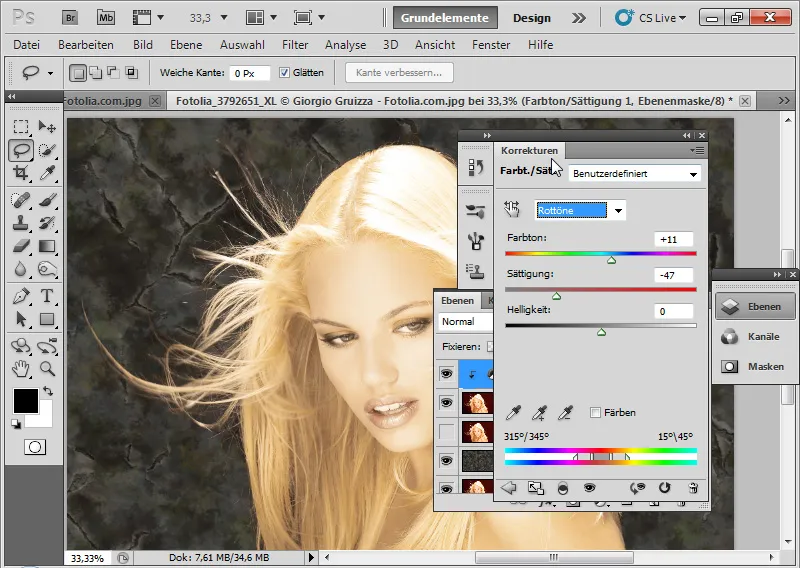
I fill the layer mask for the adjustment layer with black paint and use a soft white brush to paint in the areas with the red color fringe. The Hue Saturation adjustment layer then takes effect in these areas. The color fringe disappears. And that's it!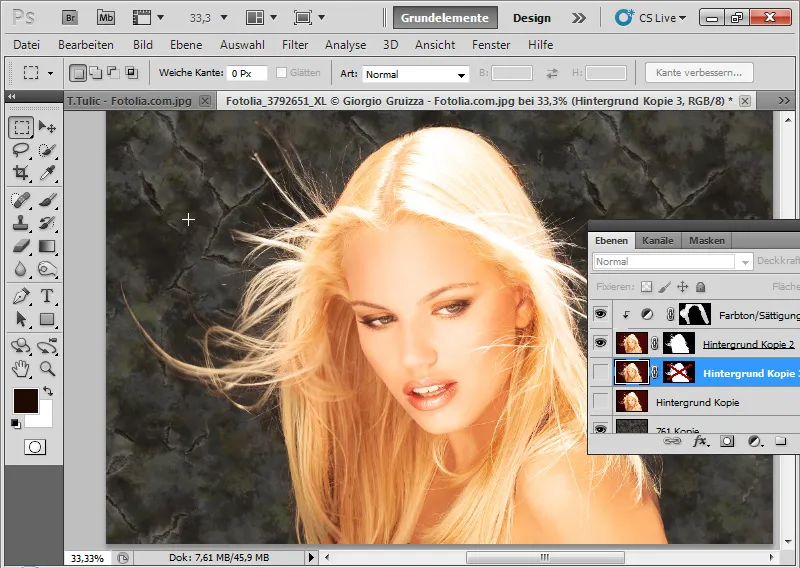
With color decontamination , the pixels would have been changed destructively. The effect would be as follows - visible when the layer mask is deactivated: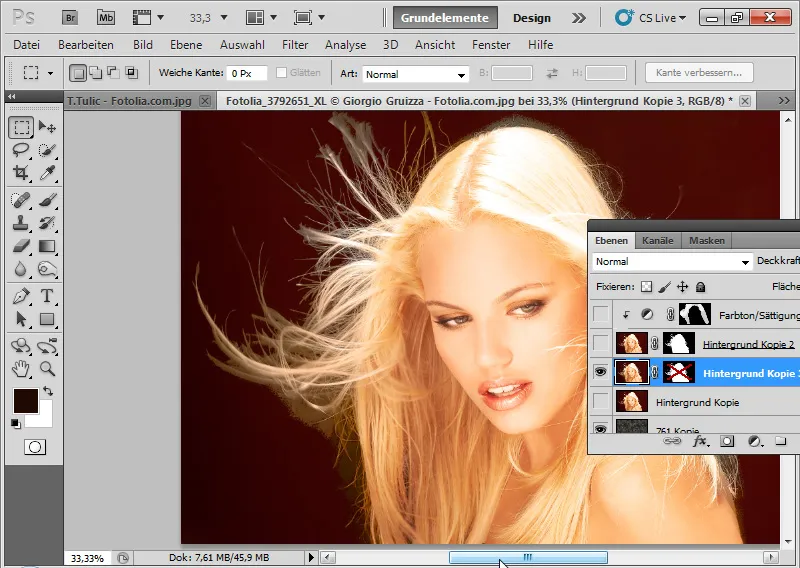
Therefore, non-destructive editing via an adjustment layer is recommended for the color fringe. Detailed view of the result:
Example 2: Curls - it gets more difficult because of different transparencies
It gets a little more challenging here, which is why I also place two backgrounds in relation to the subject so that the cropping can be optimally assessed. Image source: © Sorin Popa - Fotolia.de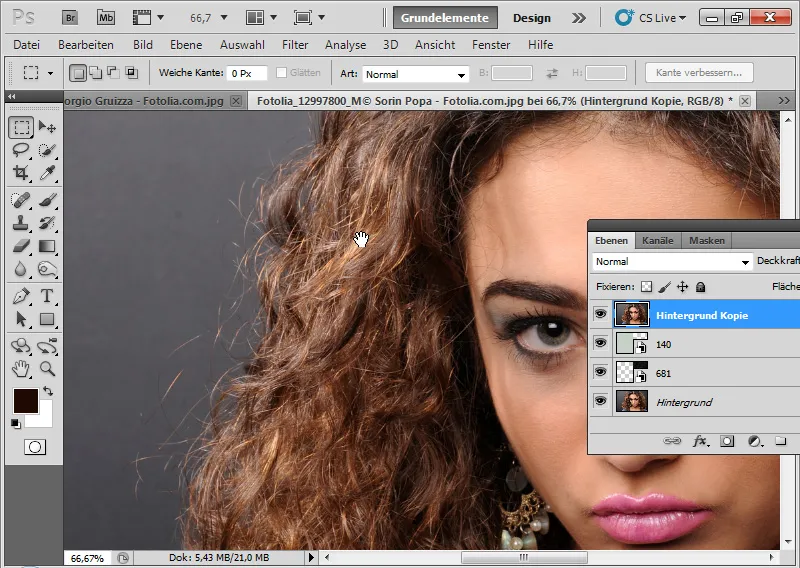
I select the inner hair area again with any selection tool and go to the Enhance Edge dialog (Ctrl+Alt+R).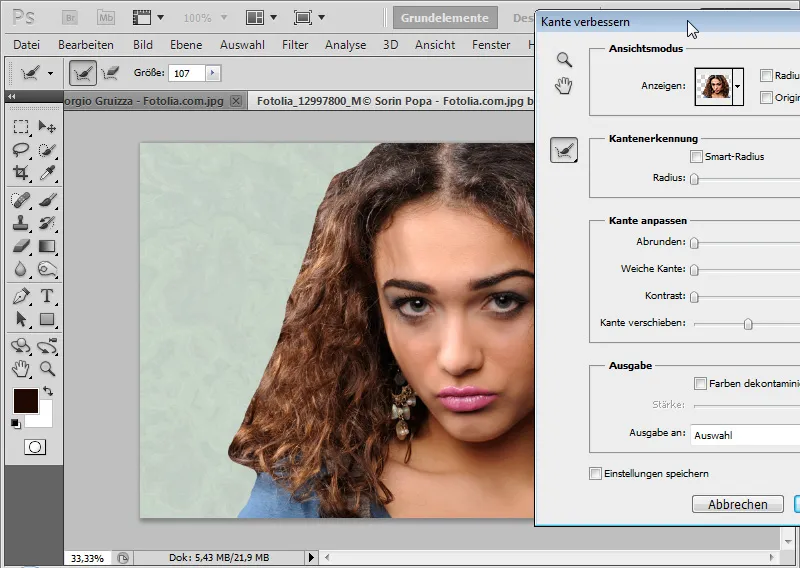
The smart radius is activated for a medium radius. Using the enhance radius tool (E), I now select an extended detection area.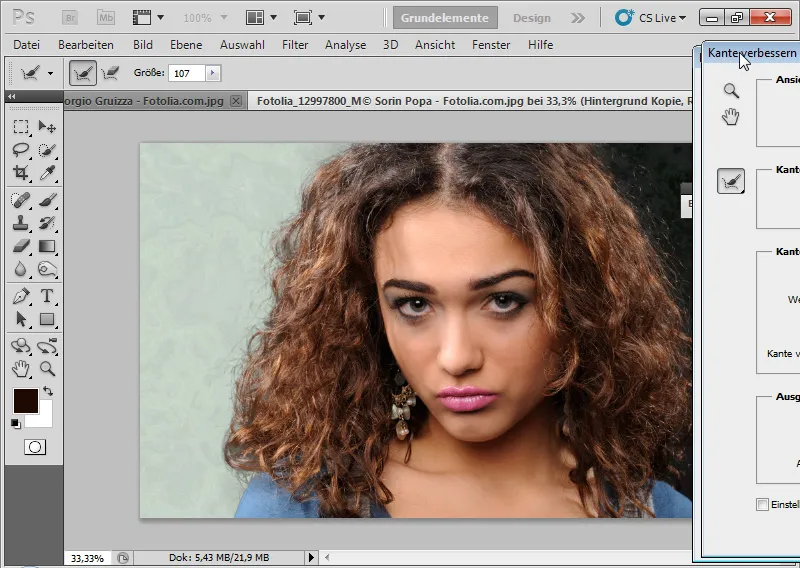
I can undo the editing at the points where there is too much transparency in the inner area using the Refinement-Delete tool (E) . I can switch between the two edits by holding down the Alt key.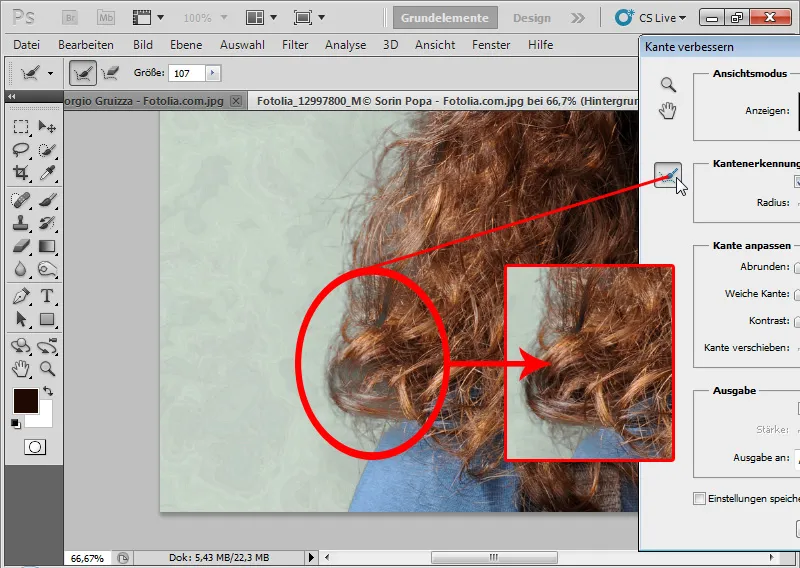
I increase the contrast by 10 percent and the edge selection by approx. 30 percent.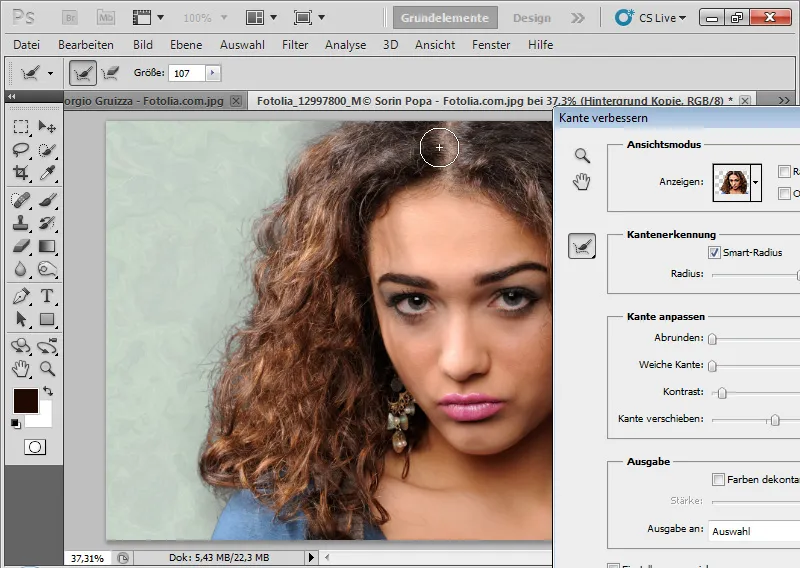
The color decontamination also adds a little color volume to the outer hair area at a medium strength of approx. 35 percent. However, I can also do the same using a Hue Saturation adjustment layer. I can then confirm my edge enhancement with the output as a layer mask in a new layer.
The clipping is not perfect, but still detailed, despite the difficult transparencies and hair details. In comparison with other clipping methods(extraction, channel selection , etc.), clipping via edge and mask enhancement shows advantages in this example image. Nevertheless, the result still requires minimal fine corrections, for example by copying parts of very neatly clipped hair and inserting them in rather unfortunate clipped areas.
Example 3: Boundaries of the Enhance Edge dialog
However, the new function in CS5 is not a miracle cure. The function reaches its limits with difficult clipping as in the example image.
Image source: © T. Tulic - Fotolia.de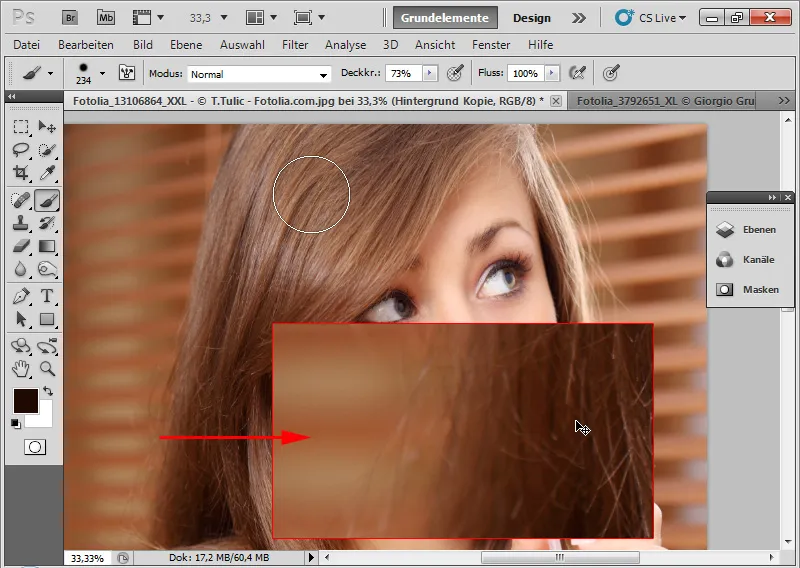
Here we have a hair color tone that corresponds to the background. In addition, the background is not uniform because of the blinds. The hair is also not available in sufficient sharpness. I select the inside of the hair and open the Enhance Edge dialog. With a similar background, the edge detection via the smart radius works quite well.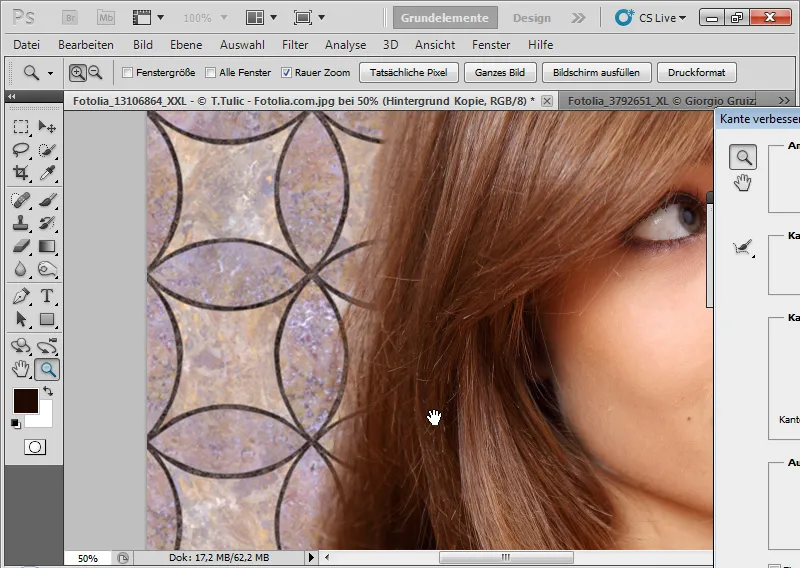
With a black background, the actual conditions become apparent.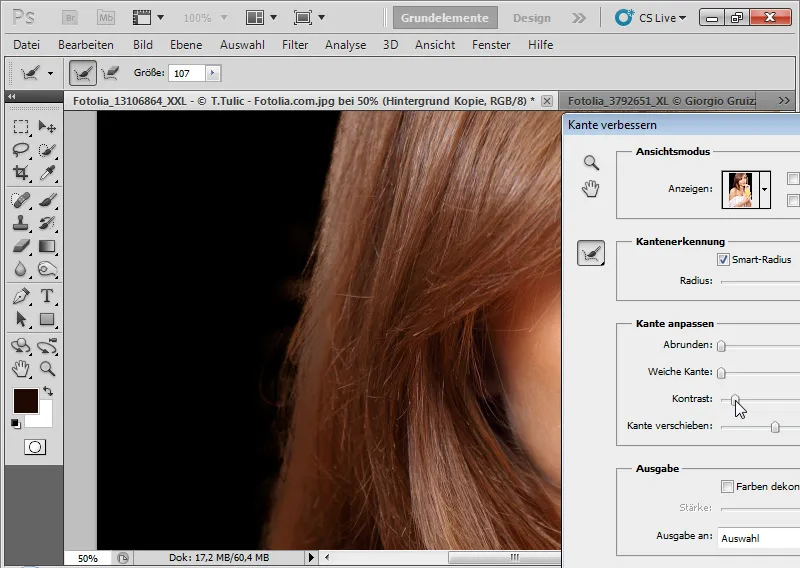
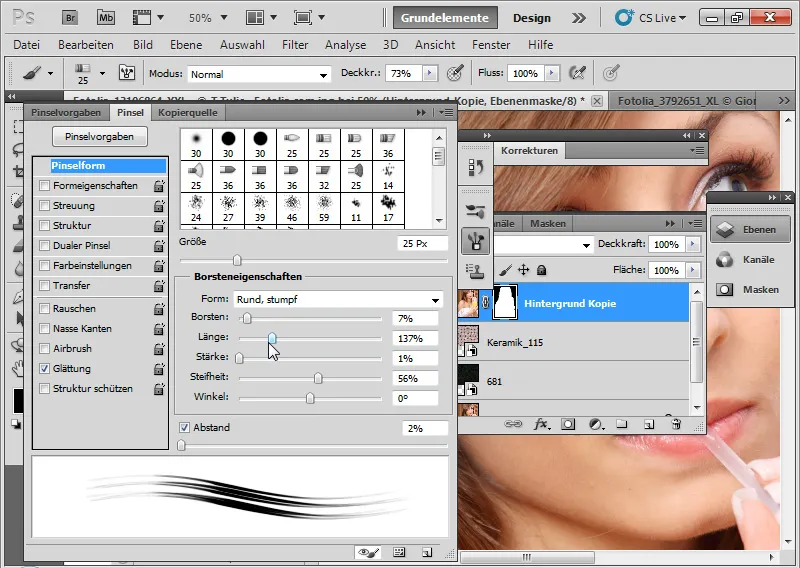
The Enhance Edge dialog cannot correctly isolate the hair from the background. There are color irregularities. Using the Enhance Radius tool (E) has a rather counterproductive effect and intensifies the light areas of the blinds from the original background. Admittedly: The other common cropping methods also fail with this example image. The only trick here is to copy and draw in hair. Since CS5, there are new presets in the brush menu that simulate natural brush tips with bristle properties especially for such applications. There are a few brush tips that are perfectly suitable for drawing hair. Hair edges can be simulated very well in a new layer with the color tone from the existing hair at low opacity.