Microsoft Designer offers numerous features to make design projects more efficient and effective. A central element that can help with this are the so-called Quick Commands, which make it easier for you to access various tools and functions. In this guide, you will learn how to optimally use these Quick Commands to speed up your design production and unleash your creativity.
Key Insights
- The Quick Commands allow quick access to important functions in Microsoft Designer.
- You can easily replace, crop, and adjust images to achieve the desired results.
- Efficient work with keyboard shortcuts can significantly increase your productivity.
Step-by-Step Guide
Step 1: Get to Know Quick Commands
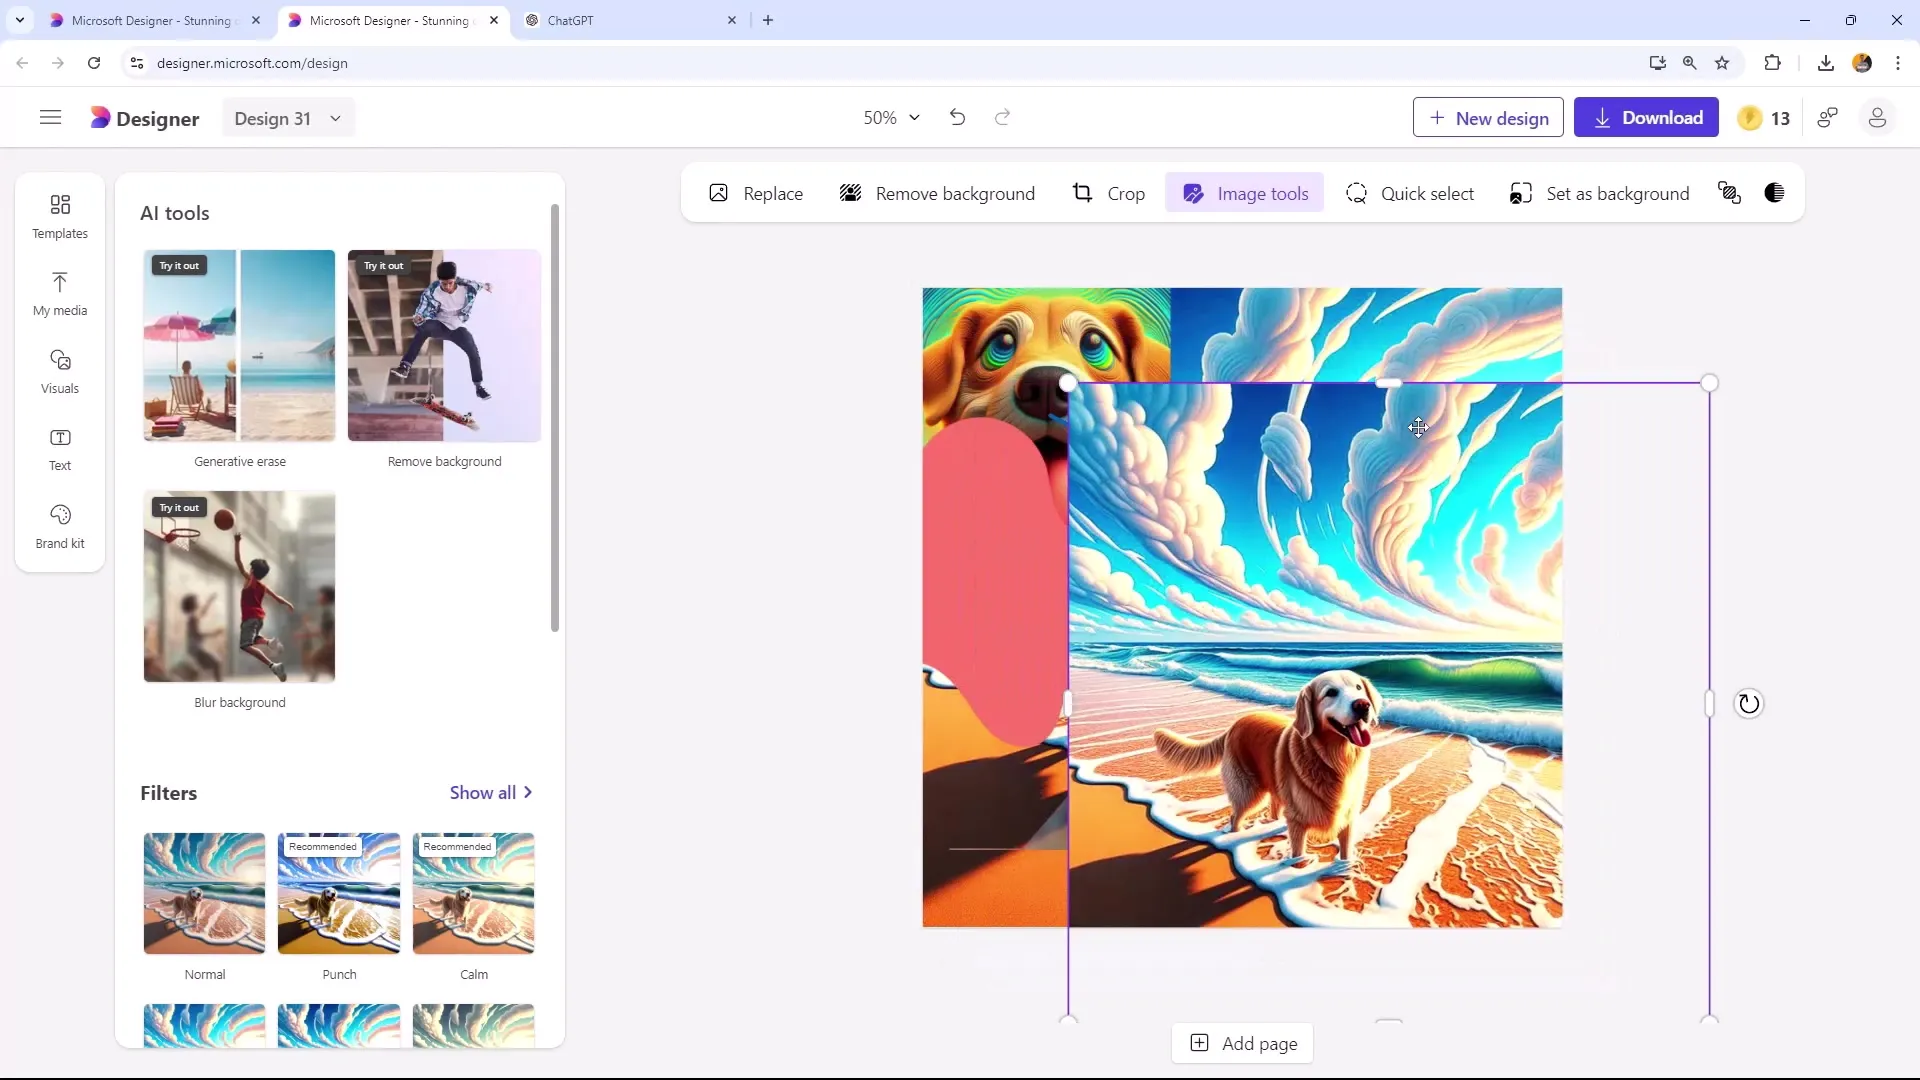
The first step to working efficiently with Microsoft Designer is to get to know the Quick Commands, also called Quickbar. When interacting with an image, various options such as "Image Tools" appear at the top. You will learn the basic functions, including filters and AI tools.
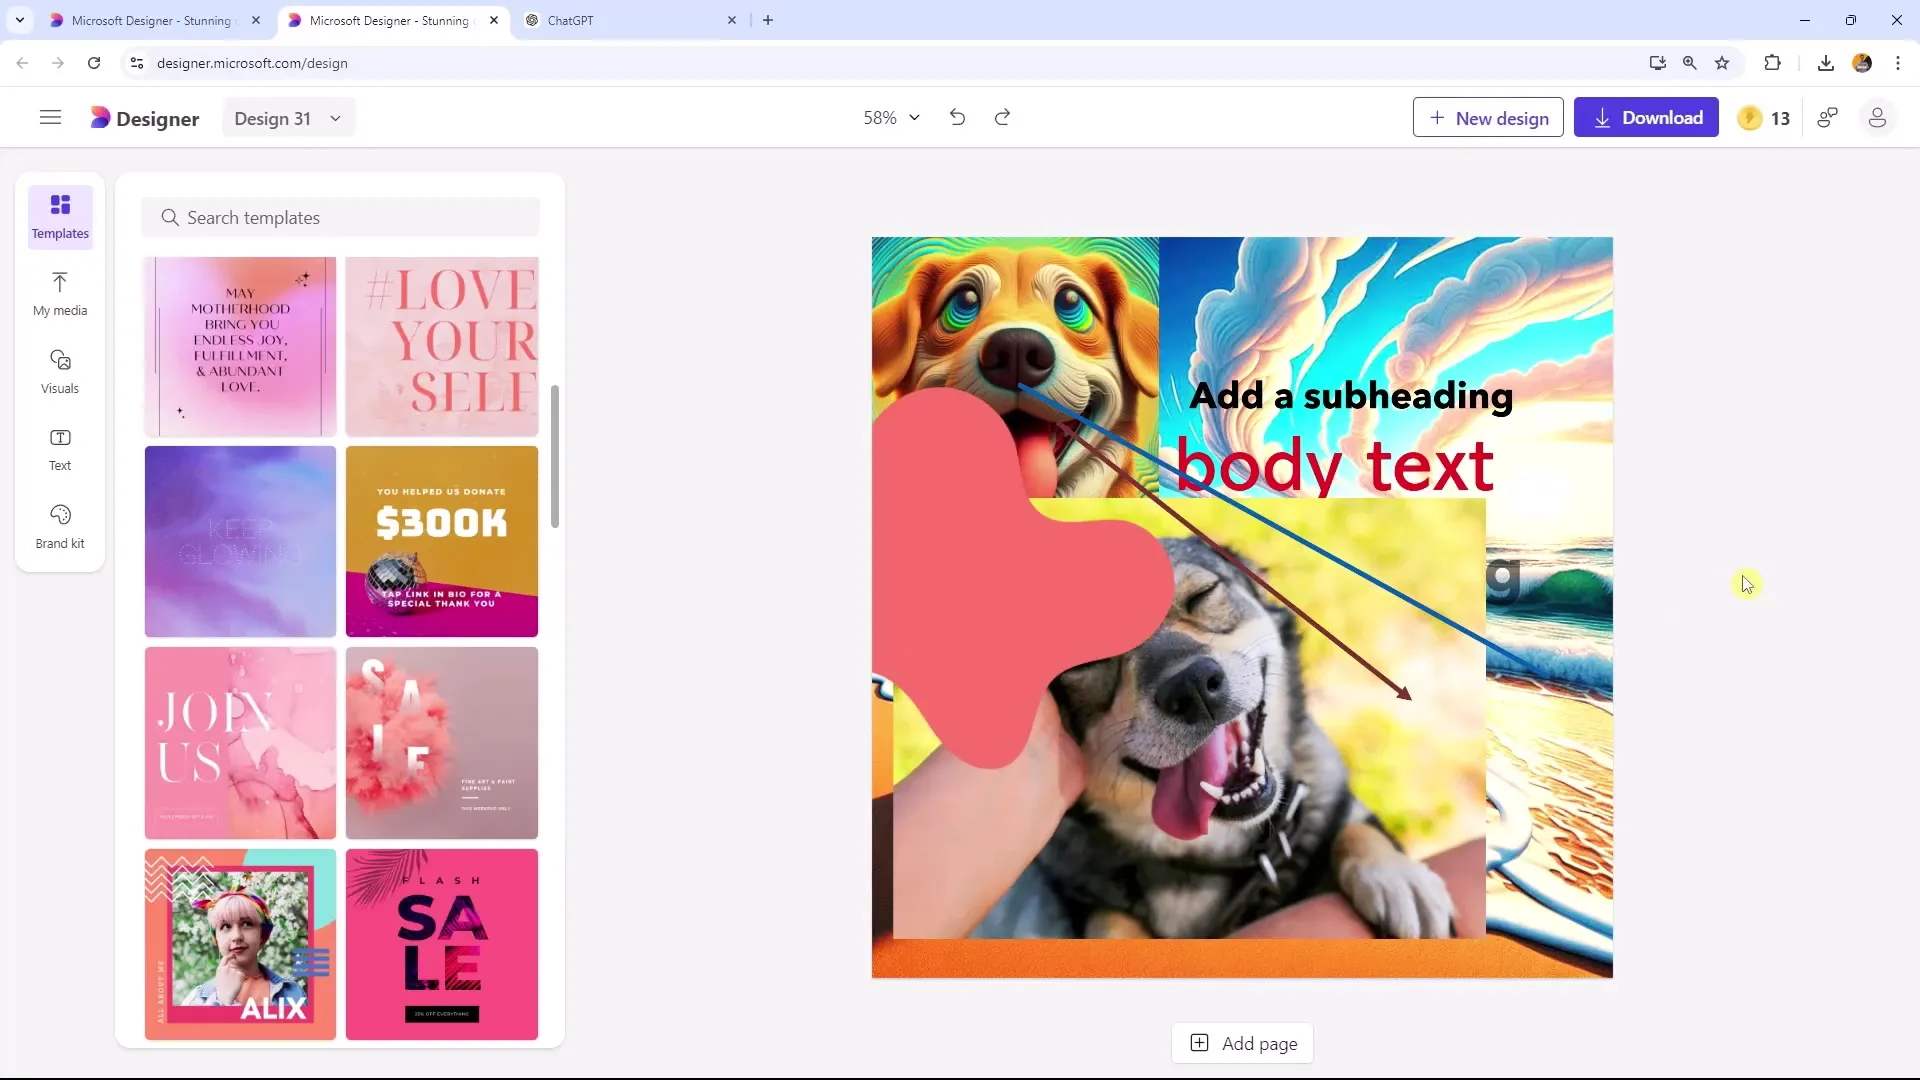
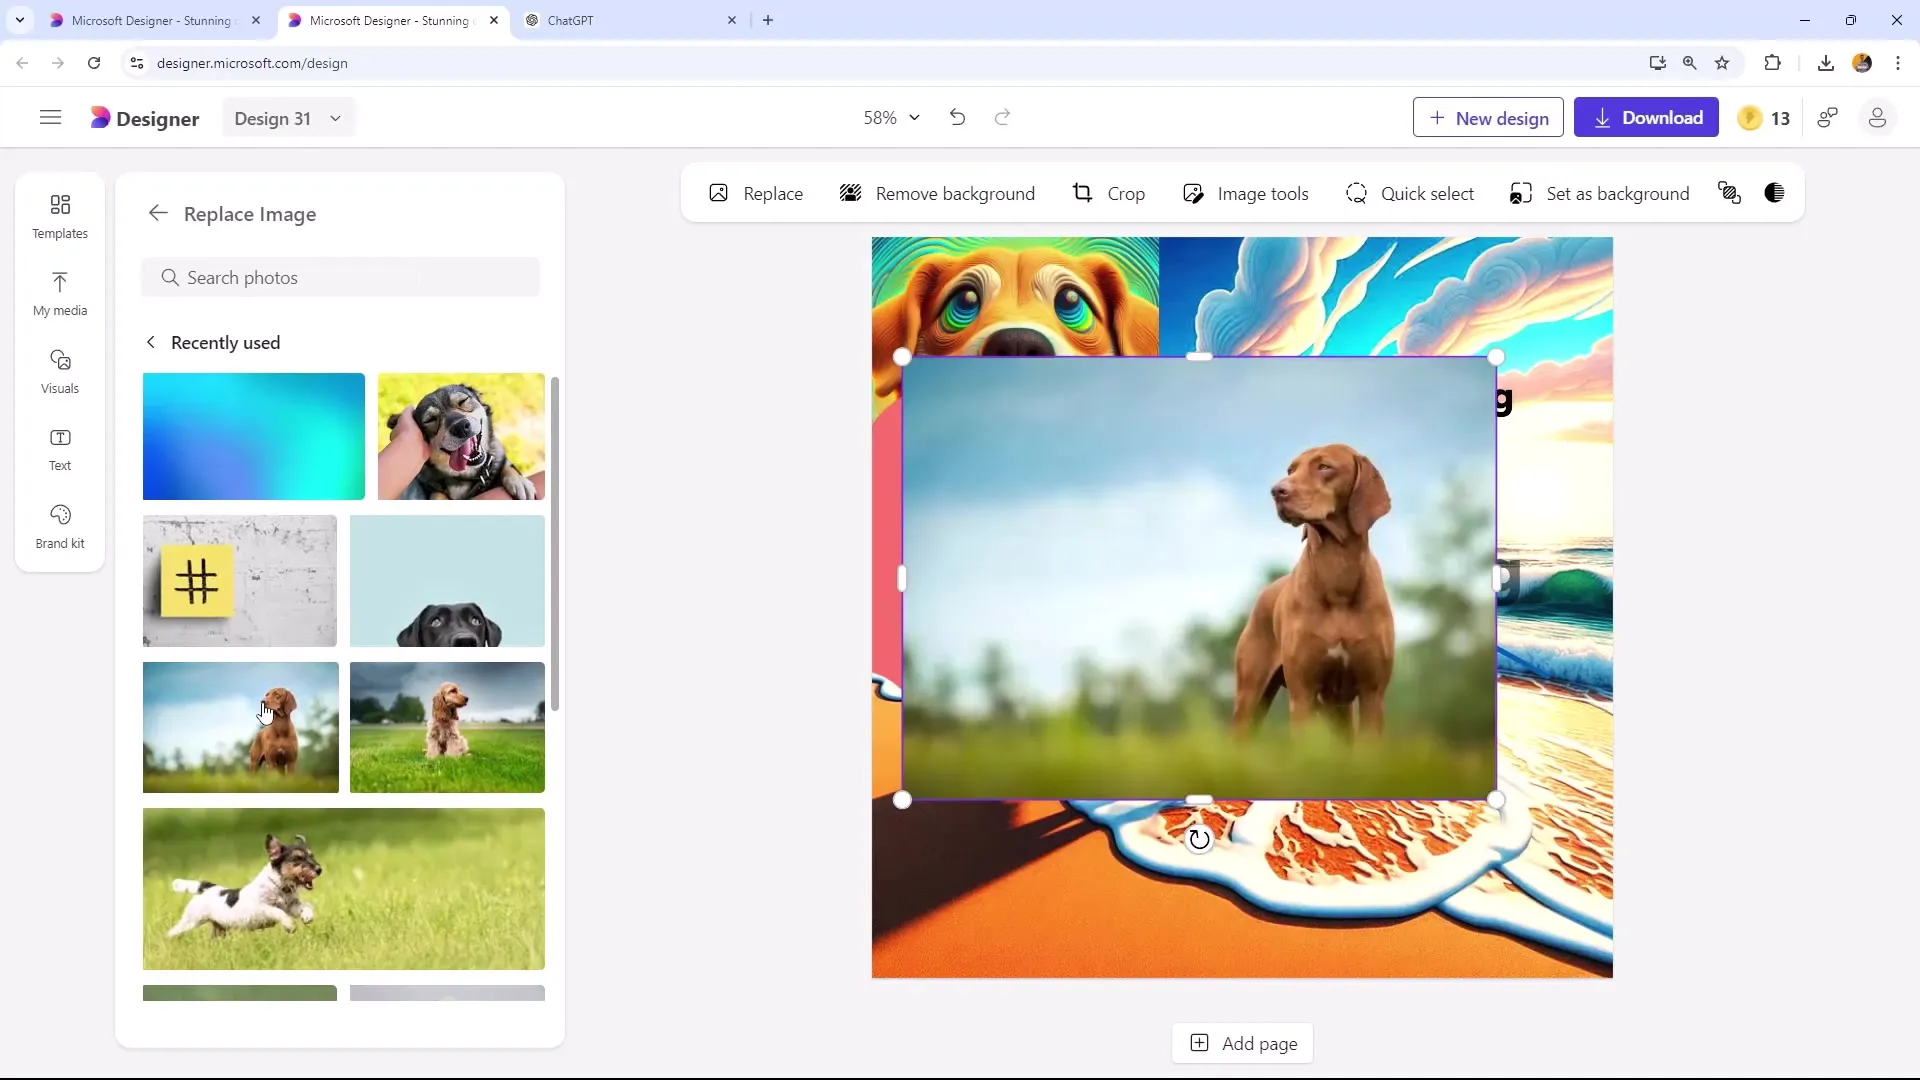
Step 2: Replace Image
If you want to replace an image in your design, select the desired image. You have the option to upload your own image or choose from the gallery. For example, if you want to add a picture of a dog, the size will remain the same even if you replace the image.
Step 3: Remove Background
A remarkable AI tool available to you is the "Remove Background" function. This allows you to remove the background of an image in no time, which is particularly helpful if you want to focus on the main object. The result is not always perfect, but often sufficient for quick editing.
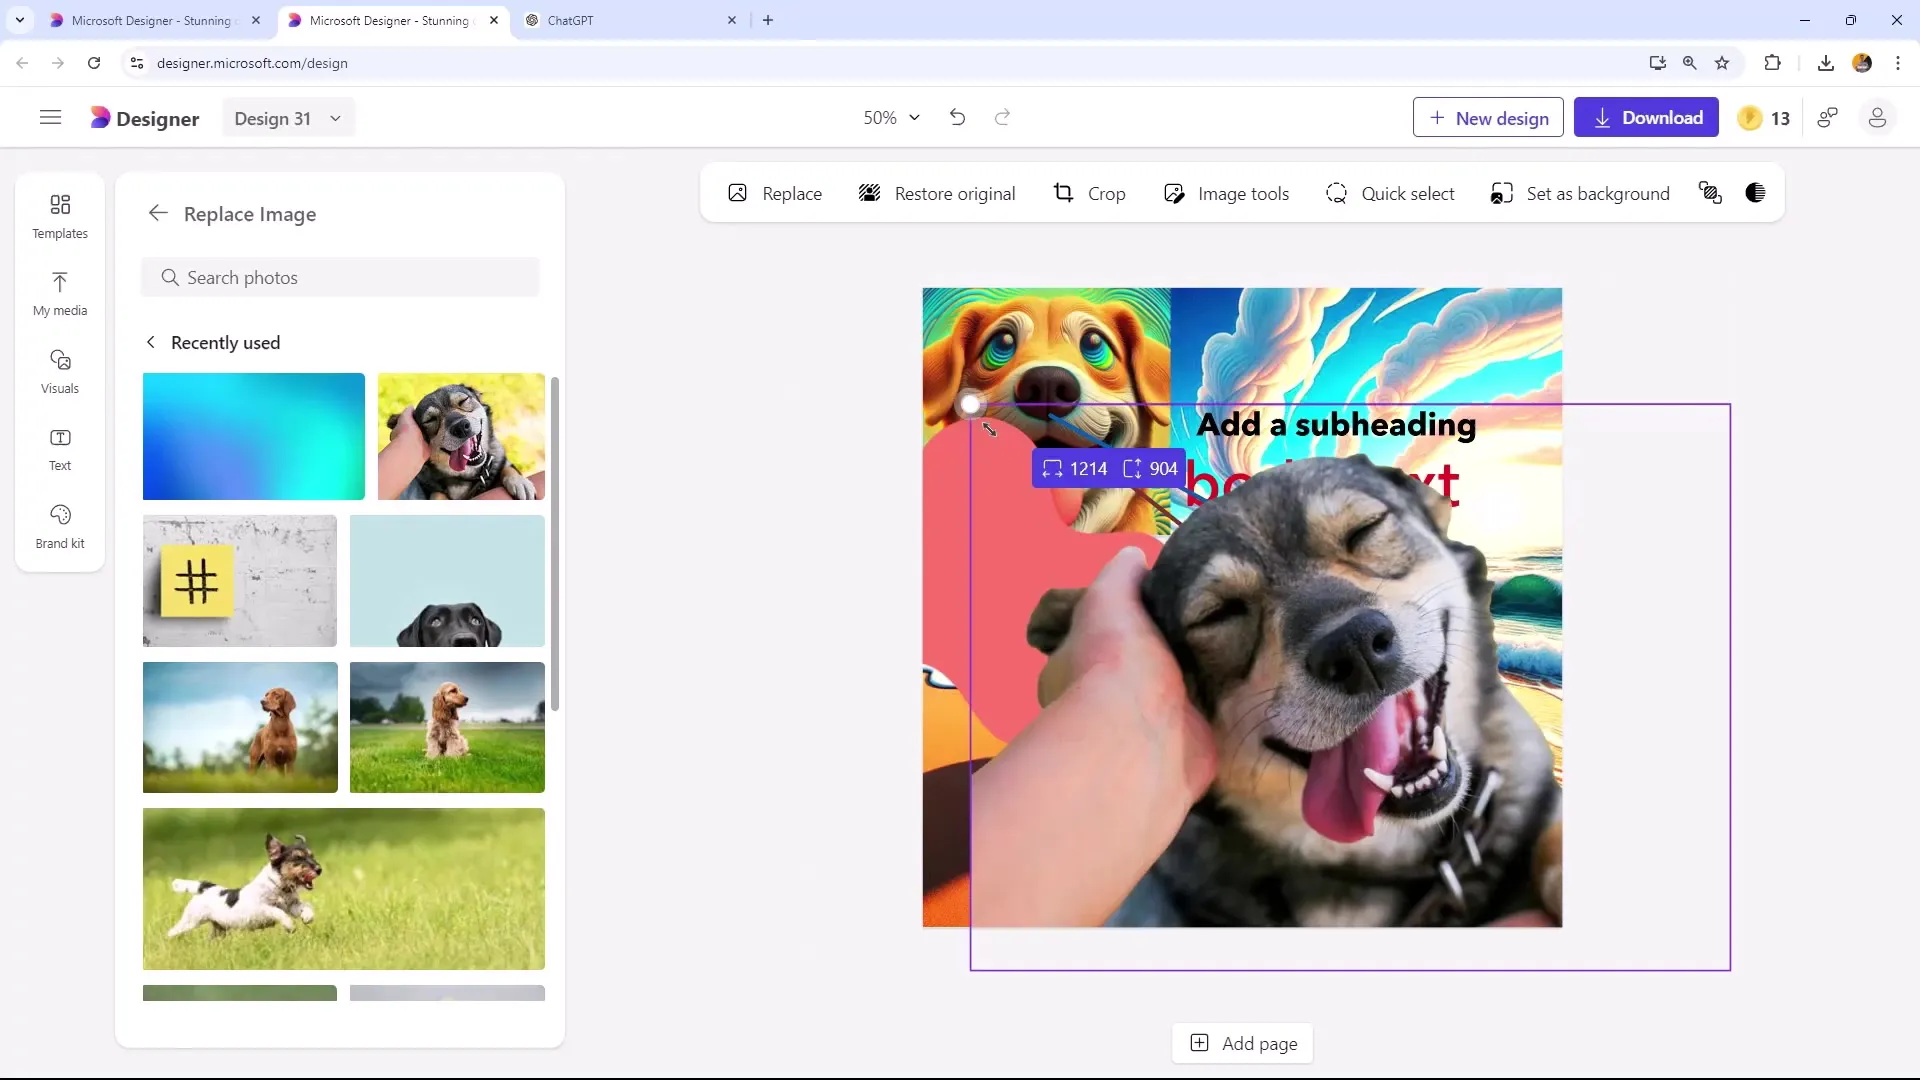
Step 4: Crop Images
Another useful function is cropping your image. If you only need the dog's face, you can adjust the image accordingly. This way, you get what you really need without unnecessary background.
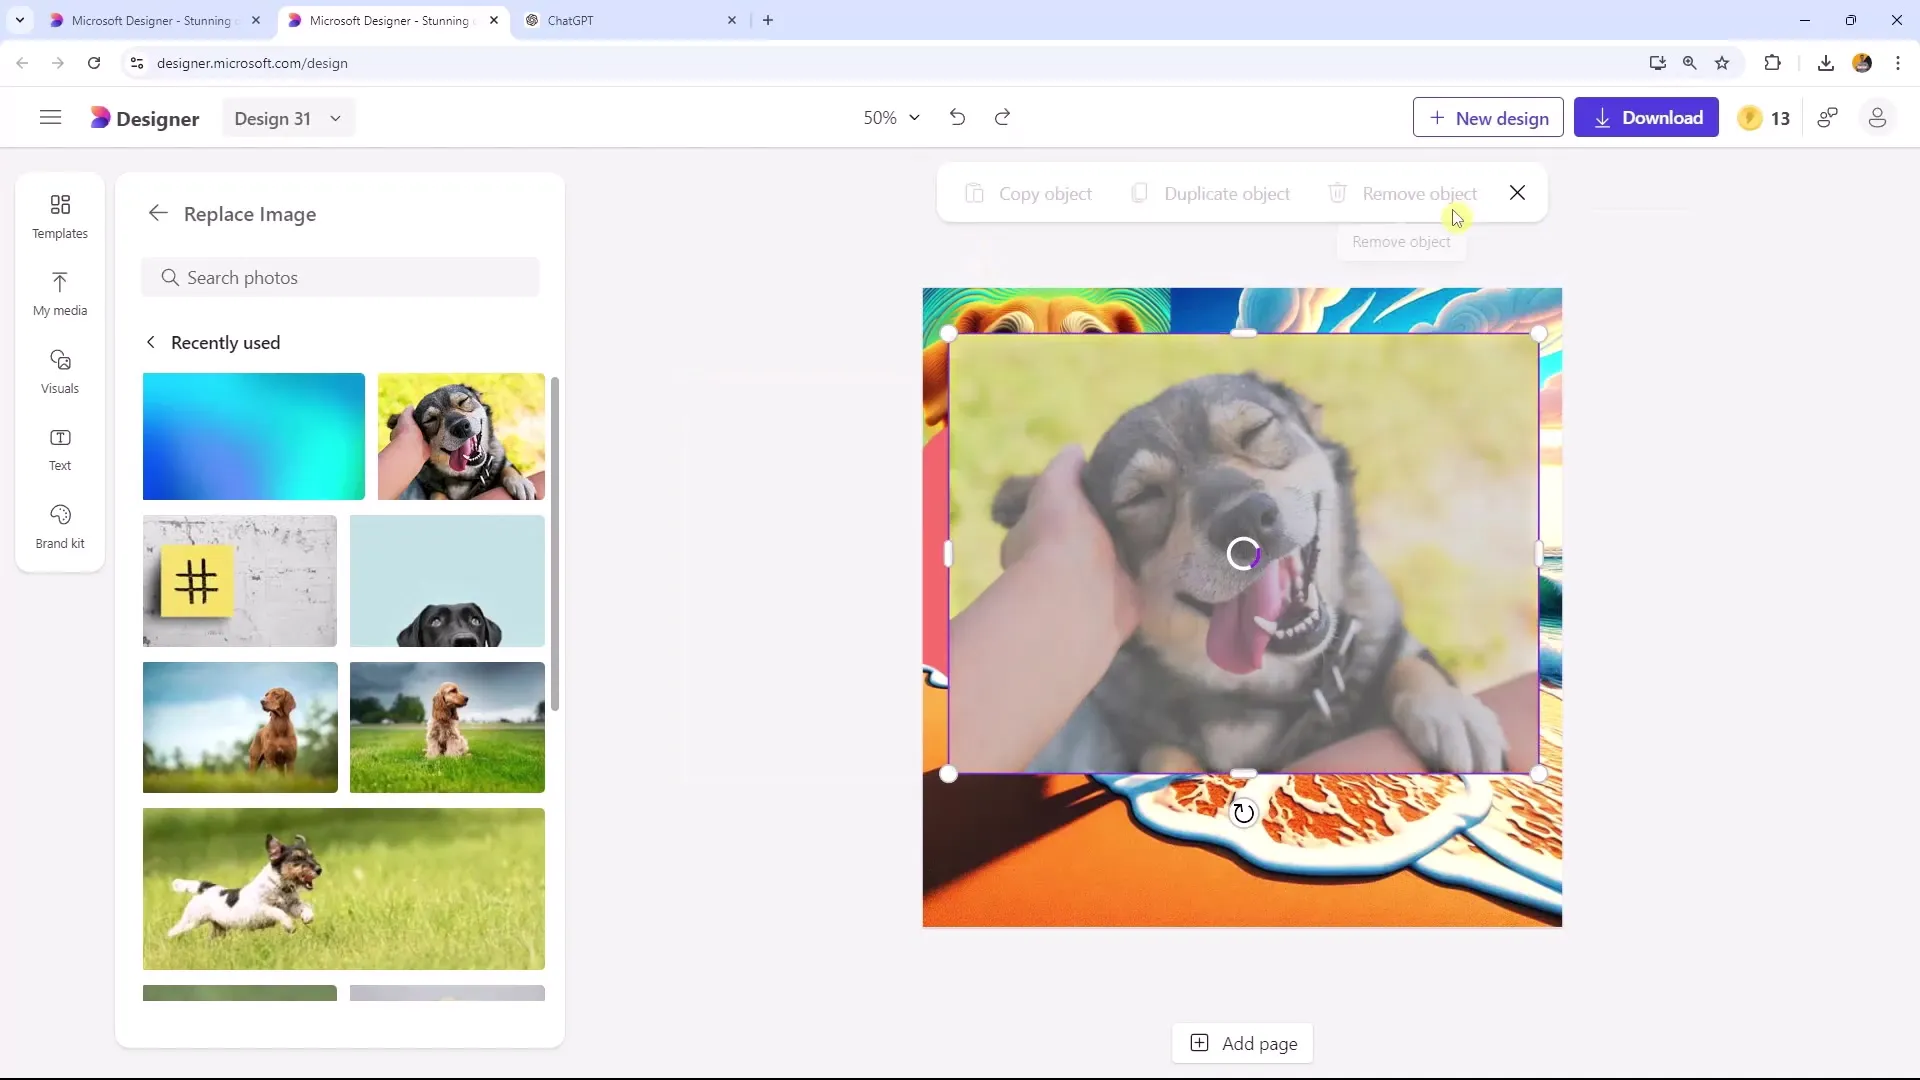
Step 5: Use Quick Selection
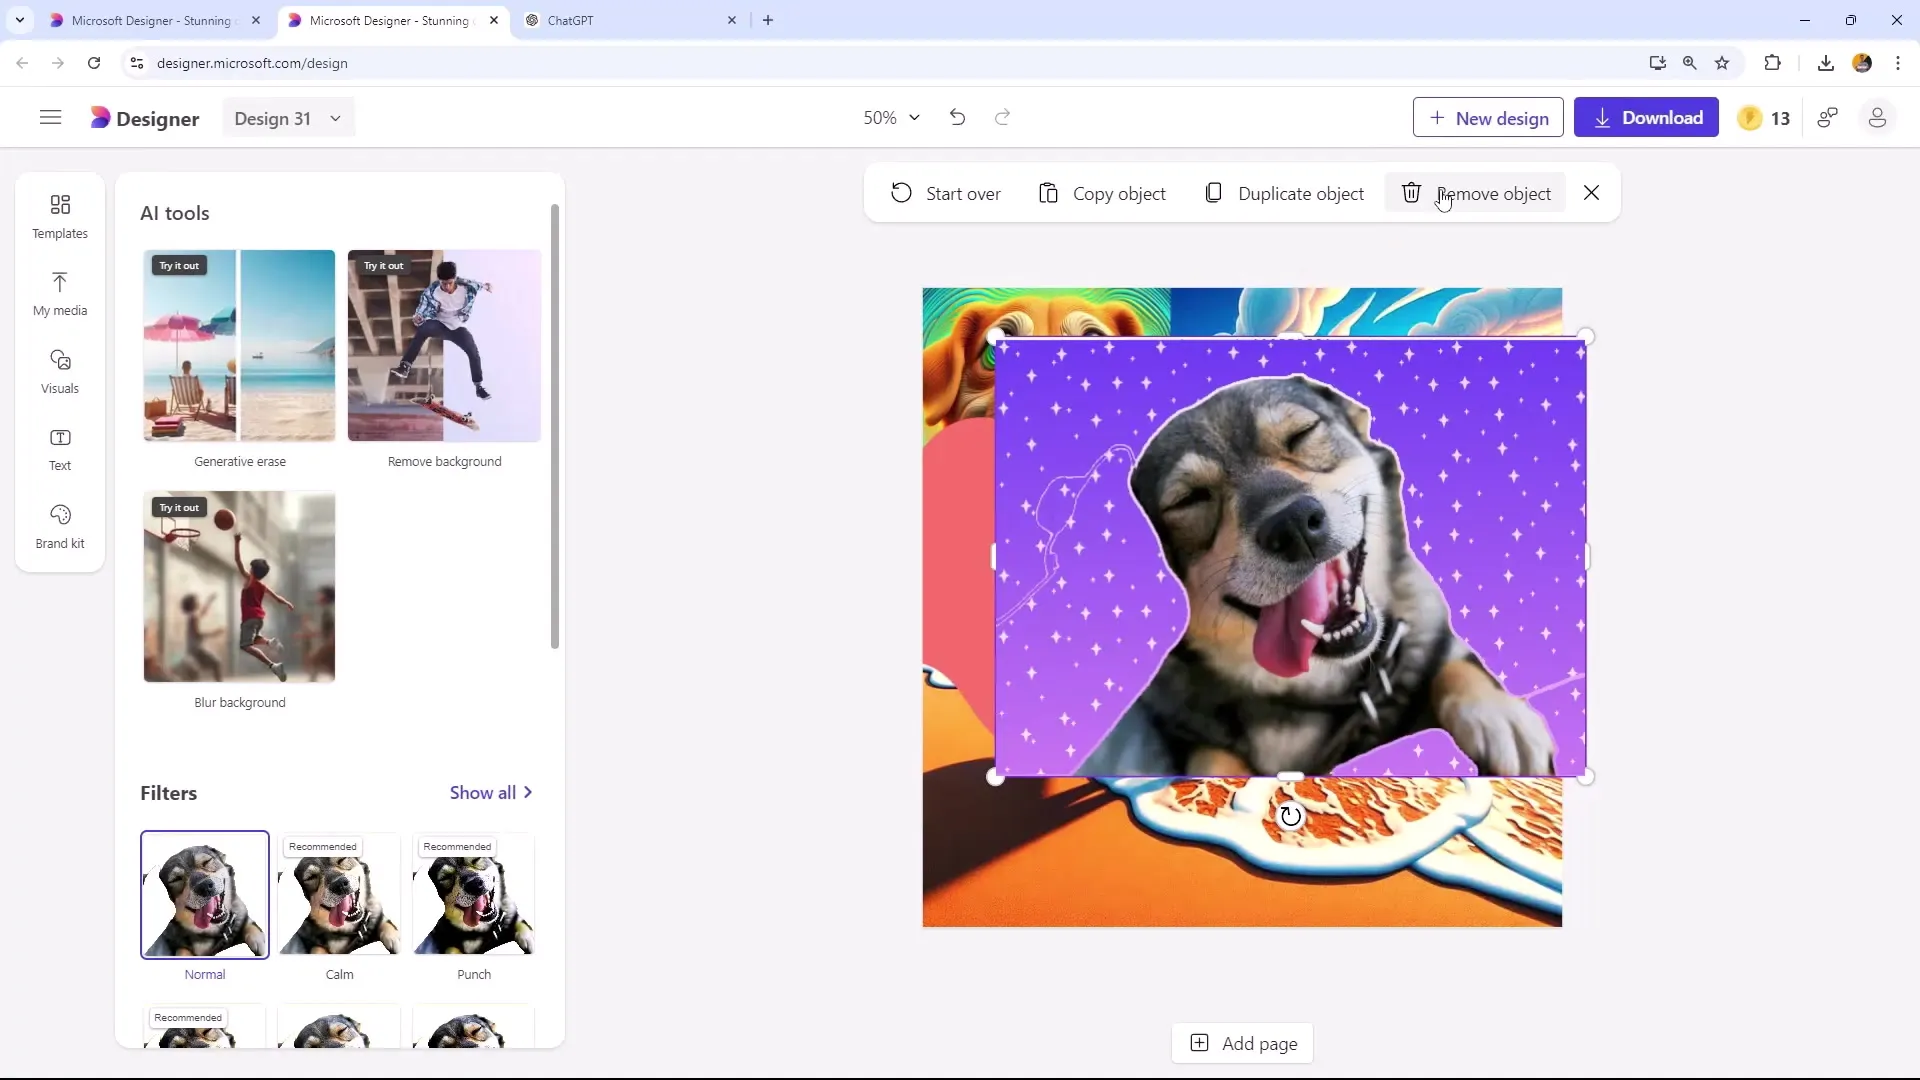
With the Quick Selection function, you can select and edit precise parts of an image. You can click on individual areas to delete, duplicate, or copy them. This gives you better control over image editing.
Step 6: Use Images as Backgrounds
You can use an image as a background by choosing to send the image backwards. This will make the dog, for example, the background image. Additionally, you can adjust the position of the image to display it behind or in front of other elements.
Step 7: Adjust Layers
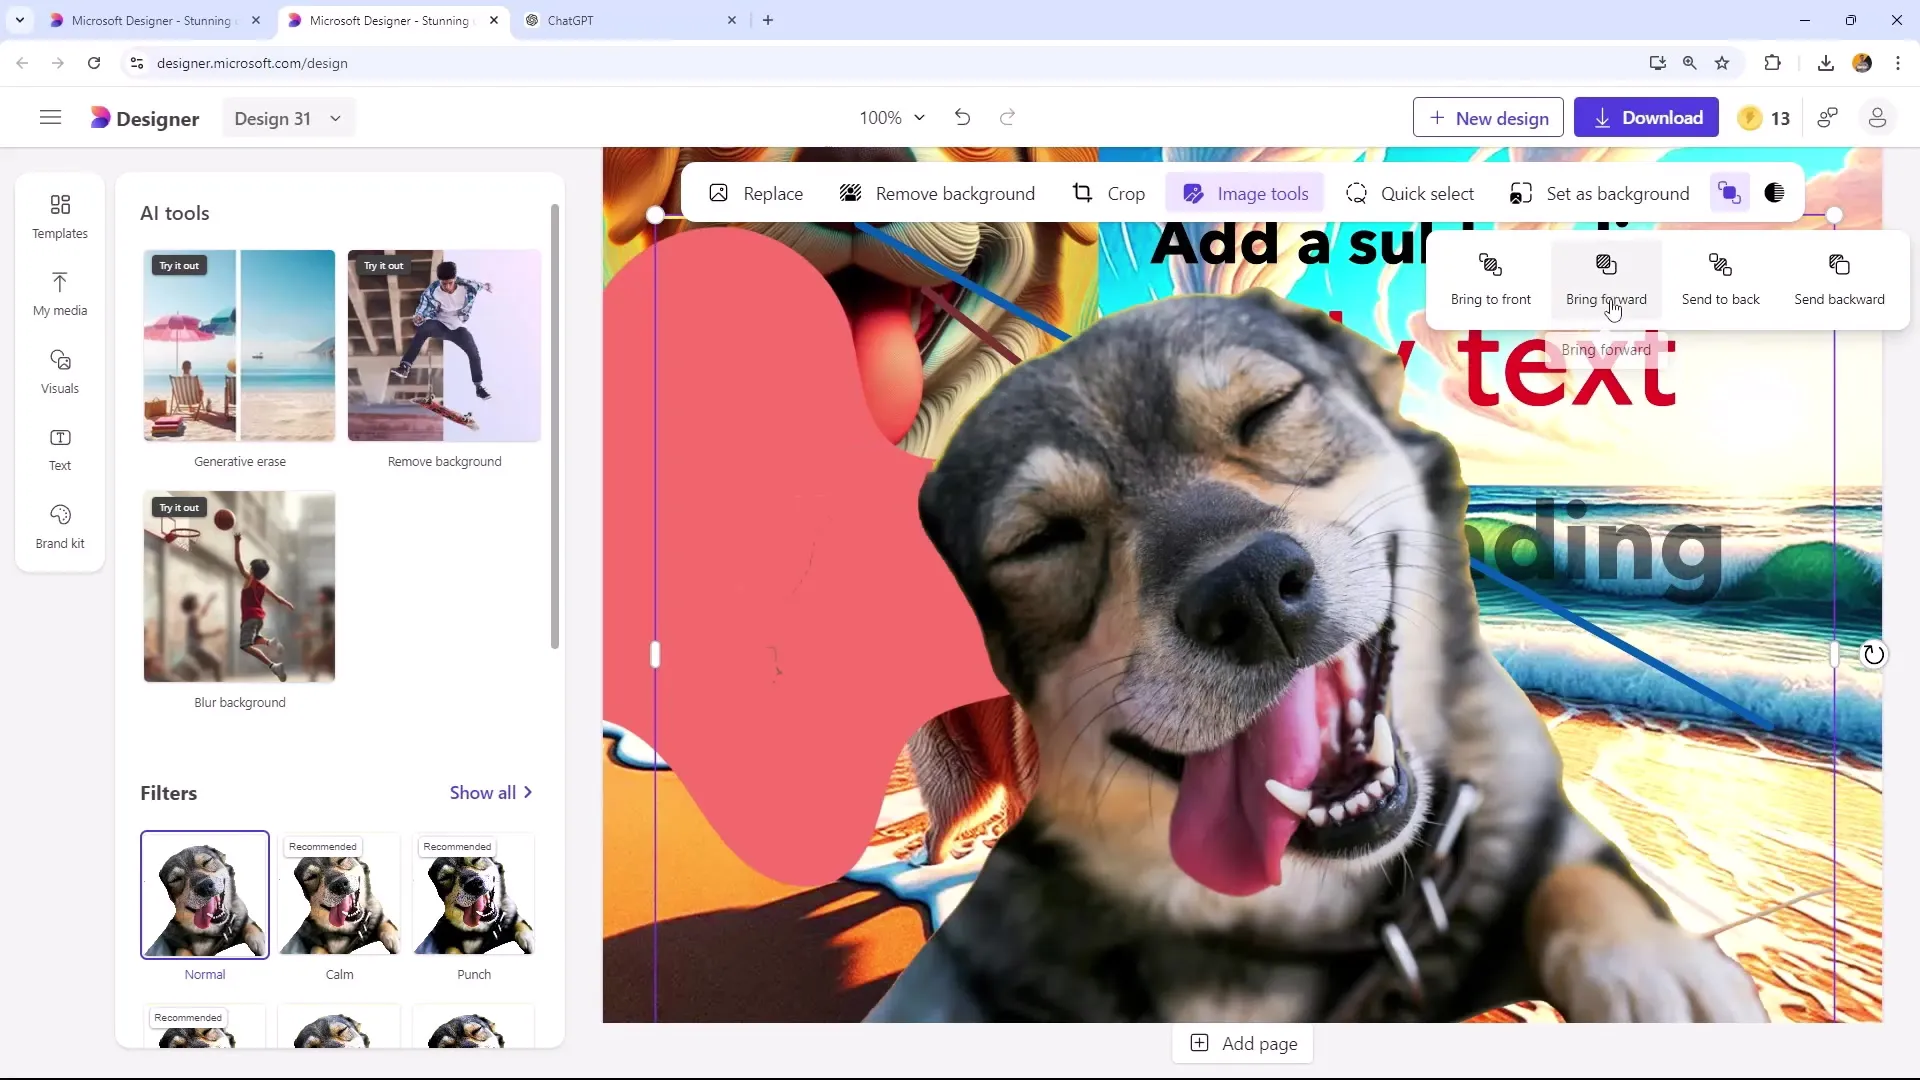
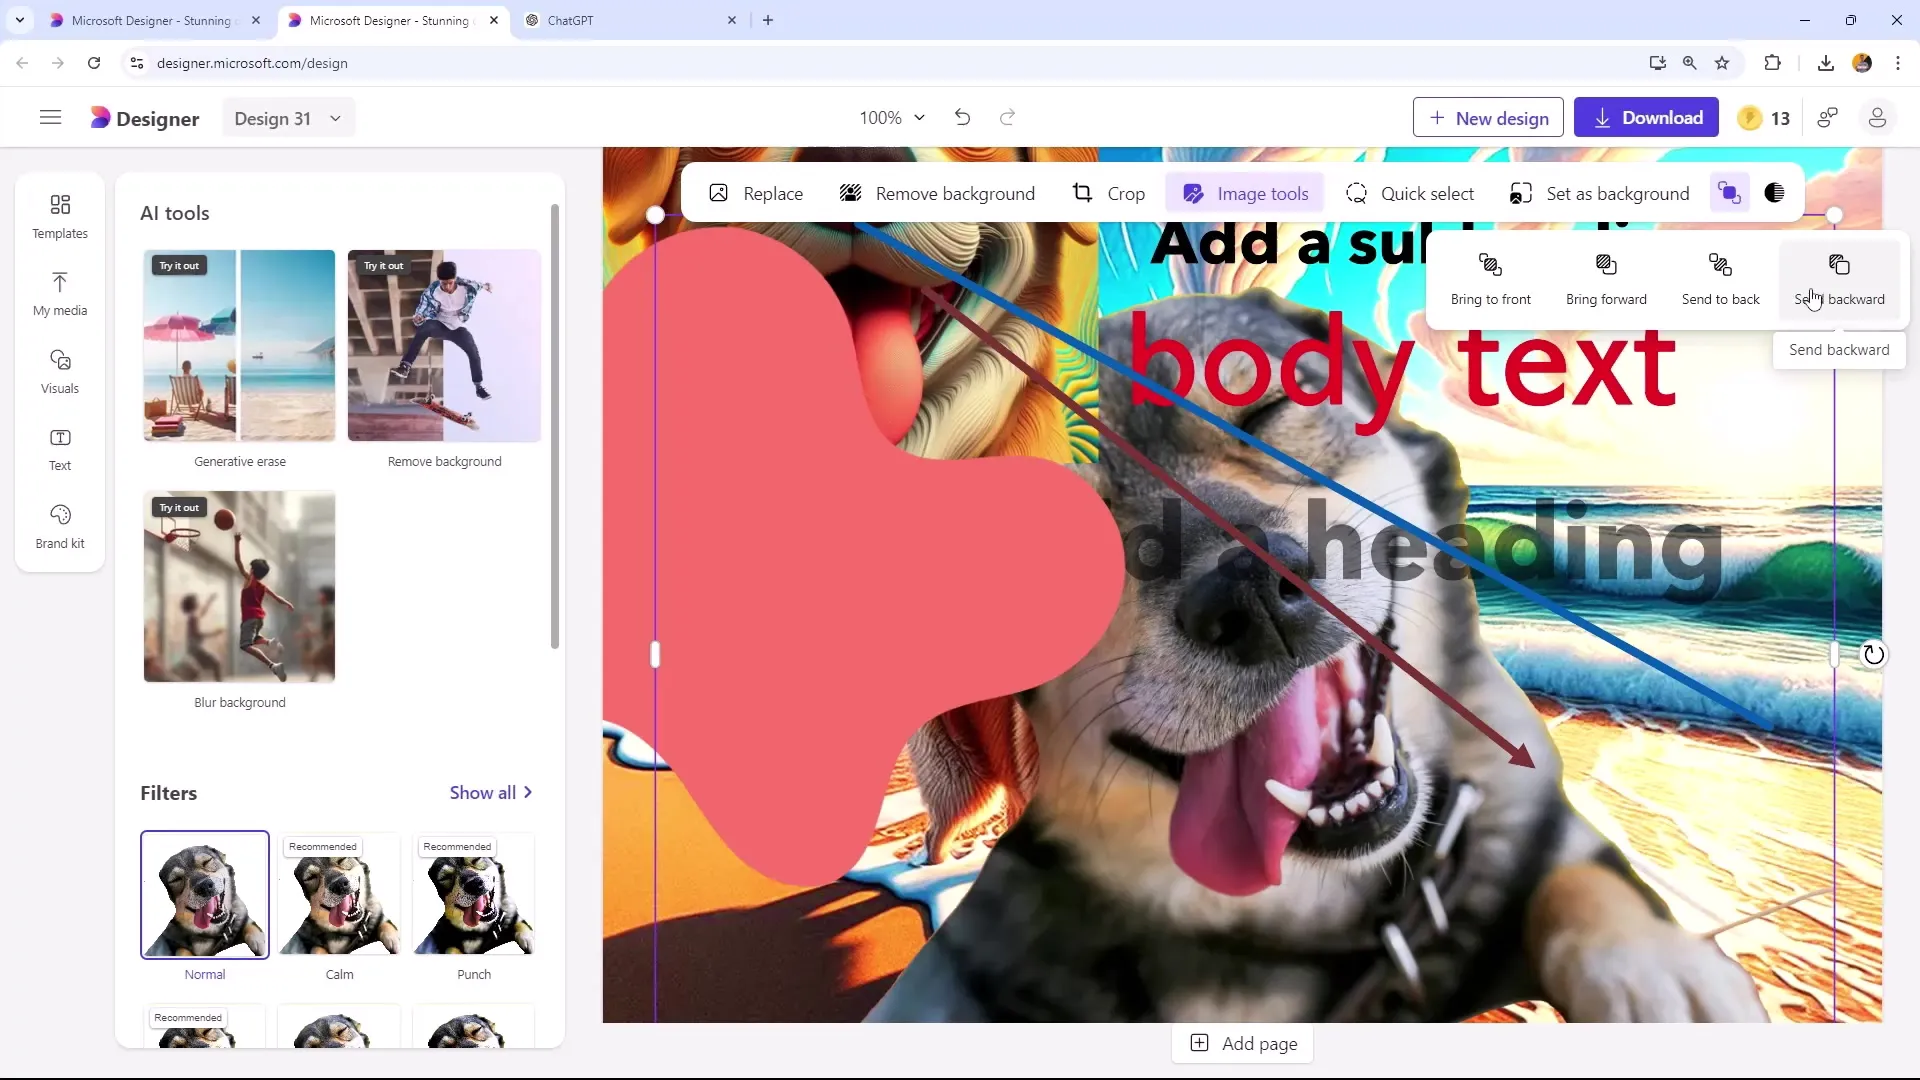
Using the command "Bring to Front" or "Send to Back," you can adjust the layers of your images. Make sure the objects appear in the desired order to create a harmonious design. Furthermore, with "Send Backwards," you can work deeper into the layers.
Step 8: Adjust Opacity
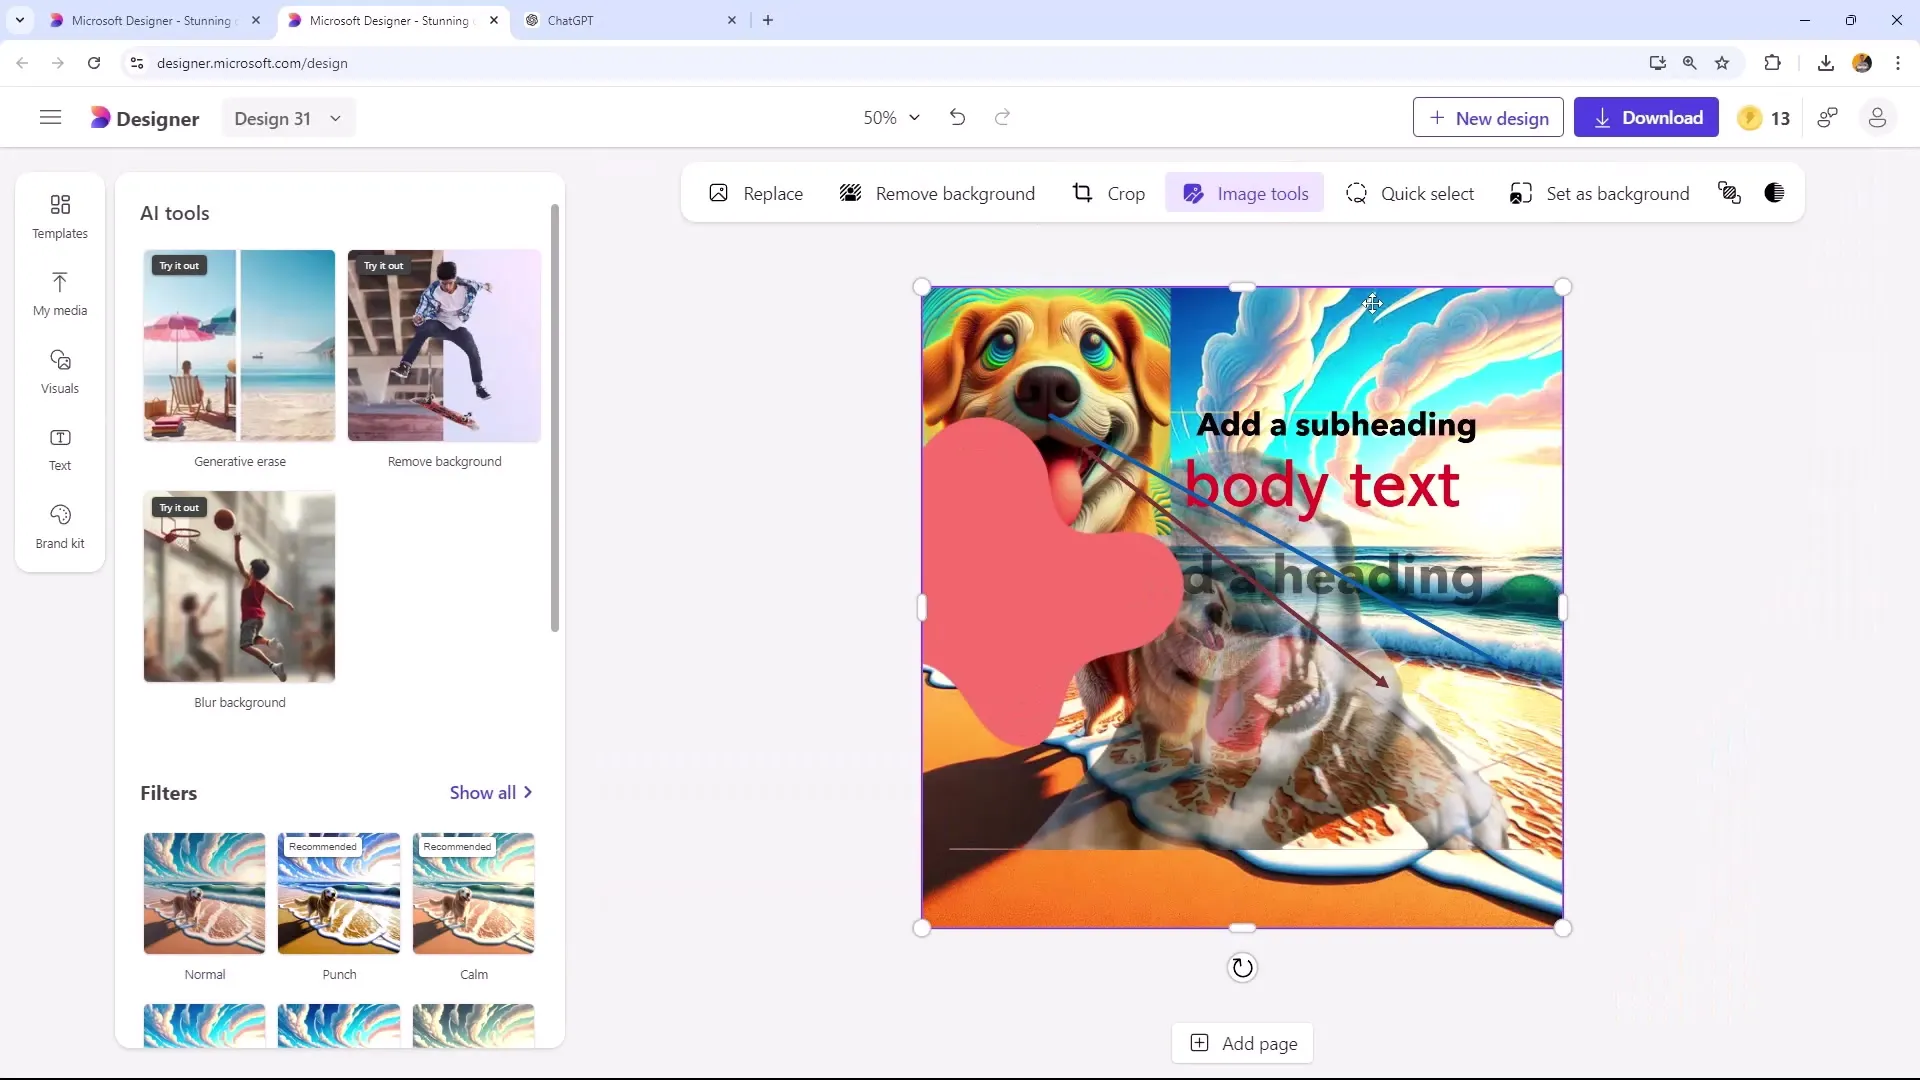
Adjusting the opacity of an image allows you to make use of more creative freedom. For example, setting the visibility of an image to 60% makes it translucent and can create visual depth.
Step 9: Use Keyboard Shortcuts
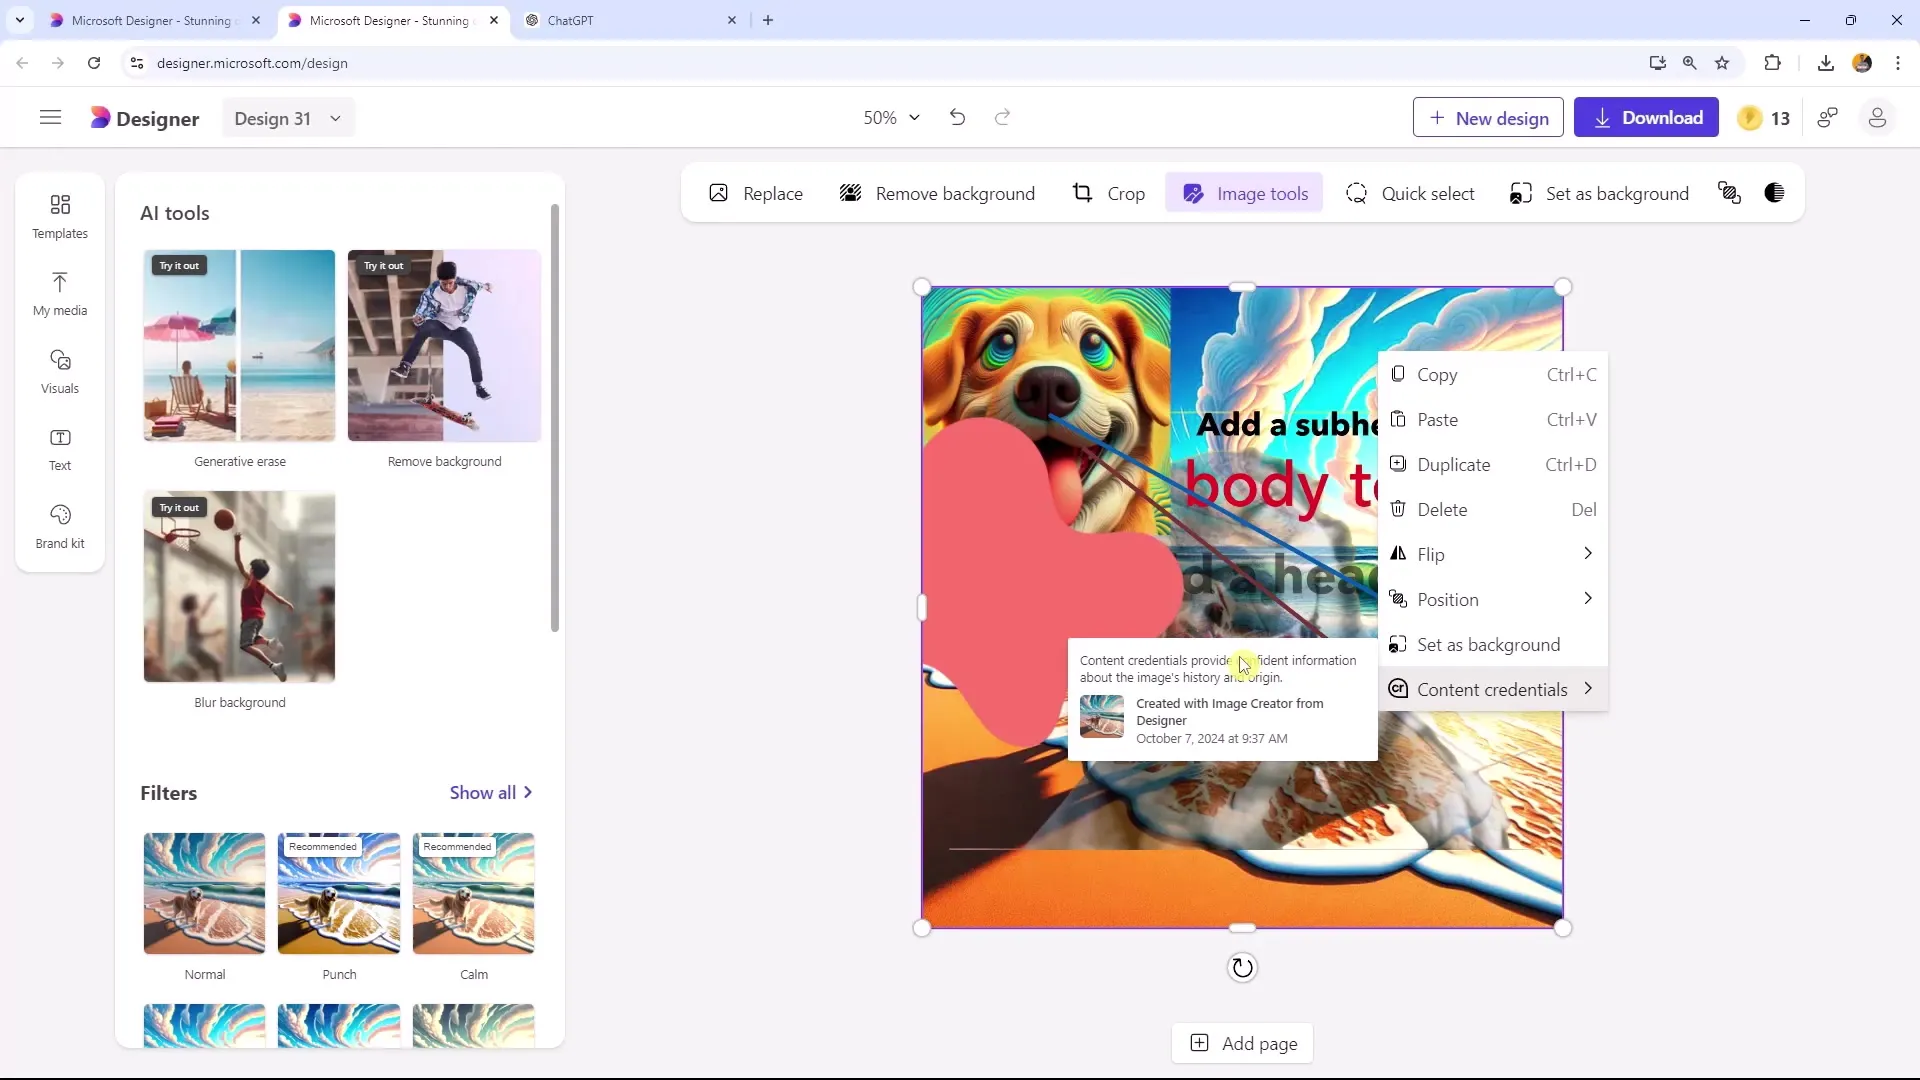
Microsoft Designer supports a variety of keyboard shortcuts that help you work even faster and more efficiently. You can copy images with "Ctrl + C" and paste them with "Ctrl + V". Duplication can be done with "Ctrl + D". Deleting is also easy with the "Delete" key.
Step 10: View information about content
When editing an image, you can also retrieve information about the content, such as the creation date. This way, you always know when the image was created and with which tool it was created. This creates transparency and copyright protection in your designs.
Summary
In this tutorial, you have learned how to make the most of the shortcuts in Microsoft Designer to speed up your design processes. The variety of options and tools available to you allows you to work creatively and achieve results faster. Use these techniques to improve your efficiency while working in Microsoft Designer.
