In this tutorial, you will learn how to add, edit, and customize text in Microsoft Designer for your designs. We will also cover various customization options for your images to make your designs look even more professional. When editing your images and texts, you can get creative and express your personal style.
Key Takeaways
- You can easily customize images and texts in Microsoft Designer to create appealing designs.
- Various customization options are available to change size, background, colors, fonts, and more.
- Handling texts includes adding, changing font, size, alignment, and applying text effects.
Step-by-Step Guide
To start editing your design, open Microsoft Designer and load your project.
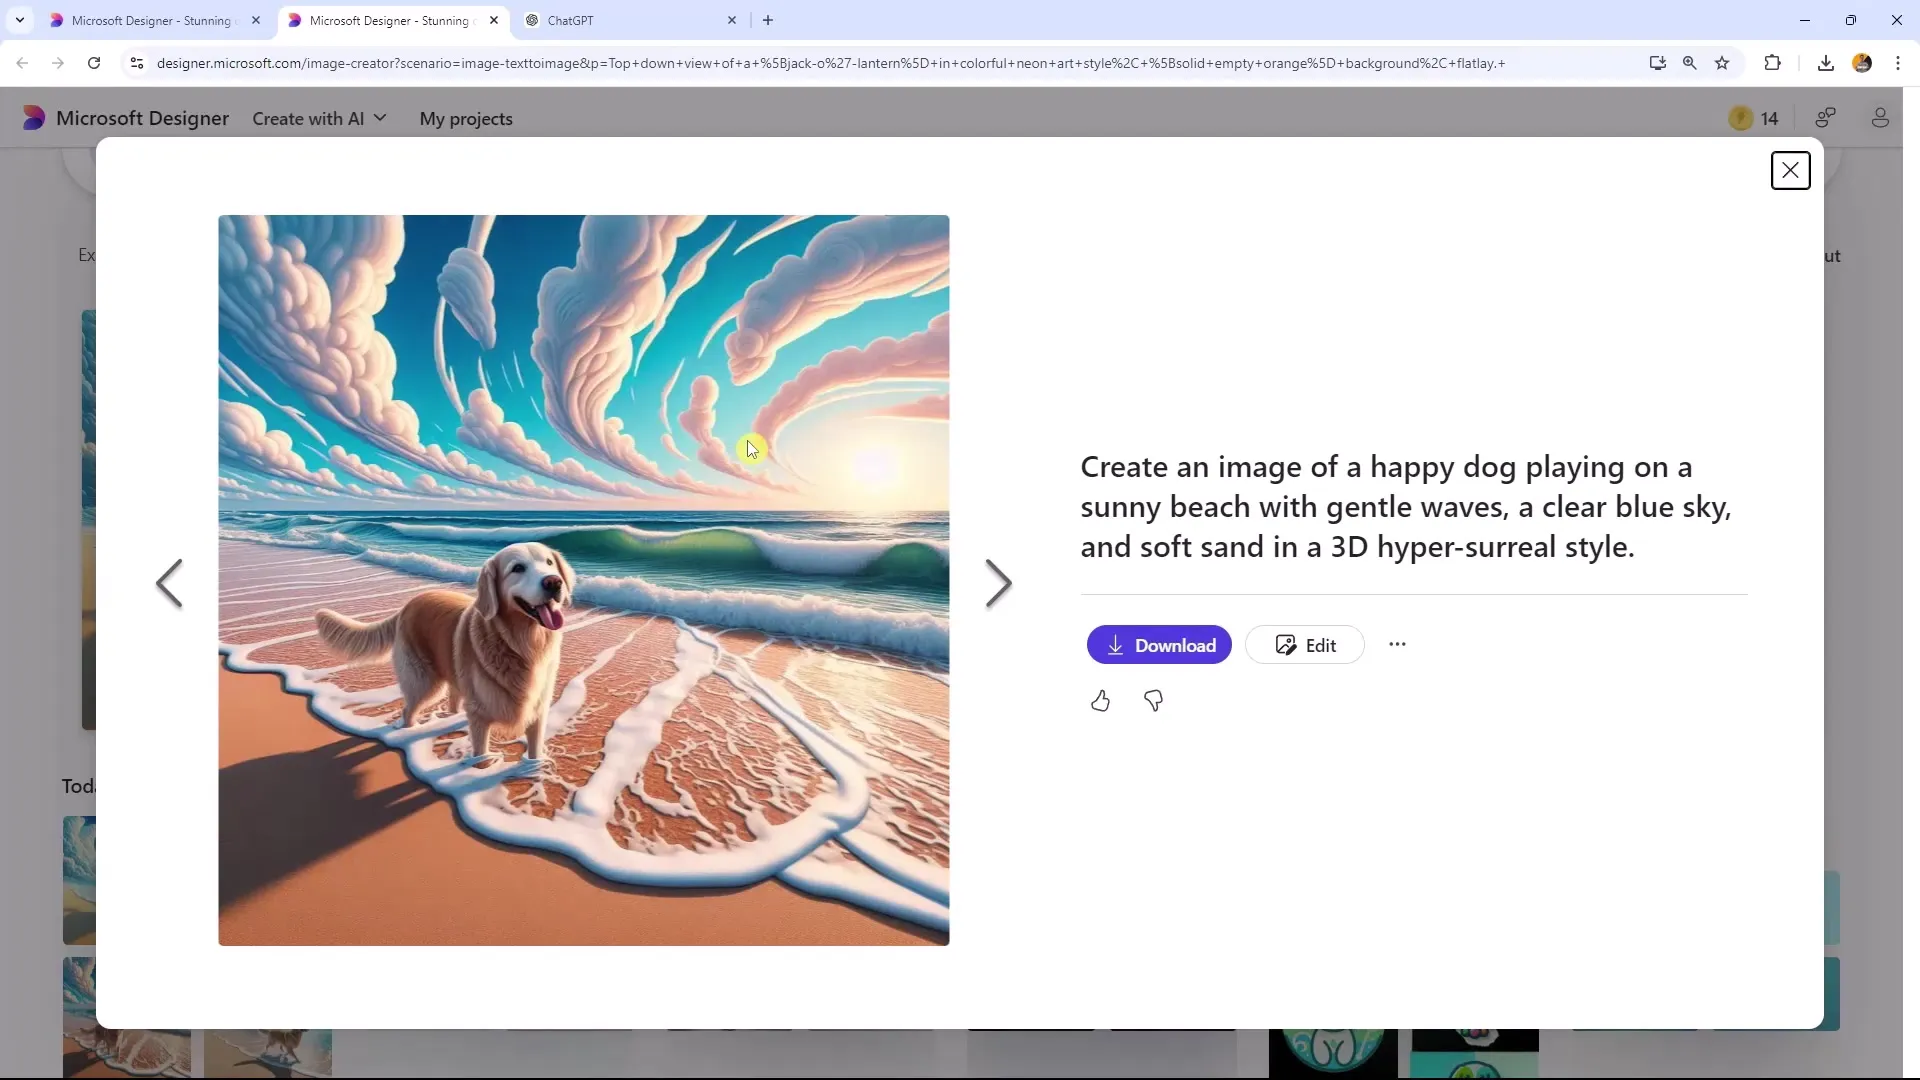
If you want to edit an image, select the desired image from your project and click on the "Edit" button.
If you have already closed the window or editing interface, you can go to "My Projects" and reselect the image under "Generated Images."
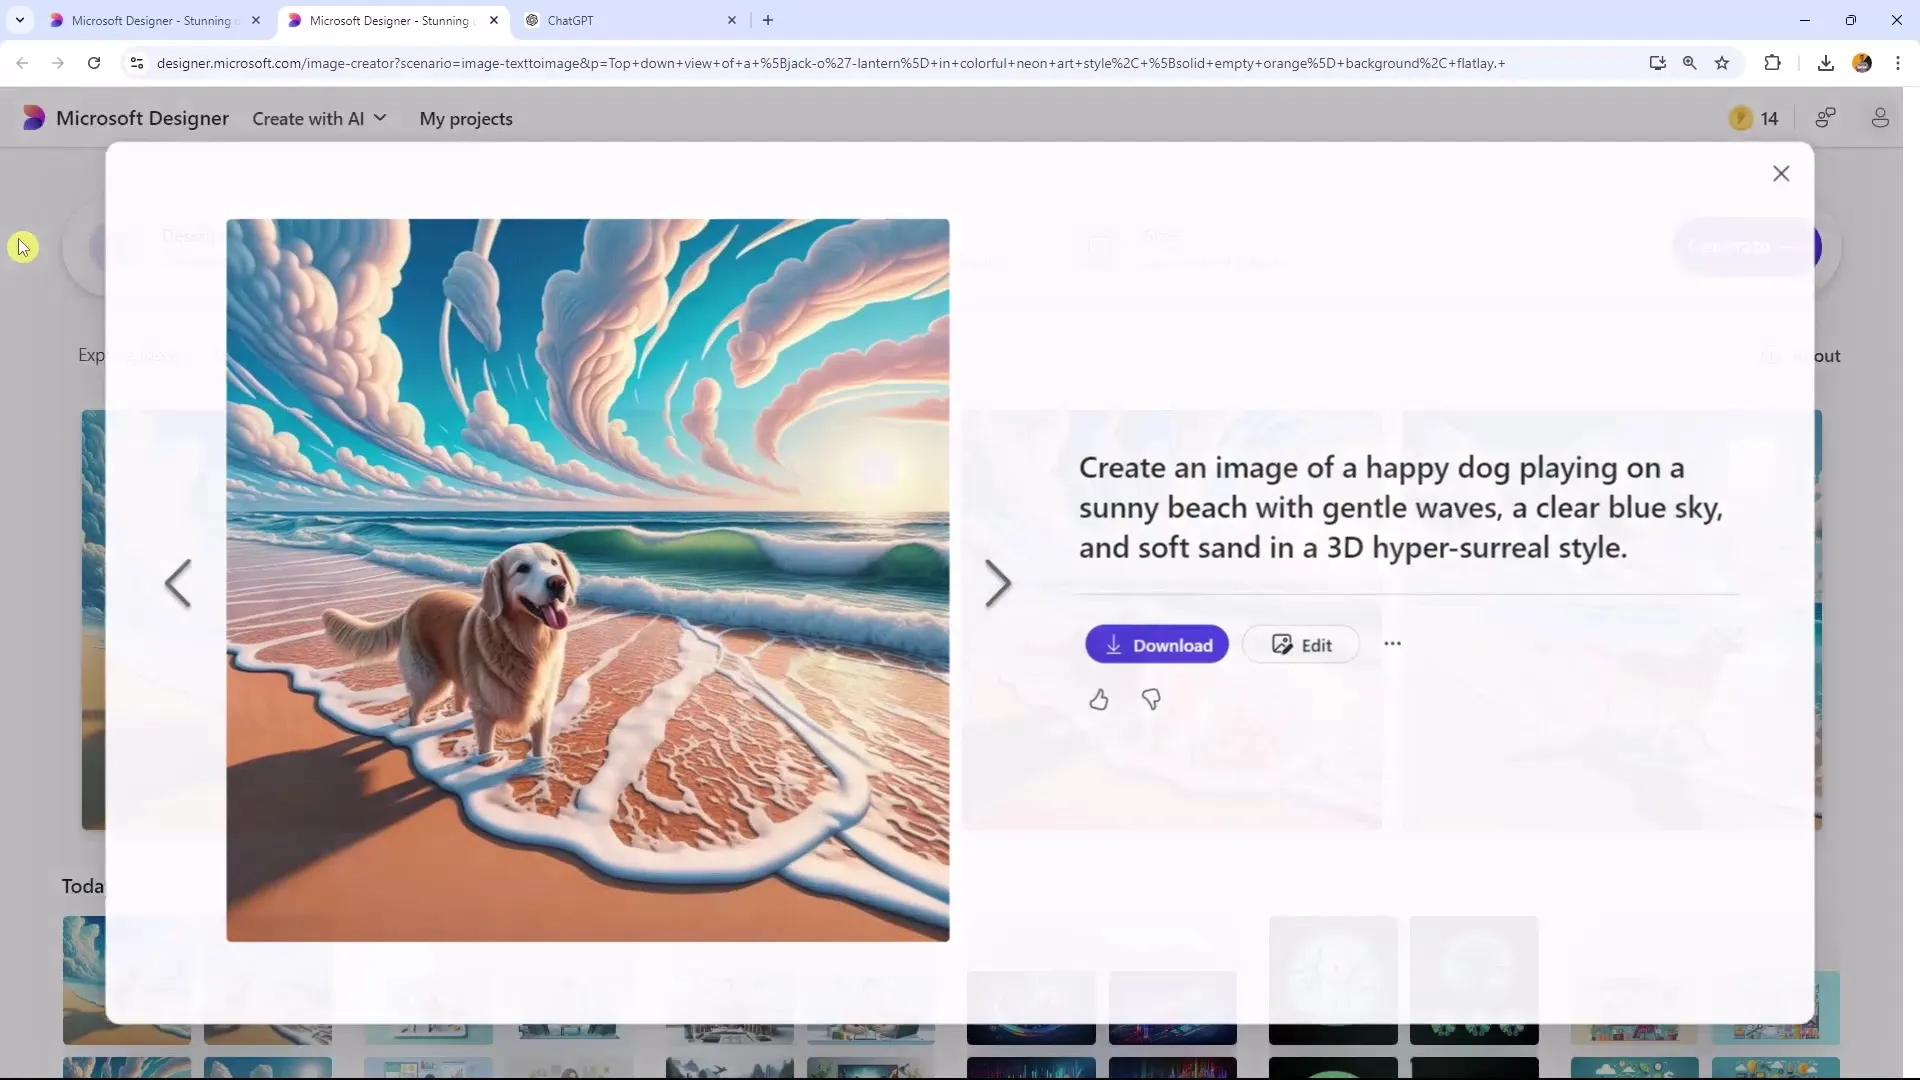
Now that you have selected your image, you can make various adjustments. In the "stable Tab," you will find various options to change the size of your image. In "Unsafe Design," you can select templates for different platforms.
Here, you can use sizes like "Instagram Square Post" or "Facebook Post." Alternatively, you have the option to create a custom size by entering something like 1920 x 1080 – which corresponds to the classic YouTube format.
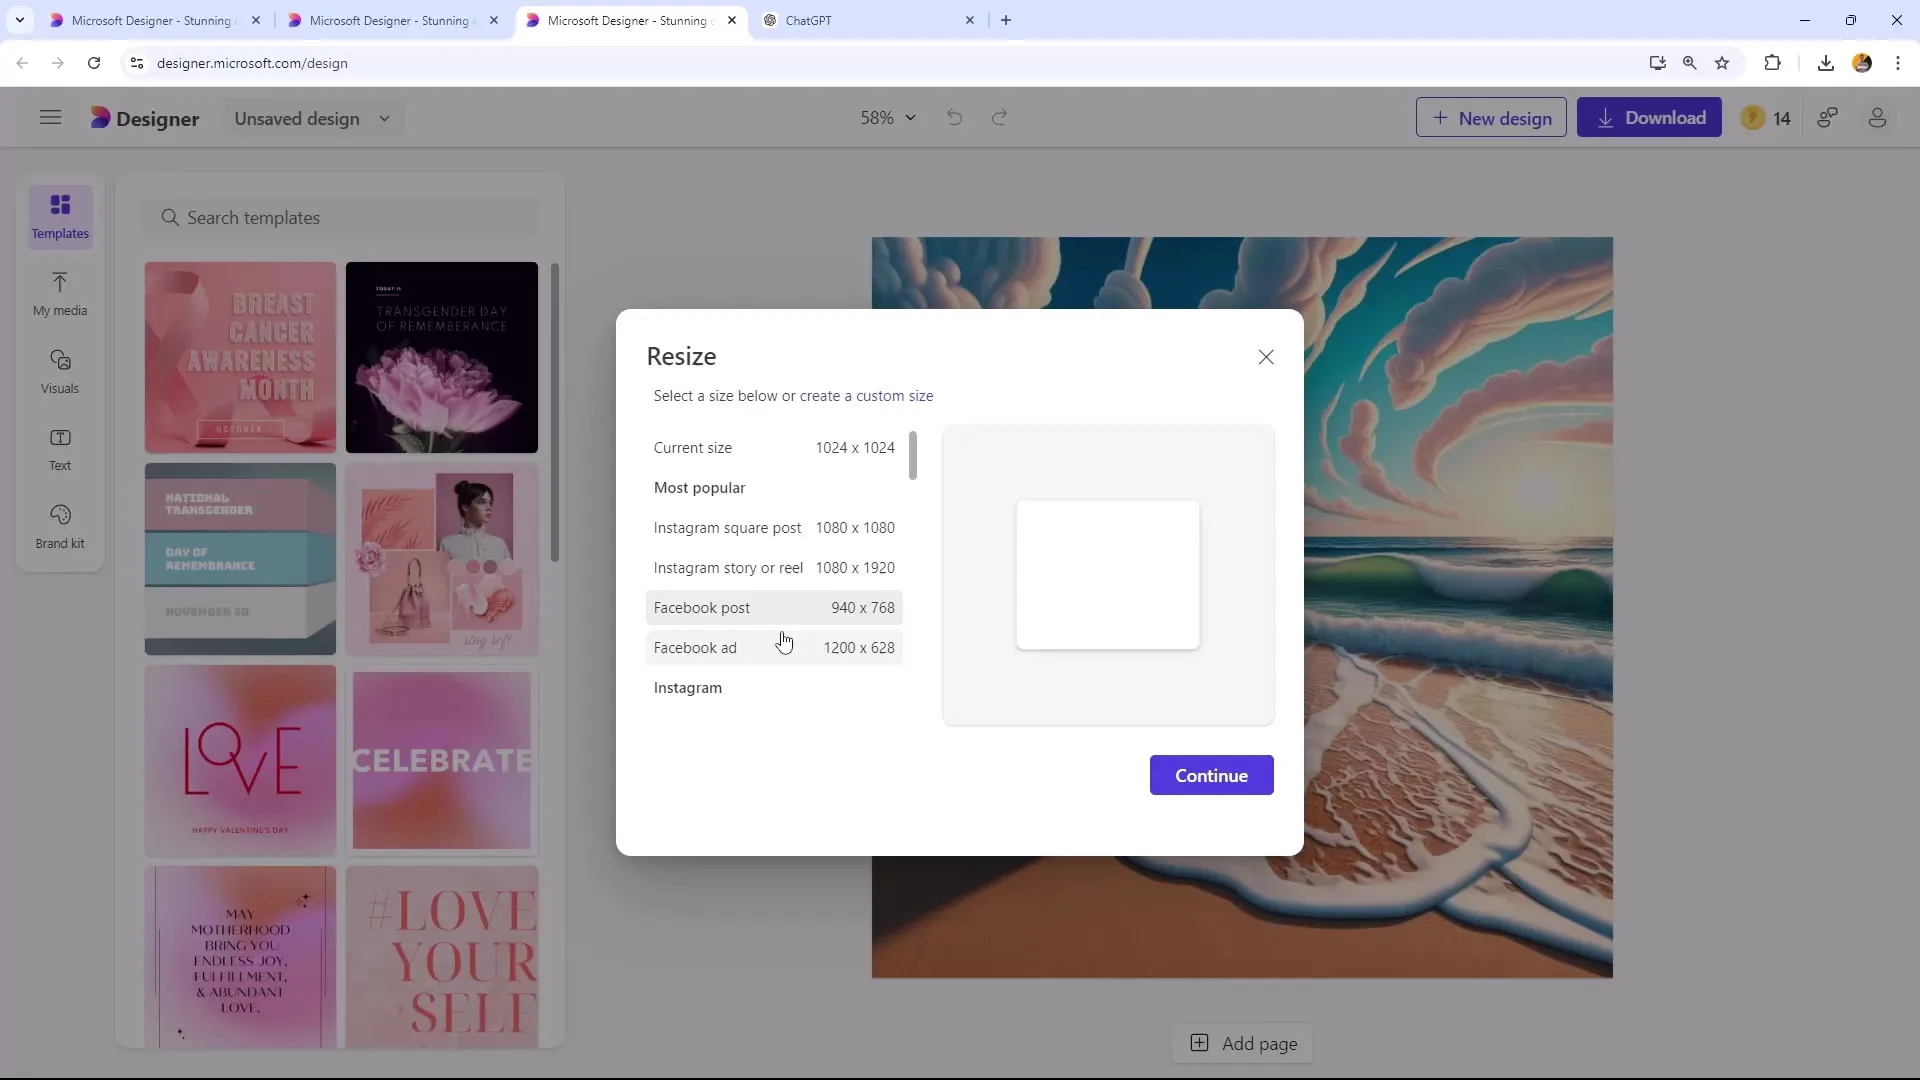
If you want a landscape image, make sure to create the template accordingly. It's crucial for your designs to look professional and appealing.
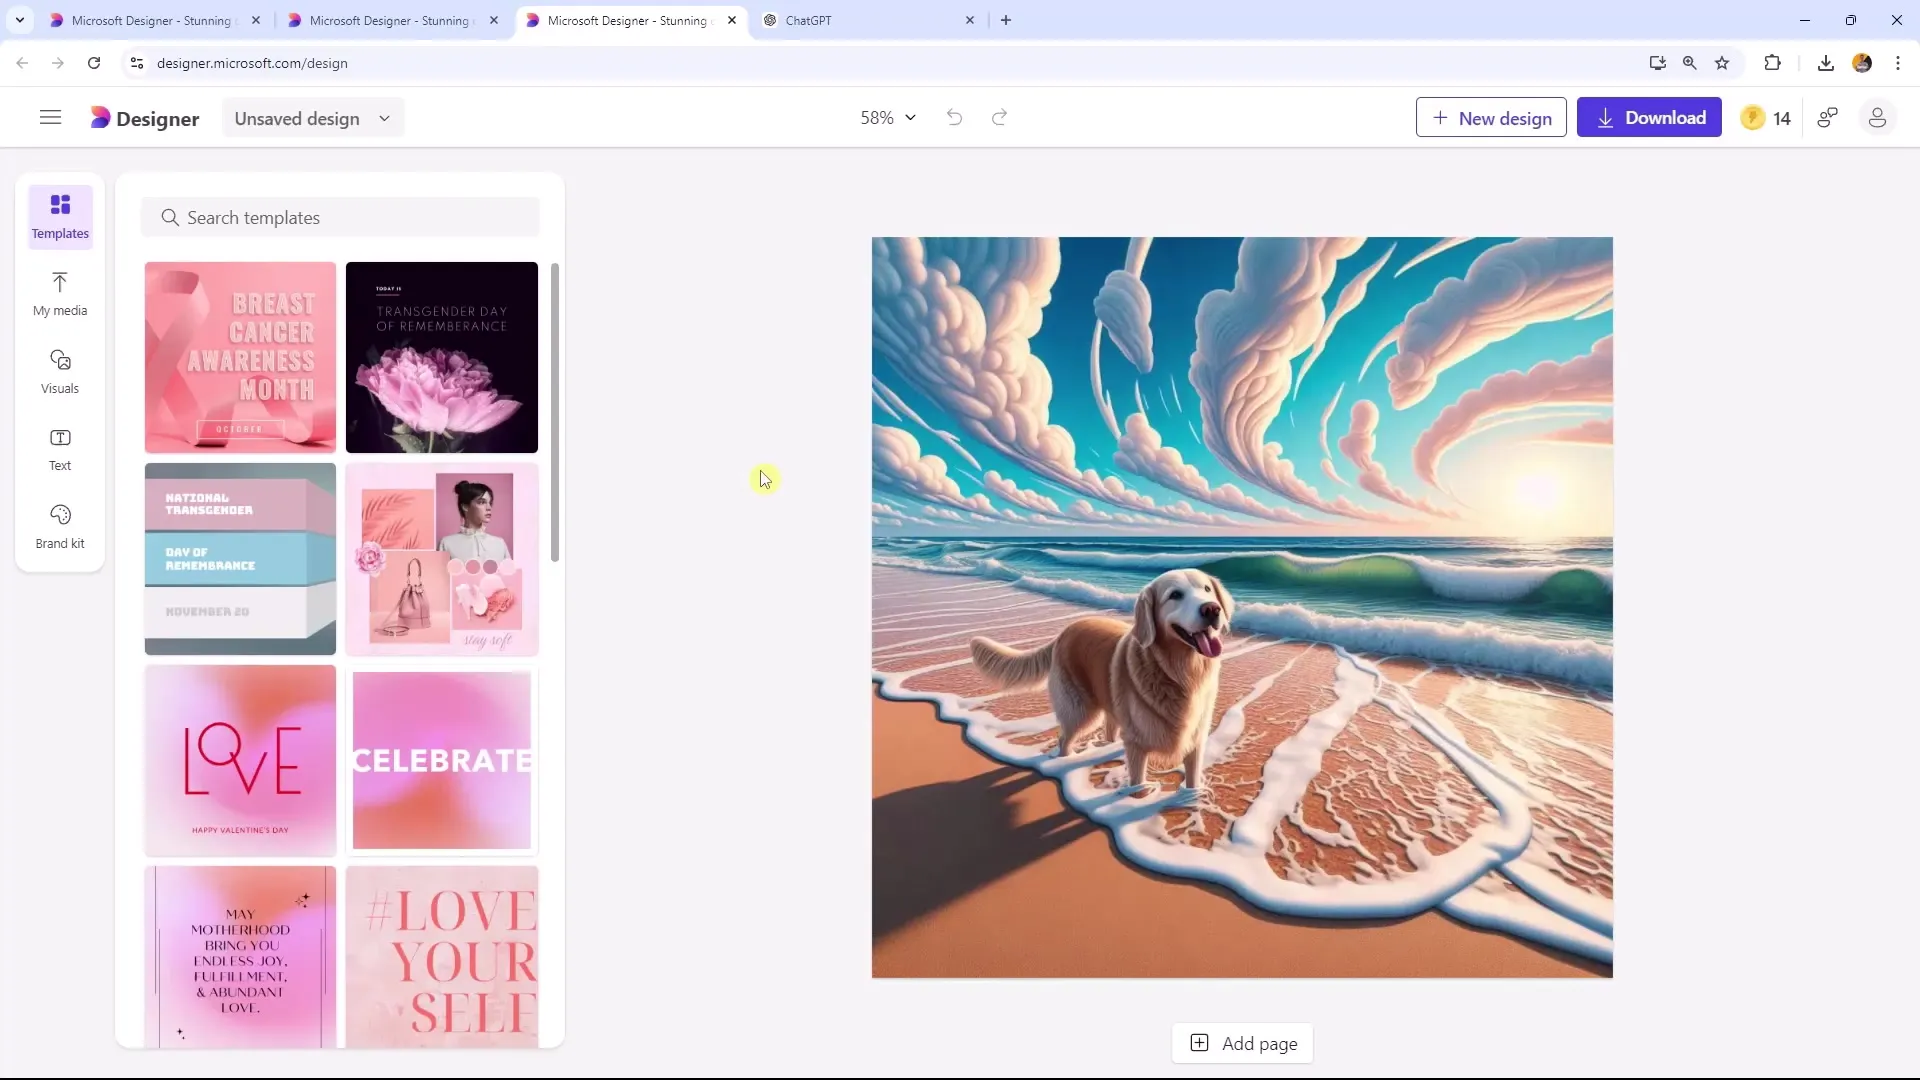
An important feature when editing images on the left side is selecting templates. There you can also upload images you want to use for your project.
Additionally, you can use "Visuals" to integrate different photos or graphics, even if they are animated or illustrated photos.
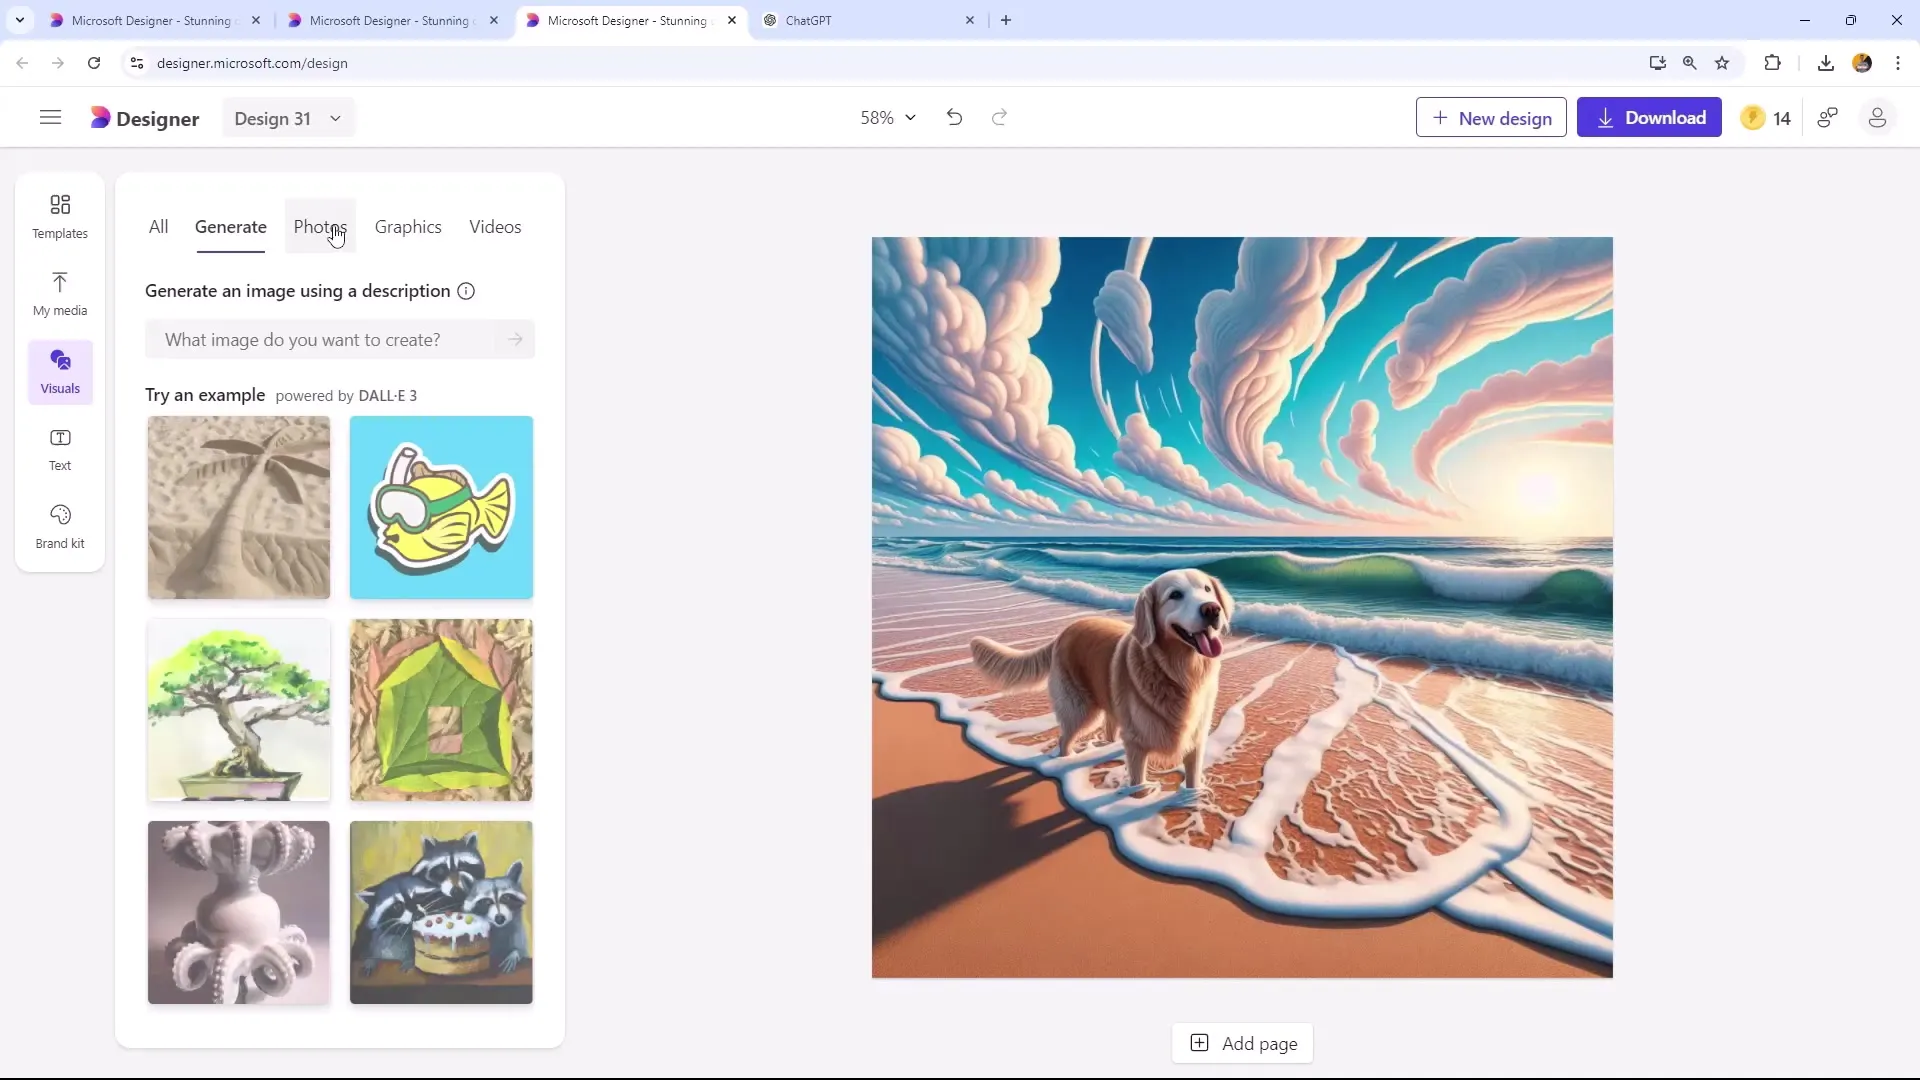
If you want to make adjustments to the image itself, simply click on it. You will then see a toolbar that provides you with various tools, such as removing the background and cropping the image.
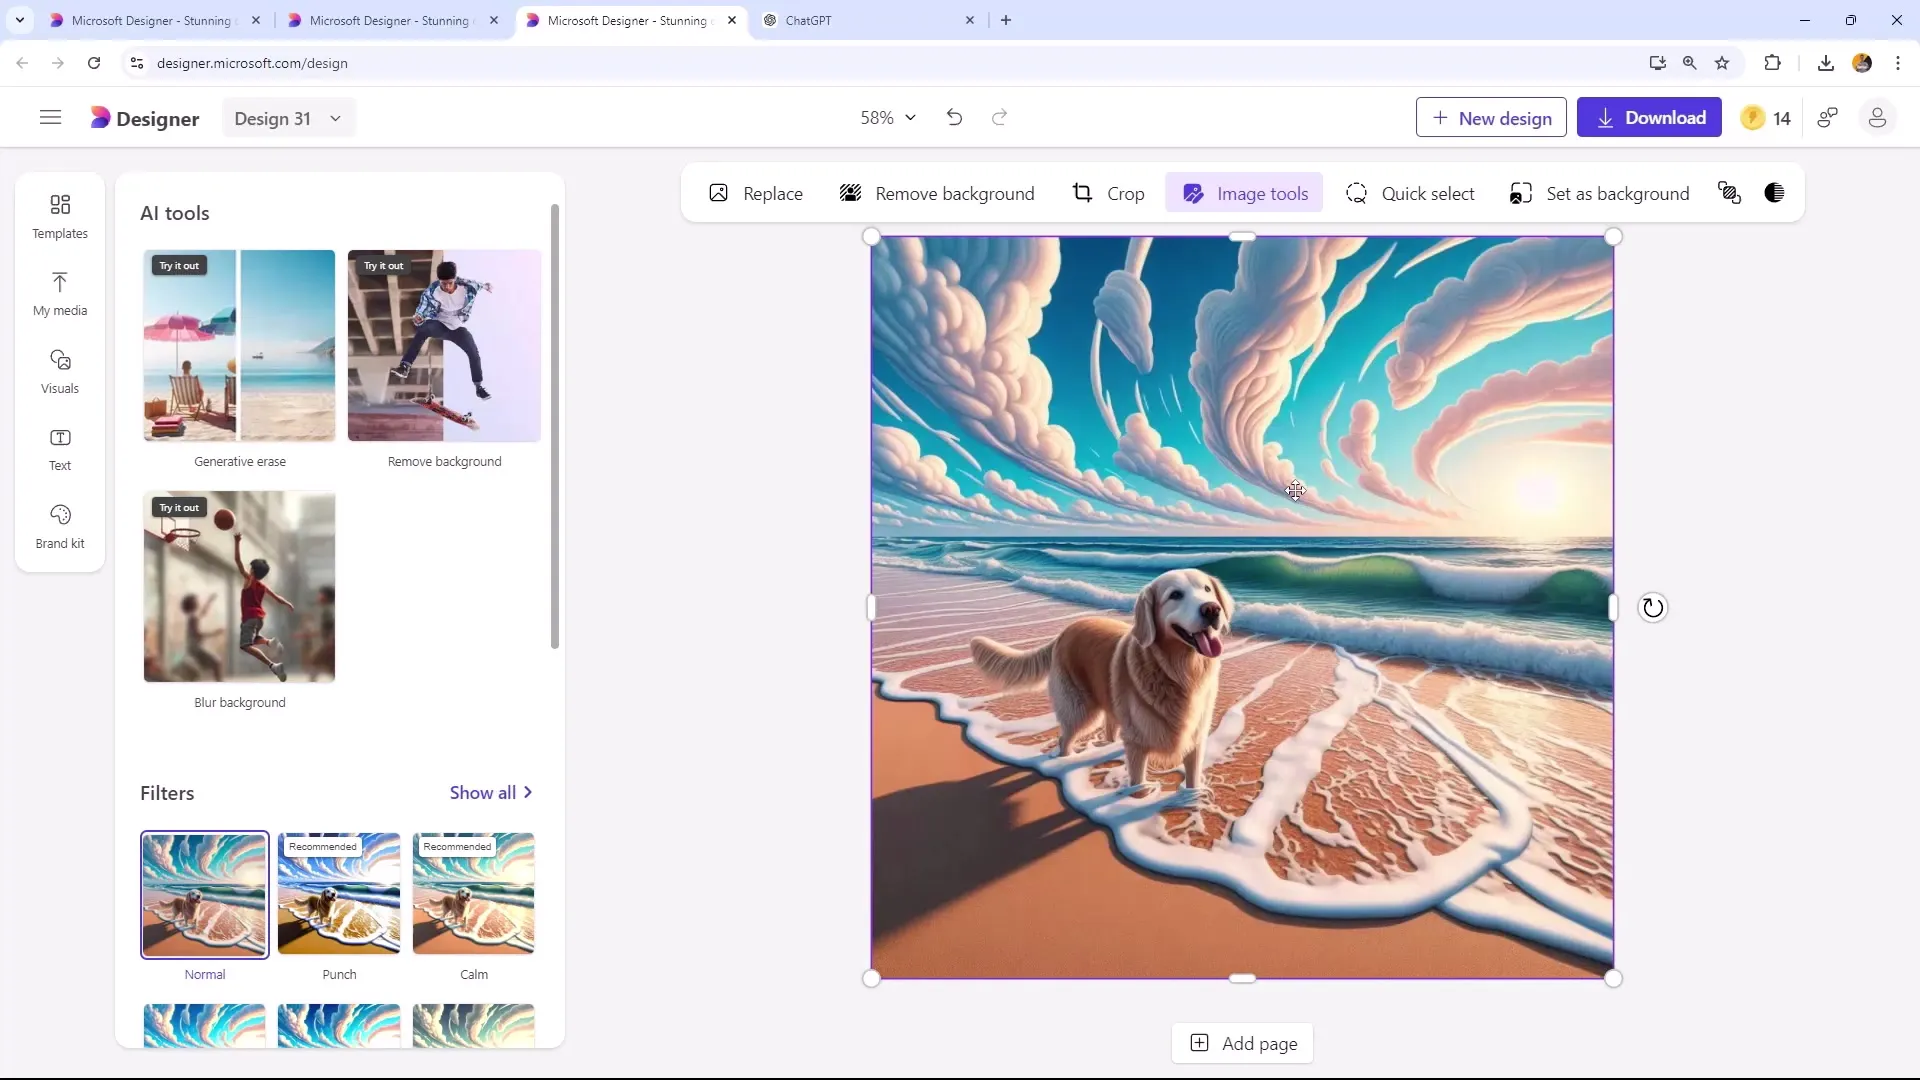
One of the options is the Quick Selection tool, where you can select elements in the image. When you click on "Image Tools," you will find practical AI tools, for example, to remove the background.
You can also apply filters to your image. Choose different filters like the "Street" filter to try cool, bluish effects, or the "Vintage" filter for a nostalgic look.
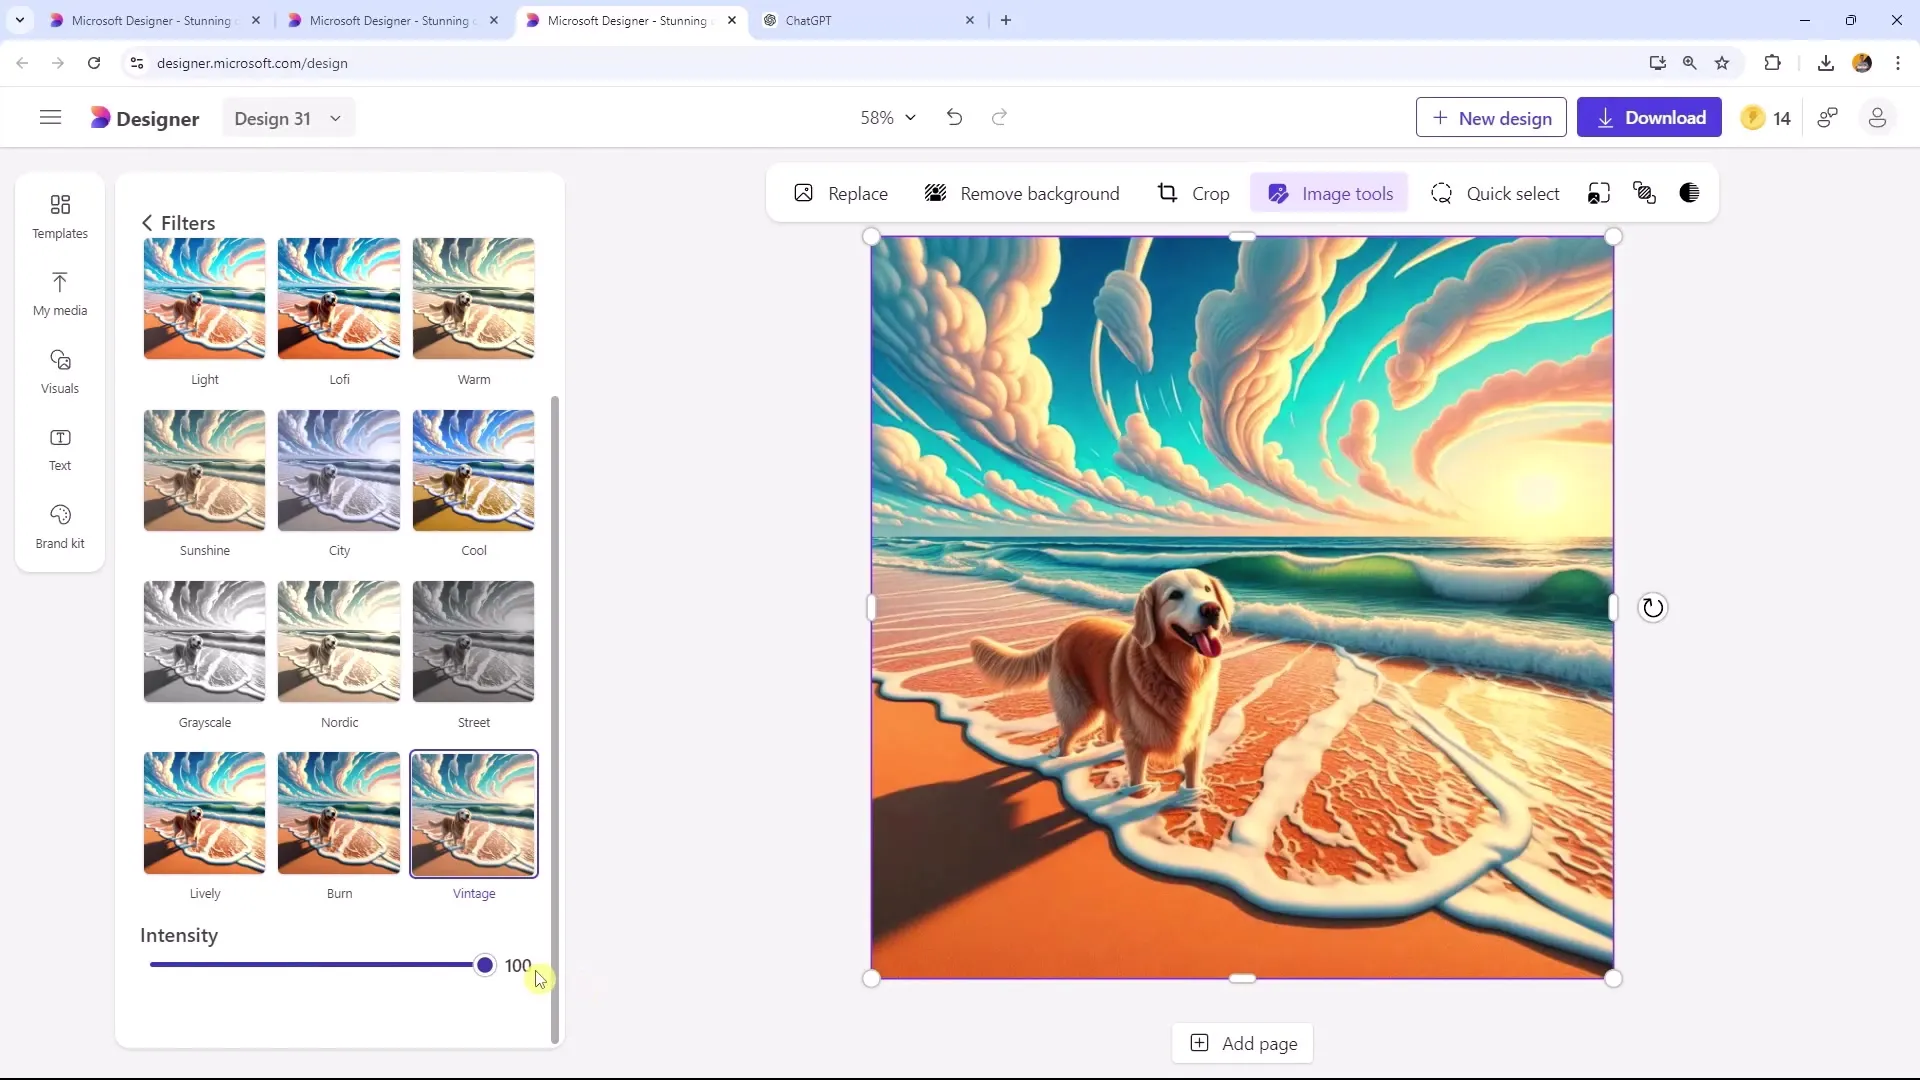
To control the intensity of the filters, you can adjust the sliders. A Vintage effect at 40% can be a nice look, while 100% might seem slightly overdone.
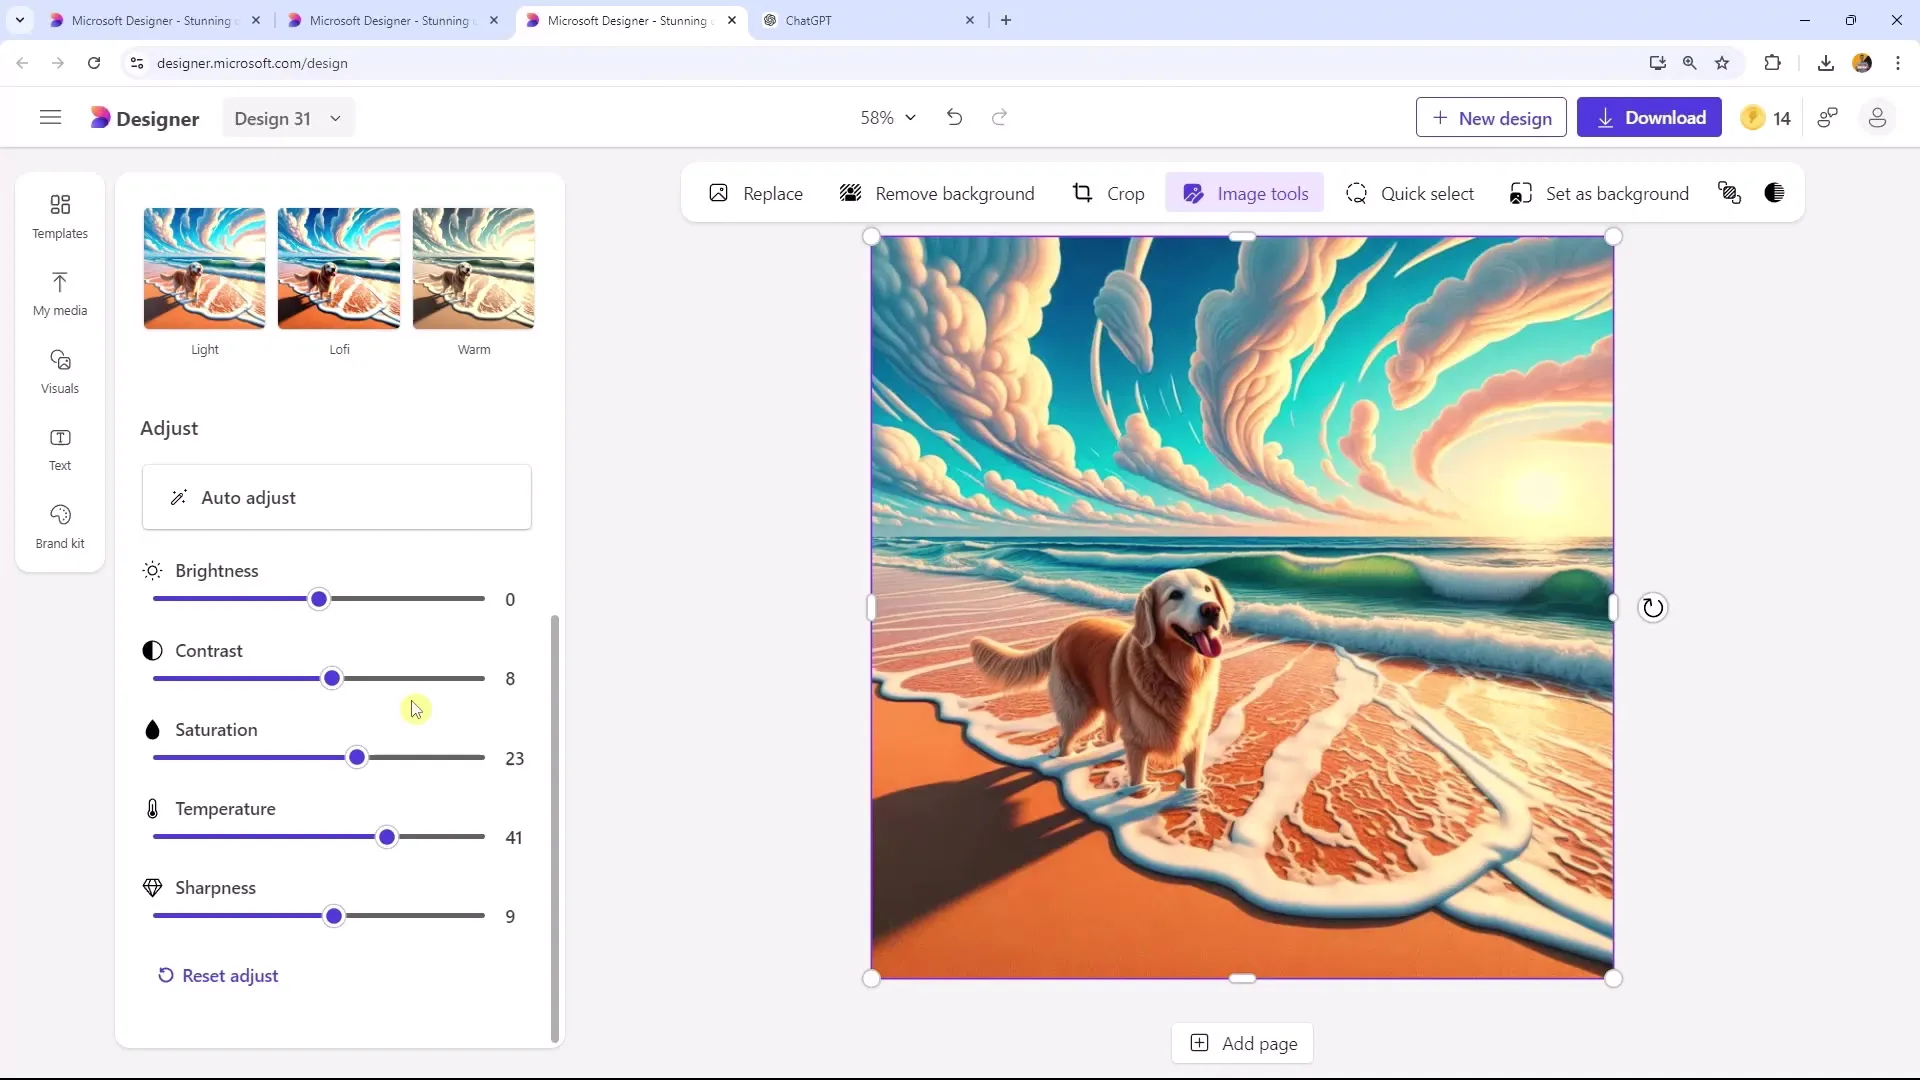
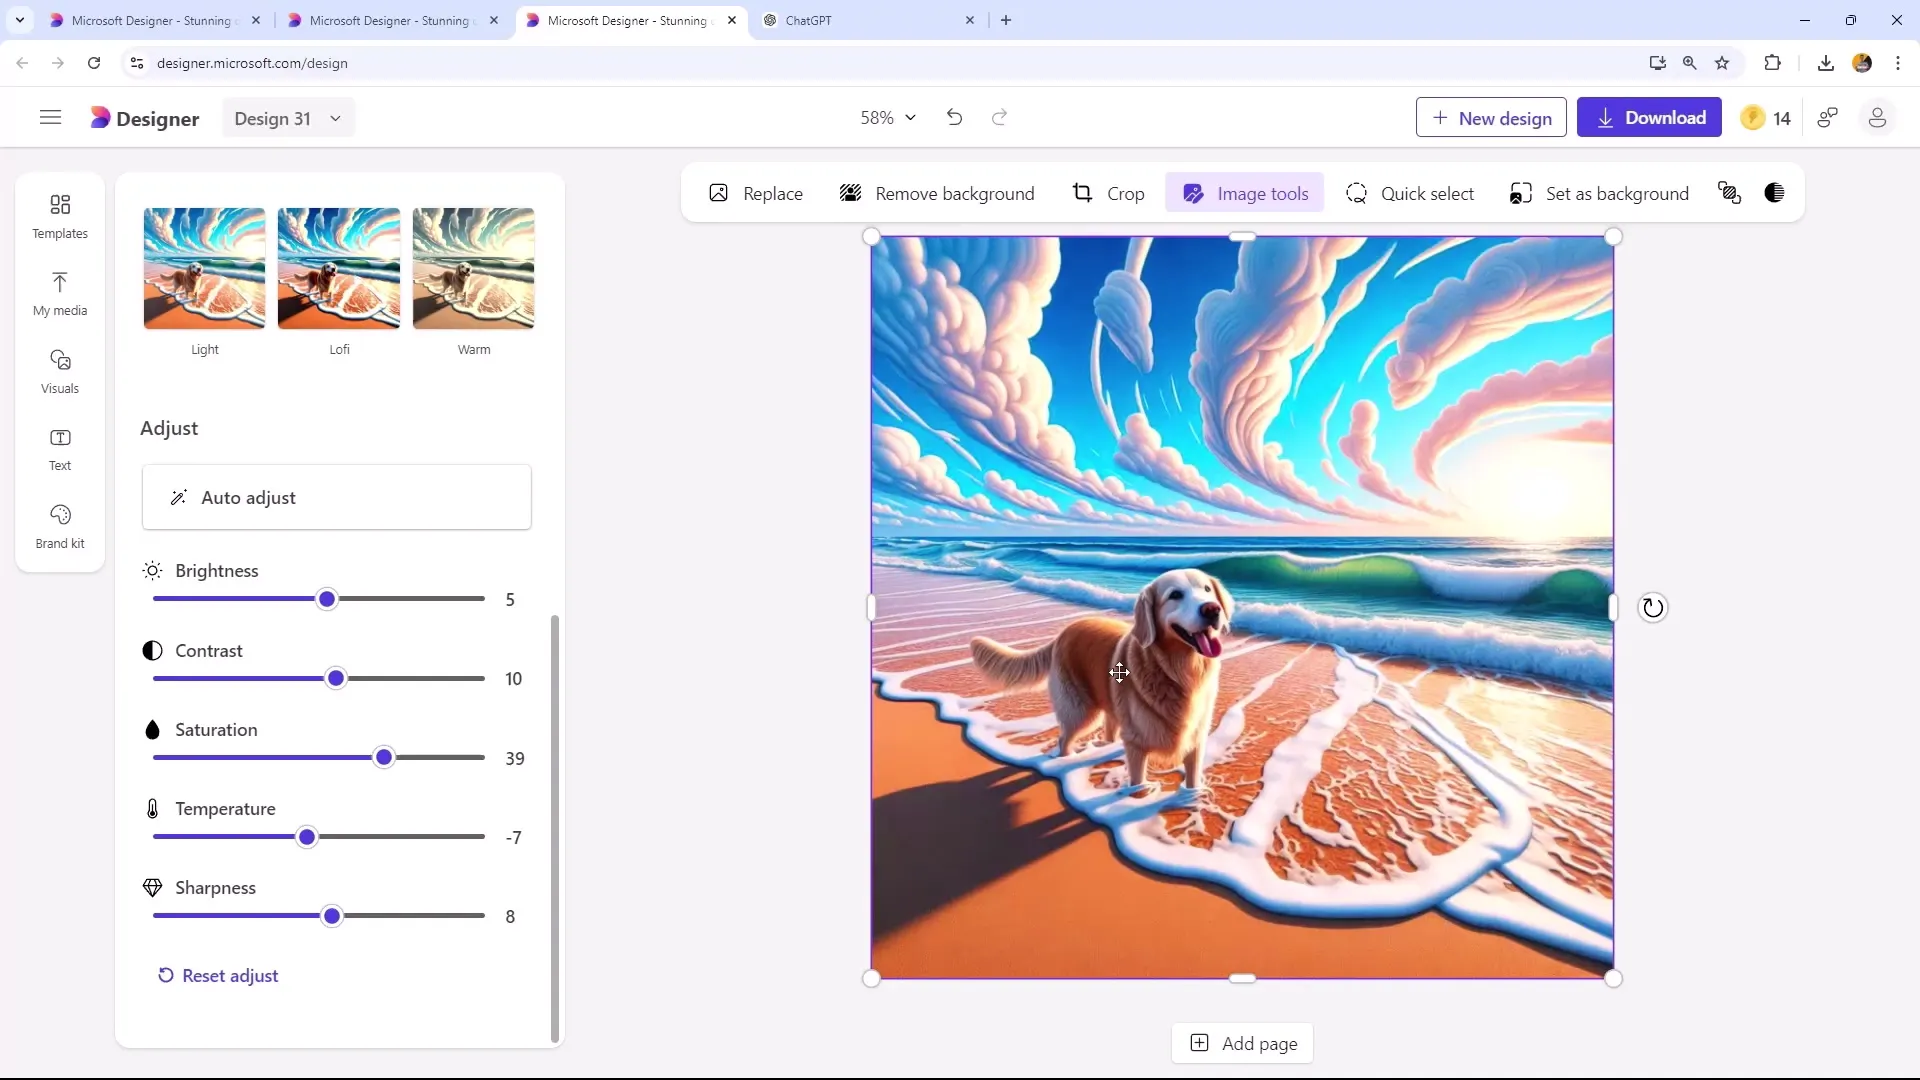
If you are not satisfied with the default filters, you can continue working through the "Adjust" button. Here you can manually adjust the brightness, contrast, and saturation of your image.
Experiment with different settings. For example, you could set the color to -100 to get strong blue tones, or +100 for a warmer, orange effect.
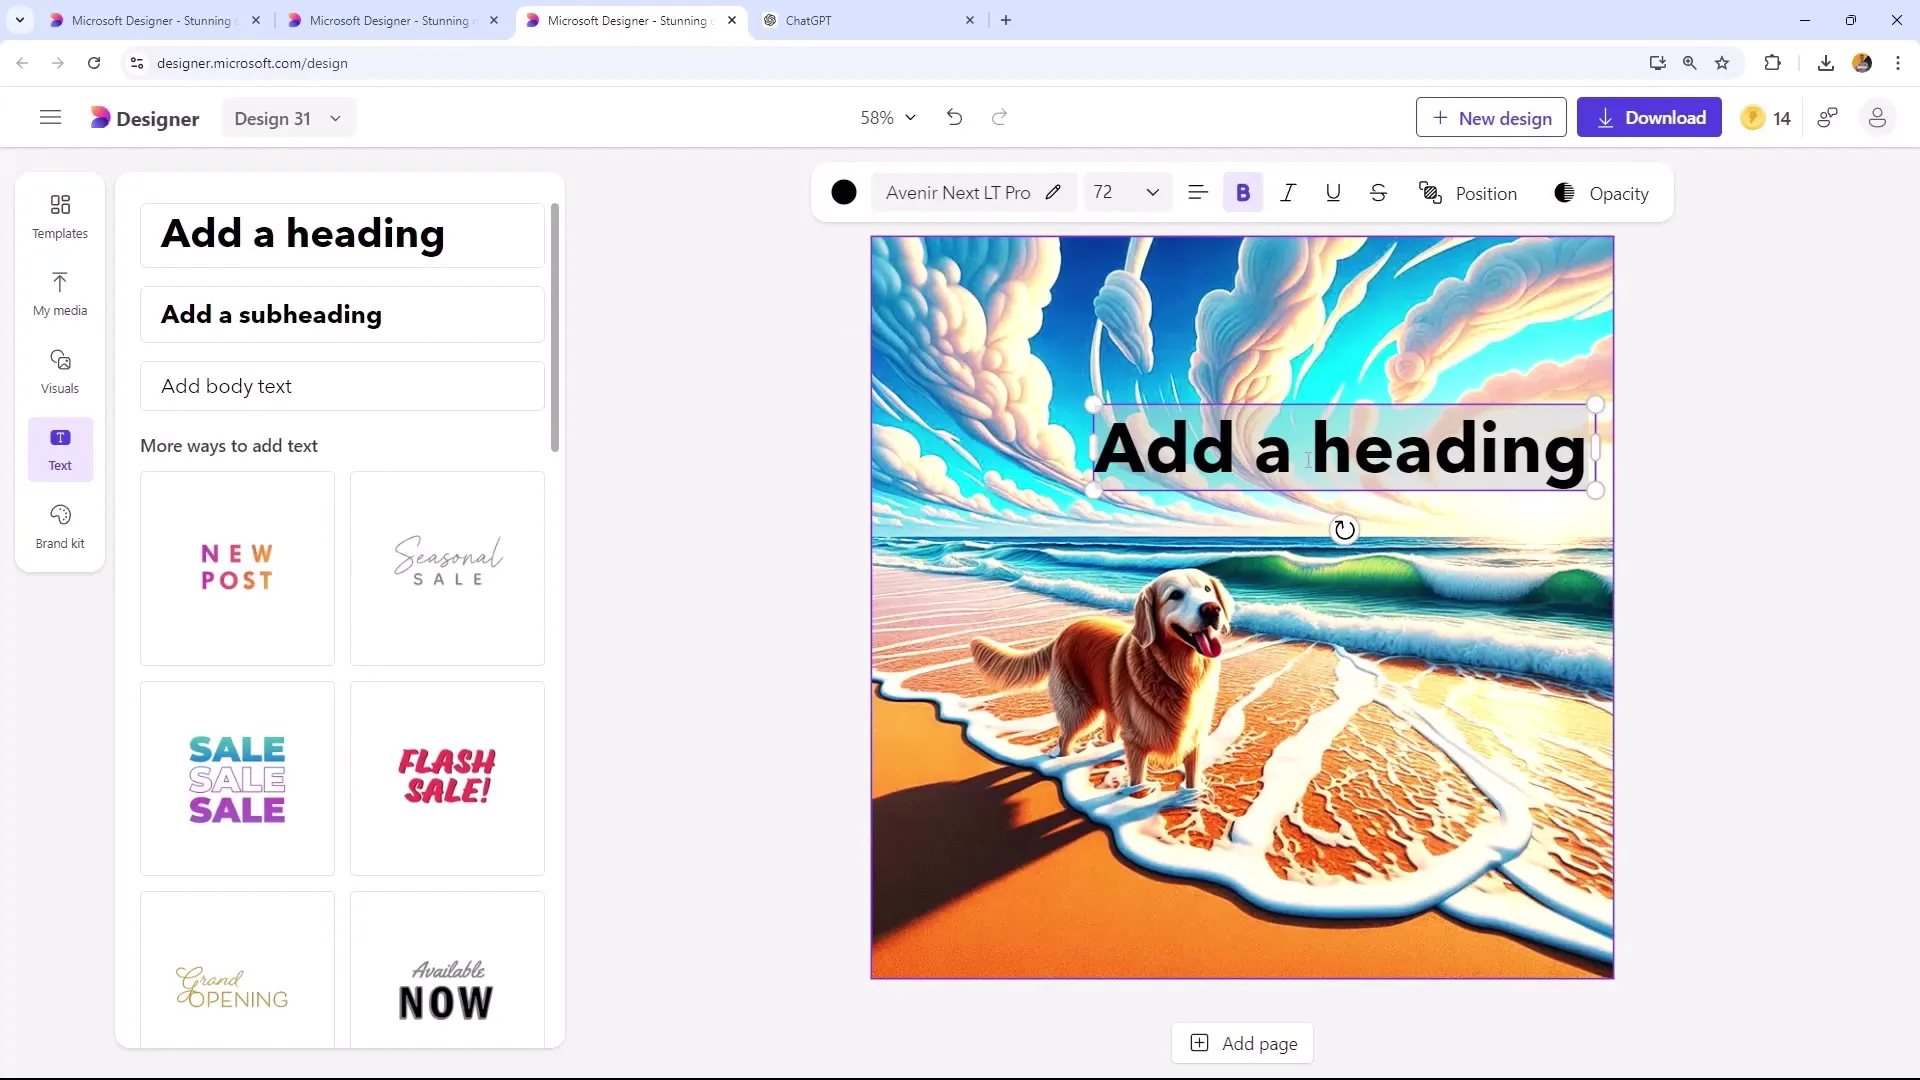
Now let's talk about text options. You can add text by clicking on "Add" and then selecting between Heading, Subheading, or Body text.
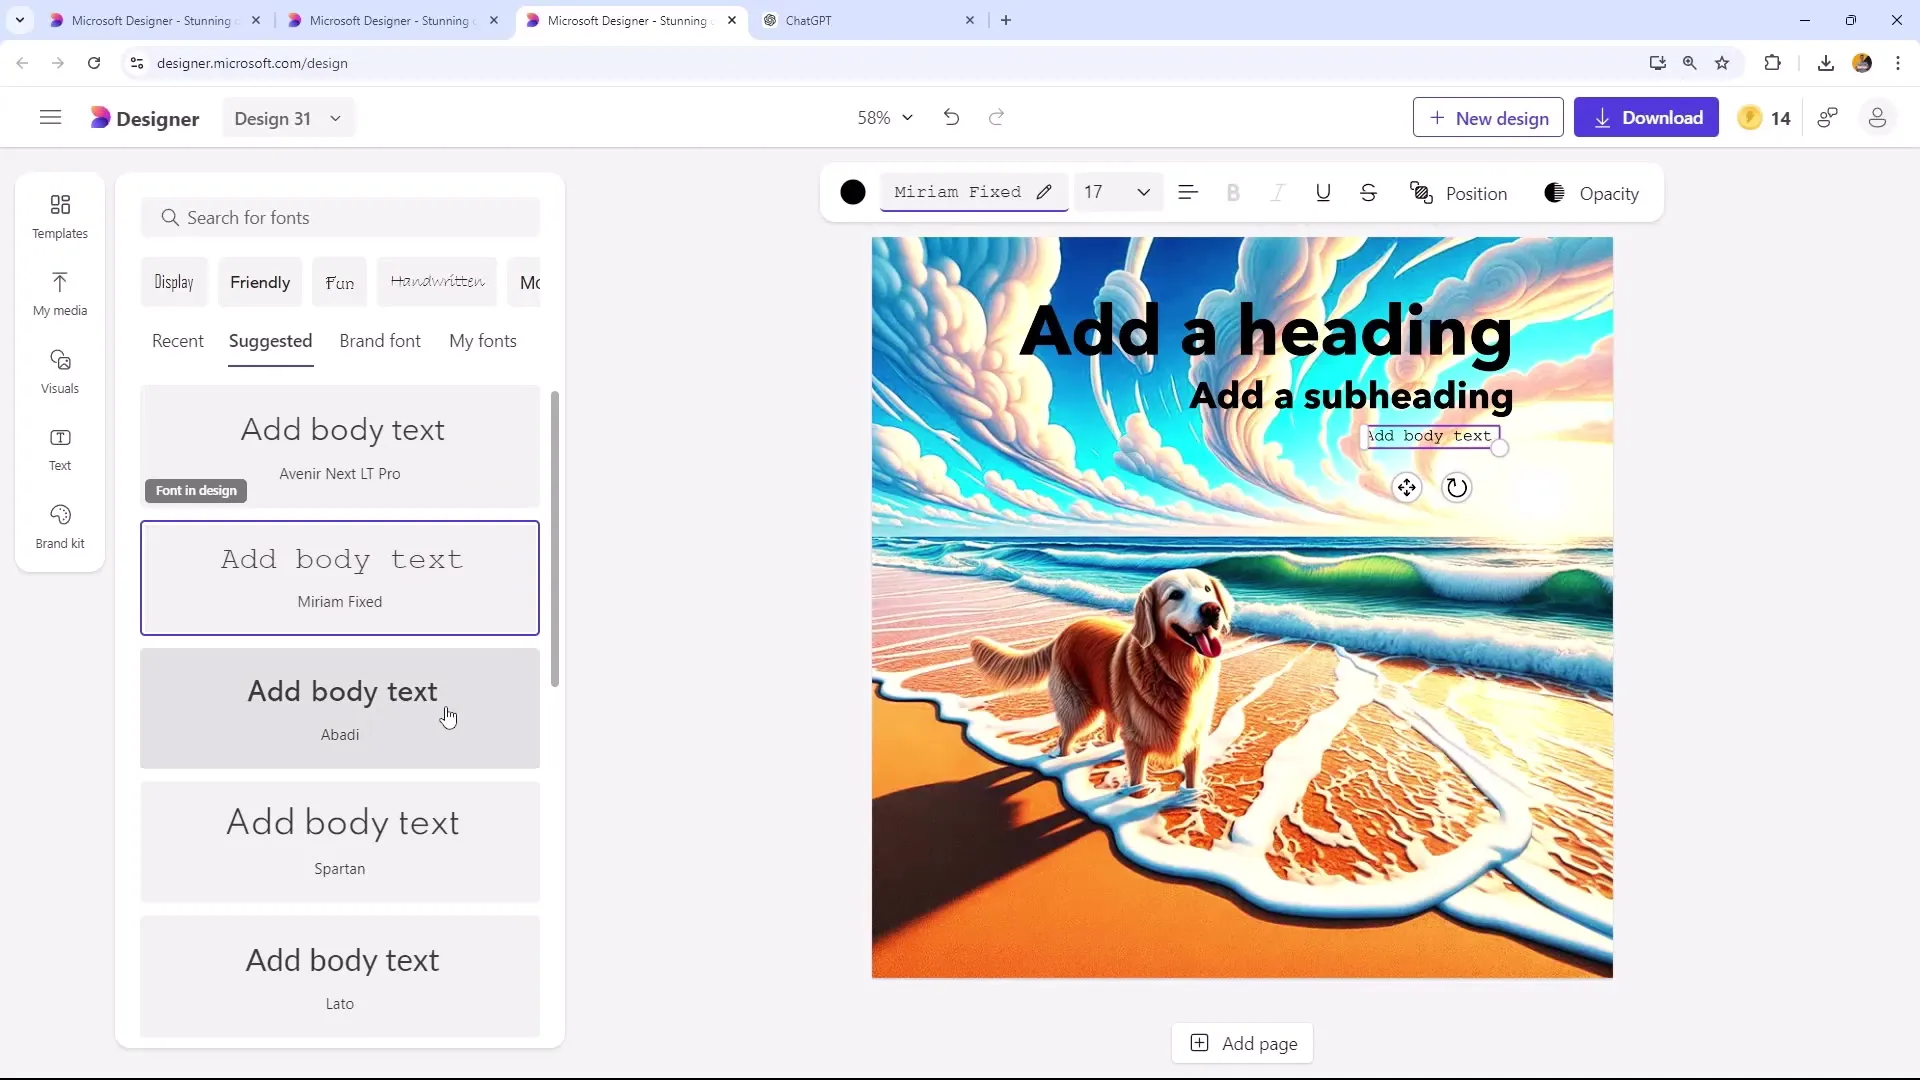
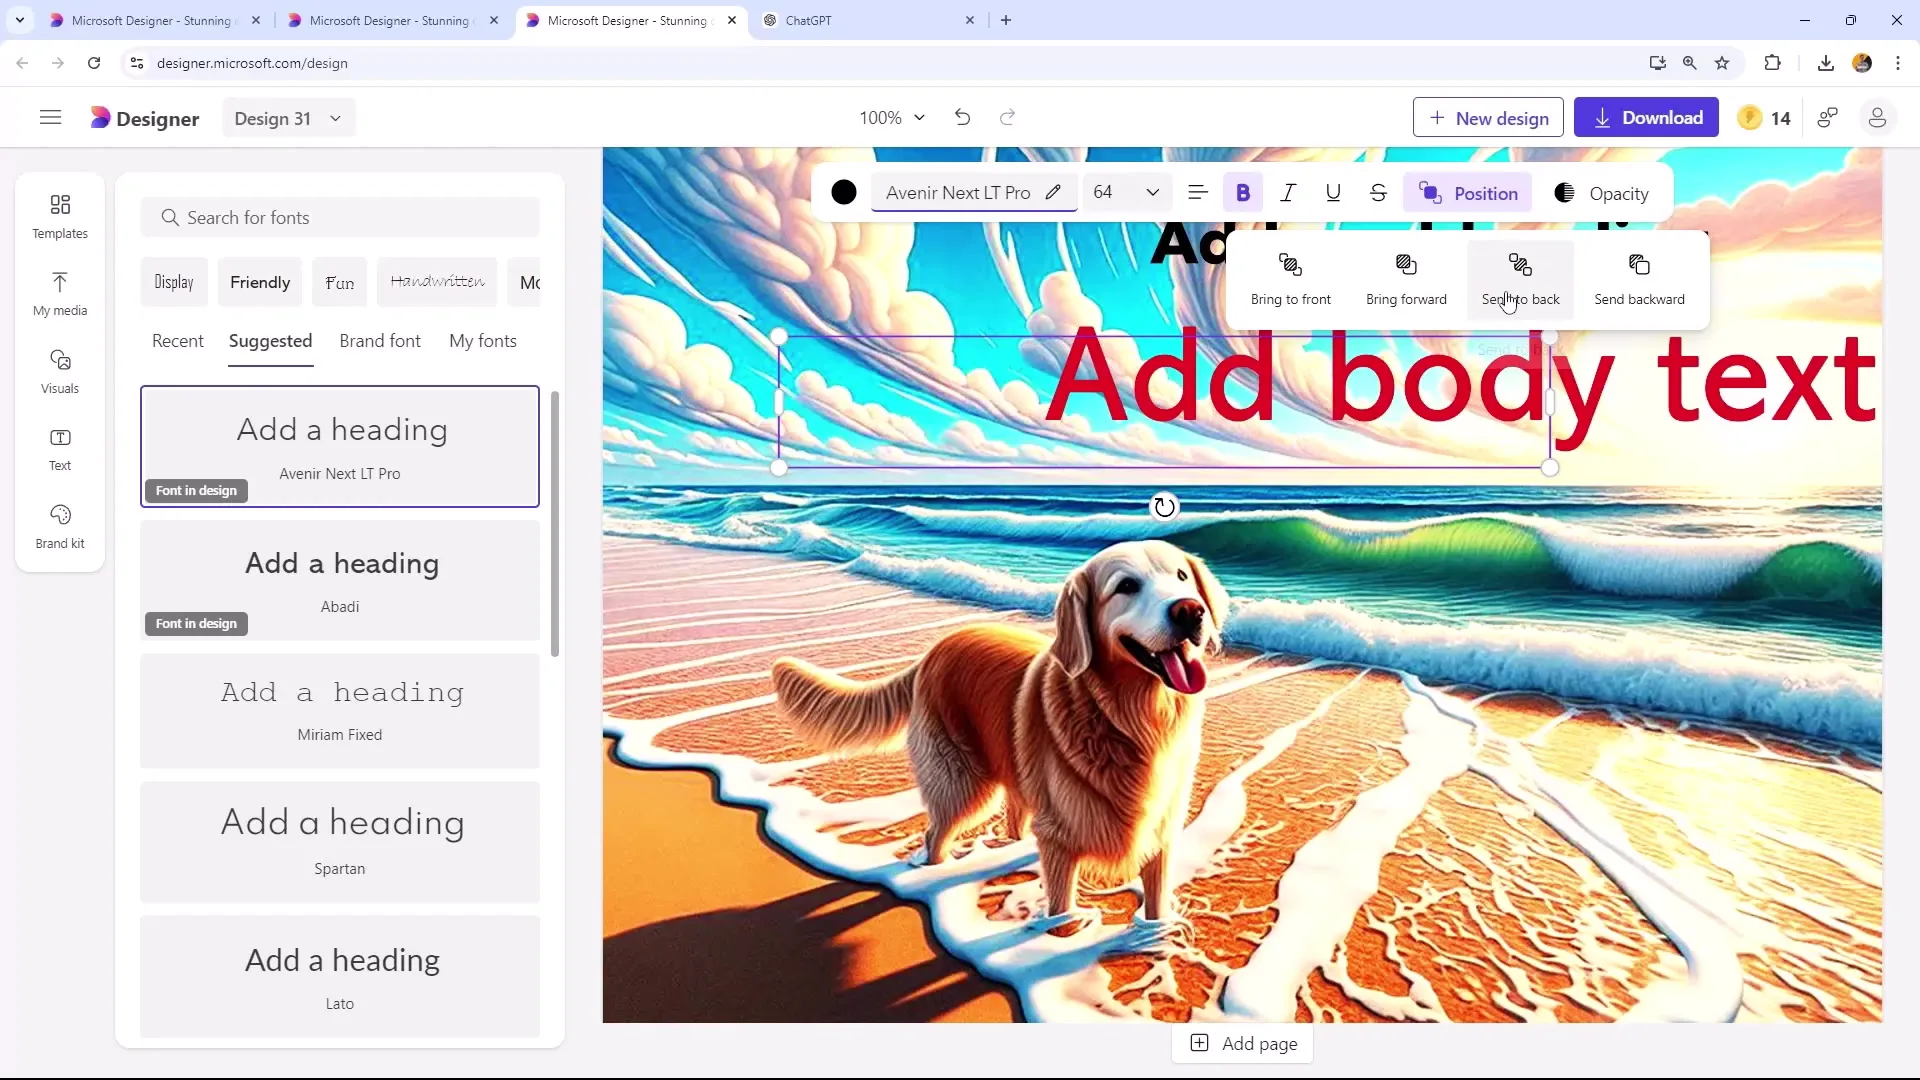
Choose a font, for example, "Abad", and adjust the font size according to your preferences. Remember that you can also customize the text colors, alignment, and other settings like underlining or bolding.
The text can be aligned to the left, center, or right. You can also adjust the visibility of the text so that it blends subtly into your design.
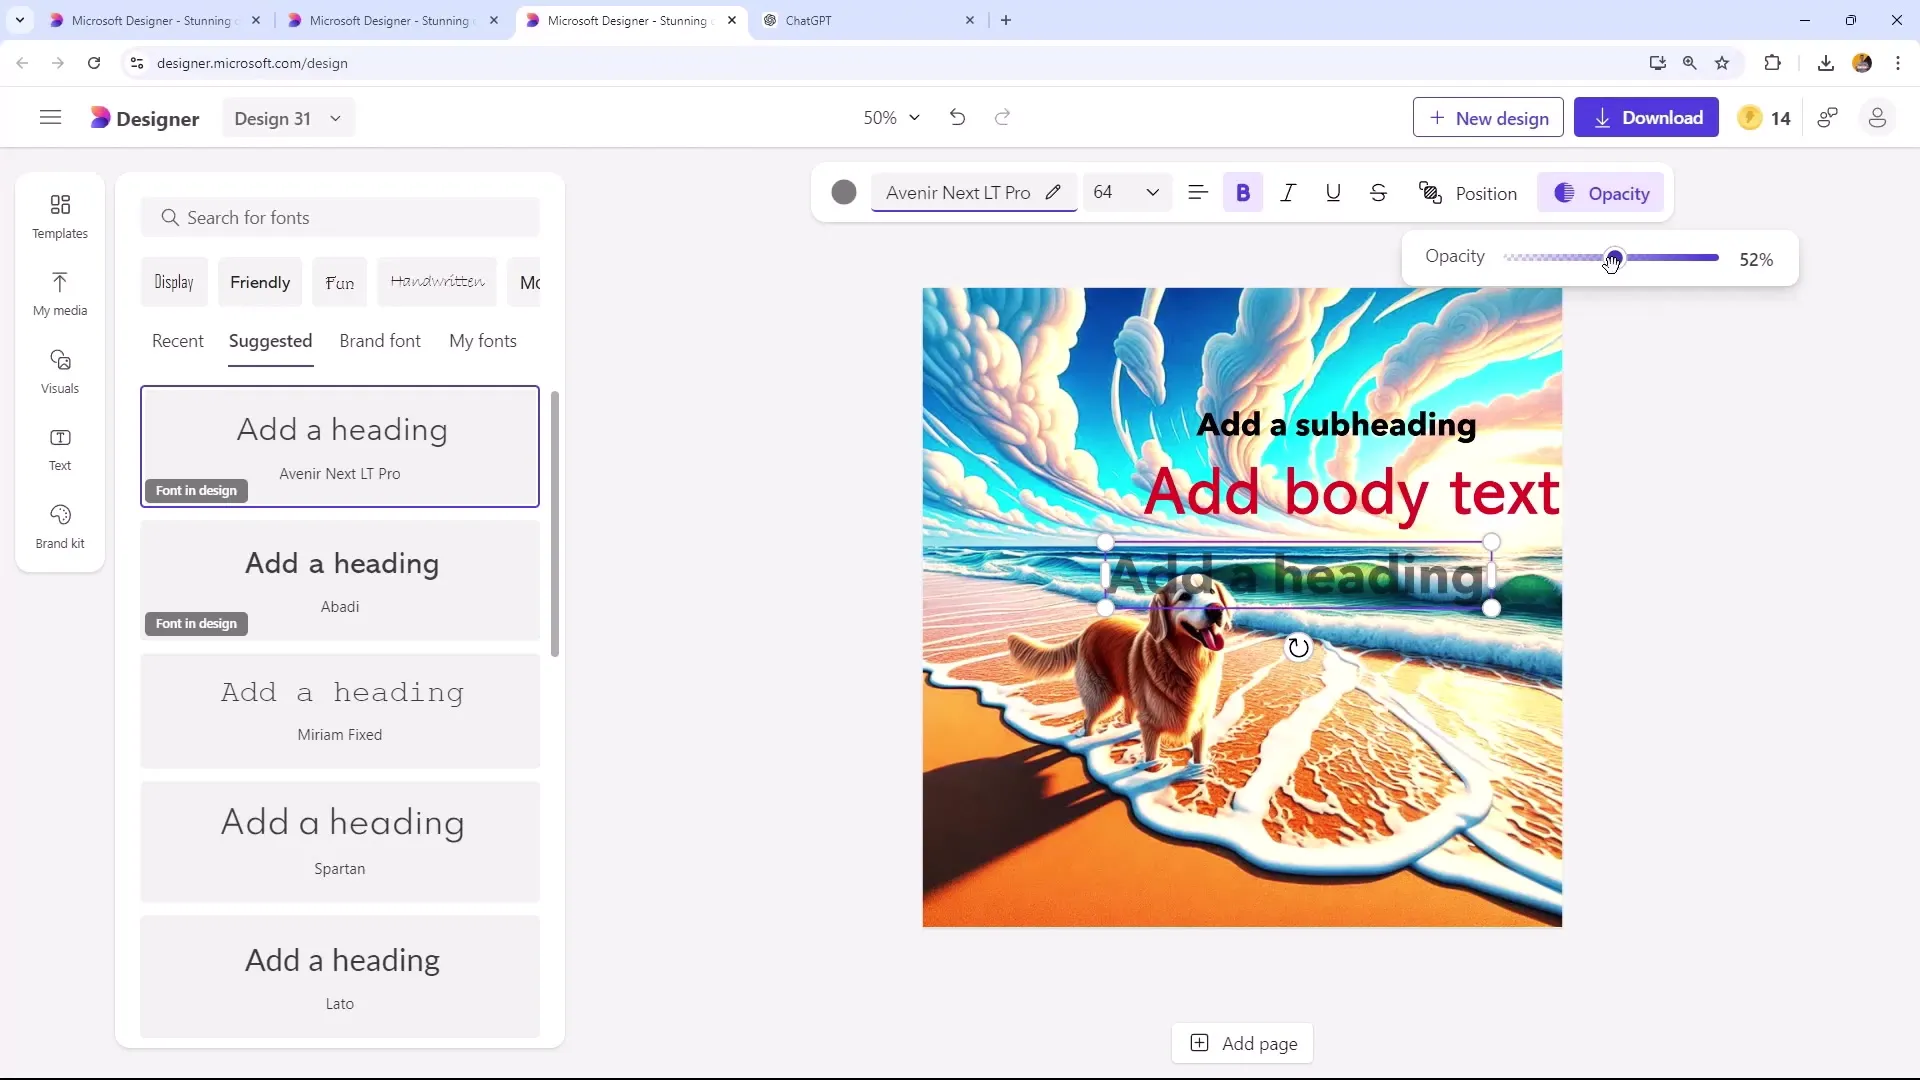
When working with multiple layers of text, you can adjust the layers to determine which text layer is displayed on top or bottom. This way, you can affect the order of elements and optimize the design.
Summary
Editing and customizing images and texts in Microsoft Designer is a creative and straightforward process. With the various functions and options, you can personalize your design and make it more appealing to effectively communicate your message.
Frequently Asked Questions
How do I add text to my design?You can add text by clicking on "Add" and selecting a text form.
Can I change the font in Microsoft Designer?Yes, you can choose different fonts and styles for your text fields.
How can I resize an image?Go to "Unsafe Design" and choose a predefined size or create a custom size.
Can I remove the background of an image?Yes, by clicking on the image and using the "Background Remove" function.
How can I adjust the visibility of my text?You can adjust the opacity of the text to make it more or less visible.
