Microsoft Designer offers a helpful tool called "Restyle Image", with which you can change images into various styles using artificial intelligence (AI). In this tutorial, I will show you how you can use this technique to redesign your images and maximize their impact.
Key Takeaways
- With Microsoft Designer, you can easily upload images and choose the desired style.
- The possibility to add backgrounds may vary depending on the image.
- The transformation possibilities are diverse and offer room for creative experiments.
Step-by-Step Guide
1. Open the tool and upload the image
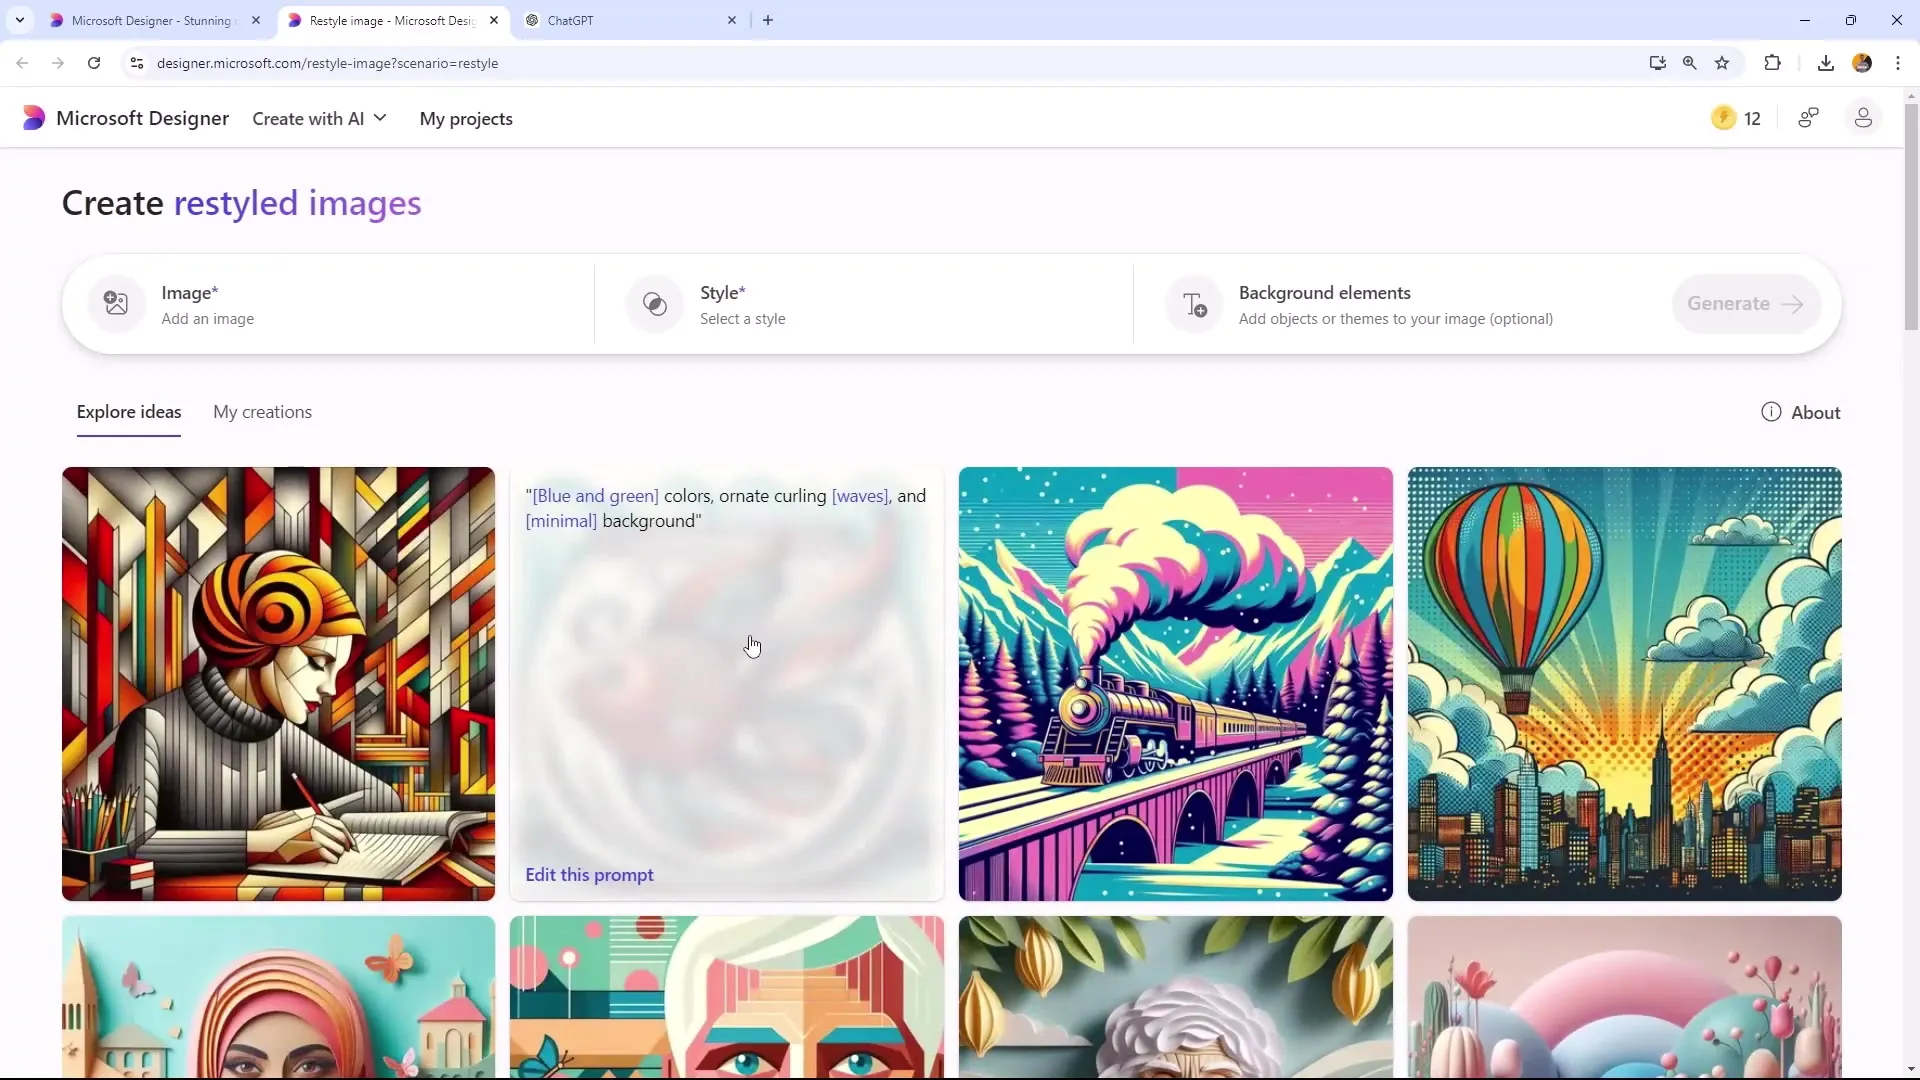
To get started, open Microsoft Designer and navigate to the area where you can redesign images. Click on "Image" and select "Add Image". Here you have the option to choose a photo and upload it. I recommend selecting a simple, clear image to better recognize the effects.
2. Choose the image style
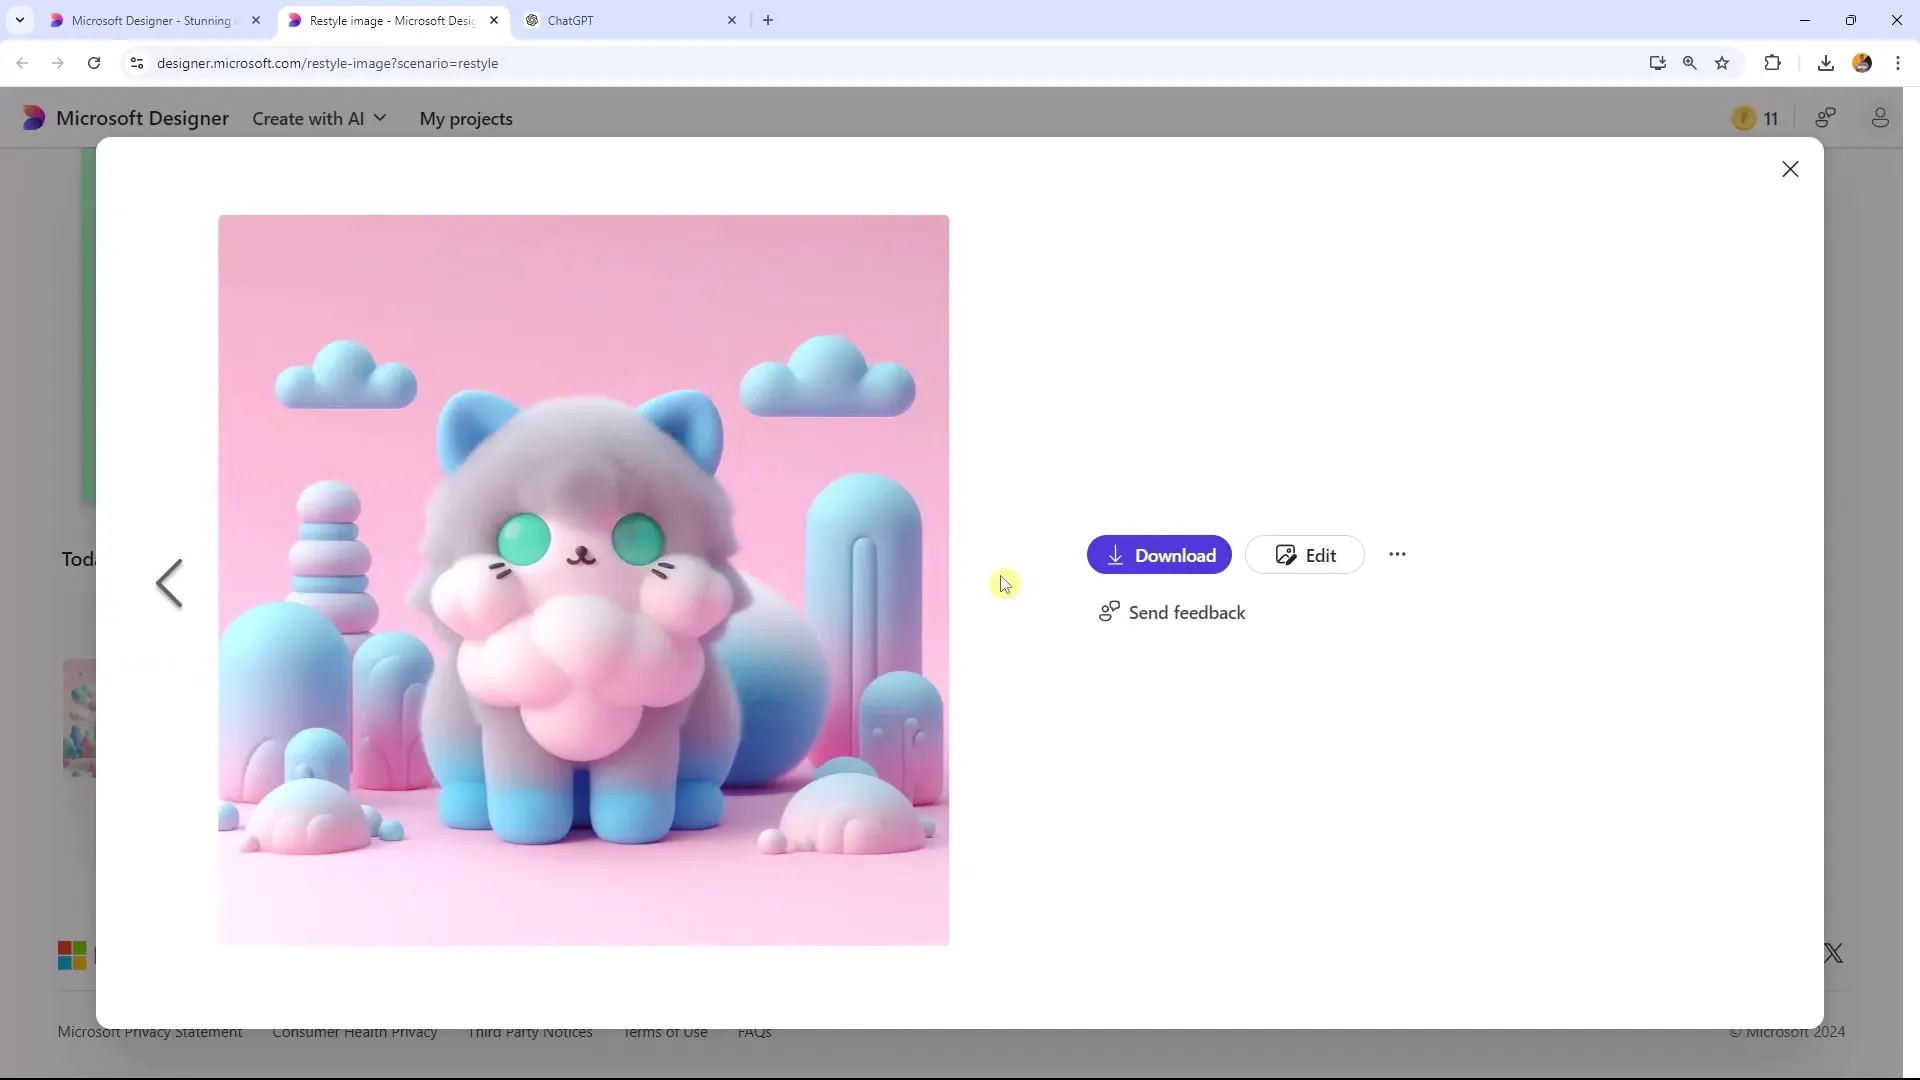
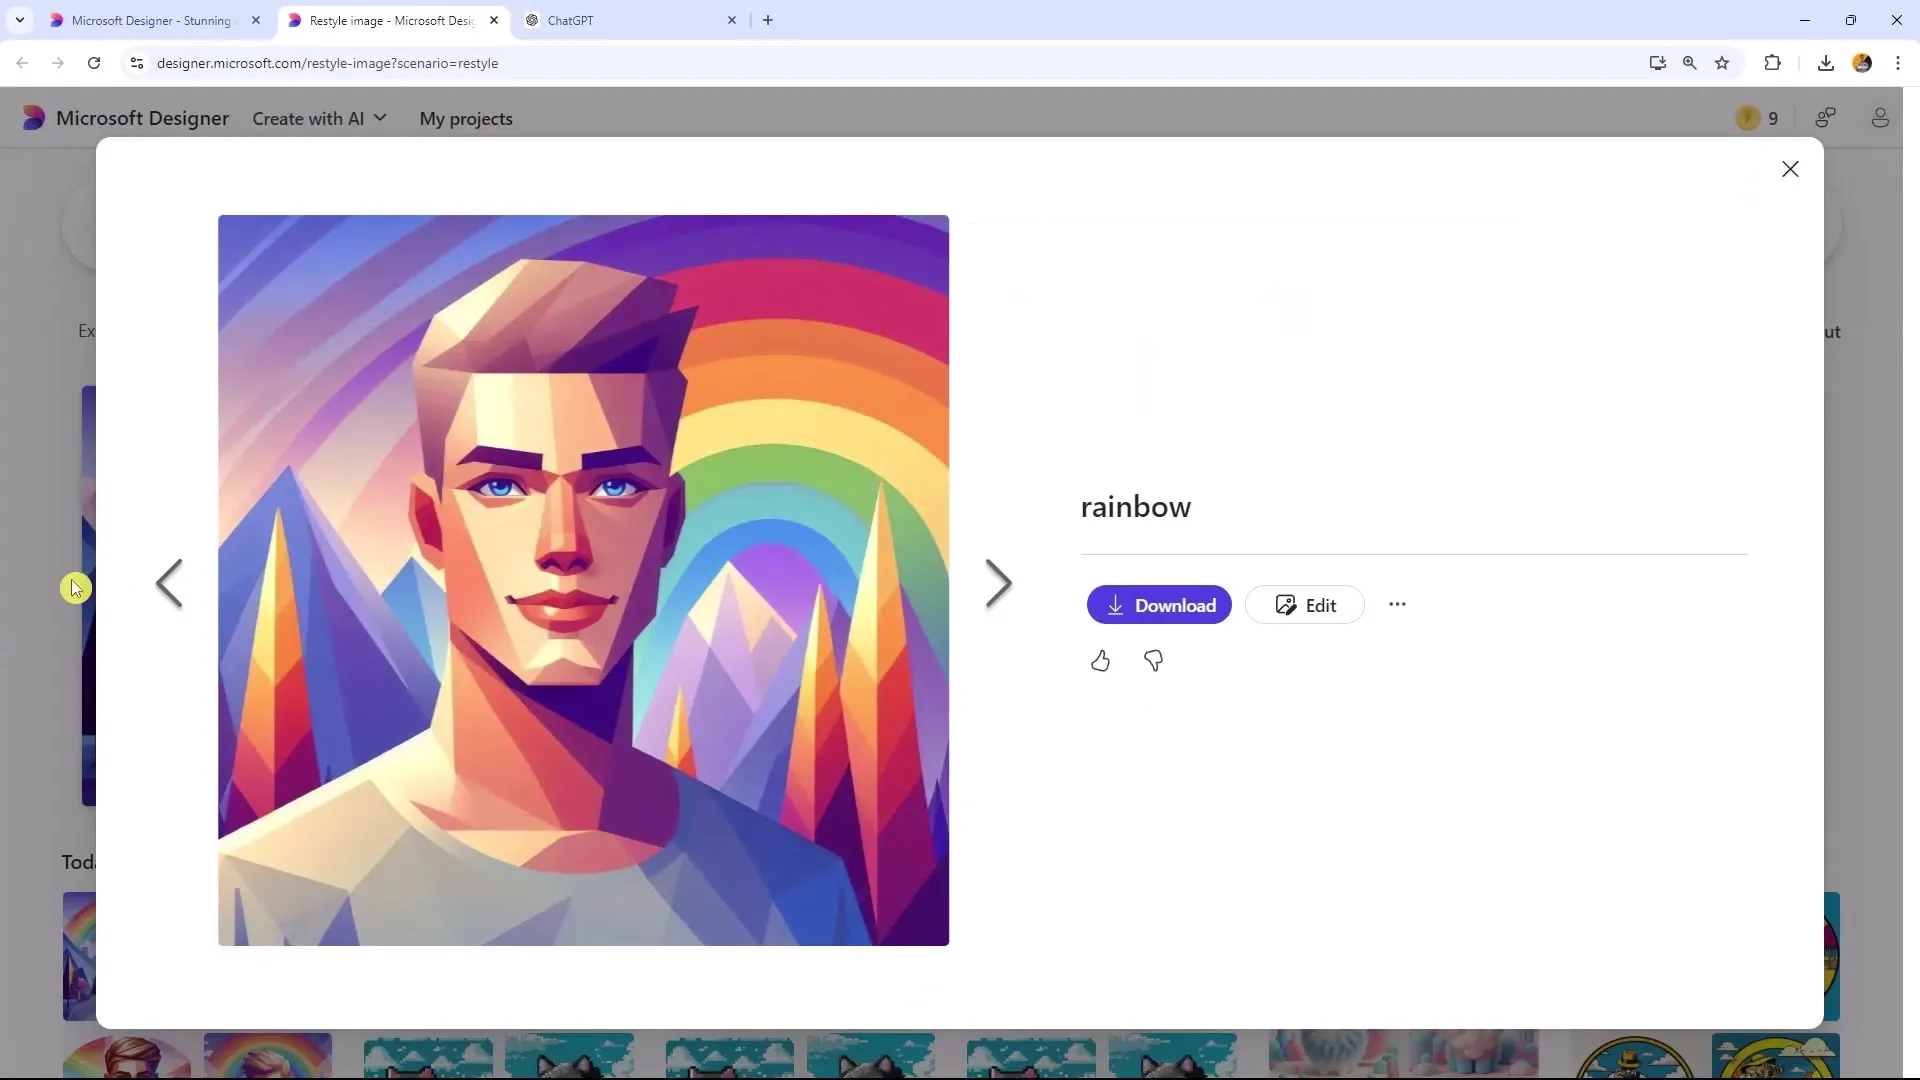
After uploading the image, you need to select the desired style. Microsoft Designer offers you a variety of styles to choose from. Among them are modern approaches like Cubism, Cartoon, and Claymation. Depending on your personal taste, you can choose the style that appeals to you the most. I personally find the "Cubism" option particularly appealing.
3. Add background (optional)
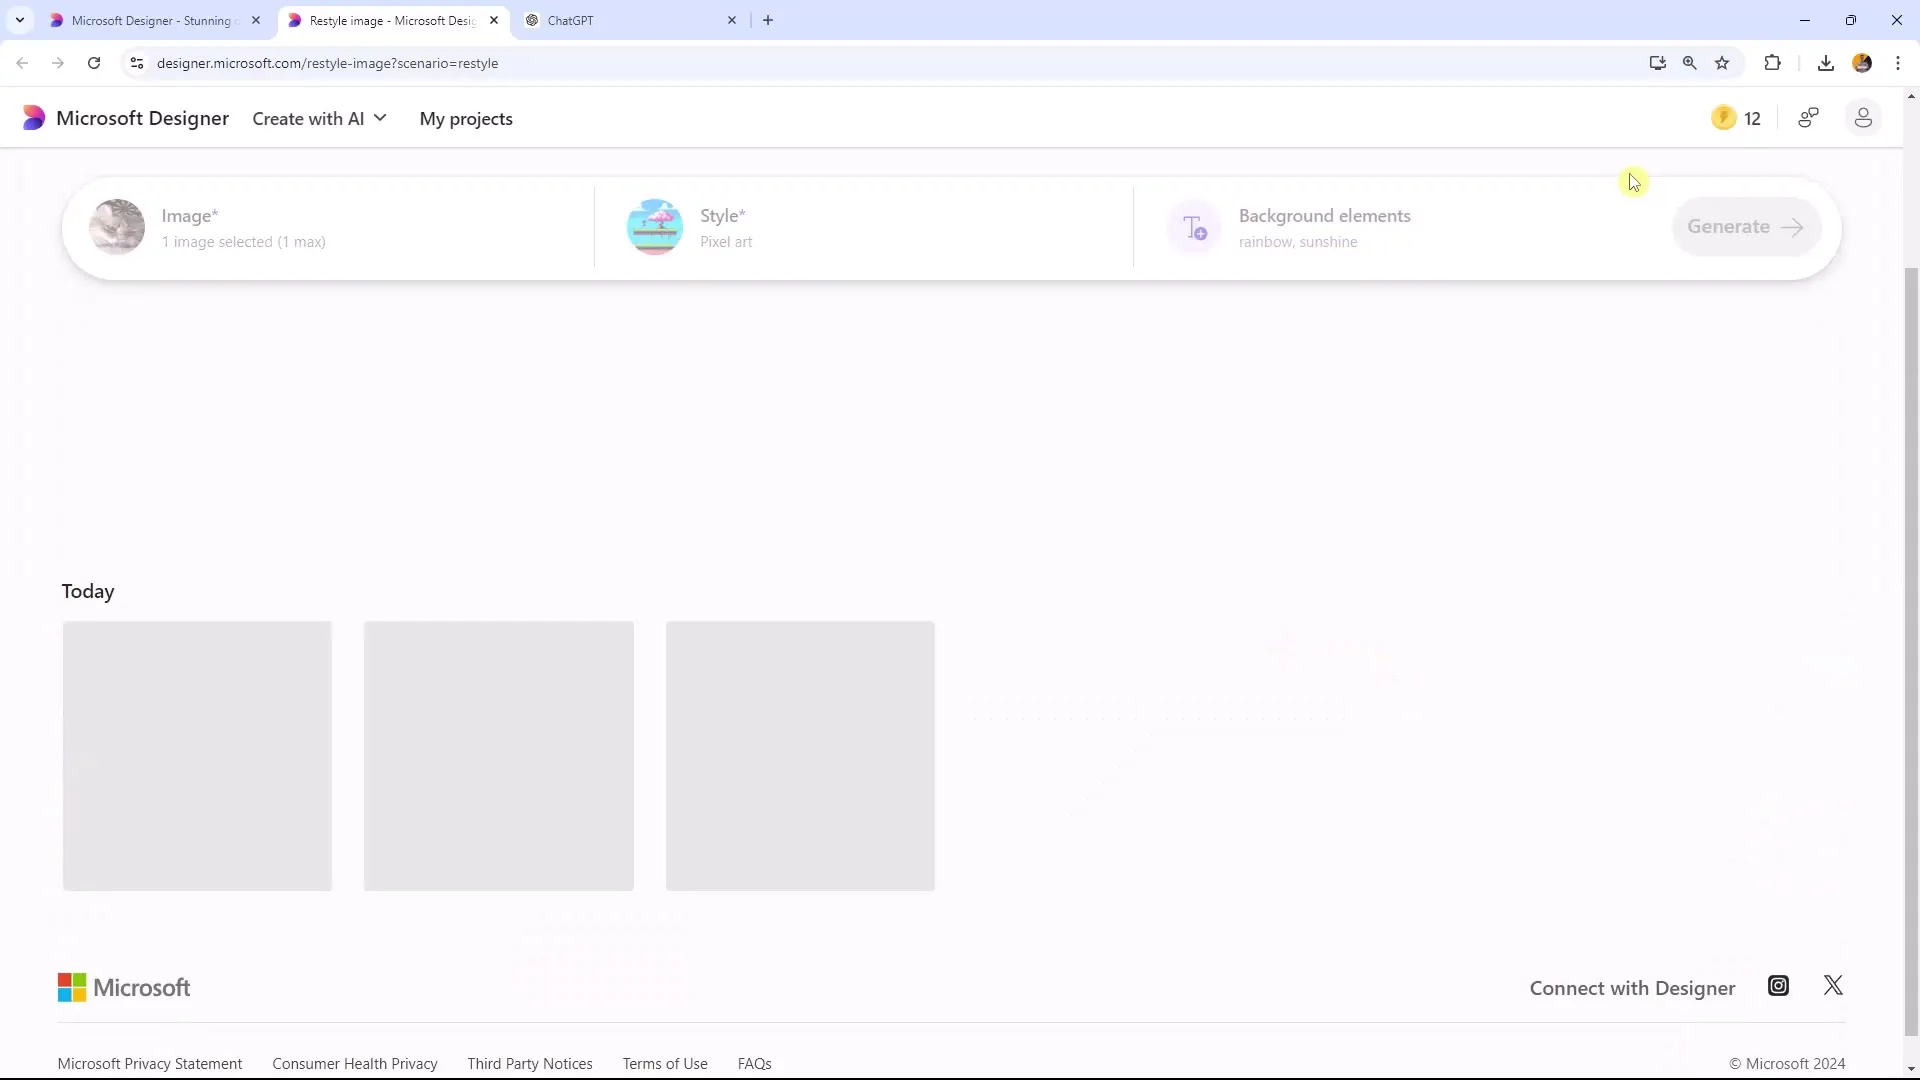
Another exciting aspect of Microsoft Designer is the ability to add backgrounds. While editing your image, you can choose the background that complements the main image. A cheerful background like "Sunshine and Rainbows" can give the image a lively touch. However, it is important to note that not every image is suitable for a background change. Sometimes the AI can recognize when there is no space for a new background.
4. Transform the image
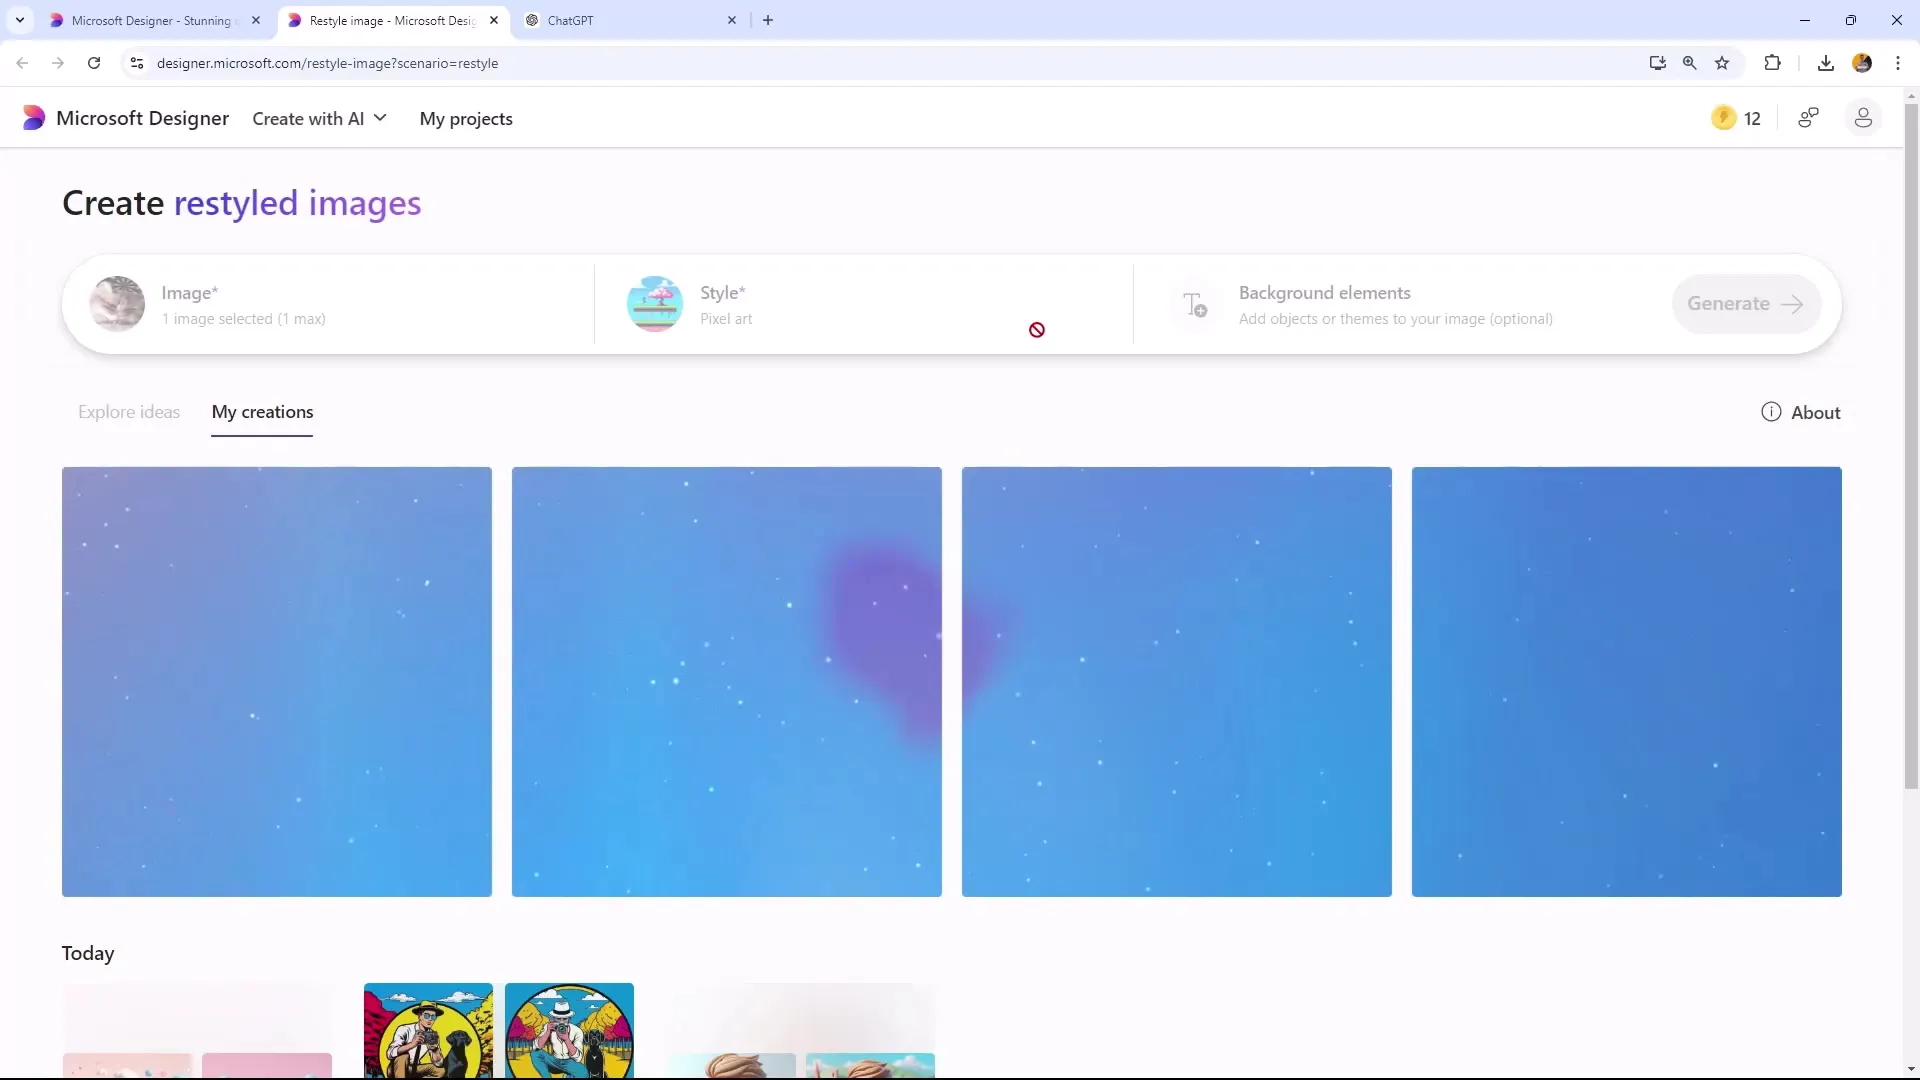
After selecting your style and optionally adding a background, you can initiate the transformation of your image. Click the appropriate button to let the AI do the work. This process may take a while depending on the image and desired style. The result will be a newly designed image that matches the chosen style.
5. Review and adjust the results
Once the transformation is complete, carefully examine the results. You may want to try out multiple styles to see which one works best. You can re-upload the same image and apply different styles to explore the variety of transformations. It's a great way to unleash your creativity.
6. Save and use the image
If you are satisfied with your edited image, you can save it. Microsoft Designer allows you to download the finished image in various formats. You can use the image as a profile picture, for presentations, or share it on social media. The possibilities are virtually unlimited.
Summary
In this tutorial, you have learned how to use Microsoft Designer to creatively redesign images. From the basic steps of uploading to choosing styles and backgrounds, the tool offers extensive possibilities for your designs. Experiment with different styles and observe how the AI transforms your images. Have fun creating!
Frequently Asked Questions
What is Microsoft Designer?Microsoft Designer is a creative tool that enables image design through AI.
How do I upload an image?Click on "Image" and select "Add Image" to upload your desired image.
Can I upload multiple images at once?No, you can only upload one image at a time.
What styles are available?There are various styles such as Cubism, Cartoon, Claymation, and many more.
Can I change the background?Yes, but not every image is suitable for it. The AI detects whether a background can be added.
