Microsoft Designer offers you a powerful platform to effectively manage your projects and create a consistent brand kit. In this guide, I will show you step by step how to monitor your projects and create a brand kit to optimize your designs. Let's dive right in!
Key Insights
- Microsoft Designer allows easy monitoring of your projects across different tabs.
- The brand kit offers the ability to define colors, fonts, and logos as part of your brand identity.
- The entire handling of projects and the brand kit is designed to be intuitive and user-friendly.
Step-by-Step Guide
To successfully manage your projects and create a brand kit, follow these steps:
Monitor Projects
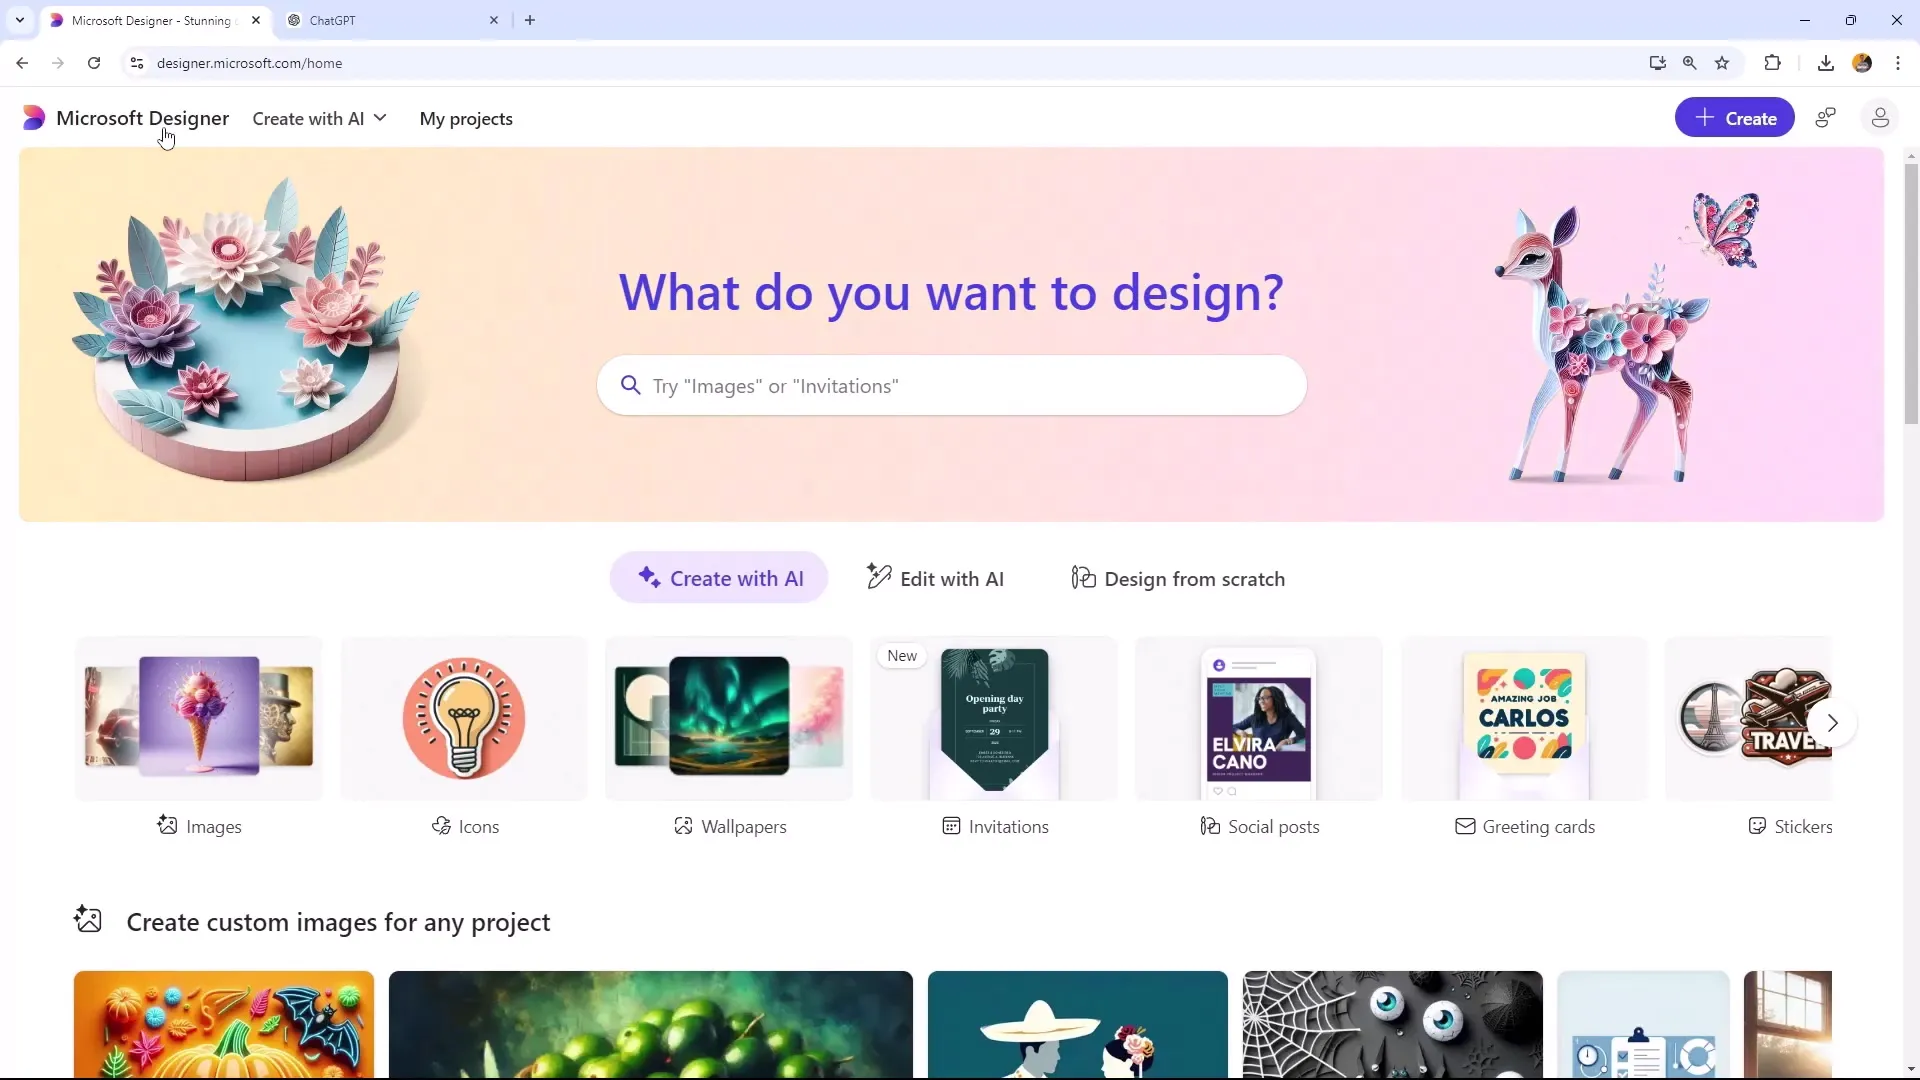
Start by opening the project management tool in Microsoft Designer. Here you can quickly view your recent projects through the "Recent Projects" tab. This area shows you all the projects you have worked on recently, including those where you have made changes.
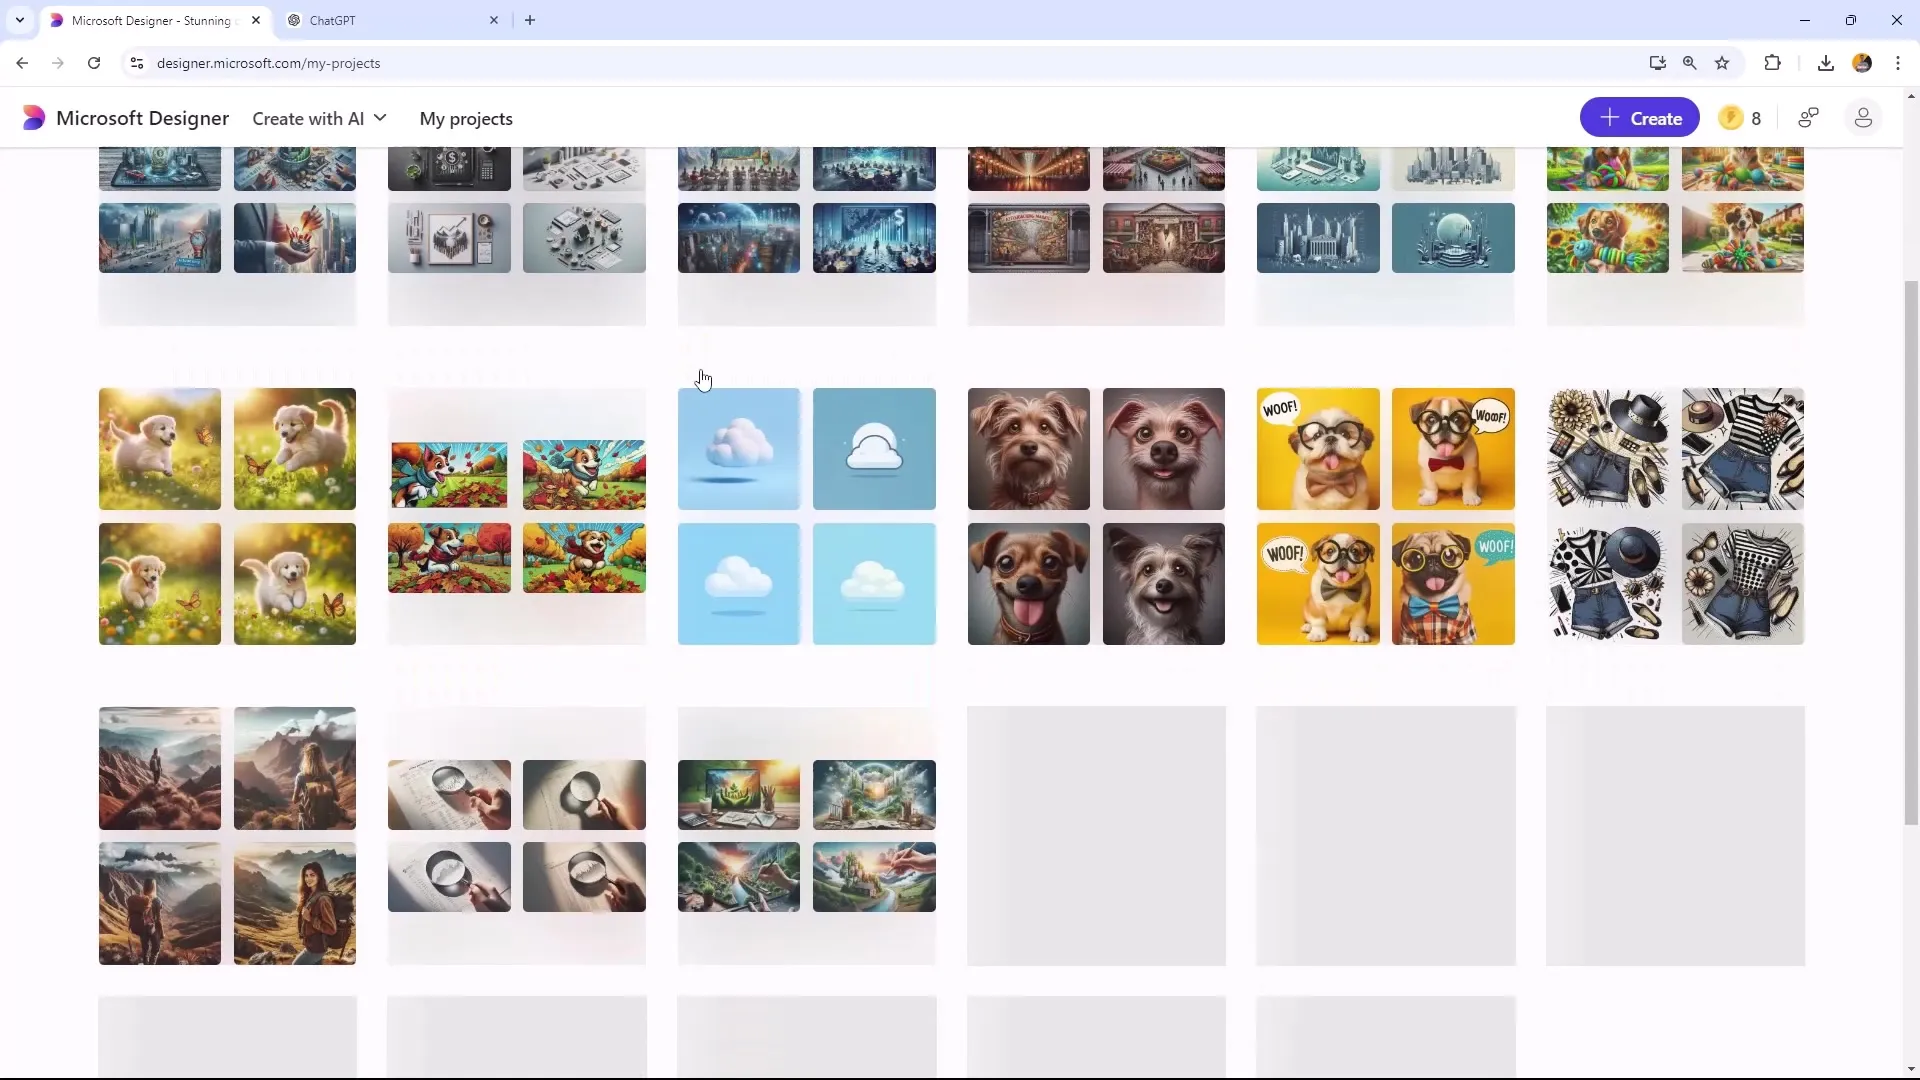
In the "Generated Images" tab, you will find the images created by the AI. Here you have the opportunity to review these images and download or edit them if needed. It is important to be familiar with these tabs to keep track of your work.
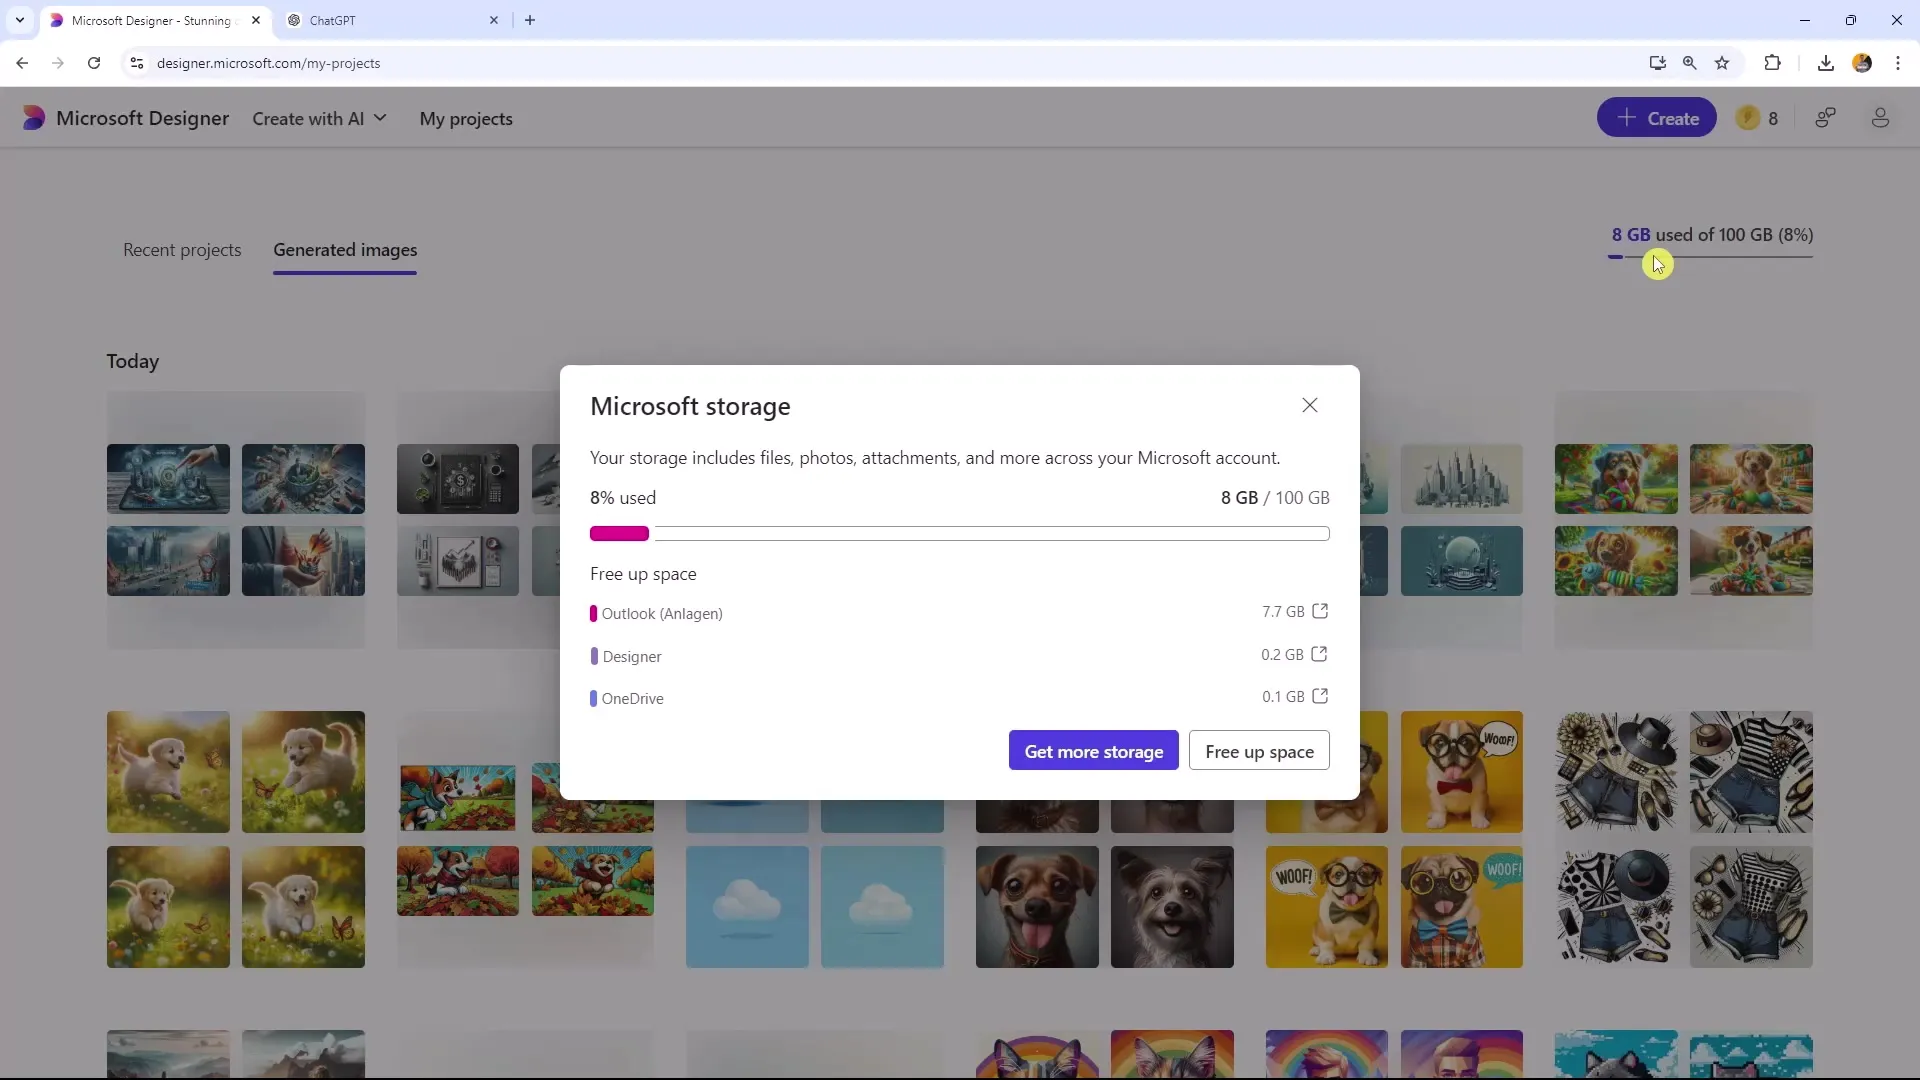
Microsoft Designer offers you a storage space of 100 GB if you have the appropriate subscription. This makes it easy to manage your projects and images without worrying about storage space running out. If you need space, you can delete unnecessary files or projects at any time.
Create Brand Kit
Now let's move on to creating your brand kit. To add a brand kit, select a design, such as a flyer. The "Brand Kit" tab is located at the bottom left of the screen. Click on it and choose "Add Your Brand" to create a new brand kit.
Start by entering the name of your brand, for example, "Happy Dog Toys." This is the first step to define your brand in Microsoft Designer.
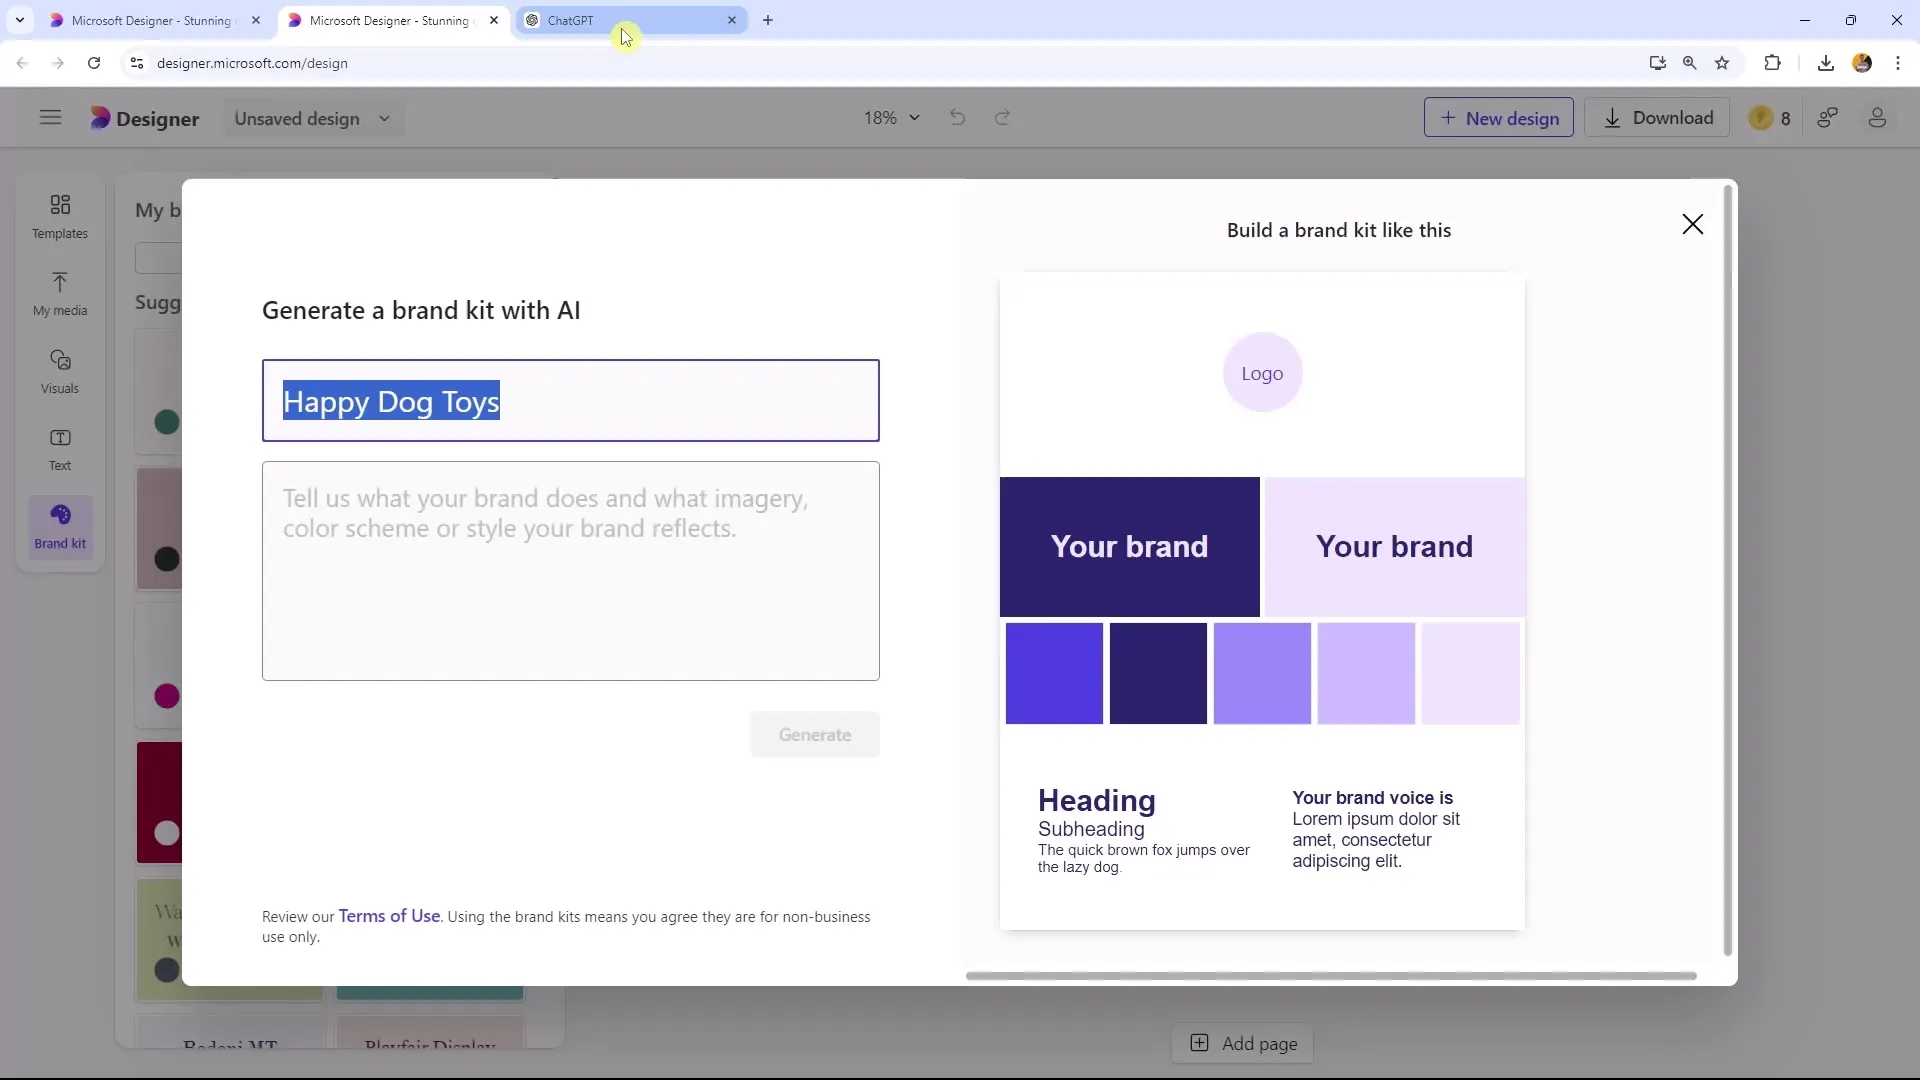
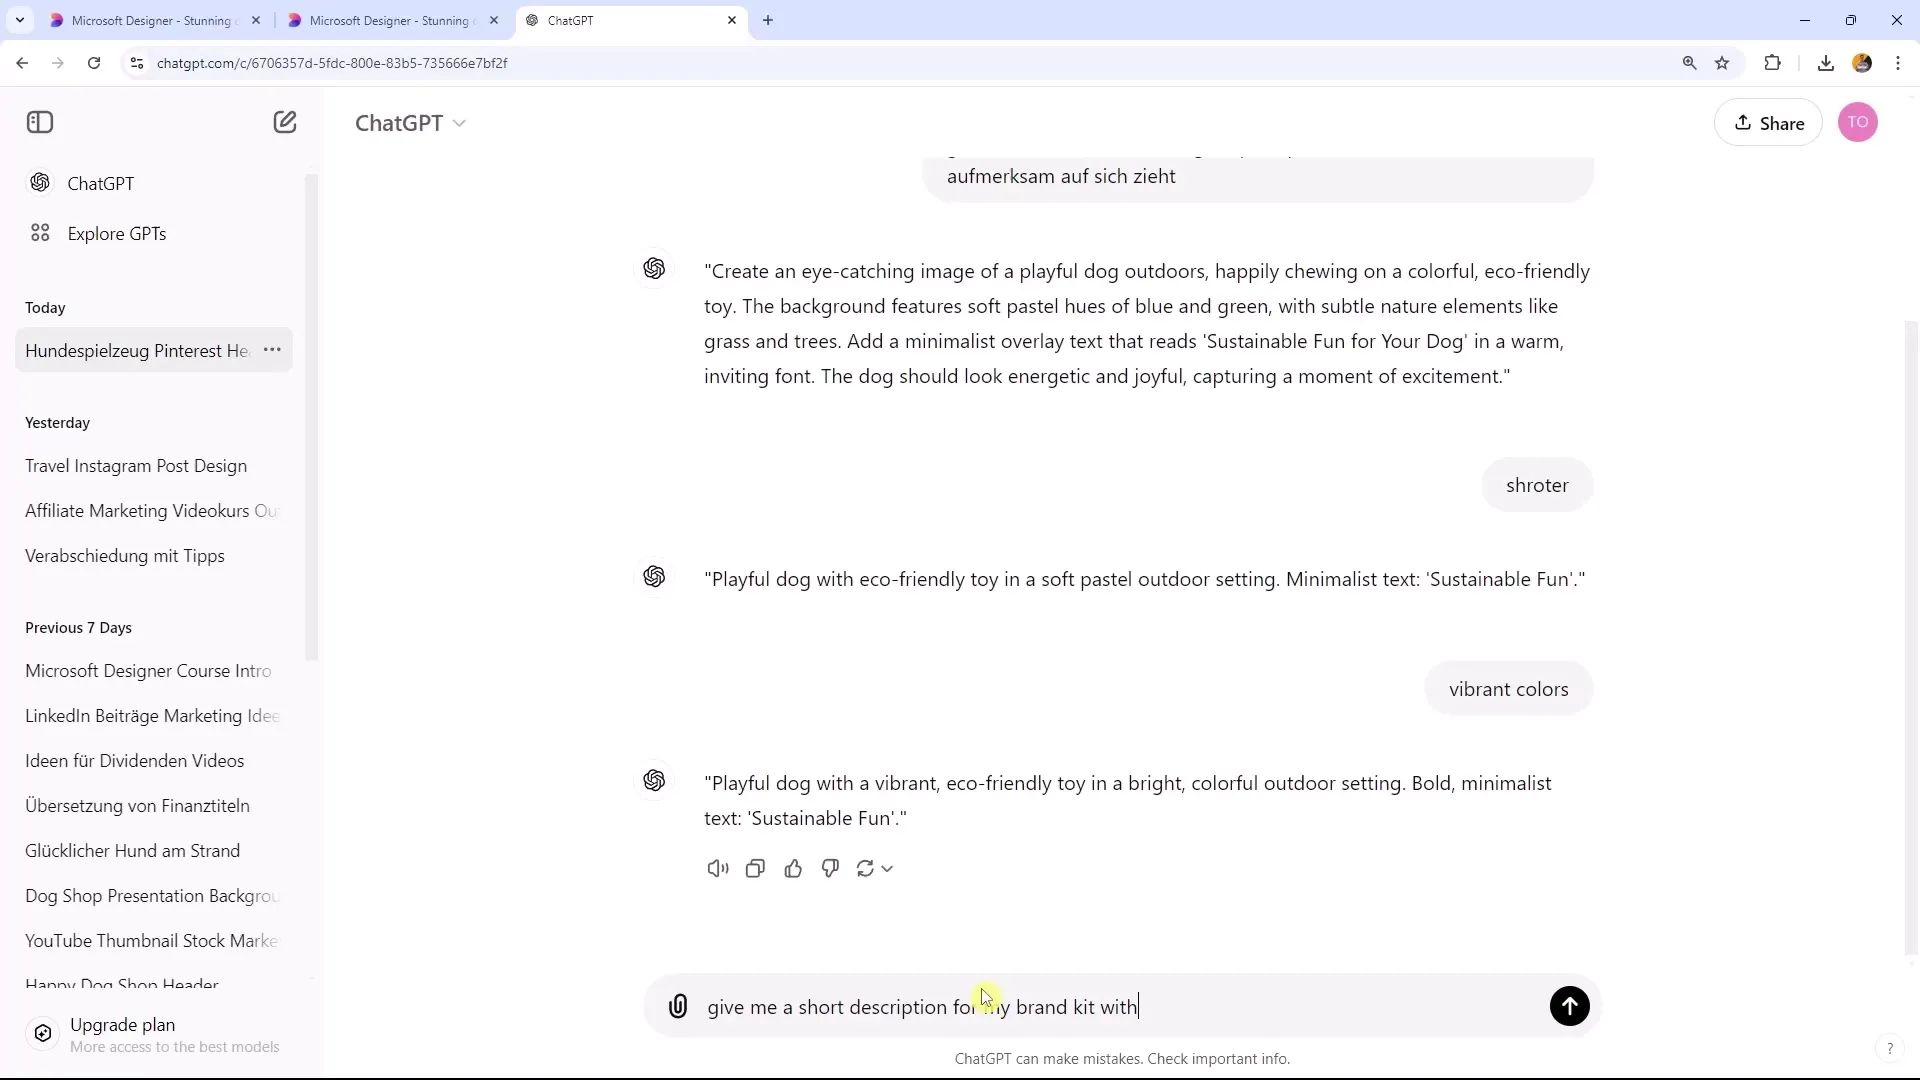
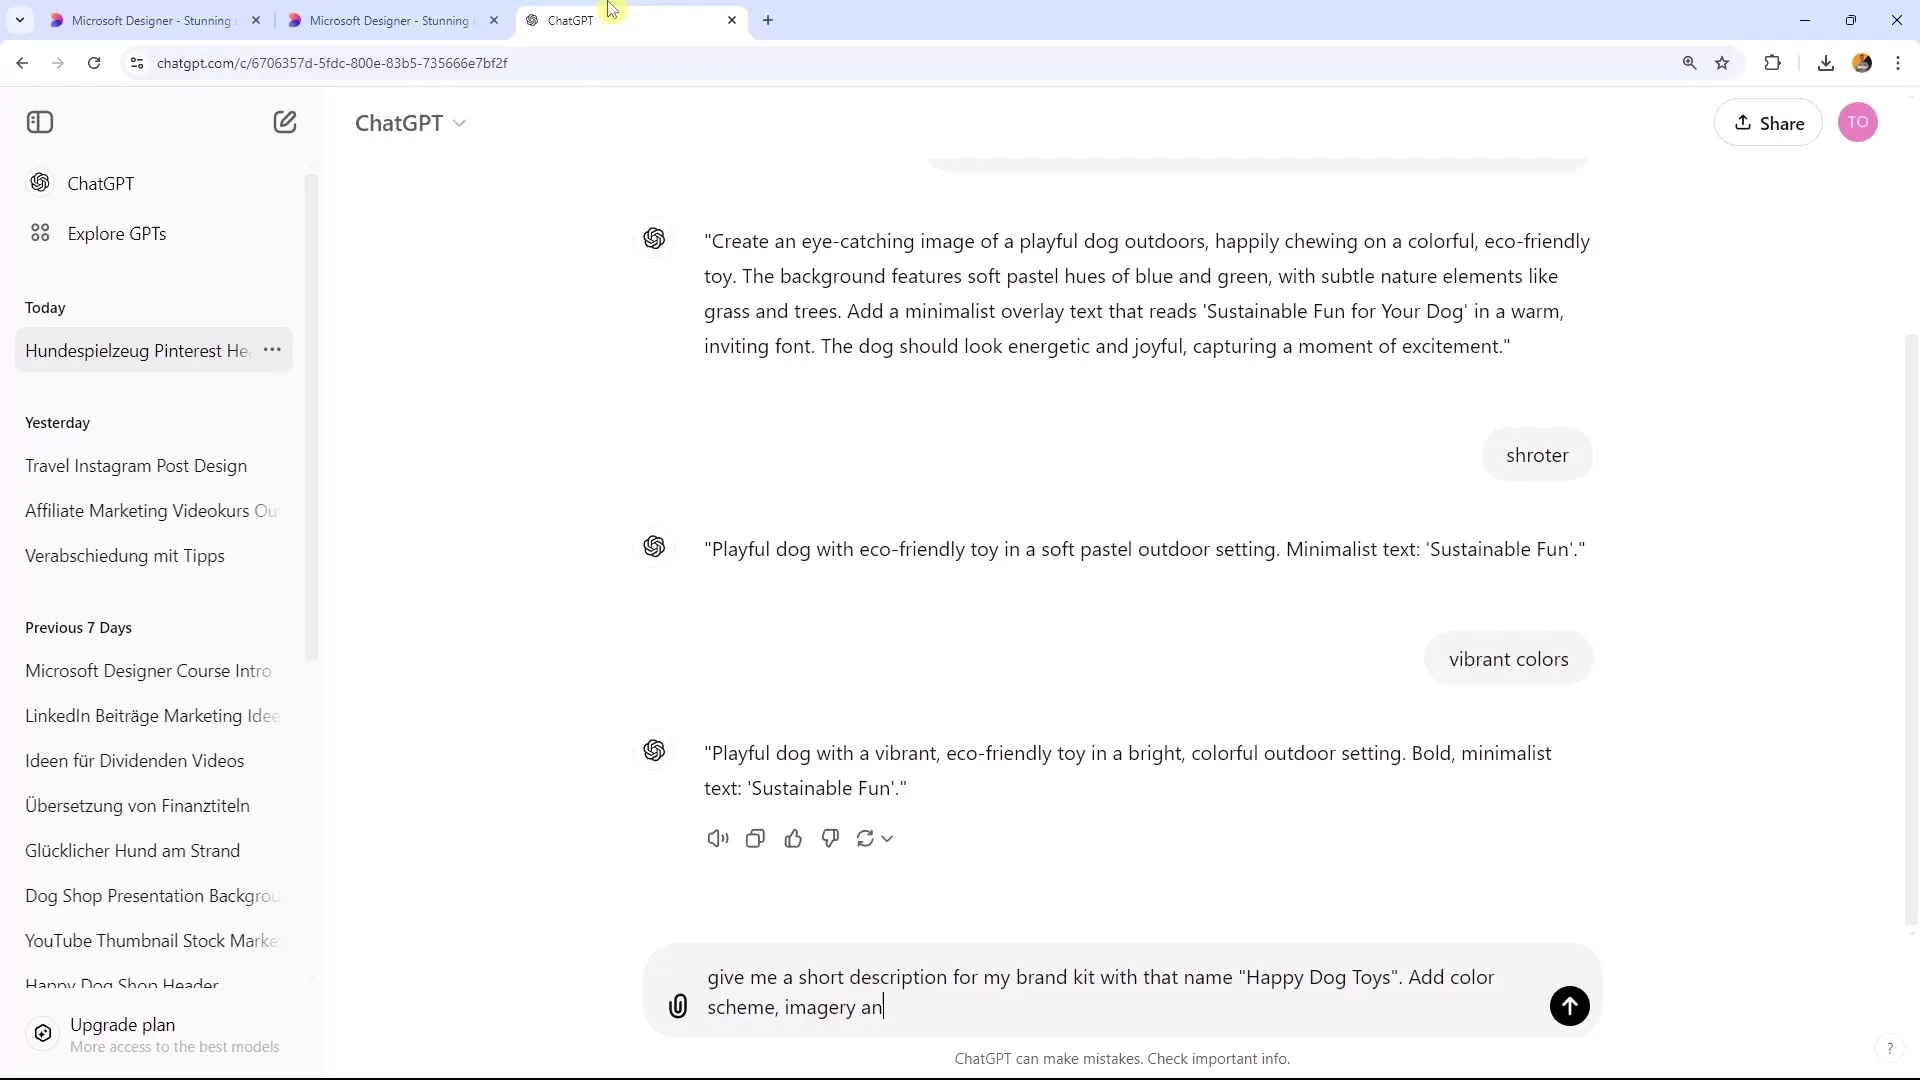
Provide a brief description of your brand. Microsoft Designer expects information here about what your brand does and what color scheme or style it reflects. Keep it short and precise, ideally not exceeding 150 characters.
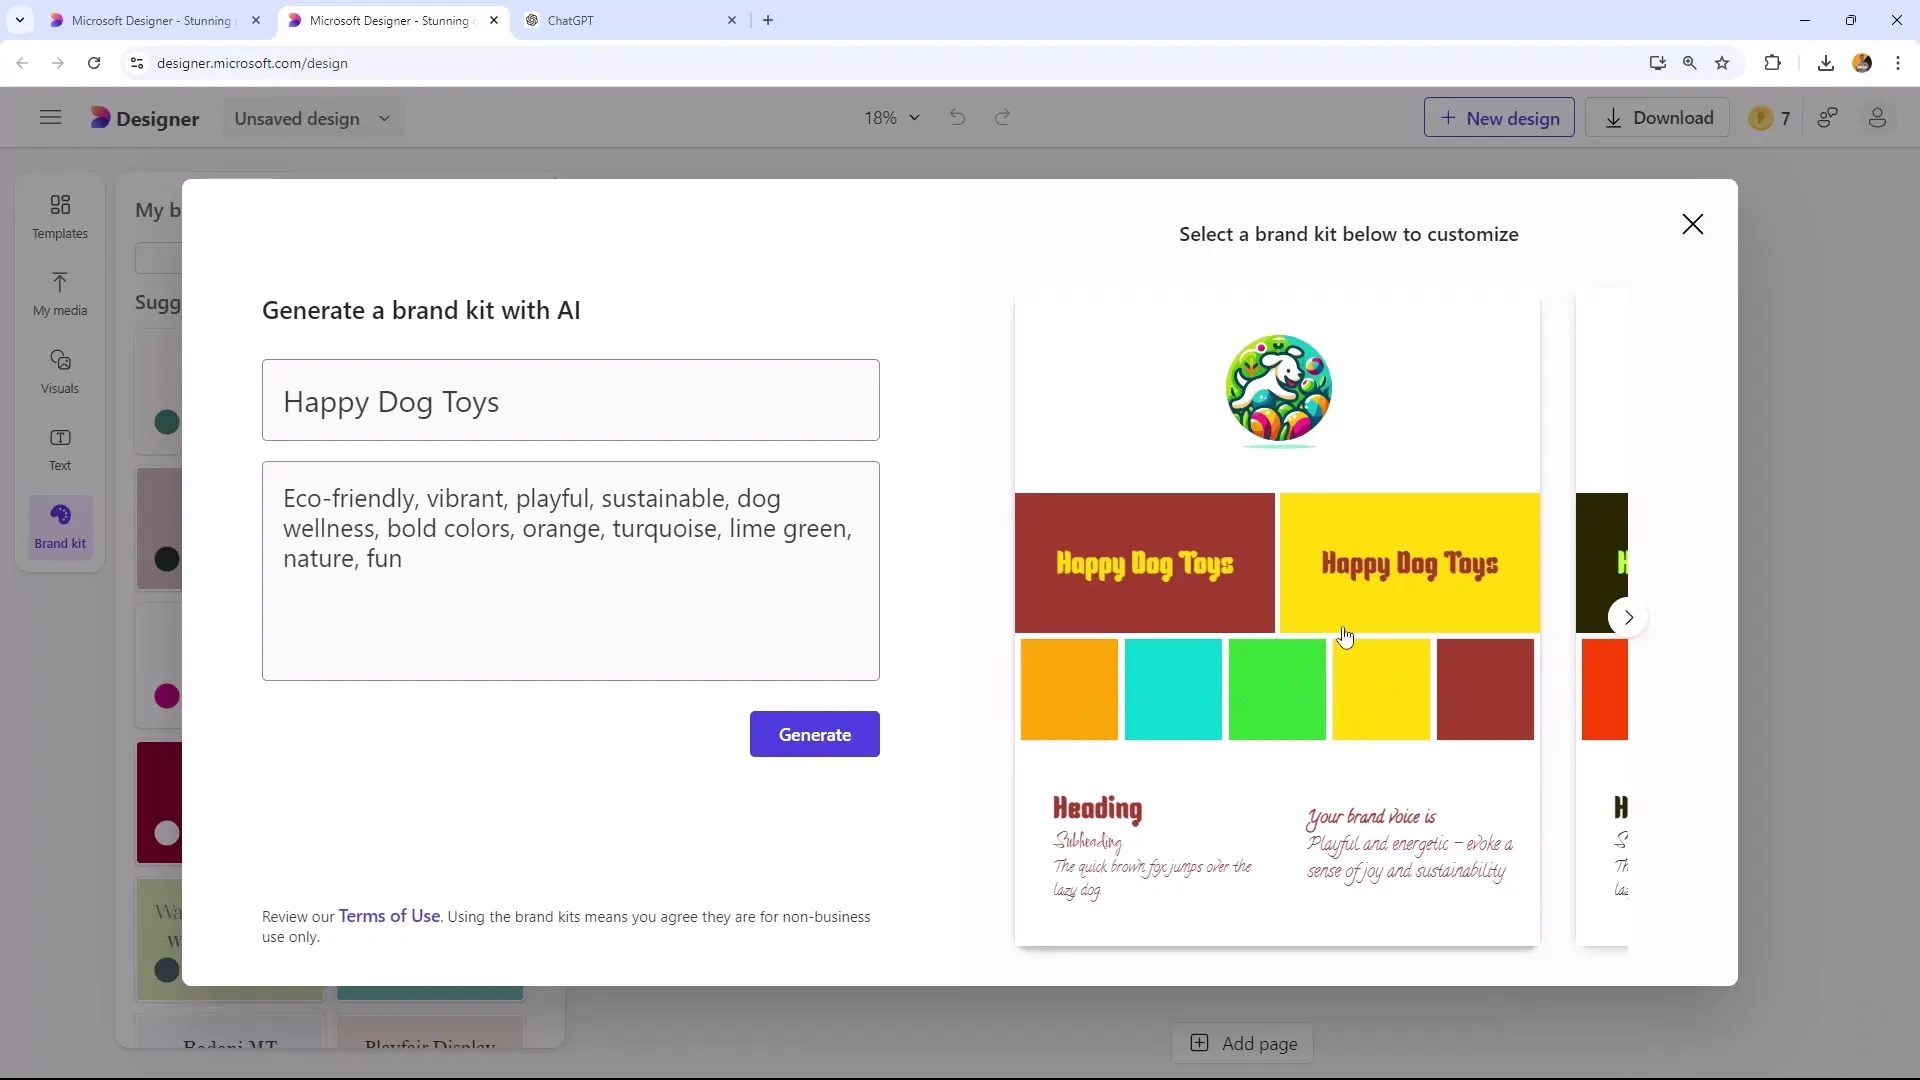
To complete the brand kit, add the color scheme and imagery of your brand. Colors are a crucial part of your brand identity. You can specify specific colors or let Microsoft Designer choose the colors randomly.
After selecting the colors, you will get four design options for your brand kit. Click through the options to find the one that suits you best. You have the option to upload your logo and define the brand voice.
Customize Fonts
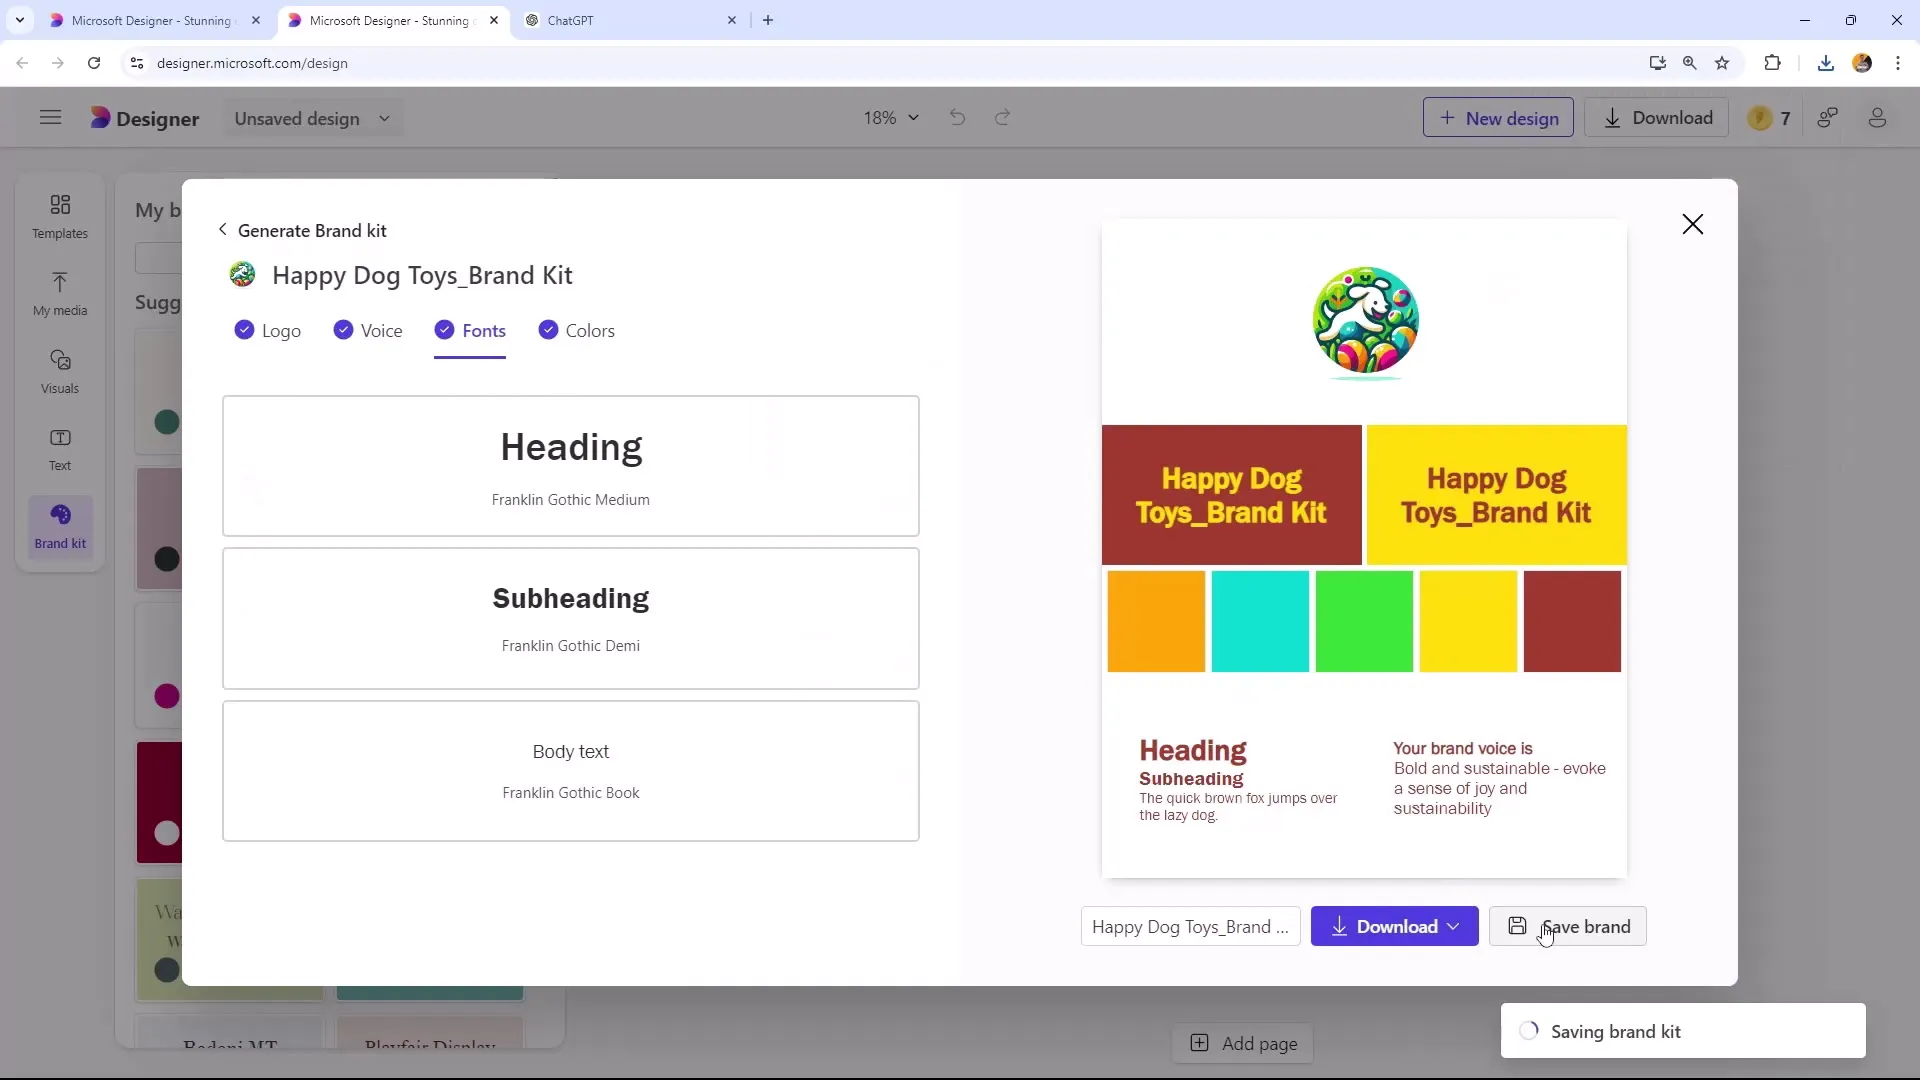
In the next step, you can set the fonts for your brand. You have the option to choose different fonts for headings, subheadings, and body text. This contributes to a consistent presentation of your brand across all designs.
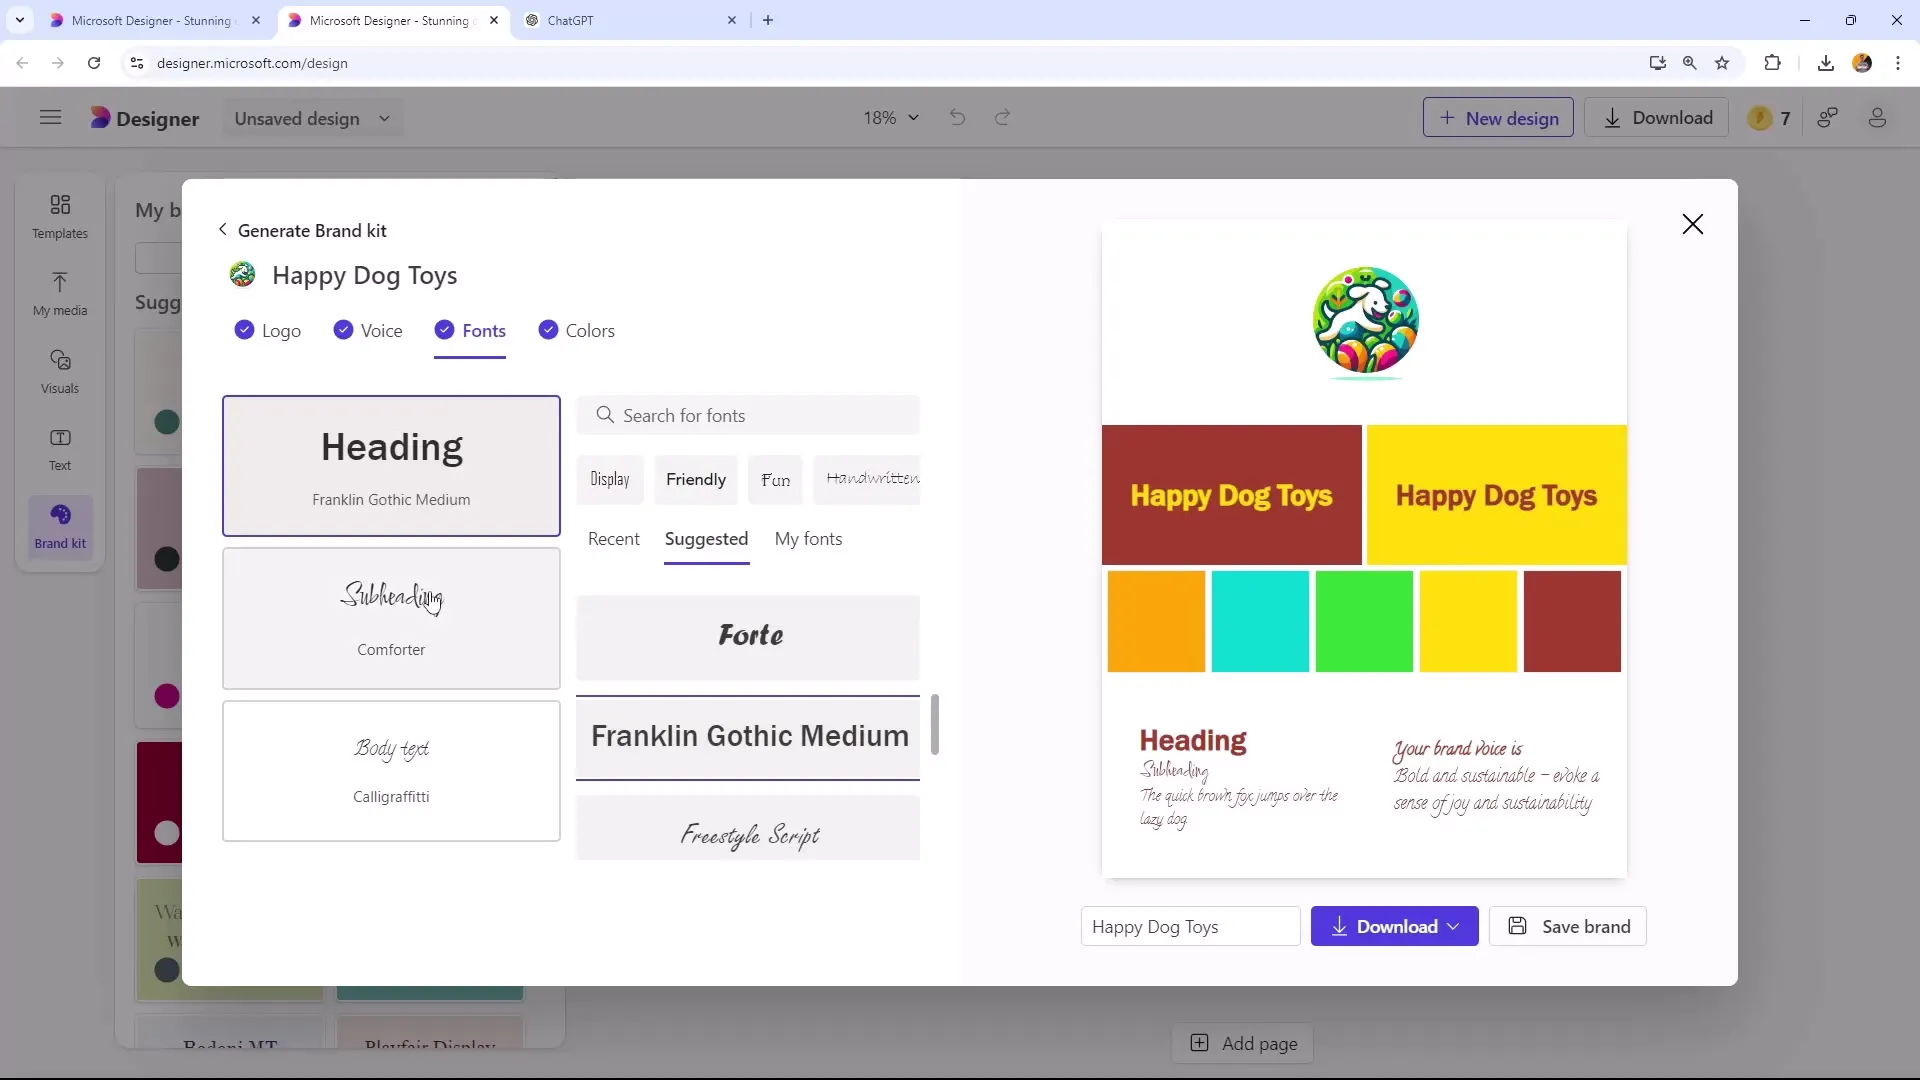
Once you have entered all the required information and are satisfied with the result, save your brand kit. You can download the brand kit file as a logo, brand card, or as a ZIP folder. Choose your desired option and click "Save".
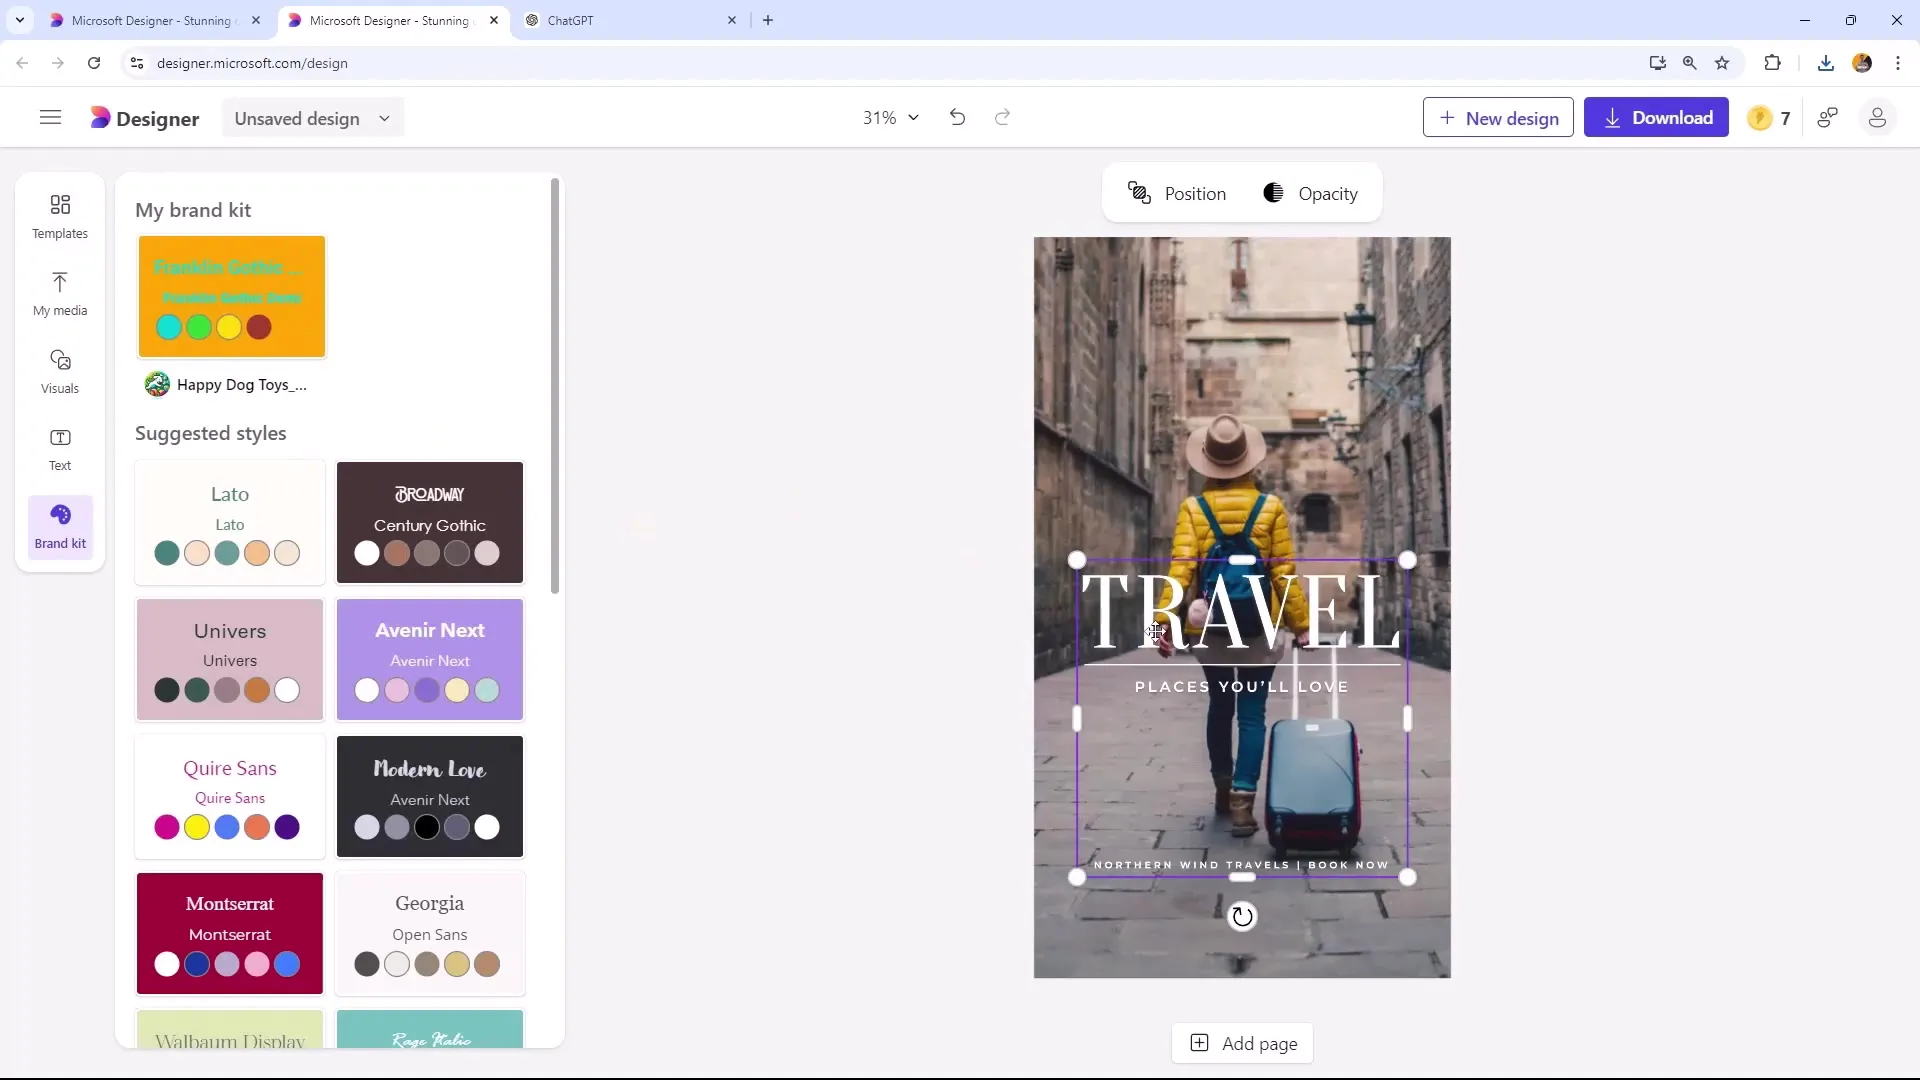
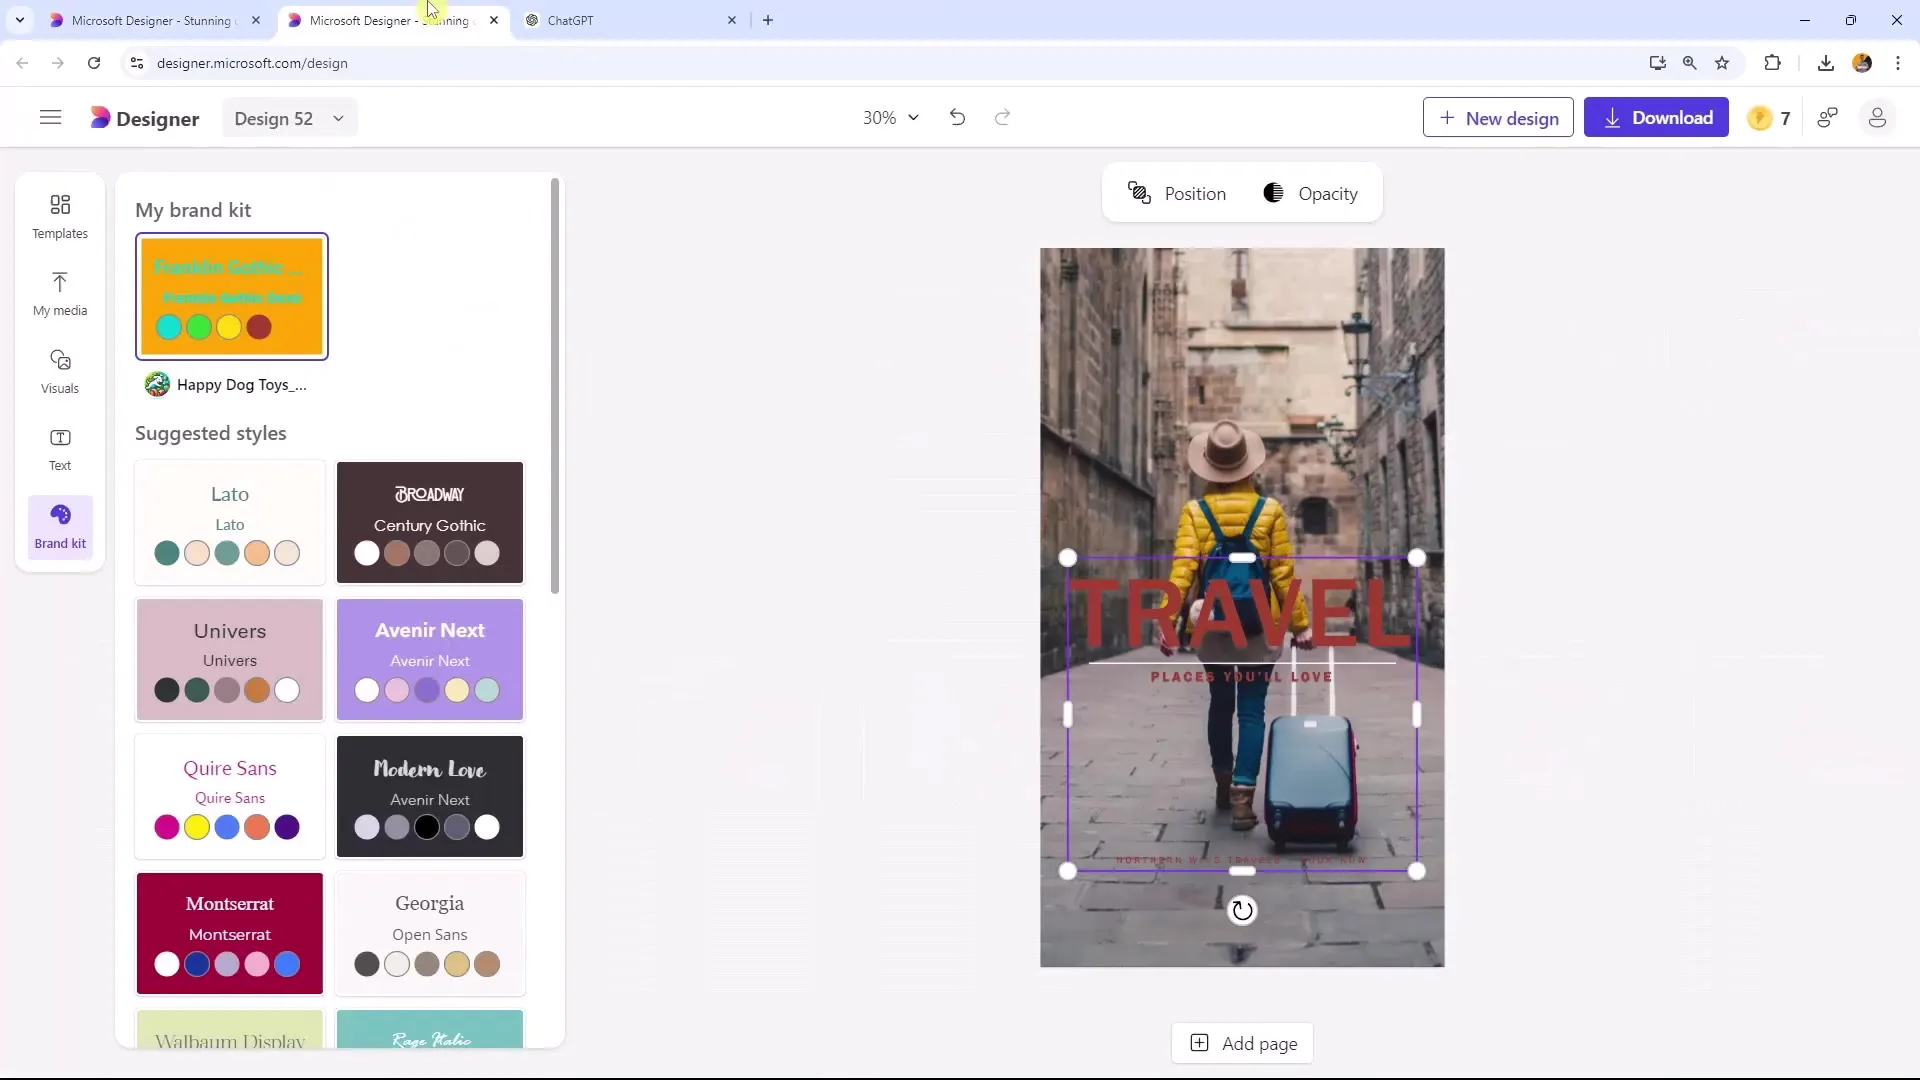
Once your Brand Kit has been created, you can insert it into your projects. For example, when creating a flyer, you can select the Brand Kit to automatically apply all settings.
Managing your Brand Kit
You can customize or completely delete your Brand Kit at any time if you need to make changes or create a new identity for your brand. This is particularly helpful when your brand strategy evolves or you want to set a new focus.
Summary
With the above steps, you are now able to efficiently monitor your projects and create an effective Brand Kit. Utilize the functionalities of Microsoft Designer to optimize your designs and ensure a consistent brand identity.
