In this tutorial, you will learn how to set up your first project for creating web forms. I will show you step by step how to create a new project in Visual Studio Code, install the necessary dependencies, and finally start a development server. In the end, you will be able to create a simple HTML form and understand how to interact with JavaScript.
Key Takeaways
- You can work with Visual Studio Code or another editor.
- Node.js and npm are prerequisites for project installation.
- Developing with Vanilla JavaScript is a good starting point for creating forms.
- Interacting with HTML elements is easily done through the console.
Step-by-Step Guide
Create Project and Prepare
First, open the terminal in Visual Studio Code. In this terminal, you will create the necessary directory for your project. You can also use any other editor if you prefer.
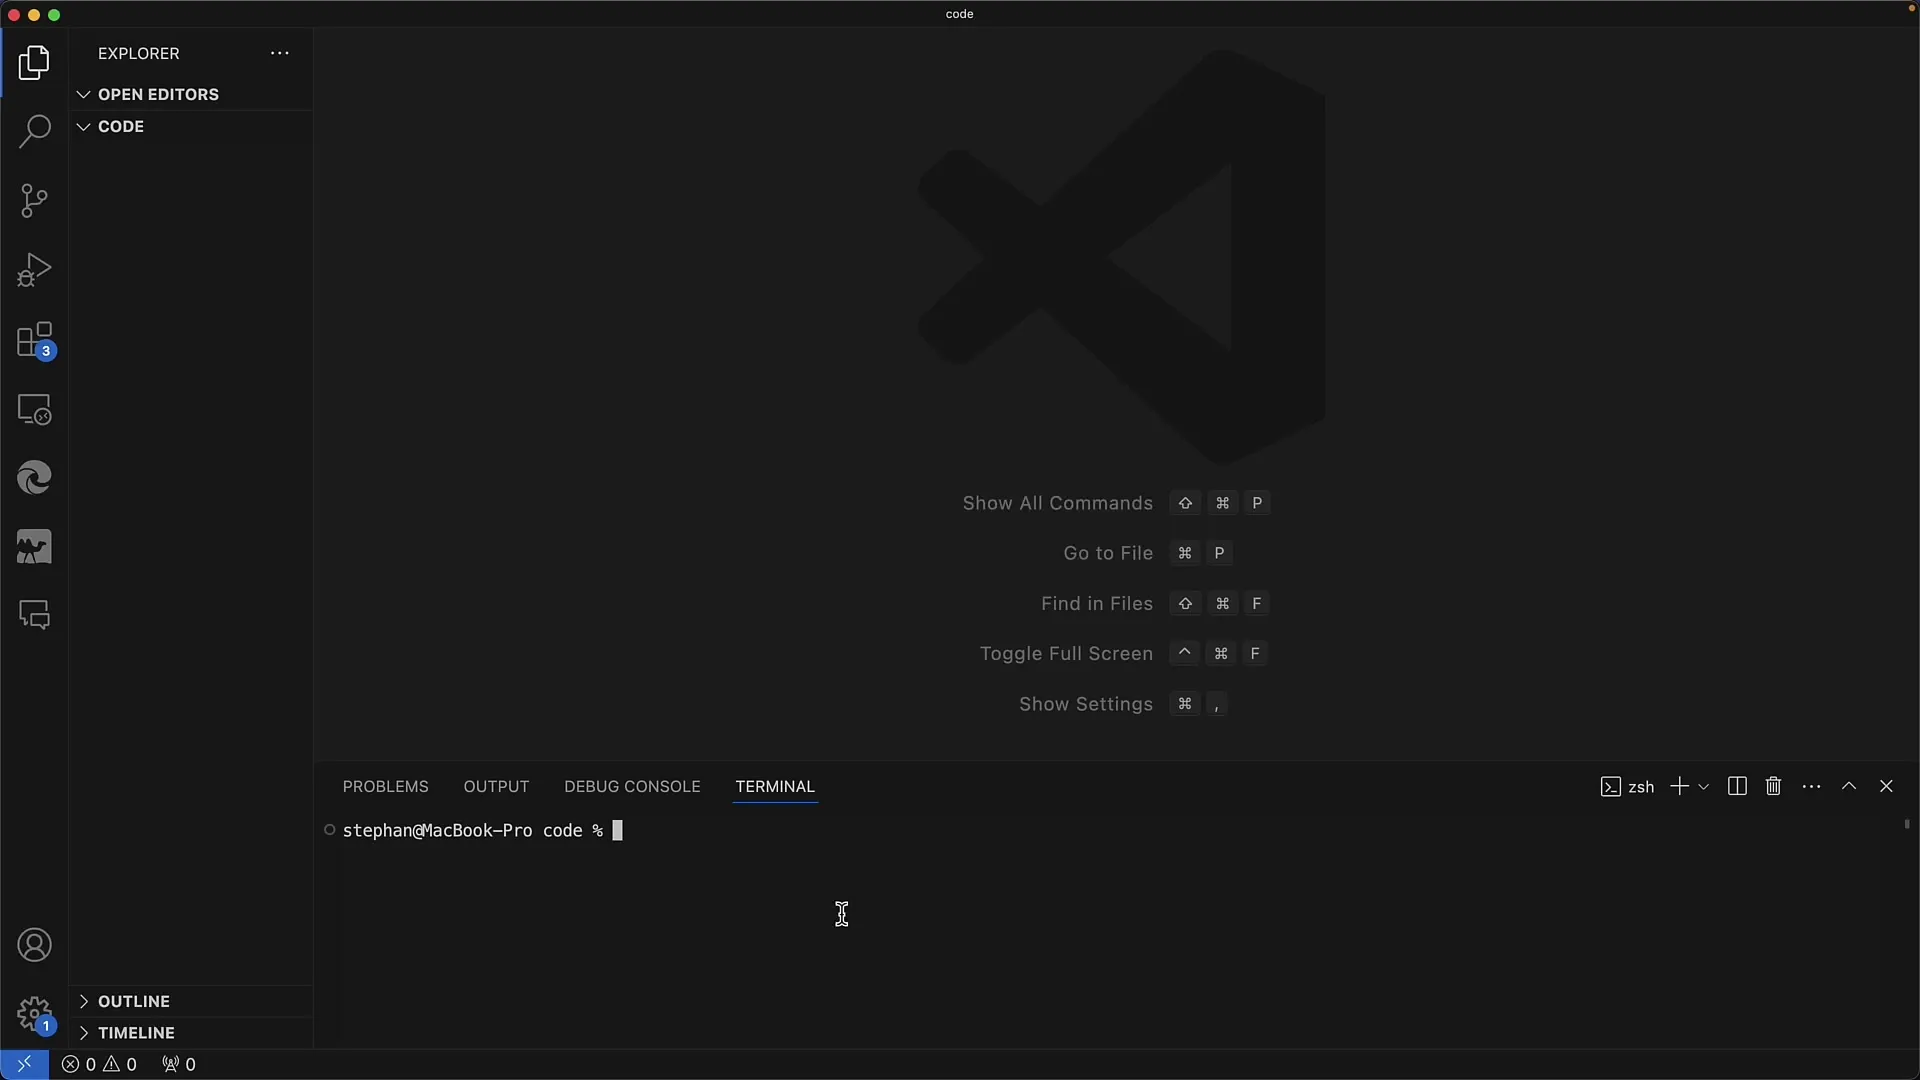
Now that you are in the terminal, ready to create your new project. You will use the npm tool to create a new project. Make sure you have Node.js installed on your computer as npm works with it.
Create a new project using the command npm create. I recommend using the name "Form App". During the installation, you may be asked if you want to install additional packages, which you should usually do.
Confirmations and Change Project Directory
It is important to select Vanilla JavaScript as we currently do not require any specific frameworks or typing. Simply choose JavaScript, and you are ready for the next step.
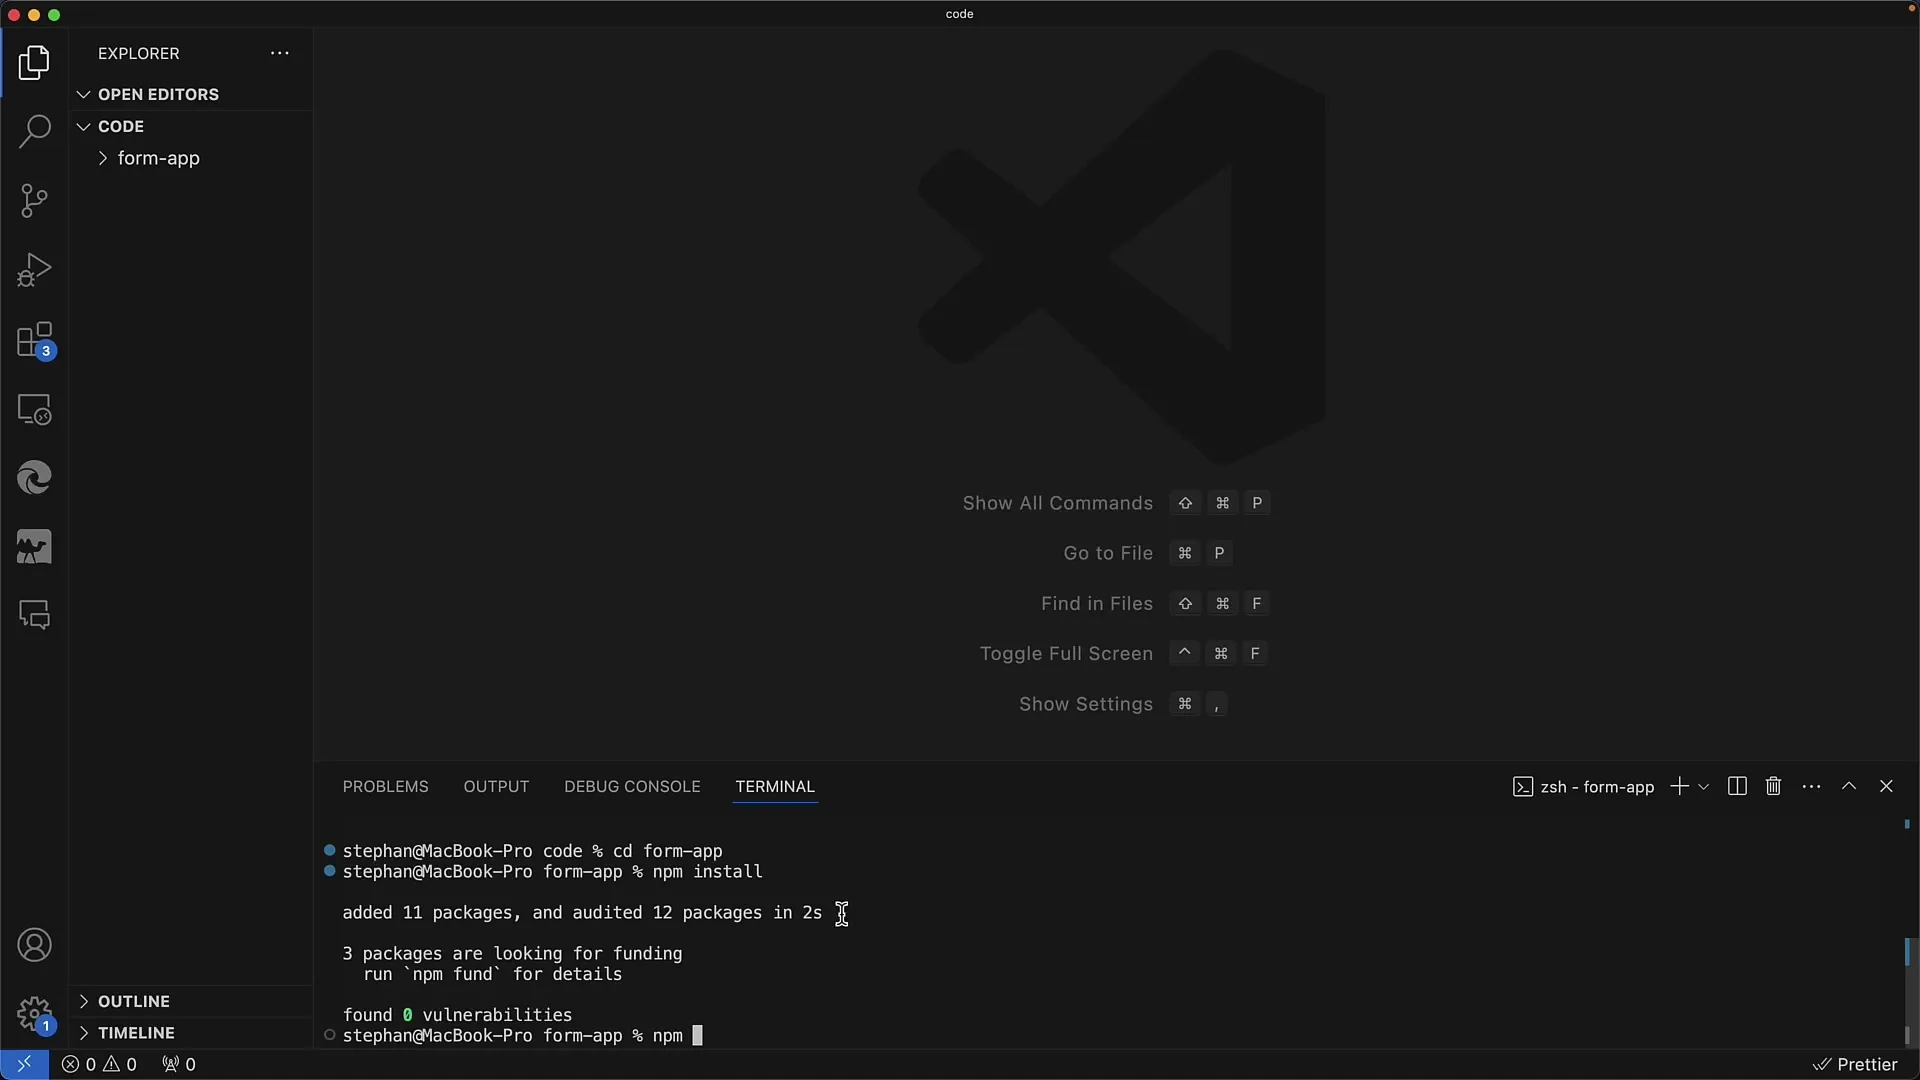
After the project is successfully created, you need to navigate to the directory of your newly created project. To do this, use the command "cd [project name]" and install all necessary packages by running "npm install".
Start Development Server
Once all packages are installed, you can start the development server. This is done with the command npm run dev. The server will now start, and you will receive a URL to open the application in the browser, such as "http://localhost:5173".
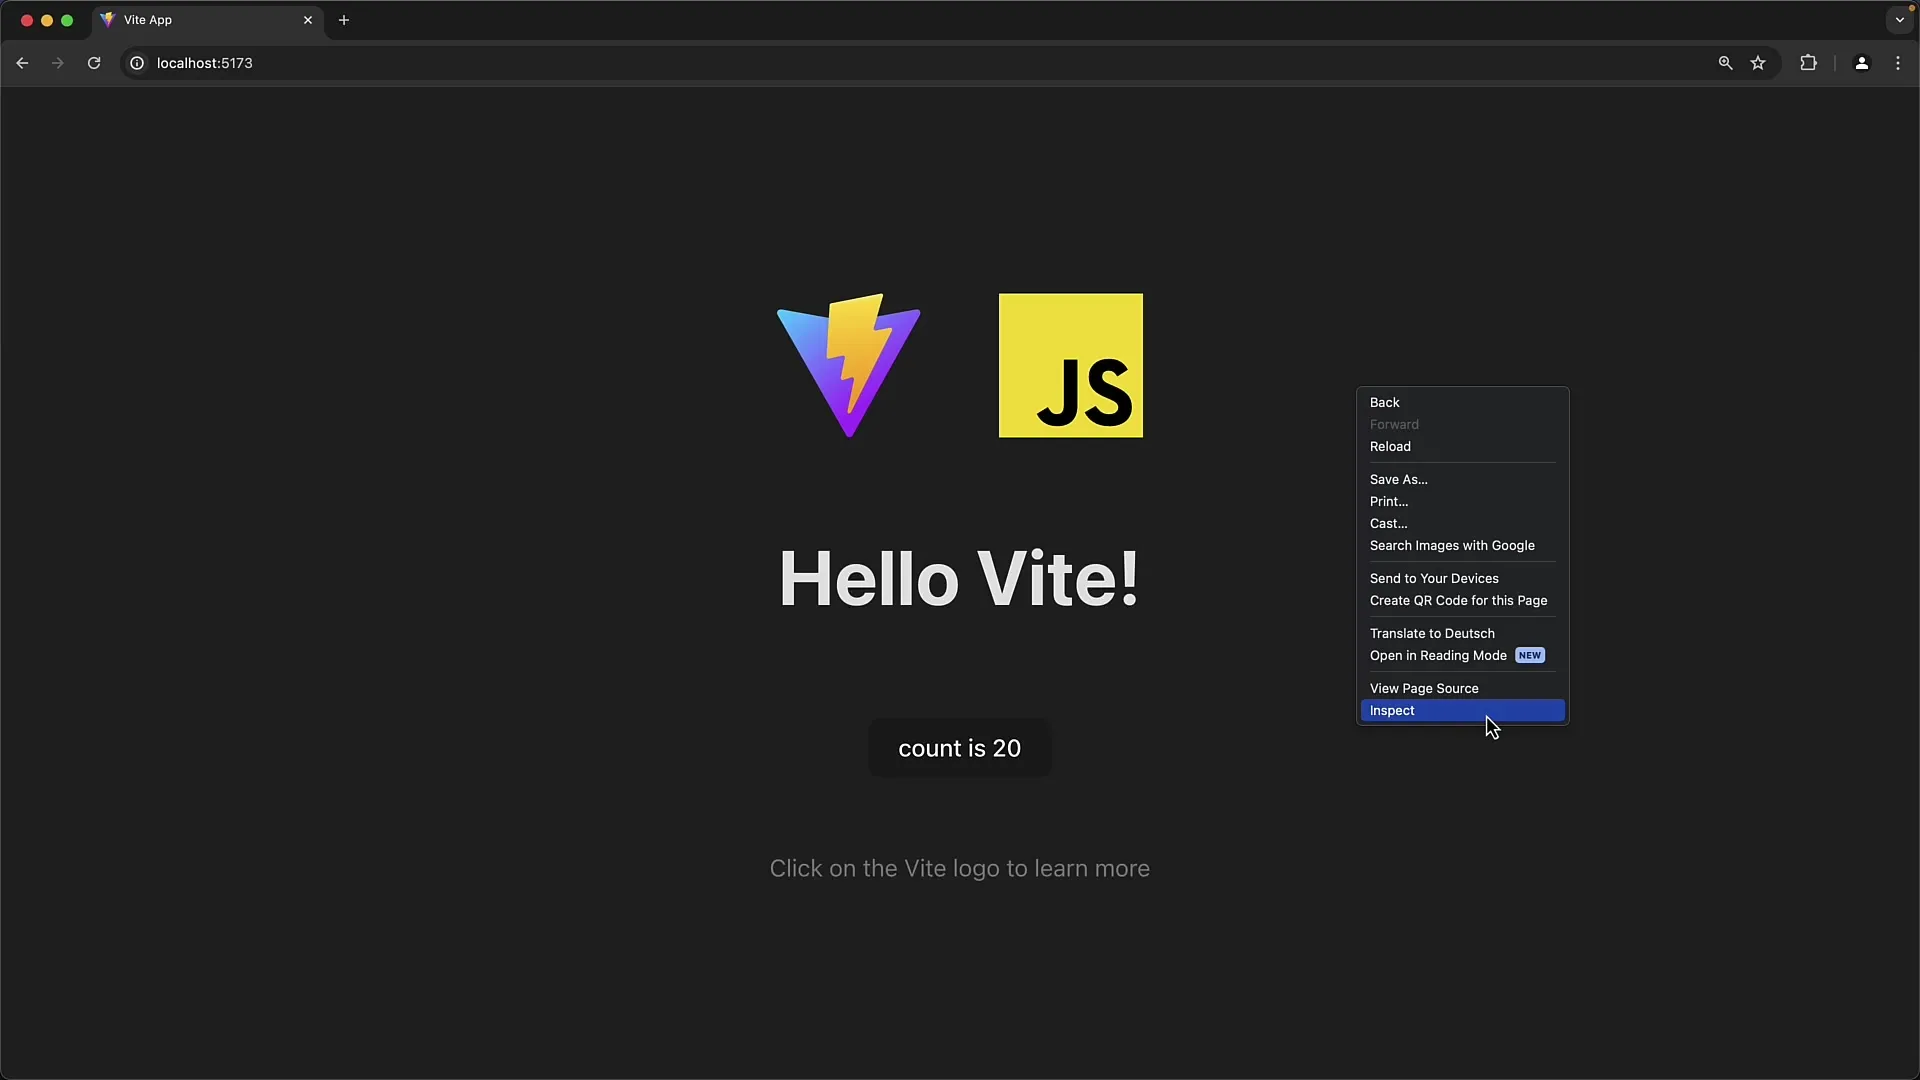
Open a web browser of your choice, be it Chrome, Firefox, or Safari, to test the app. You should be able to see the test application and check its functionality.
Getting Started with the App
In this test application, you should see a counter that you can increment by clicking. Here, you will be curious about the code behind this counter. The special description element already included in the app invites you to learn more about DOM manipulation.
Let's now examine the source code in the main JavaScript file. Here you will find the basic manipulations of the DOM used in the original code. You can see how elements are created and methods are called to enable interactions.
Using Chrome Developer Tools
Chrome Developer Tools are a very useful tool that helps you with development and debugging. You can open the tools to inspect what is happening in the background more closely. For example, you can set breakpoints to stop certain code execution and inspect variables.
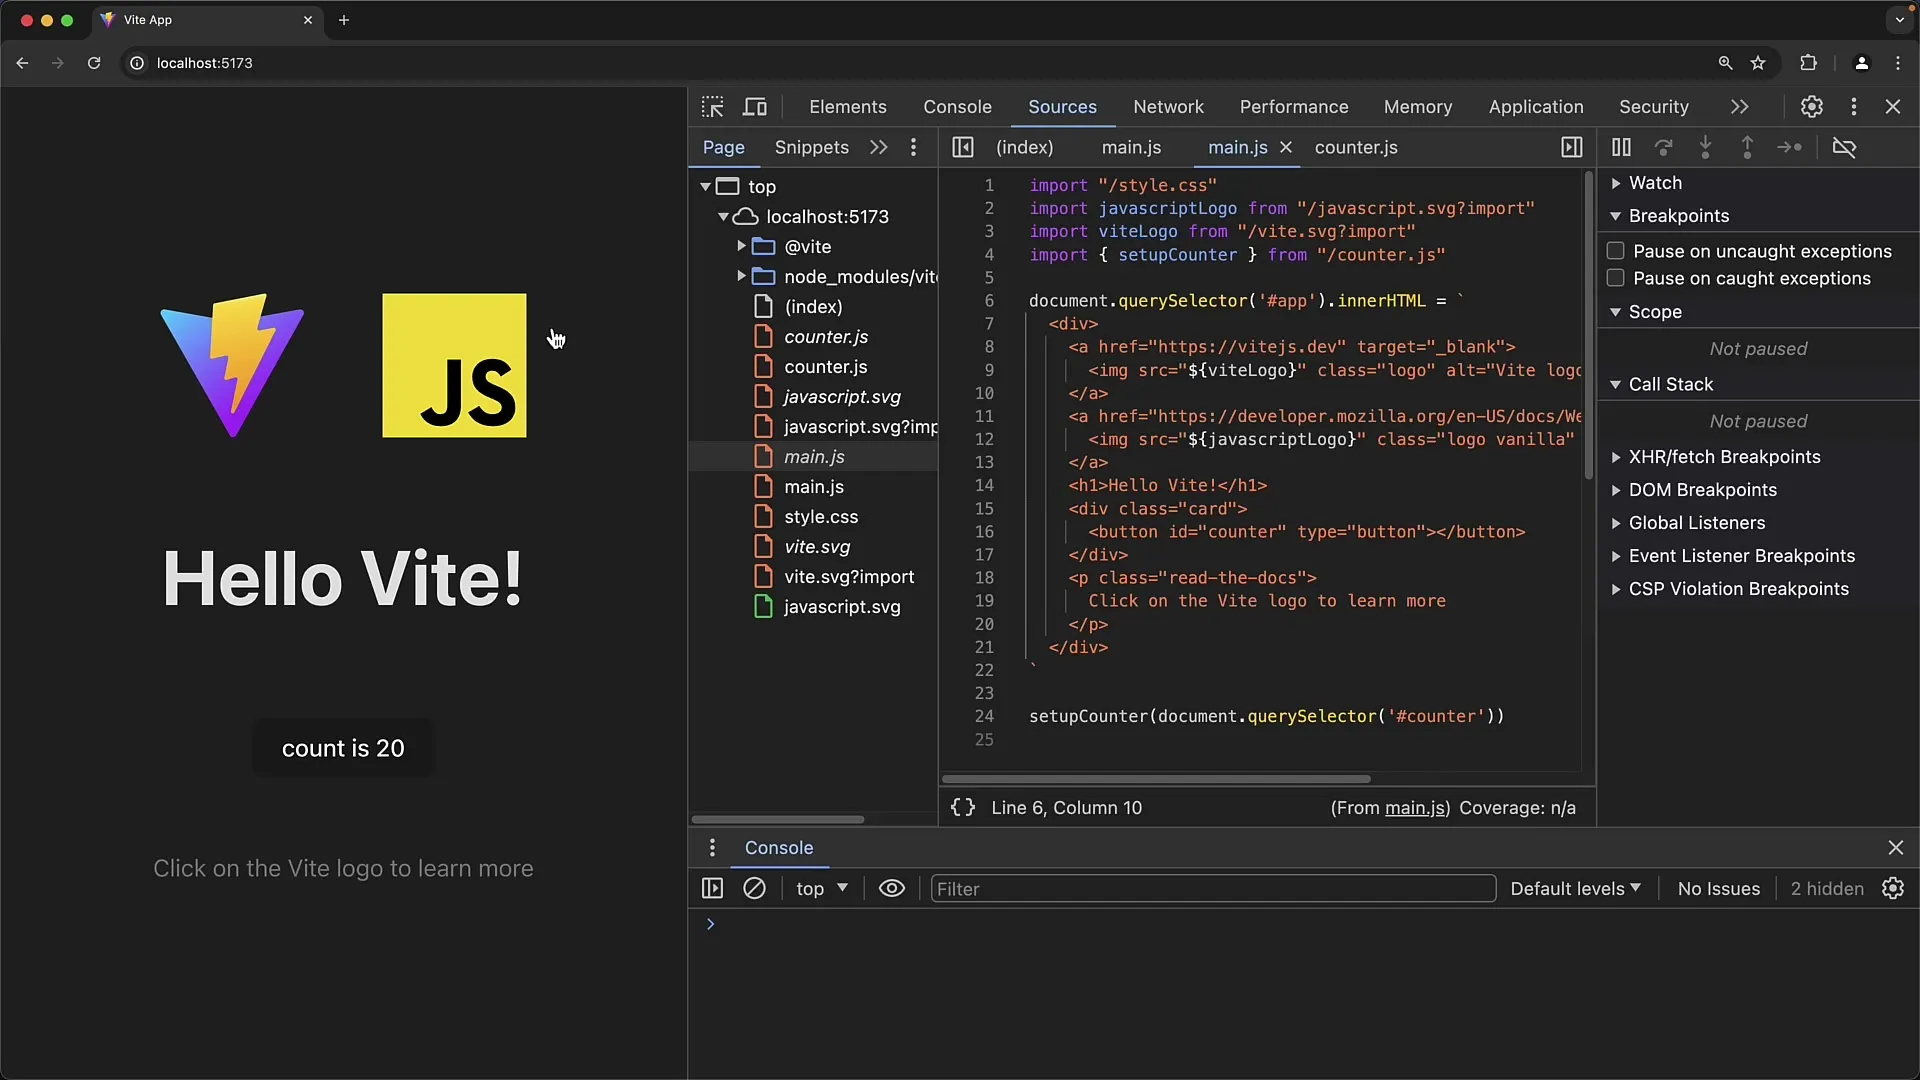
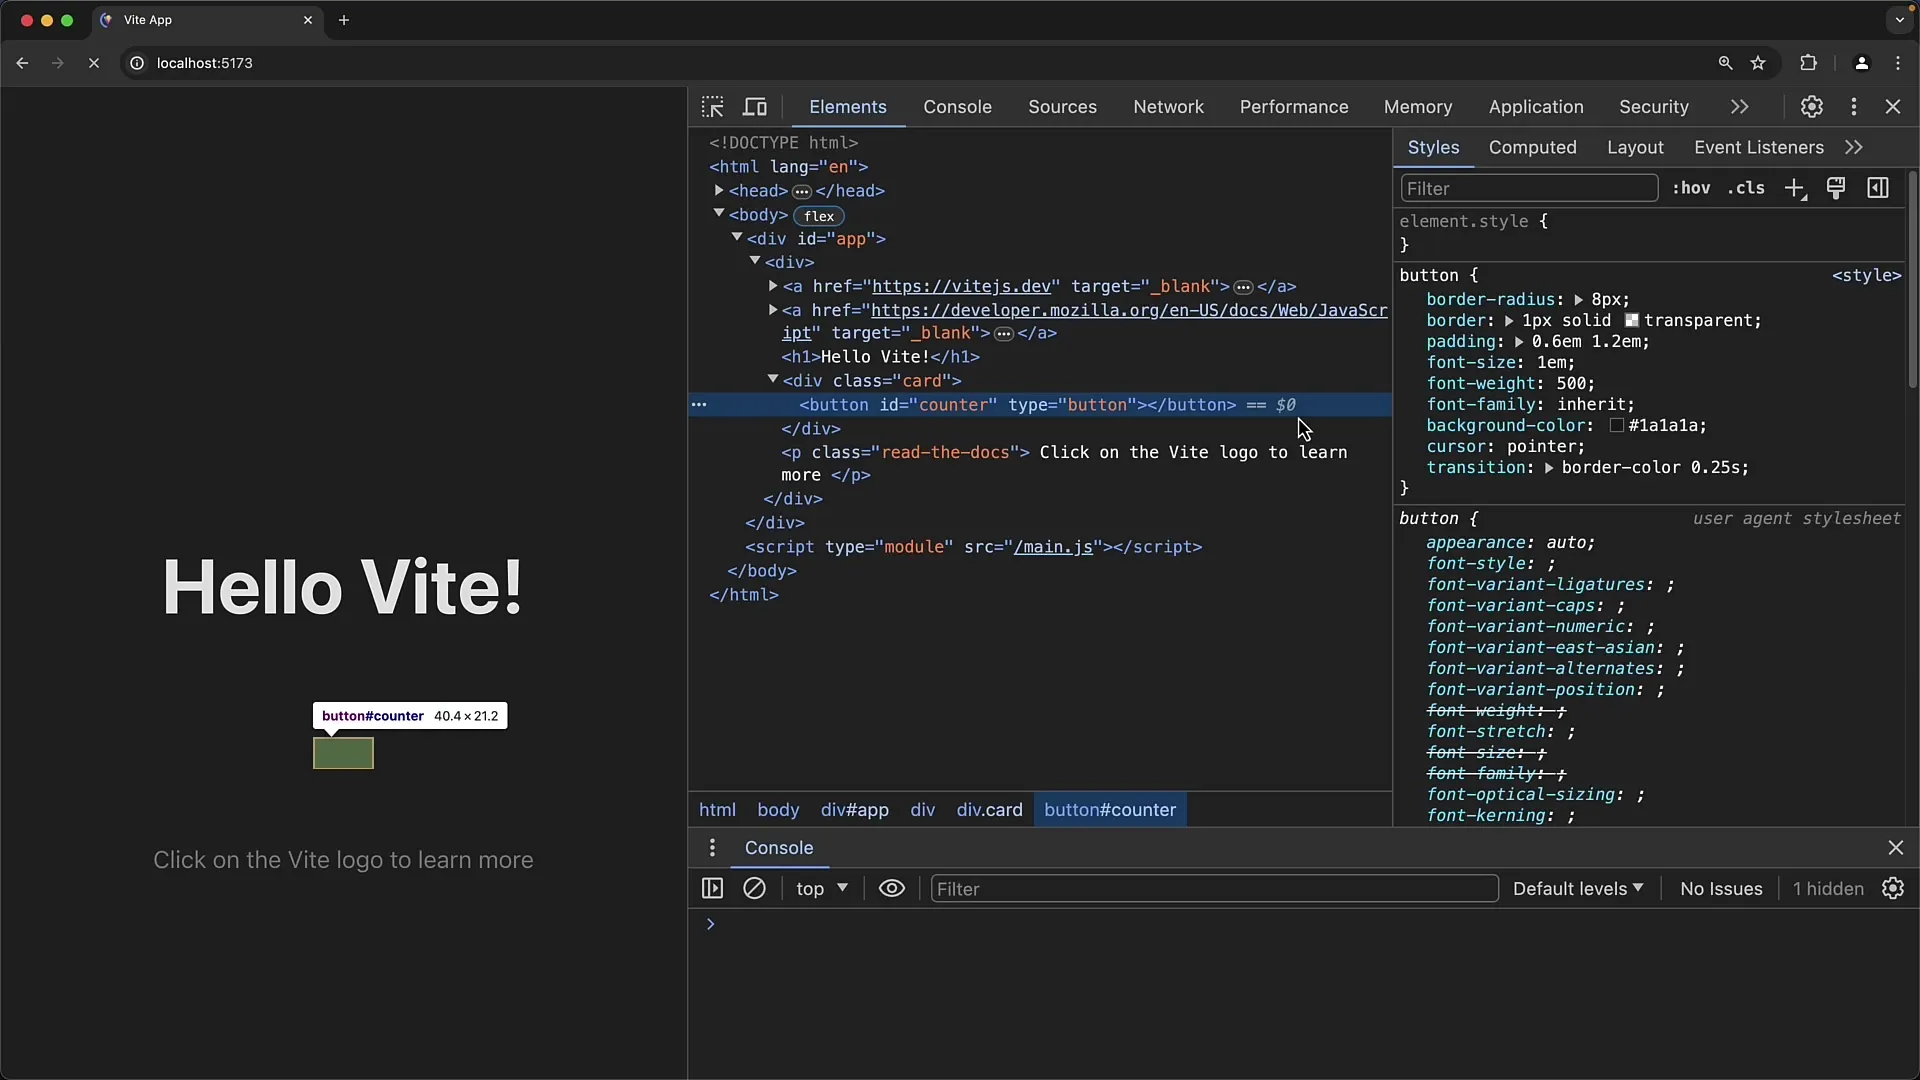
To inspect the button or other elements on your HTML page, simply click on them, and the code will be displayed in the console. With this experience, you will learn how to effectively use JavaScript in conjunction with HTML elements.
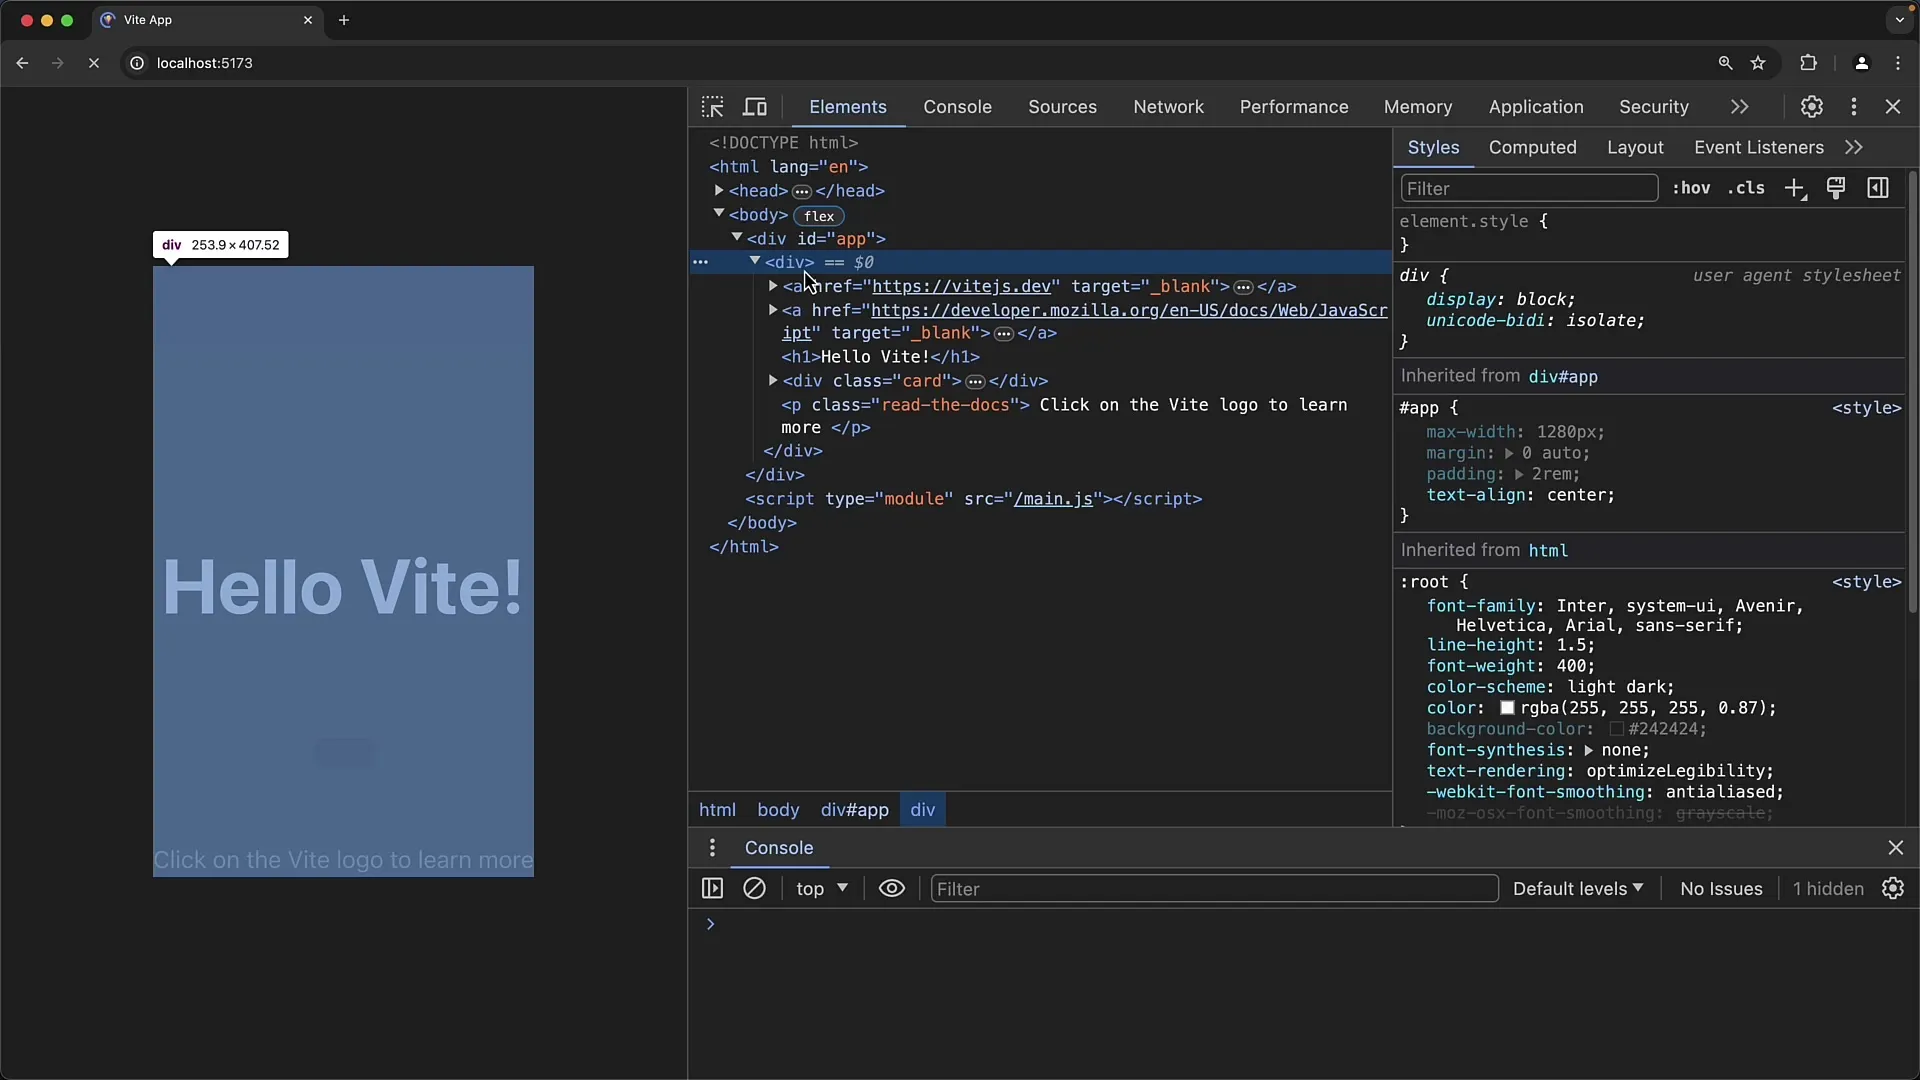
Code Interactions
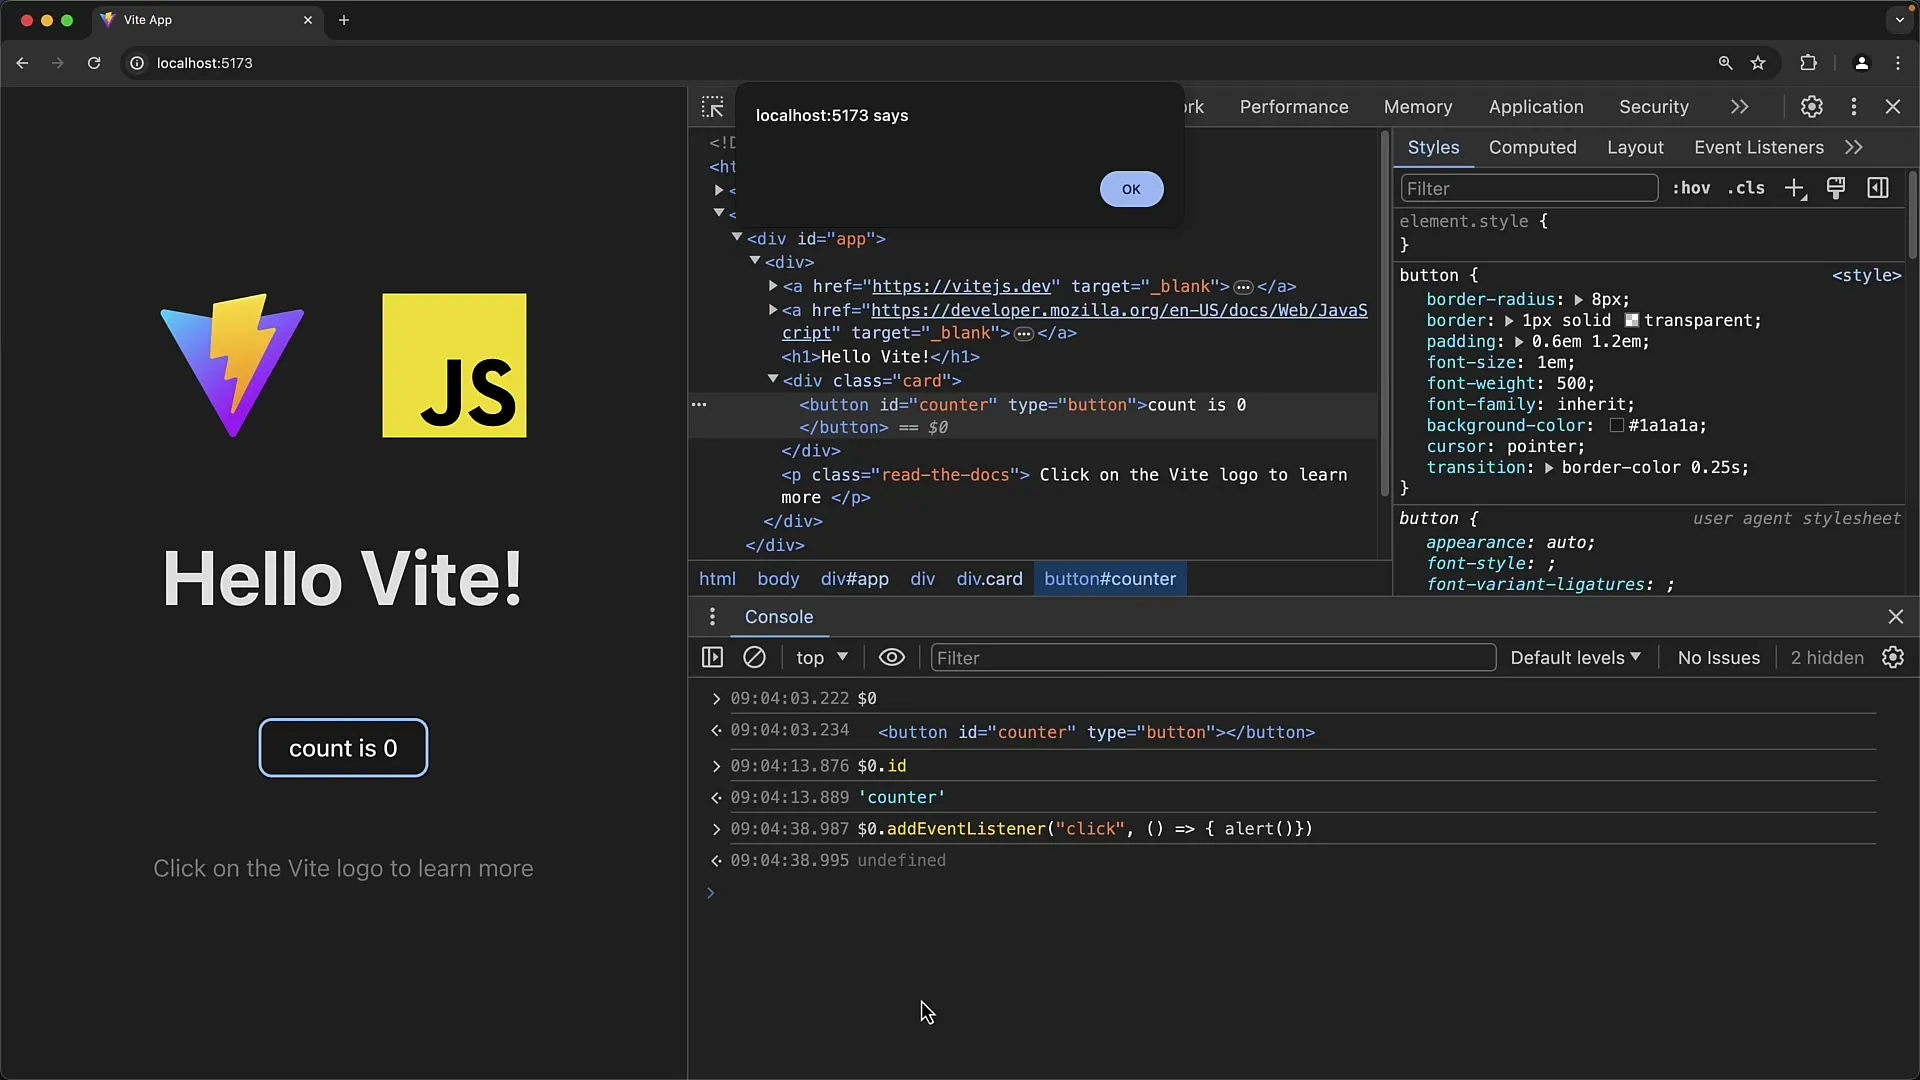
In the console, you can now interact with the HTML elements. For example, you can check the id of a button and manipulate the element by adding event listeners. This opens up many opportunities for interaction and customization in your app.
You can also simply use an alert window to ensure that the event is triggered. It is an easy way to test your JavaScript skills. Be sure to make the necessary adjustments to actually display the alert.
Preview of the next project
Now that you have successfully set up your project, you are preparing to create your first form. In the next lesson, we will delete the code we just wrote and start writing the HTML and creating the form.
This will give you a basic understanding of how forms work in JavaScript and how you can effectively use them in your projects.
Summary
In this tutorial, you have learned how to create your first project in Visual Studio Code and start developing web forms. You have learned the basics of installing and running a development server and how to interact with HTML elements through JavaScript. In the next step, we will create our first web form.
Frequently Asked Questions
How can I install Visual Studio Code?You can download and install Visual Studio Code from the official website.
What is Node.js?Node.js is a JavaScript runtime environment that allows you to run JavaScript on the server.
How do I use Chrome Developer Tools?Right-click on a page and select "Inspect" to open the Developer Tools. There you can perform debugging and inspect the DOM.
