The validation of user inputs is essential in web forms. Particularly important is the correct input of email addresses to ensure that users provide a valid address. In this tutorial, you will learn how to integrate a simple email validation into a web form. We will guide you through the various steps to design a form that not only looks good but is also smart enough to detect incorrect inputs.
Most Important Insights
- Email validation is enabled through the type="email" input, which provides error reporting and syntax checking by default in the browser.
- Flexbox can be used to easily center and arrange the layout elements in the form.
- Users receive immediate feedback on incorrect inputs, which enhances user-friendliness.
Step-by-Step Guide
To implement your email validation, follow these steps:
Step 1: Setting up the Form
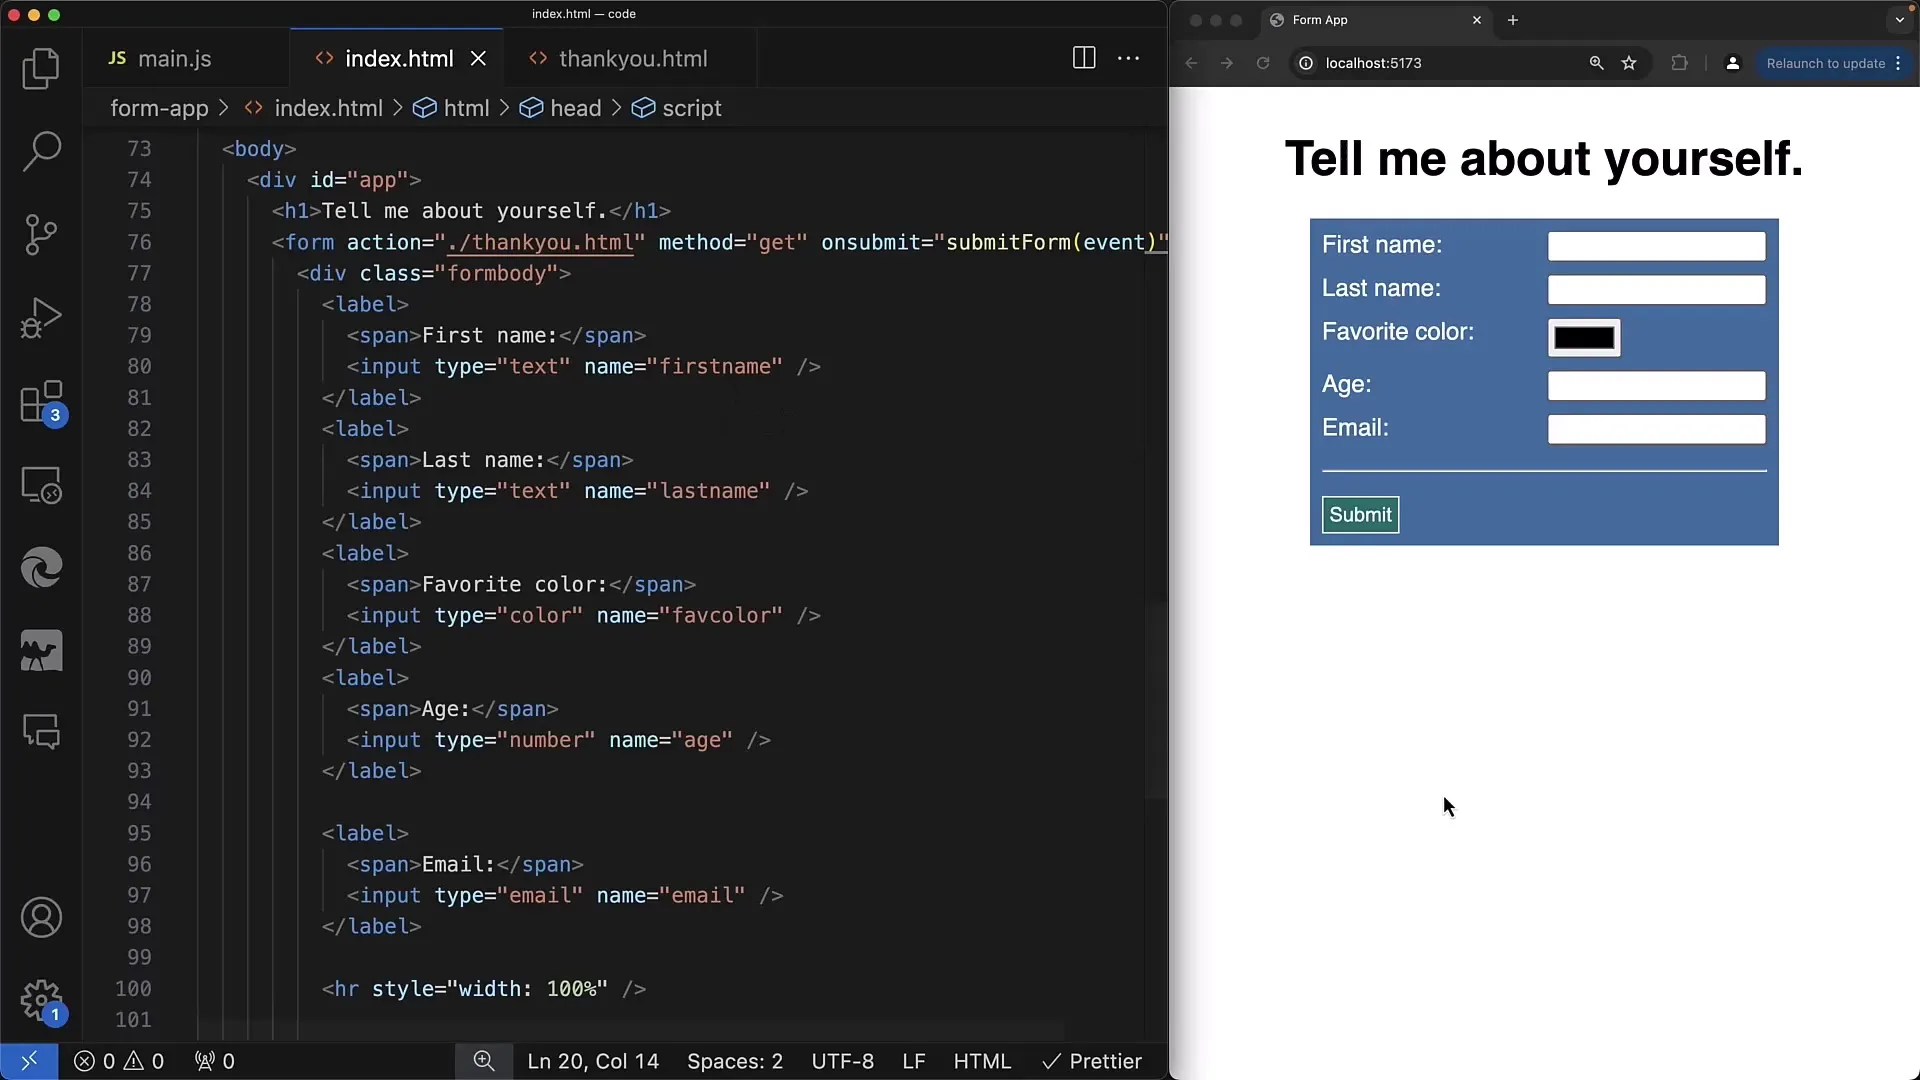
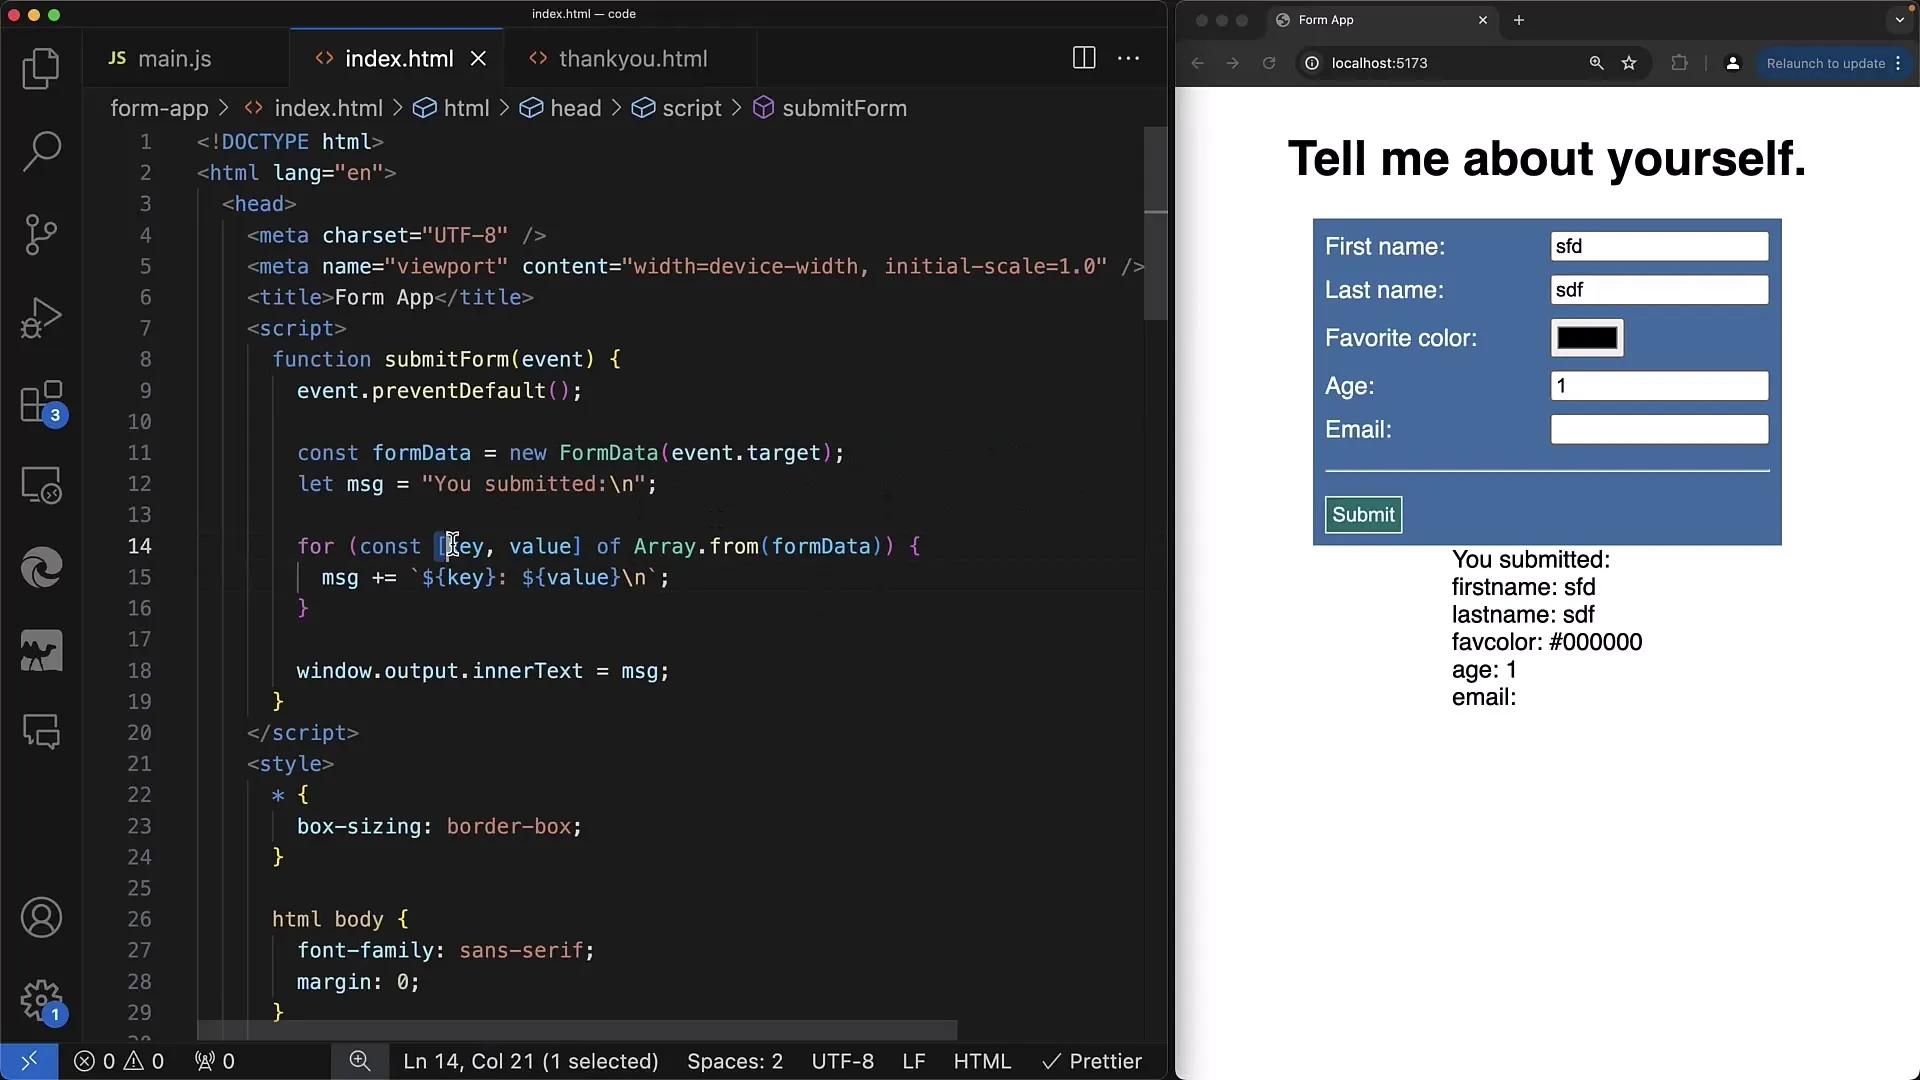
First, you need to create the basic framework of your form. This should include a heading and the input fields, including the email field. Make sure the email field has the type email so that browser validation works.
Step 2: Styling with Flexbox
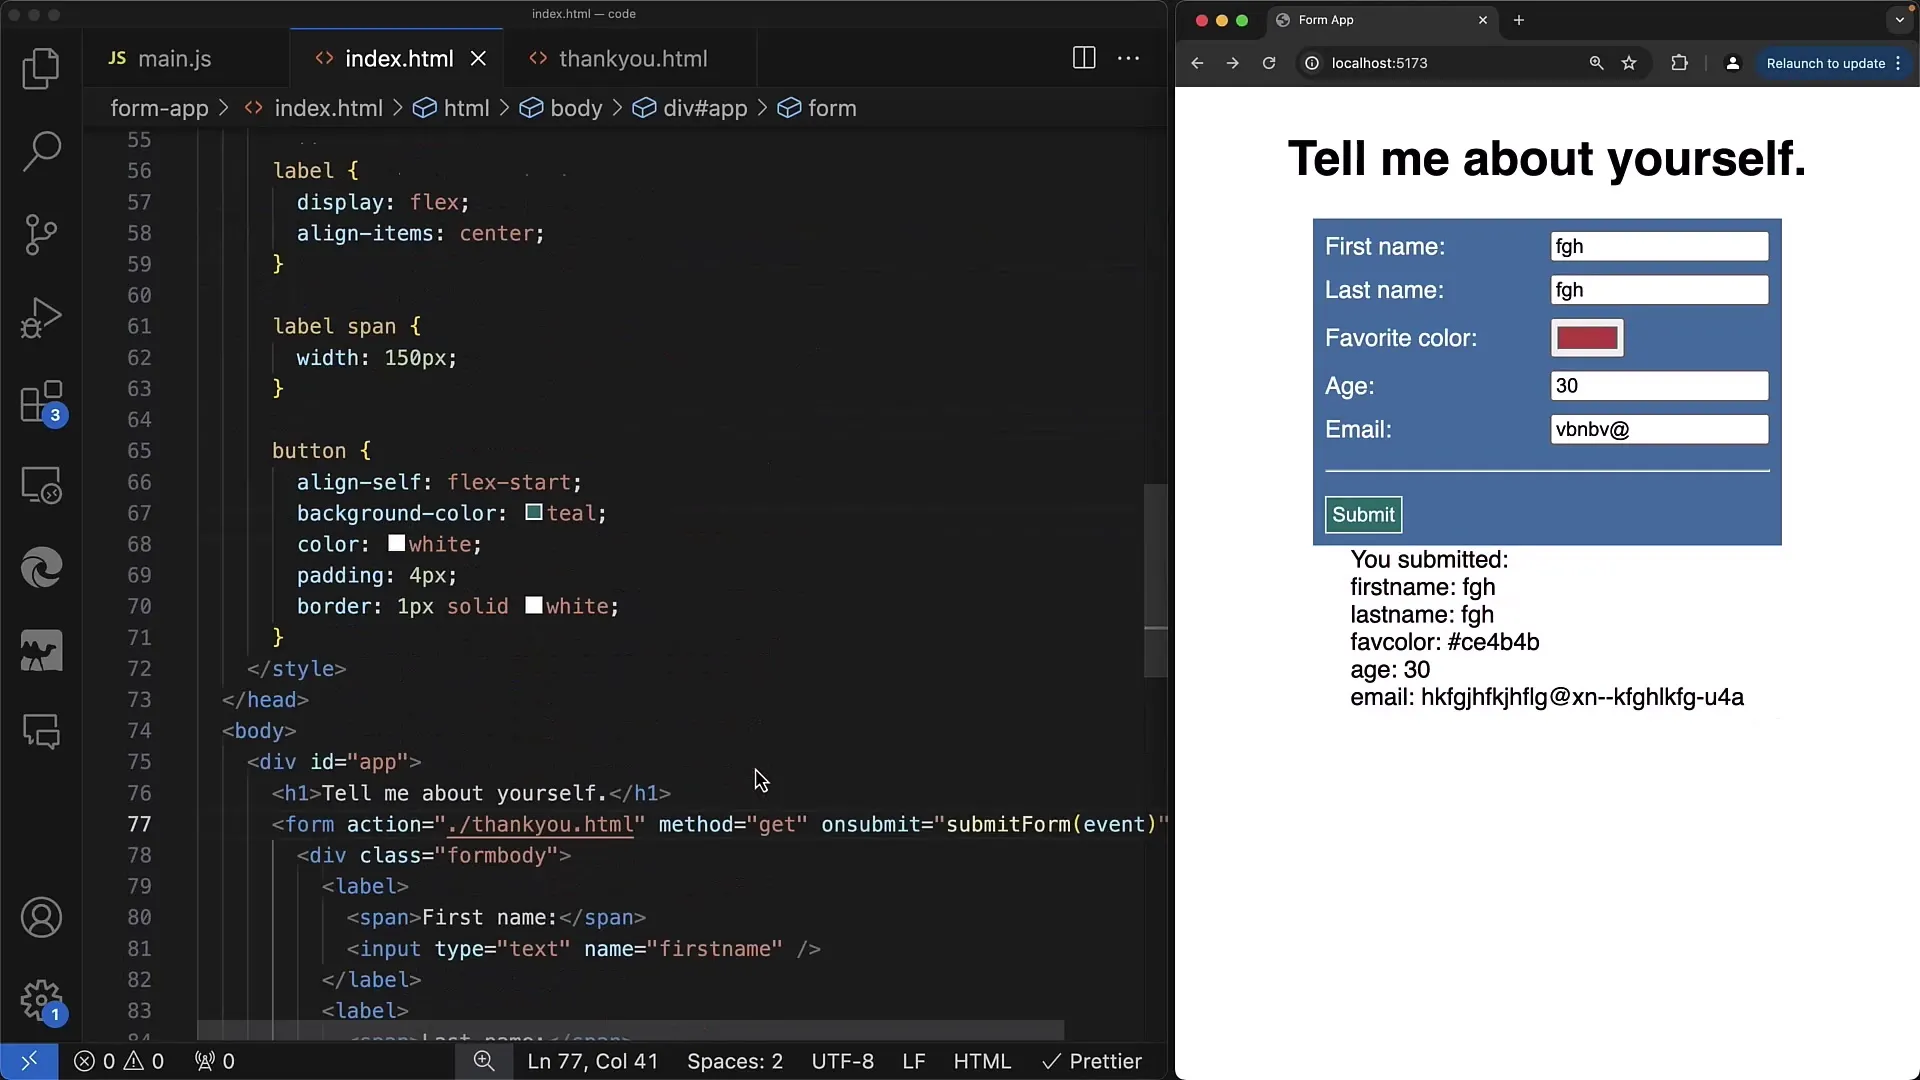
Now design the form in a clear and appealing way. Use CSS Flexbox to align the labels and input fields in a row. For example, you can apply display: flex; to the container element and optimize the alignment with align-items: center; to ensure everything is well-centered.
Step 3: Adding the Email Field
Add the email field to your form. Make sure to label it with the attribute type="email". This allows the browser to automatically validate the input and ensures users enter an email address in the correct format.
Step 4: Checking Email Input
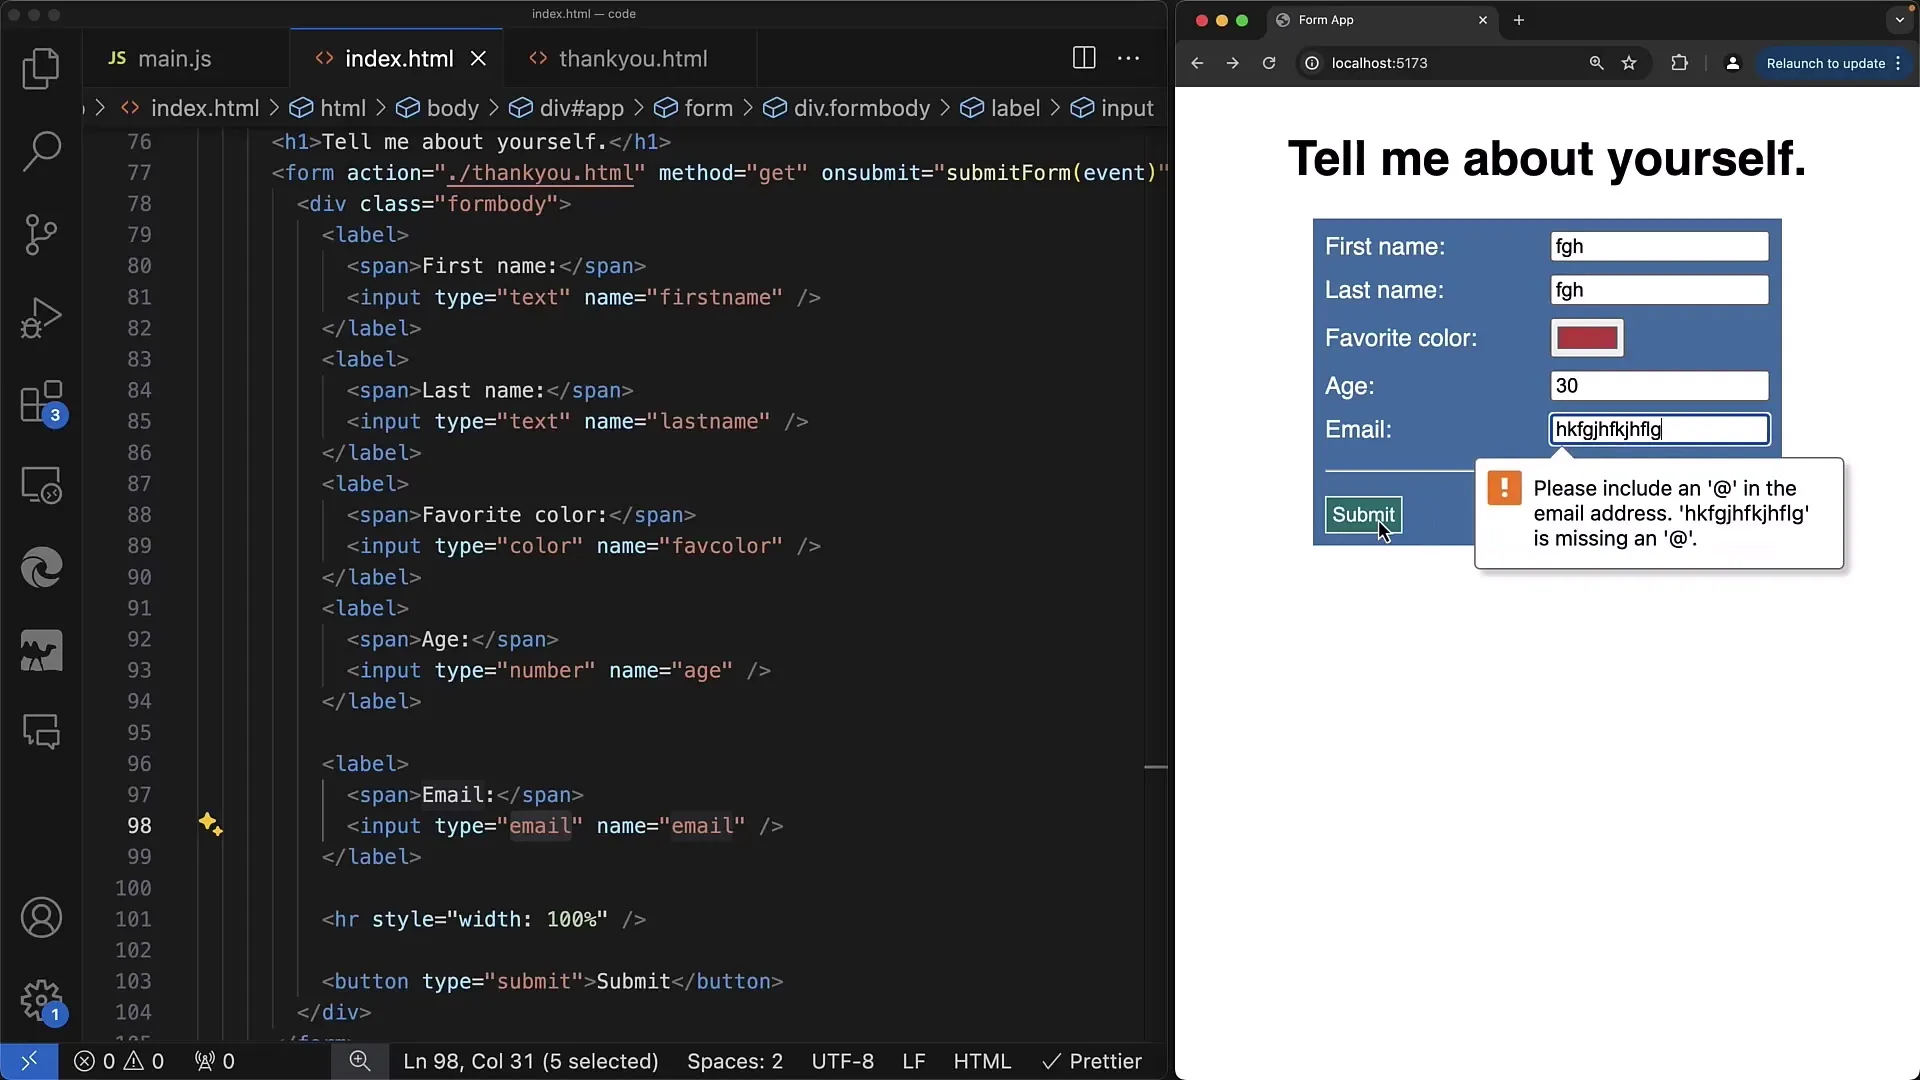
When a user submits the form, the browser automatically checks if the entered email address has a valid format. Make sure to display the error text if the input is invalid, such as "Please enter a valid email address". This is usually done through the browser's native validation.
Step 5: Providing Feedback to the User
To further enhance user-friendliness, make sure users are promptly informed of incorrect inputs. If the email address is entered incorrectly and the form is submitted with the submit action, the browser displays relevant error messages directly in the input field.
Step 6: Processing Form Data
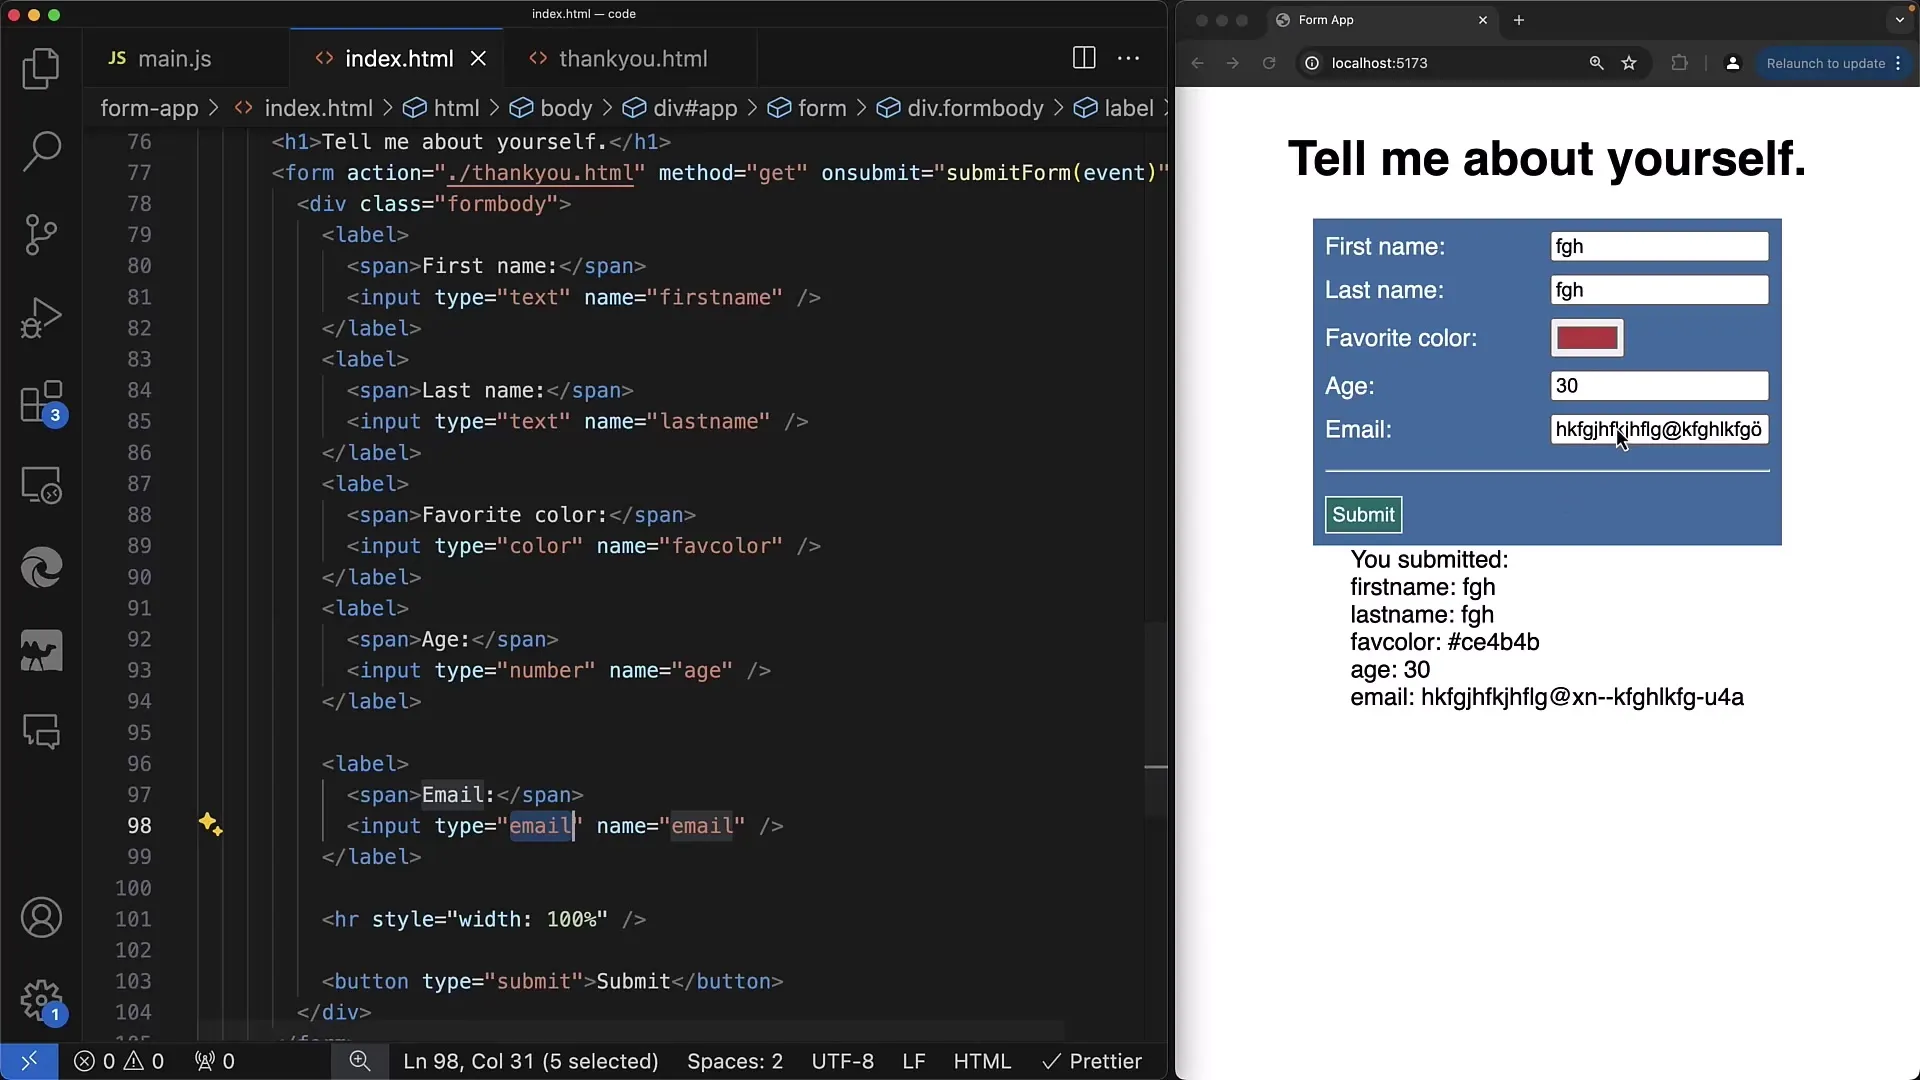
If all inputs are correct, you can process the form data with JavaScript. Use the FormData object to collect the inputs and send them to the server for further processing. This prevents the form from being submitted with incorrect data.
Step 7: Testing and Debugging
After implementing email validation, thoroughly test your form. Check the validation under different conditions to ensure everything works as expected. Make sure the email field is validated properly and no exceptions occur when incorrect data is entered.
Summary
In this guide, you have learned how to integrate email validation into your web form. You've understood the importance of proper input validation and how CSS Flexbox has helped optimize the form layout. By using input fields of type email, you benefit from the integrated browser validation that assists you in input validation.
Frequently Asked Questions
What is email validation?Email validation checks if the entered email address has a correct format.
How does browser validation work?Browser validation checks input fields in real-time when the user submits the form.
Can I customize the error messages?Yes, error messages can be customized in the HTML tag using the setCustomValidity method.
How can I send the data after validation?The data can be collected and processed using JavaScript and the FormData object.


