Saving
When it comes to saving a project, there are a few things you should know that you might not necessarily be concerned with when you're just starting out with CINEMA 4D (or have been working with it for a while), but there are a few useful things that make sense if you've been working with it for a while and are building increasingly complex scenes.
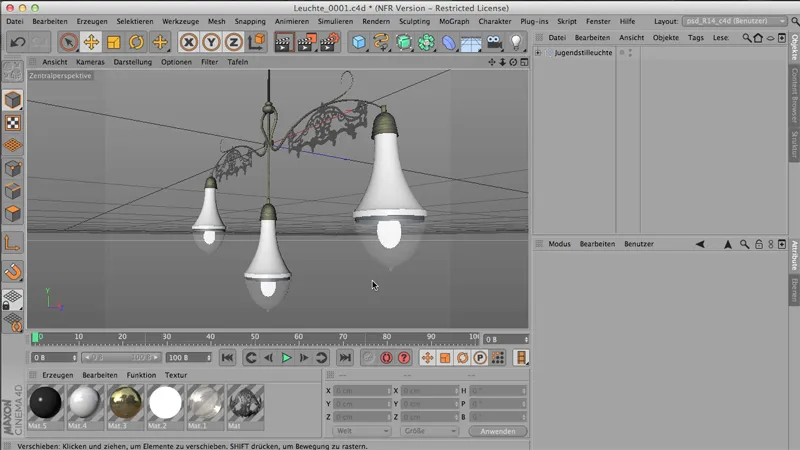
Let's start at the top: File>Save. That's clear: I have a file and I want to save it - logically, I save it. Or I can save it as - so I can save it under a different name, in a different location. The only difference between these two commands is that with Save as the file browser opens - so I get to see the file storage window, whereas with Save it is saved where I got it from.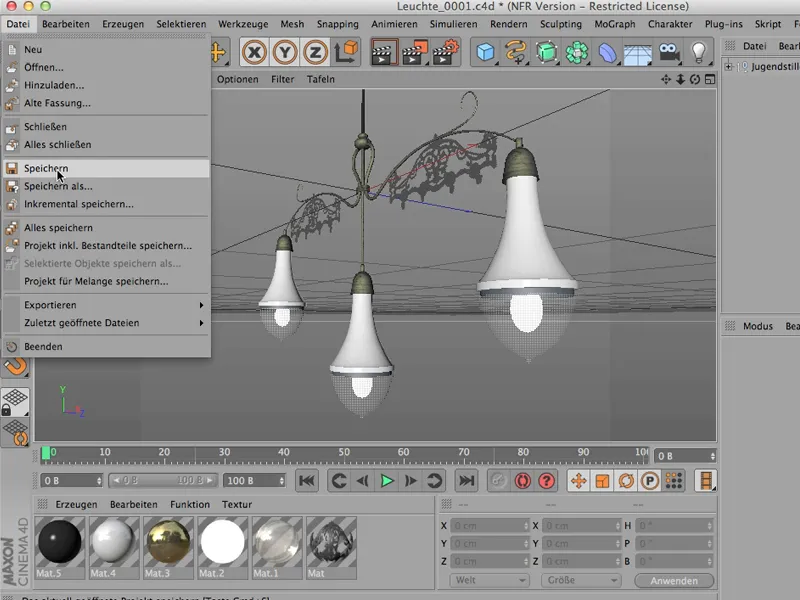
It is much funnier when I have saved or used Save As and I put my file on a different drive or on a different computer or in a different folder on the same computer. Then I can quickly run into major problems, because CINEMA doesn't remember everything and can no longer find the materials.
That's the problem - the materials are of course saved where they belong (in a texture folder, for example), but from where I saved my file, CINEMA can no longer find access to the files, and that results in you wanting to save or render and CINEMA then says: "Hm, I can't find it", and that's annoying.
Save project including components
What do you do about it? File>Save project including components. This is an important command, ...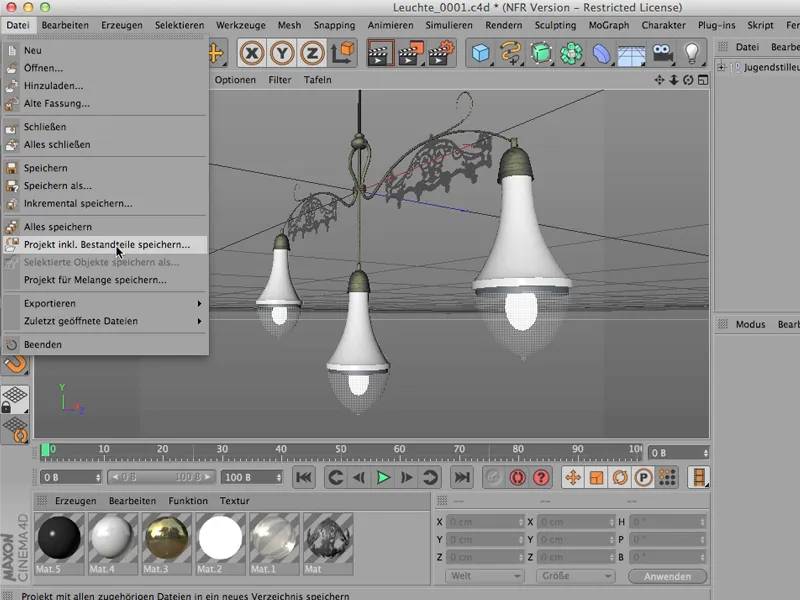
... and I'll do that now, save it on my untidy desktop here under "Juleuchte"; that's Art Nouveau.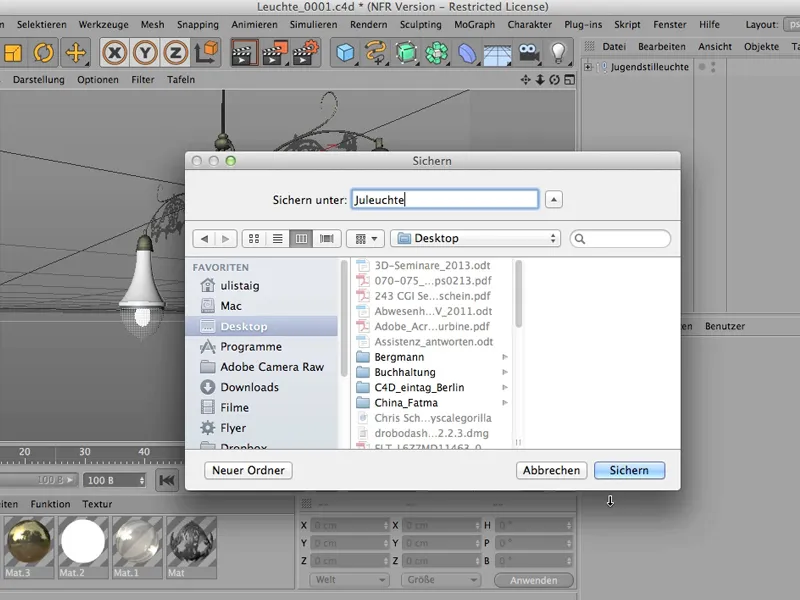
And now there should be a folder there - that's the case. I'll just click on it and you'll find this file that I've just saved there ...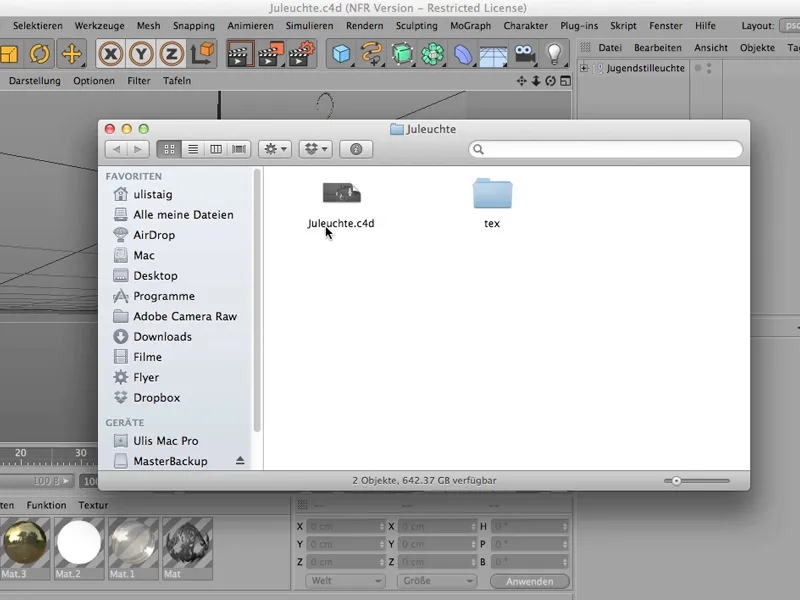
... and also a texture folder containing things - these two, in fact - that have something to do with the file. In this case, it's materials that are on this lamp here.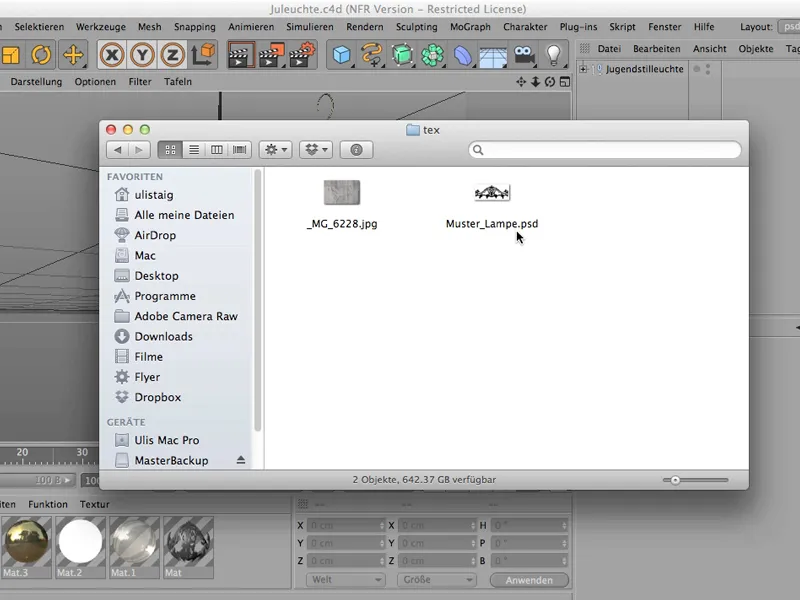
It is very, very important that you do it this way - this way you have saved everything, possibly also lighting information, which is then in a GI folder. This would also be put into this large "Juleuchte" folder.
Incremental saving
Another way of saving - which is actually also a very Schick thing - is so-called incremental saving. You have probably already seen this: File>Incremental save. I can just do that - I click on it and nothing else happens.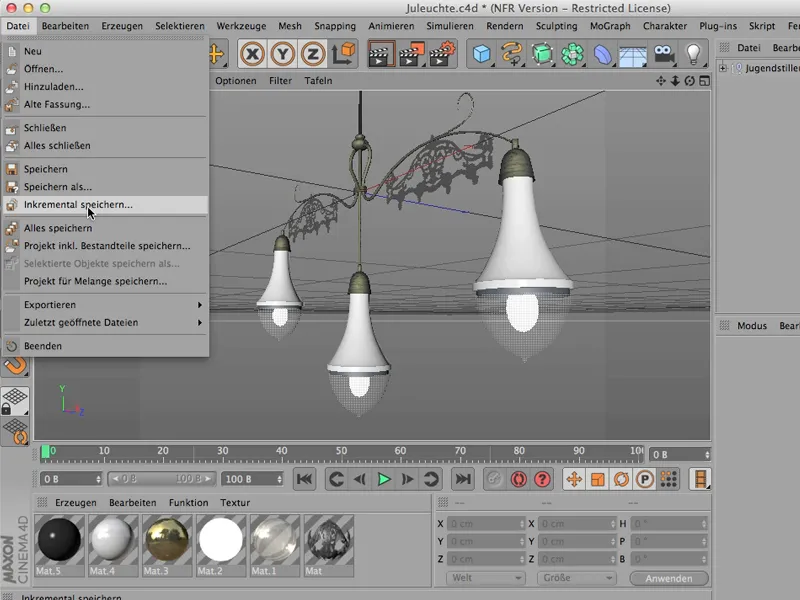
Now I can do something with my file - I can rotate it, I can open it, I can Blender this decorative stuff.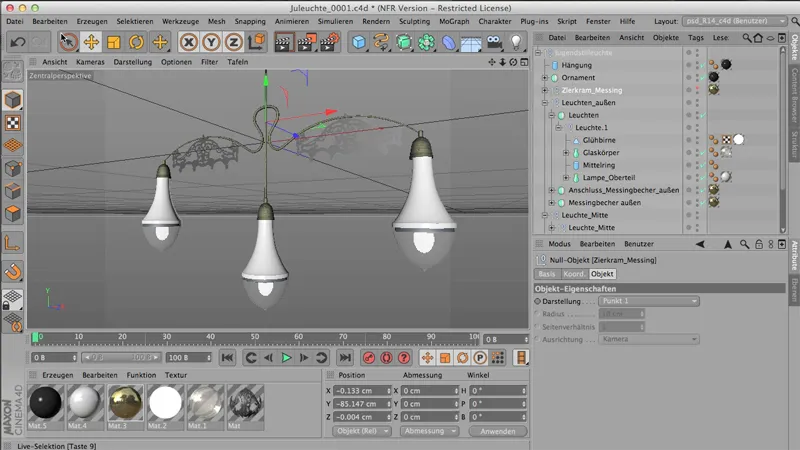
And now I save incrementally again: File>Save incrementally. And every time I do this, my file is saved brand new, and every time this 4-digit number 0001 is joined by another number: 0002. And then comes 3, and then comes 4 and so on.
And this has the huge advantage that you can always trace back the way you actually did it for complex files that you build up (or complex scenes).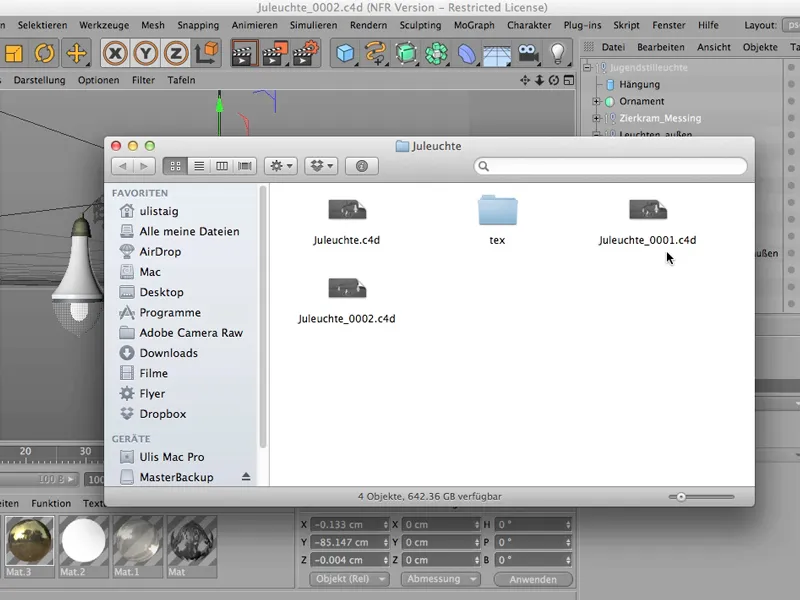
This is often the case in CINEMA - you build and do and do and at some point it looks really great, but unfortunately you no longer know how you did it and you can't necessarily retrace the intermediate steps. That's what this incremental saving is good for.
Whenever you say: I want to save now - this is one of the stations that you might want to save, and it won't overwrite your existing file, but will be placed on top of it as a separate file.
It's perhaps important to know that CINEMA 4D is a program that has to get along with very little memory, automatically, because we have components here that only exist as vectors. If you want to know this, you can look it up here - we have project or object information via objects. I'll click on it and have a look.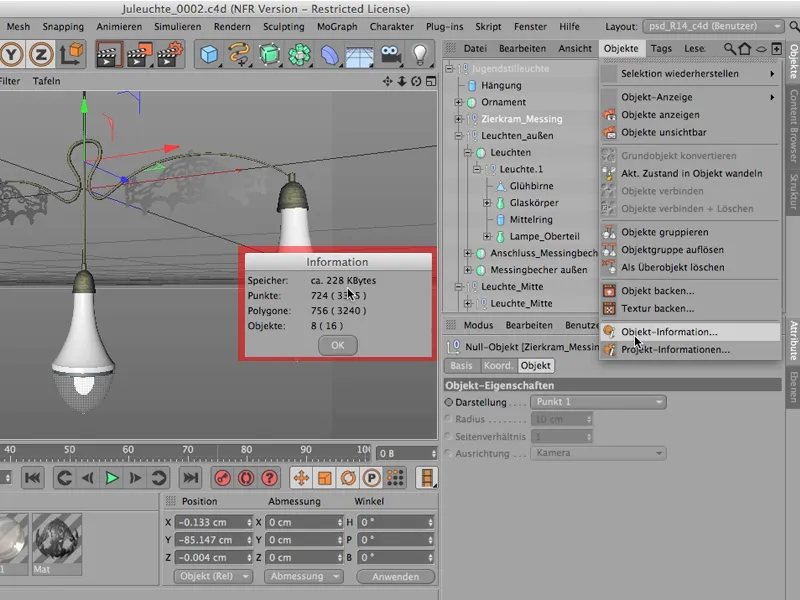
And we're at a total of 228 KB for this lamp, but it's already fully formed. And then you can also see how many polygons are involved in this thing.
These polygons are shown in brackets if they are not actually real polygons, but are based on these NURBS objects. If they were created by these NURBS objects, they are still in brackets. Lamp_top, for example, is a Lathe NURBS. If you were now to convert them into real polygon objects using the C key, there would no longer be any brackets here, but simply the number 3240 for the polygons.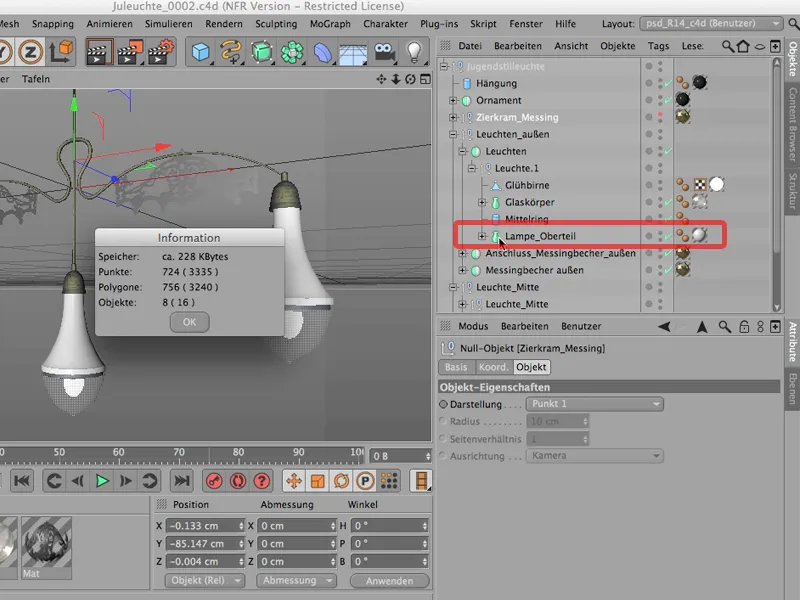
Just as an aside, so that you can see that the files you are dealing with are quite small and that saving them, especially incremental saving, does not eat up a lot of memory.
Exporting
Sometimes you want to continue working on a file that has just been created in CINEMA in another program. For example, Poser comes to mind, Photoshop comes to mind. Of course, I can think of a lot of things the other way around, once it's rendered, then it's further processed in Photoshop, AfterEffects or something else. But I'm talking about transferring an original 3D file to another program. So not rendered.
On the one hand, there are the usual export functions. We go to File>Export - we have two options here. One is 3D Studio, i.e. .3ds. The other is the .obj format. When it comes to choosing between the two, I would always advise you to use 3D Studio, as this is the much more compact format.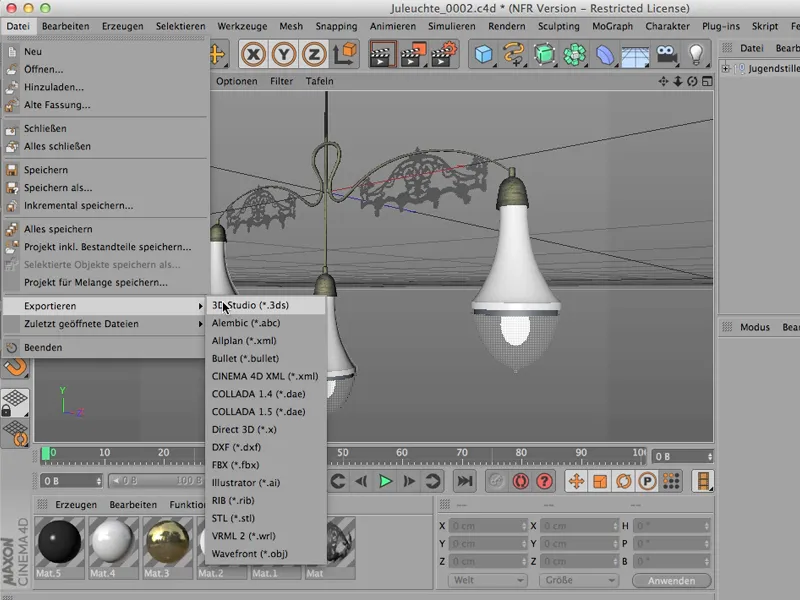
This means that the file is exactly the same, but the result requires less memory. That's why .3ds is always my first choice instead of this old wavefront format.
However, this only works if all the objects to be exported are pure polygon objects. And I have some doubts about this part here. It doesn't look like a polygon object to me, but is certainly a material defined via an alpha channel.
We don't take materials over anyway, it's just about the geometry. But we should have a look at that too - and realize: We have a parametric basic object, a modeling object, a null object, another one, then lots of NURBS objects. This is definitely not what would work with .3ds, so unfortunately we can either forget about it completely or we first have to convert all the objects here into polygon objects, which is a lot of work.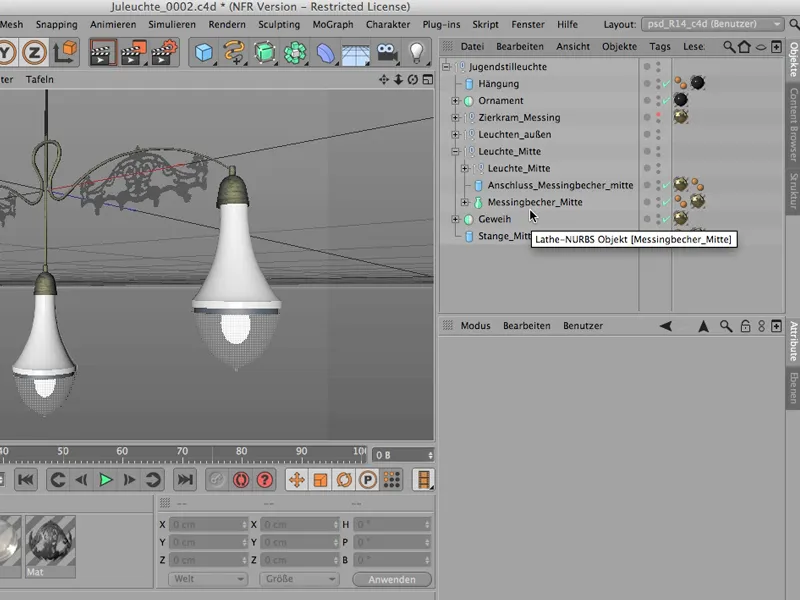
Save object for melange
To save ourselves this work, we can go another way to bring an object over, i.e. to place such an entire scene in e.g. Photoshop as a 3D object, and this is very easy via File>Save project for Melange. This allows you to buy the option to continue working in Photoshop in 3D, so to speak.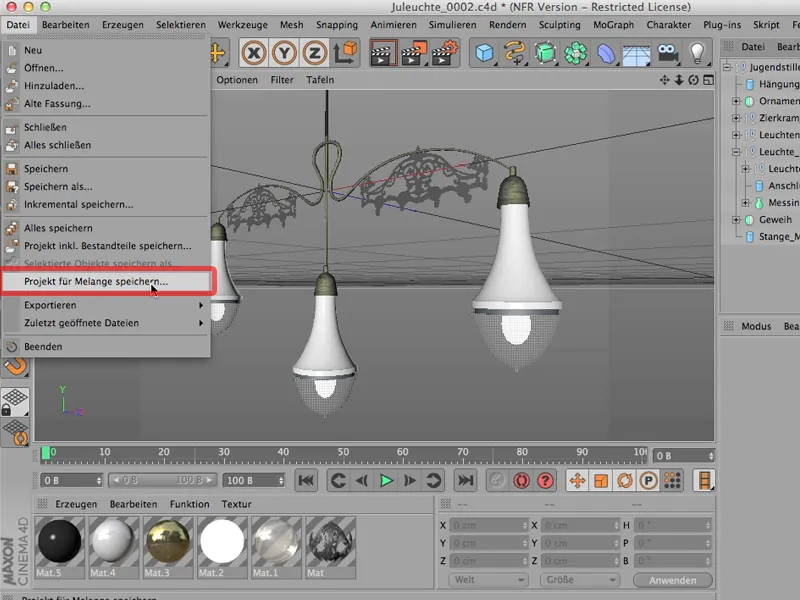
Now I said "buy". This is because you pay a price for this, namely the price that it will not be visible, but you know that if you do this, everything you see here - this whole structure - will also be saved again as a polygon object.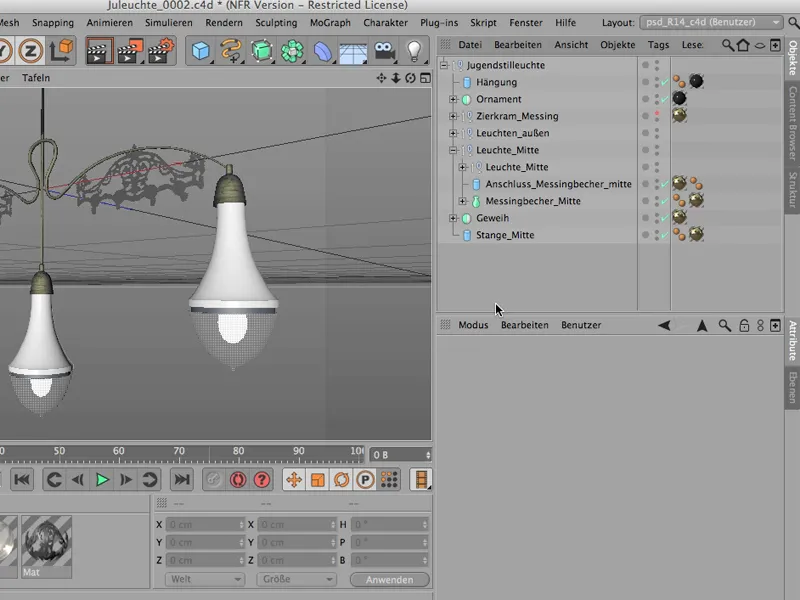
So everything is doubled, so to speak, and that makes such a file relatively large. Hm. It's not the kind of thing you like to have, but before I start unfolding everything here and converting each of these little things into polygon objects, I'll definitely use this command.
So: File>Save Project for Melange... we'll call it "Art Nouveau Lamp" again. So, I'll just save it in this folder "Juleuchte", save the whole thing, and that's it.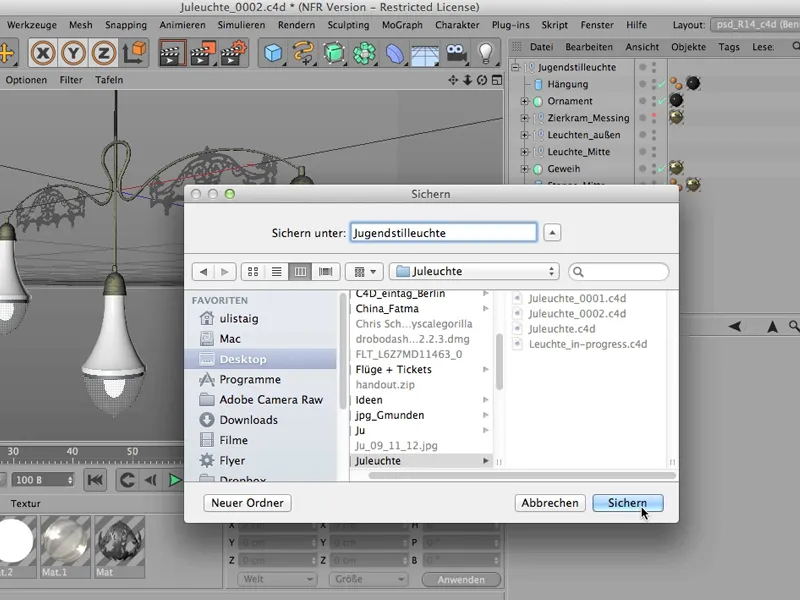
Now we can close up here ...
... I'll leave this open of course, go over to Photoshop and you can already see the 3D workspace that's already open here, because I've already tested it. But if we close it again, go to Photography, you'll see what happens: So first I go here, say File>Open,...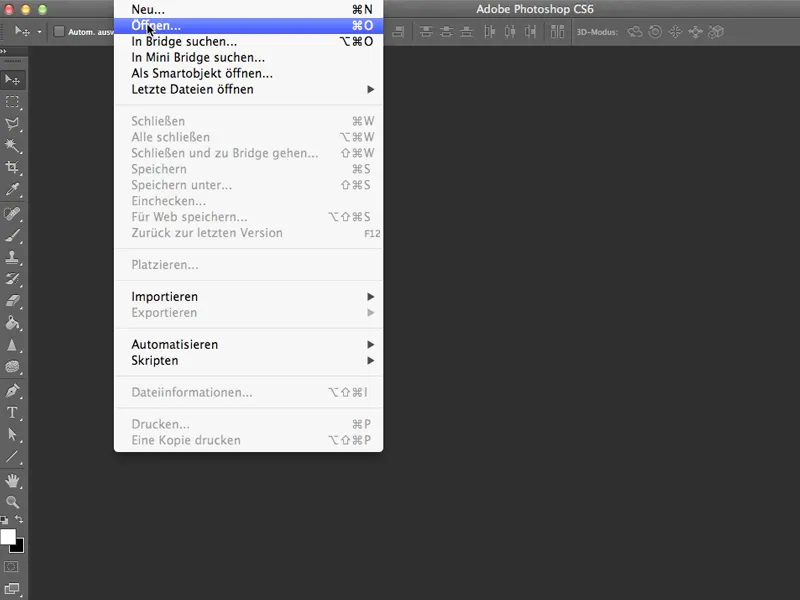
... get the Art Nouveau lamp - you can see that it's not particularly large, despite the pumped-up file size (we have 1.5 MB).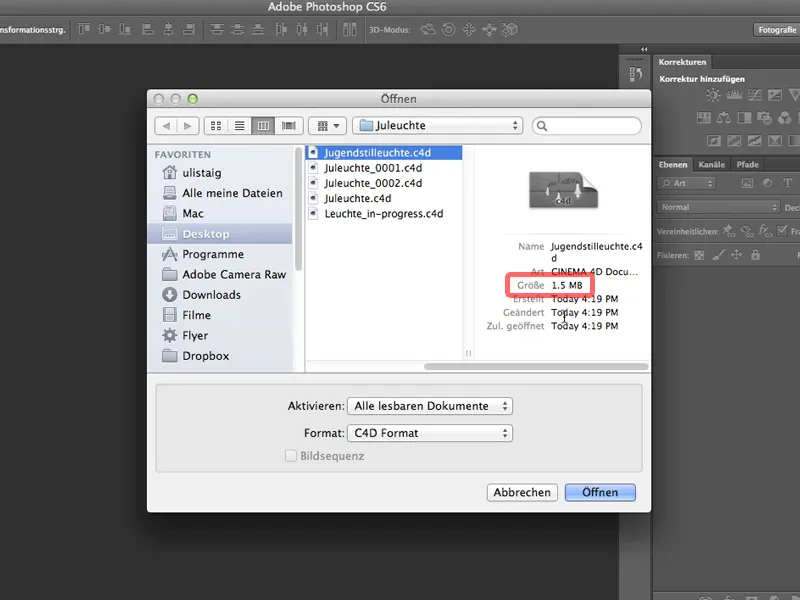
I open it, and the first thing Photoshop recognizes is "Aha, he really wants to open a 3D file. Sure, let's switch over to the 3D workspace." Then Photoshop notices that although CINEMA 4D has the sRGB working color space, no color profile is supported here. So I assign AdobeRGB to the whole thing, and now I click here and open this file.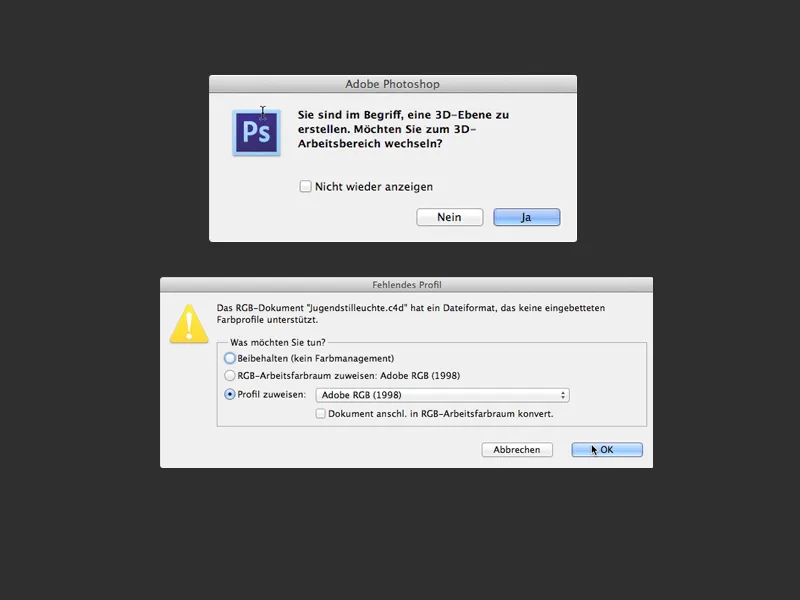
Sure enough - there it is. Everything that's in CINEMA 4D is also in here (except for the materials).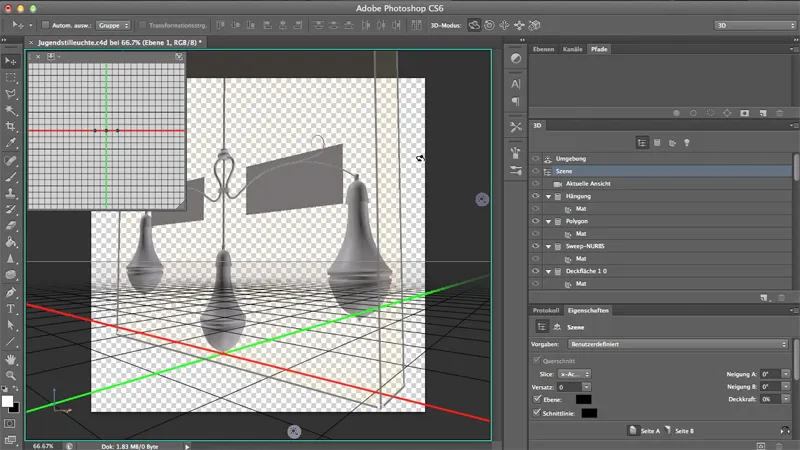
I click on Environment and let's take a look at it - it really is a genuine, wonderfully functioning 3D file that also runs totally smoothly.
The only thing, as I said, that doesn't come along, that doesn't work without further ado, are unfortunately the materials. But I would reassign them here anyway. I might even want to get rid of these two.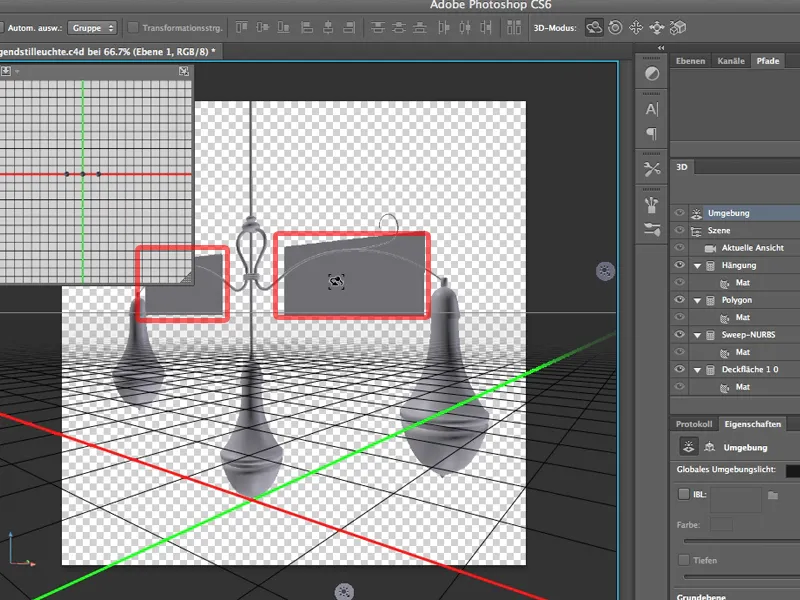
That would be relatively difficult if we had previously converted everything into polygon objects in CINEMA 4D. We would have a myriad of different polygon objects in here. But this way, the beautiful structure that we saw in CINEMA is retained, and I already know that:
I just need to click away this one - which was called "Polygon" - and I'm rid of these old boards.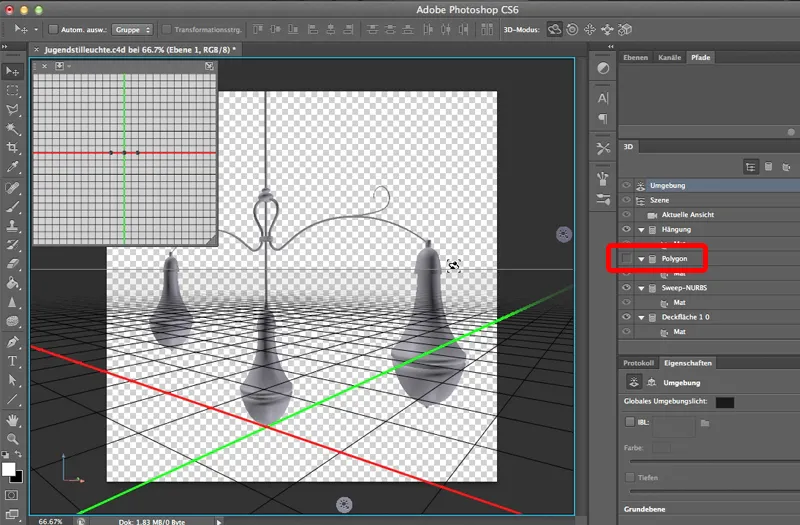
So it's worth working with this melange principle if you want to transfer 3D files to Photoshop.
