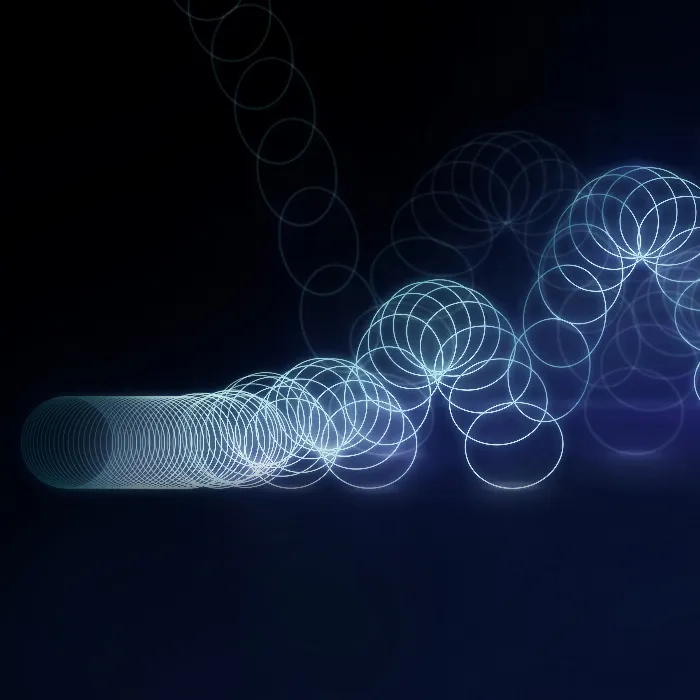
As promised, we will now turn our attention to the first real animation, the bouncing ball. This will be quite exciting, because animating has to do with really being aware of what you are doing. What am I portraying? How do I get across what I actually want to show?
In this case, we want to simulate a 2D surface that gives the impression of being a ball. It should hit the ground, bounce and continue bouncing.
That's the principle we want to convey, and it's not that easy. This exercise uses some of the Disney rules we've already talked about. Keep them in mind.
Step 1
The ball is thrown somewhere and flies upwards. It has received this energy (1).
At some point, however, this no longer does it any good because it is overtaken by another energy - gravity (2). This pulls the ball steadily downwards, and at some point it collides with something. Here: the ground.
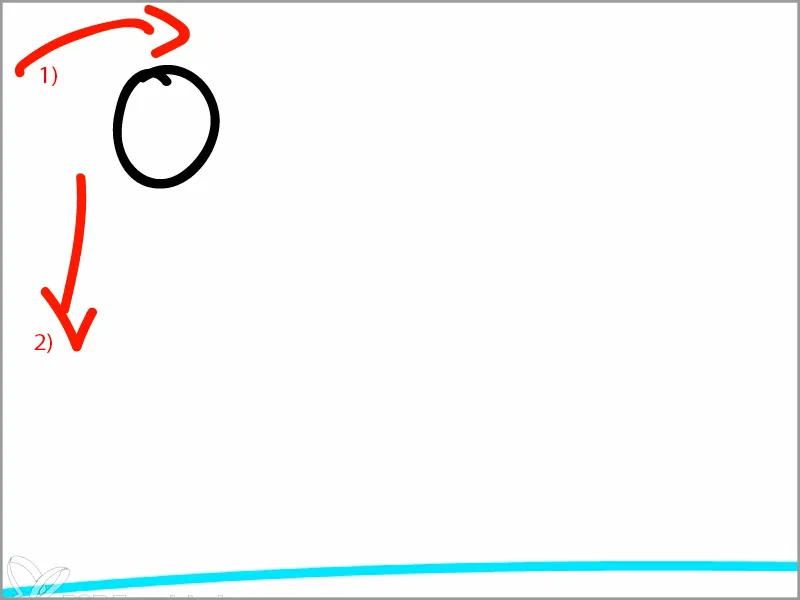
Where does it hit the ground? The ball still has this momentum from the throw (1) and at the same time there is some of this downward movement (2).
So what happens is that we get a movement that pulls the ball down in a half arc (3).
The ball then hits the ground at the bottom.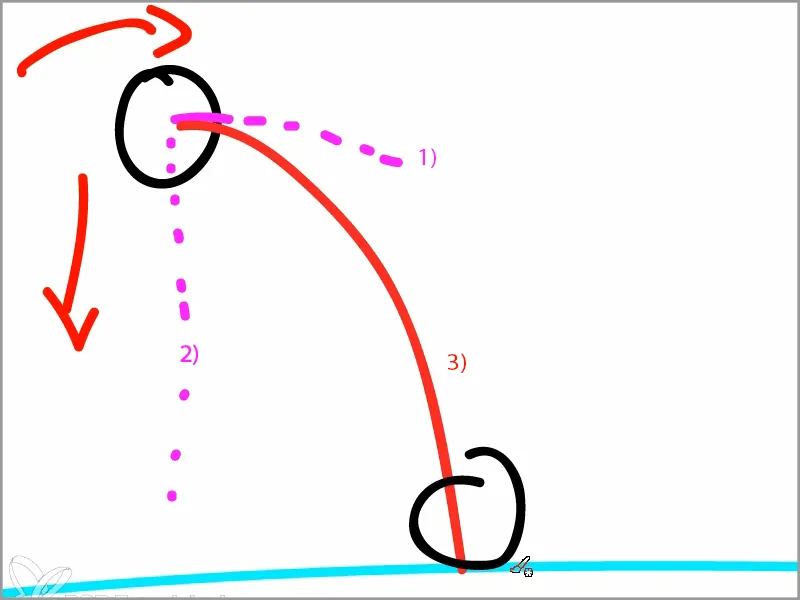
It lands on the ground and is propelled upwards again. Newton's law of force.
You always have to be aware of the physical circumstances of an animation. Especially with the bouncing ball, which is about using animation to depict something that is actually physical.
So the ball comes down here, is reflected again at the same angle as it arrives and flies back up again.
However, due to its inertia, volume, mass, friction on the ground etc., it no longer has the same force. I can't really explain it to you in physical terms, but this force is getting smaller and smaller. It starts to make smaller and smaller jumps.
Ultimately, this is the behavior of the ball.
There is always a transition point - I'll draw it in green - where all the force is transferred.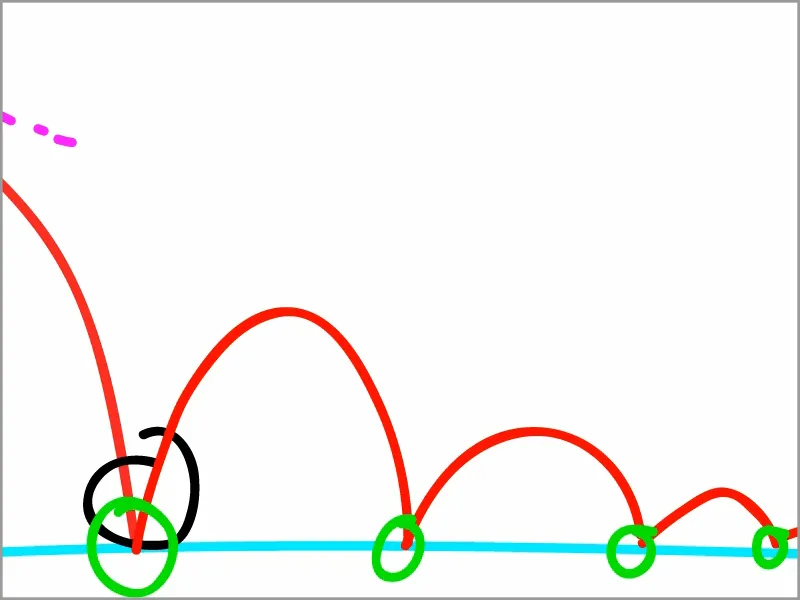
And there are the highest points where it is at its highest. These points marked in green are our key frames.
The ball is at its slowest at the top, because it has no more power at the top and is being pulled down or it actually still has this momentum from the throw, but is being pulled down at the same time and is therefore in a balance of forces, in a weightless state.
The opposite is the case at the bottom: this is where the ball is at its fastest, because it comes with a force from above and is pushed off from below. Two forces act against each other and that's why there's such a radical change down here.
This is the principle that we need to be aware of before we start animating and setting our keyframes.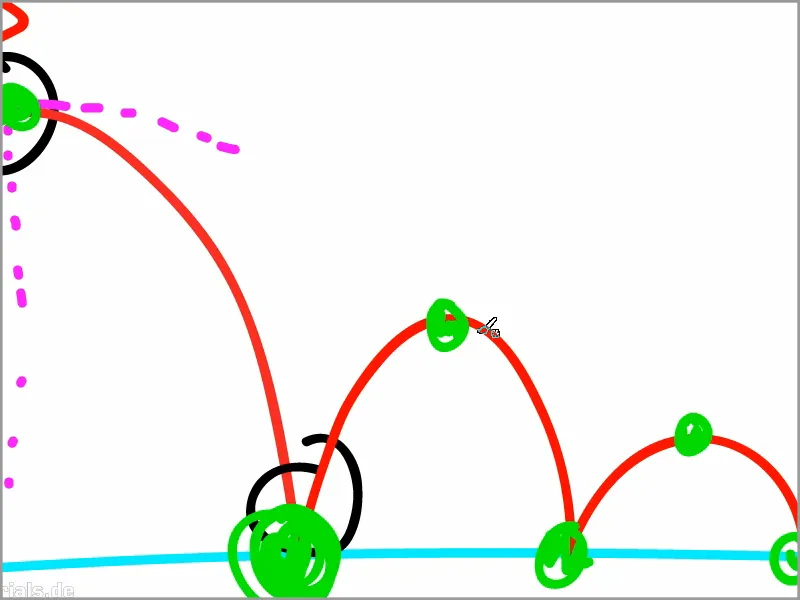
Step 2
Now that we are aware of the underlying principle, let's set the keyframes.
In the music, we have this small break that we have just animated on. Now we cut off the "Typo_Intro" at exactly this point with Ctrl+E.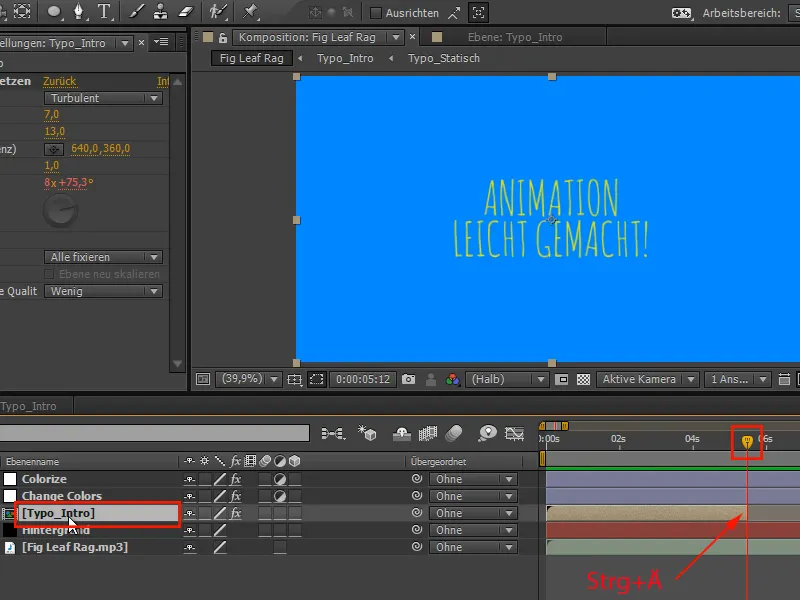
Step 3
We write "The Bouncing Ball" and place the text centered at the top.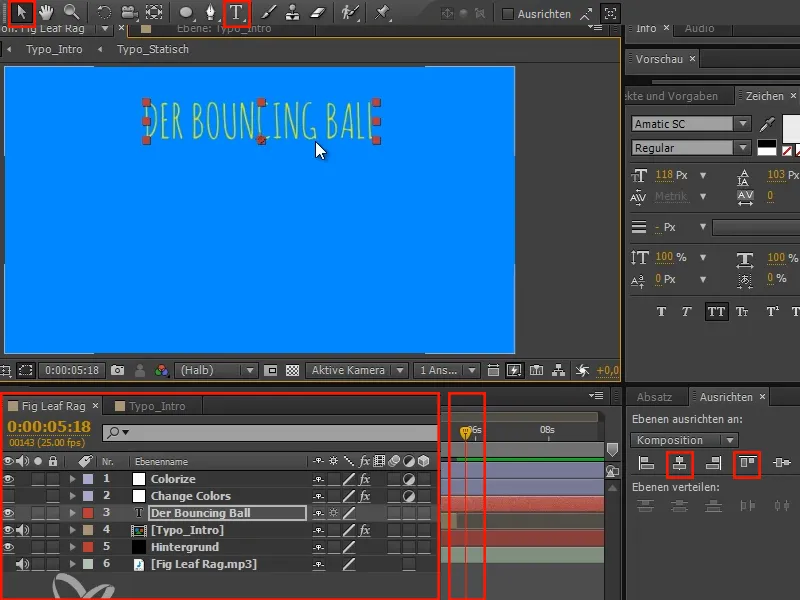
The bouncing ball is a great way to get started with the animation and is therefore the first exercise in every animation course.
Step 4
I don't want the text "The Bouncing Ball" to appear until "Typo_Intro" is over. So I go to "Typo_Intro" and press O for Outpoint to get to the outpoint.
Then I go one frame further to "The Bouncing Ball" with the Page Up and Page Down keyor cmd+left/right or Ctrl+left/right. Here I then press Alt+Ö to set the start.
Then the transition from "Animation made easy" to "The Bouncing Ball" fits..webp?tutkfid=63828)
- Alt+Ö: cuts the beginning
- Alt+E: cuts the end
Step 5
Before we go any further, I'll make the font a little bigger.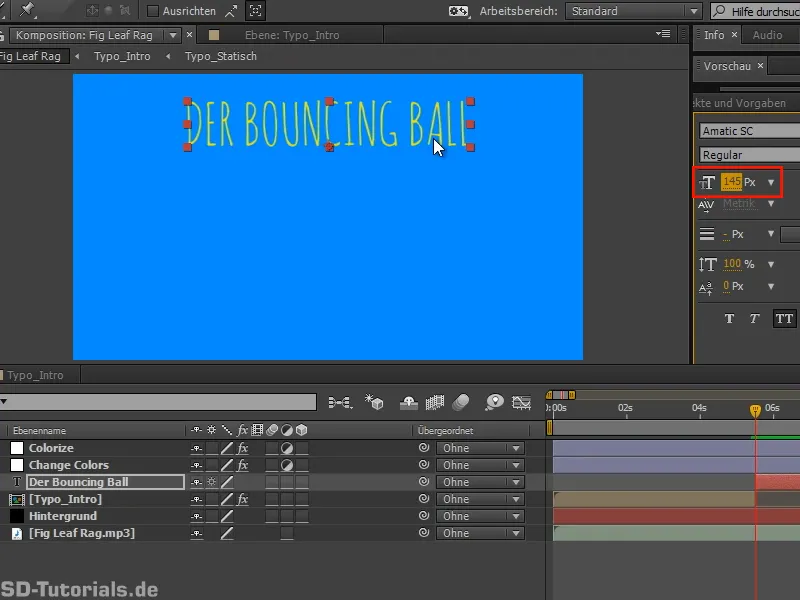
Step 6
Now we are directly in the theme. Next, we'll create the bouncing ball. This basically consists of just a colored area.
We'll create it, set the size to 100x100 pixels and select white as the color.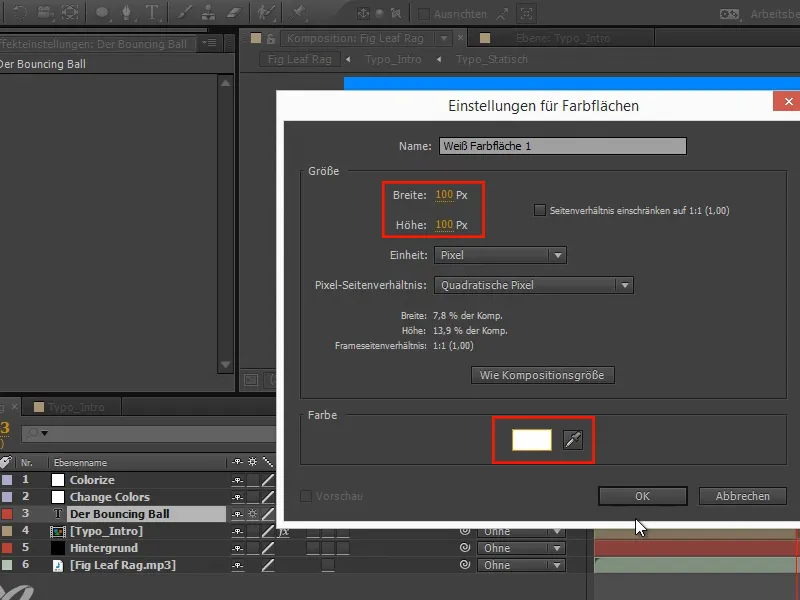
Step 7
With the "Colorize" layer, the white becomes yellow. I lock the "Colorize" layer again. Then I rename the layer to "Bouncing Ball" and confirm with Enter.
Then I double-click on the ellipse and get a circular selection that exactly covers my layer and is exactly square. A perfect circle.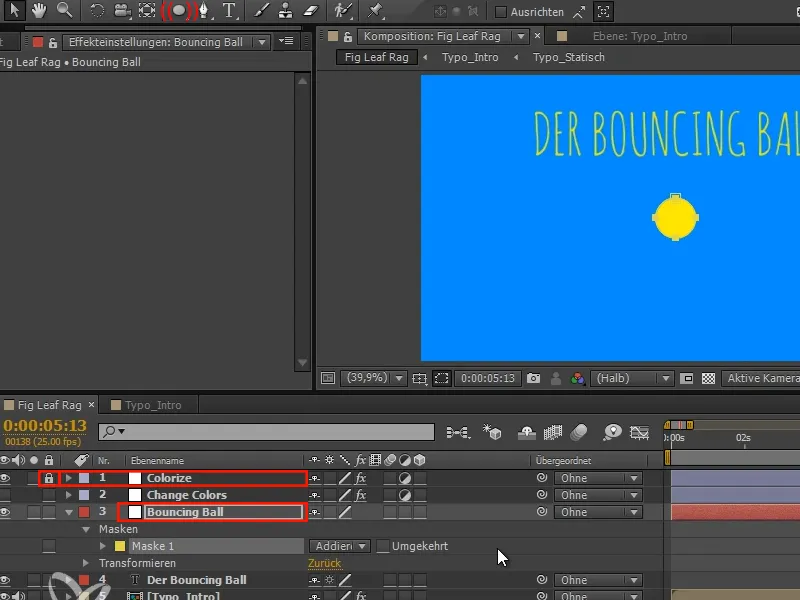
Step 8
We also cut this layer again with Alt+Ö.
Then we lock the masks and move the ball into the basic position.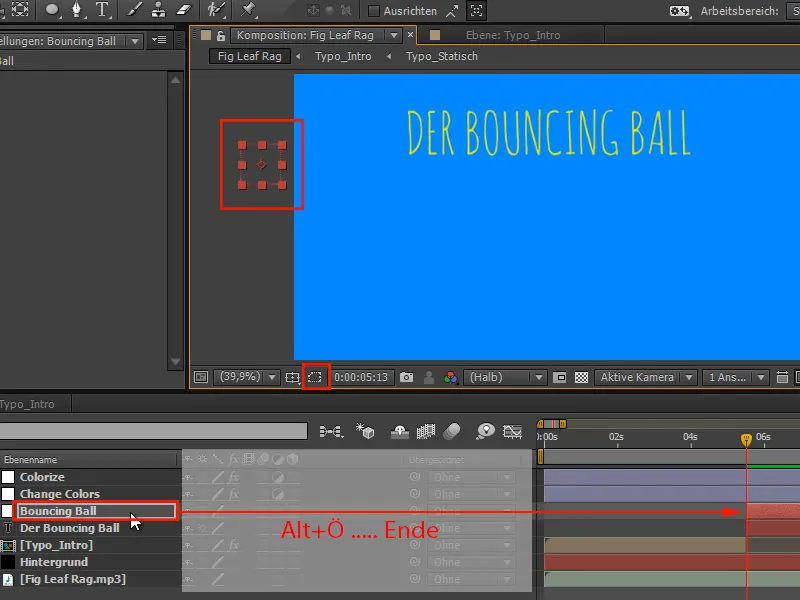
Step 9
I press P for Position and animate the whole thing:
With Shift+right/left or Ctrl+right/left, I move forward in steps of ten and place the "ball" at the bottom and top positions described earlier in the drawing at each step of ten.
This allows us to set poses easily and comfortably if we are not yet paying attention to timing.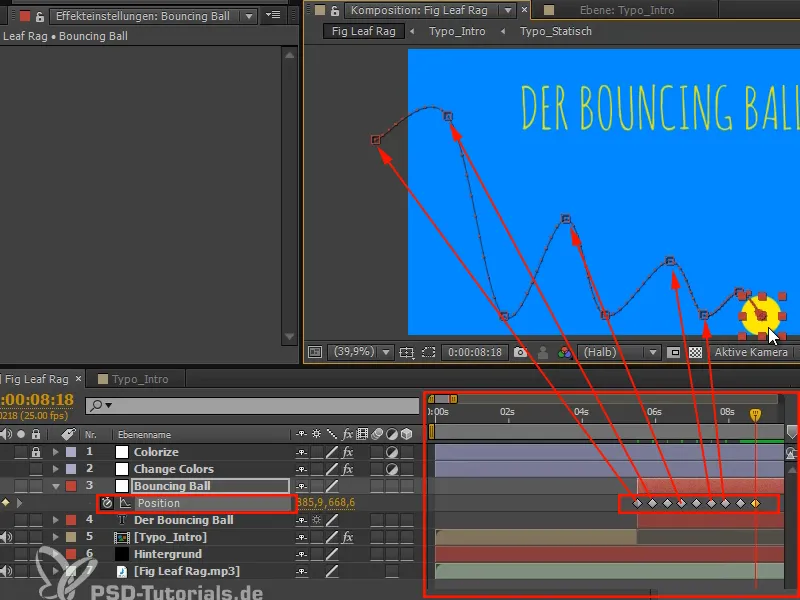
And we'll continue in the next part of this tutorial series "Animation made easy: Bouncing Ball - The curves".
