In digital marketing, the automation of processes is becoming increasingly important. An effective way to communicate with potential customers and generate qualified leads is through complex flows. In this guide, I'll show you how to step-by-step create a complex flow for Facebook marketing. You will learn how to combine various automation elements to create an engaging user experience and achieve your marketing goals.
Main Insights
You will learn how to create a complex flow in Facebook marketing that includes the following steps: creating a folder for different flows, adding triggers, sending messages, implementing tags, and setting up user responses.
Step-by-Step Guide
First, go to the "Automation" section on your Facebook page. Click on "Flows" here to start creating your flow.
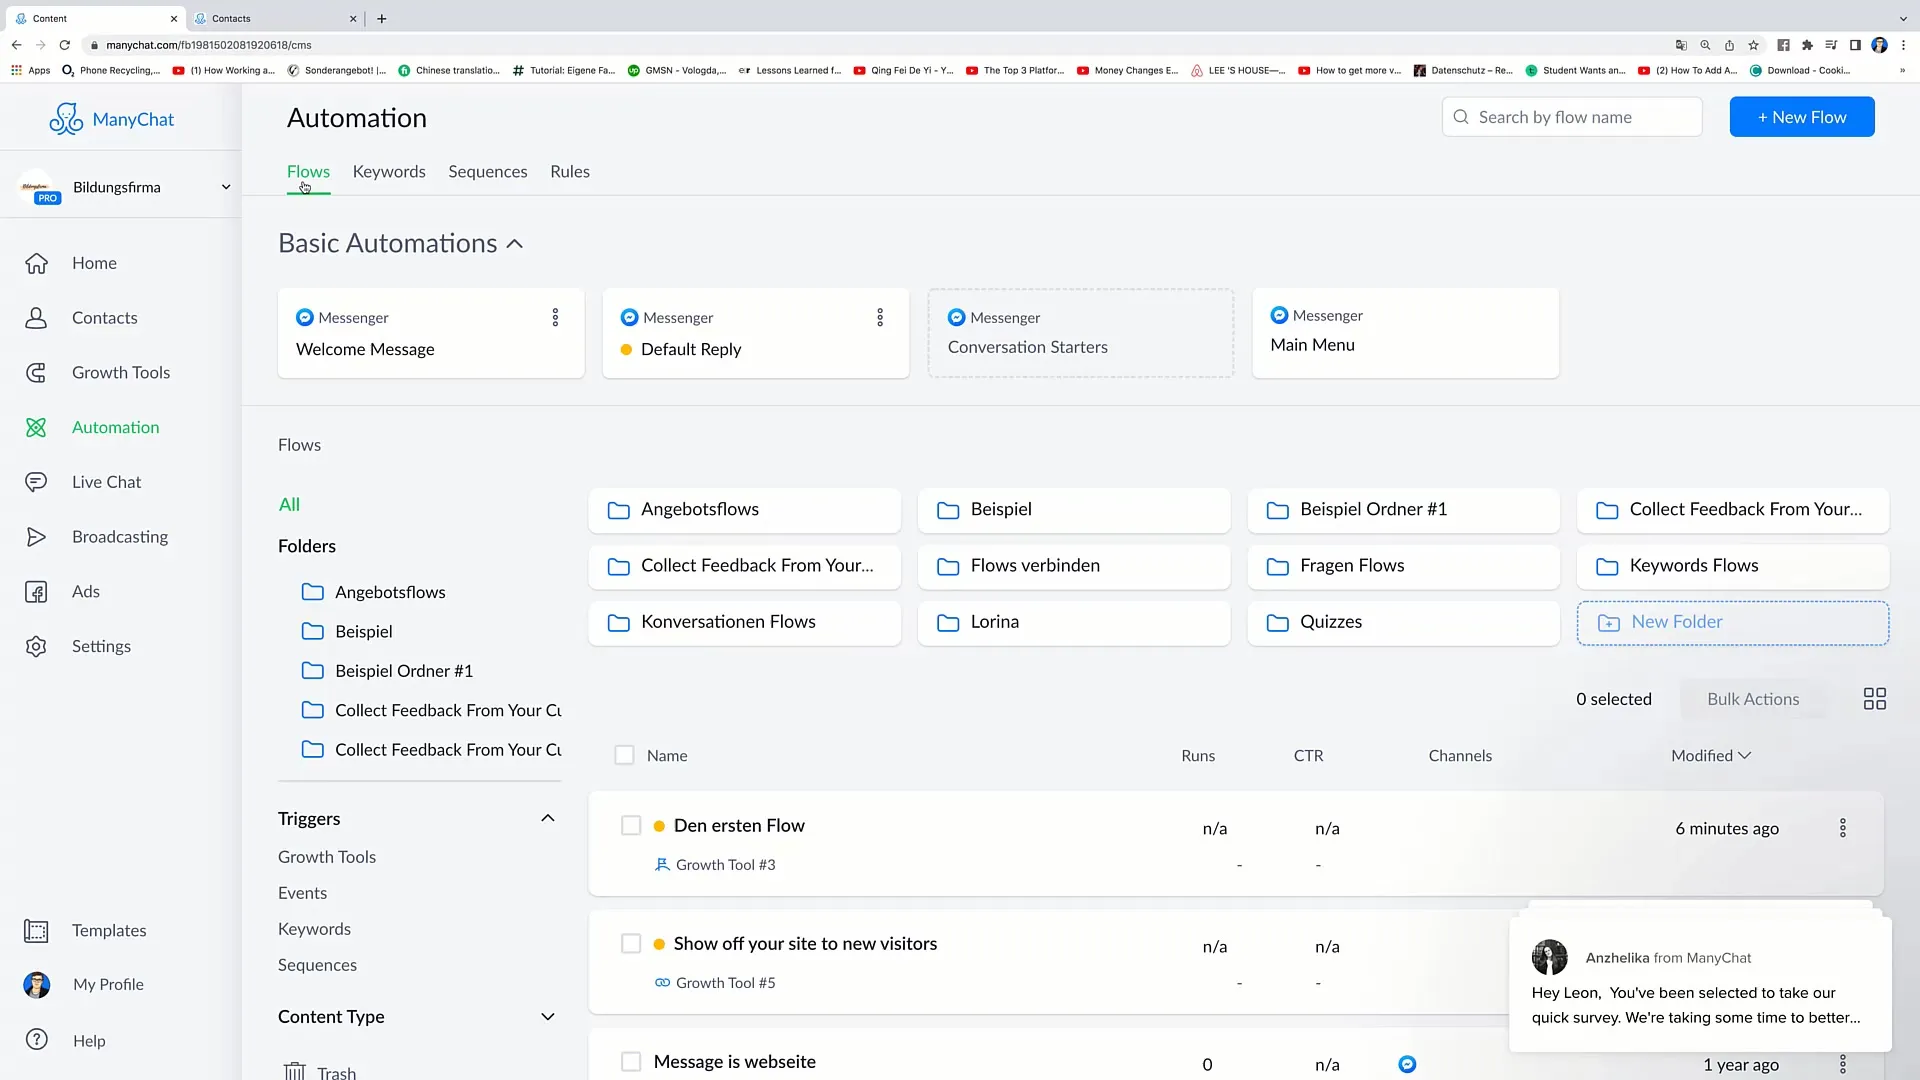
Next, create a new folder for your flows. Click on "New Folder" and give it a meaningful name, such as "Course Flows". Then click on "Create". This step will help you organize your flows better.
Now you have a new folder in the "Flows" section. Click on it and select the option "New Flow" at the top. This allows you to create a flow from scratch.
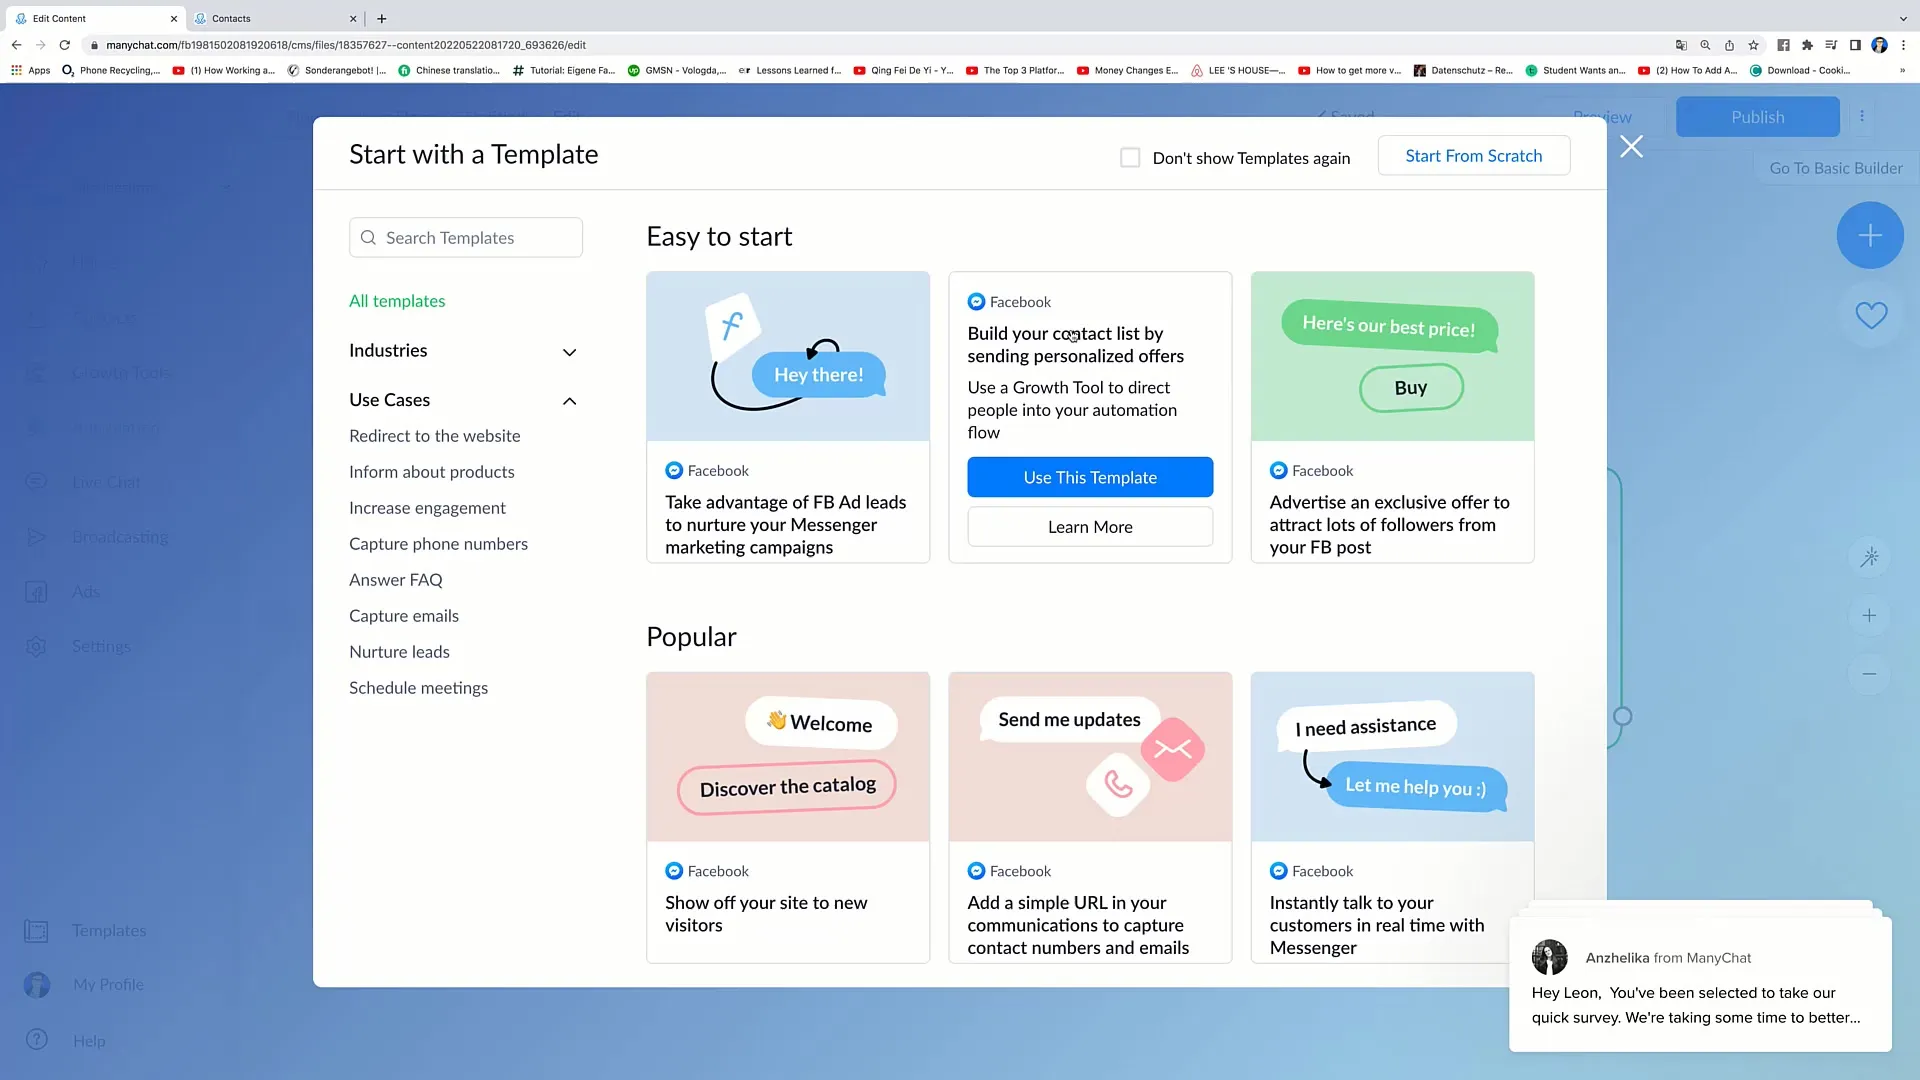
Now that you are in the flow section, click on "Start from scratch" to begin with an empty flow. When prompted to set a name for your flow, name it "Flow Number 1".
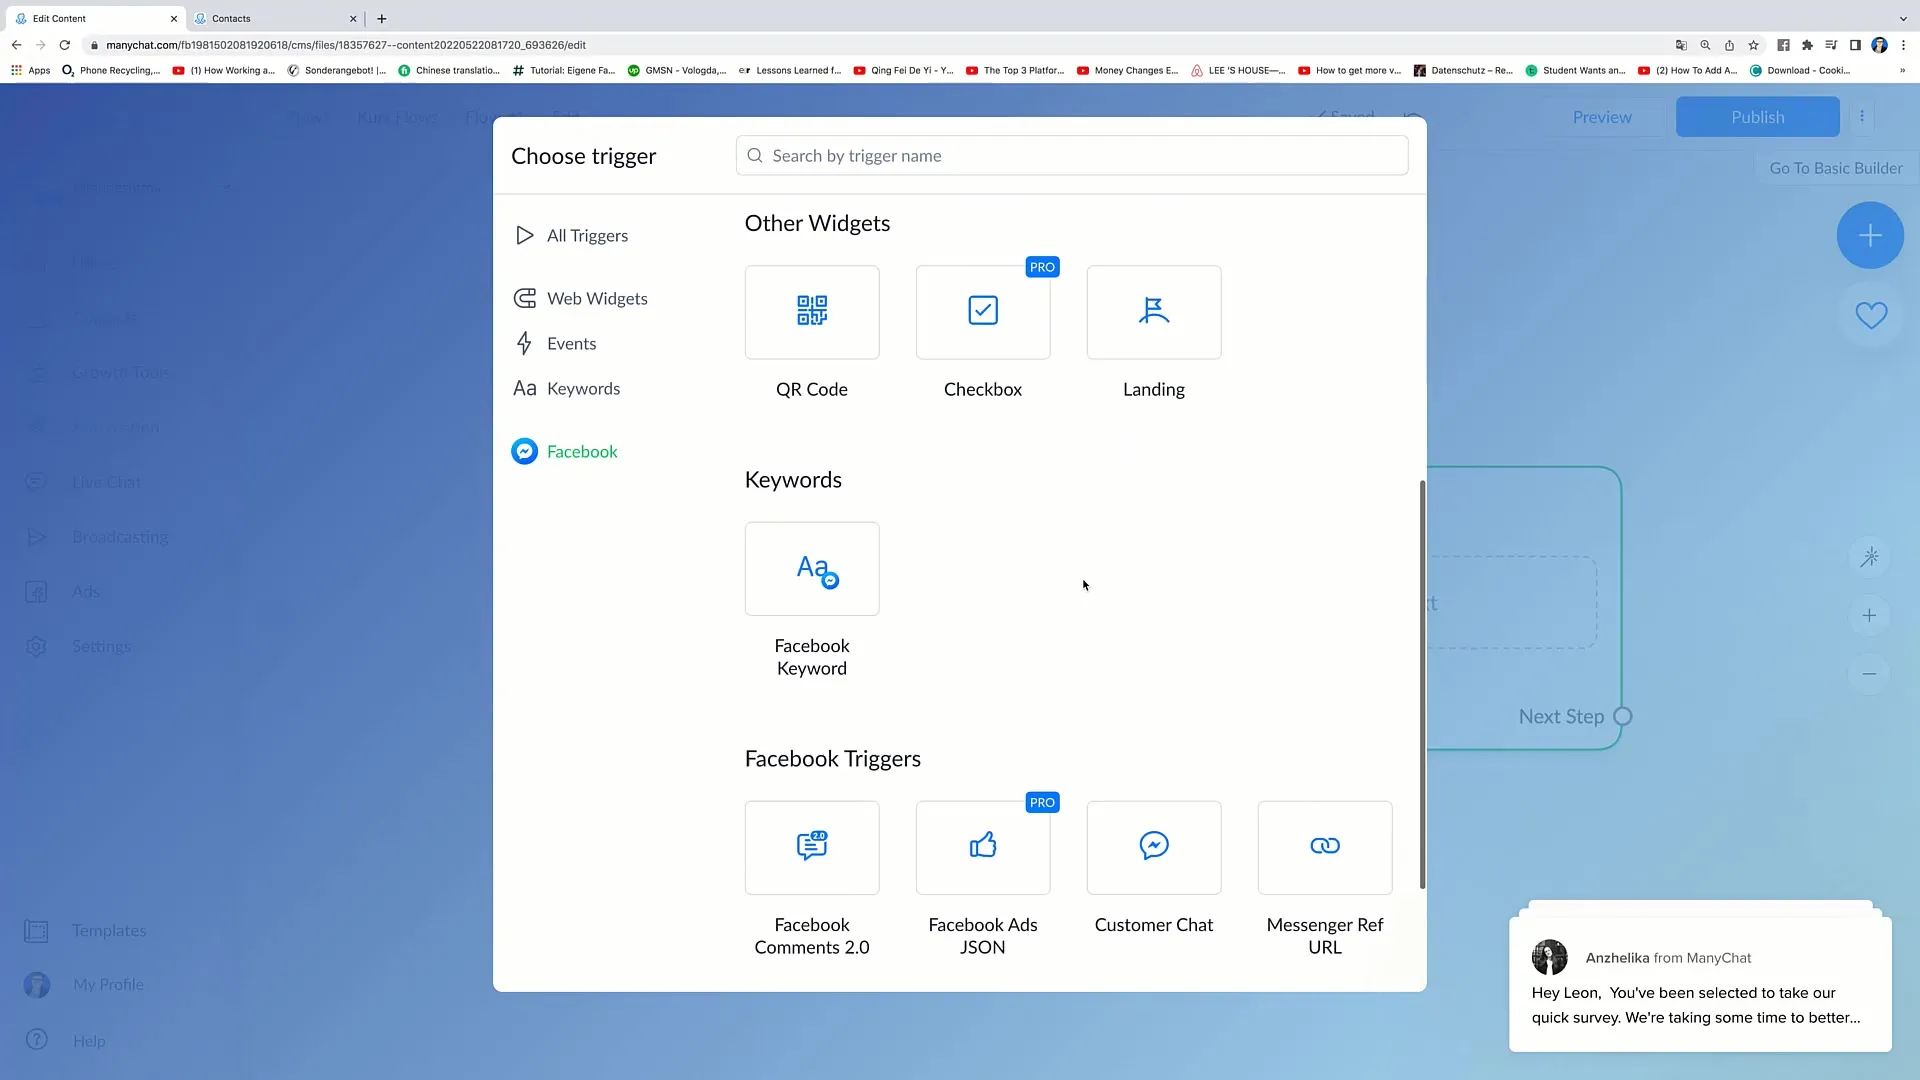
In the next step, add a "Starting Step" by clicking on "Add Trigger". Here you want to specify that the flow is triggered when someone accesses your offer through your landing page.
After the trigger, add a message to be sent to the user. Click on "Edit Text" and compose your first message. For example, "Hello [First Name], how are you today?" Here you can automatically pull the name from the user's profile.
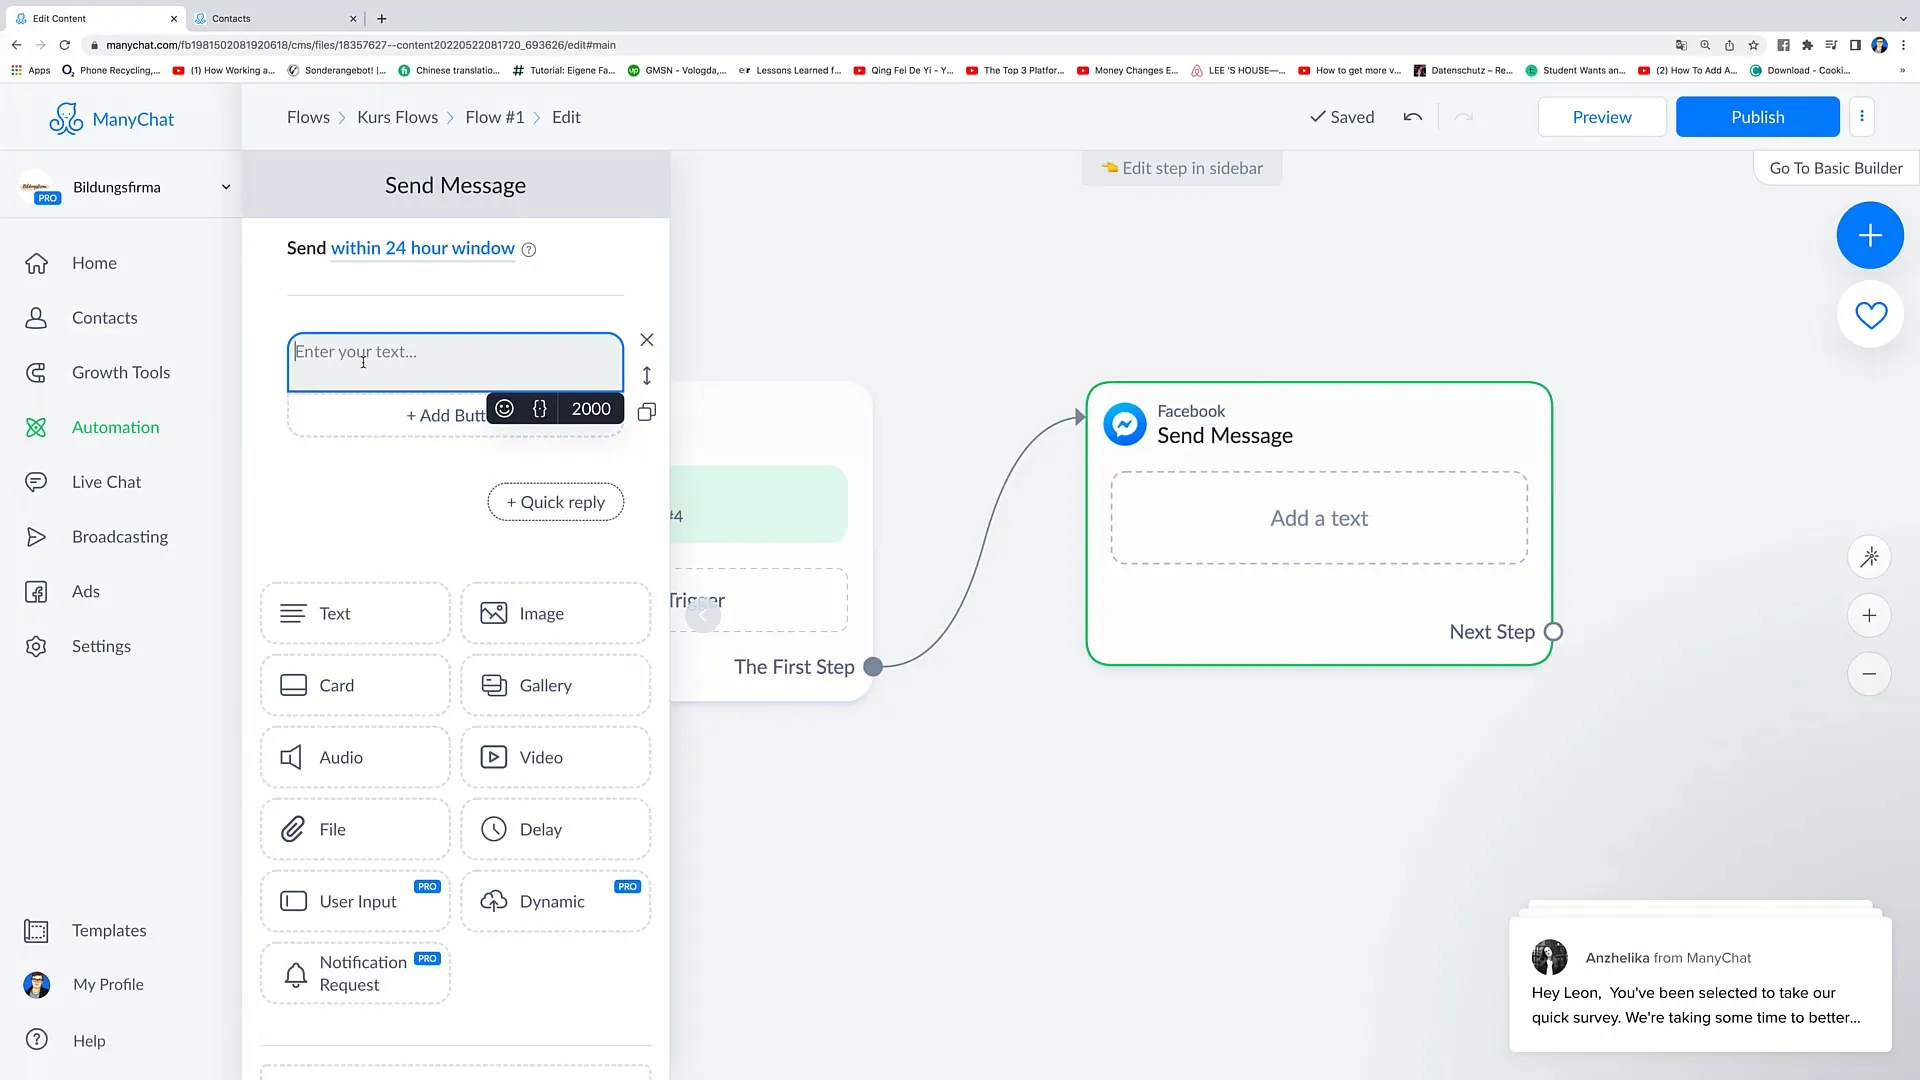
To provide the user with a selection of response options, add two buttons: "I'm fine" and "I'm not doing well". These options help you capture the emotions and status of the users.
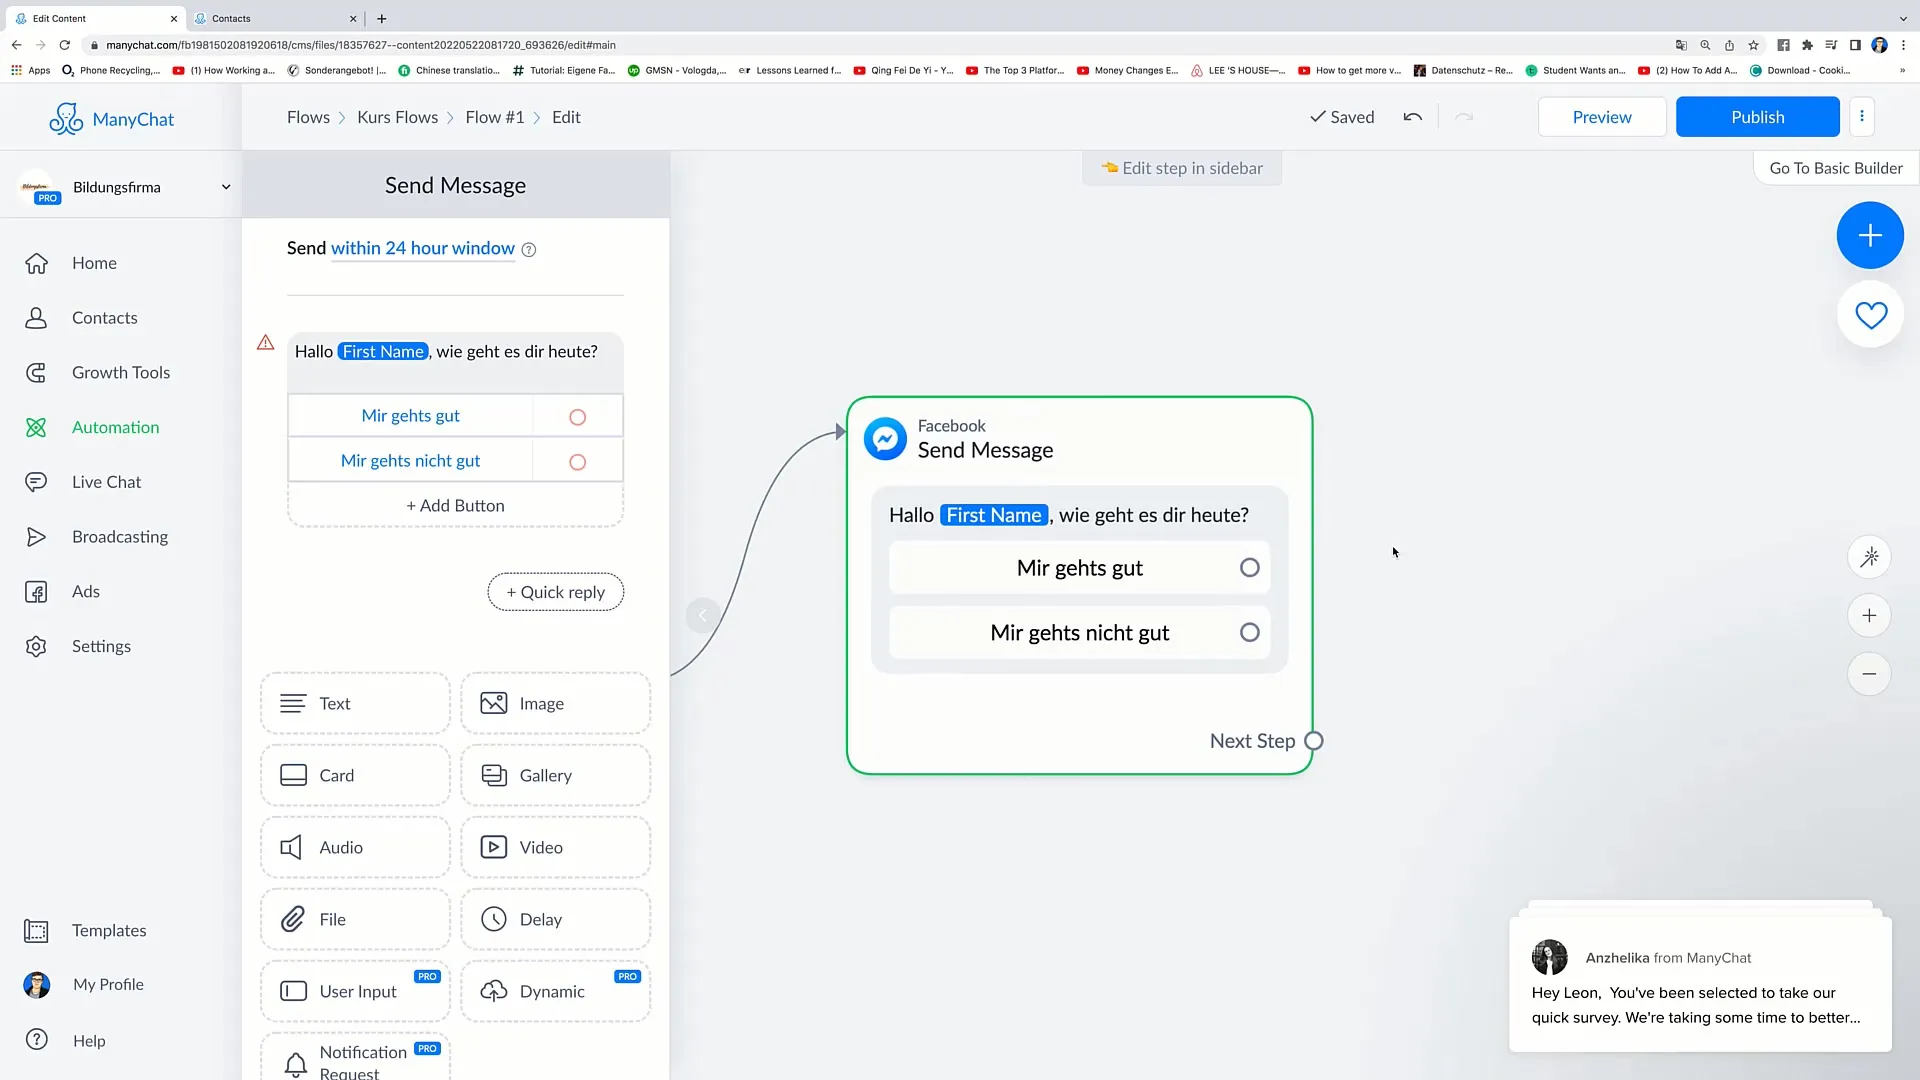
Once the response options are set, you want to define two different actions based on the answers. Click on "Actions" and then on "Add Tag". Here, assign tags such as "feeling good" and "not feeling good". This way, you can segment the users in your future marketing activities.
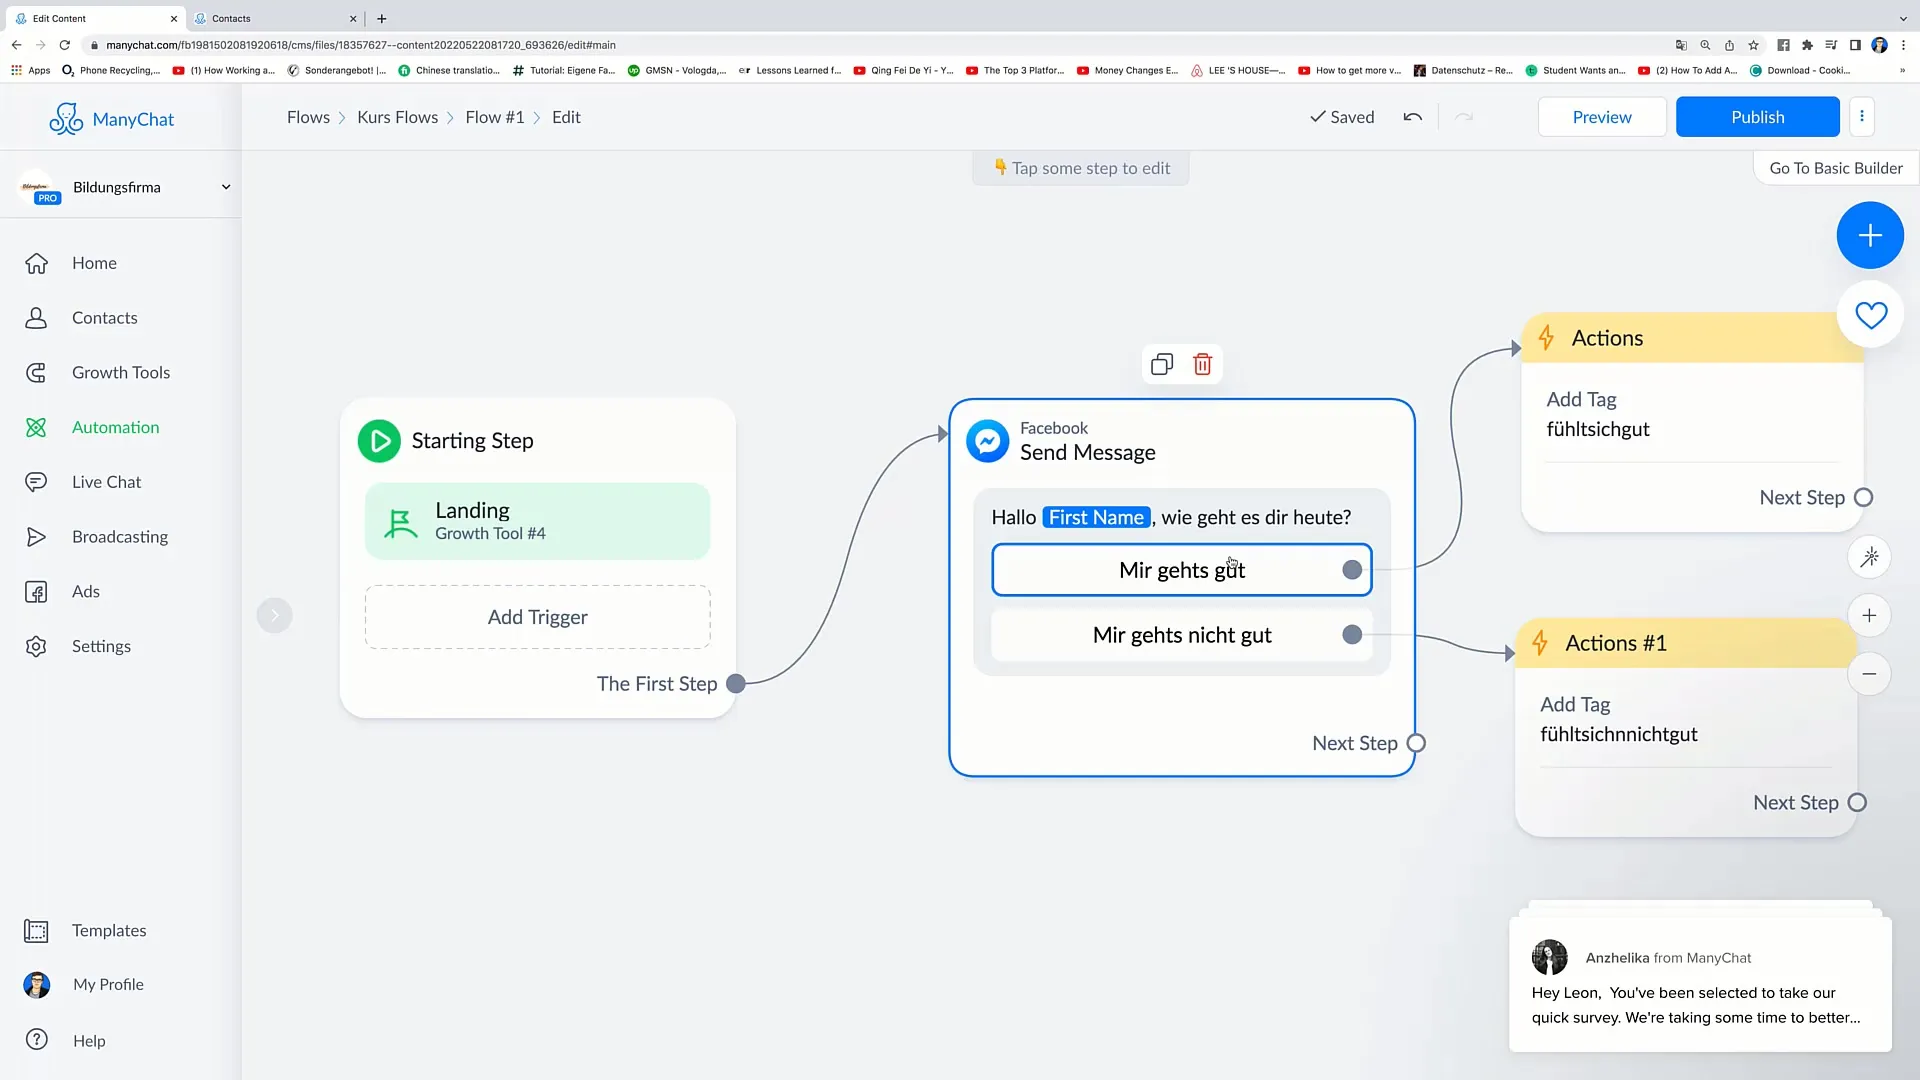
Once the tags are set up, go back to the messenger step and send a thank you message, e.g. "Thank you for your honesty. How did you first hear about us?".
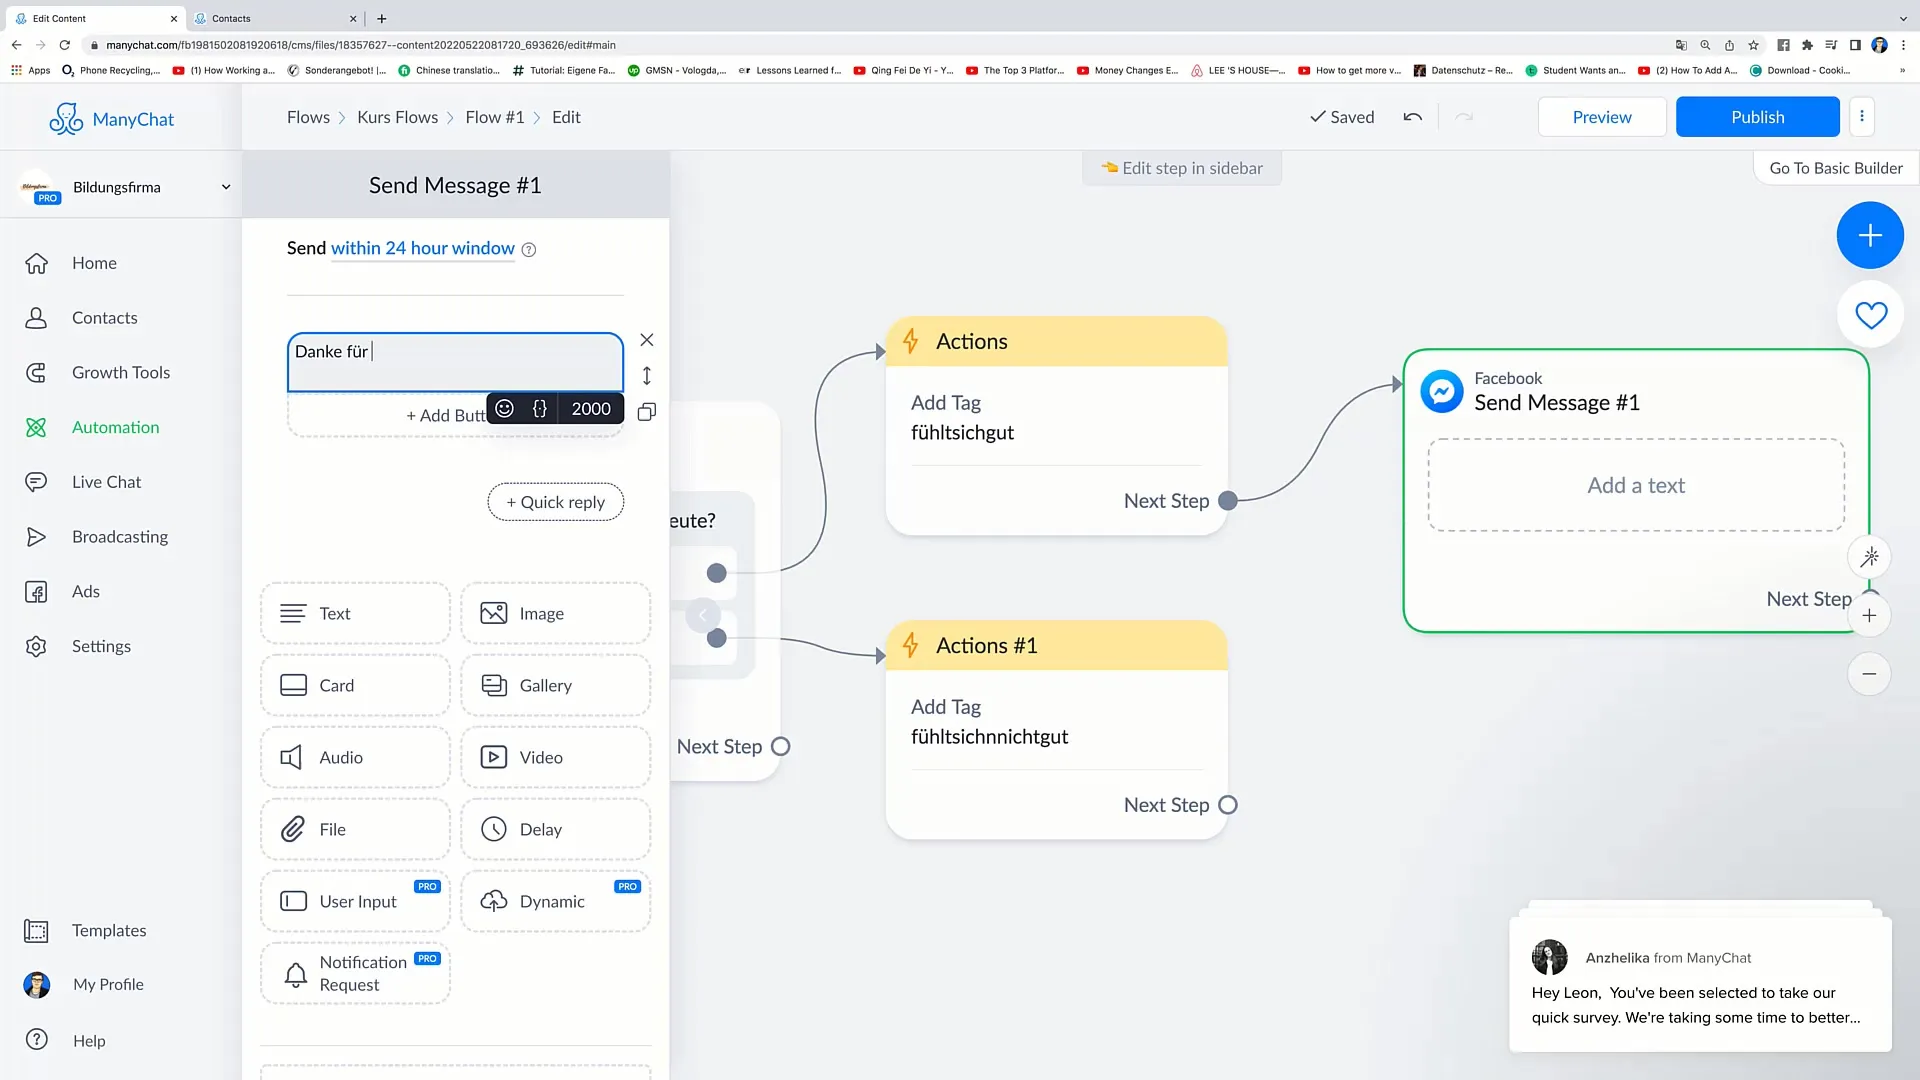
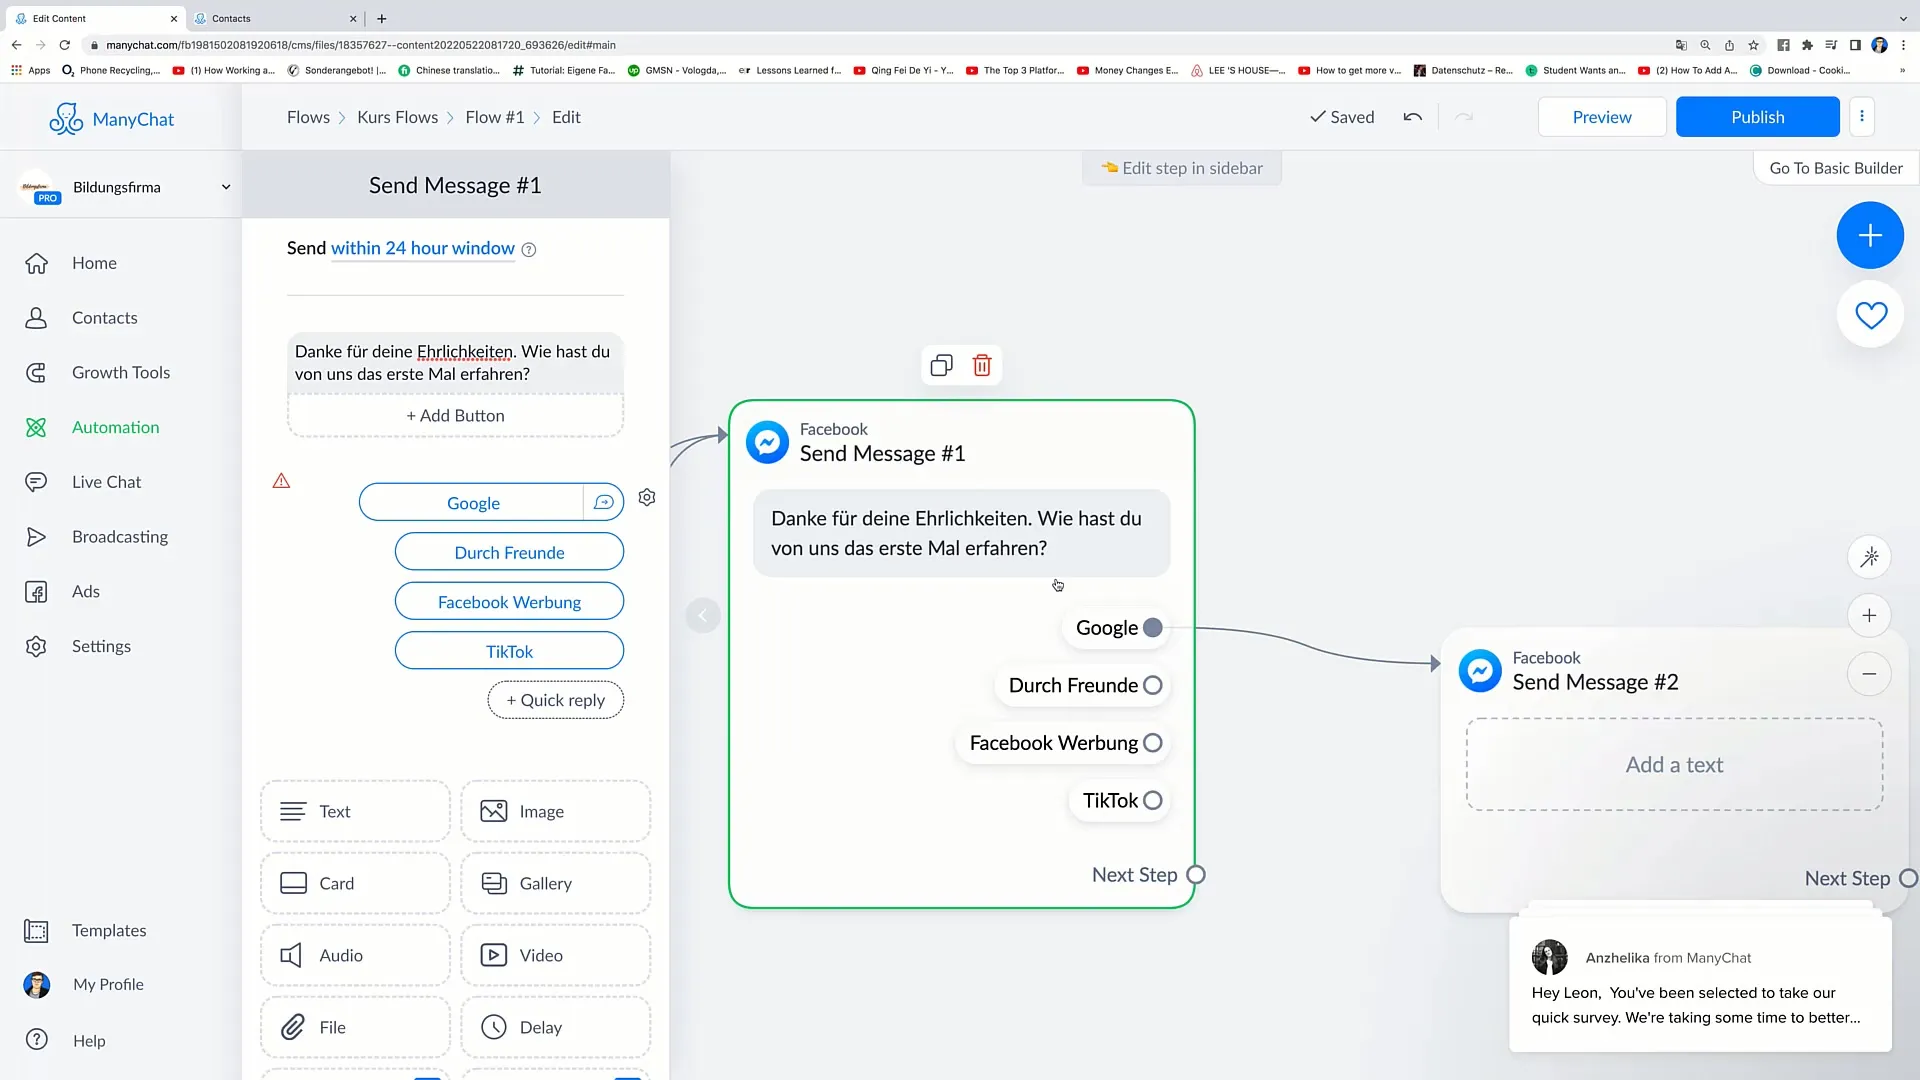
To further enhance the user experience, add "Quick Replies" to make the responses easier. Click on "Quick Reply" and add various options like "Google", "Through friends", and "Facebook Ads".
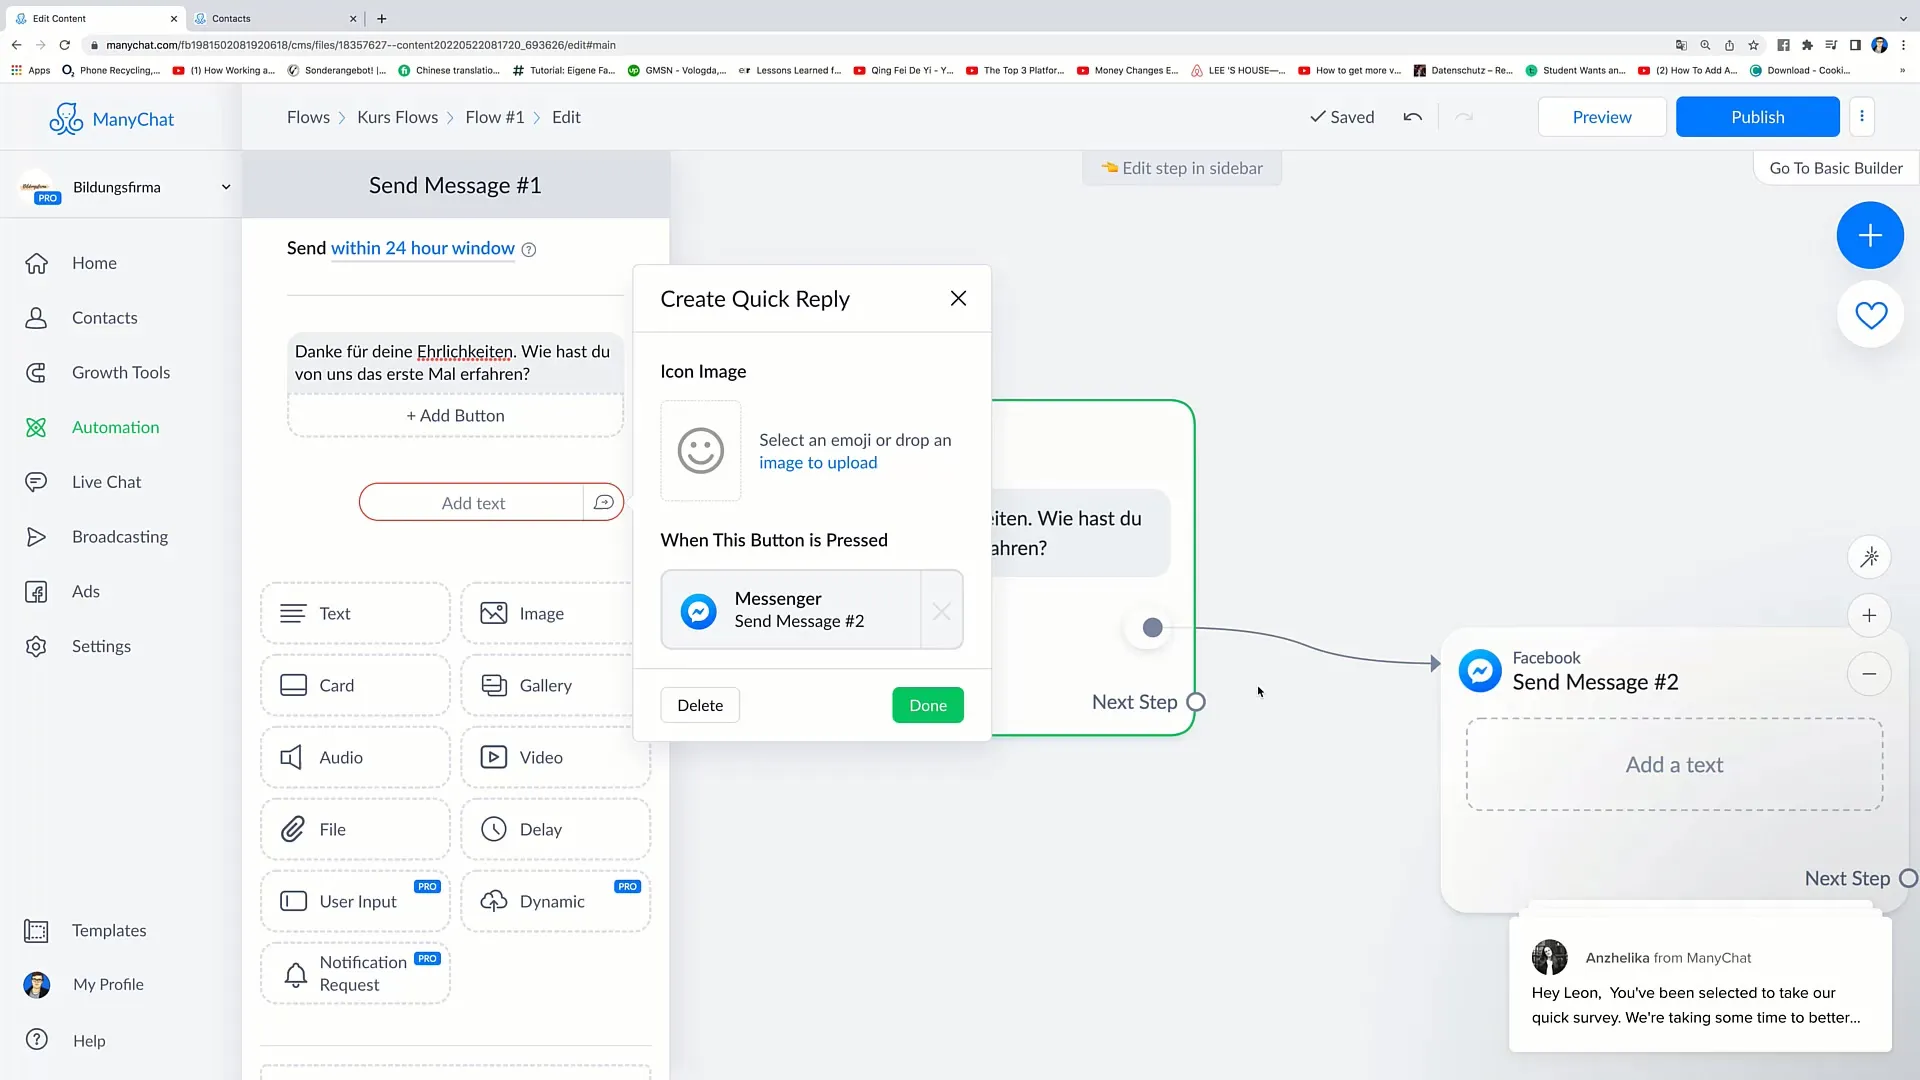
When a user selects an option, it will be sent to you as text. This way, you will get valuable information about the origin of your users.
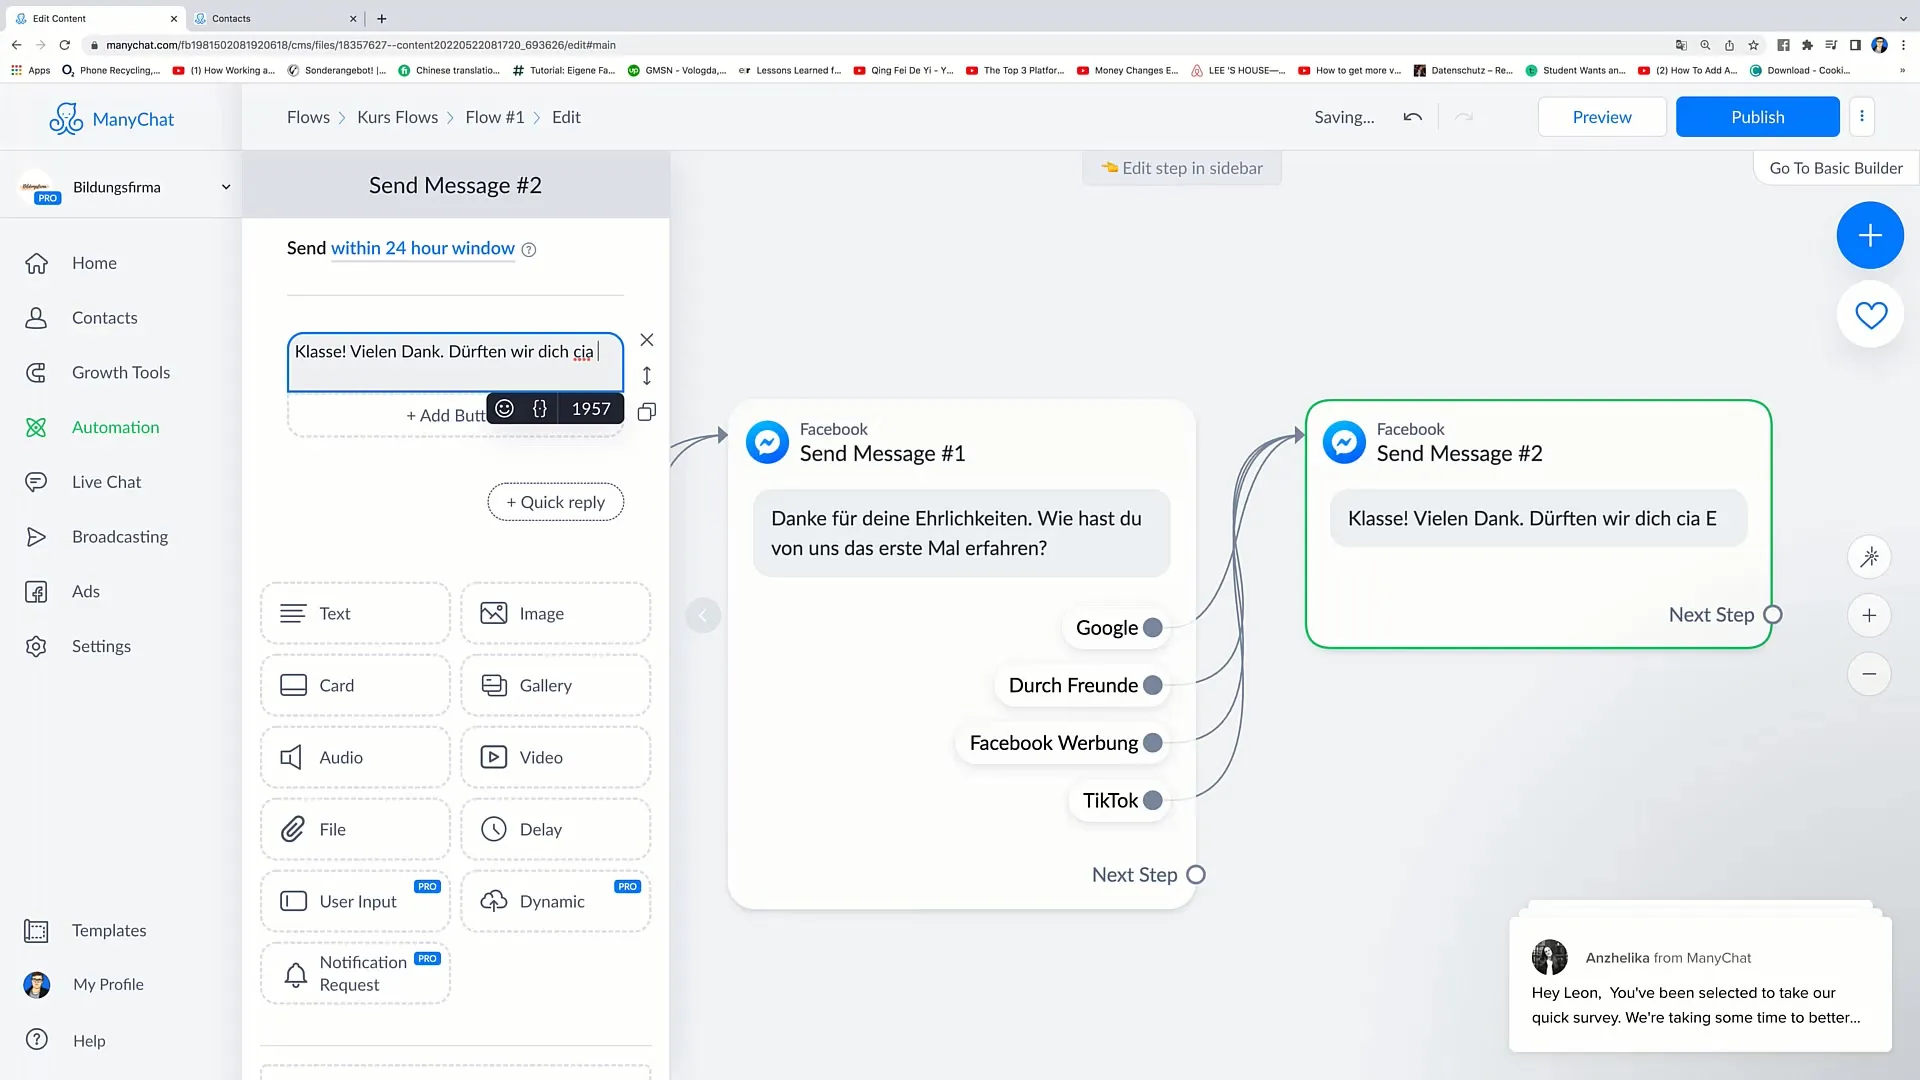
After adding the options, create a new message and ask the question: "Can we contact you via email?" Here you can again use Quick Replies that reply with "Yes" and "No".
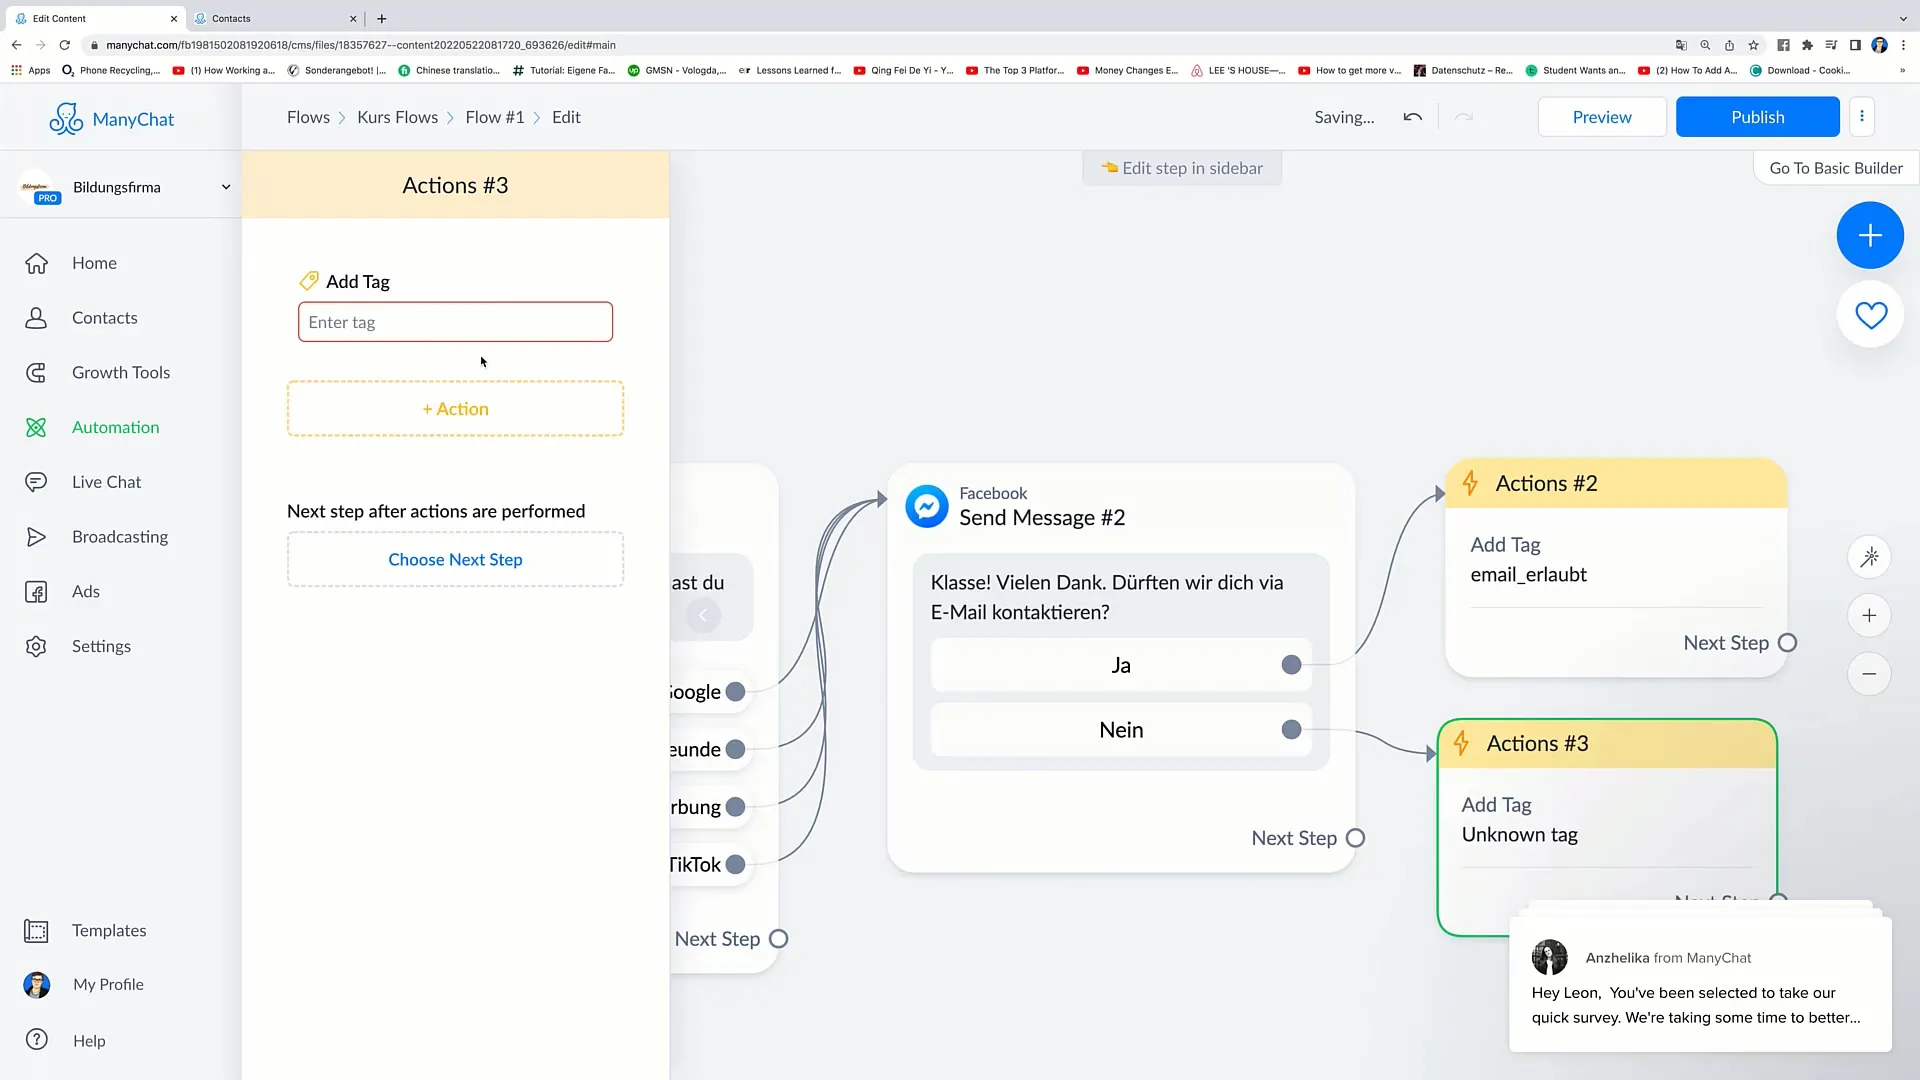
As always, we add action tags here again. If someone selects "Yes", you add the tag "Email allowed"; if "No", the tag "Email not allowed".
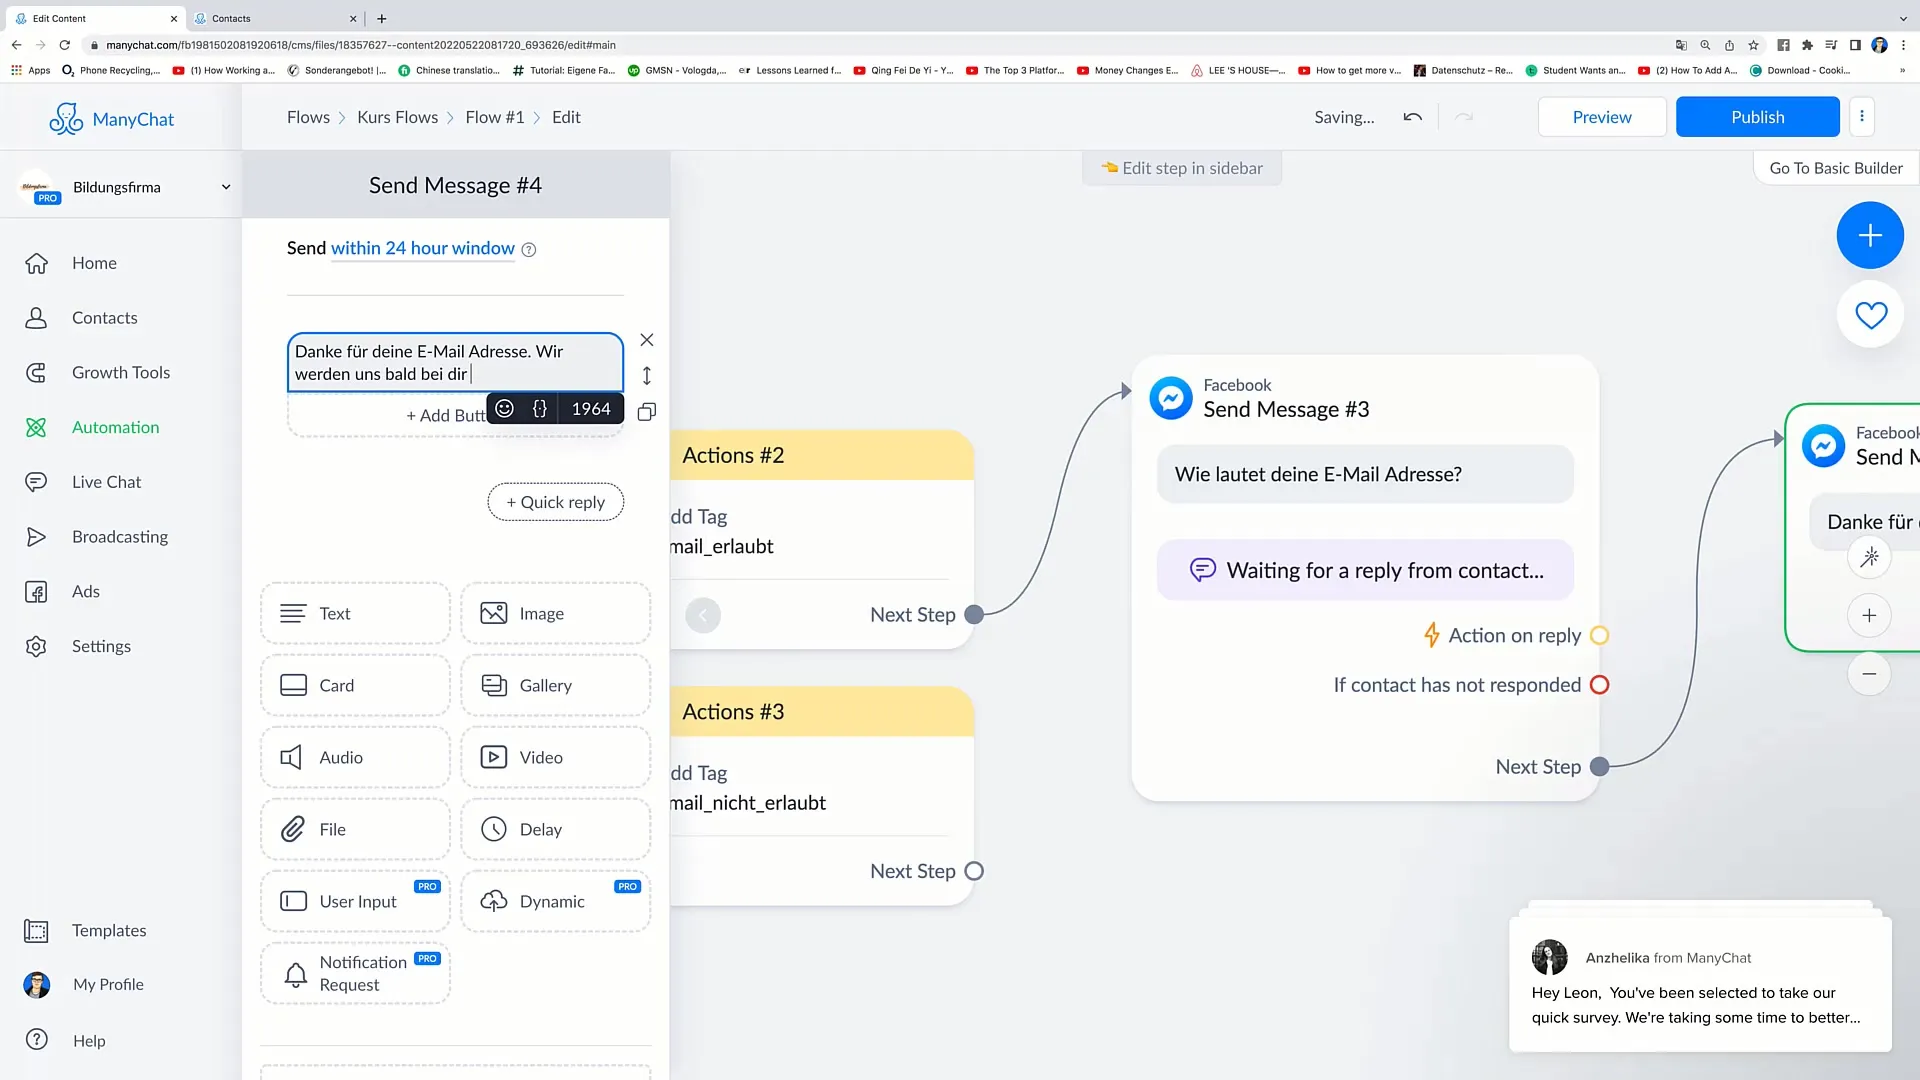
Now add another message asking for the email address. This message should be optimized to receive a response. It's best to also implement "User Input" here to directly save the person's response.
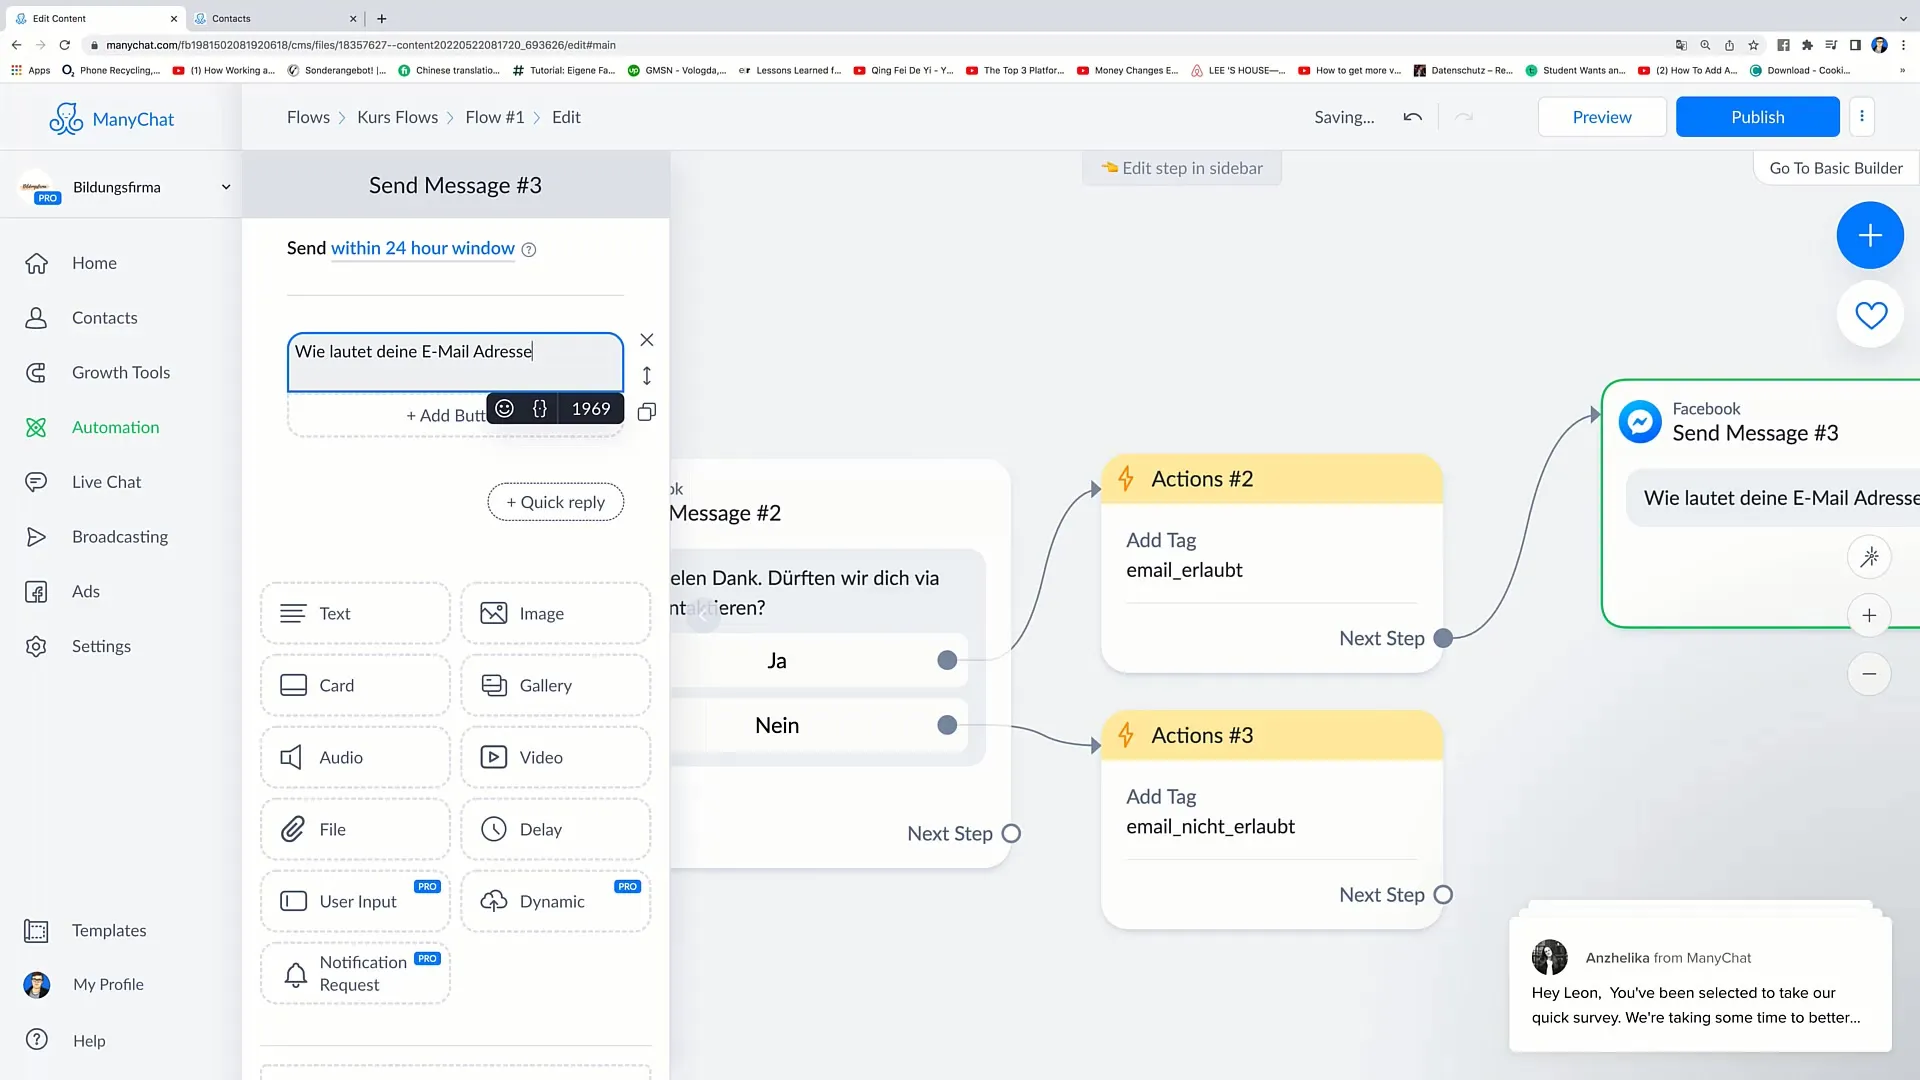
After asking for the email address, you can thank the person. It is important to add a thank you message here to increase engagement.
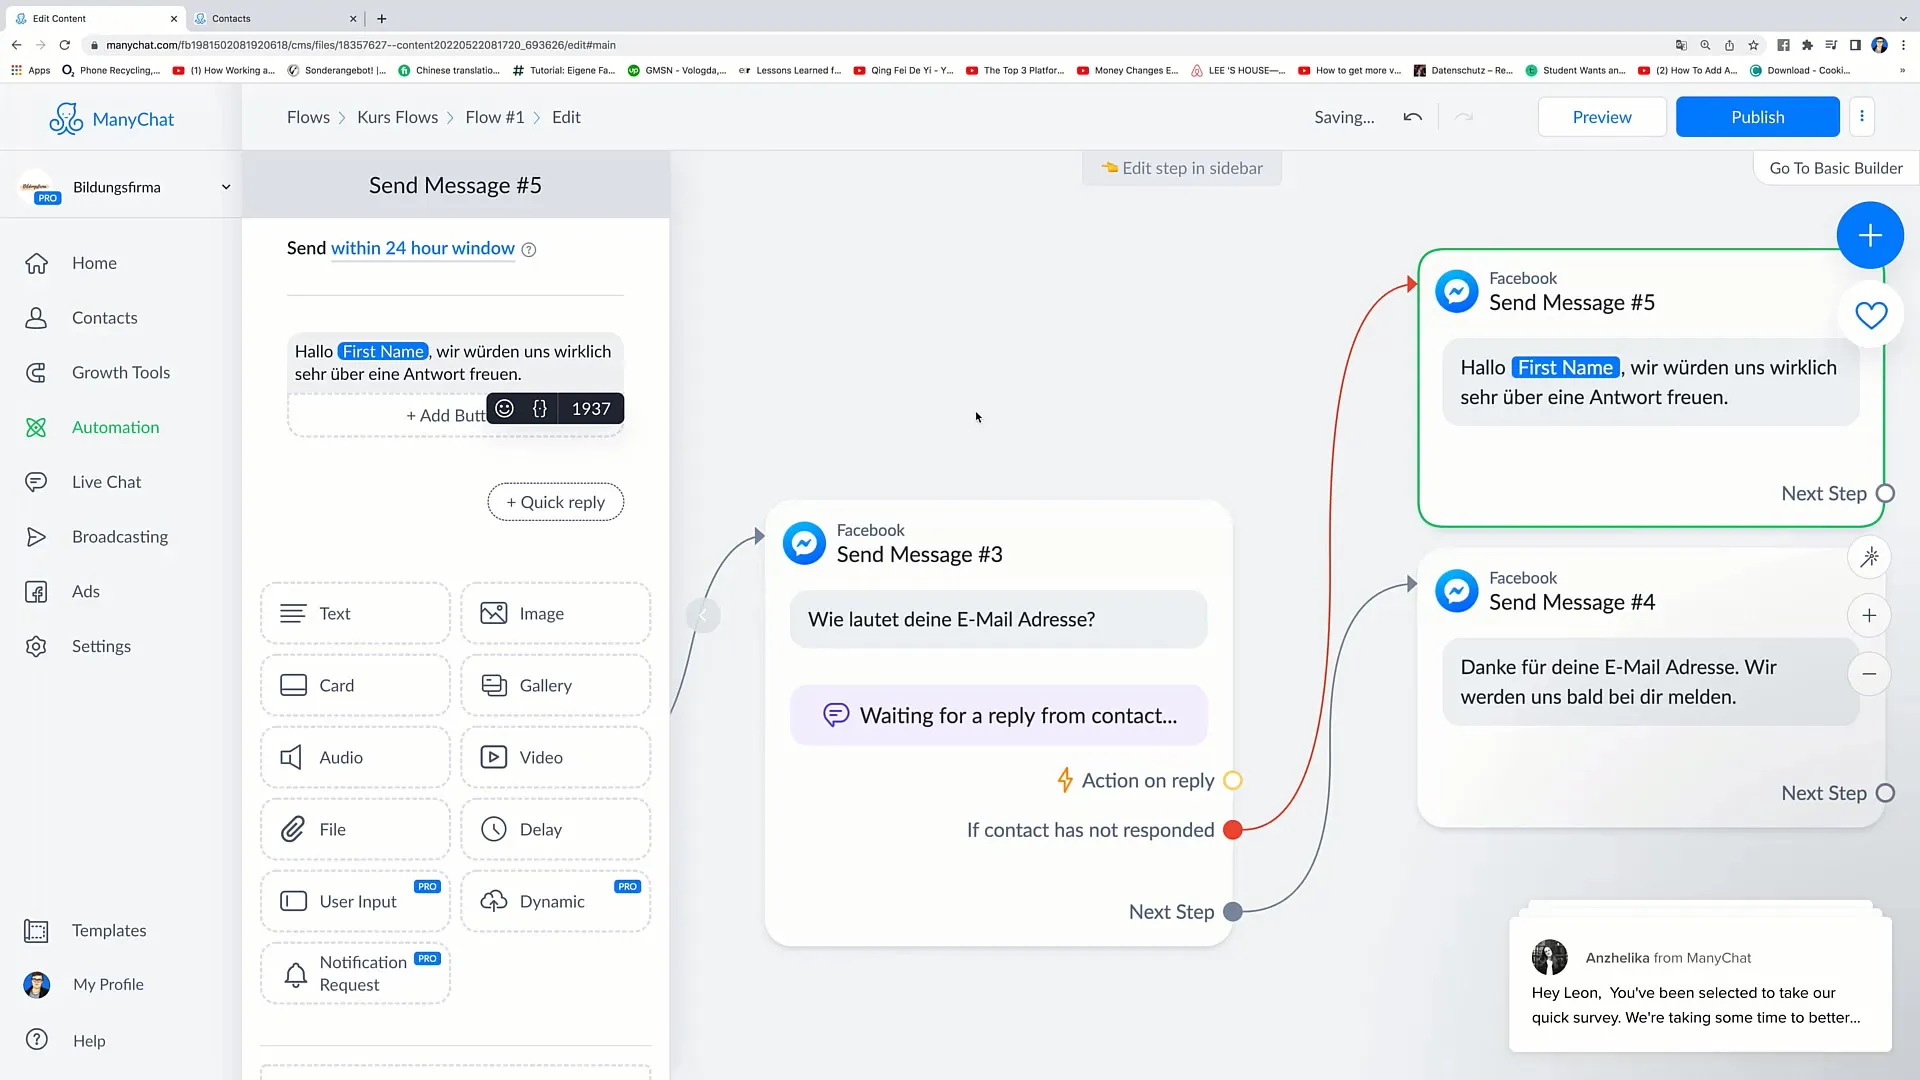
If the person does not respond, you can send an automatic reminder. This could say: "Hello [First Name], we would really appreciate a response from you." Make sure to add a tag here again so you can track the user's status.
If the person indicates they want to be contacted via email, then you will receive that email address. If not, send the message "Too bad, no problem" as the end of the interaction.
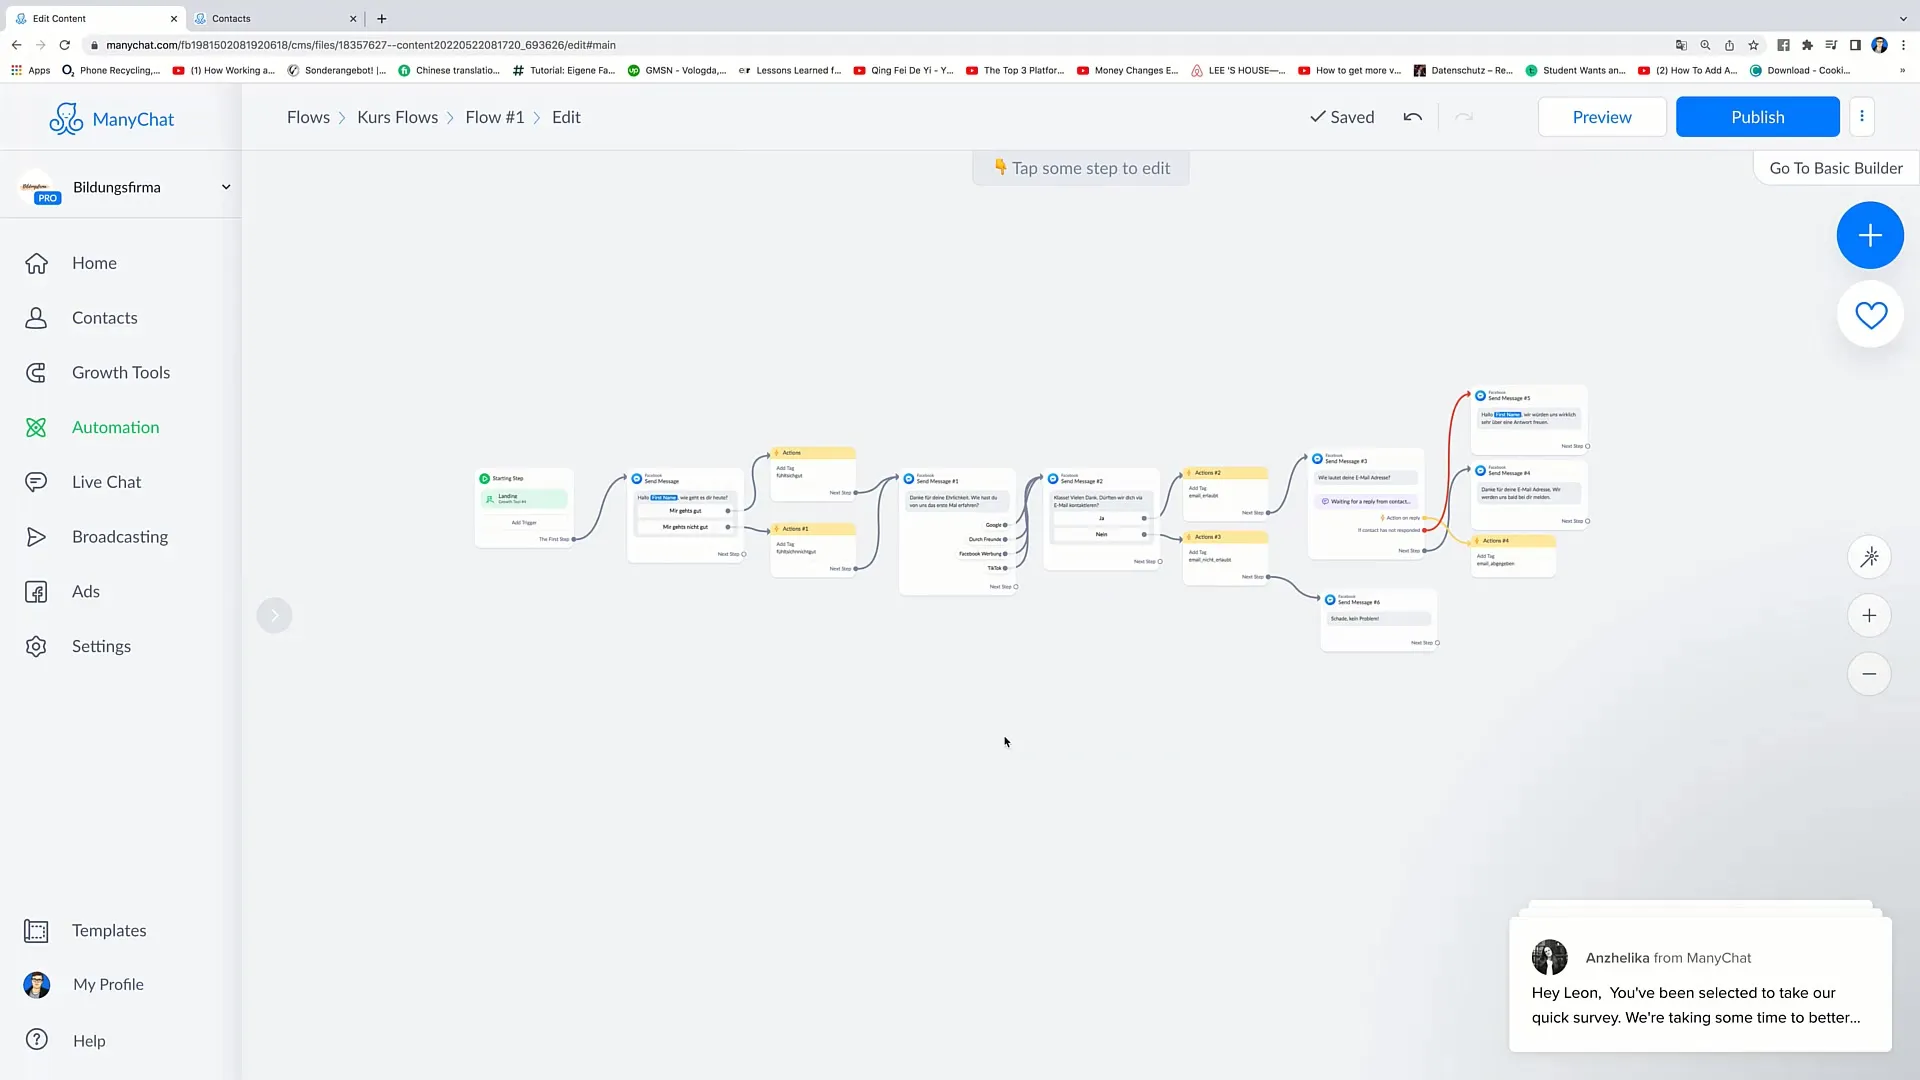
You have now successfully created a complex flow that will help you optimize user interaction and increase the effectiveness of your marketing strategies.
Summary
You have learned how to step by step create a complex flow in Facebook marketing. With a clear structure, defined triggers, and well-placed messages, you can significantly improve interaction with your users.
